DIY protège carnet en cuir repoussé

Learn how to make an A5 leather notebook cover decorated with a moon and star motif. This step-by-step tutorial guides you from cutting the leather to the final stitching, including dyeing, embossing, and professional finishing.

Template for an A5 notebook. Adapt the dimensions according to the size of your notebook.


Dimensions:
Width: 15.5 cm
Height: 22.5 cm
Thickness: 2 cm

For this tutorial, we recommend using the saddle stitch:


    For this tutorial, we recommend that you have some basic knowledge of leather embossing:

    Tutorial created with Maxime from Deco Cuir.

    Download the pattern
    This free pattern is for private use only. It is to be printed in real size. Download the PDF pattern
    Supplies
    The products needed to complete this tutorial
    Gamme suivie Belgique ⚫🟡🔴
    Morceau de collet tannage végétal NATUREL - PYKARA - Radermecker - Deco CuirÉchantillon de cuir PYKARA - Radermecker - Naturel - Deco Cuir
    From
    Sale price5,00 €
    • SIZE: 15x20cm 20x30cm 30x40cm
    • THICKNESS: 1.8mm 3.3mm 2.8mm 2.3mm
    WA144_291-teinture-huile-fiebing-pro-dye-118ml-bleu-roi-blue-royalWA142_291-teinture-huile-fiebing-pro-dye-936ml bleu-roi-royal-blue
    From
    Sale price9,90 €
    83,90 € / l
    • CAPACITY: 118ml 946ml
    France 🔵⚪🔴
    Peinture acrylique à base d'eau pour cuir - Setacolor Cuir - Pébéo - Effet métal argent 295631Peinture acrylique effet métal Setacolor Cuir - Peinture d'un bracelet en cuir - Pébéo
    Sale price7,00 €
    • Title : Default Title
    M50
    MS019zoom.jpgFil-MeiSi-Cartonnet-M50-1-zoom.jpg
    Sale price2,00 €
    • Blue
    • Beige
    • White
    • Blue
    • Gray
    • YELLOW
    • Brown
    • Multicolor
    • Black
    • +5 shades
    • Title : Default Title
    FI-PATINE-BLACK-Patine-NOIR-BLACK-Antique-finish-Fiebing-s.jpgFI-PATINE-fiebings-antique-leather-finish-patine-antique-color-chart.jpg
    Sale price9,90 €
    • Title : Default Title
    WA009-tokonole-pour-finition-de-cuir-zoom.jpgtokonole-travail-tranche-cuir-neutre-zoom.jpg
    From
    Sale price7,90 €
    65,83 € / kg
    • CAPACITY: 120g 500g
    France 🔵⚪🔴
    colle-decocuir-neoprene-extraliquide-pinceau-GP.jpg
    Sale price10,40 €
    • Title : Default Title

    THE NECESSARY EQUIPMENT

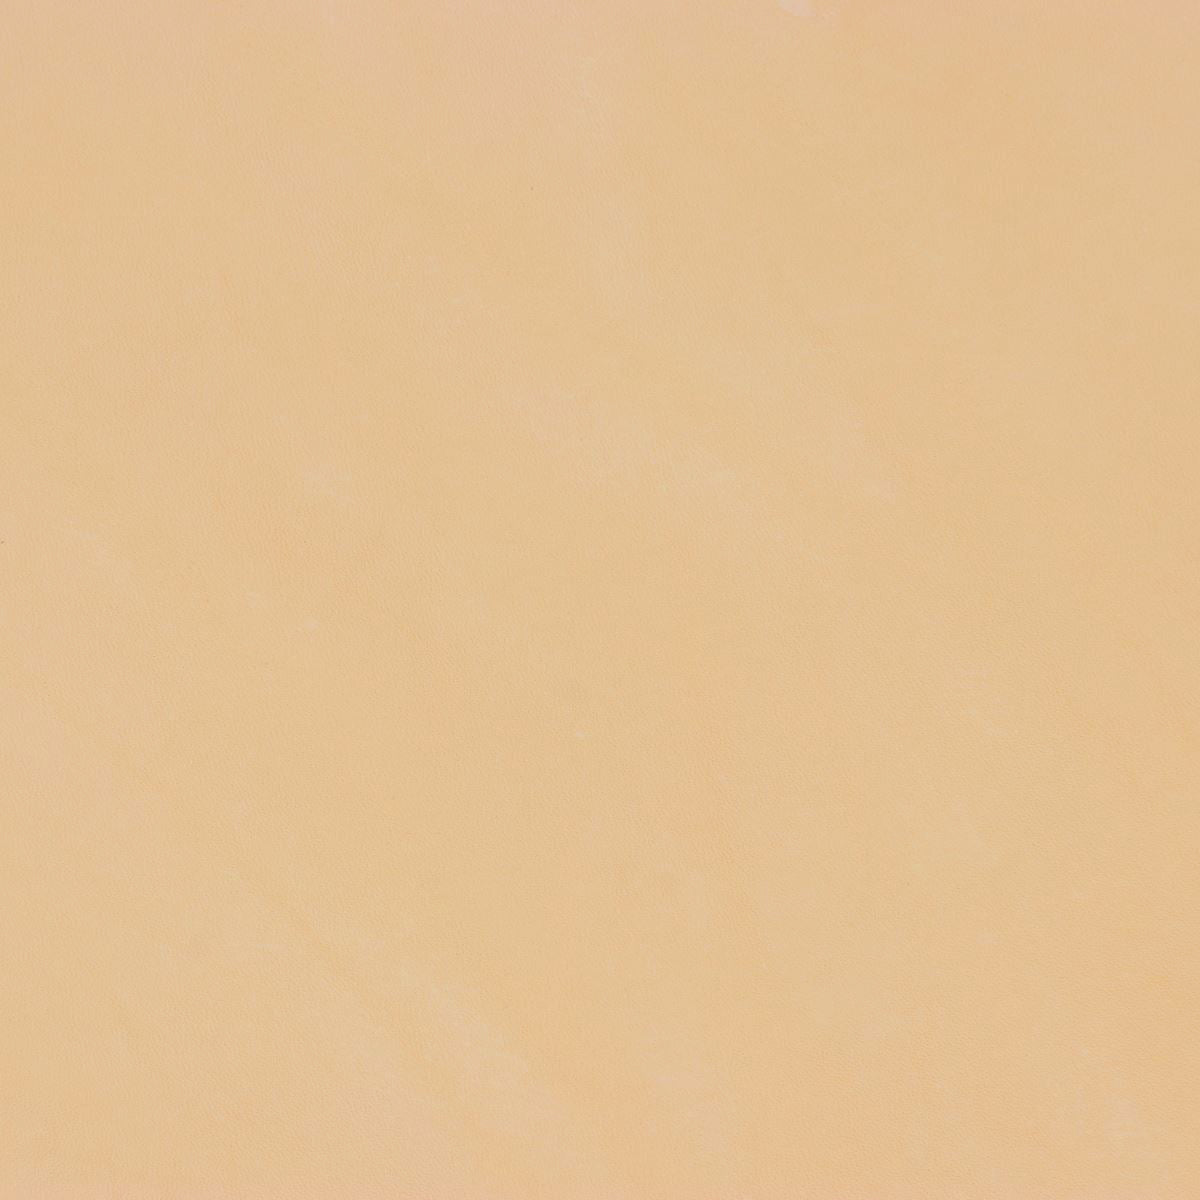
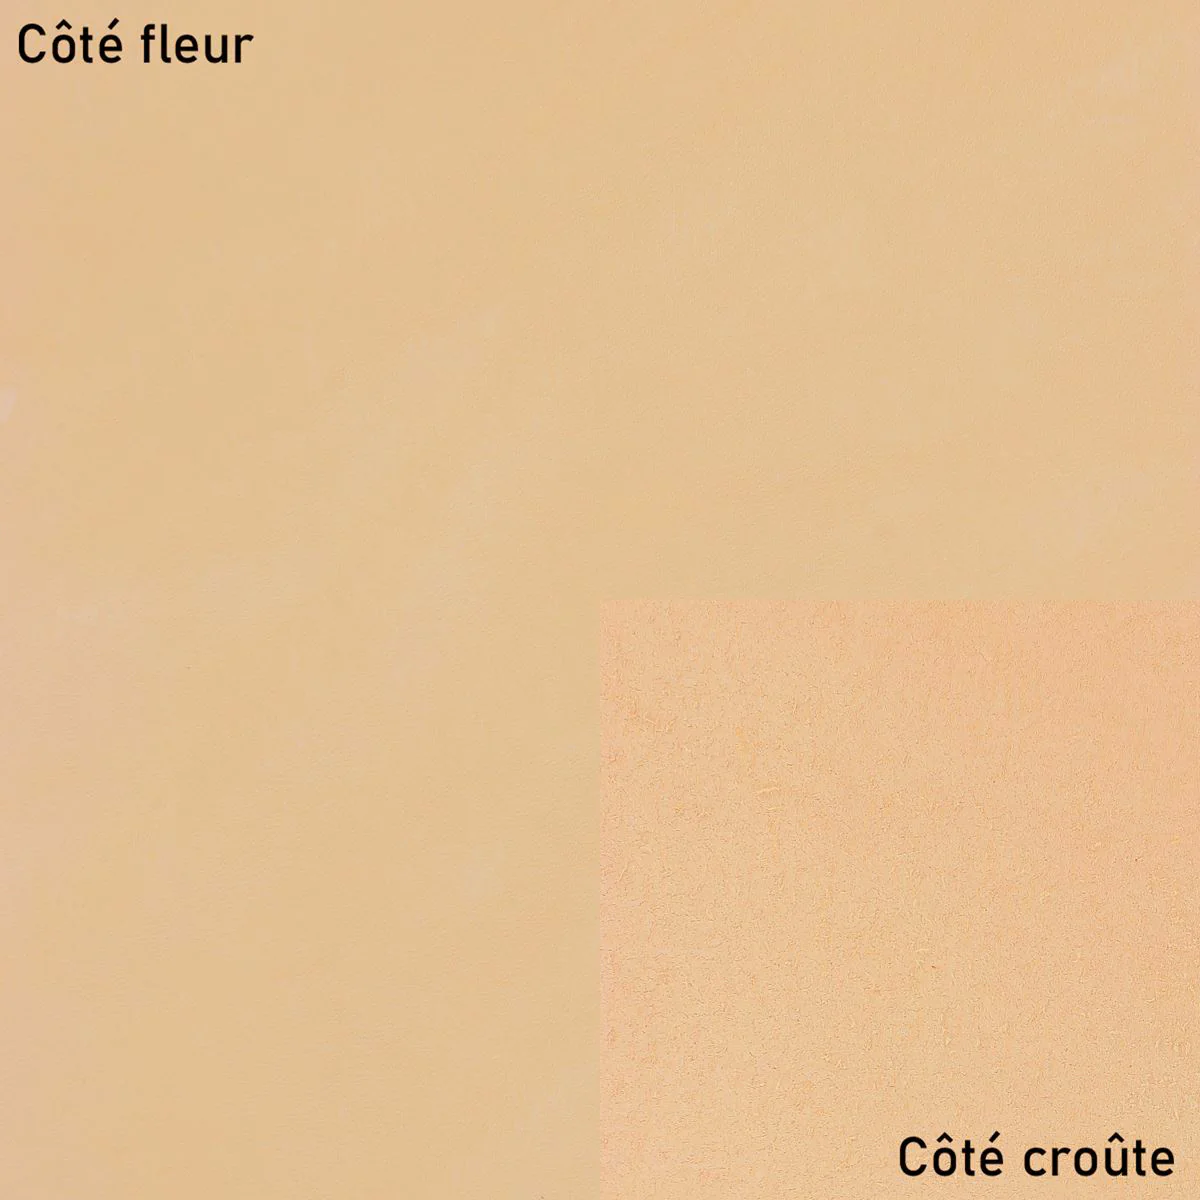
    • 1 piece of vegetable-tanned NATURAL neck leather - PYKARA - 30 x 40 cm - 1.8 mm thick
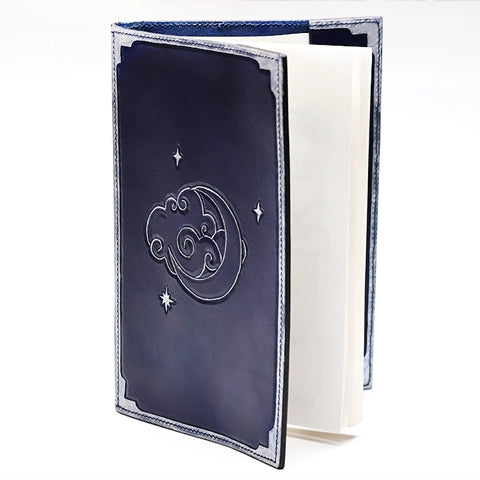
      For this tutorial we have selected a leather from the Pykara range by the Radermecker tannery (available for sale on our website) .
    • 1 oil-based dye - Fiebing's Pro Dye - ROYAL BLUE
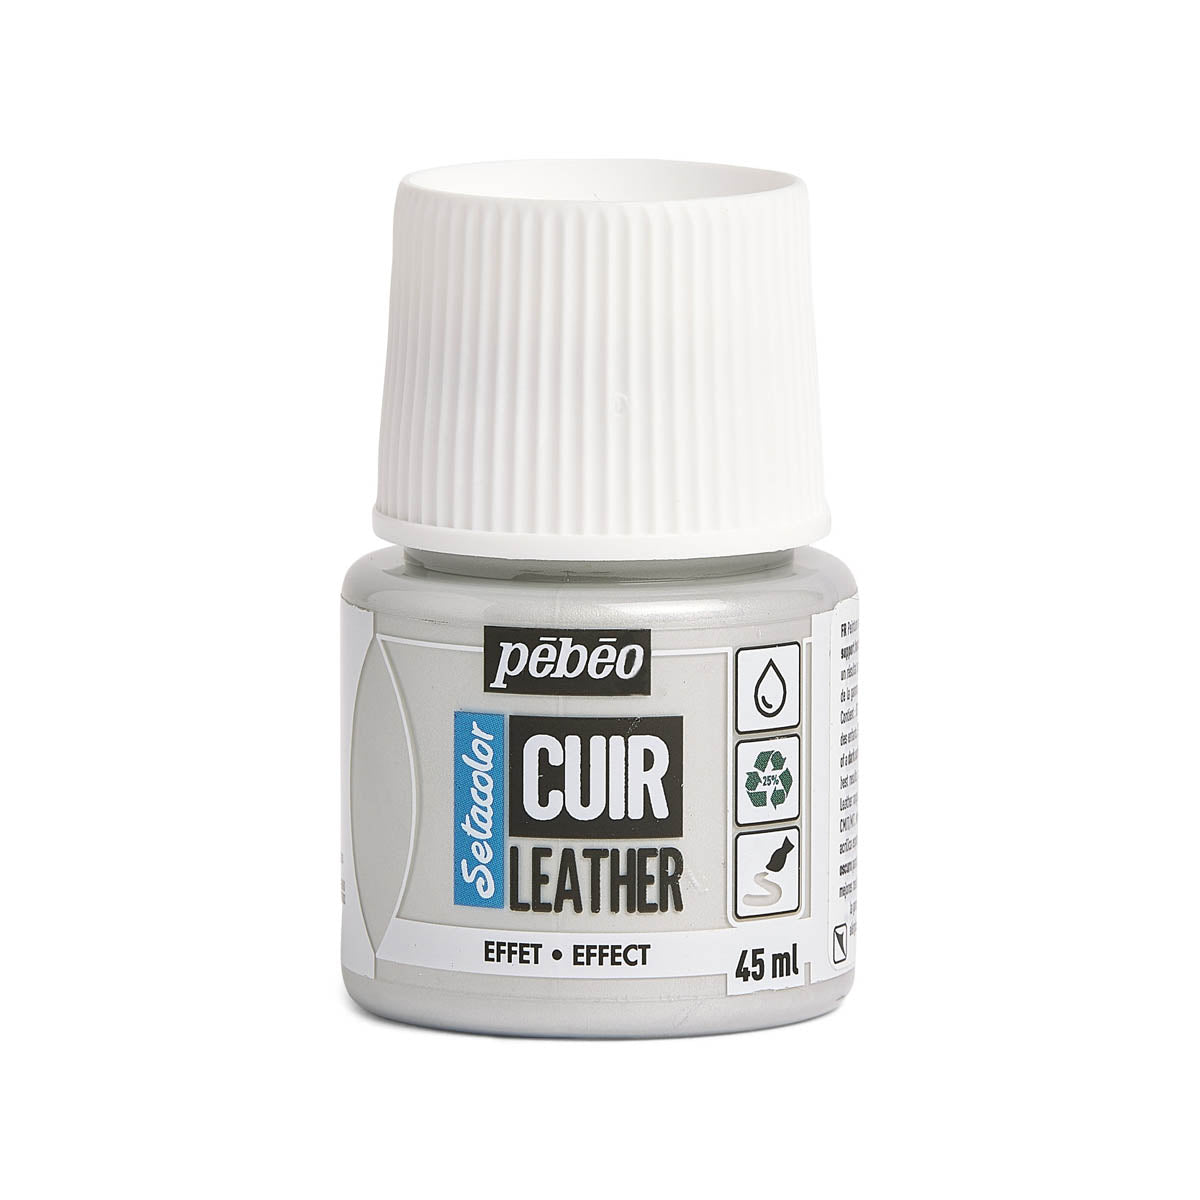
    • 1 Setacolor acrylic leather paint - SILVER METAL
    • 1 Fiebing's Antique Finish leather patina 118ml - DARK BROWN

    Tools needed:

    • Cutter
    • round awl
    • Dry point compass
    • Circle tracers
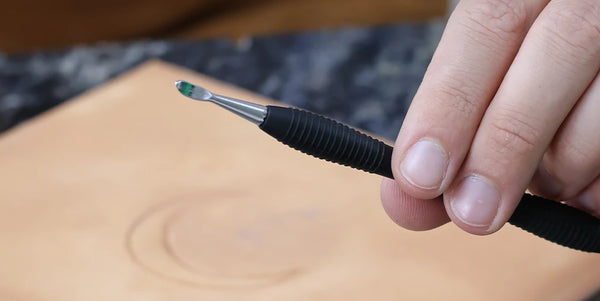
    • Swivel knife (opening knife)
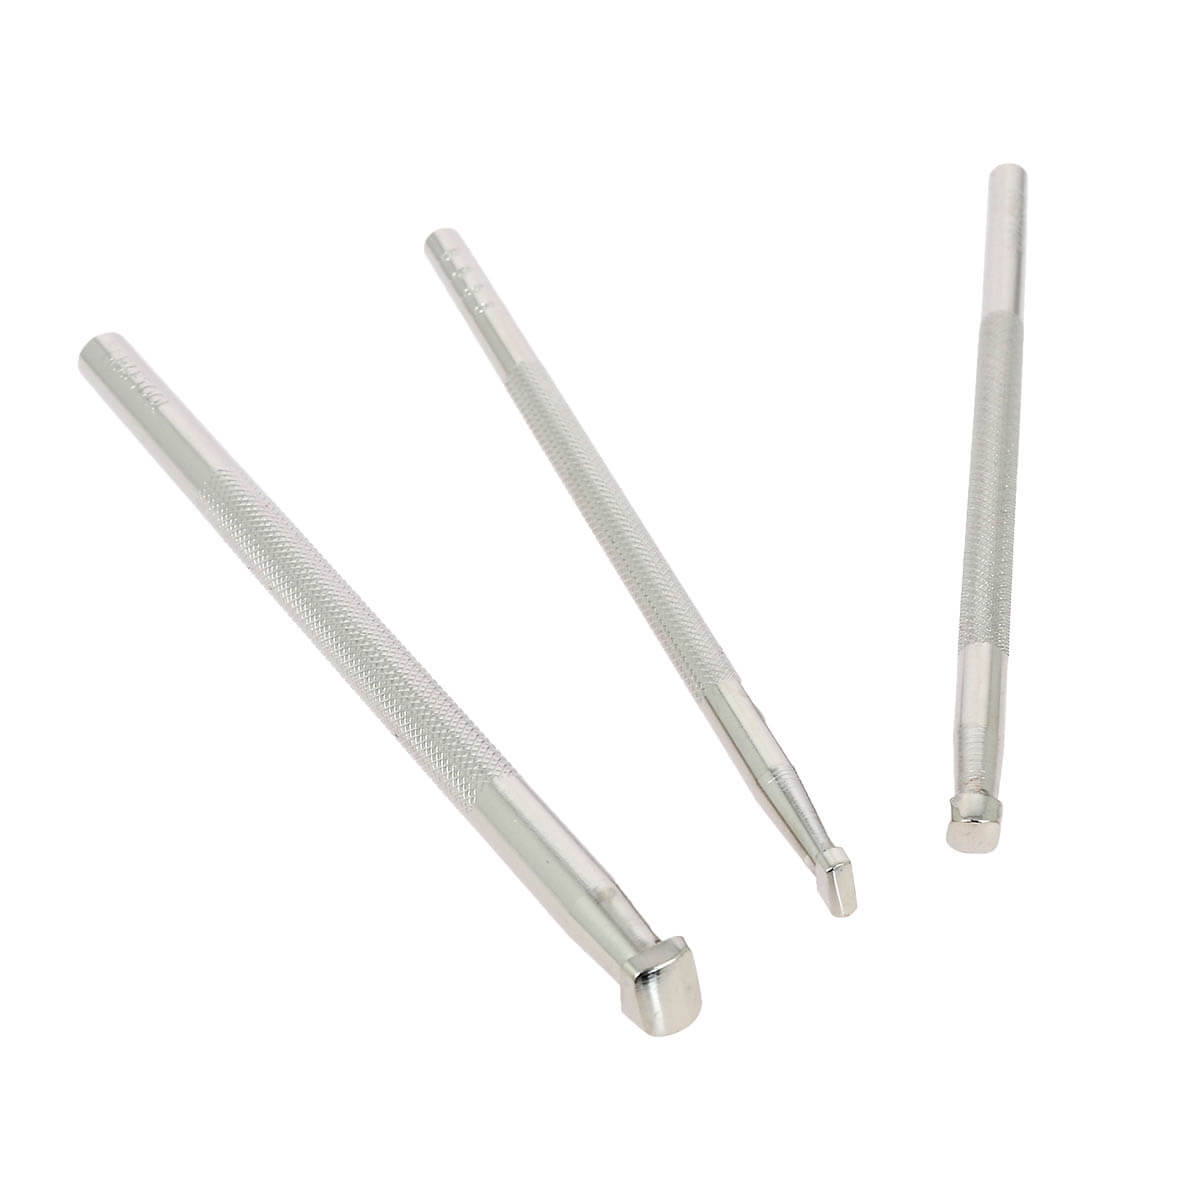
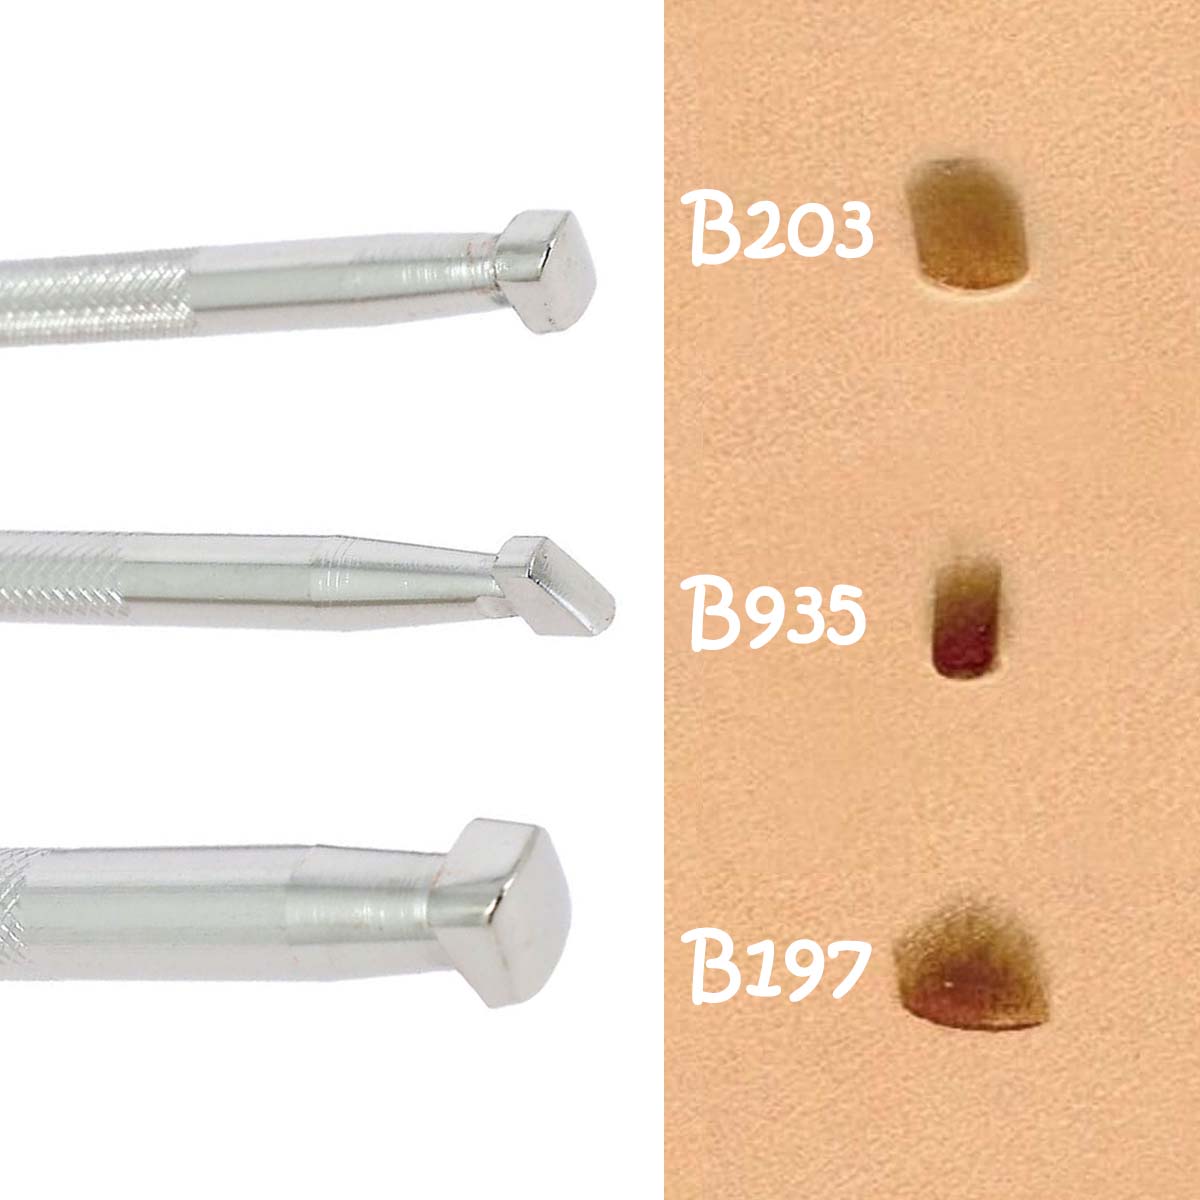
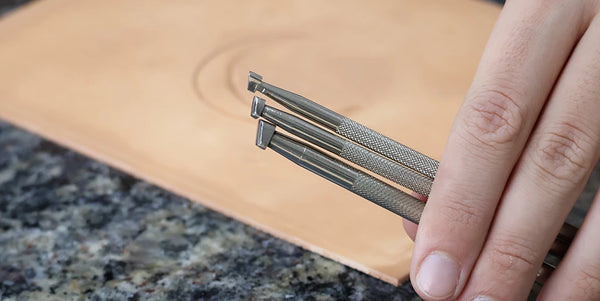
    • Smooth bevelers – 3 sizes
    • Square lamp
    • Round brush
    • Dye sponge

    For saddle stitching:

    • Diamond awl (with pliers)
    • Striking claw with 3.00 or 3.38 mm center distance
    • Round-tipped needles
    • Saddler's clamp or sewing valet

    FULL VIDEO TUTORIAL

    Video Part 1 - Leather embossing:

    Video Part 2 - Dyeing and Sewing:
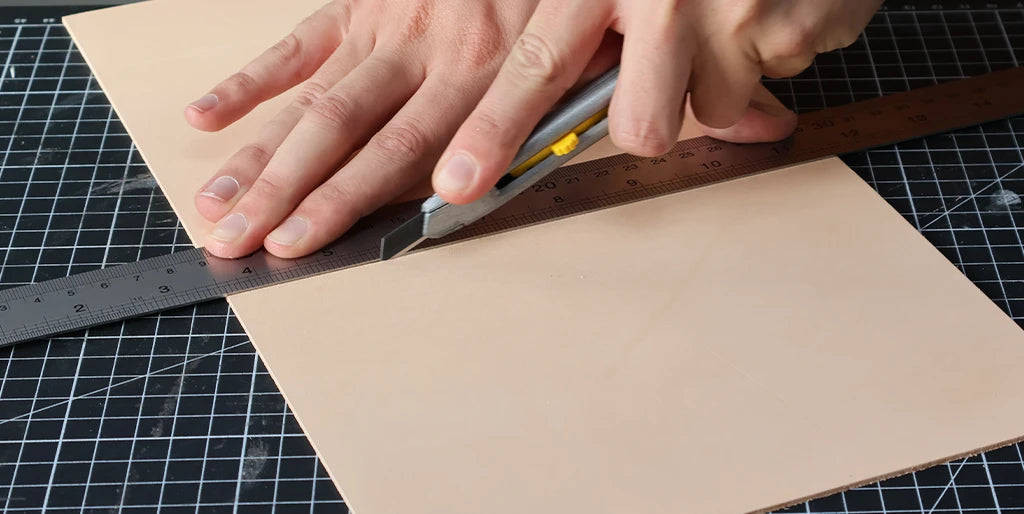
    1. Cut the leather

    Trace the pattern pieces onto the vegetable-tanned leather.

    reporter leather boss

    Cut out the pieces using a cutter and a ruler.
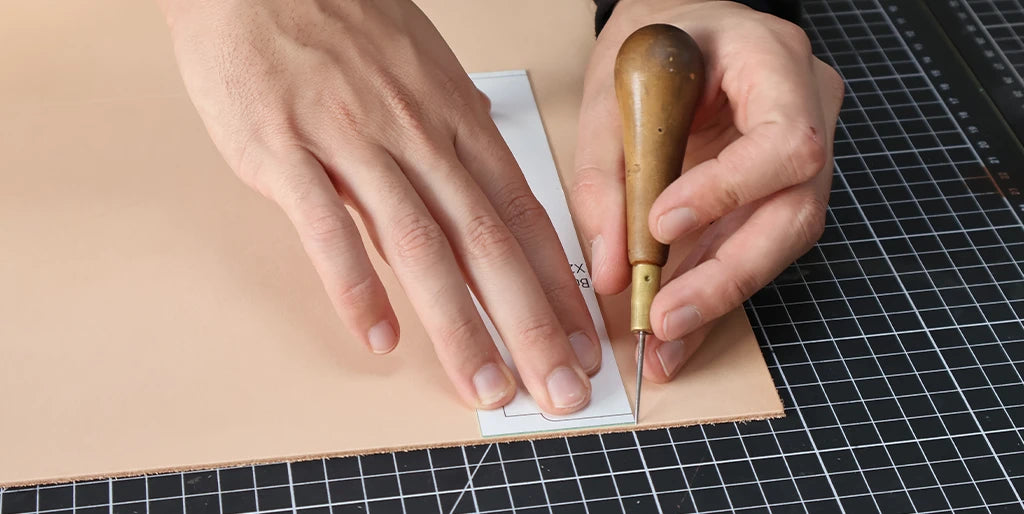
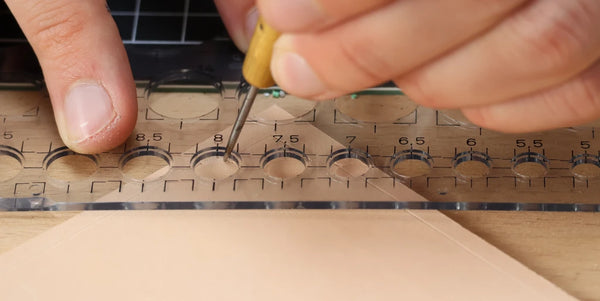
    Cut the leather

    2. Draw the frame

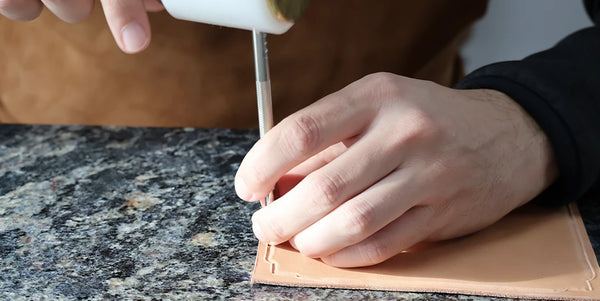
    Using a round awl, mark the pattern references (in pink) for embossing the frames of the different pieces.

    Draw the frame

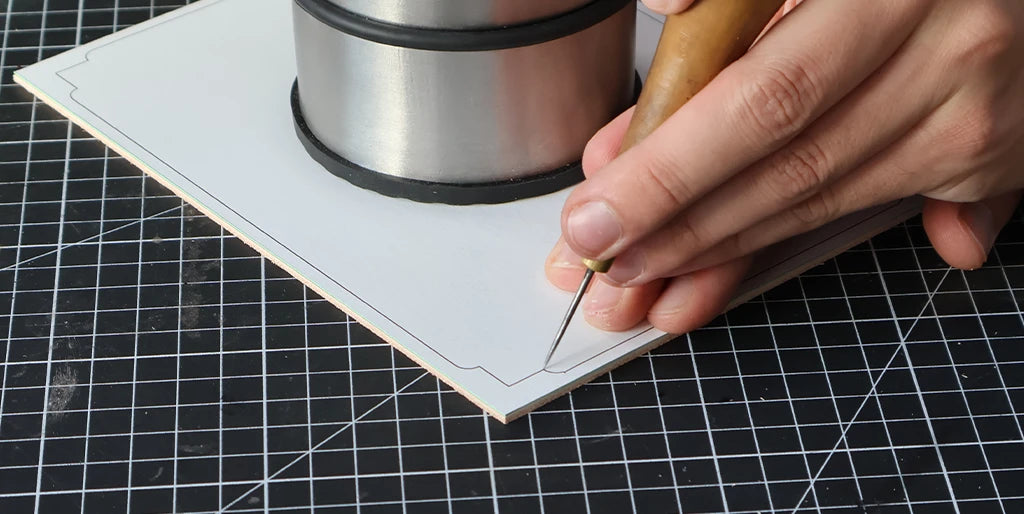
    Trace the outline of the frames with a dry-point compass, following the markings.

    Draw the frame

    Draw the angles and then connect them with an 8mm circle tracer to form rounded corners.

    Draw the frame
    Draw the frame

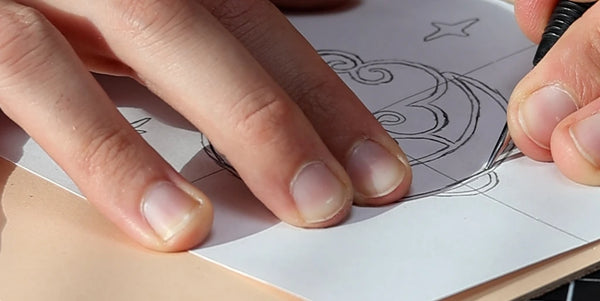
    3. Transfer the pattern

    Print the design of your choice or the one provided by Deco Cuir. Tape it to the leather using masking tape. Using a modeling tool, trace over the lines of the design to transfer it onto the leather.

    Transfer the pattern
    Transfer the pattern

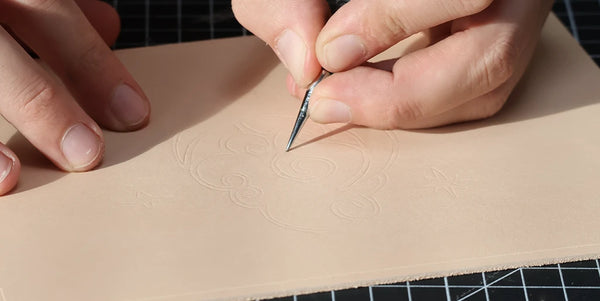
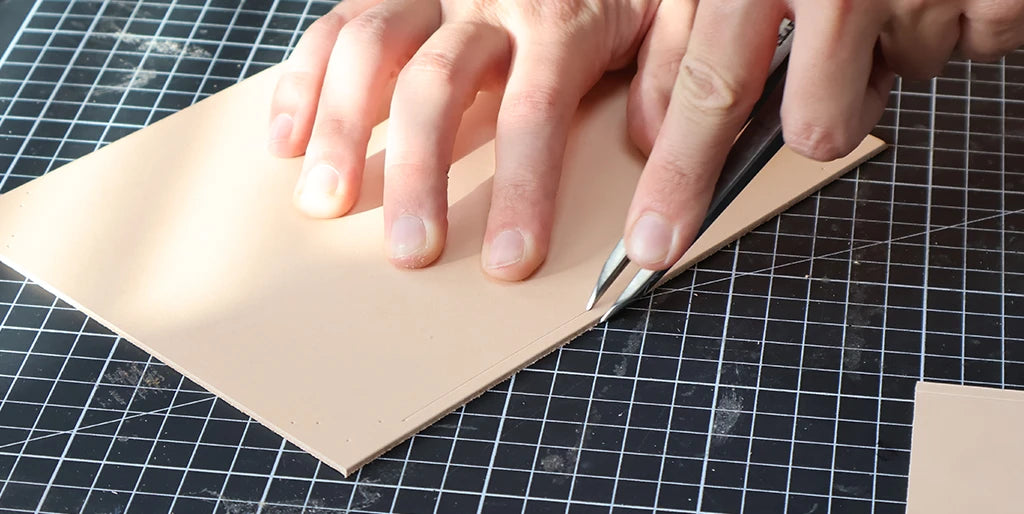
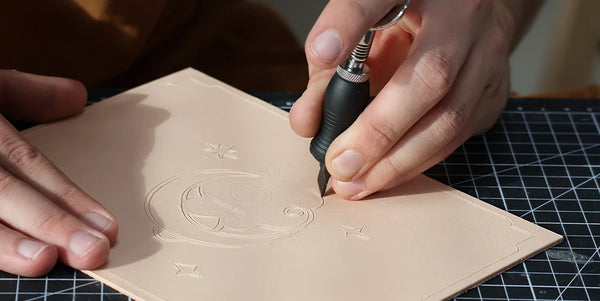
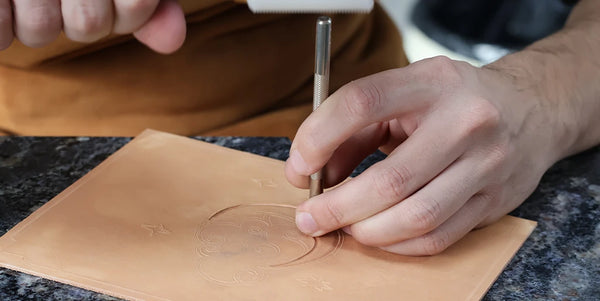
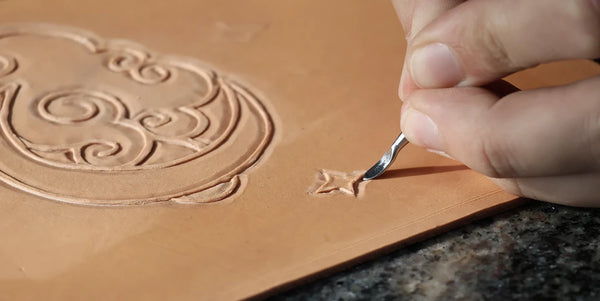
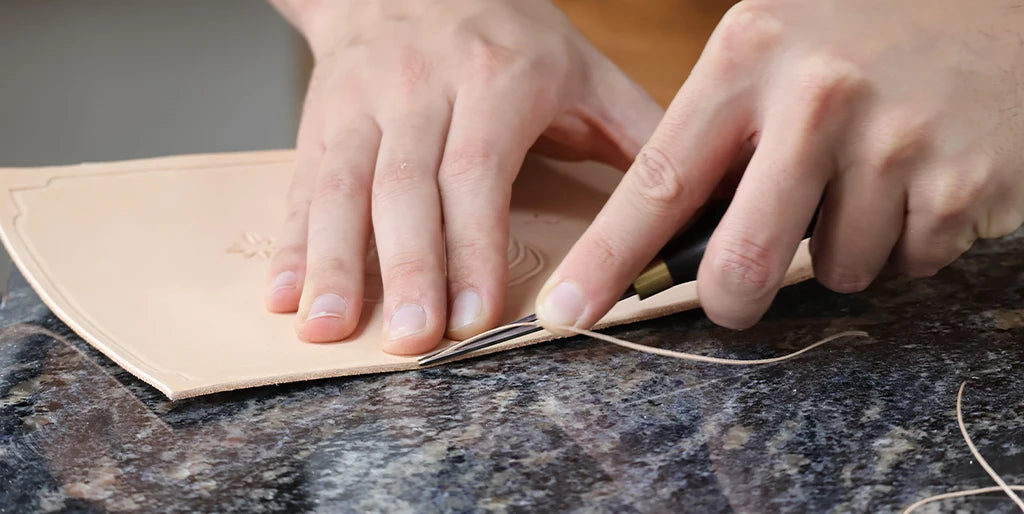
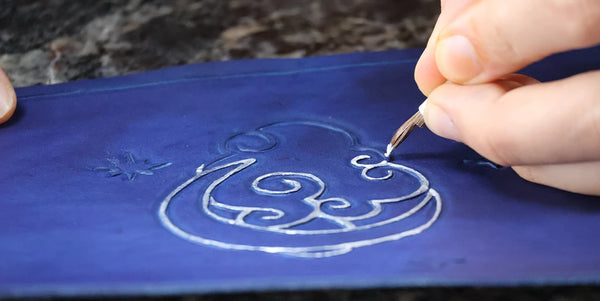
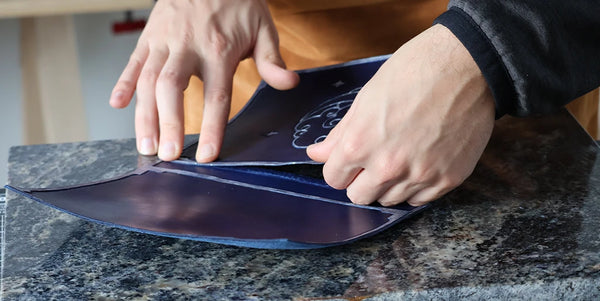
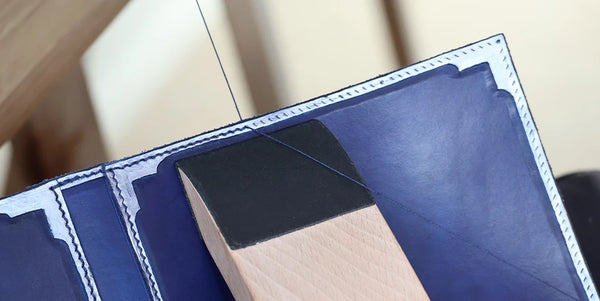
    4. Push back the pattern

    Trace all the lines of the drawing and the frames with a swivel knife.

    Push back the pattern
    Push back the pattern
    Push back the pattern

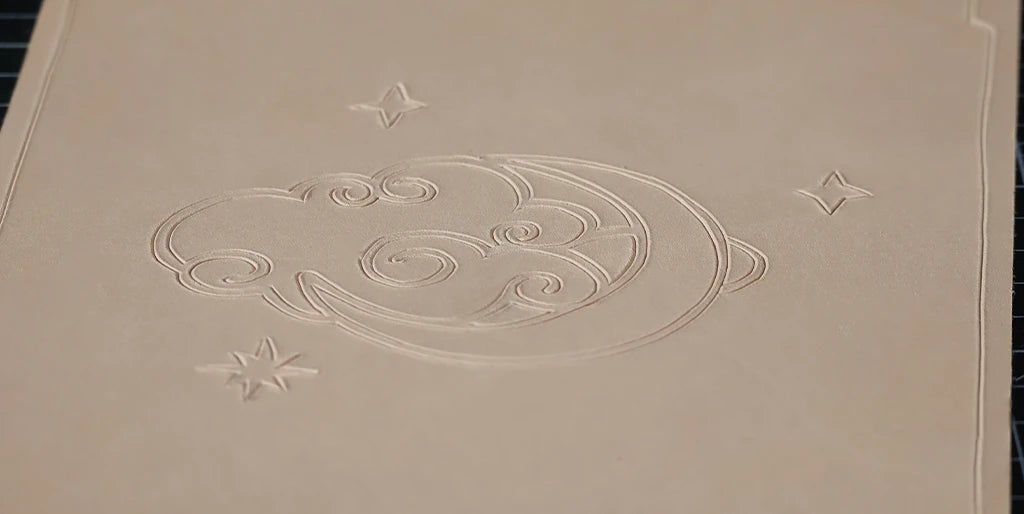
    Moisten the leather with a mixture of one part Easy Carve to ten parts water.

    Push back the pattern

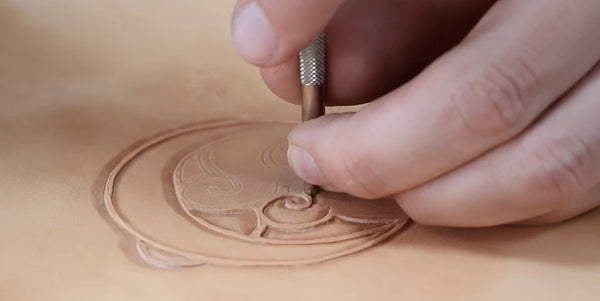
    Push back the pattern and the frames. Use three smooth bevelers of different sizes:

    • Use the largest size for large areas (e.g., the moon).
    • Use the smallest ones for the details.

    easy-carve-protection-teinture-cuir-2621-02-gp.jpgPreparation of leather for modeling - Eco-Flo Easy Carve concentrate - 236ml
    Pack économique
    PACK-133-3matoirs-tandyleather-1.jpgTA537-PACK-133-Lot-de-3-matoirs-Bevelers-lisse-pour-repoussage-B197-B203-B935-3-.jpg
    Sale price20,80 €-10% Regular price23,10 €
    • Title : Default Title
    TL-8002-01-Couteau-a-ouvrir-pivotant-ajustable-Swivel-TANDY-1-.jpgTL-8002-01-Couteau-a-ouvrir-pivotant-ajustable-Swivel-TANDY-2-.jpg
    Sale price14,93 €
    • Title : Default Title
    Modeleur 8039_01 - 3x600.jpgFine modeler - Double small spoons - Ivan 8039-01
    Sale price13,00 €
    • Title : Default Title

    Push back the pattern
    Push back the pattern
    Push back the pattern
    Push back the pattern

    Use a spoon to smooth out the lines of the pattern.
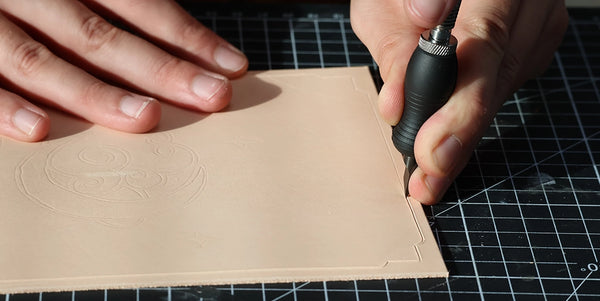
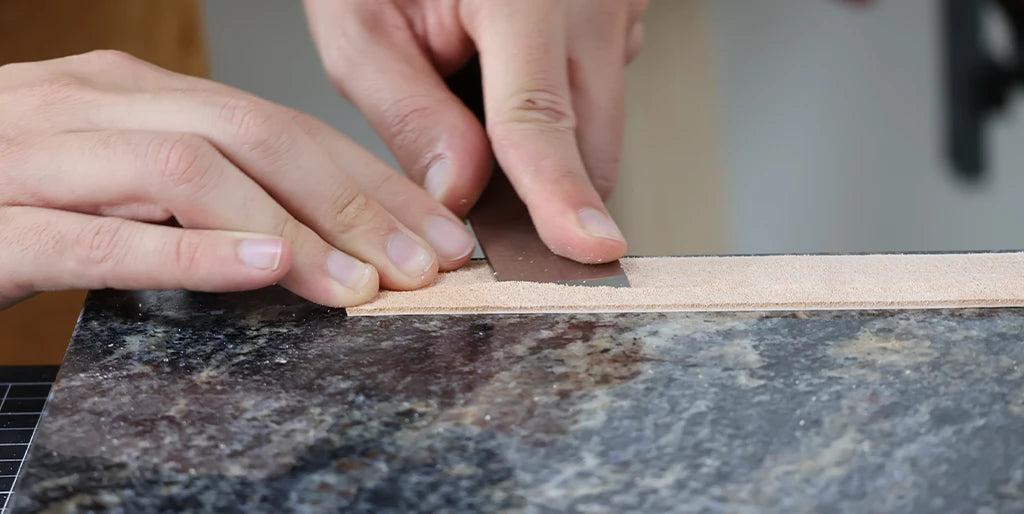
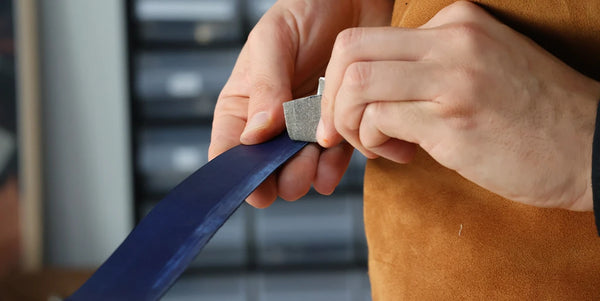
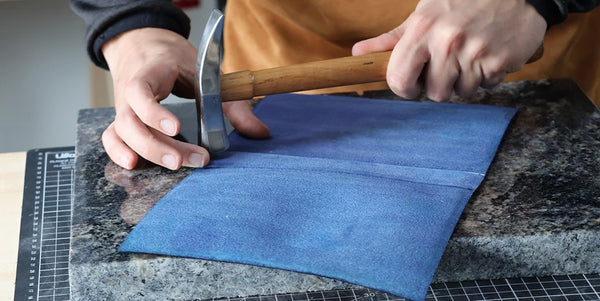
    Push back the pattern
    Push back the pattern

    5. Trim the edges

    Trim the two lengths of P3, then one length of P1(a) and one length of P1(b). Trim to approximately 1 cm.

    Trim the edges

    6. Bevel the slices

    Bevel all the edges of the pieces.

    Cut the slices

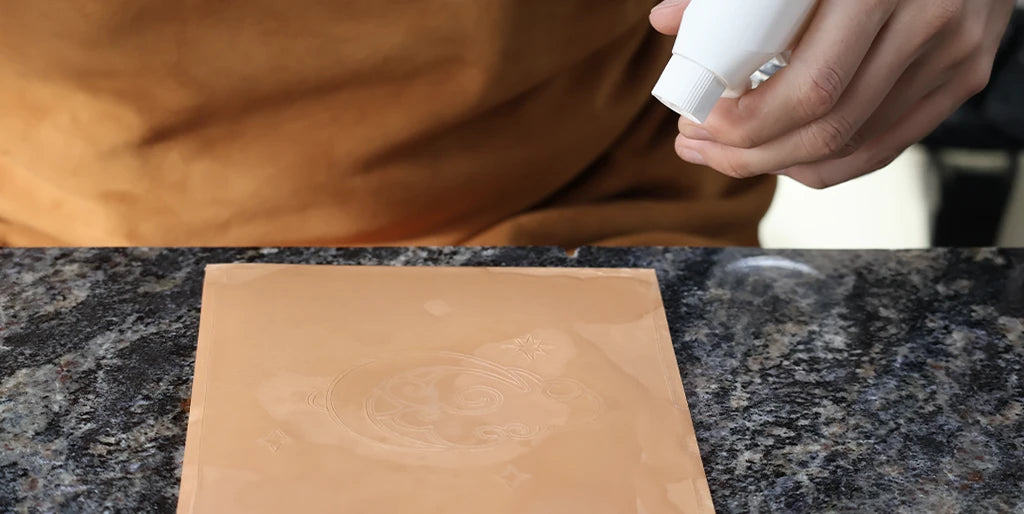
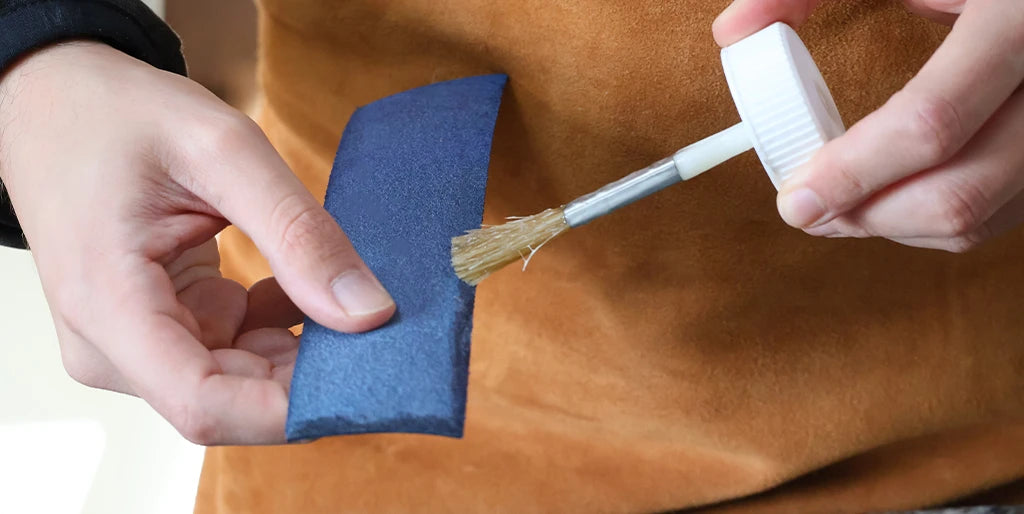
    7. Dyeing the leather

    Using a slightly damp sponge, apply the dye in circular motions. Apply several coats if necessary and allow to dry.
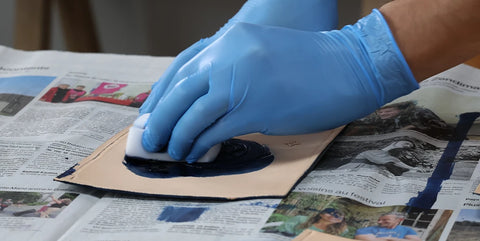
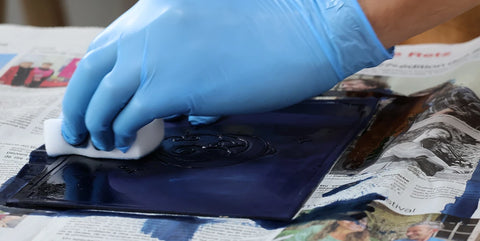
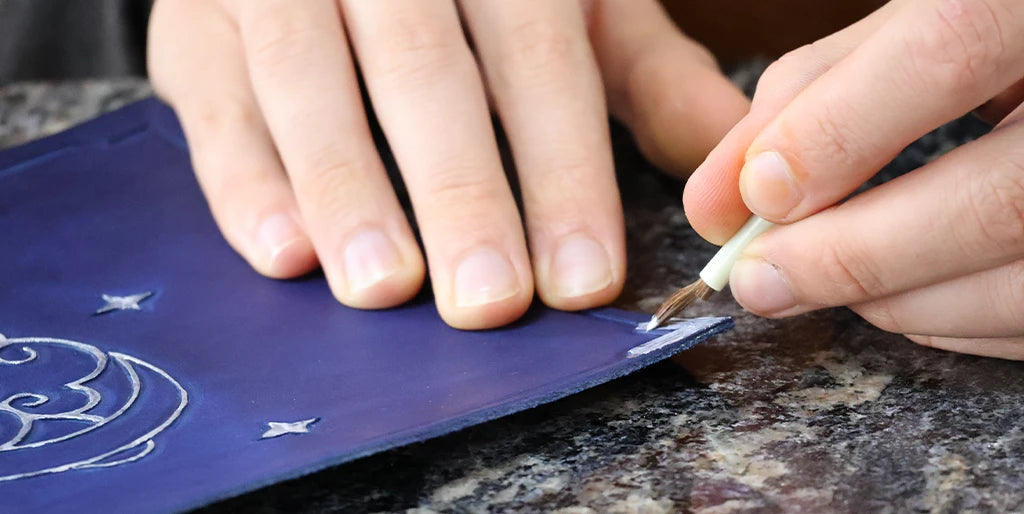
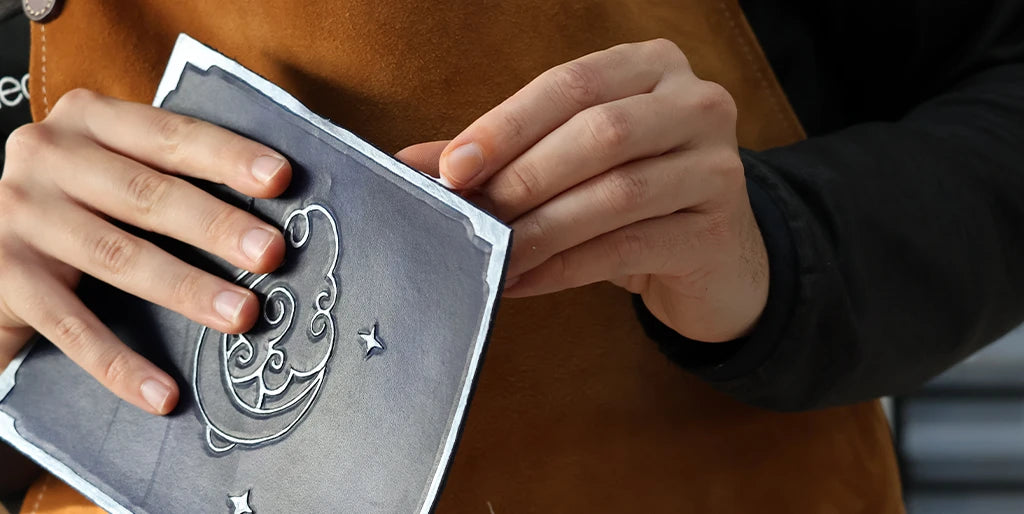
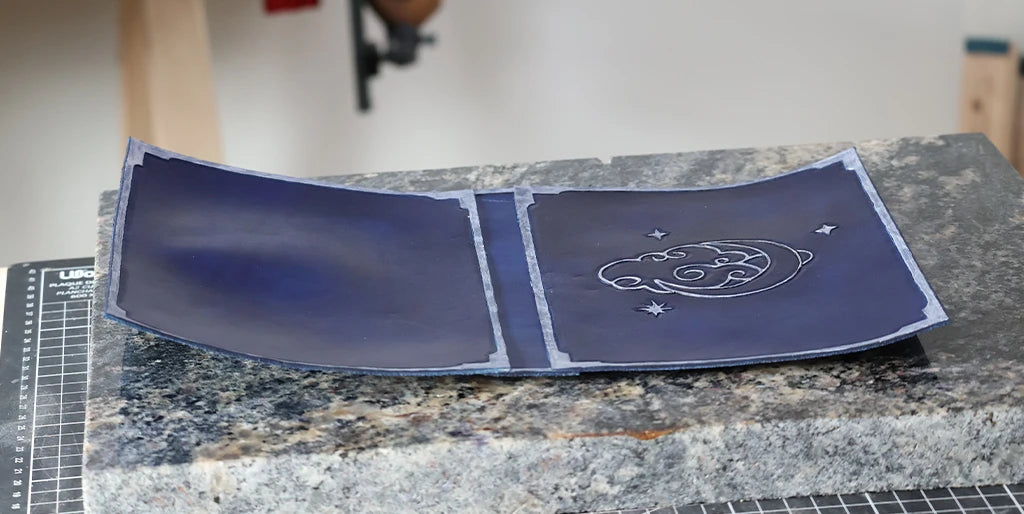
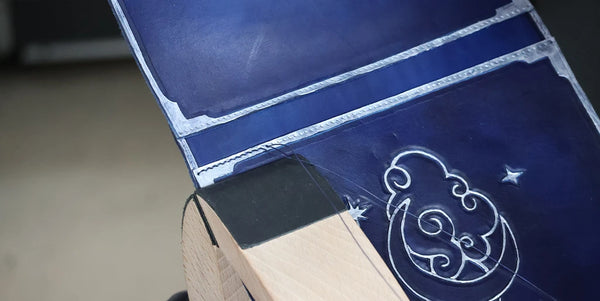
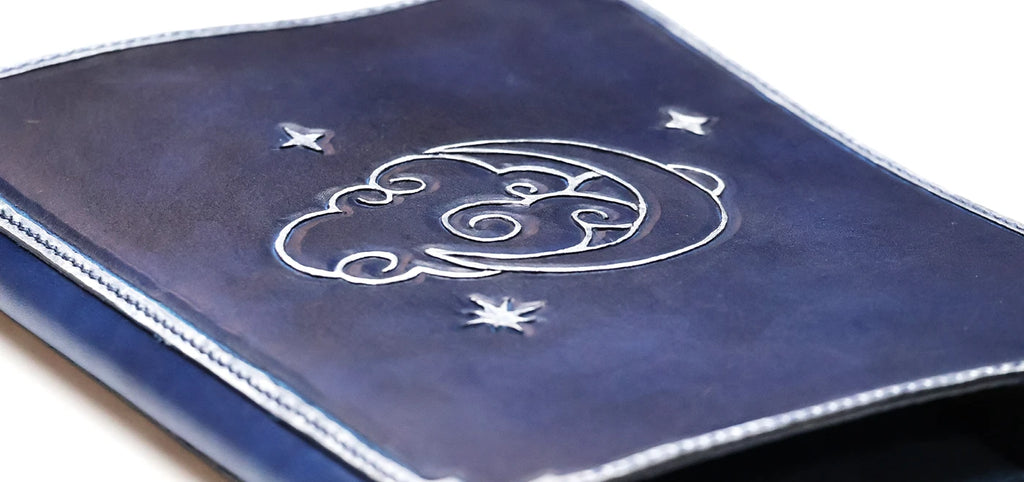
    GUIDE TO LEATHER DYEING >

    Dyeing leather
    Dyeing leather

    8. Apply the paint

    Using a fine brush, apply leather paint (here Setacolor Metal Silver 31) to the lines of the design to give it more relief.

    Apply the paint
    Apply the paint
    Apply the paint

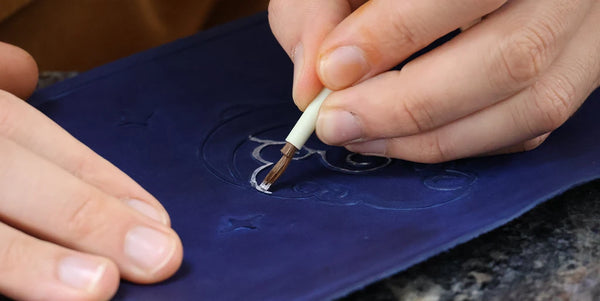
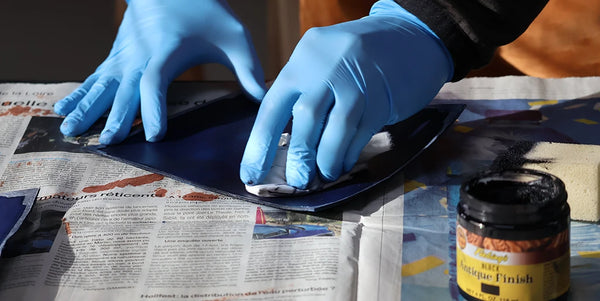
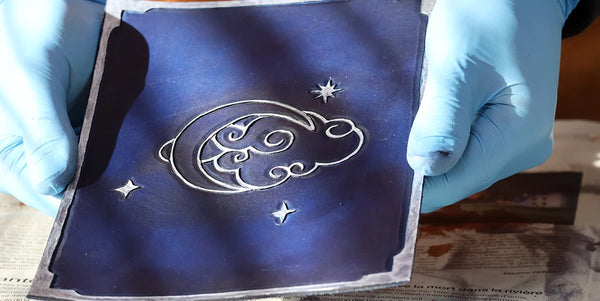
    9. Apply antique gel

    Using a clean cloth, apply Antique finish in circular motions.

    Apply antique gel
    Apply antique gel

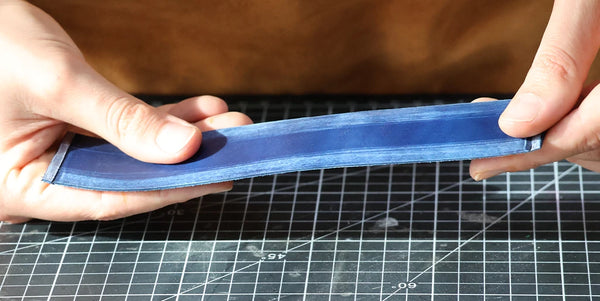
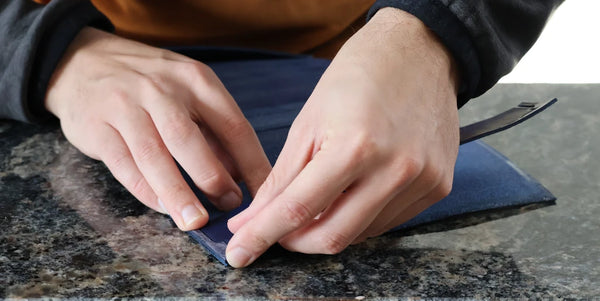
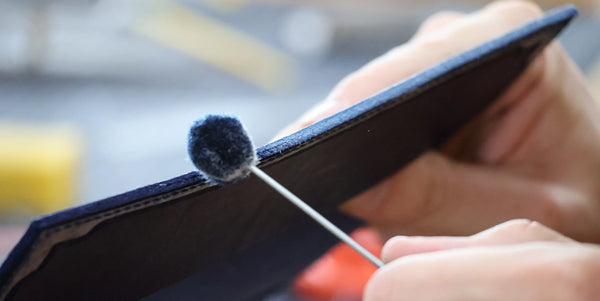
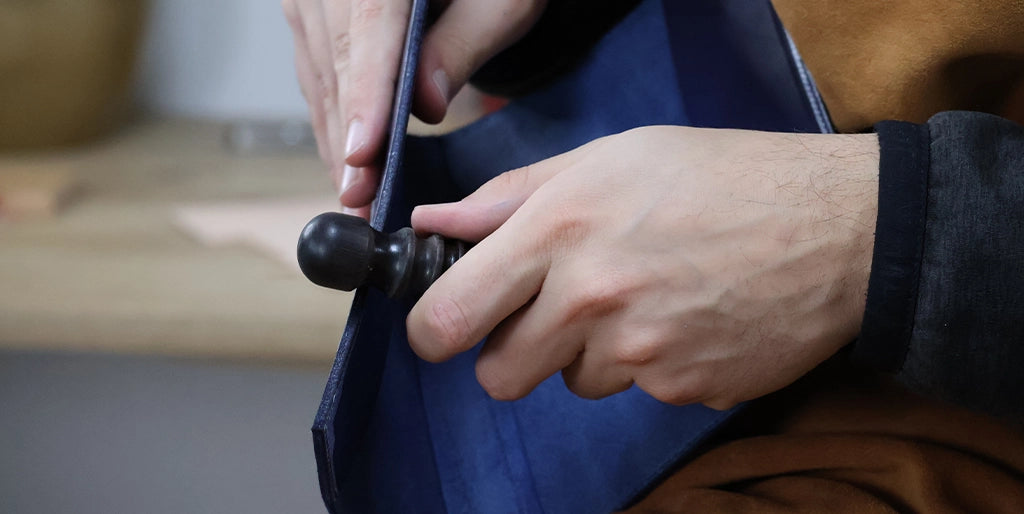
    10. Working with the trimmed slices

    Work the trimmed edges of pieces P1 and P3 with Tokonole.

    Work the trimmed slices

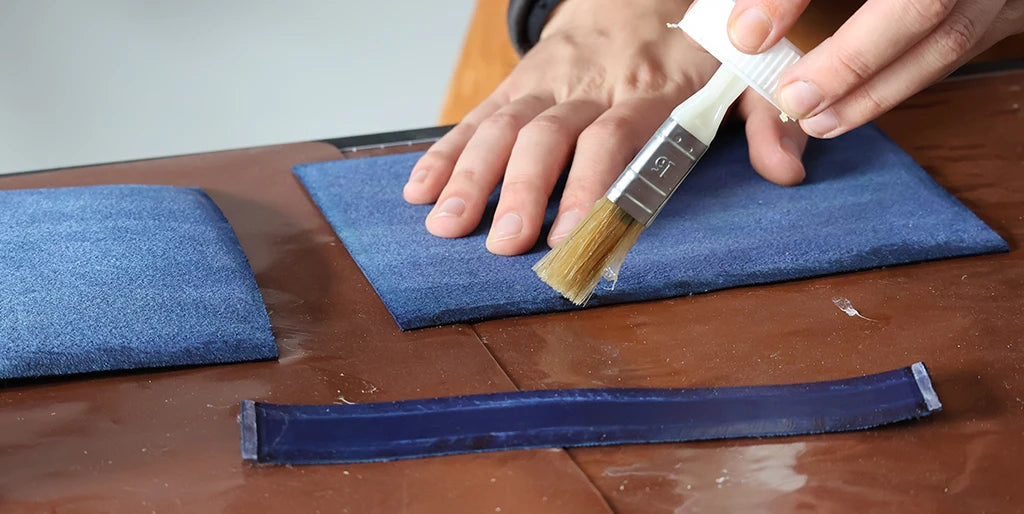
    11. Glue the binding

    Sand the grain of the leather on piece P3, to a depth of 7 mm on both lengths.

    Glue the binding
    Glue the binding

    Apply contact adhesive to these same lengths for 10 mm. Also apply the adhesive to the reverse side of P1(a) and P1(b) on the trimmed areas.

    Glue the binding

    Glue pieces P1 onto piece P3 and flatten the glued area.
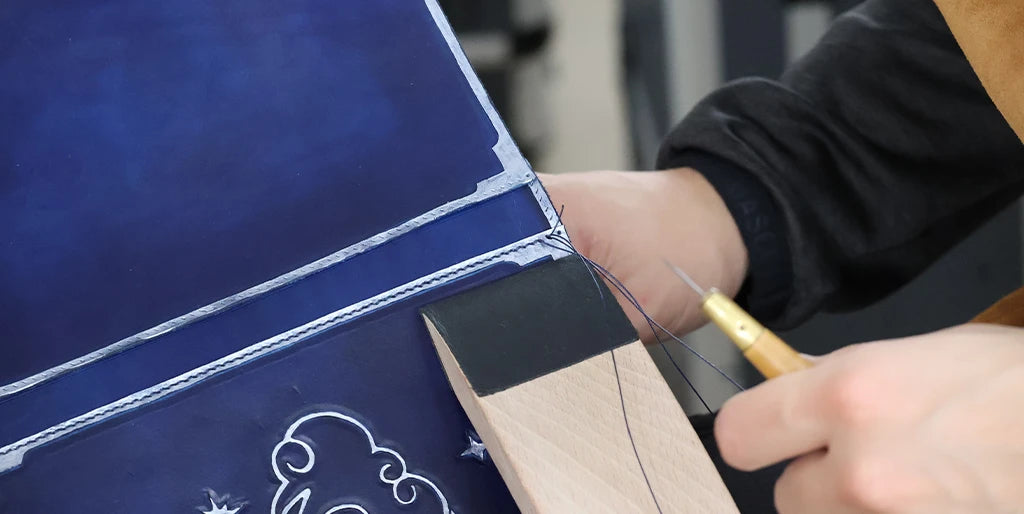
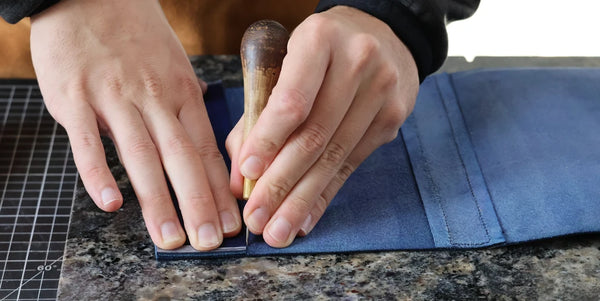
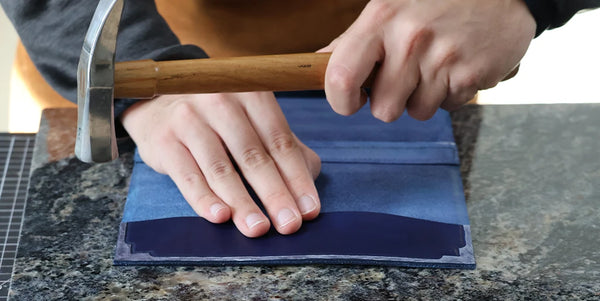
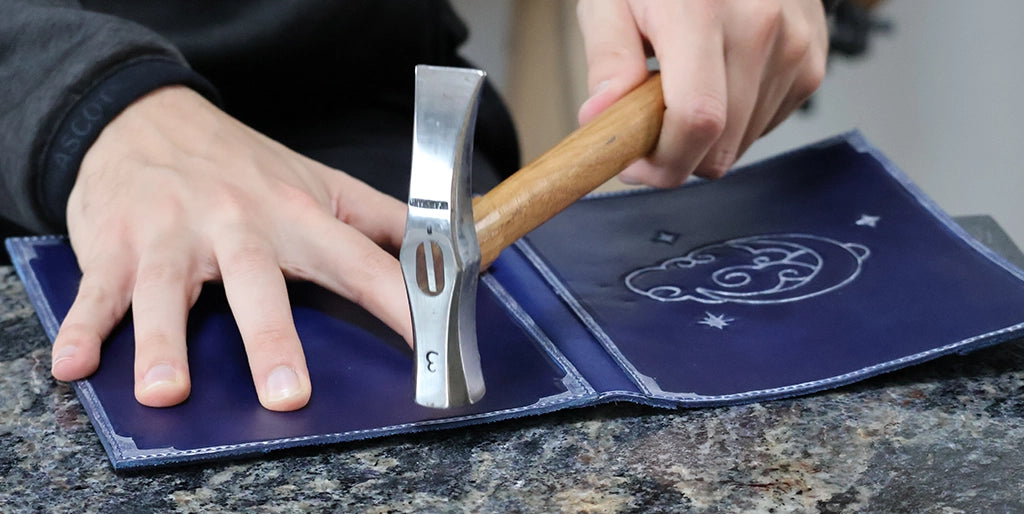
    Glue the binding
    Glue the binding
    Glue the binding

    12. Sew the binding

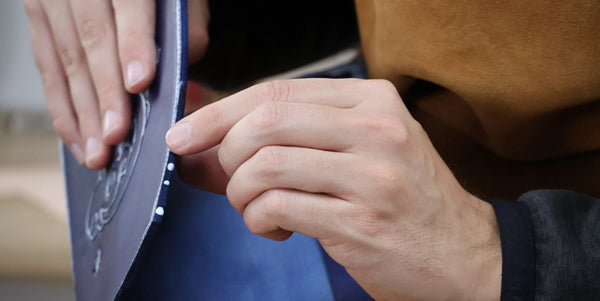
    Mark the stitching points with a hammer and nail set:

    • 3 mm from the ends of P1
    • 3 mm from the edges of P3
    Sew the binding

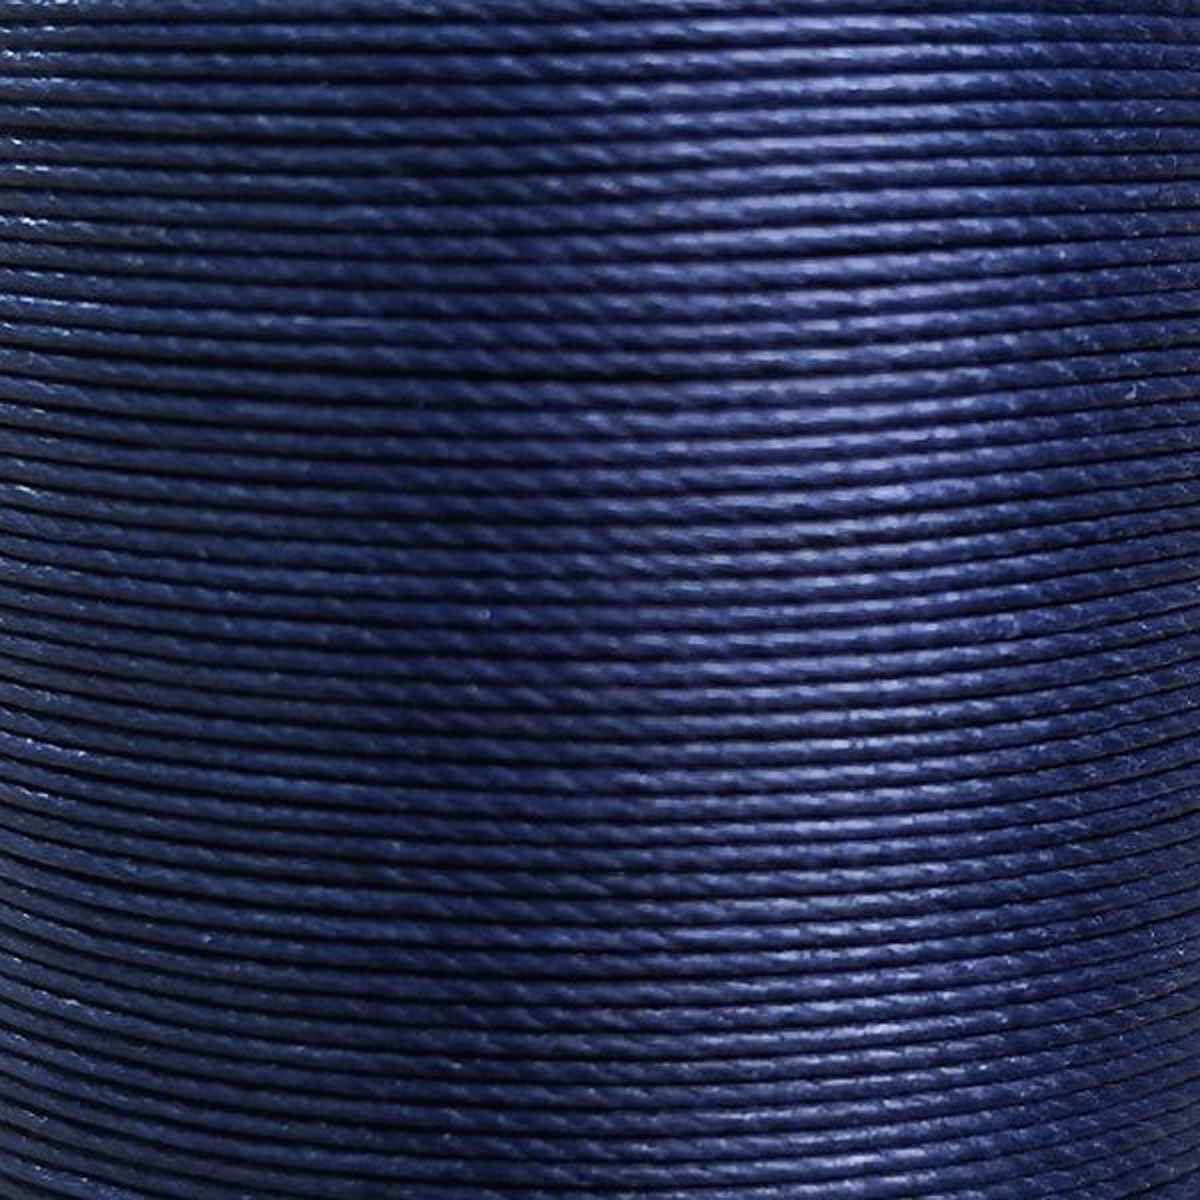
    Take a large bundle of thread, wax the thread and sew using the saddle stitch.

    SADDLE STITCH GUIDE >

    Sew the binding
    Sew the binding
    Sew the binding

    13. Working on the bellows

    Mark the position of P2 on the reverse side of P1 and apply glue to the reverse side of P1, for 5 mm in the places where the P2 pieces will be glued. Also apply glue to the three sides of P2 that will be sewn (reverse side of the leather, for 5 mm) .

    Working with the bellows
    Working with the bellows
    Working with the bellows

    Glue the bellows P2 onto P1 and flatten the glued area.

    Working with the bellows
    Working with the bellows

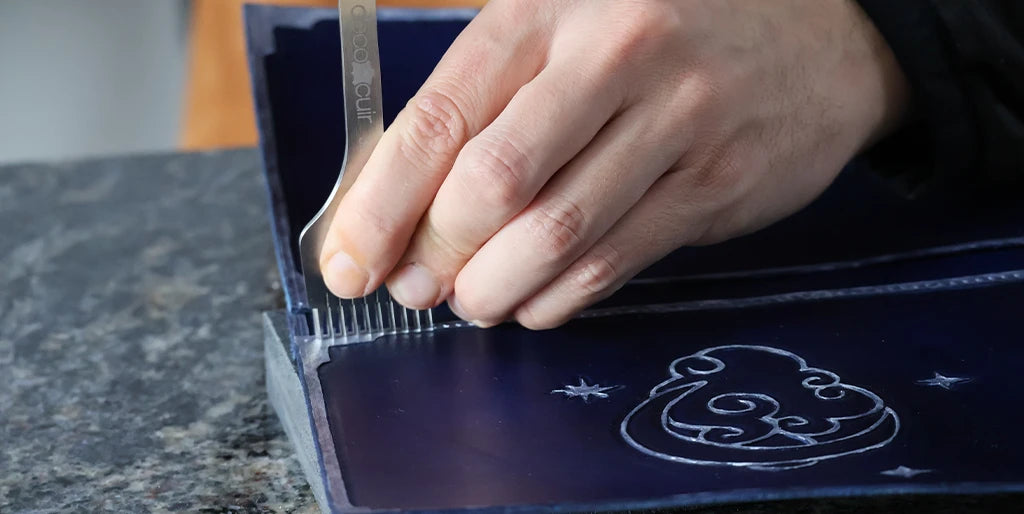
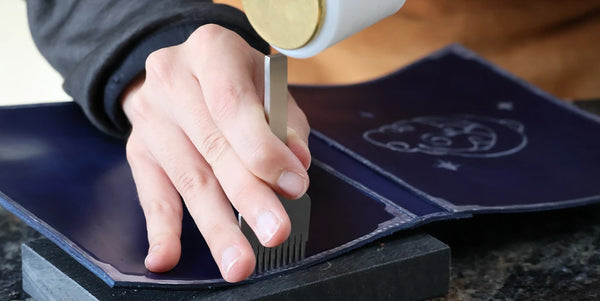
    14. Sew the notebook cover

    Using the awls, mark the stitching points all around the pieces. Sew with a saddle stitch all around the notebook cover.

    Sew the notebook cover
    Sew the notebook cover
    Sew the notebook cover

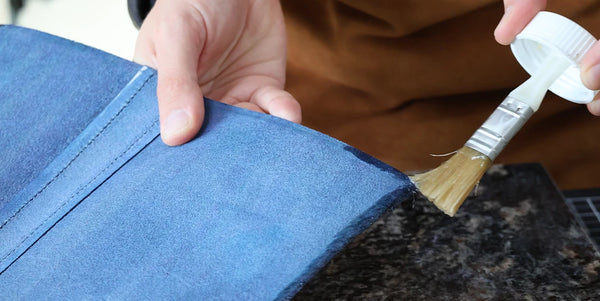
    15. Working the slices

    Sand the slices with an abrasive sponge.

    Work the slices

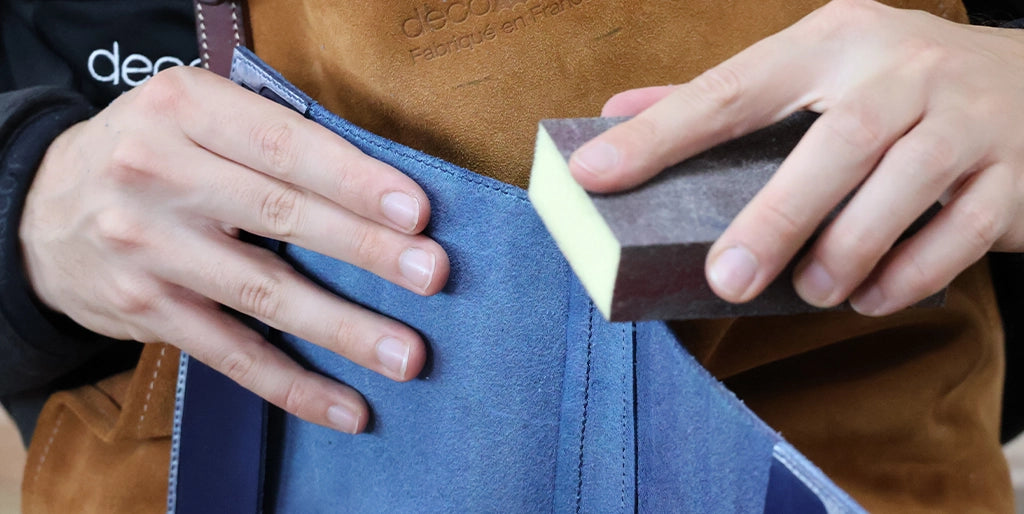
    If necessary, reapply Fiebing's dye to the edge of the leather. Then, apply Tokonole.
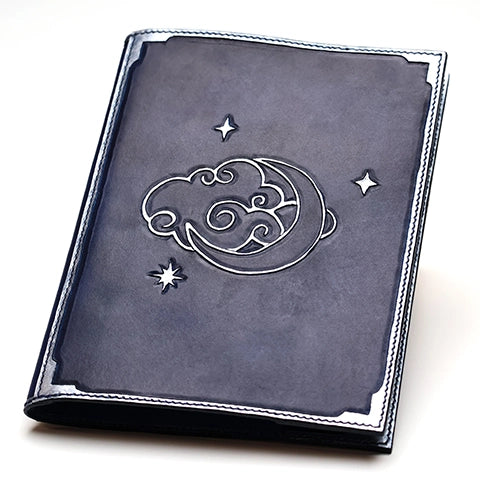
    Work the slices
    Work the slices
    Work the slices

    You're finished!

    Embossed leather notebook cover
    Leather embossed notebook photo cover, Leather Decor
    Leather embossed notebook photo cover, Leather Decor

    Your achievements
    Do not hesitate to send us photos

    Leave a comment

    All comments are moderated before being published