


THE NECESSARY EQUIPMENT
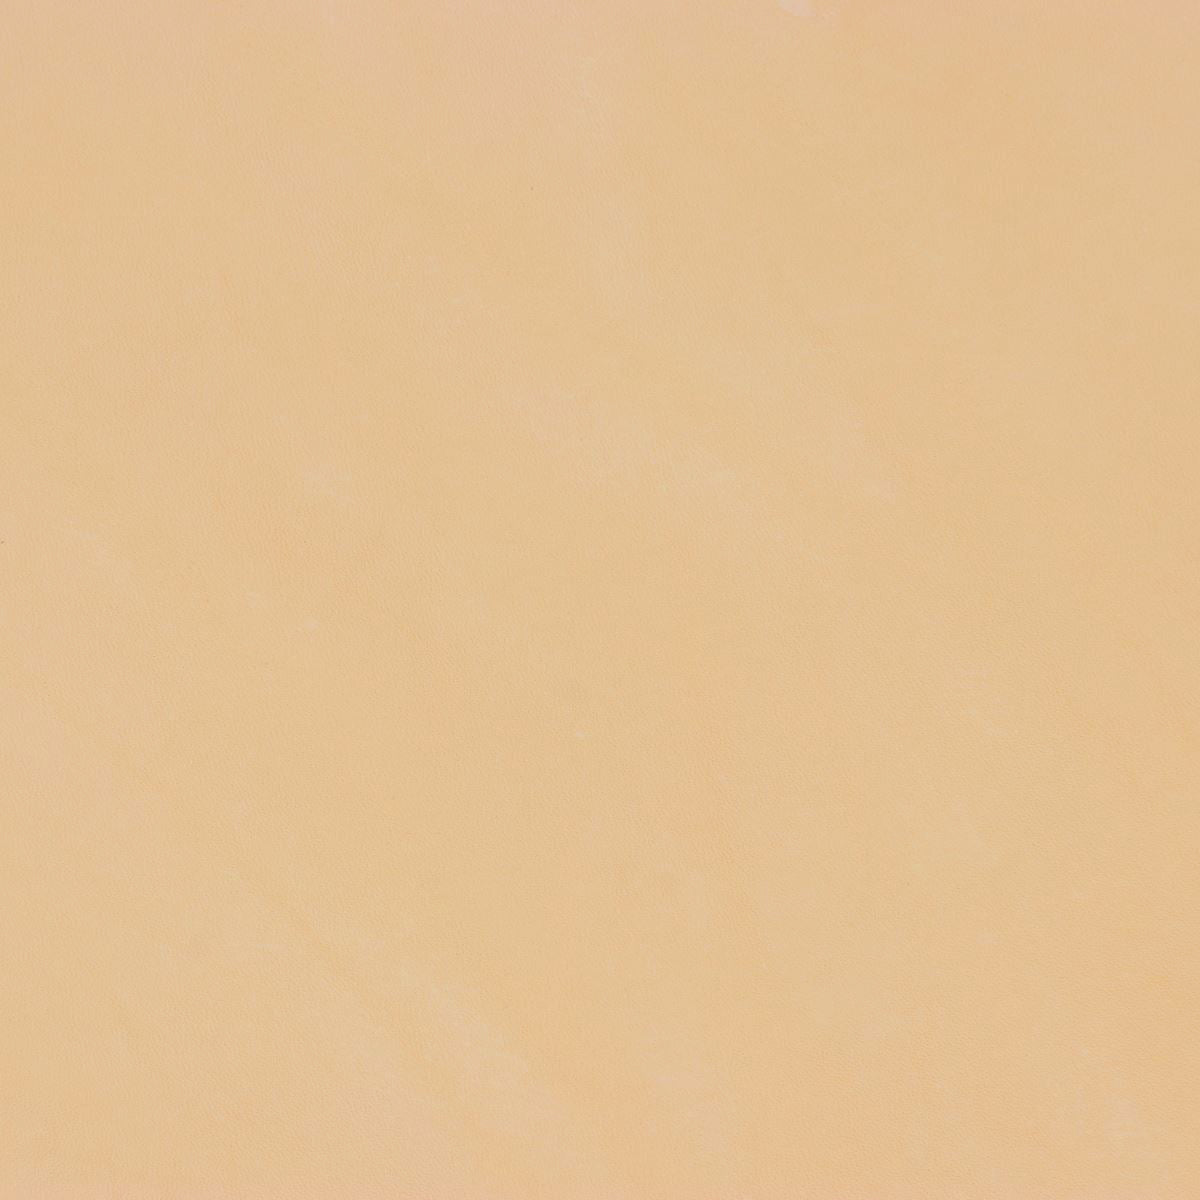
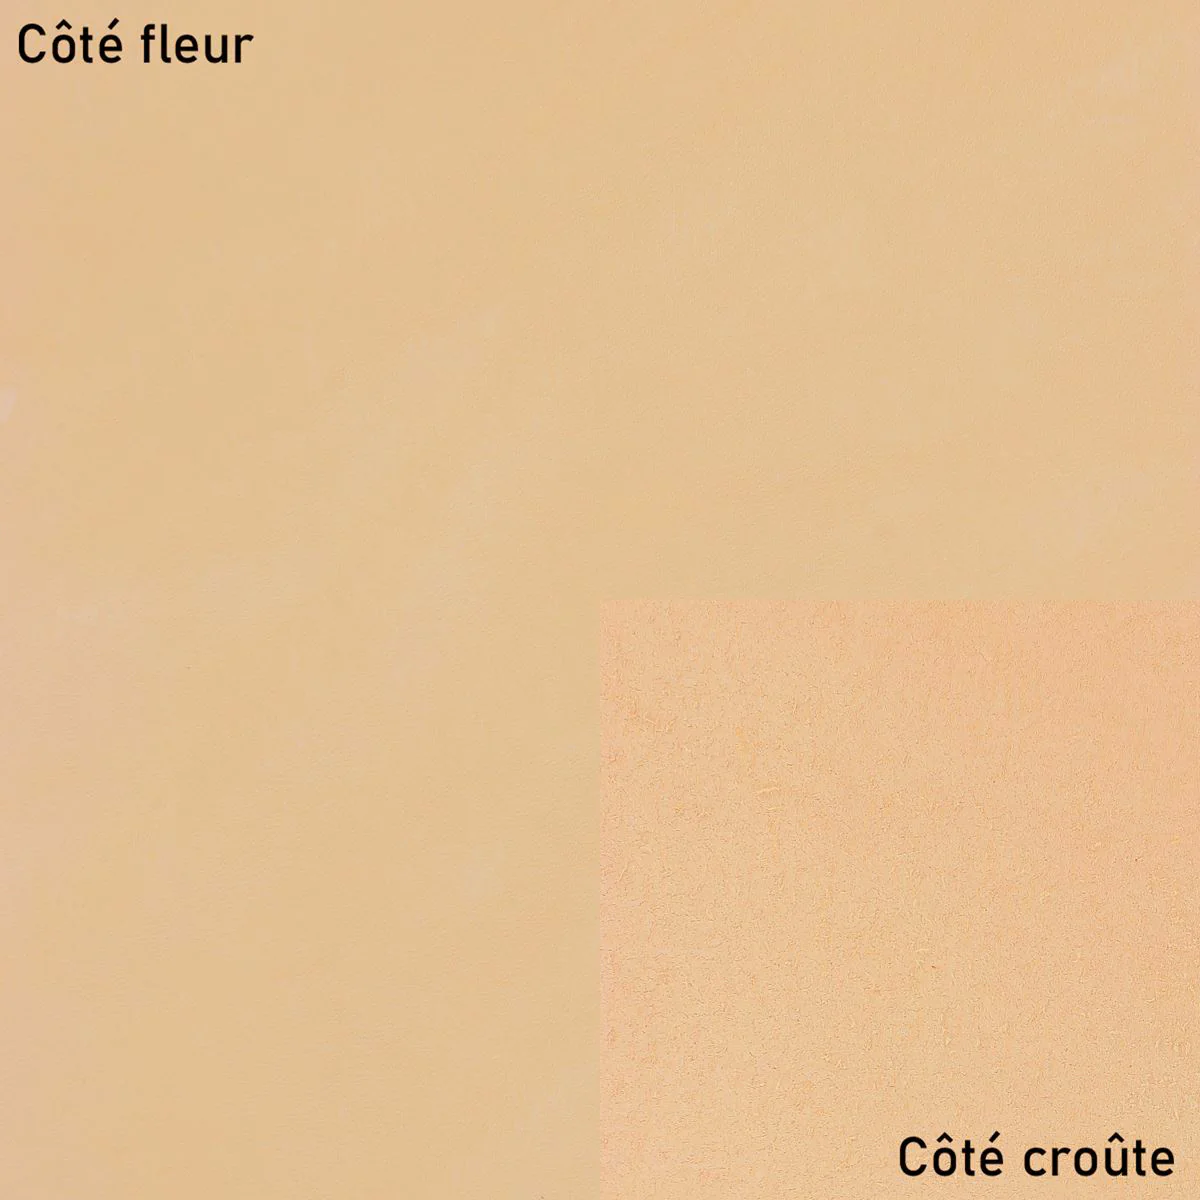
- 1 piece of vegetable-tanned leather measuring 20x30 cm - Thickness ≈ 1.8 mm. For this tutorial, we have selected leather from the Pykara range by the Radermecker tannery (available on our website) .
- 1 VELVET suede pigskin split hide - 0.30 m2.
- 4 rectangular magnets, 2x1 cm.
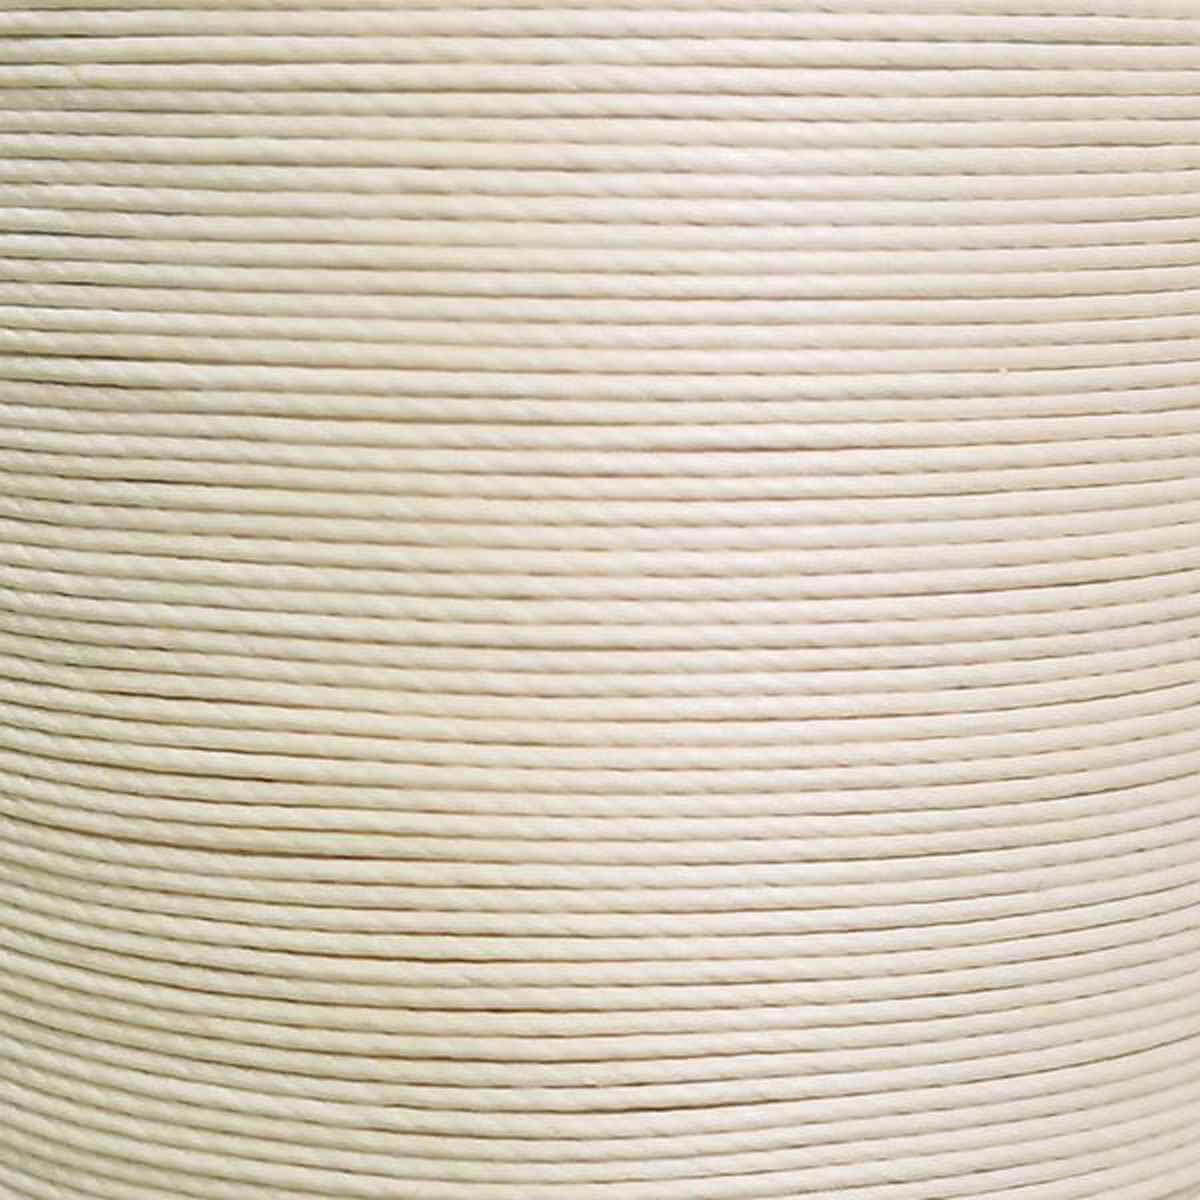
- Linen thread ⌀ 0.45 mm (saddle stitch) or polyester thread (machine stitch).
- An edge finish or a finishing gum.
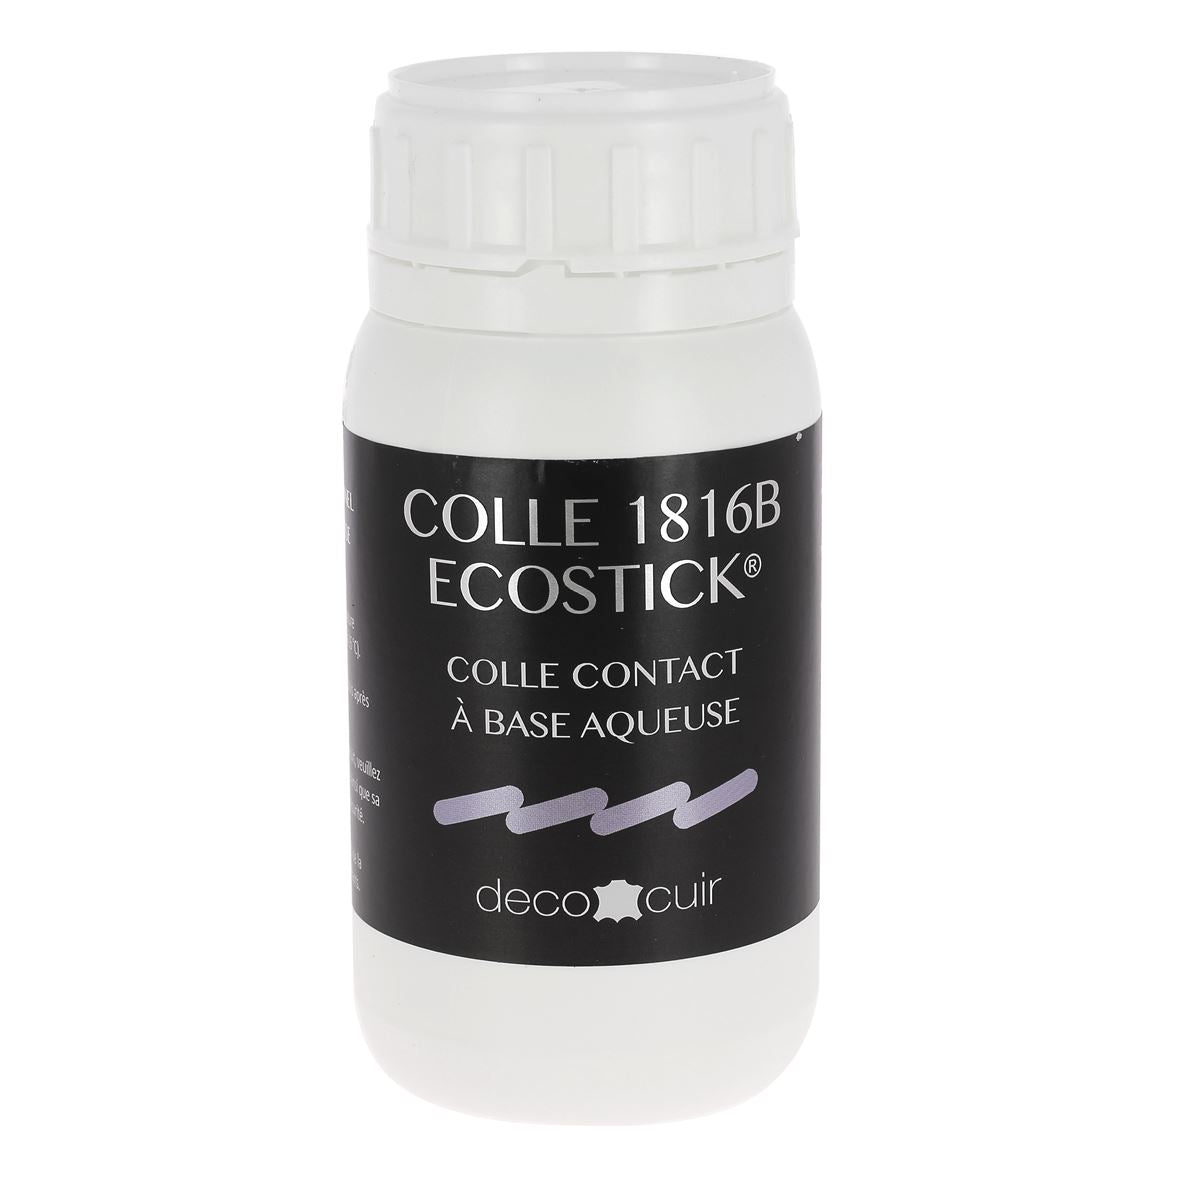
- Leather glue.

HOW TO SEW A BAG WITH A MEXICAN ASSEMBLY?
We recommend using a cylinder arm sewing machine to assemble this product. It is possible to sew it with a standard machine, but you will need to accentuate the corners to allow the presser foot to pass through properly.
In this tutorial we show you how to sew the mini bag with a saddle stitch.
SEE THE SADDLE STITCH SEWING GUIDE >
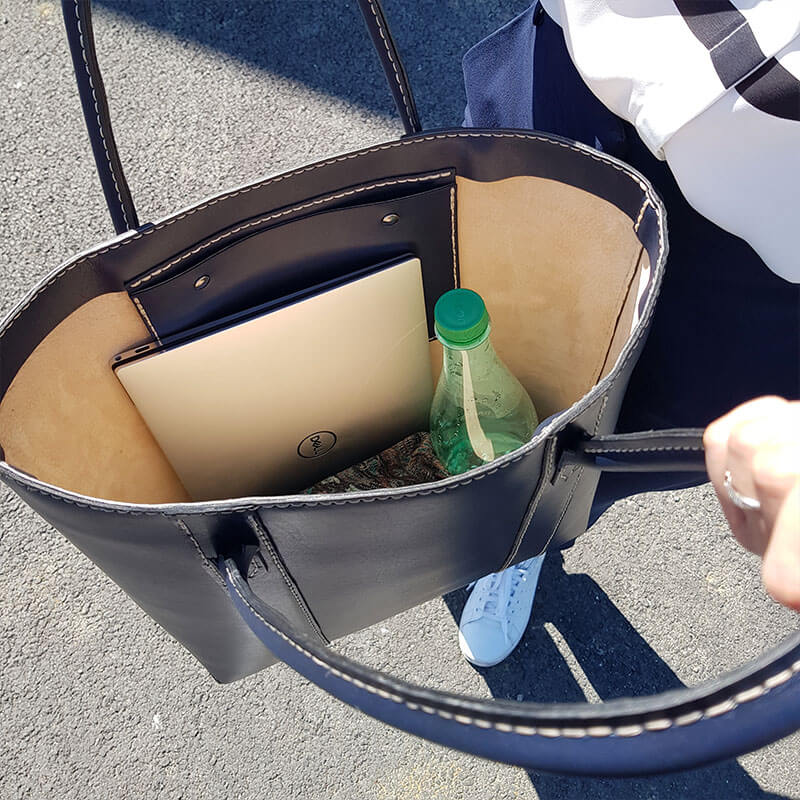
This unique construction method offers a remarkable shape for a bag or pouch. With this method, the bag's base will not be subject to friction. However, it can be weak at the corner joints. For this reason, we do not recommend it for items designed to bear heavy loads, such as a leather satchel. In such cases, it is preferable to opt for a more robust construction, such as the Cavour, made from a single piece of leather.

HOW TO SEW ENCHAPS AND ATTACH A STRAP?

Because the gusset can be weakened at the corner seams, we advise against sewing reinforcements to the sides, especially for large bags that may carry weight. If you wish to add a strap, it is best to attach the reinforcements to the back of the bag, at the back of the flap.

TUTORIAL VIDEO
1. PRINT THE PATTERN OR MAKE YOUR OWN PATTERN
The Mexican gusset is a type of construction commonly used in leather goods, particularly for bags and pouches. It consists of three pieces : two sides and a base, joined with two seams. Once assembled, the gusset can be attached to the body of the bag or pouch. The free pattern can be enlarged to create a larger version of the design. Download it at the top of the blog page.

How to draft a pattern for a bag or pouch using a Mexican construction?
- The "Back and flap" piece is equal to 2x times the height of the front piece + add a few centimeters depending on the desired flap length and gusset width (in our example we added 1 cm) .
- The "Front" piece is half as tall - 0.5 cm shorter than the "Back and flap" piece.
- The "Sides of the bellows" pieces are the same height as the "Front" piece. The two feet correspond to the desired opening at the corners. Generally, the foot measures 1 x 1 cm or 1.5 x 1.5 cm. If you want a rounded corner (as on our pattern), it is similar to that of the "Back and flap" and "Front" pieces.
- The width between the two feet corresponds to the final width of the bellows.
- The "Bottom of the bellows" piece has a length equal to the "Back and flap" and "Front" pieces, minus the width of the feet (here 2 cm = 2 x 1 cm) . The width is equal to the total width of the "Sides of the bellows" pieces.
Trace the pattern pieces onto the vegetable-tanned leather.

2. CUT THE PIECES FROM THE LEATHER
Place the templates on the leather and cut out the 5 pieces using the tool of your choice (cutter, paring knife, half-moon knife...) .

Be careful with rounded cuts. Cut in several stages if necessary.

3. OPTION: MAKE A DECORATIVE NET
Make a decorative fillet on vegetable tanned leather about 1.5 mm from the edge hot (filler) or cold (dry point compass, leather fillet iron or forming tool).
It is not necessary to make a net over the widths of the bellows (in places where there will be no sewing).

Then bevel the edges.
SEE THE GUIDE ON THE BLAZEBOARD >

4. PREPARE THE BELLOWS
Trim the bellows pieces to about 8 mm to achieve a final thickness of approximately 1.2 mm. Make a trimming mark (8 mm from the edge) using a compass with a dry point or a ruler and awl. Do not trim the widths except for the one between the feet on the "Side" pieces.
SEE THE GUIDE ON LEATHER SKINNING >

5. Glue the magnets
Glue the four magnets (using neoprene glue or superglue) to the designated positions on the template. Test their magnetism to ensure correct final positioning (a red mark is normally visible on one face of our magnets; glue the magnets with this red mark visible for all 4 magnets) .

6. Glue the pig lining
Apply contact adhesive to the back of the 5 pieces and to the back of the lining (pigskin leather) . Glue the pieces to the lining. Smooth them down and shape them around the magnets (using a smoothing tool) .

Trim the lining to even out the edges with a cutter or rotary cutter.

7. TRIM THE EDGES AGAIN
Thin the edges of the bellows again after gluing the pigskin lining in place.

8. WORKING THE SLICES
Work the top edges of the two "Bellows Sides" pieces and the "Front" piece with a finishing eraser or edge finisher. Sand the edges thoroughly before applying the finish.

9. DRAW THE SEWING LINE
Draw the stitching line on the two "Gusseted Sides" pieces between the two feet (gusset width) 3 mm from the edge. Then mark the stitching points with a pricking iron (3.00 mm center-to-center spacing) .

10. ASSEMBLE THE BELLOWS
Apply a bead of glue between the 2 feet (width of the bellows) on one side of the bellows and also on one of the widths of the bottom of the bellows.
Glue the pieces together and sew using a saddle stitch (use half a bundle of M40 linen thread) . Then proceed in the same way for the other side of the pieces.

11. Glue the bellows onto the body
Draw the sewing line all around the "Back and flap" piece 3 mm from the edge.
Shape the bellows (see video) then apply contact adhesive to one side of the bellows as well as to the back of the "Back and Flap" piece. On the "Back and Flap" piece, start the bead of adhesive at the marked points.

Next, glue the bellows onto the "Back and flap" piece. Be careful to be precise when gluing.

12. MARK THE STITCHING POINTS AND SEW
Mark the stitching points with a tack and sew the "Back and flap" piece to the gusset using a saddle stitch.


13. Decorative Stitching - Front Piece
Sew the top length of the "Front" piece (decorative seam) .


14. ASSEMBLE THE FRONT PIECE WITH THE BELLOWS
Glue the "Front" piece to the bellows.


Mark the stitching points and sew. Start by making a backstitch before beginning the saddle stitch.


Quick tip: put a block of cork or a block of wax inside the mini bag so you can hold it in place with the saddler's clamp when sewing.

Pay attention to the seams at the corners when sewing. To avoid weakening them, either stitch within the gap or make a complete stitch at the seam.

15. WORKING THE SLICES
Sand the unworked edges and apply a finishing gum or 2 to 3 coats of edge finish.
GUIDE: HOW TO WORK WITH SLICES?


16. GREASING THE LEATHER
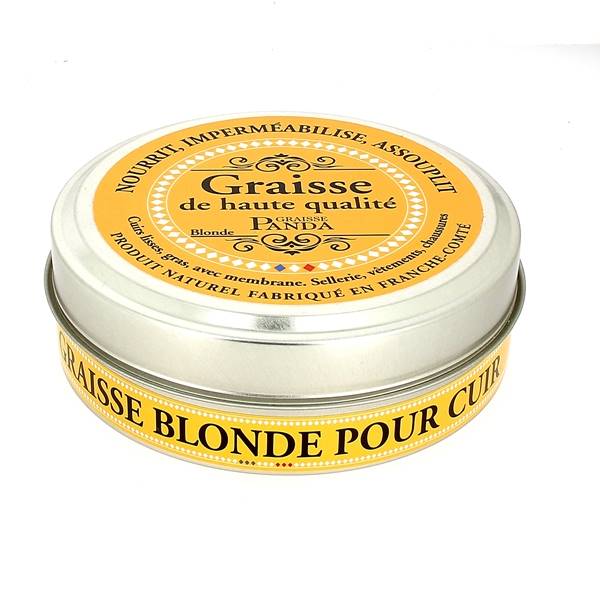
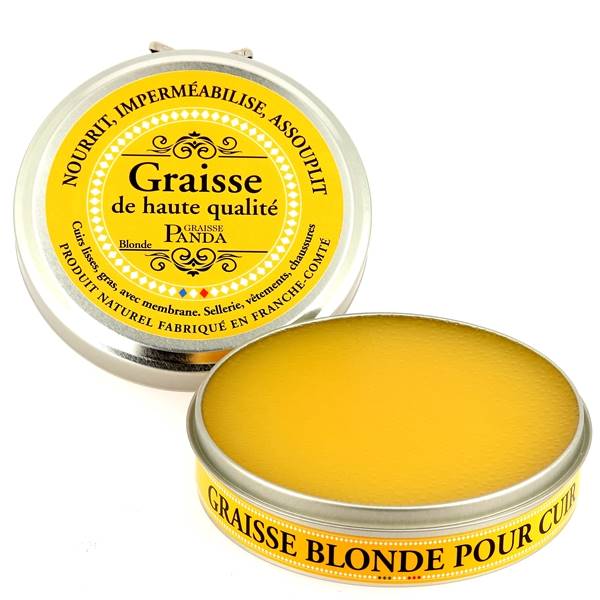
Nourish and protect the leather with PANDA grease.
THE MINI LEATHER BAG IS FINISHED!

 |
 |
 |
 |

