


THE NECESSARY EQUIPMENT
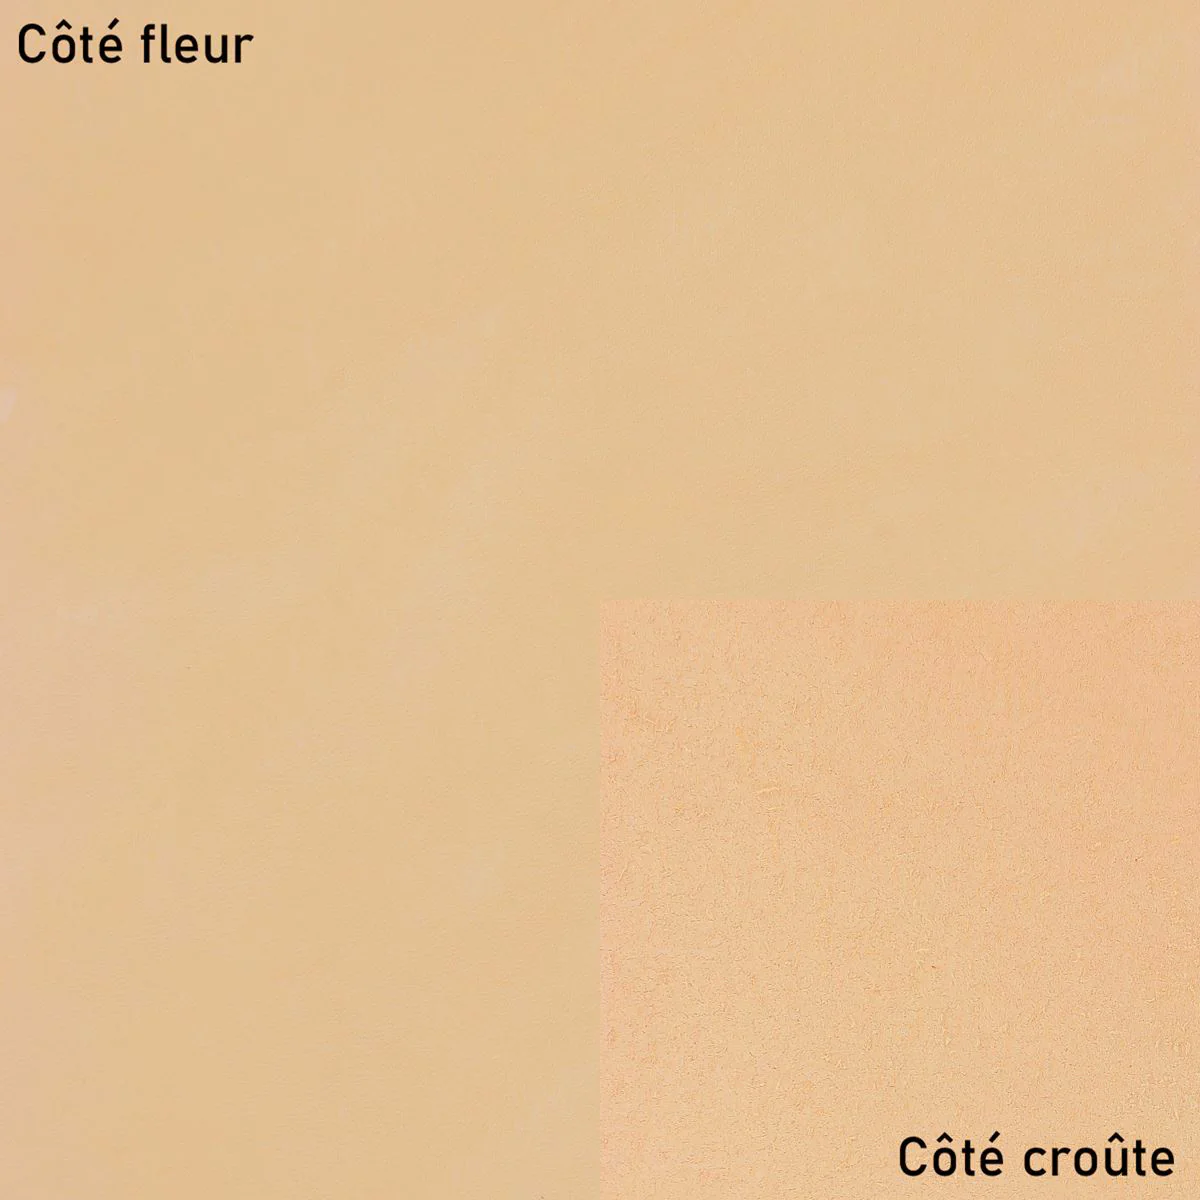
- 1 piece of NATURAL vegetable tanned neck leather - PYKARA - 15 x 20 cm or more - Thickness 1.8 mm For this tutorial we have selected a leather from the Pykara range of the Radermecker tannery (available on our website) .
- 1 split leather hide of velvet pigskin - VELVET
- 1 oil-based dye - Fiebing's Pro Dye - Light Brown
- 1 Eco Flo Gel Antique Leather Dye 236ml - DARK BROWN
FULL VIDEO TUTORIAL
1. Cut the leather
Download and print the pattern (at the top of the page) . The pattern is designed for very small glasses: it can be cut from a 15 x 20 cm piece of leather. For standard-sized glasses, we recommend adapting the pattern by increasing the print scale.
Trace the pattern onto the leather and then cut out the main piece using the cutting tool of your choice (slicer, cutter, half-moon knife...) and a ruler.

2. Draw the geometric pattern
Using a dry point compass, draw a line all around the piece 5 millimeters from the edge.

Using a swivel knife, carefully go over the fillet again.

Dampen the leather with a mixture of one part Easy Carve to ten parts water. Using a circle template and a round awl, trace a line of semicircles along the bottom of the piece. Our circles have a diameter of 24 millimeters.


Next, draw complete circles of the same diameter, as shown in the diagram below. Continue in the same way until you reach the top of the room.
 |
 |

To obtain the geometric shape, draw a new circle in the center of each group of four circles.
 |
 |

3. Bevel the slices
Bevel all the slices of the piece to obtain a clean edge.
SEE THE GUIDE ON THE BLAZEBOARD >

4. Dyeing the leather
Using a slightly damp sponge, apply the dye in circular motions. Apply several coats if necessary, then let it dry.

Next, apply an antique gel to accentuate the relief of the regrowth.

5. Glue the lining
Apply contact adhesive to the back of the piece and to the back of the lining (pigskin leather) . Carefully glue the two elements together and flatten the glued joint.
 |
 |
Trim the edges to obtain a clean edge.

6. Work the slices
Apply a coat of Fiebing's Pro Dye (used for the main piece) to the top edge of the case only. Then apply Tokonole (finishing eraser) and smooth it out.
 |
 |
7. Sew the decorative stitching at the top of the case
Mark the stitching points only on the top of the case with punching prongs 3 millimeters from the edge.

Use saddle stitching for an aesthetic and durable finish.
SEE THE SADDLE STITCH SEWING GUIDE >

8. Fold and assemble the glasses case
Apply a thin bead of contact adhesive to the back of the piece, on the three sides that will be sewn.

Fold the case in half to seal the edges.

Mark the stitching points 3 millimeters from the edge.

Sew with a saddle stitch to completely close the case.

9. Working the slices
Sand the slices with an abrasive sponge.

Apply a coat of Fiebing's Pro Dye (used for the main piece) then Tokonole for a smooth, glossy edge.
 |
 |
You're finished!
 |
 |

