


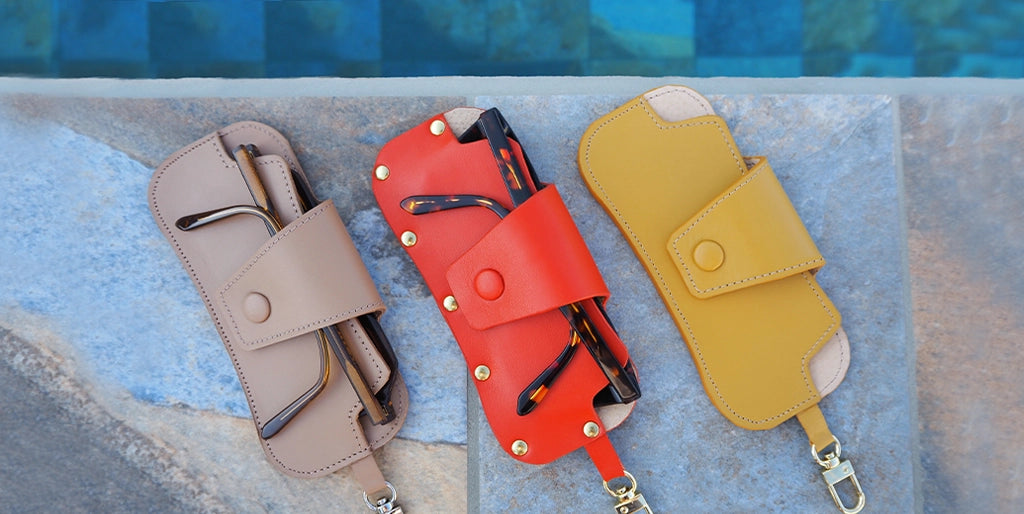

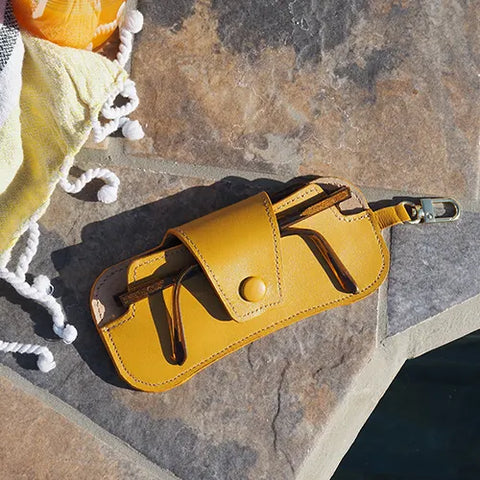












NEW VERSION
MATERIALS NEEDED
- 1 piece of leather 20 x 30 cm - Thickness 1.2 mm - Rather semi-soft, semi-firm leather (Satinlys or nappa calfskin range).
- 1 piece of leather 20 x 30 cm - Approximately 0.5 mm thick (to cover the snap button, line the case, and make the tab).
- OPTIONAL: 1 piece of VELVET pigskin suede leather - NATURAL (if you want a "softer" lining than the 0.5 mm thick lining).
- 1 piece of Salpa fiberboard reinforcement - 30 x 40cm - 0.4 mm thick (if lined with pigskin) or 0.6 mm thick (if lined with 0.5 mm thick leather).
- 1 swivel snap hook with round attachment 10 mm wide
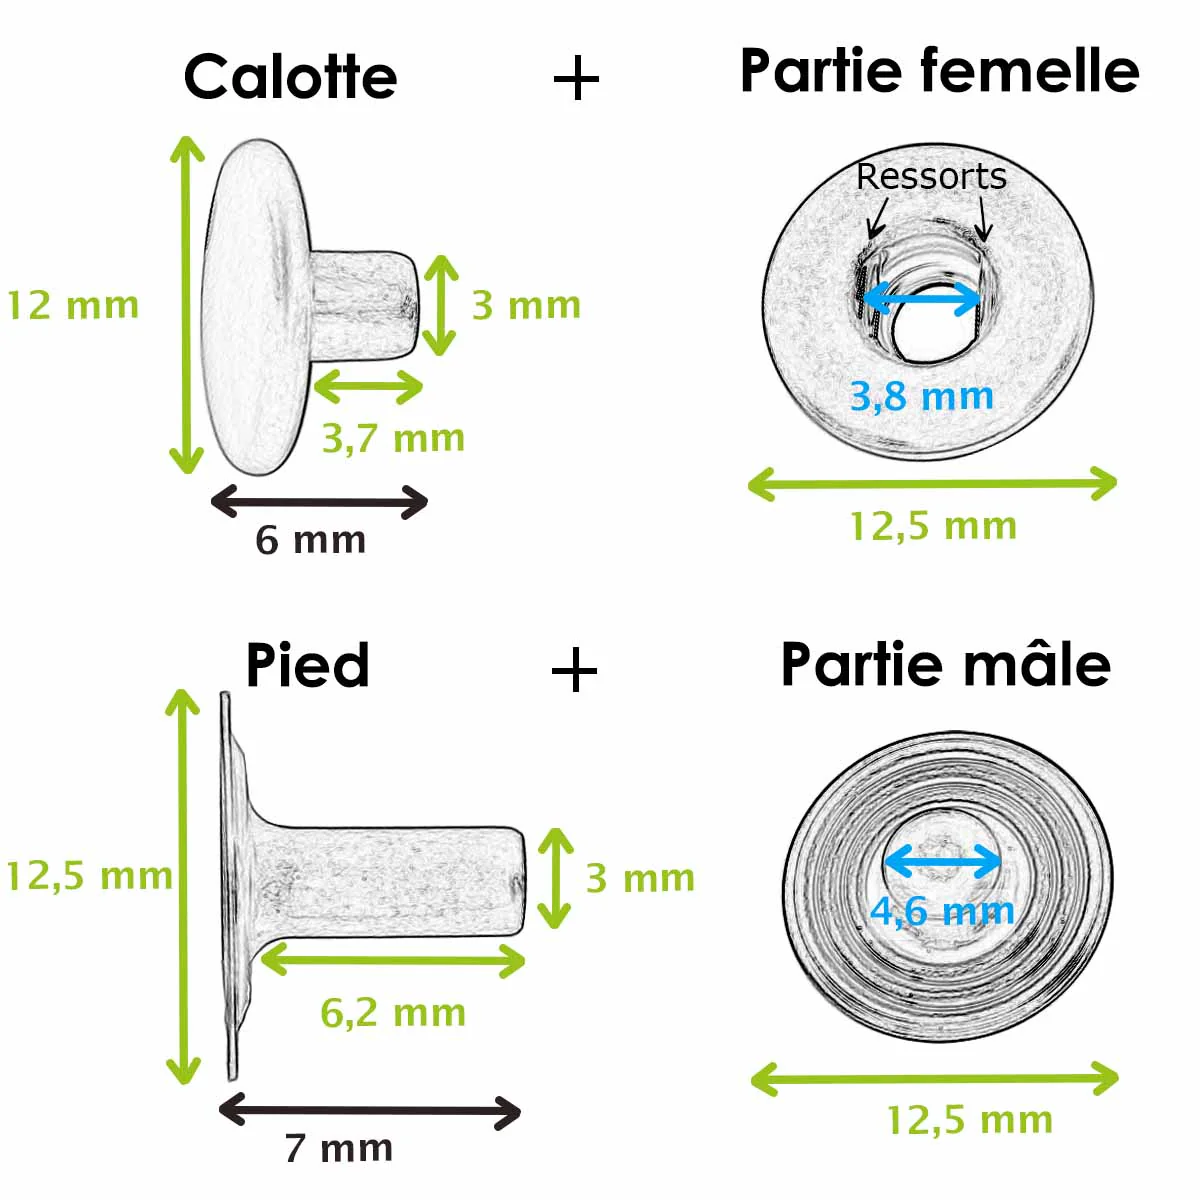
- 1 snap button Ø 12 mm
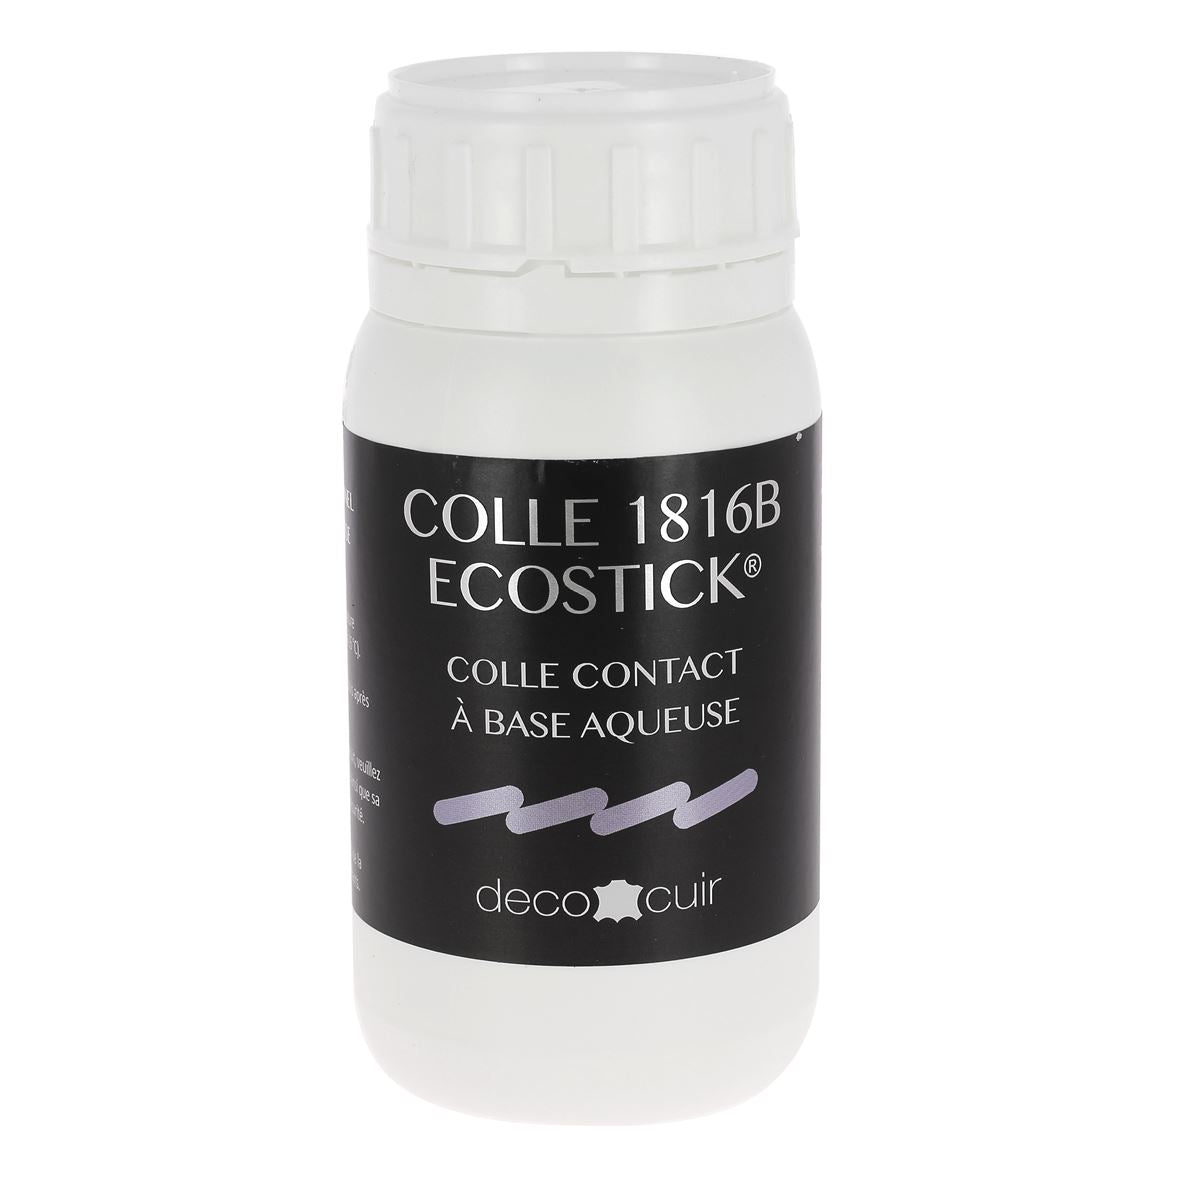
- Contact cement for leather
- 1 edge finish - Colorcut OR Tokonole
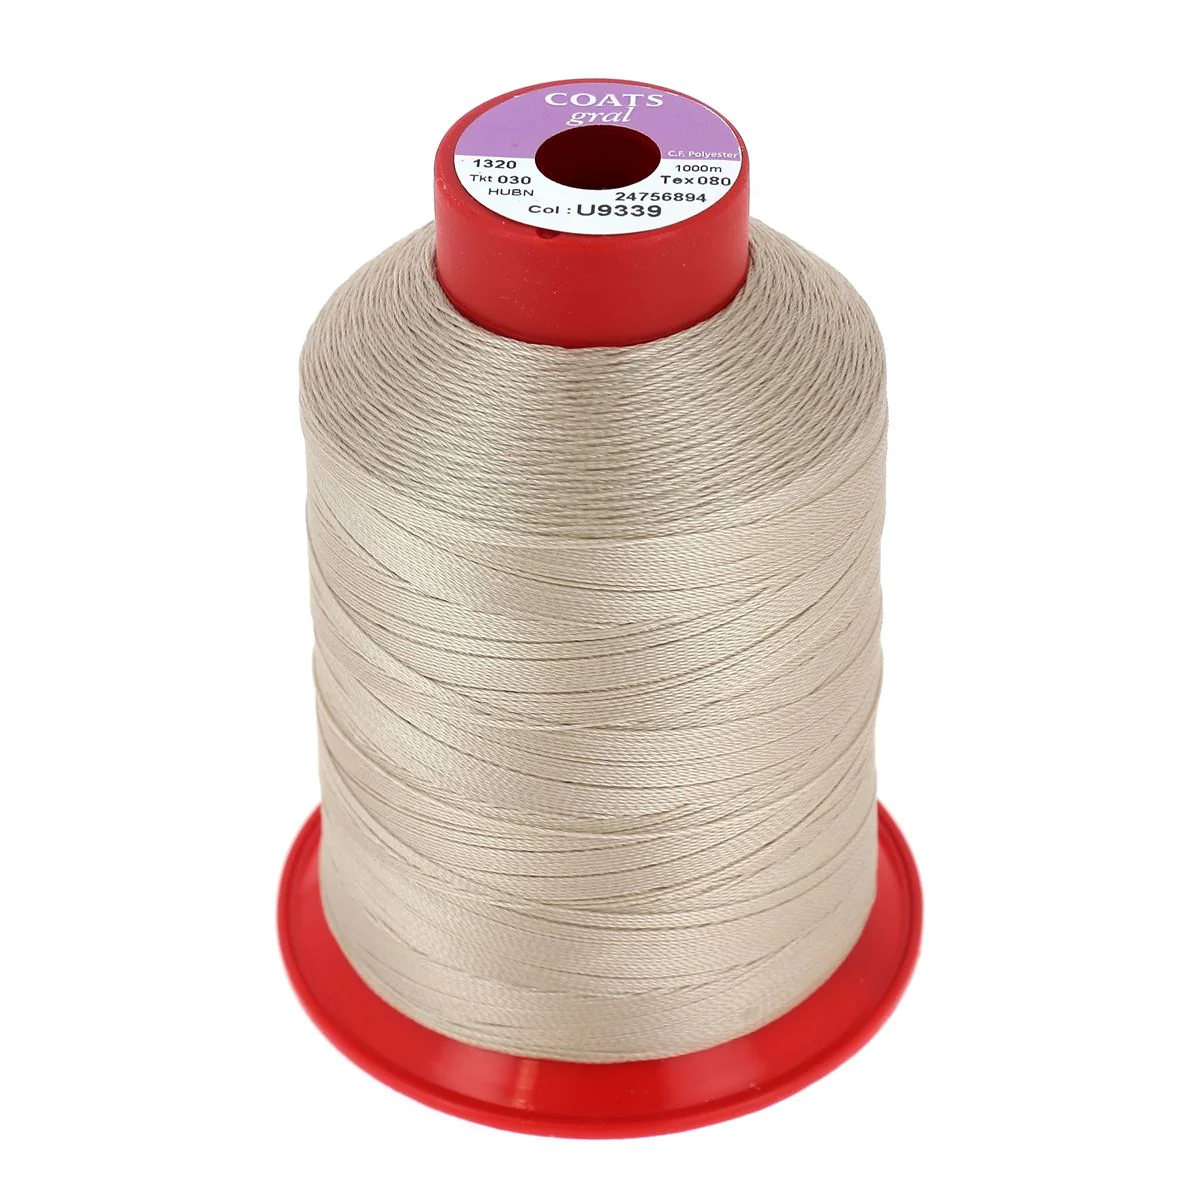
- 1 spool of polyester thread N°40 OR T3 rivets
And the following tools:
- 1 utility knife
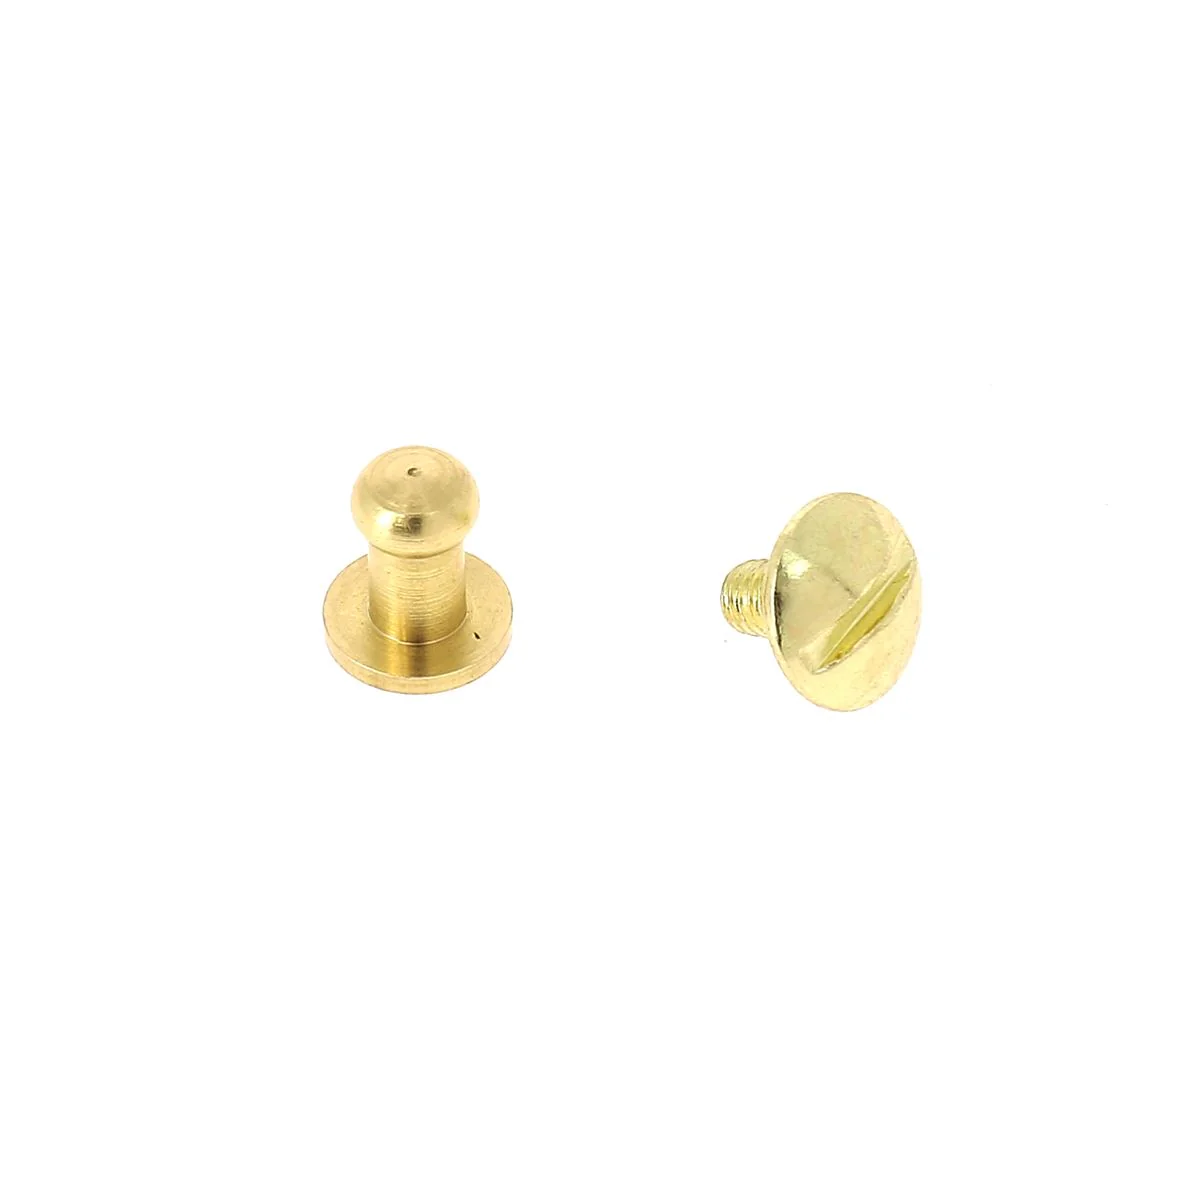
- Snap button setting tools and sets.
- 1 round punch - Ø 3 mm
- 1 mallet
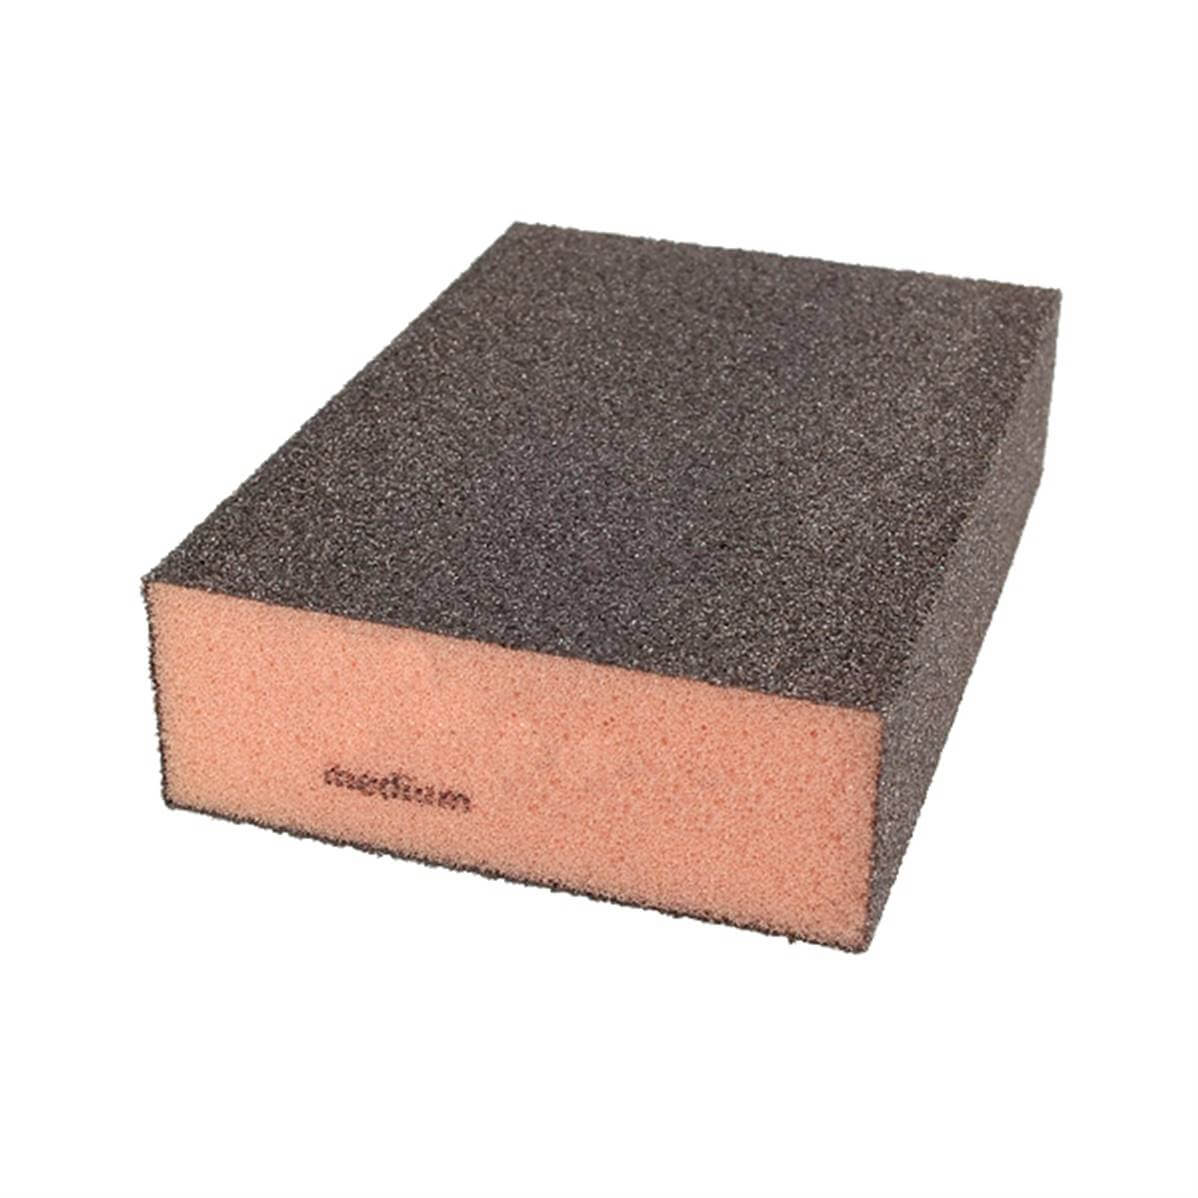
- 1 fine abrasive sponge - 400 grit
 |
 |
Video
1. Download the pattern
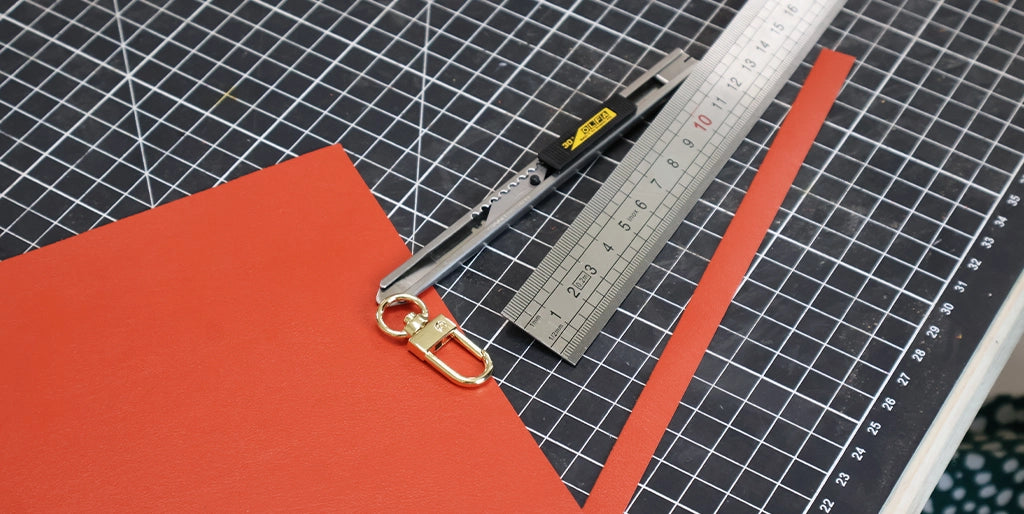
Download the pattern and roughly cut out the pieces (with at least a 1 cm margin). Using masking tape (to avoid damaging the leather's grain), tape the pattern pieces onto the full-thickness leather piece.
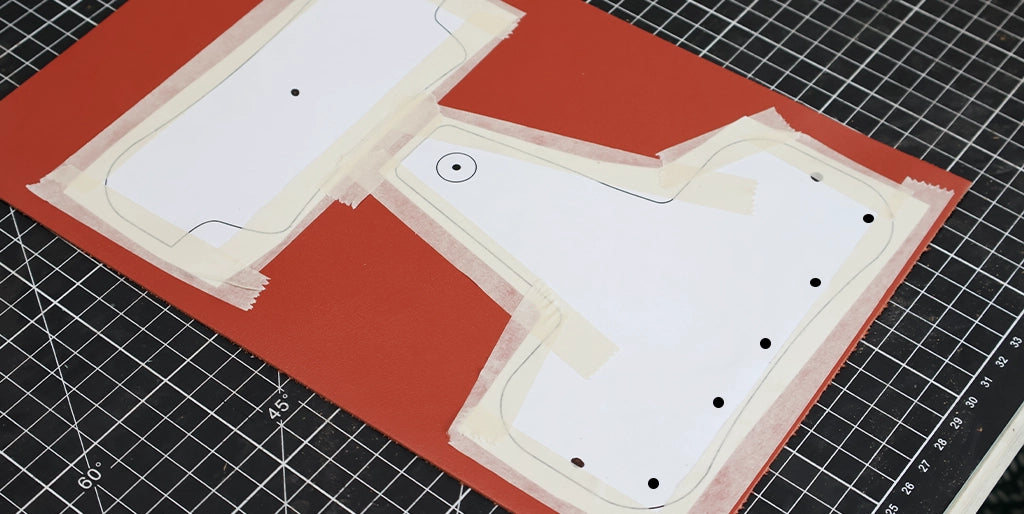
Roughly cut around the pieces, leaving about a 1 cm margin all around.
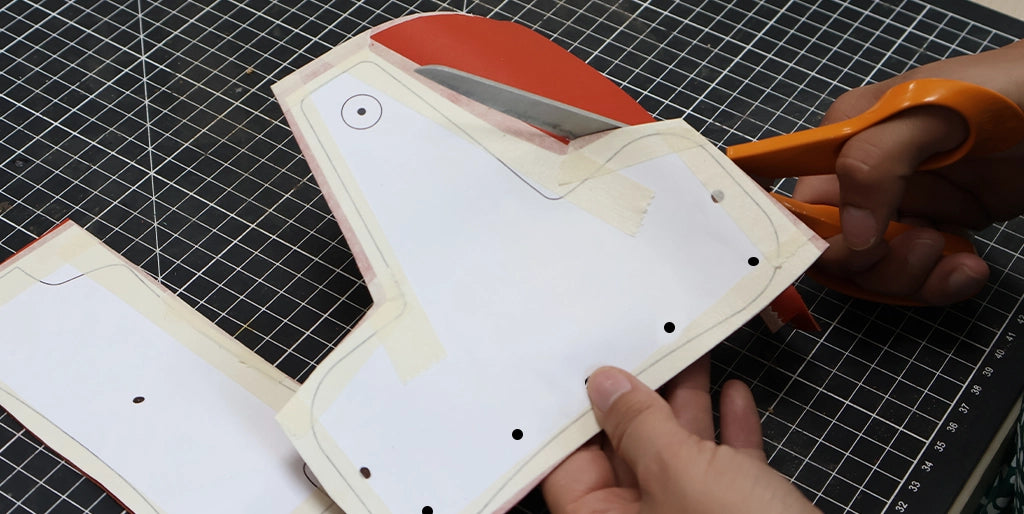
Cut a strip of split leather 1 cm wide and about 15 cm long, as well as a 6x6 cm square for the covered snap button head.
2. Laminate the Salpa
Apply contact cement to the back of the main leather pieces (P1 and P2) as well as to the back of the Salpa.
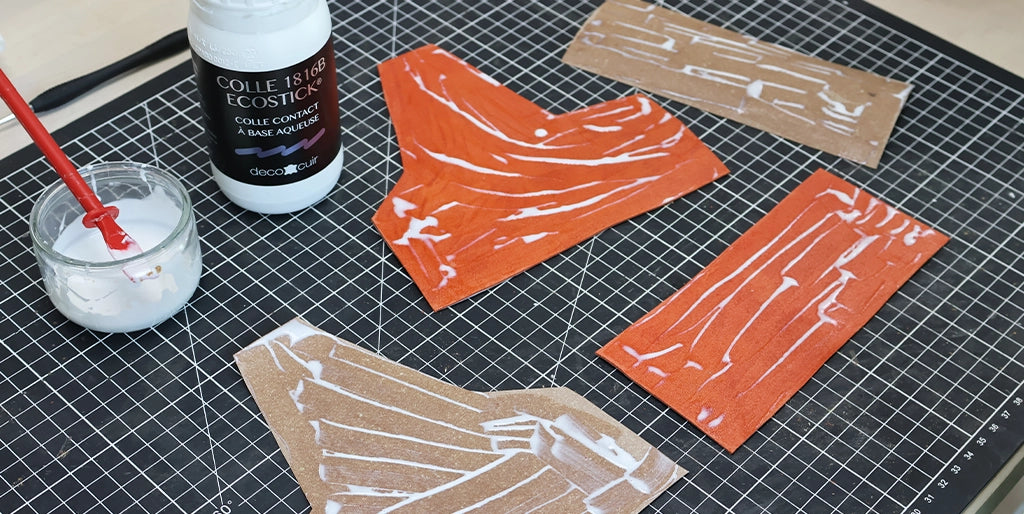
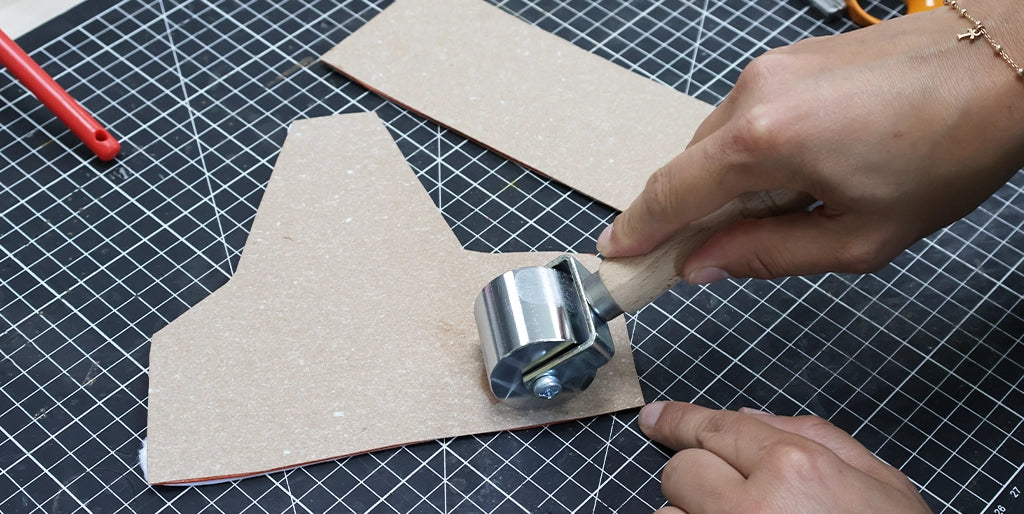
Glue pieces P1 and P2 onto the Salpa and flatten the assembly with a roller press.
3. Attach the snap button stud
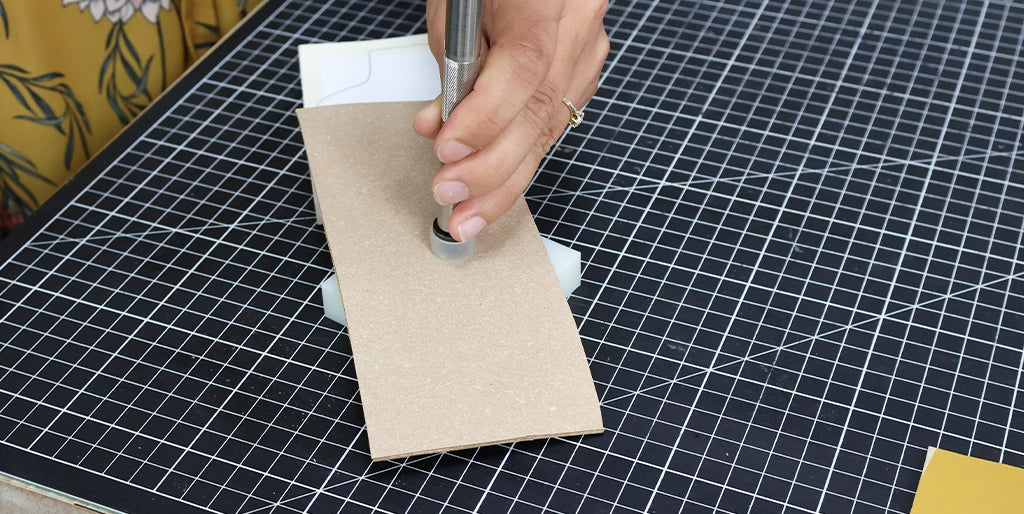
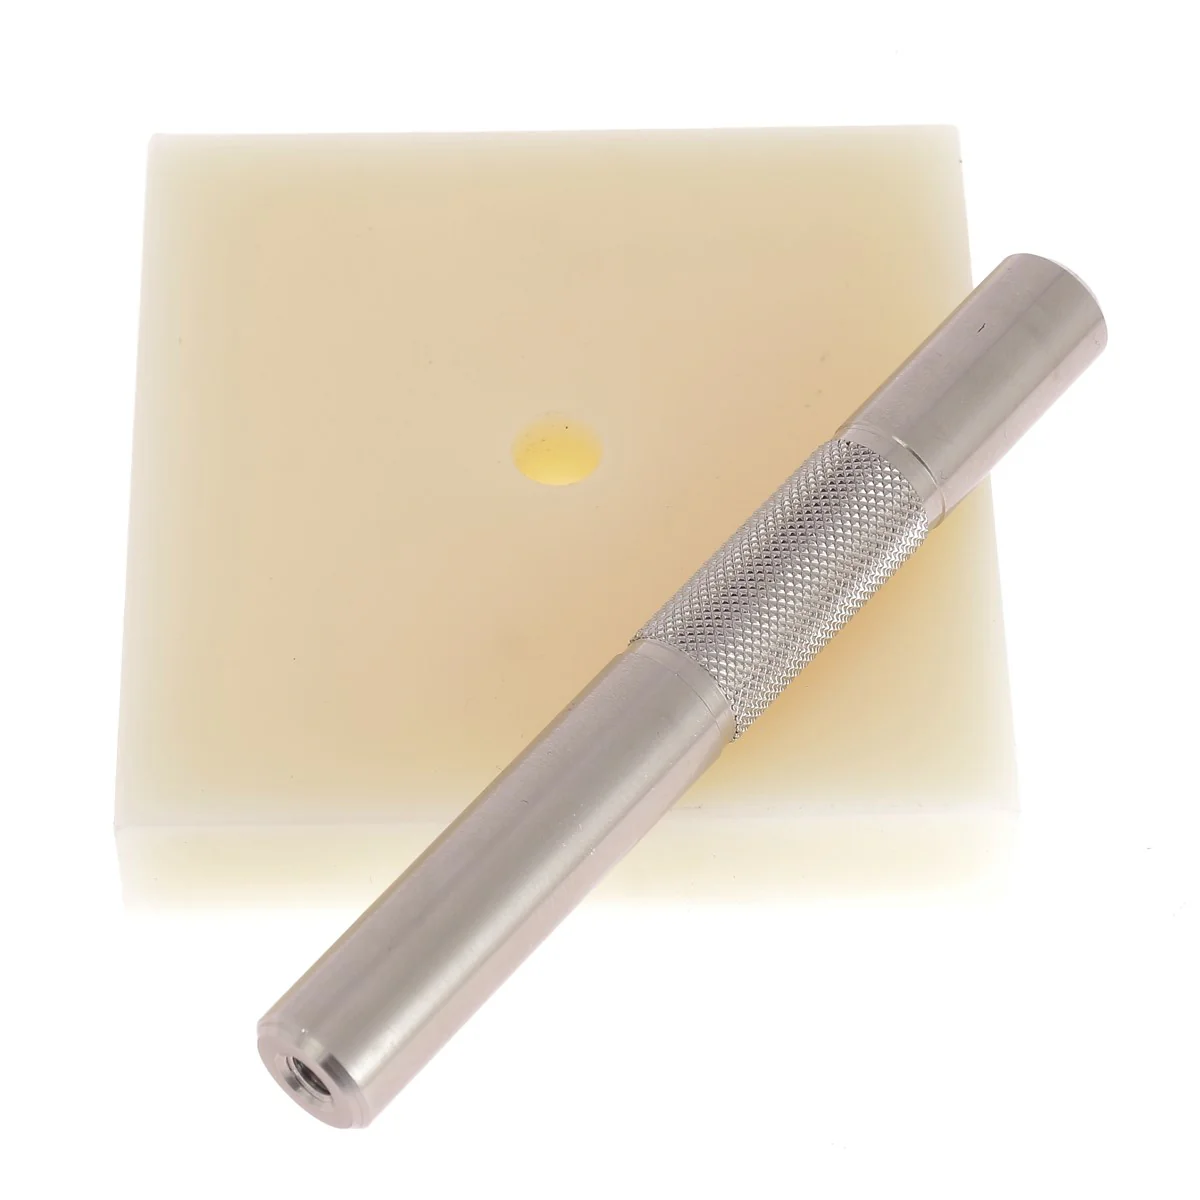
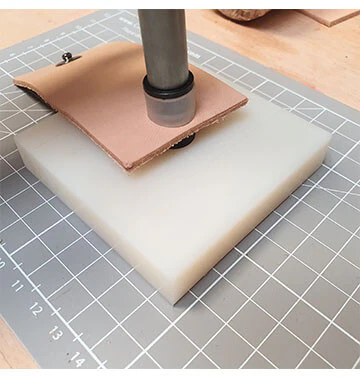
Punch a Ø3 mm hole in the center of piece P2.
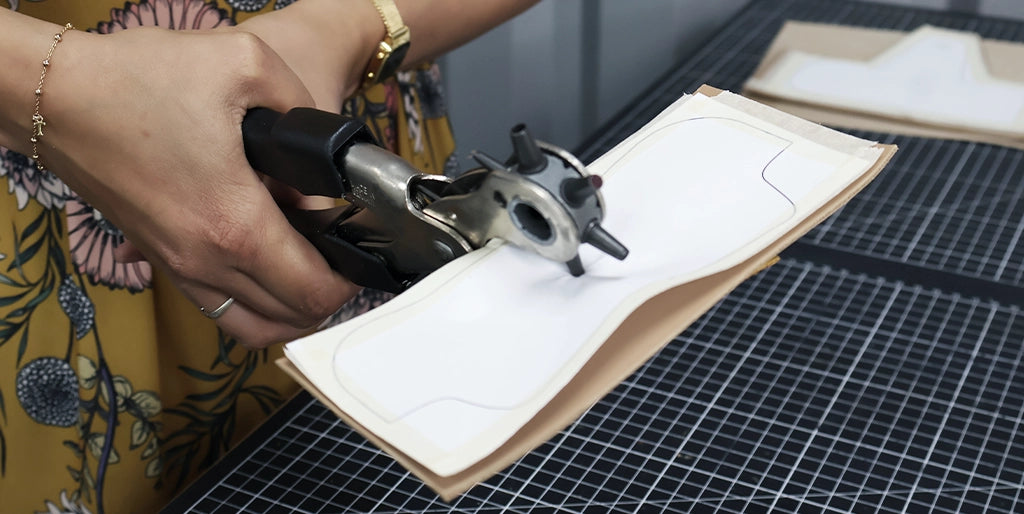
Attach the snap button stud. This is done at this stage so that the stud is hidden in the lining.


4. Laminate with the lining
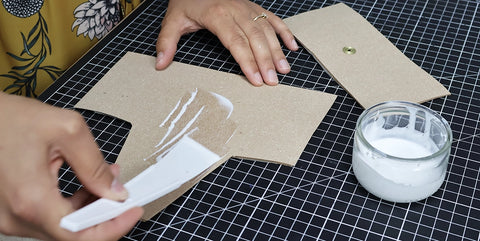
Apply contact cement to the back of the leather/Salpa pieces and to the back of the lining (pigskin or 0.5 mm thick leather - your choice).
 |
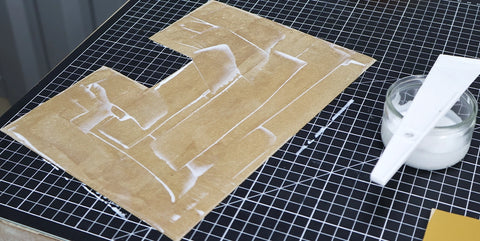 |
Glue the pieces onto the lining, then flatten the assembly with a roller press.
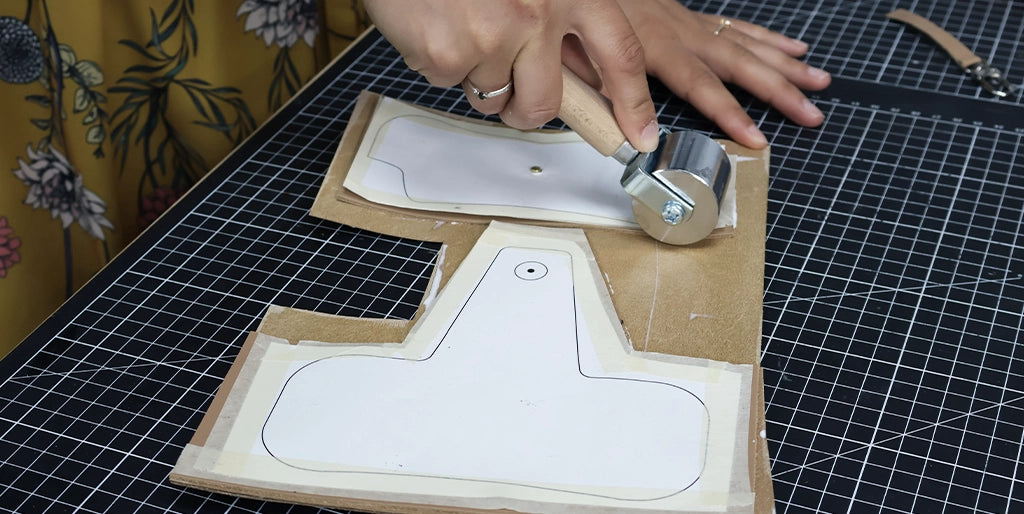
5. Trim the pieces
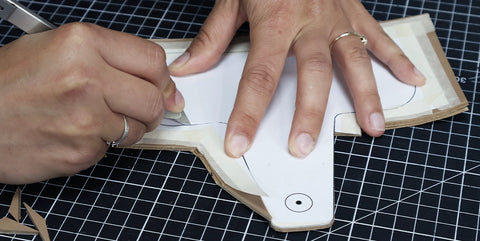
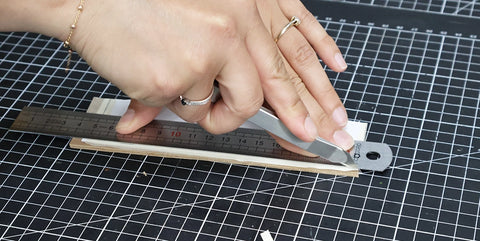
With a utility knife, cut out pieces P1 and P2. Be careful to follow the dotted lines on the pattern for the bottom of pieces P1 and P2. The bottom curves will be cut once the pieces are assembled for a more precise result.
We recommend cutting the outer curves in several passes => in quarters (see video at step 10).
 |
 |
6. Finish the edges
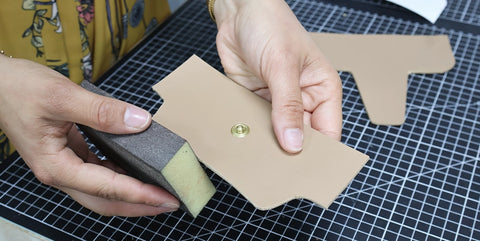
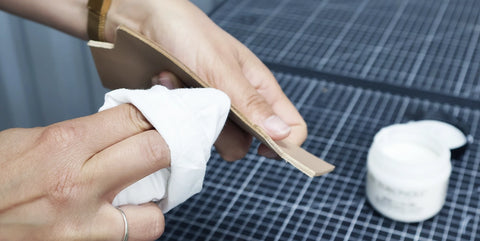
Sand the edges of the newly cut pieces. Then, apply an edge finish to the top of piece P2.
 |
 |
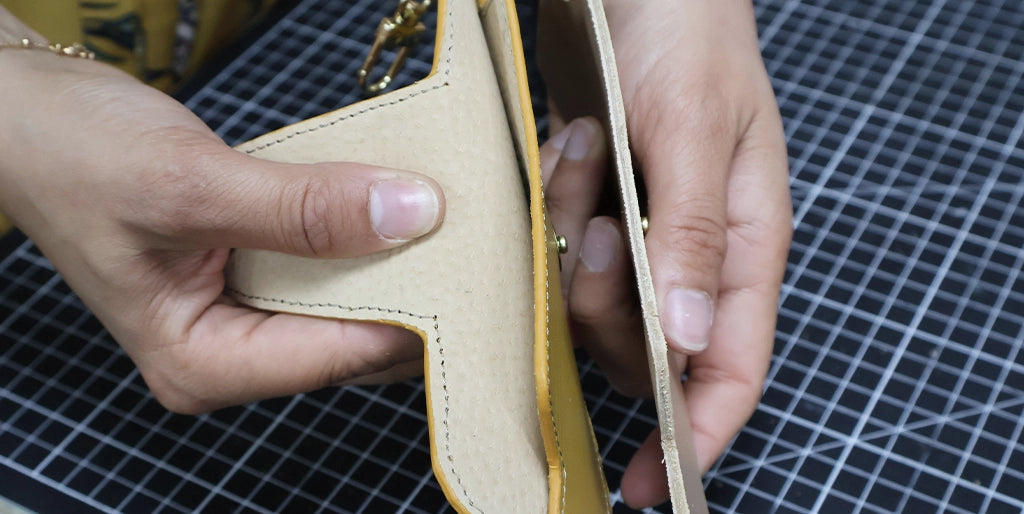
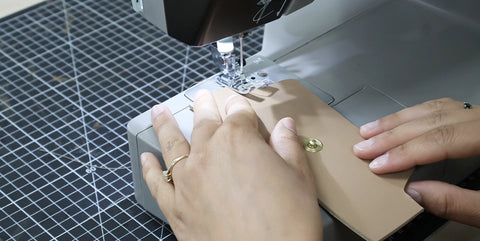
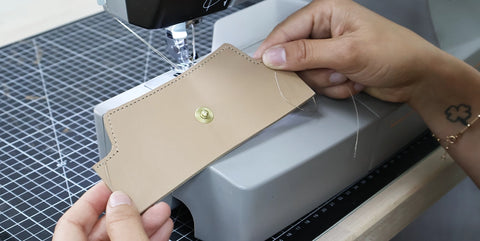
7. Topstitch P2
Make a decorative topstitch on the top of piece P2 (on the part without dotted lines).
 |
 |
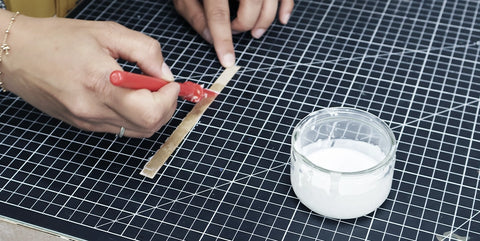
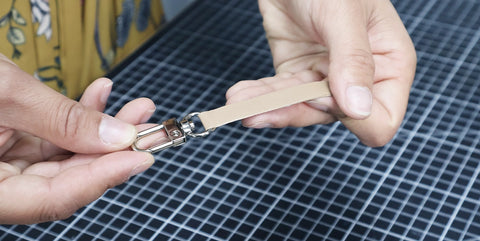
8. Prepare tab P3
Take the small tab and fold it in half, inserting the snap hook. Glue the two sides together to hold the snap hook in place.
 |
 |
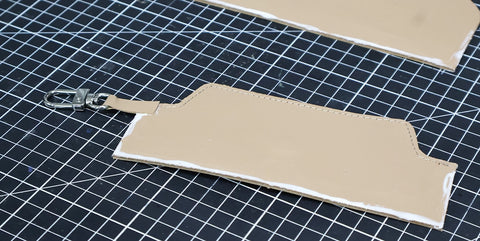
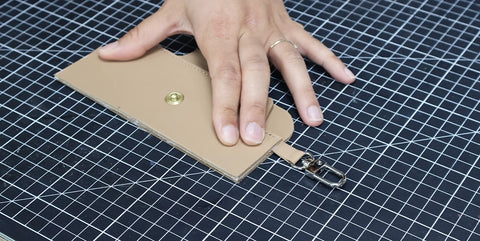
9. Assemble the case
Apply a 3 mm line of glue to the lining side (back) of pieces P1 and P2, along the dotted lines indicated on the pattern.
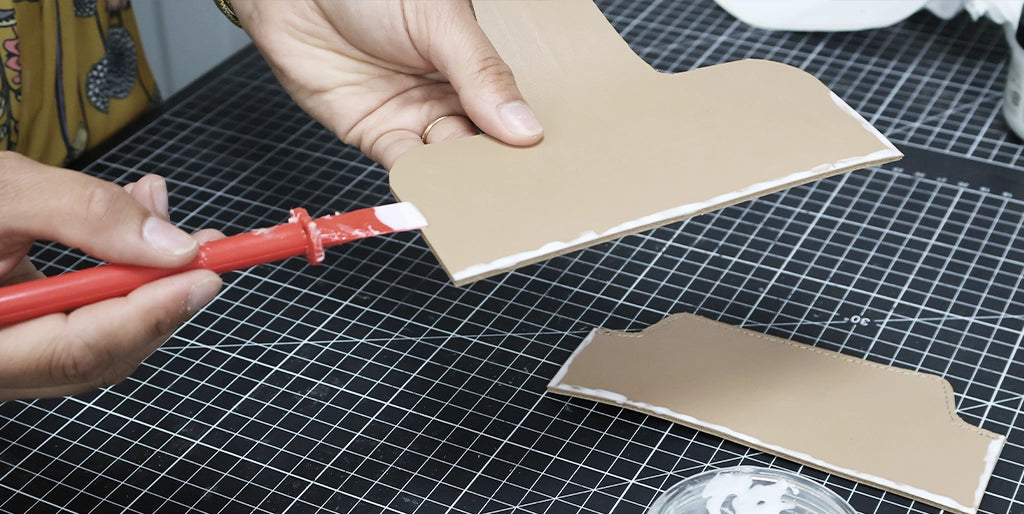
Glue the tab onto one of the two pieces, then glue the two pieces edge to edge.
 |
 |
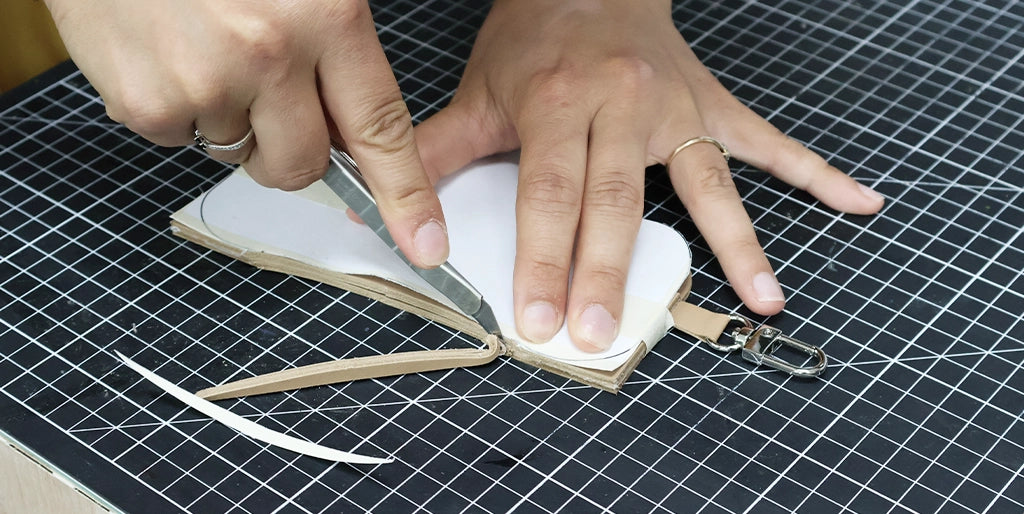
10. Cut the curves
Once the pieces are well assembled and the glue is dry, cut the curves in quarters (for a cleaner result - see video) following the black lines of the pattern.
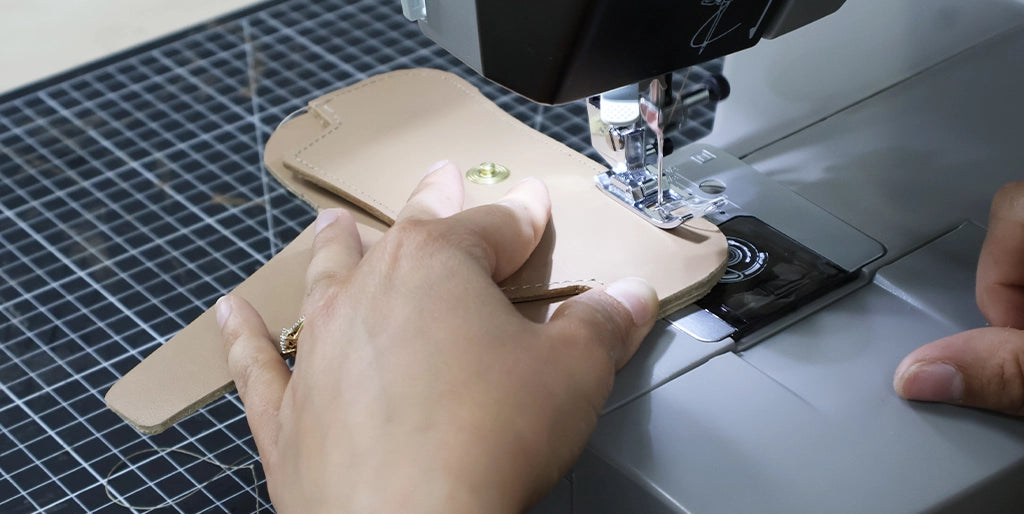
11. Sew the case
Sew all around about 3 mm from the edge.
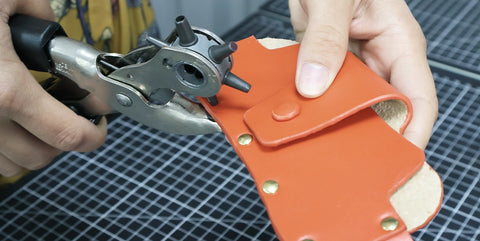
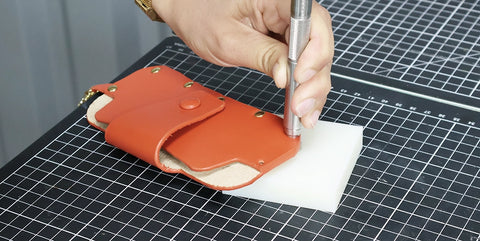
It is also possible to hand-sew, with a simplified stitch or saddle stitch. Be careful to punch the sewing holes with a 1 mm diameter punch at step 5.
Or simply fasten the two parts with T3 rivets. The locations of the Ø 3 mm holes are marked on the pattern.
 |
 |
12. Sand and finish the edges
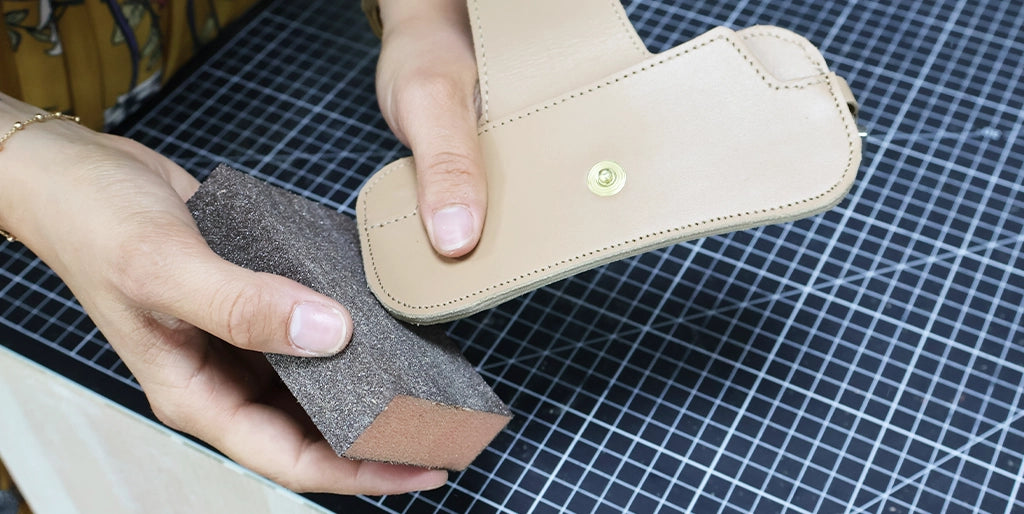
Sand the edges again then apply an edge finish.
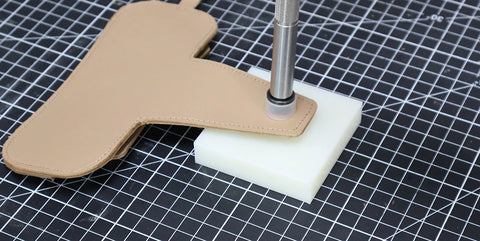
13. Attach the snap button cap
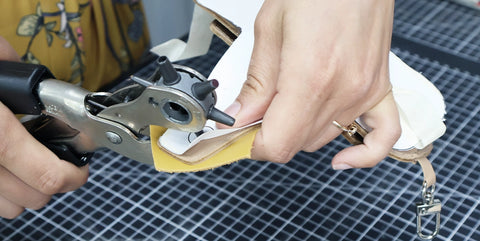
Finally, attach the snap button cap. We covered the button with 0.5 mm thick leather.
GUIDE: HOW TO COVER A SNAP BUTTON?
 |
 |
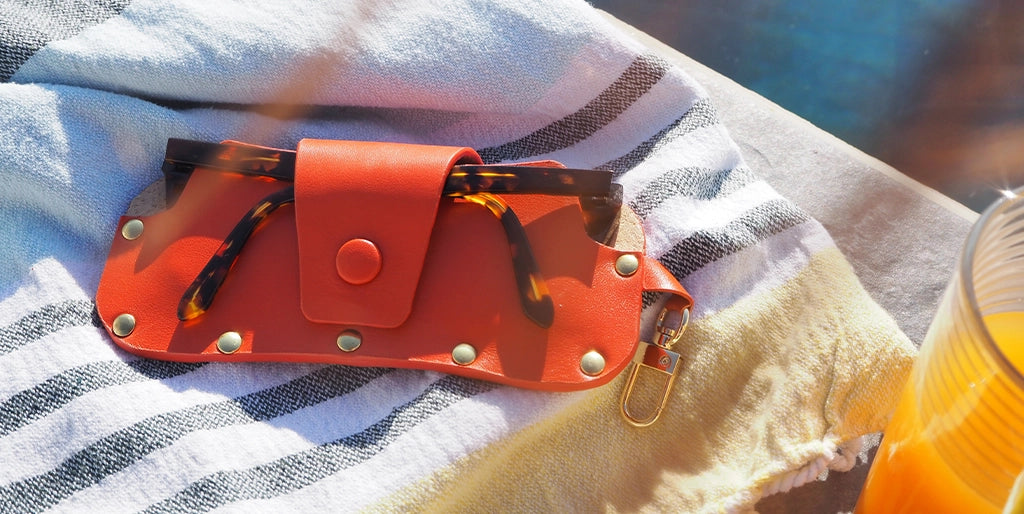
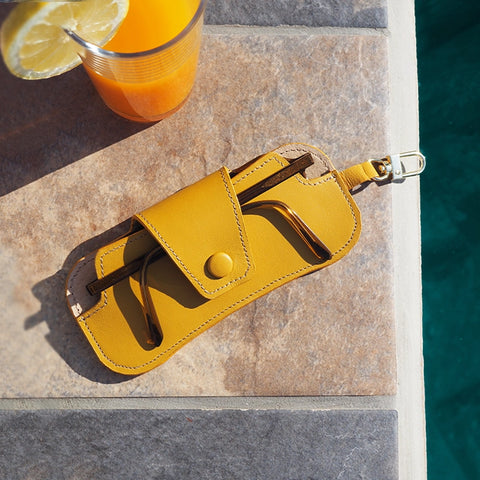
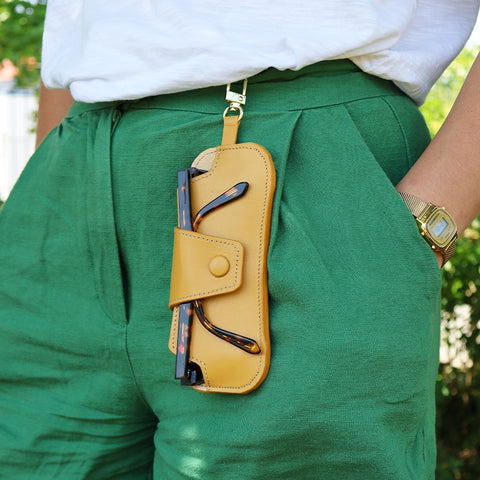
You're done!
 |
 |
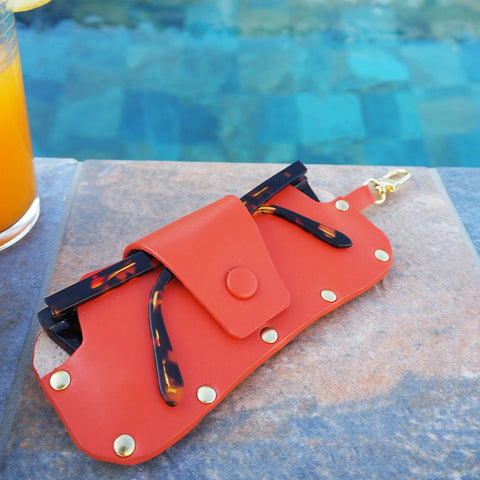 |
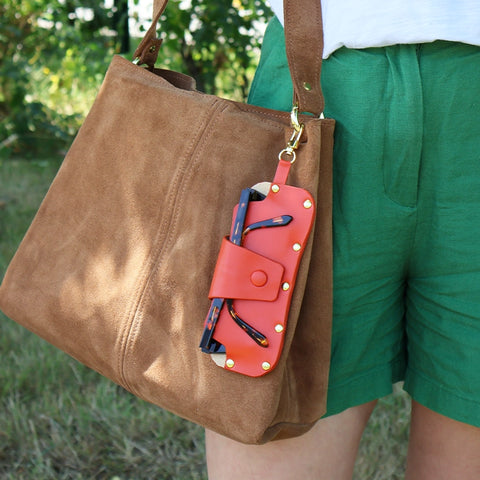 |
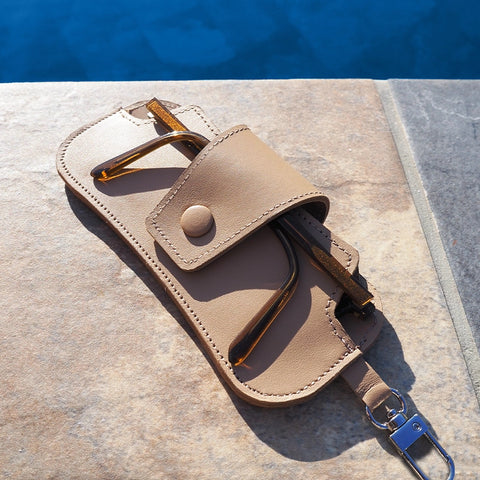 |
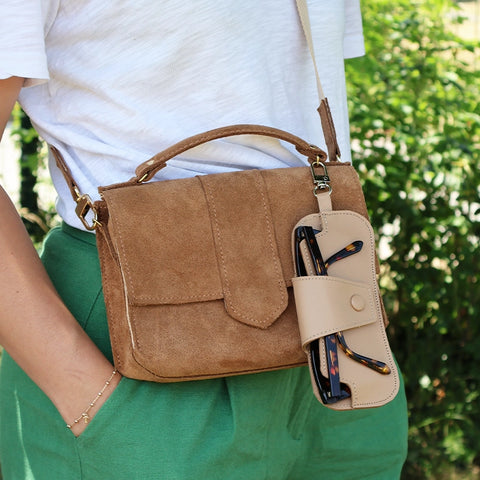 |
OLD VERSION
MATERIALS NEEDED
To make this tutorial, you will need:
- 1 piece of leather 20x30 cm - Thickness between 1.2 and 1.5 mm - Rather firm leather
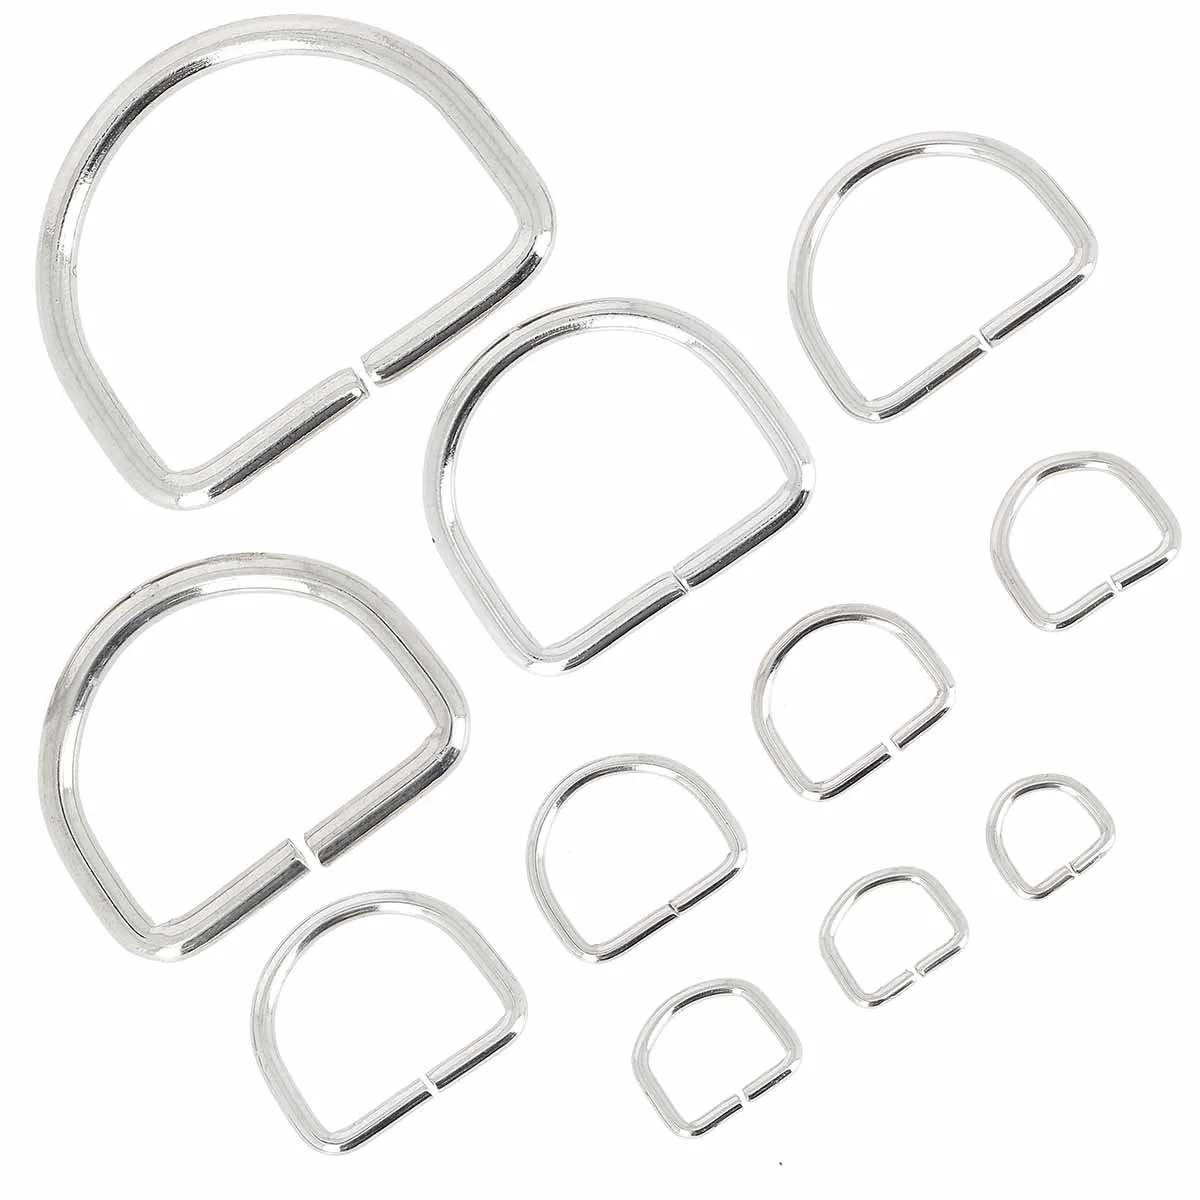
- 1 half-round ring - 10x10x2 mm
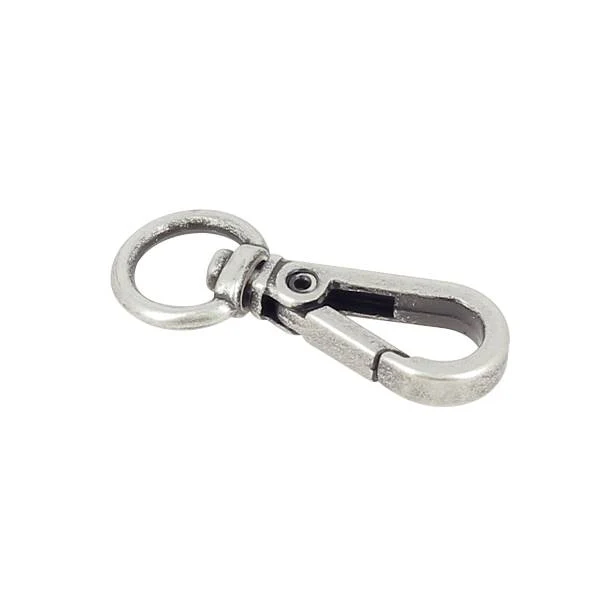
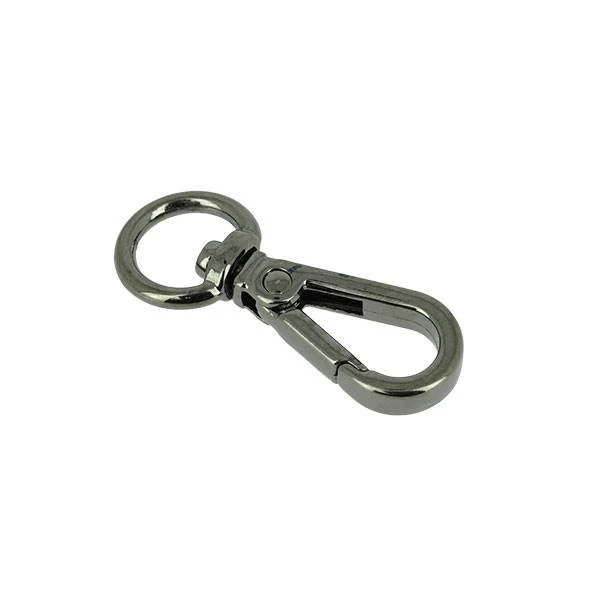
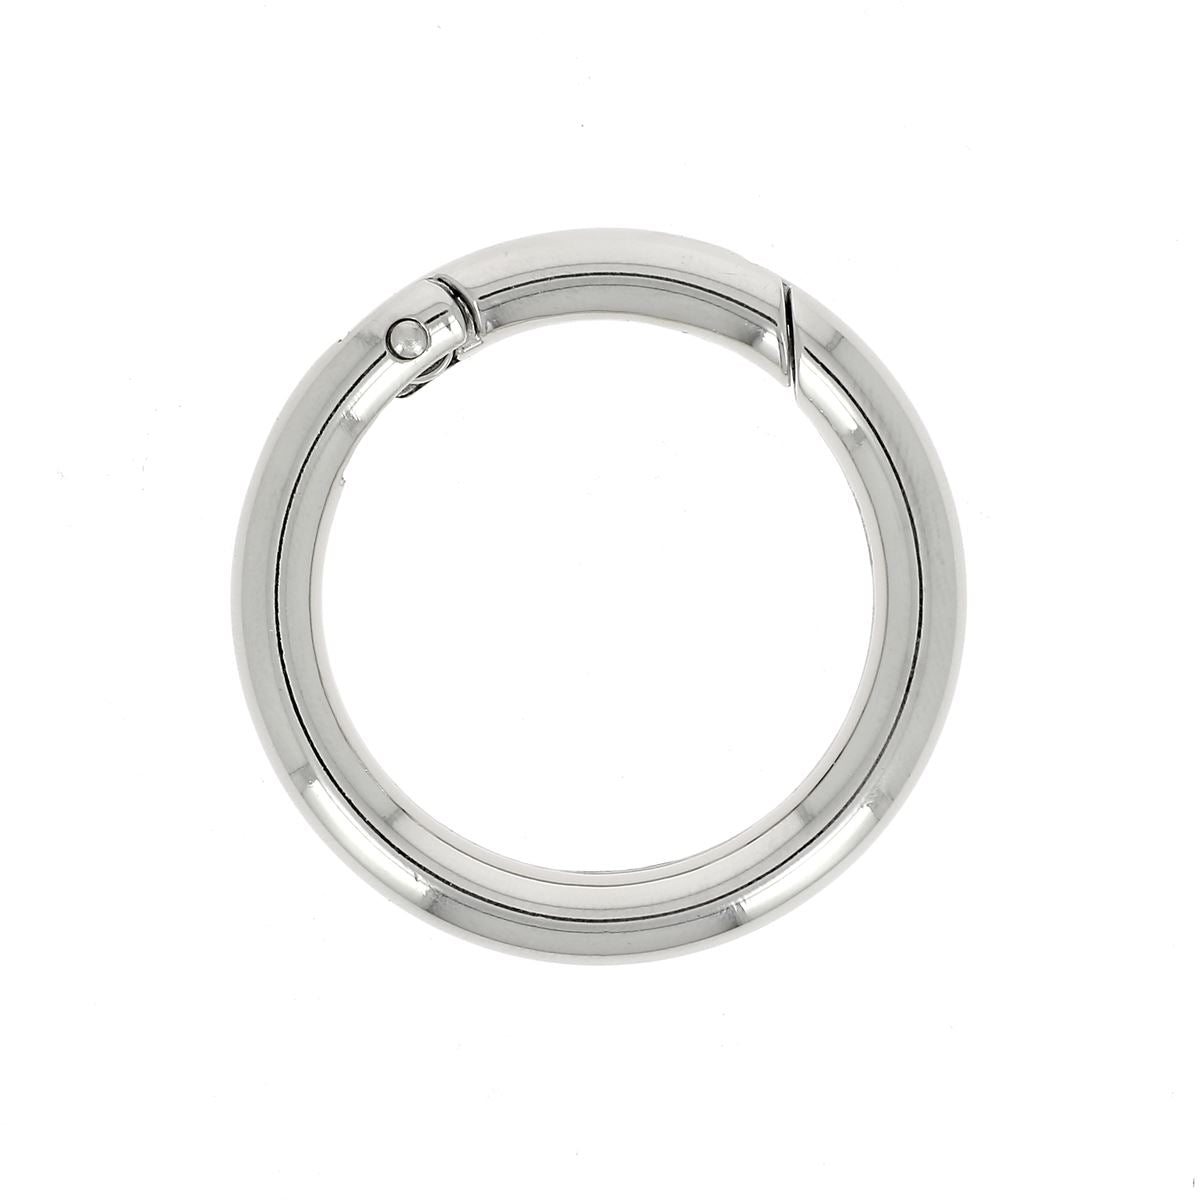
- 1 mini swivel snap hook with round attachment diam 9 mm OR 1 round snap hook
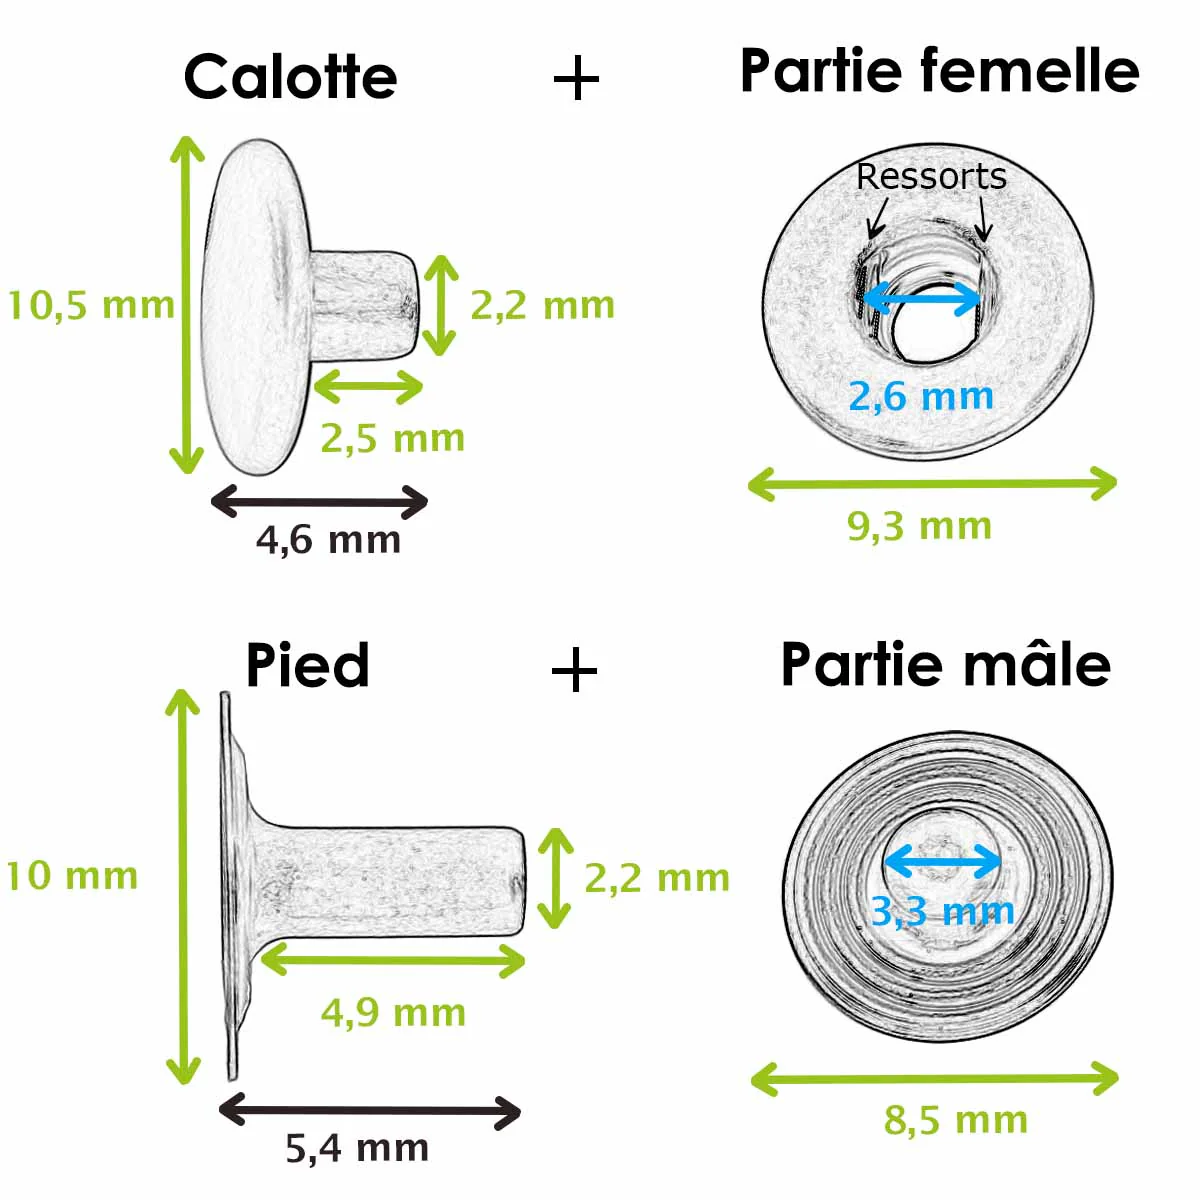
- 1 nickel-plated snap button - diam. 10.5 mm OR 1 collar button
- Leather glue
- Edge finish - Colorcut - 30ml
- Tokonole
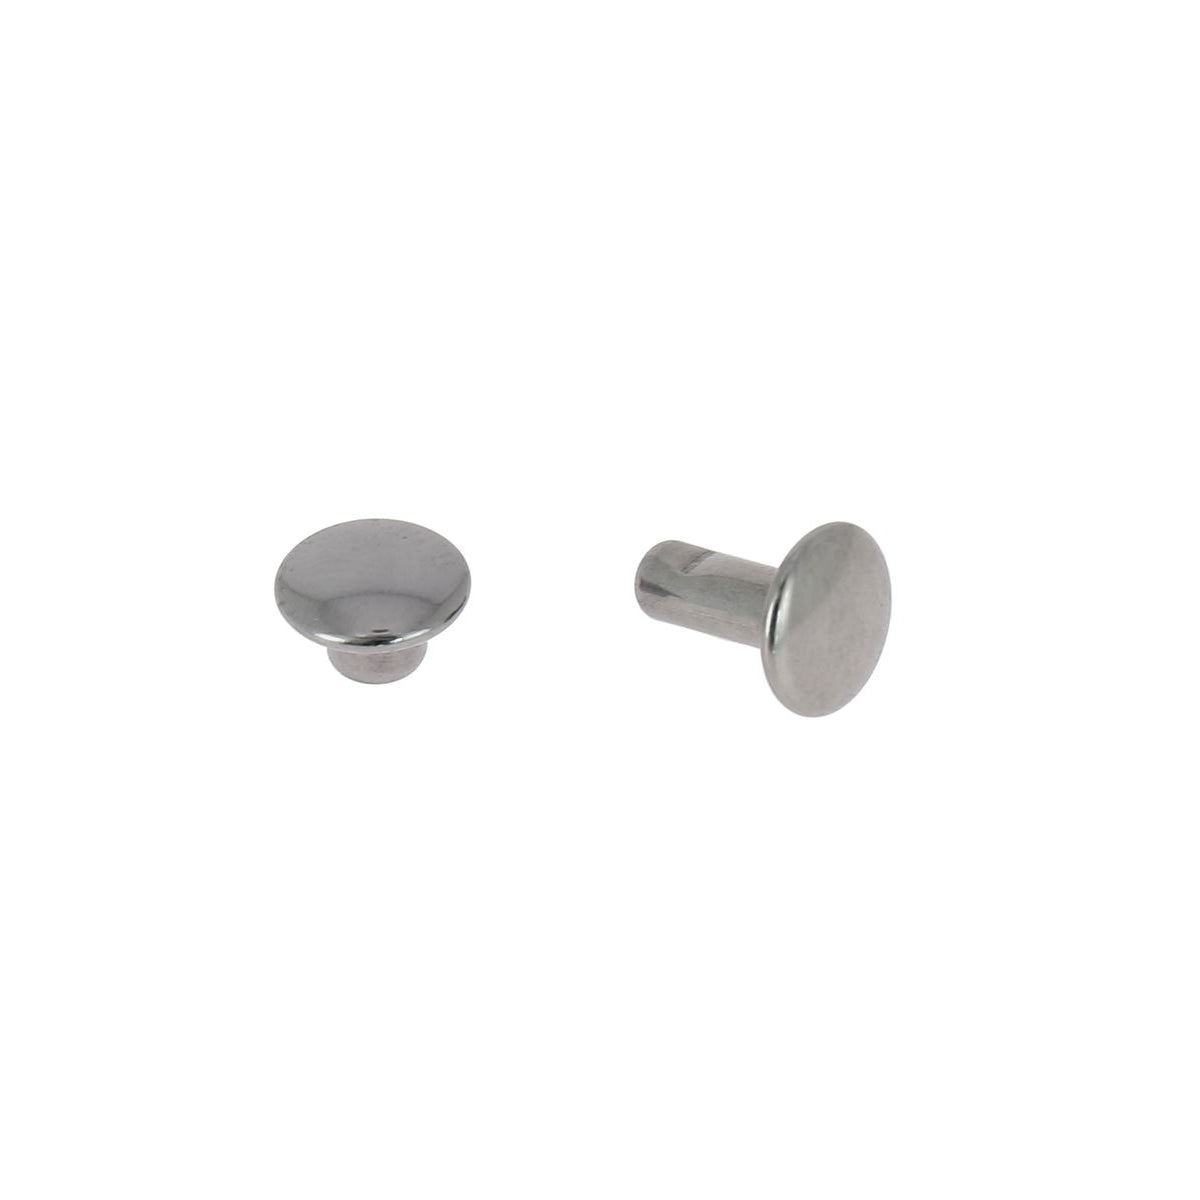
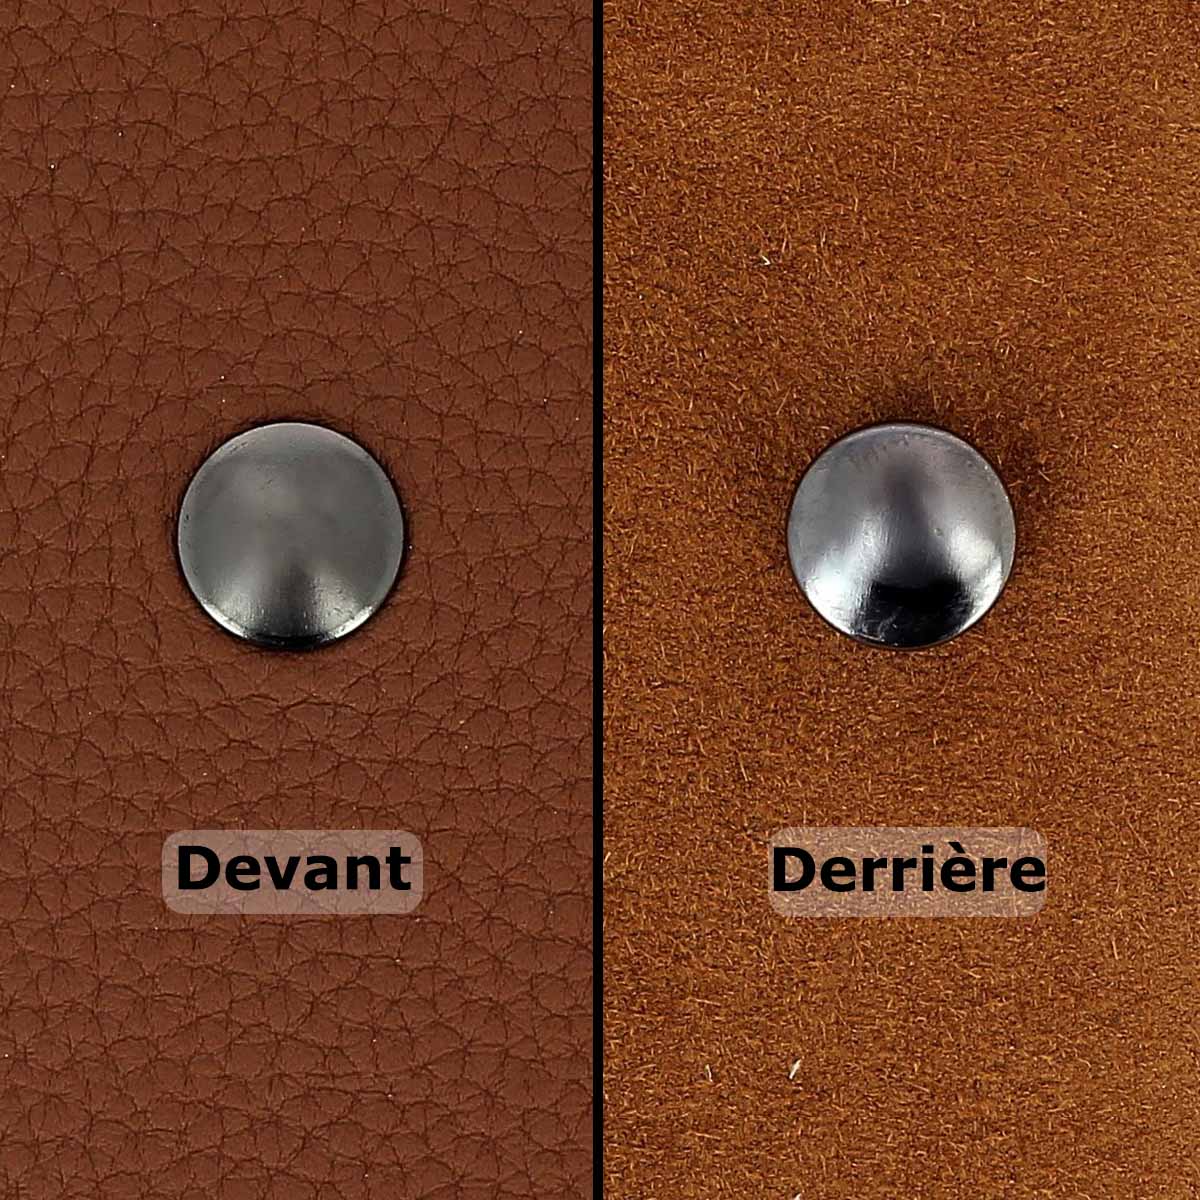
- 4 nickel-plated T3 rivets (sew-free version only)
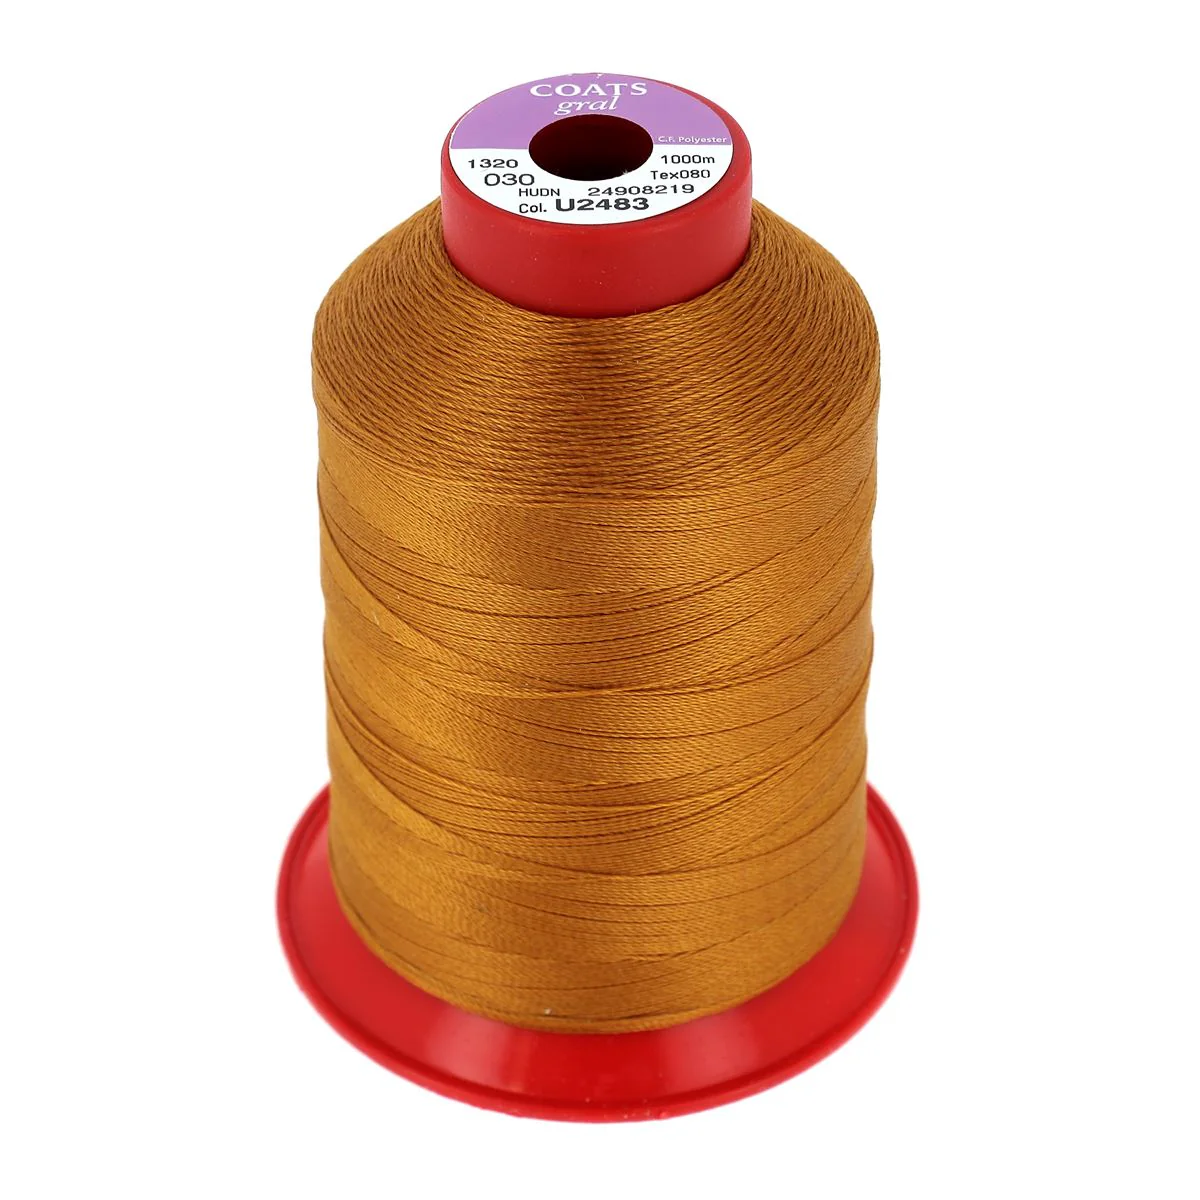
- 1 spool of polyester thread N°30 - Chocolate (sewn version only)
- 1 leather strip of collar leather. Width: 10mm - Length: 120 cm (optional)
And the following tools:
- Tools and setting kits for accessories
- 1 round punch - Ø 3 mm
- 1 mallet
- 1 silver pen
- 1 pair of scissors
- 1 fine abrasive sponge - 400 grit





1. Cut the leather using the pattern
Download the leather glasses case pattern and print it to actual size. Cut it out, remembering to make the holes using the 3 mm punch. Transfer the pattern to the leather piece using a silver pen and cut out the 3 pieces with a pair of fabric scissors or a utility knife (depending on your leather).
We advise you to cut/work the rounded sides once the pieces are assembled.
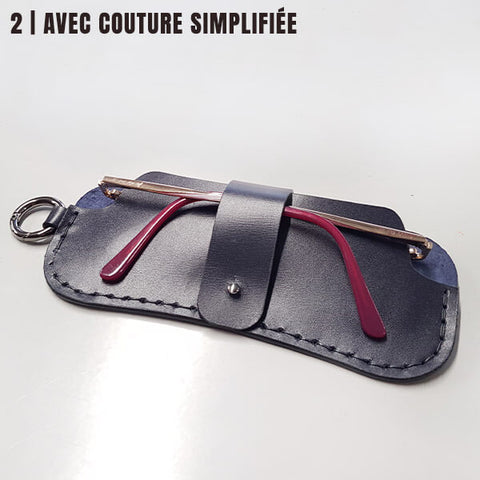
 Simplified sewing version: punch sewing holes with a maximum 1 mm diameter punch.
 Do you own a Cricut? Download the pattern (sewing version) in SVG at the top of the page. Be sure to resize the shape in the Cricut software. It should be 26.8 cm wide and 22.4 cm high.
2. APPLY TOKONOLE
Apply Tokonole to the flesh side of the leather to give it a smooth and shiny appearance and to prevent lint on the sunglasses. 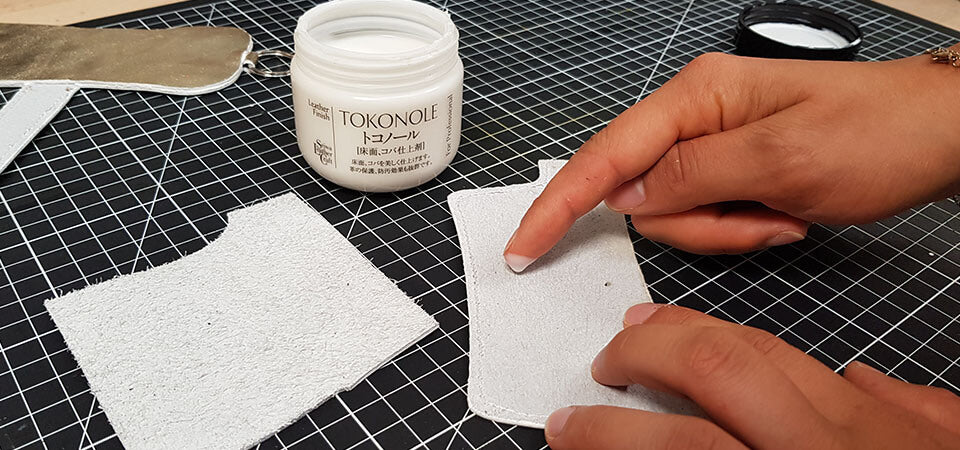
3. BEGIN EDGE DYEING
Before assembly, work the edges of the small flap, the large flap, and the top of piece #3 (the part that will not be assembled with the other pieces). Dye the edges with leather paint (see material list).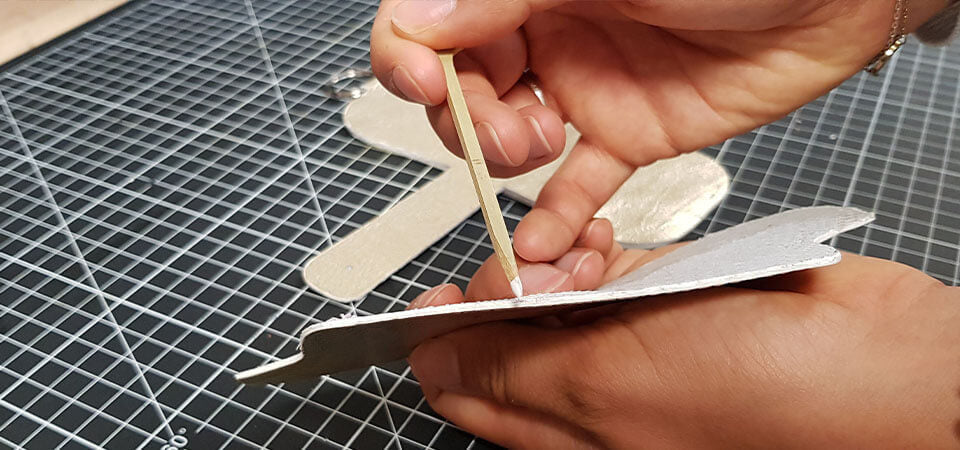
4. ASSEMBLE PIECES #1 AND #2
Fold and glue the small flap of piece #1, inserting the D-ring or carabiner. Apply leather glue to the flesh (fuzzy) side of pieces #1 and #2. Wait a few moments then laminate the pieces.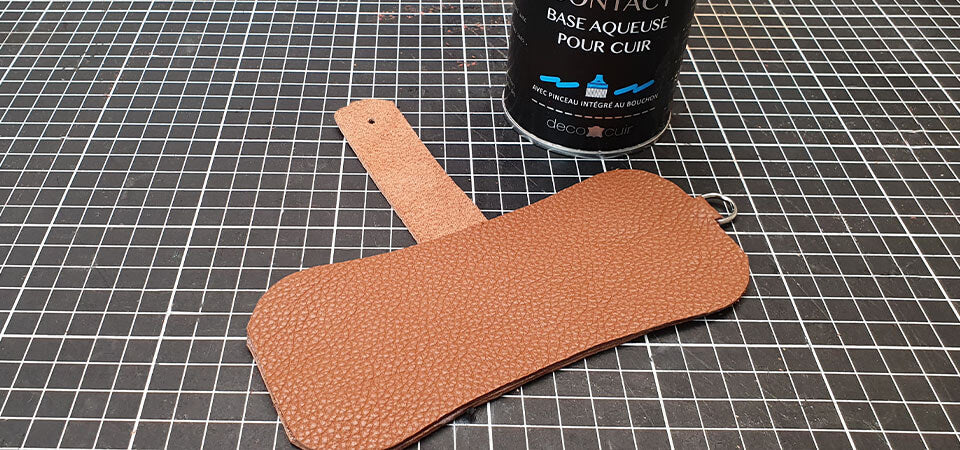
5. DO DECORATIVE STITCHING (VERSION 1 ONLY)
For the stitched version, make decorative stitching on the large flap and the top of piece #3.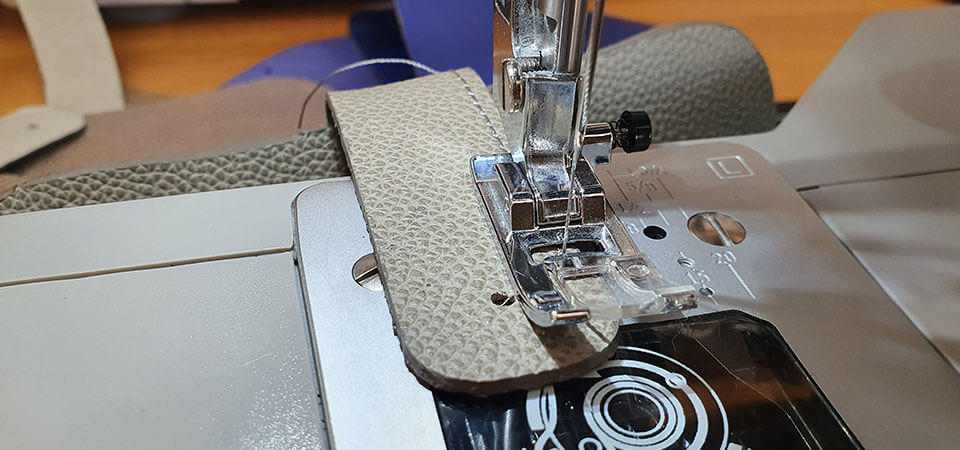
6. FINISH ASSEMBLING THE PIECES
Apply a thin layer of glue to the edge of the main piece and piece #3 and assemble the pieces.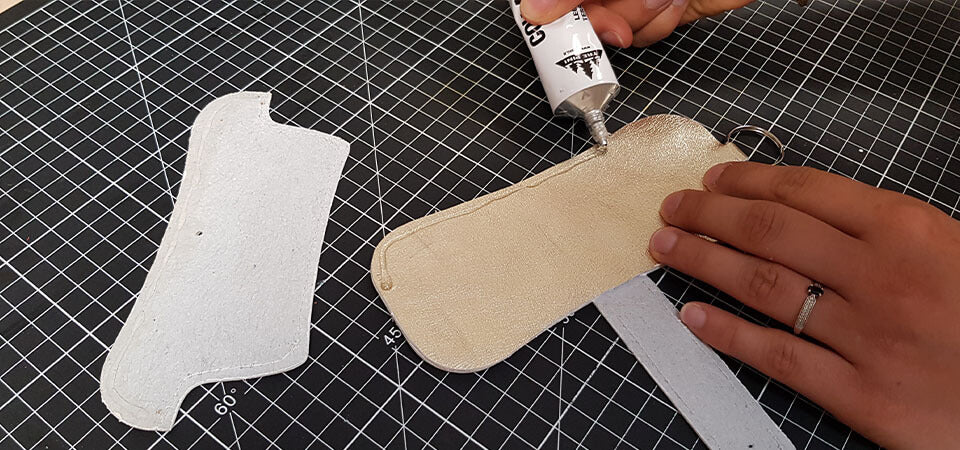
7. SEW THE PIECES TOGETHER OR ATTACH RIVETS
Version with rivets: attach T3 rivets as indicated on the pattern to hold the thicknesses together.
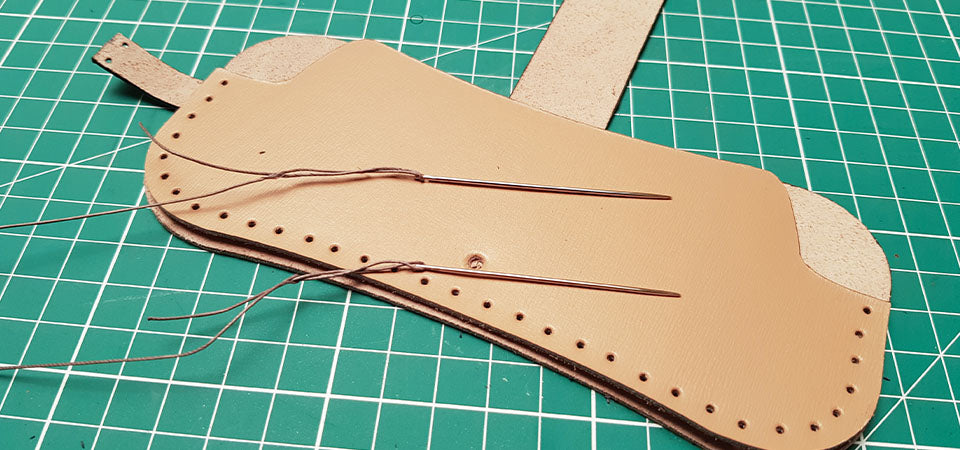
Sewing version: sew the pieces together.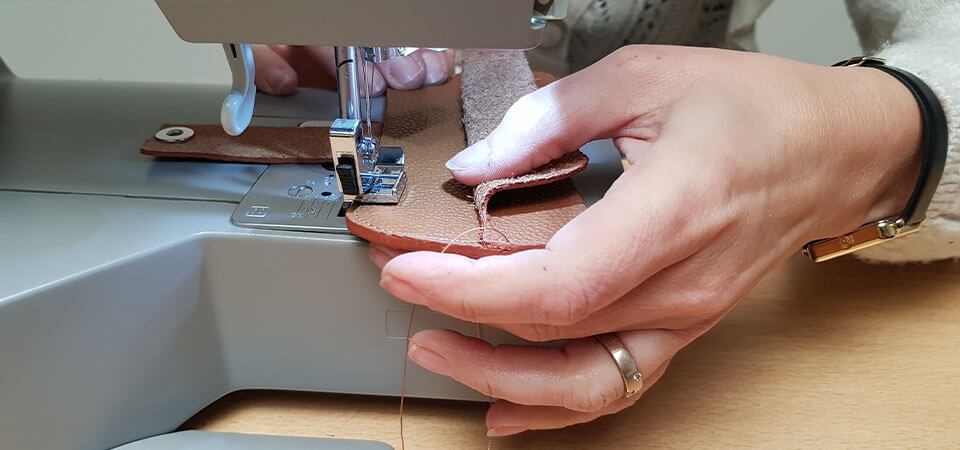
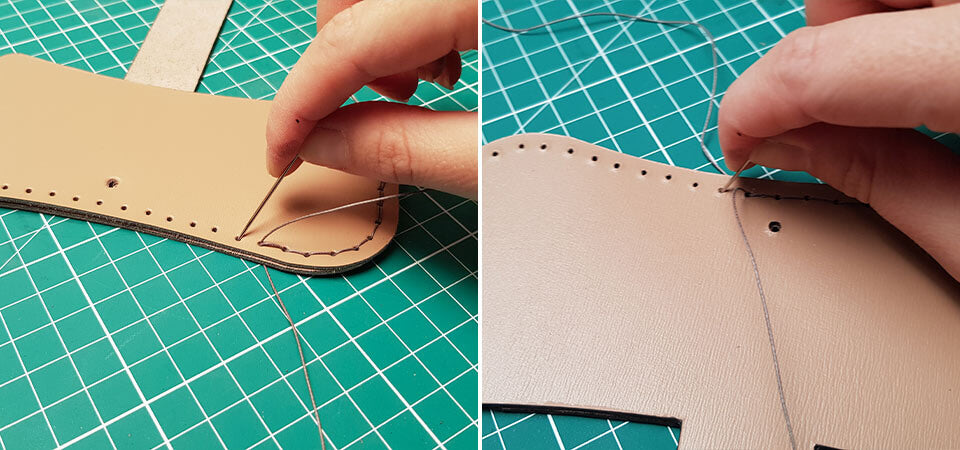
Simplified sewing version: to start, cut a thread 5 times the length of the stitching line. Then, thread a needle at each end of the thread. Sew the two pieces together by passing each needle through each hole. Make 3 backstitches.
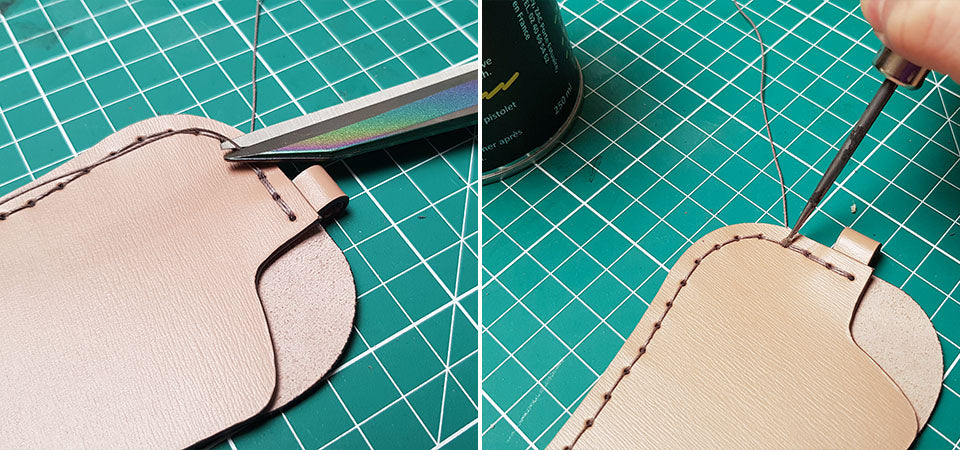
To finish the stitching, cut the thread flush and apply a dot of glue. Then tap the seams.

8. WORK THE EDGES
To better work the curves and achieve a uniform edge: sand the edges (always in the same direction) with an abrasive sponge or 400-grit sandpaper. Apply finish to the edges of the case. Then sand with the abrasive sponge and apply a second coat. If necessary, apply a third coat.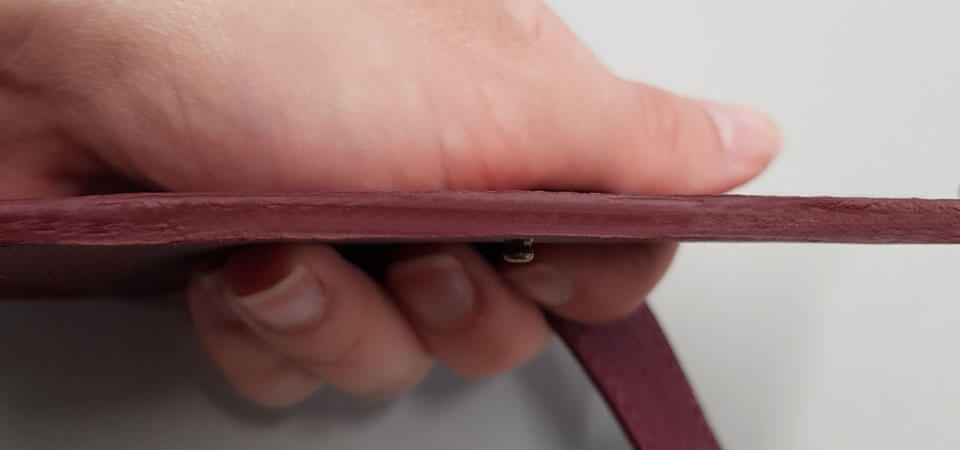
9. ATTACH THE SNAP BUTTON OR COLLAR BUTTON
Attach the snap button using an installation tool (the head on the flap and the foot on piece #3).
VIDEO: HOW TO ATTACH A SNAP BUTTON >
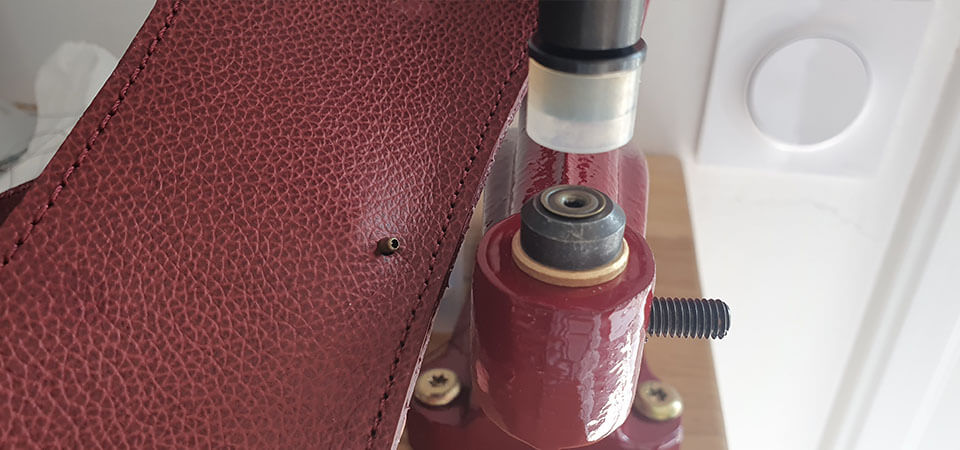

 You can choose to close your case with a collar button.
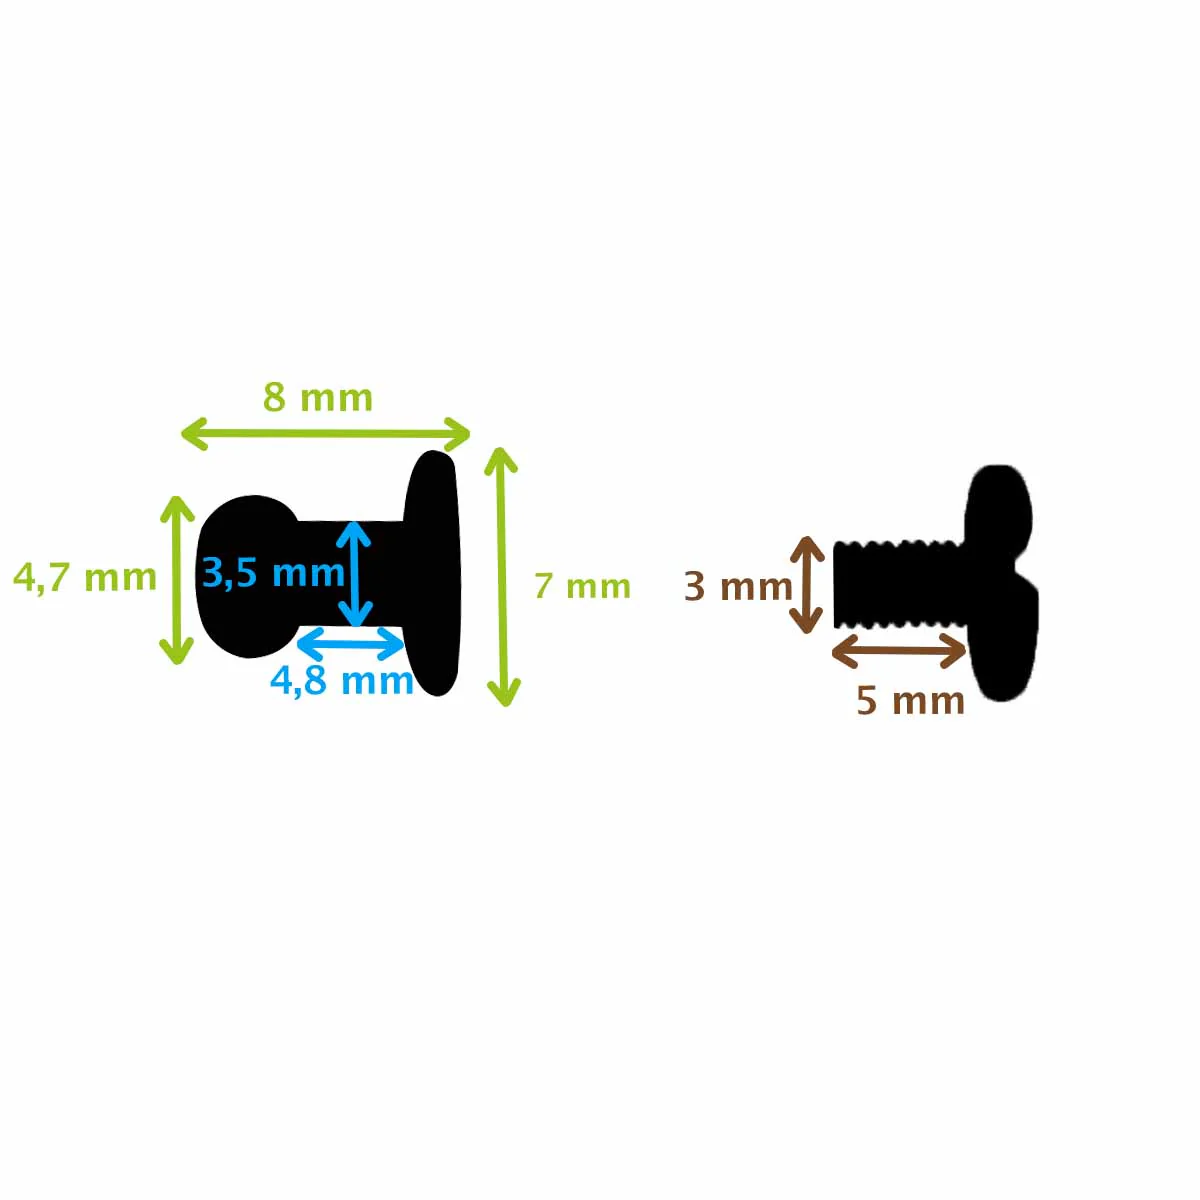
To do this, make a 3 mm diameter hole that goes through all 3 thicknesses of the leather, then screw in the collar button.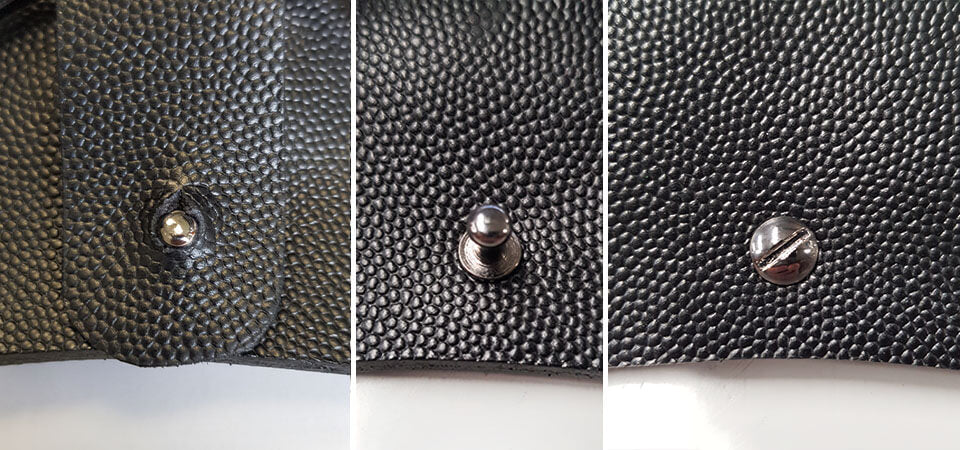
10. OPTION: PREPARE A STRAP
If you wish to wear your glasses case around your neck, make a leather strap. Make 3 holes of 3 mm in the strap, pass the carabiner through, and close the strap with a rivet.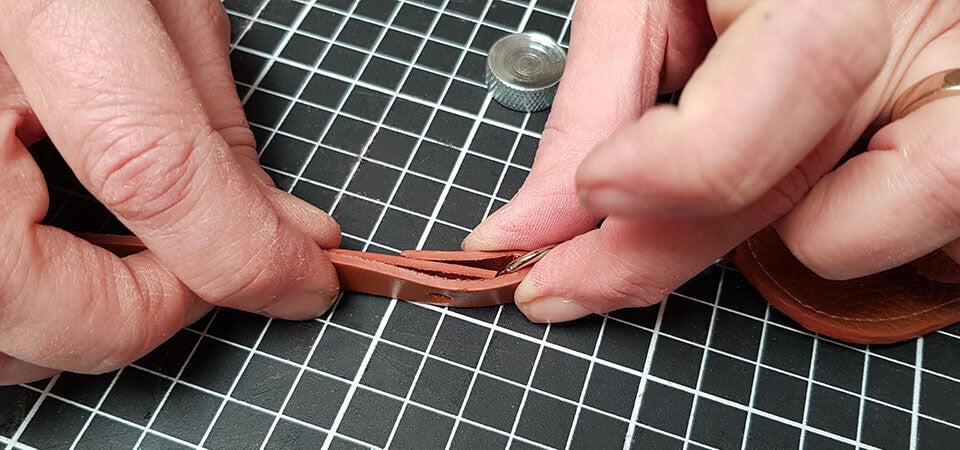
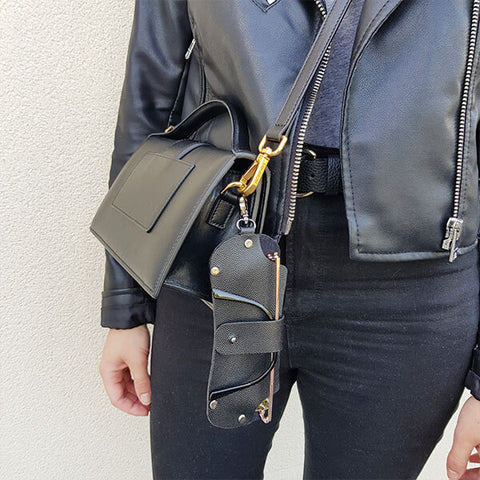
 All that's left is to attach the carabiner to the case! It's also possible to reverse the carabiner and the D-ring so you can attach your glasses case to a belt, a handbag, etc.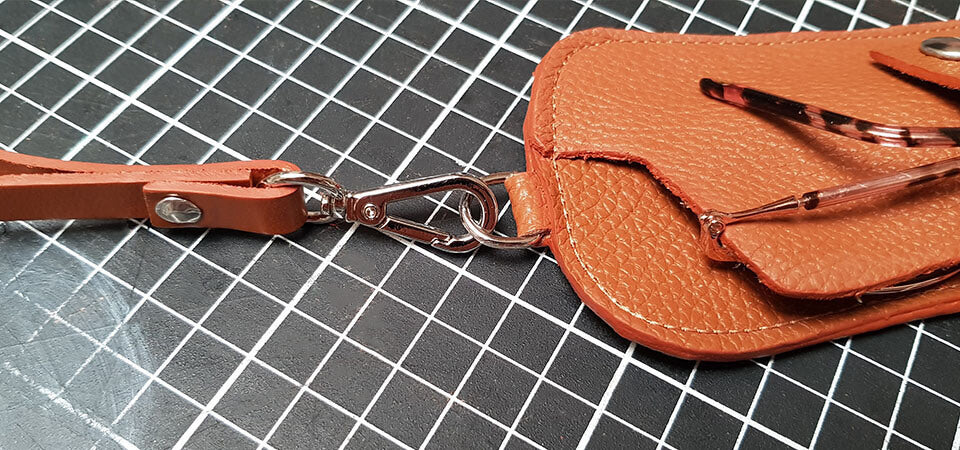
Your glasses case is finished
Ready to go everywhere with you!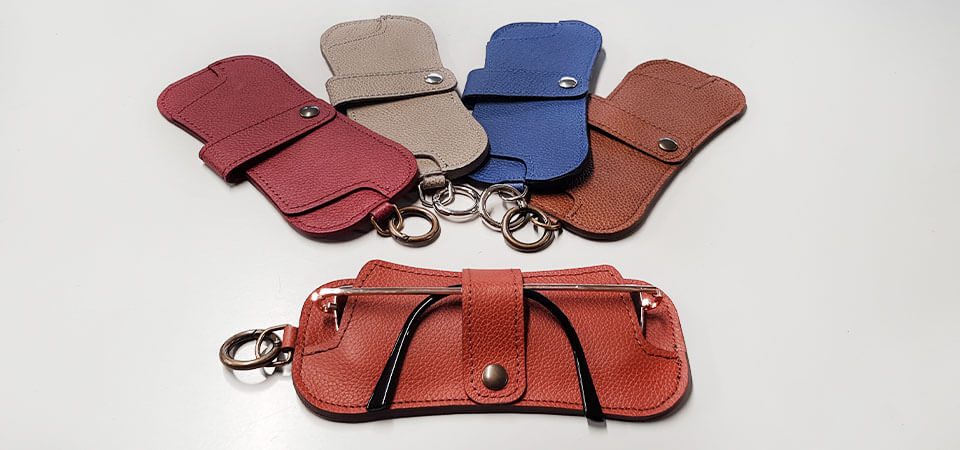
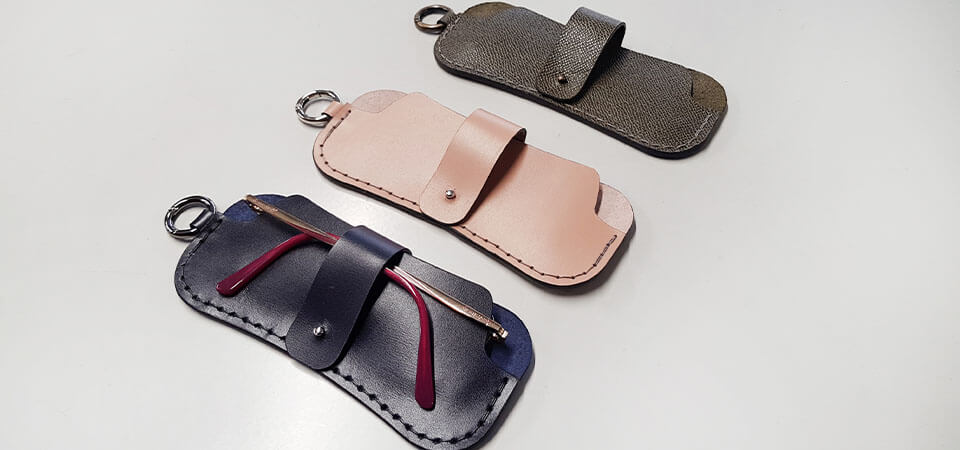
Here are other examples of creations:
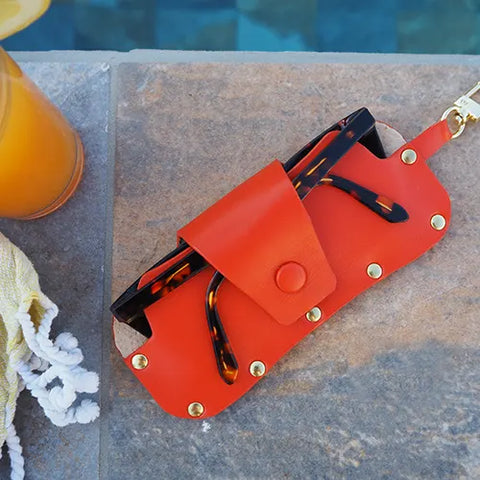
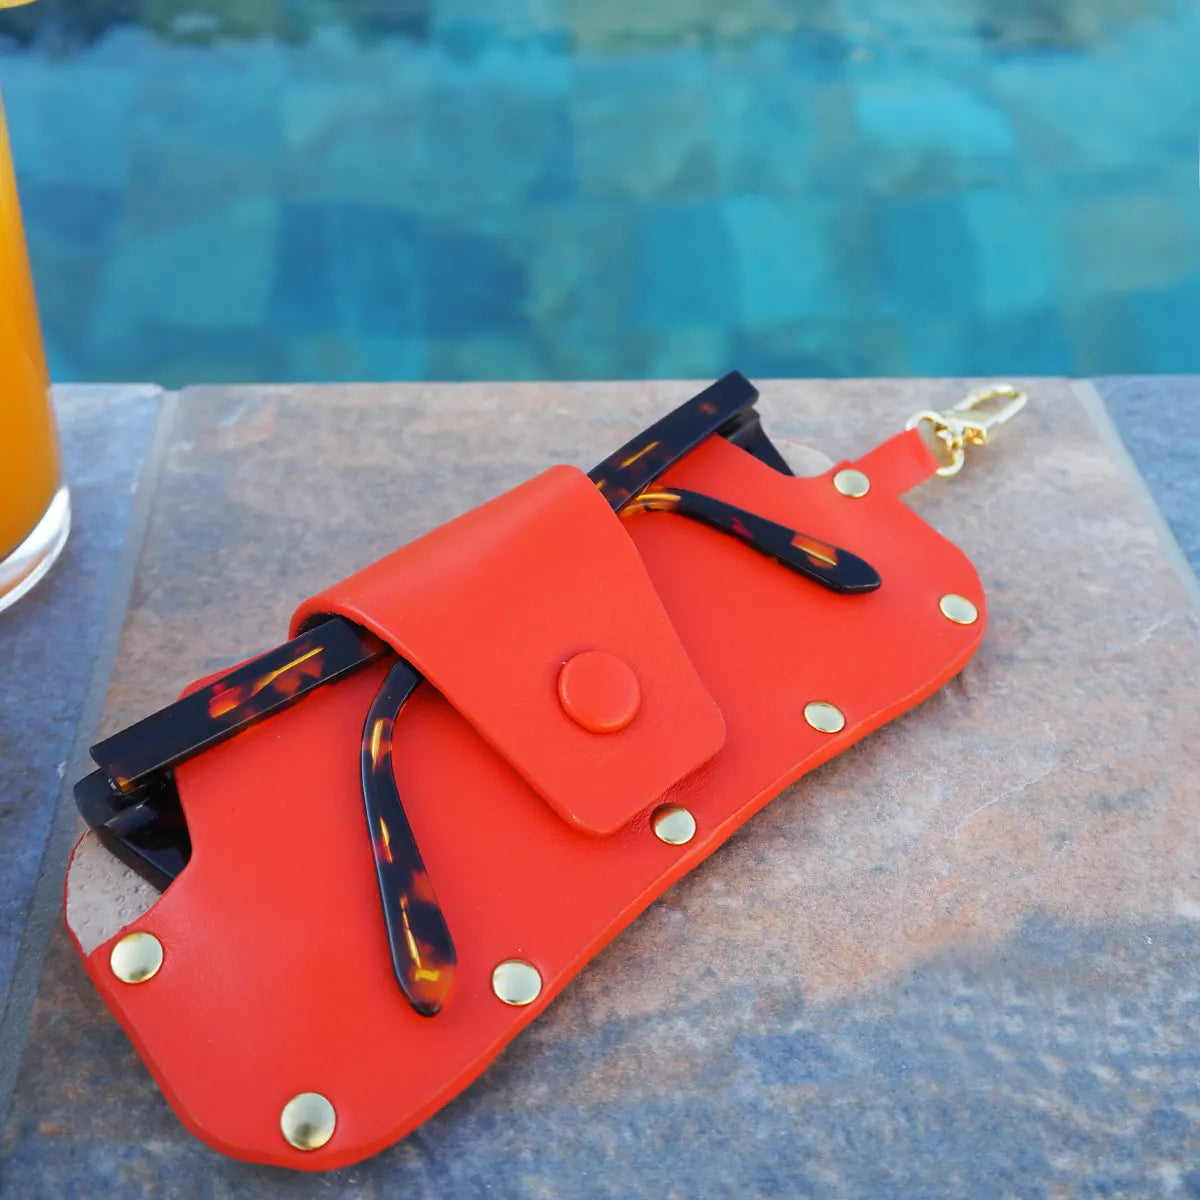
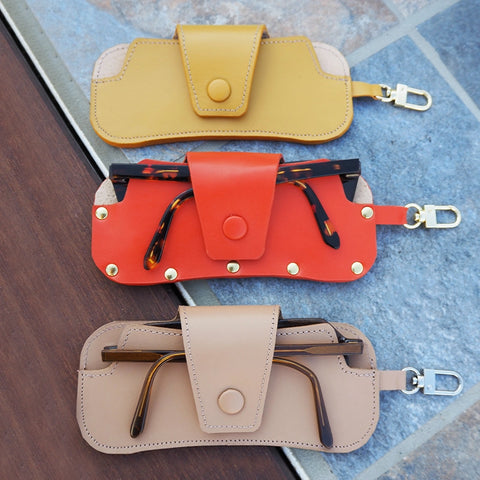
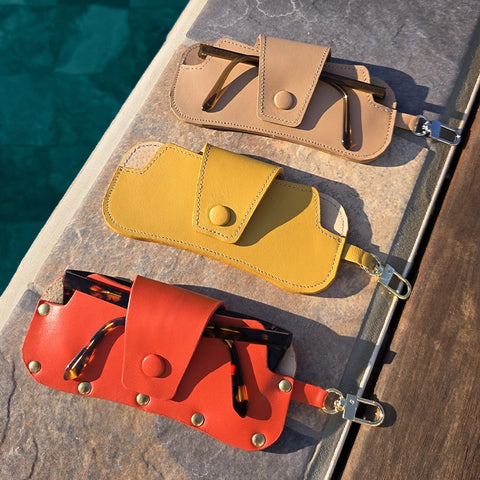
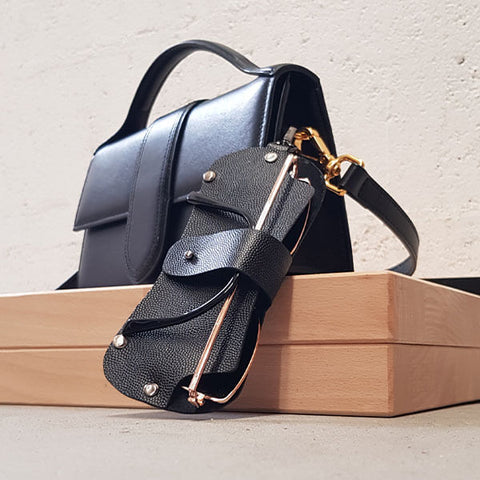
Case made without stitching, using rivets. Can be hung around the neck with a chain or on a handbag.
Leather from the PETIT GRAIN CAVIAR range
 |
 |
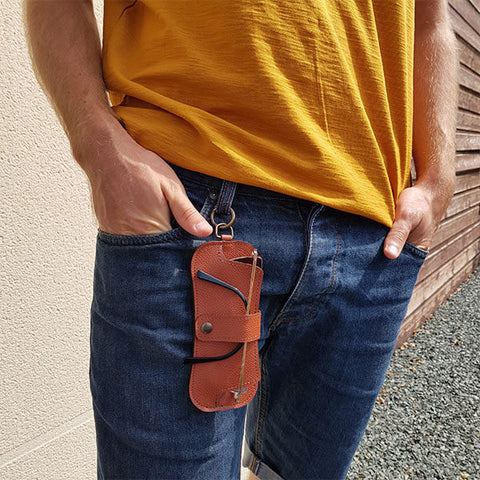
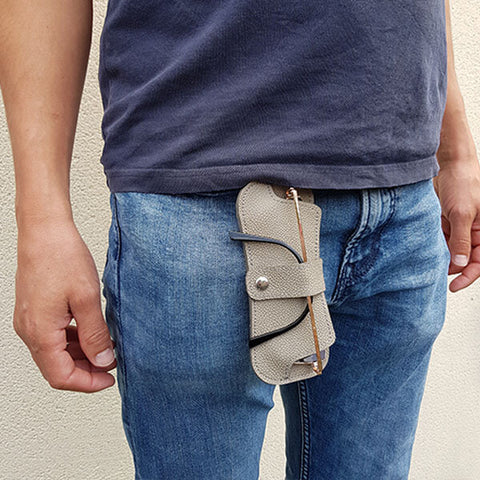
The cases below were made using the stitched version. We used round carabiners to easily attach the case to a belt.
Leathers from the ARIZONA range
 |
 |


9 comments
Deco Cuir
Bonjour,
Une licence commerciale (permanente) est effectivement en vente sur notre site au prix de 20 € : https://www.decocuir.com/collections/patron-modele-tuto-cuir-creation-maroquinerie
Merci pour votre commentaire, l’équipe Deco Cuir
Amarande GRAND GNIEWEK
Est il possible d’acquérir une licence commerciale s’i vous plait?
Anonymous
Hello,
The pattern is free 😊 Unfortunately our site is currently not available in English. You can still use Google Translate to translate it (open with browser Google Chrome):
https://www-decocuir-com.translate.goog/blogs/blog-tutoriel-patron-cuir/tutoriel-etui-lunettes-soleil-cuir?x_tr_sl=fr&x_tr_tl=en&x_tr_hl=fr&xtrpto=wapp
Have a good day,
Deco Cuir
Valerie grossmsn
Bonjour! I’d like to purchase the pattern, but I can’t get the tutorial to change to English. Can you tell me if instructions are available in English? Merci!
Olga B Campbell
Thank you so much for the beautiful and quick pattern. Those cases look amazing!
Anonymous
Bonjour Jay,
Nous venons de rajouter le patron SVG de la version “Couture simplifiée” dans l’onglet de téléchargement.
Bonne journée, l’équipe Deco Cuir.
Anonymous
Bonjour, est-il est possible d’ajouter le patron cricut (svg) de la version “couture simplifiée”. Le SVG actuel ne propose que la version “avec couture” dont la partie découpée s’arrête plus bas (avant le bas du mousqueton). J’aurai aimé avoir celui qu’on reçoit avec le tutoriel du kit. Merci d’avance.
Anonymous
Merci!!! Vraiment Jolie!!!
Anonymous
Merci à vous pour ce partage, je vais m’en faire un très vite !