


Here are the steps to follow:
1. Cut a small 6 x 6 cm leather square, with a thickness of 0.5 mm. Apply contact glue to the back of this square.
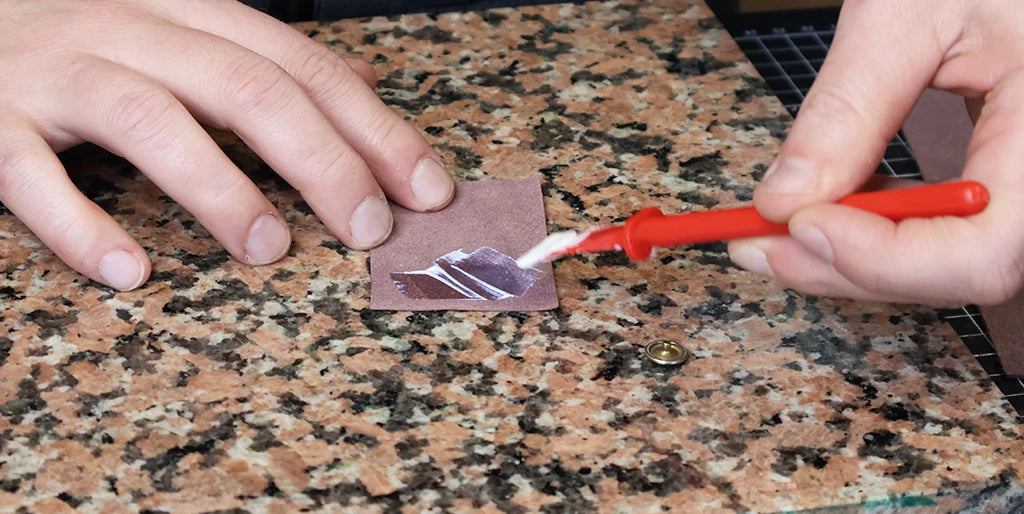
2. Let the glue dry for a few moments, then lightly sand the snap fastener's head to improve adhesion.
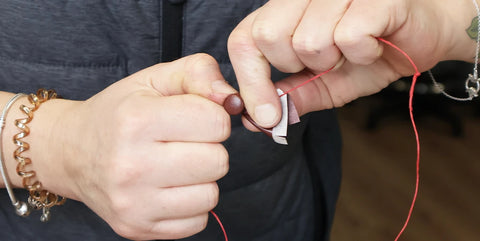
3. Place the snap fastener's head in the center of the leather square, then fold the leather inward towards the snap fastener.
 |
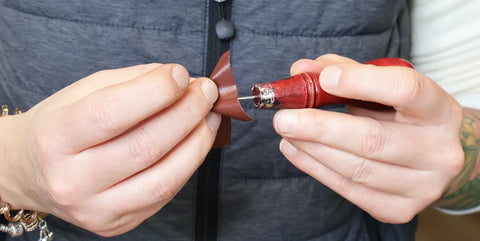 |
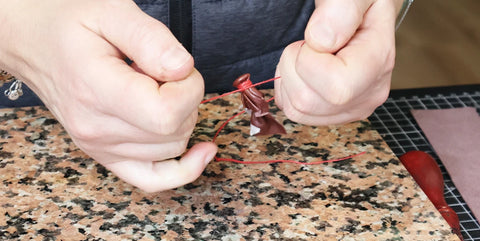
4. Use thread to wrap several times around the snap fastener's post to pull the leather inward towards the snap fastener. Tighten very firmly and tie a knot.
Allow the glue to dry for several hours (or even a full day) to ensure a good hold.
 |
 |
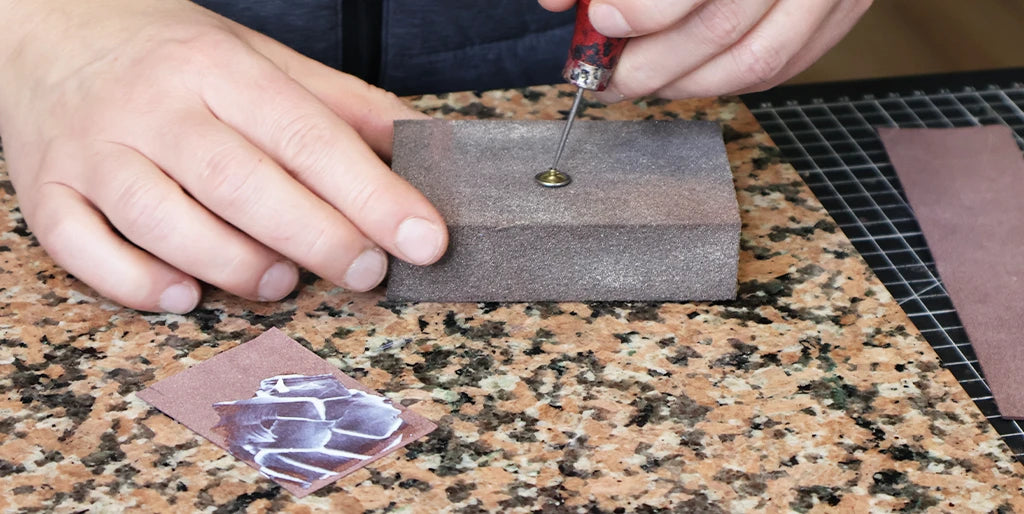
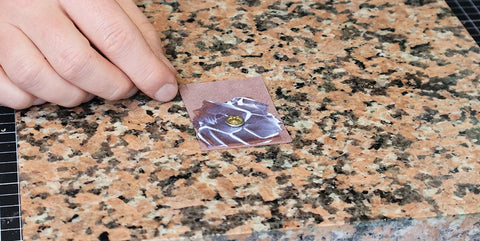
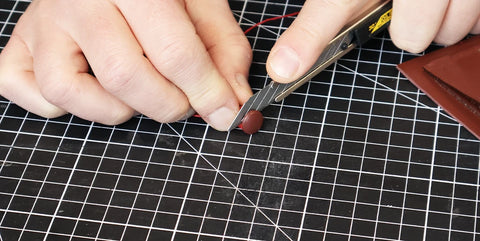
5. Once the glue is dry, use a utility knife to trim the excess leather around the snap fastener's head. Gently fold the edges of the leather into the snap fastener with your fingernails.
 |
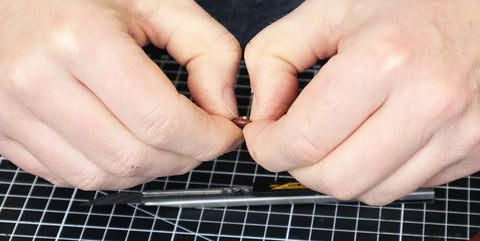 |
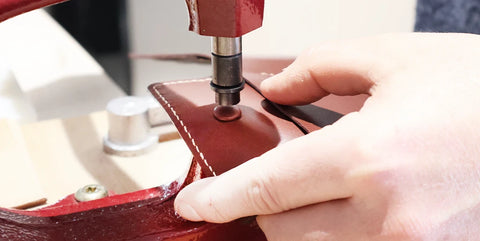
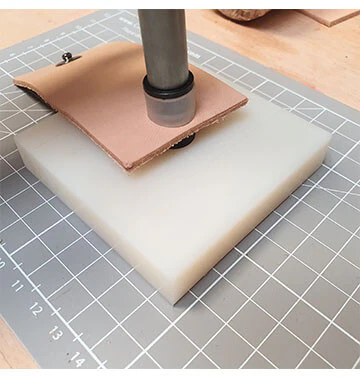
6. Attach the snap fastener to the designated spot on piece P3/P4.
 |
 |
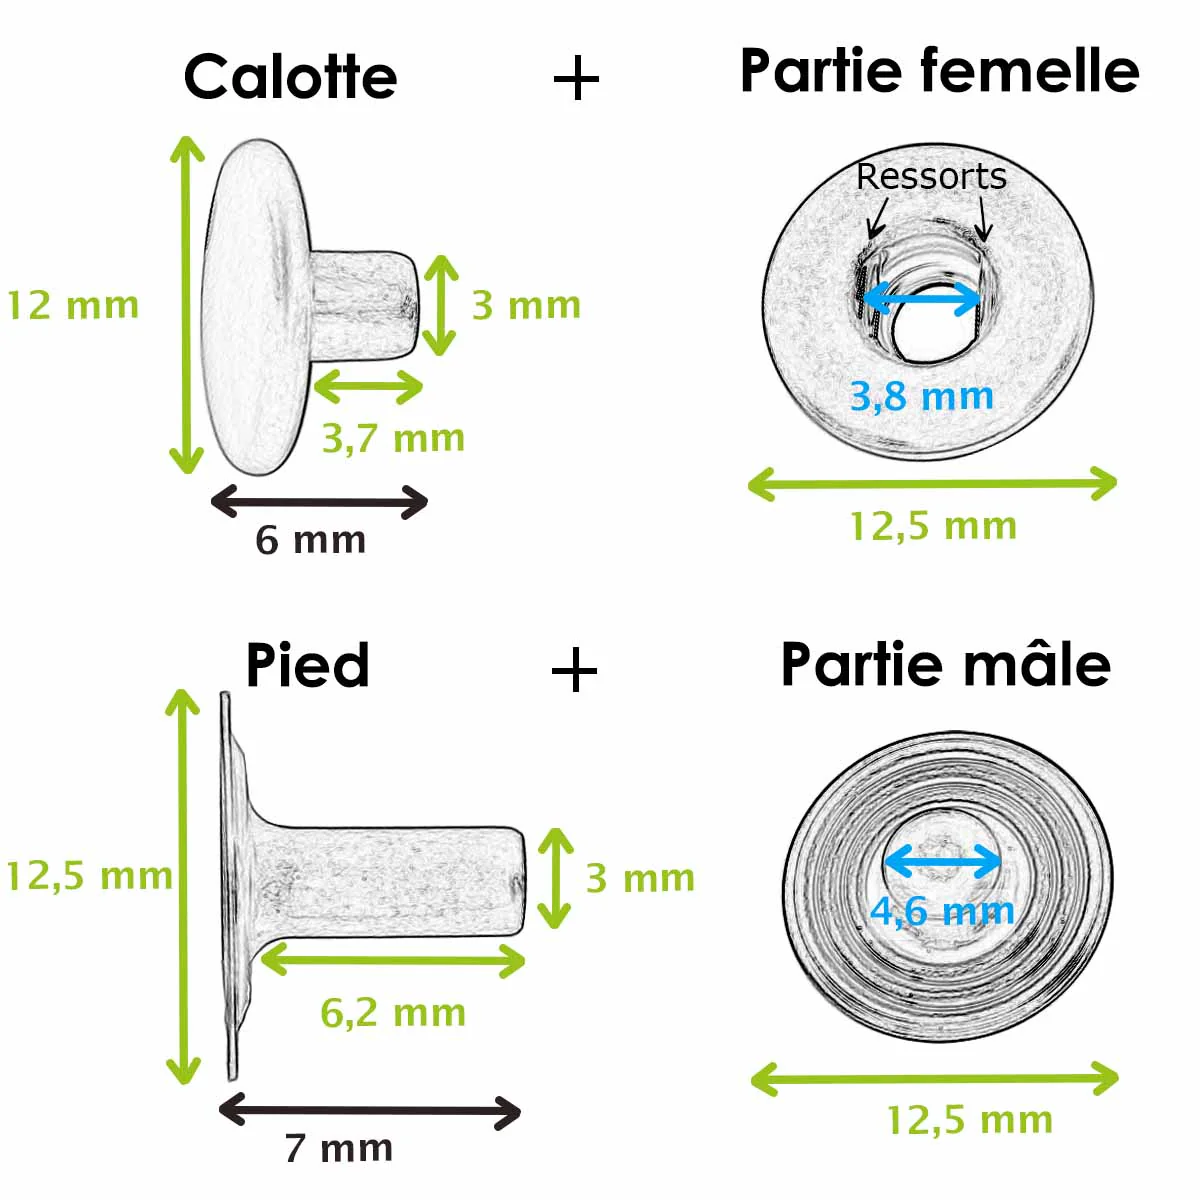
HOW TO ATTACH A SNAP FASTENER?


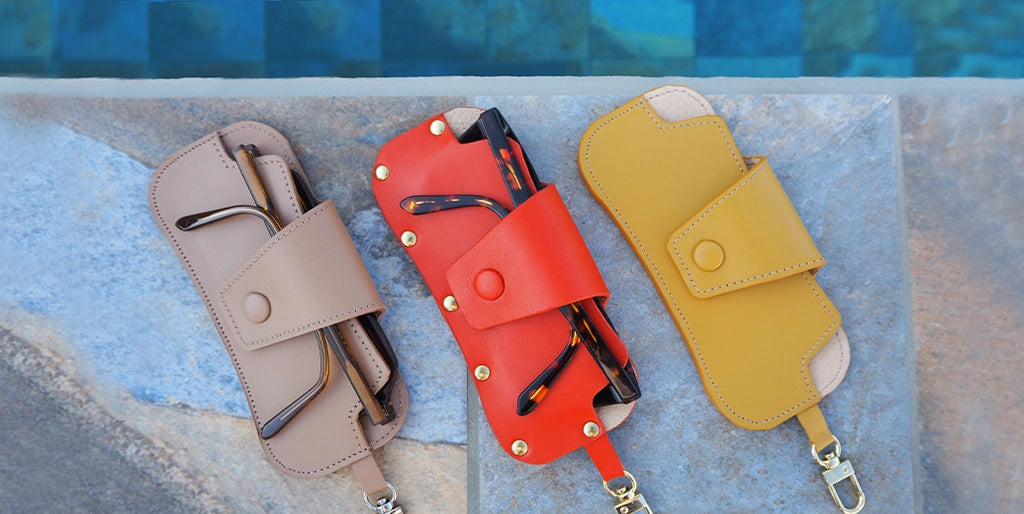
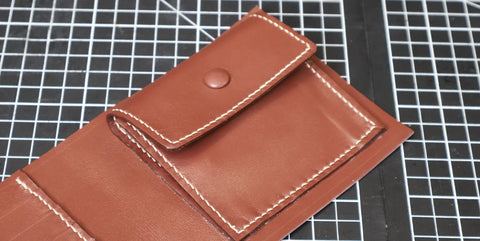
ANOTHER EXAMPLE OF CREATIONS WITH A COVERED SNAP FASTENER: