


THE MATERIAL
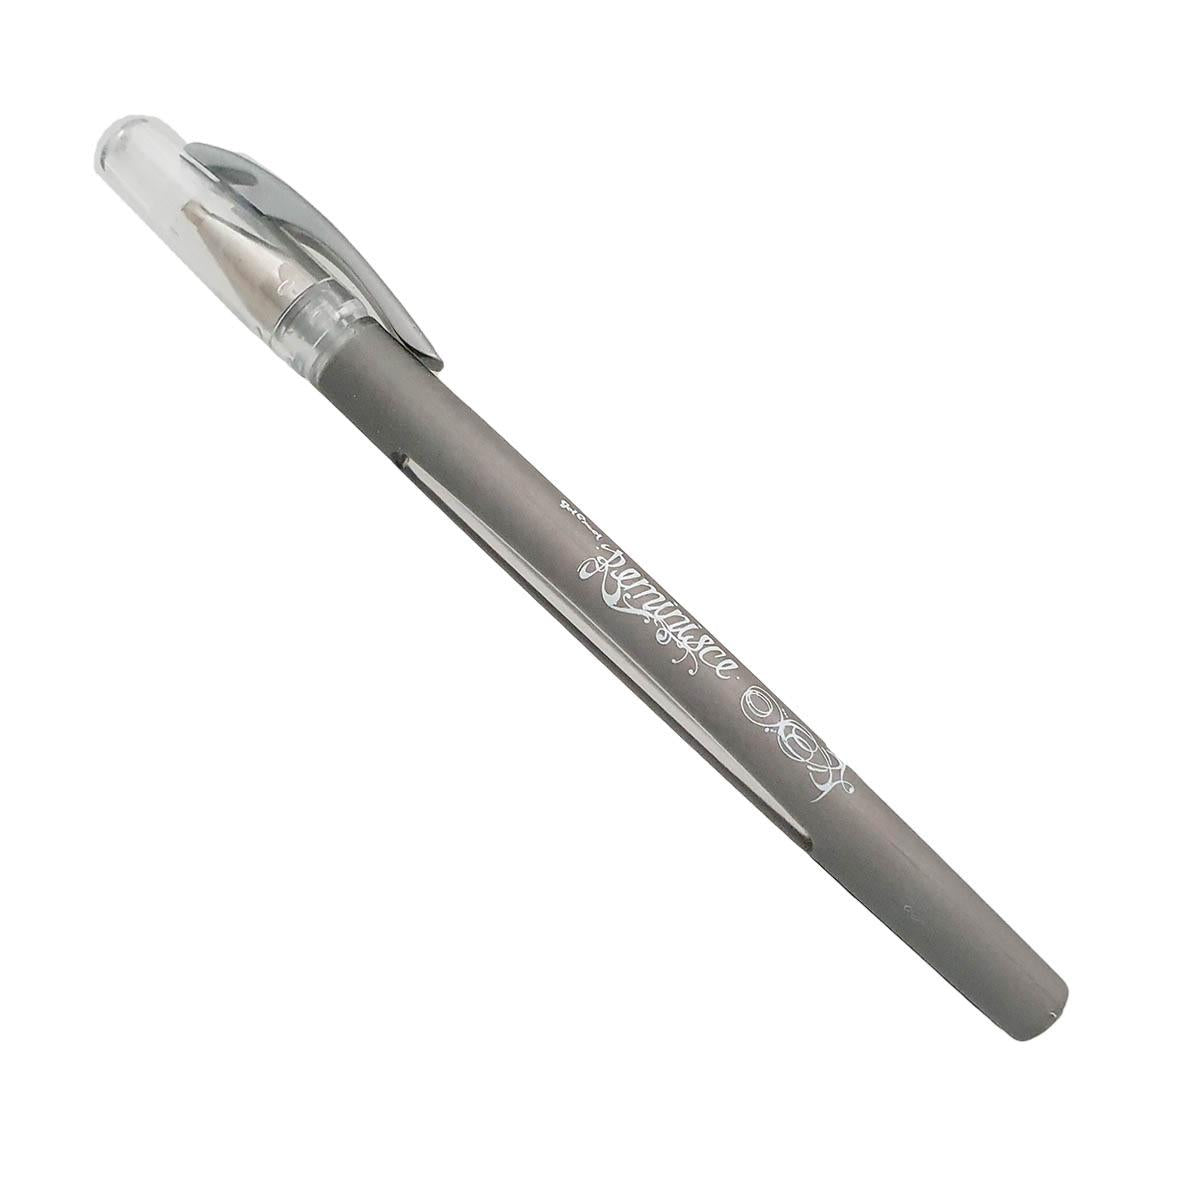
For this tutorial, everything needed is provided in the kits: silver pencil, punch, piece of leather, leather strap, chicago screw and a bag clasp.
All you need is a mallet, a screwdriver, and a cutter! For this tutorial, we chose firm, thick leathers (between 1.5 and 2 mm thick). 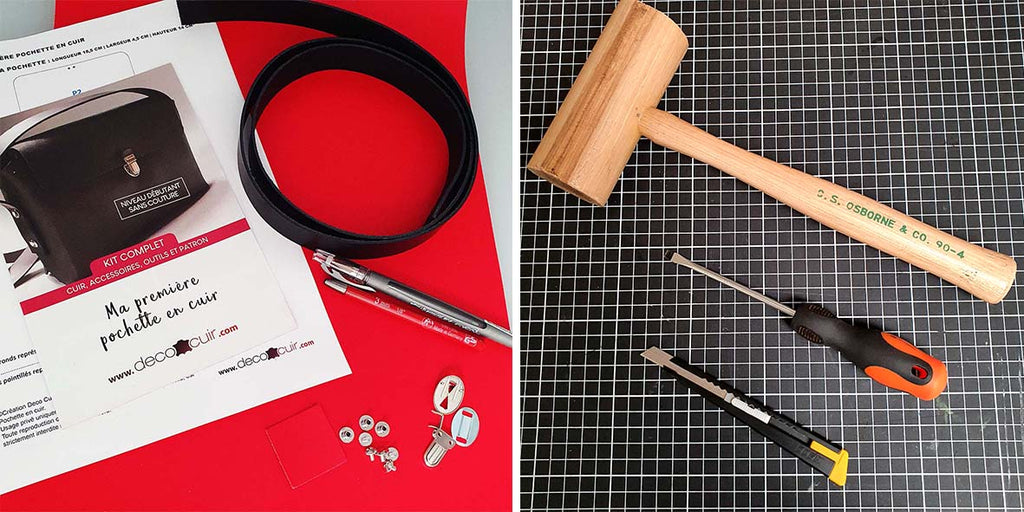
1. CUT OUT THE PIECES
Cut out the pattern pieces (download them in the dedicated tab - at the very top of the page) and assemble them with adhesive tape. 
Using the 3mm punch and a mallet, make the holes indicated on the template. 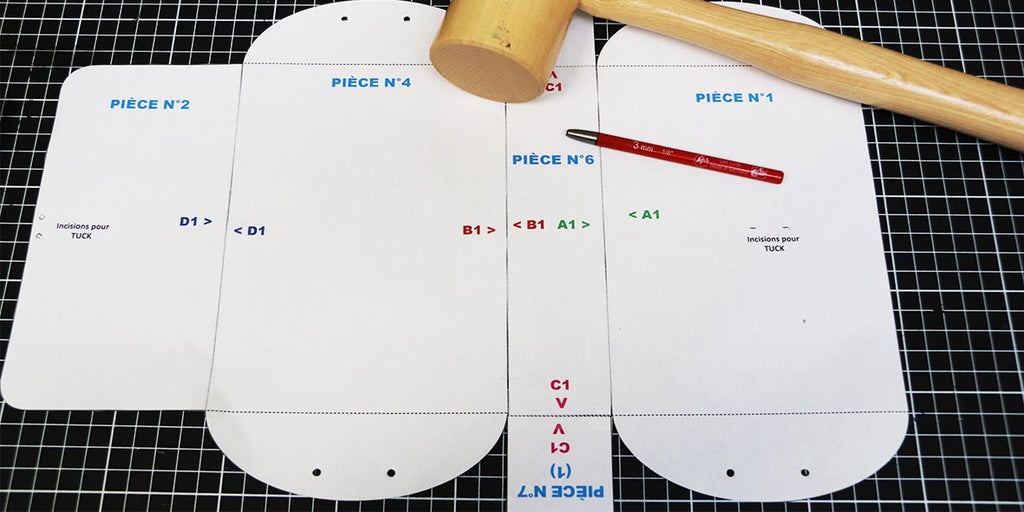
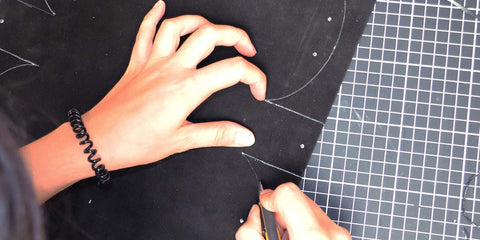
2. TRACE THE PIECES ON THE LEATHER
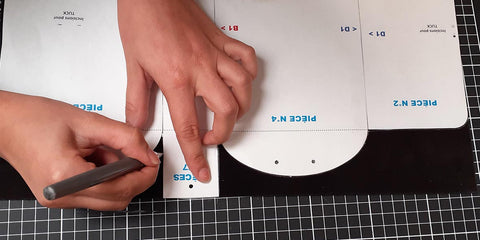
Using the silver pencil, trace the template pieces onto the back of the leather - the split side. Also remember to mark the positions of the holes.
 |
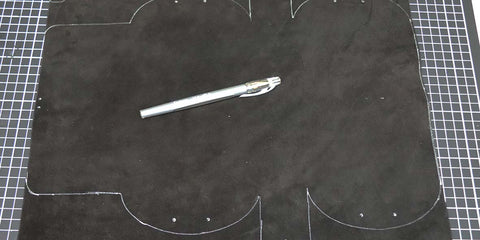 |
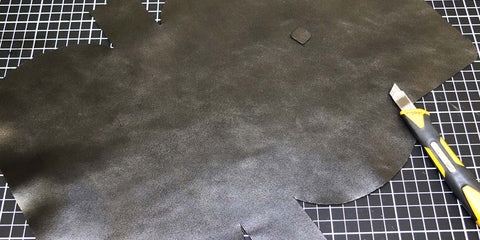
3. CUT OUT THE PIECES
Cut out the leather pieces using a metal ruler and a craft knife. Piece #7 should be cut from the split piece of leather. Note: This piece only needs to be cut if you are using a binder clip.
 |
 |
4. MAKE THE HOLES IN THE LEATHER
Make the holes in the leather using the 3mm punch. 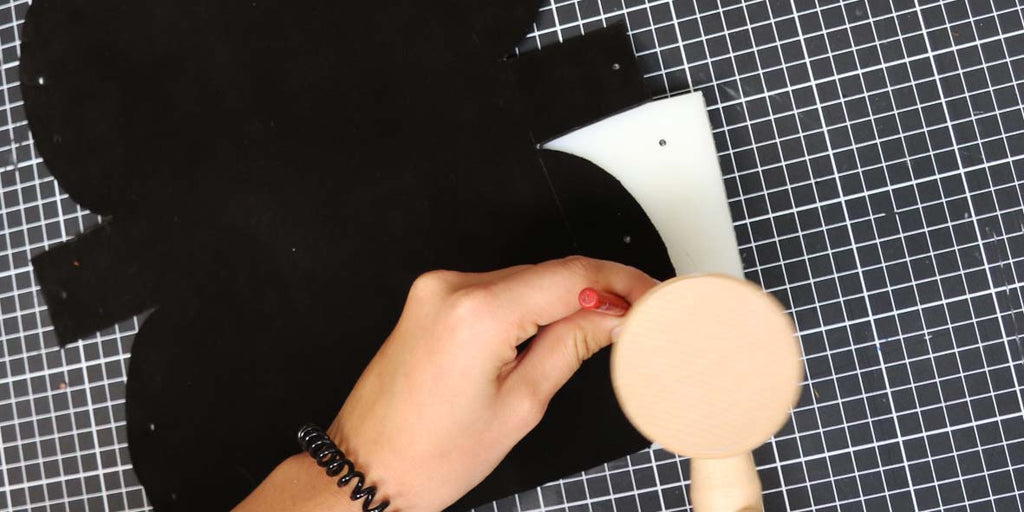
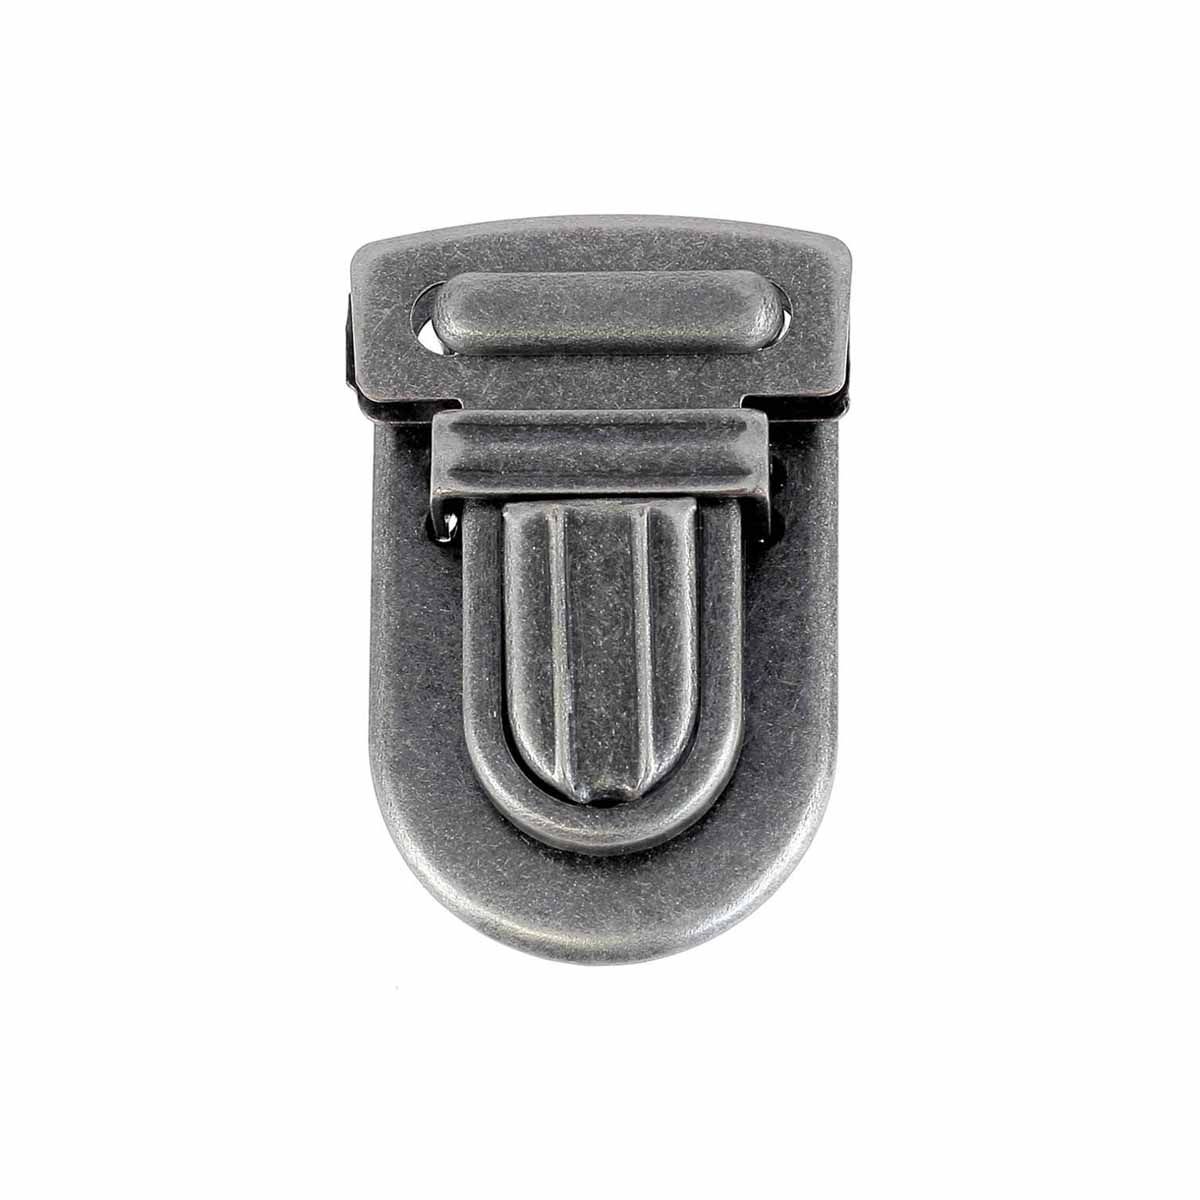
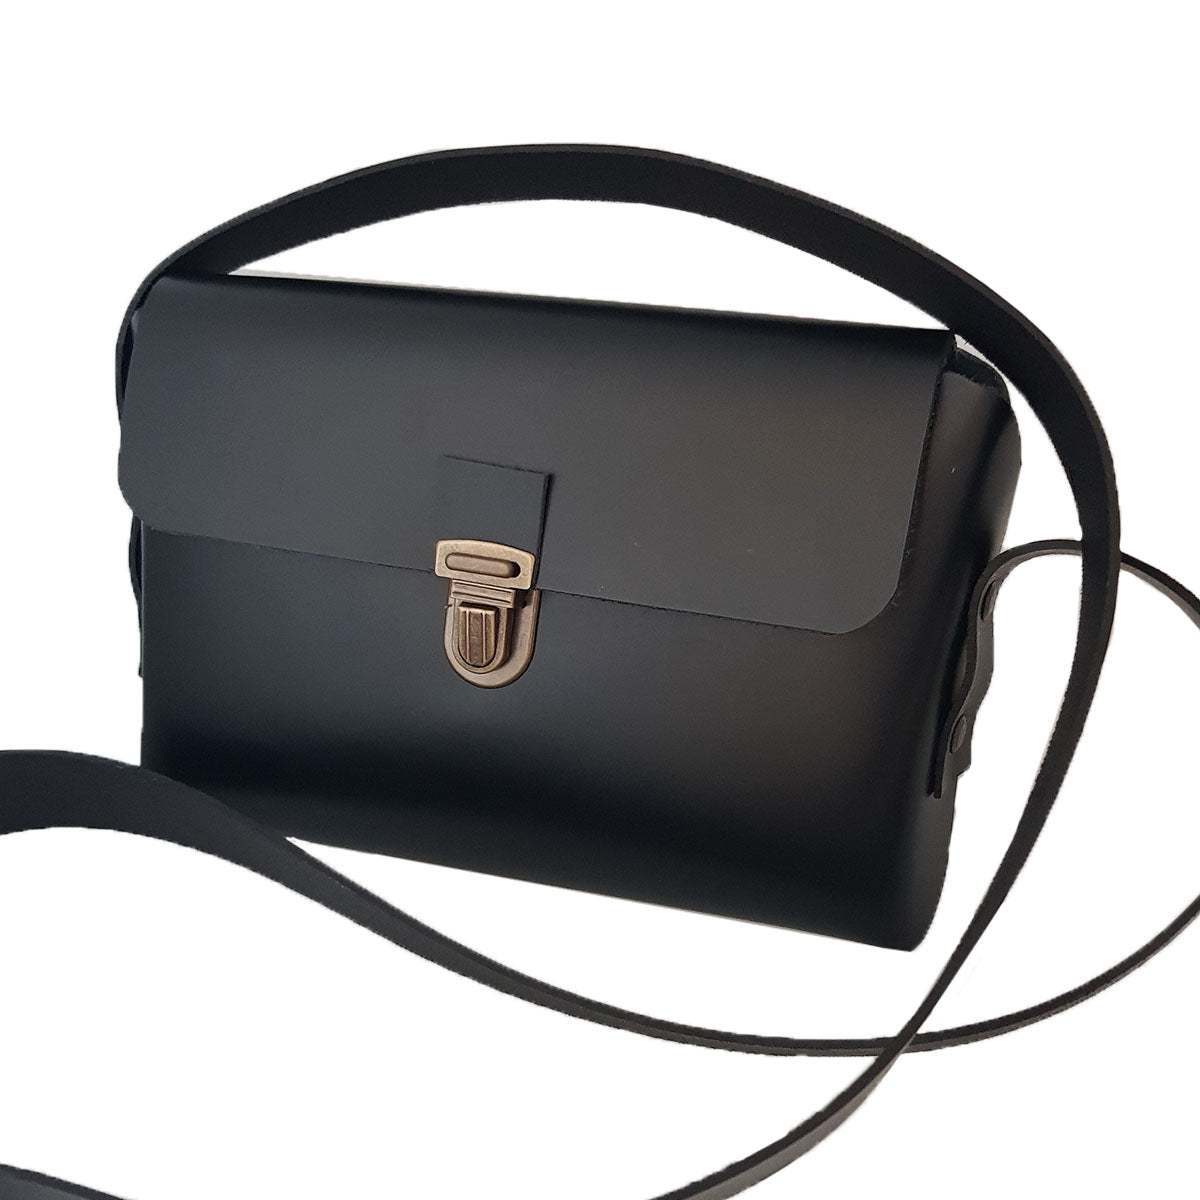
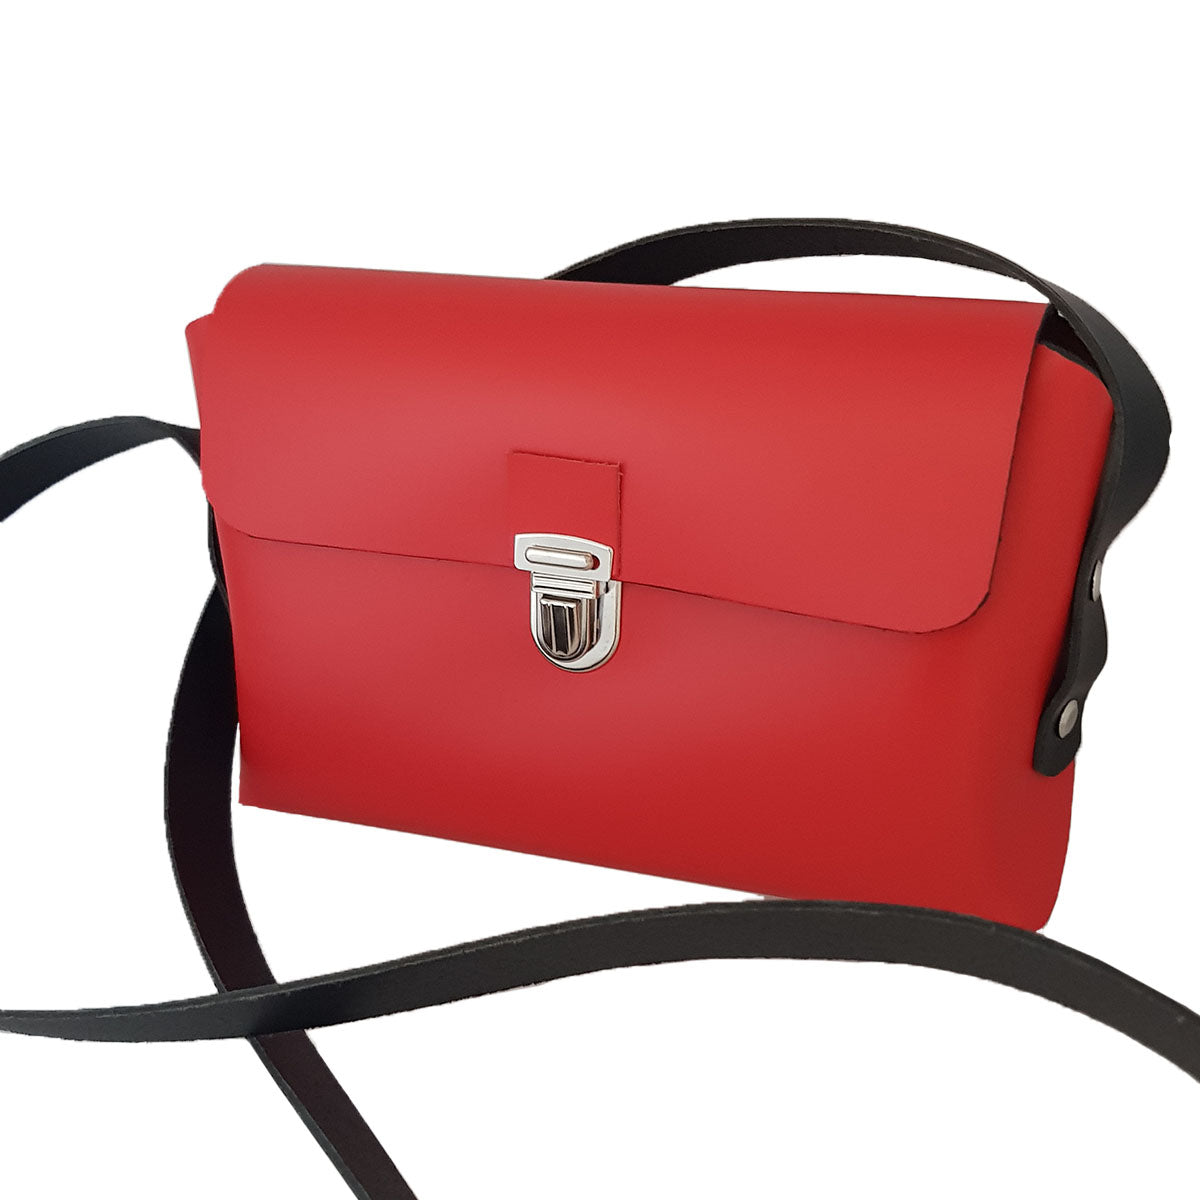
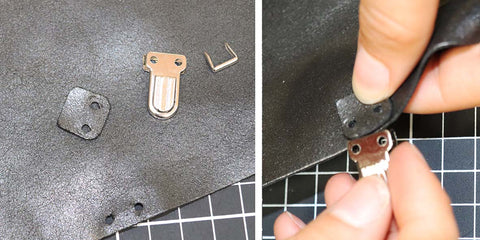
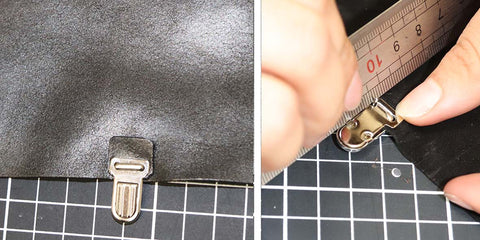
5. INSTALL THE SCHOOL BAG CLIP - TUCK
Place the first part of the binder closure (tuck) on the front of the pocket where indicated on the pattern. Place the tab (piece no. 7) between the main piece and the tuck, then insert the staple into the holes in the tuck and fold down the prongs using the ruler.
 |
 |
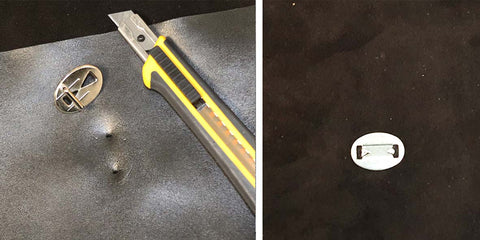
Make 3 mm incisions in the 2 places indicated on the pattern and place the second part of the binder closure. Place the small steel plate and fold the claws over it.
 |
 |
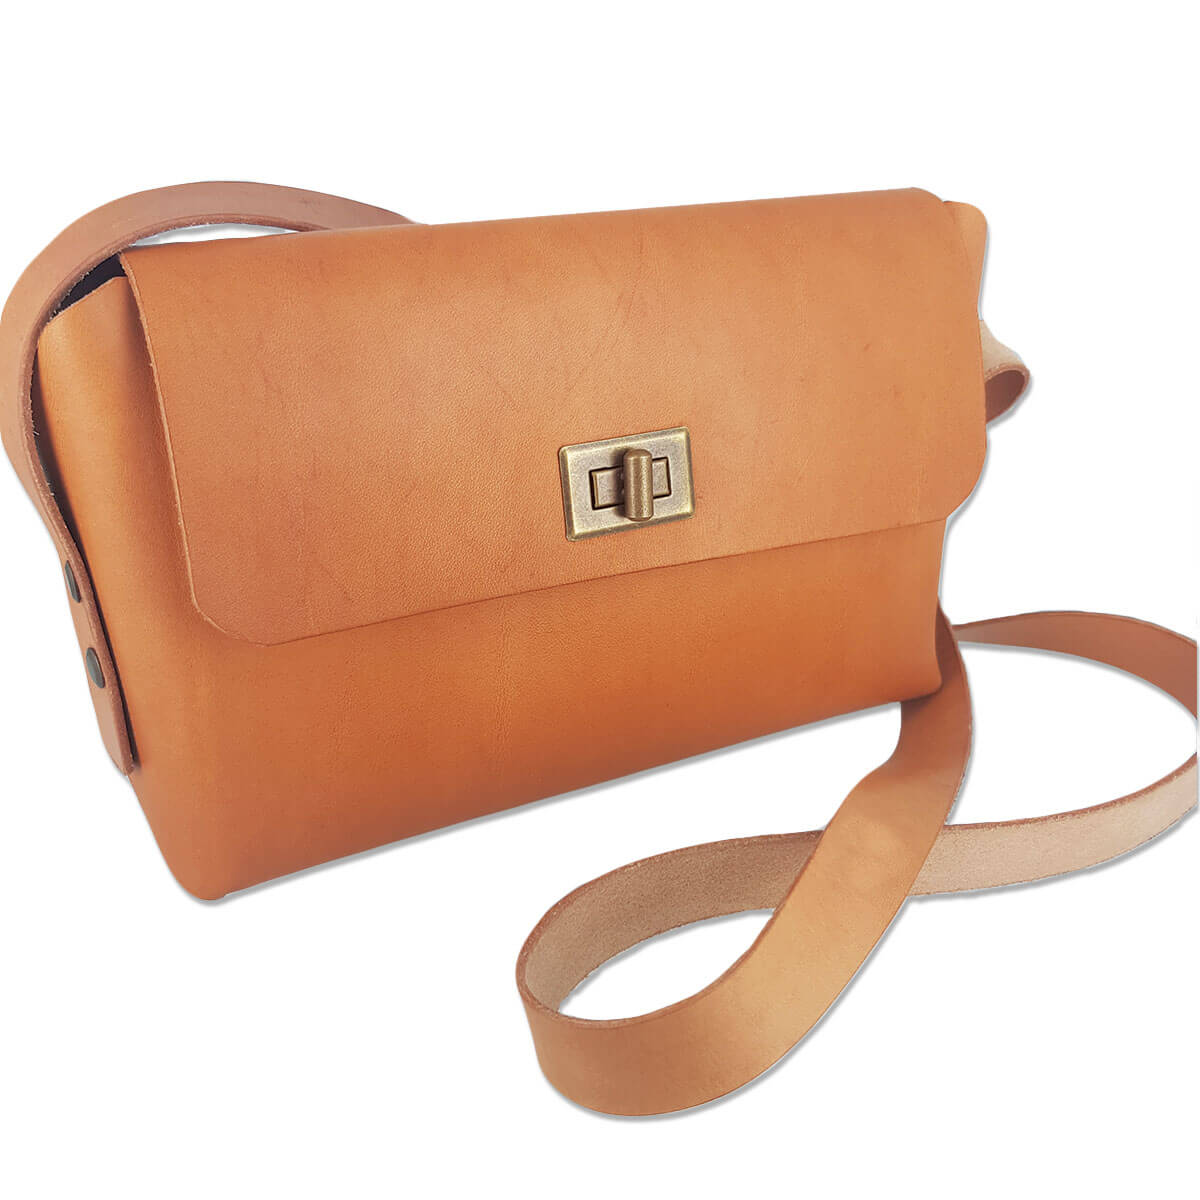
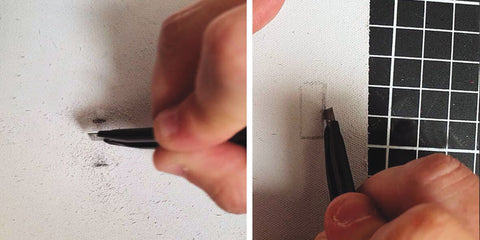
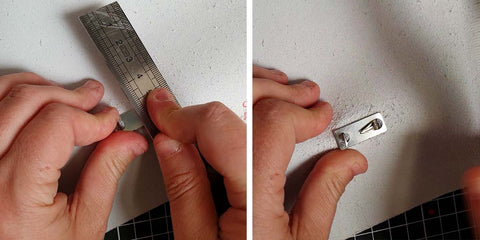
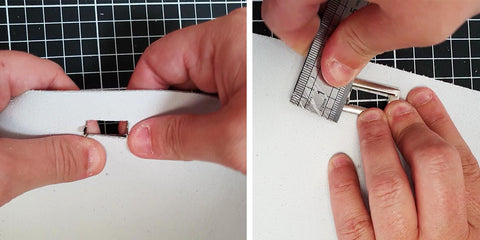
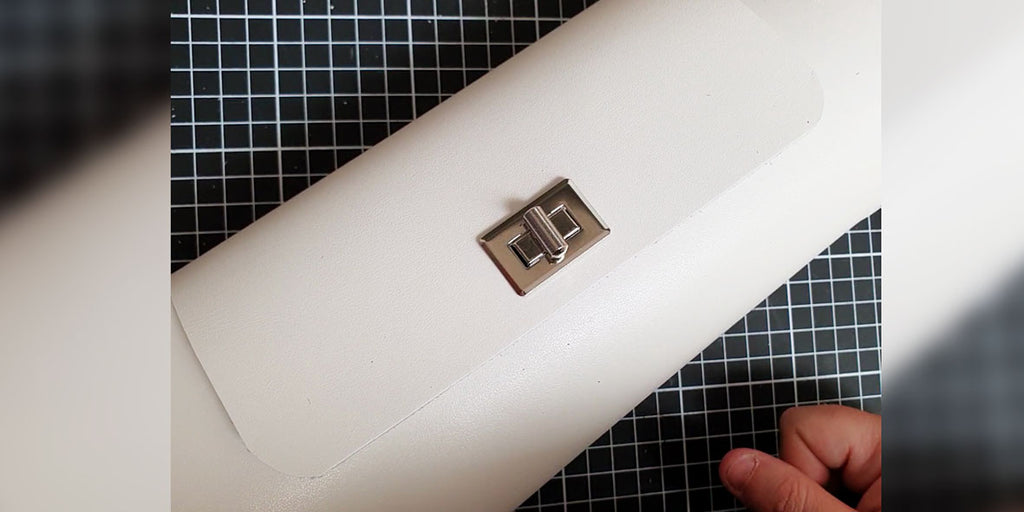
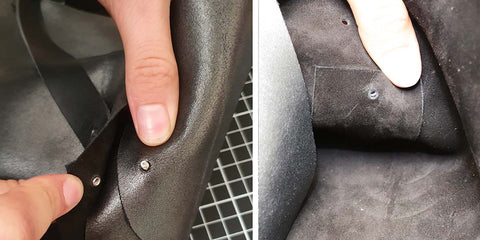
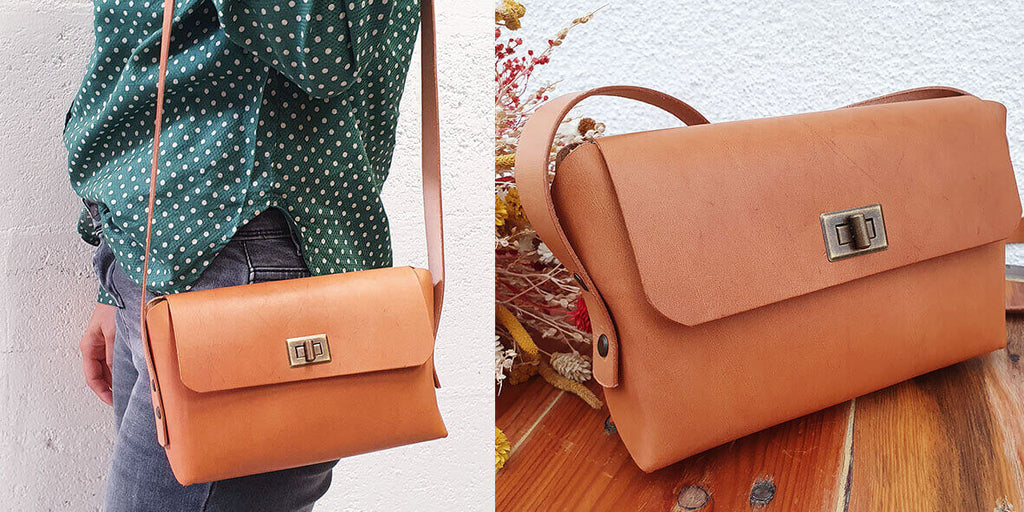
6. WHERE TO PLACE THE TOURNIQUET CLASP
Make the 5 mm incisions (piece no. 1) and cut out the rectangle indicated on the pattern (piece no. 2). Place the clasp turnbuckle at the location of the incisions indicated on the pattern.
 |
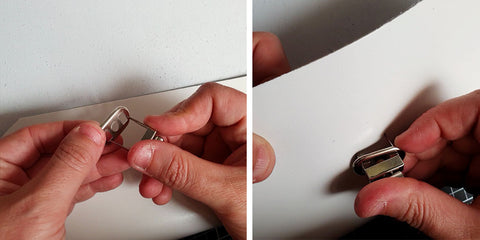 |
On the crust side of the leather (reverse side), fold down the claws of the turnstile using a ruler. Then place the second part of the clasp on the front of the bag.
 |
 |
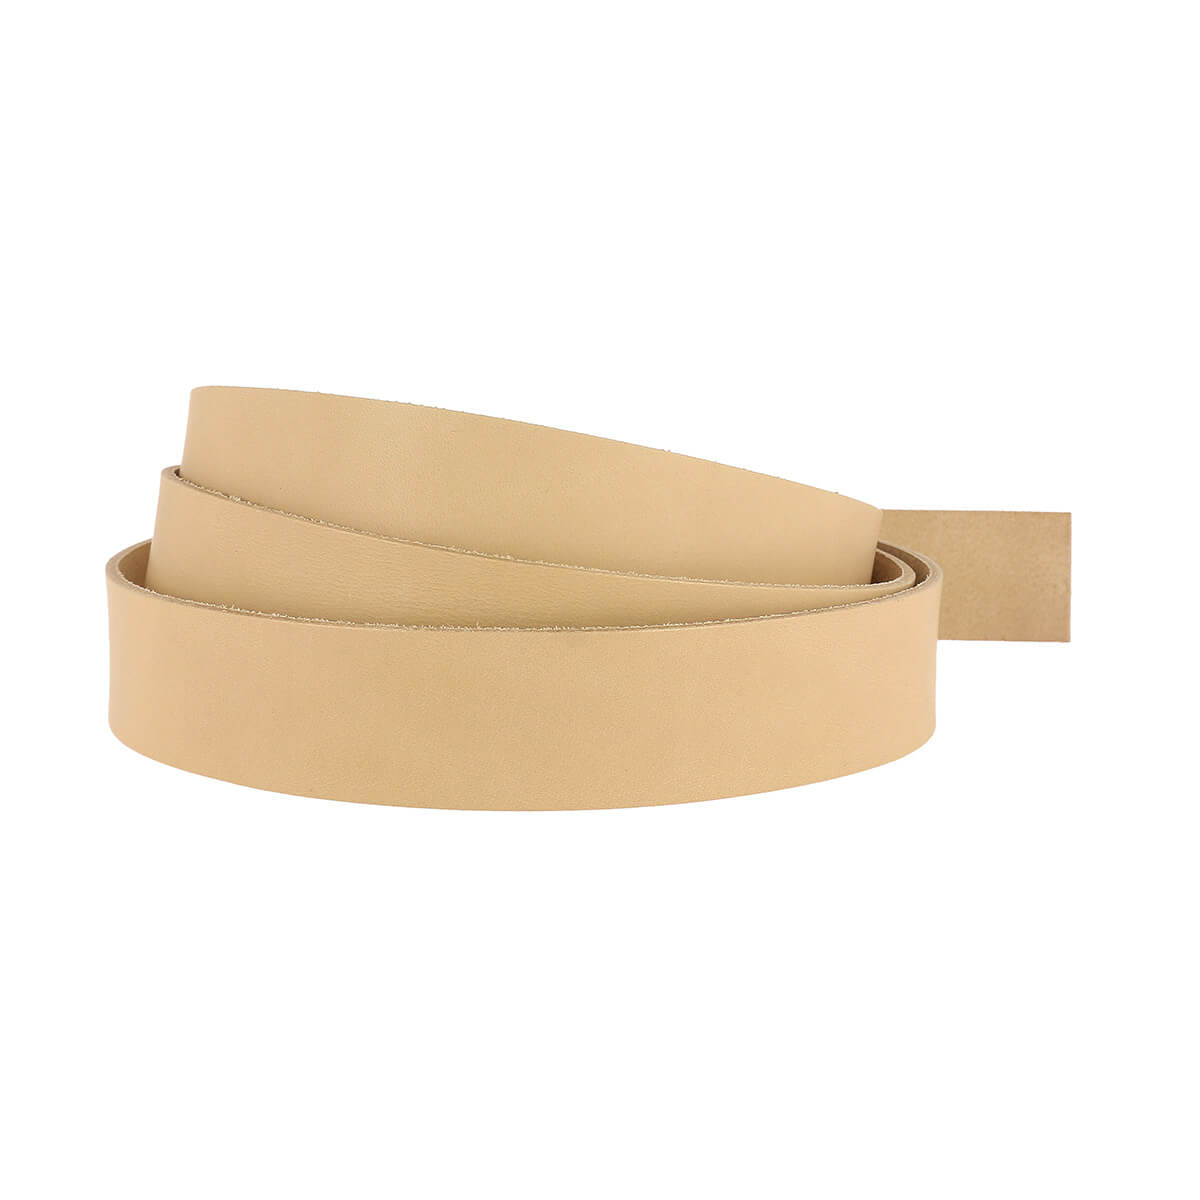
7. ADJUST THE LEATHER STRAP
Adjust the length of the strap to fit your size (cut off the excess with scissors). Using the punch, make two holes centered at each end, 1.2 cm and 4.5 cm from the edge. 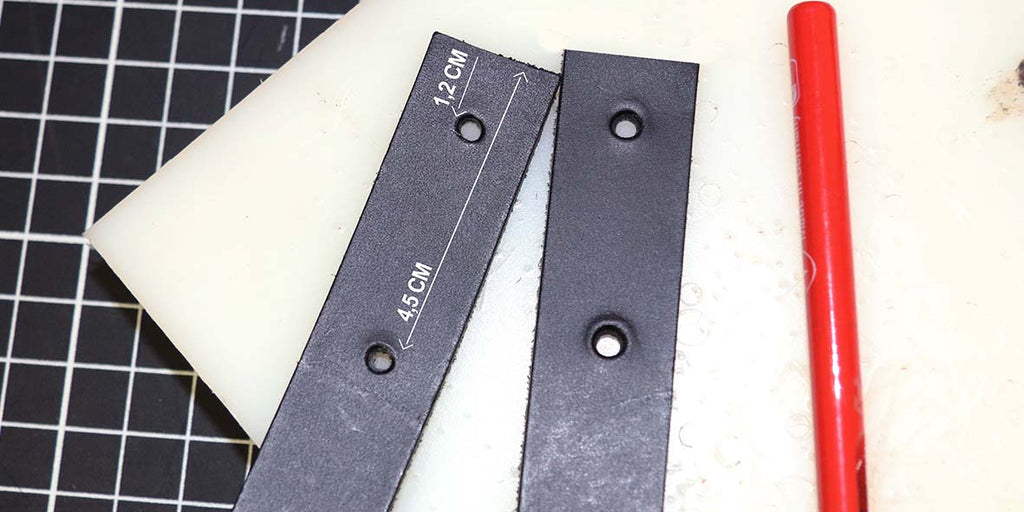
8. MARK THE FOLDS
Using the mallet, strike the crease areas (indicated on the dotted pattern) on the reverse side of the leather (split side) or on the right side (grain side), placing a protective piece to avoid marking the leather. 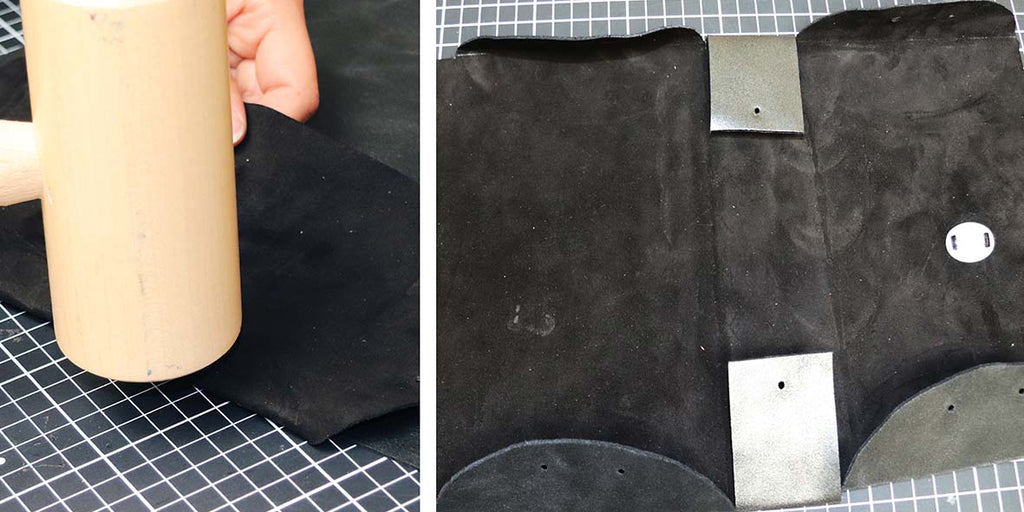
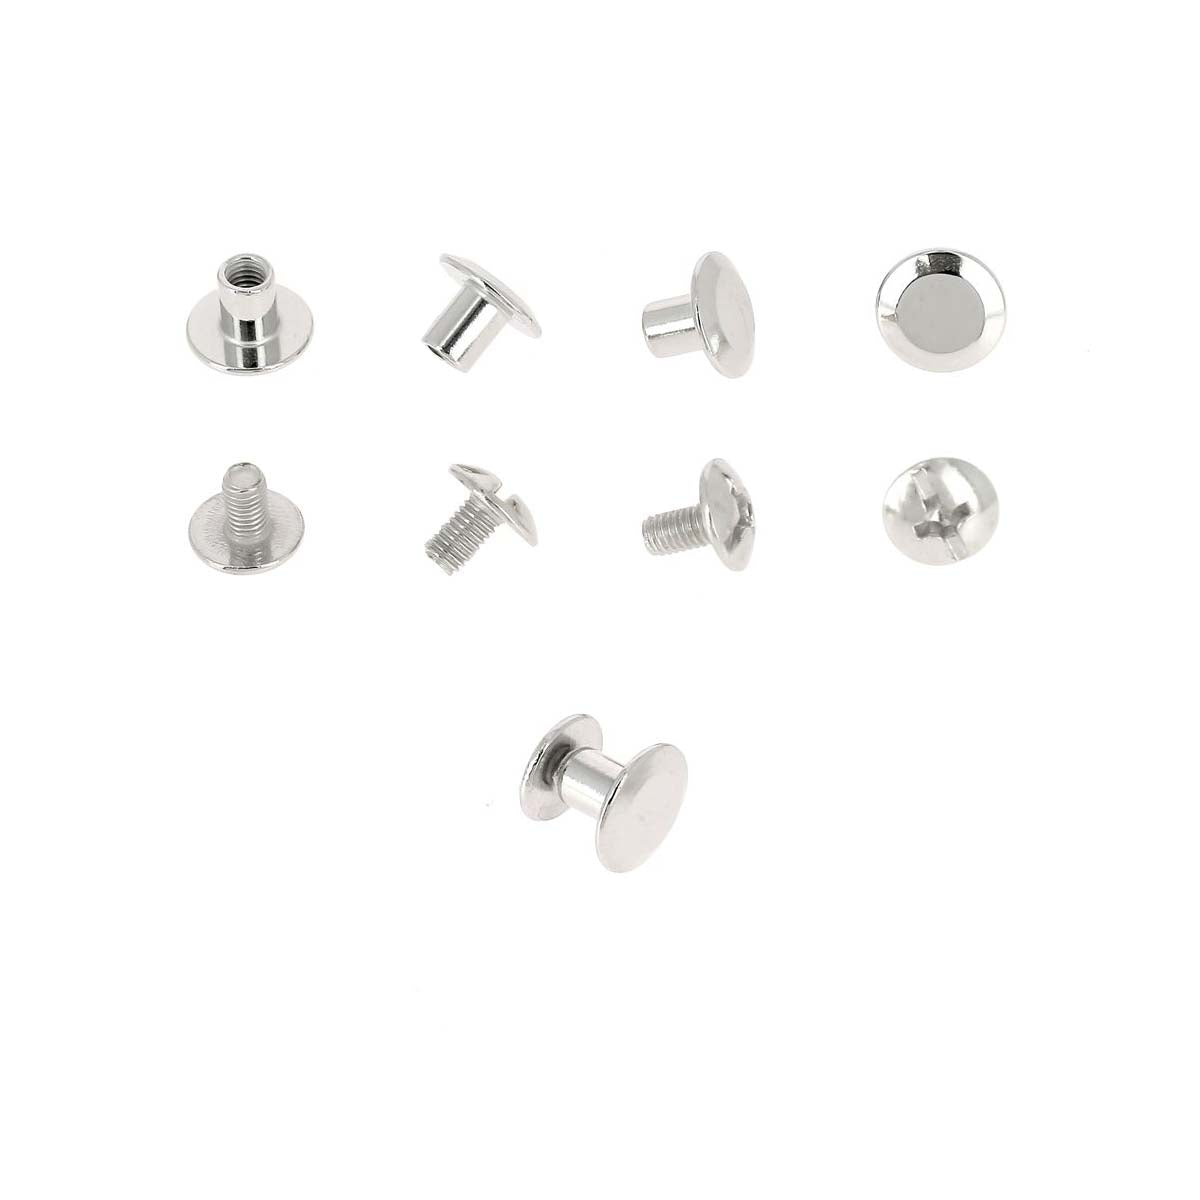
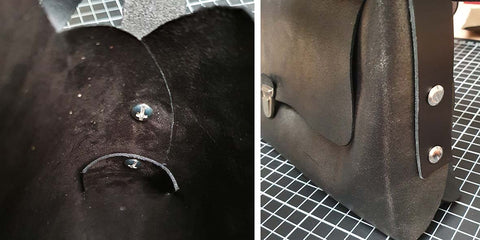
9. ASSEMBLE THE POUCH
Assemble the pouch with Chicago screws. Place the screw head in the first hole of the strap and then the front ear. Then place the screw thread in the hole of the inner reinforcement and the rear ear and screw. Repeat for each hole. Finish tightening with a screwdriver. You can also add a dab of glue to your Chicago screws before tightening to ensure they won't loosen over time and with use.
 |
 |
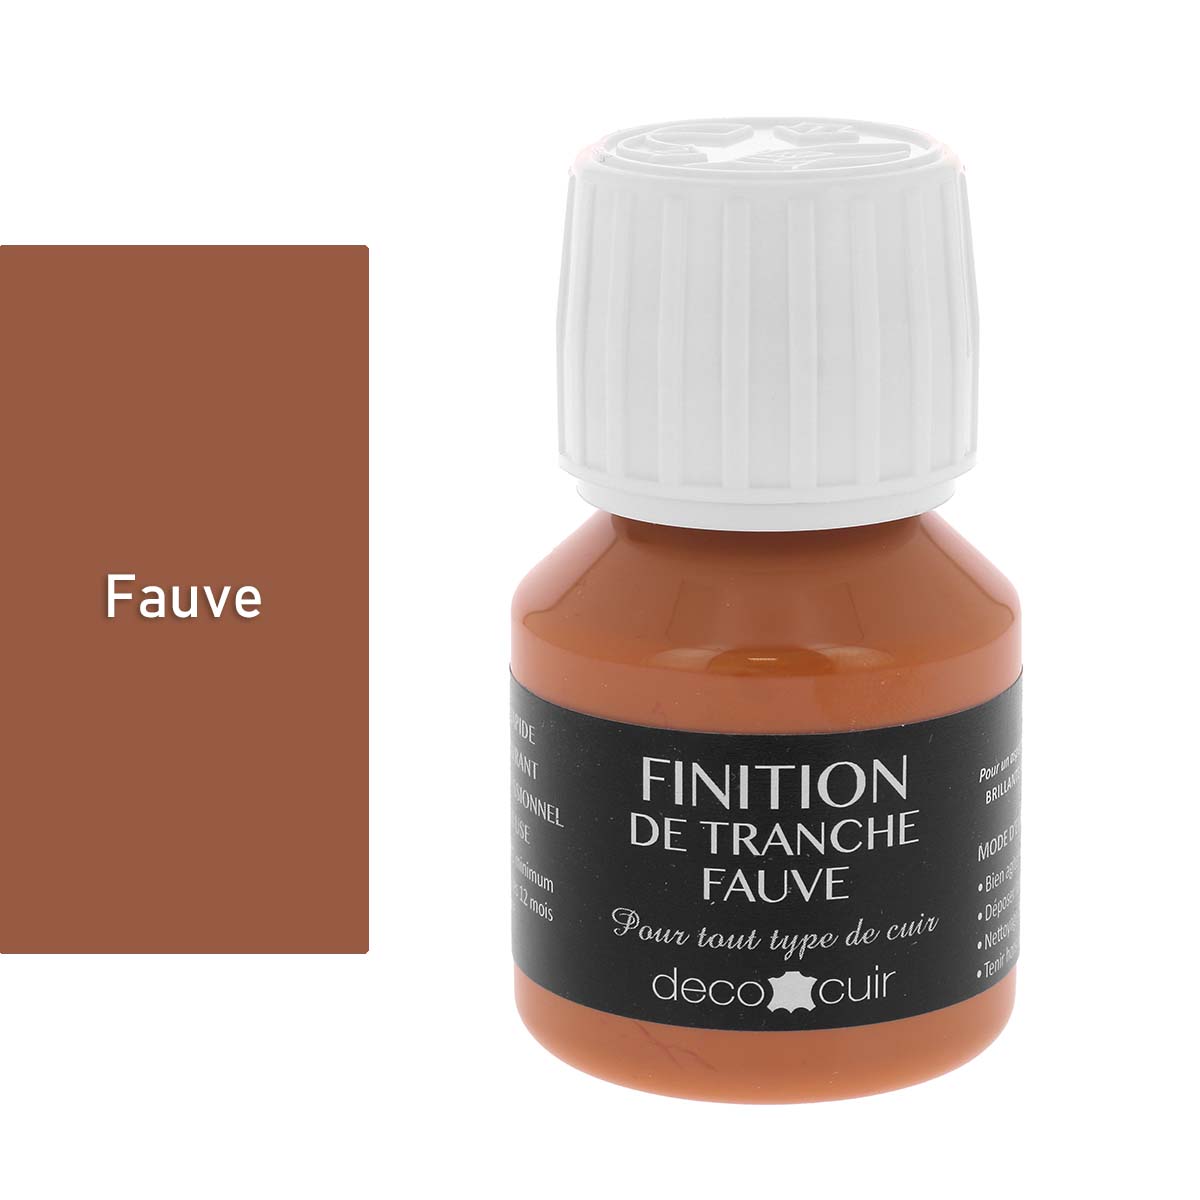
10. OPTION: TINTING THE SLICES
To give a more finished look to your pocket, we invite you to tint the edges in the color of your choice.
To do this, lightly sand the edge with sandpaper, apply the stain (at least 2 coats), rub beeswax on the edge and rub with a cloth. 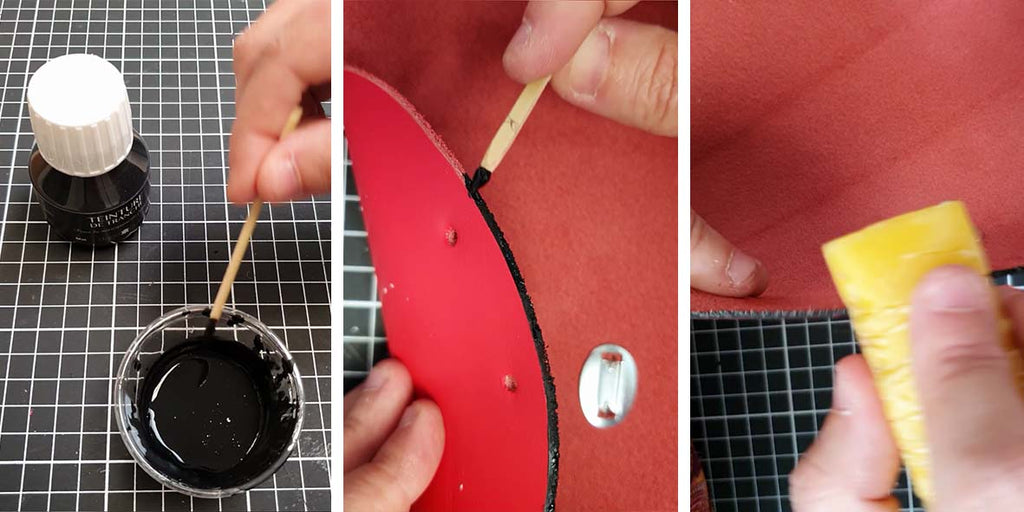
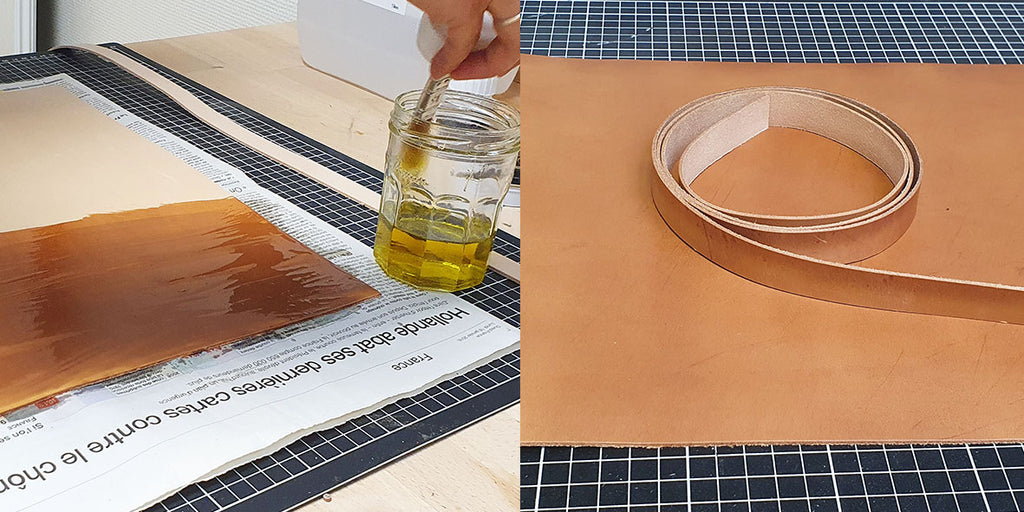
THE LATEST ARRIVAL: THE VEGETABLE-TANNED LEATHER POUCH
2 additional steps must be taken into account when making this cover.
- Dye vegetable-tanned leather with olive oil before cutting. Using a wide brush, soak the leather with olive oil. Apply at least three coats, trying to apply the same amount of oil everywhere. Let the oil soak into the leather for at least a day, preferably in front of a window.
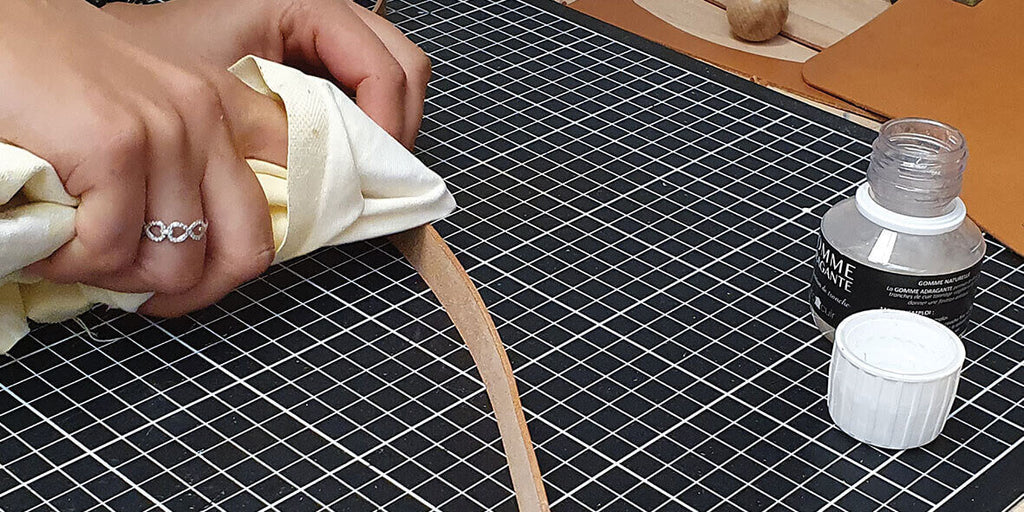
- Work the edges of the pouch and strap with gum tragacanth. Sand the edges with sandpaper to remove any imperfections. Apply the gum, wait a few moments, then rub briskly with a cloth.
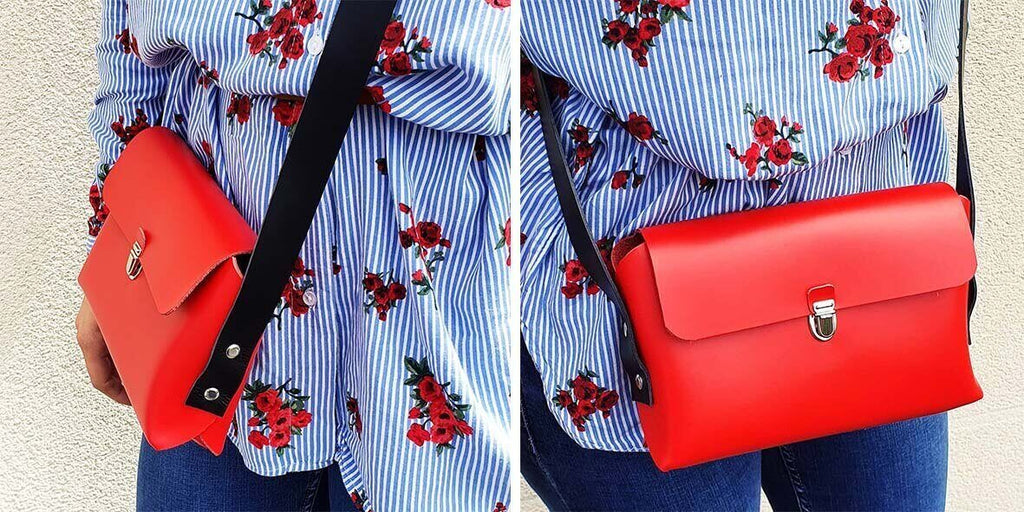
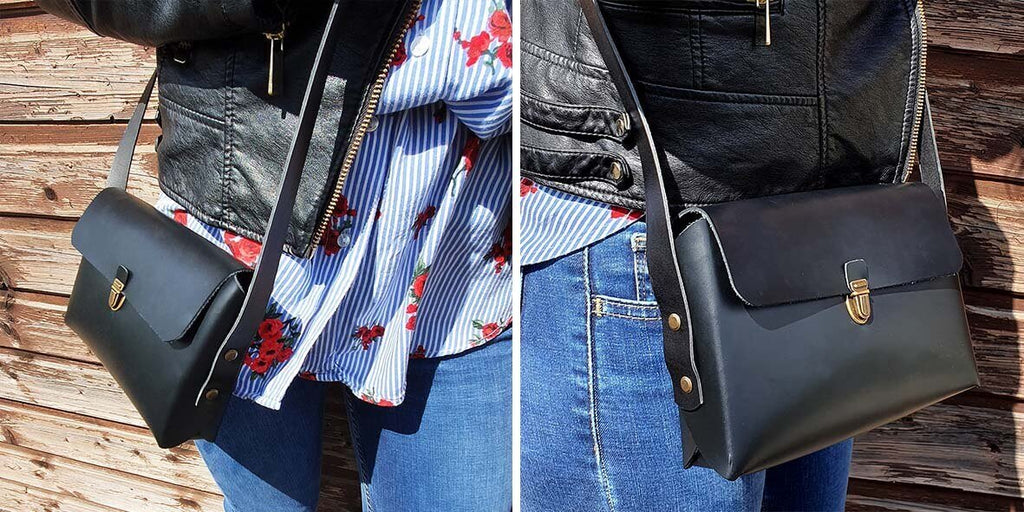
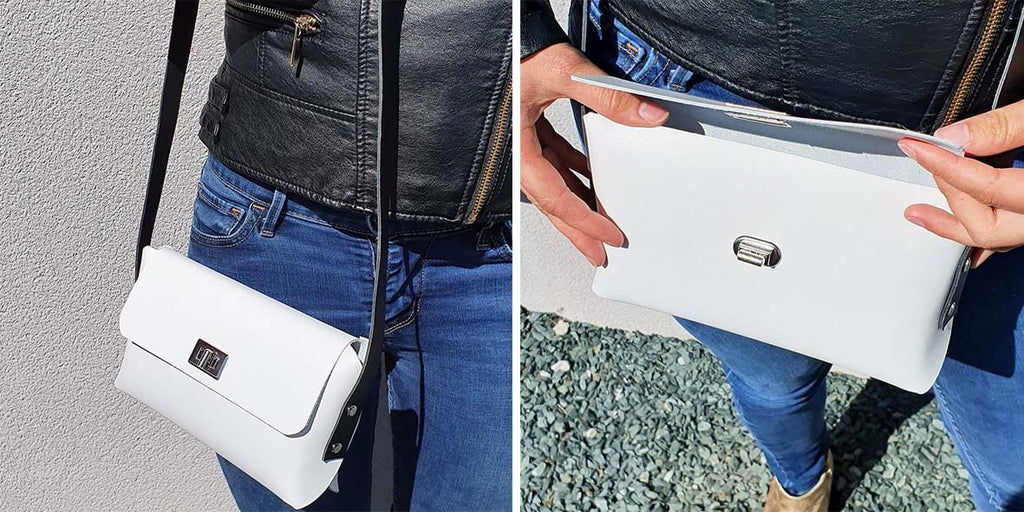
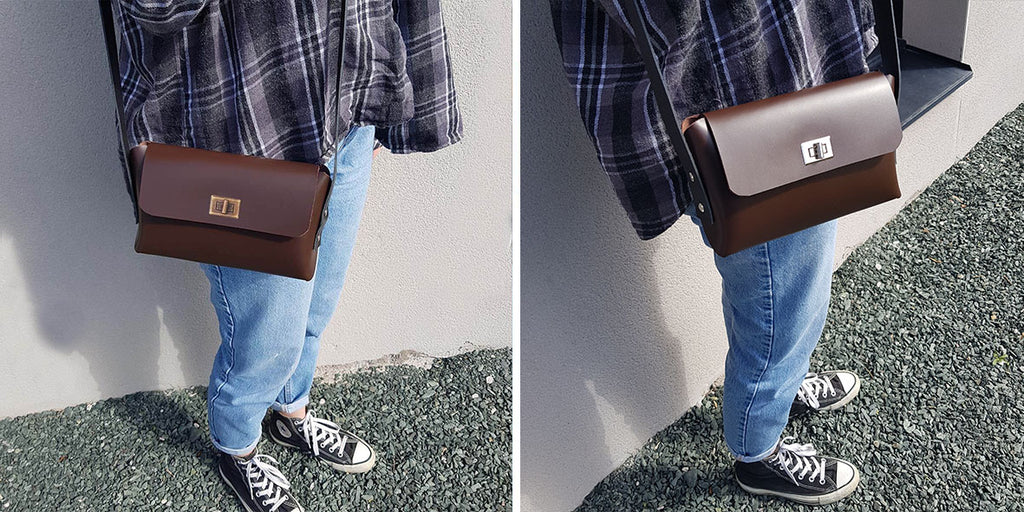
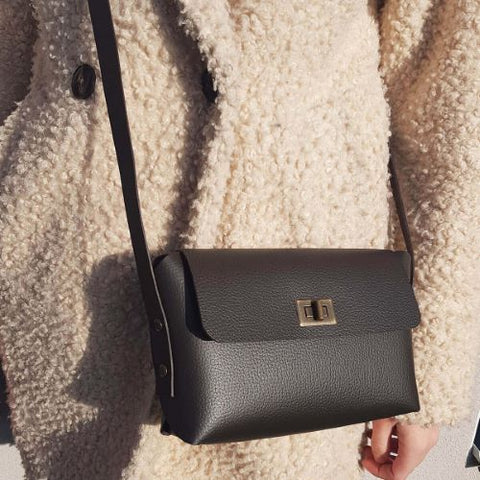
OTHER VERSIONS
 |
 |


11 comments
Leïla
Je viens de finir mon kit, j’en suis ravie et quelle fierté !
Du coup j’aimerais me lancer dans un 2e identique, j’ai un morceau de cuir mais beaucoup plus fin que celui fourni avec le kit, pensez vous que ça puisse convenir ?
Merci
Anonymous
Bonjour Mme. PAGEAULT,
Le mot “SVG” représente un format de fichier spécifique. Nous proposons ce format pour les personnes qui utilisent une machine de découpe comme la cricut.
Si vous n’utilisez pas de cricut, vous pouvez simplement télécharger le patron en PDF pour l’imprimer.
Bonne journée, l’équipe Deco Cuir.
Anonymous
Je peux paraître idiote, mais je ne sais pas ce que signifie SVG pour télécharger.
Merci
Anonymous
Bonjour Denis,
Nous avons rajouté le patron en SVG dans l’onglet “Patron” en haut de cette page.
Bonne journée, l’équipe Deco Cuir.
Anonymous
il serait sympa d’avoir le patron en svg pour la cricut , J’ai acheter le kit télécharger le patron en pdf et impossible d’arriver à la transférer sur le cricut disagn.
Pourriez vous le faire .
Par avance merci
Anonymous
Bonjour Amandine,
Avez-vous bien téléchargé le bon patron : “Fermoir tourniquet” et non “Fermoir cartable” ?
Je vous le transmets par email ;) !
Bonne journée, l’équipe Deco Cuir
Anonymous
Bonjour,
merci pour ce tuto!
je ne vois pas sur le patron où sont les repères pour l’attache tourniquet.
merci
Anonymous
Bonjour Béatrice,
Les patrons peuvent être directement téléchargés sur notre page tutoriel dans l’onglet « Patron » (tout en haut). Au cas-où, je vous les ai envoyé par e-mail :).
Justine de Deco Cuir
Anonymous
Bonjour, merci pour ce tuto, quand au patron, je ne le trouve pas …. faut il le télécharger ? Merci
Anonymous
Merci beaucoup, c’est super gentil ! A essayer très vite !
Anonymous
Merci pour ce tuto et ce patron.. je le testerai prochainement… et bravo pour votre nouveau site, plus agréable à visiter…