


MATERIALS NEEDED
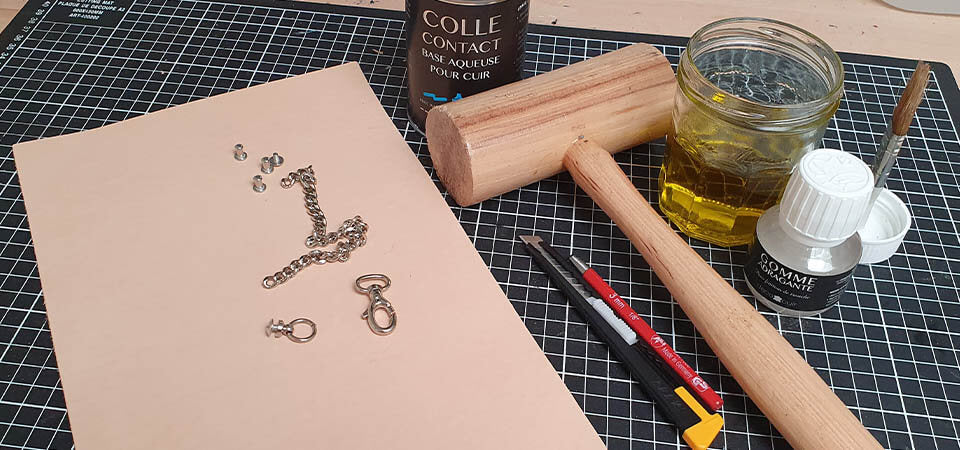
To complete this tutorial, you will need:
- 1 piece of 20 x 30 cm CLASSIC vegetable-tanned leather
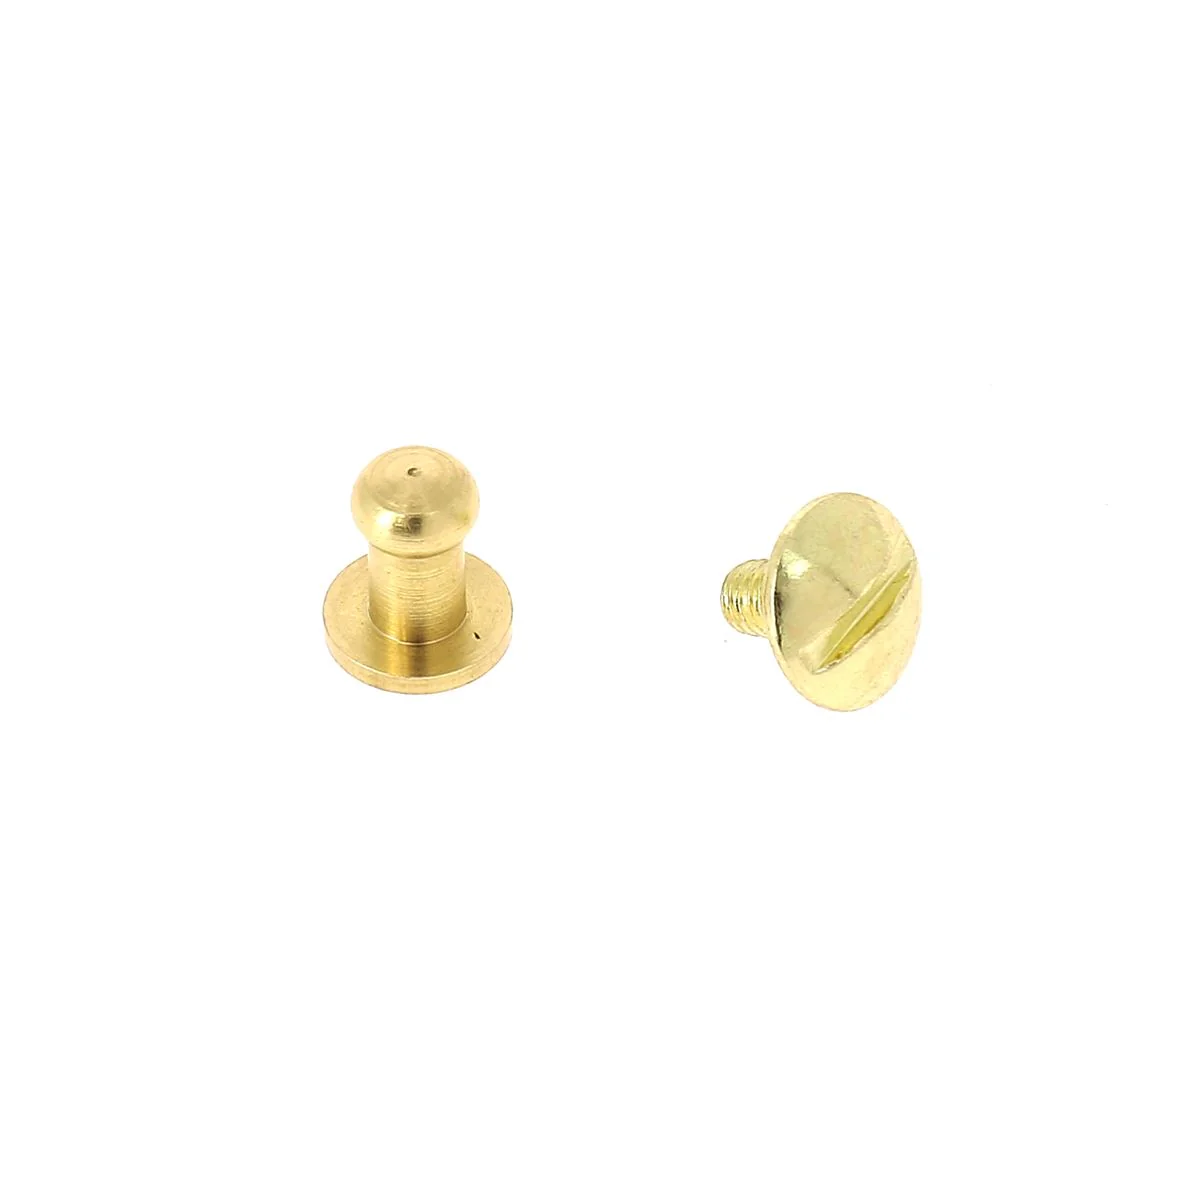
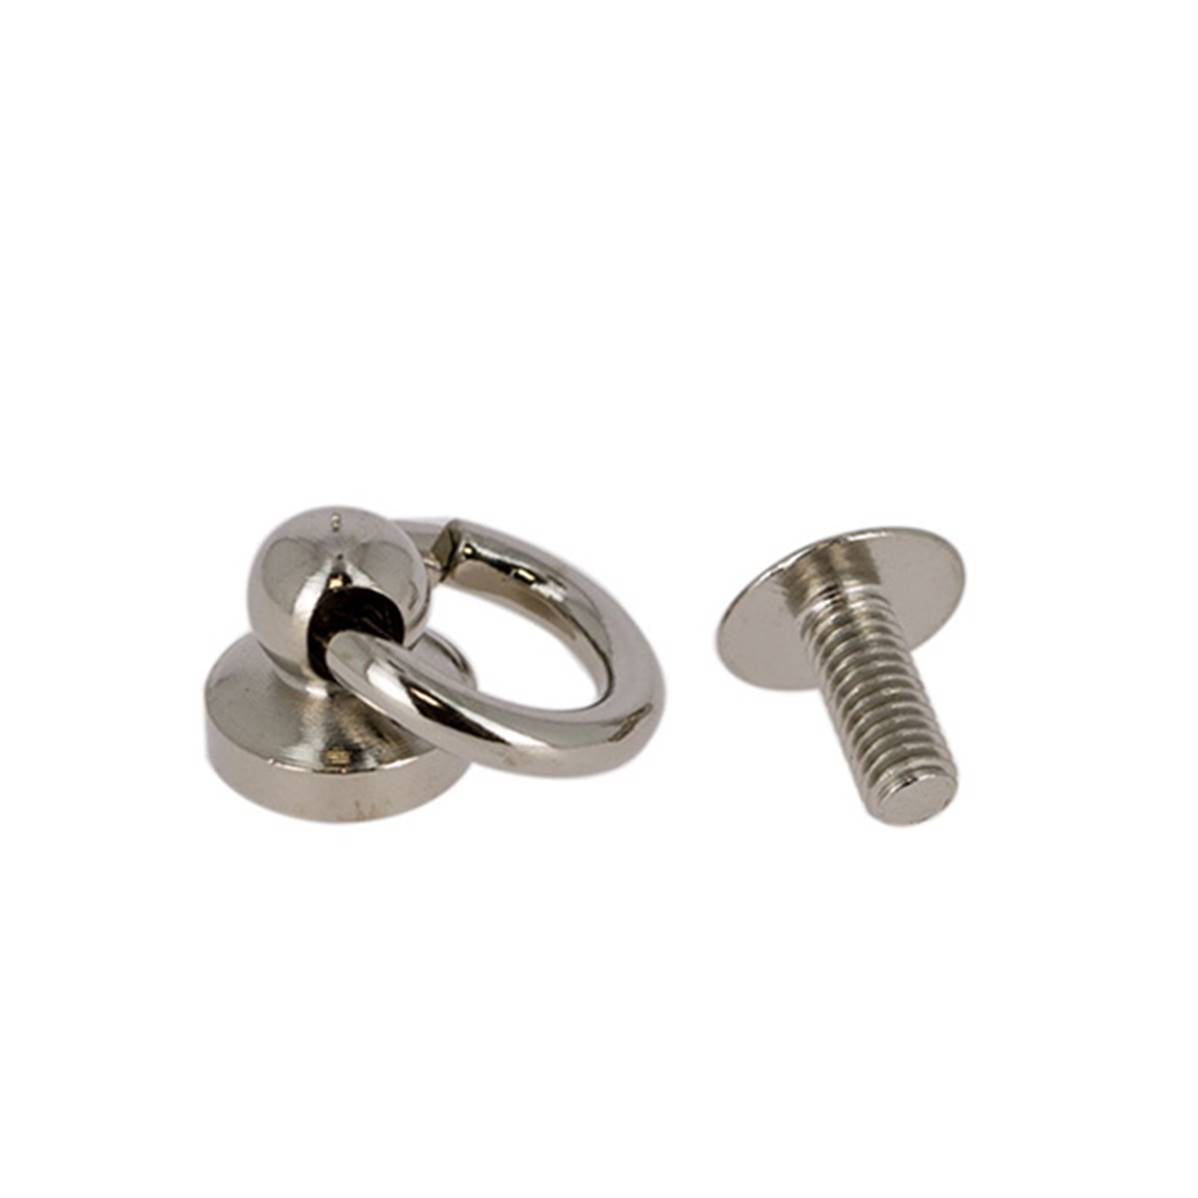
- 2 nickel-plated T3 screw-in stud buttons
- 1 jar of tragacanth gum for edge finishing
- 1 bag chain 10 cm or longer, depending on your preference
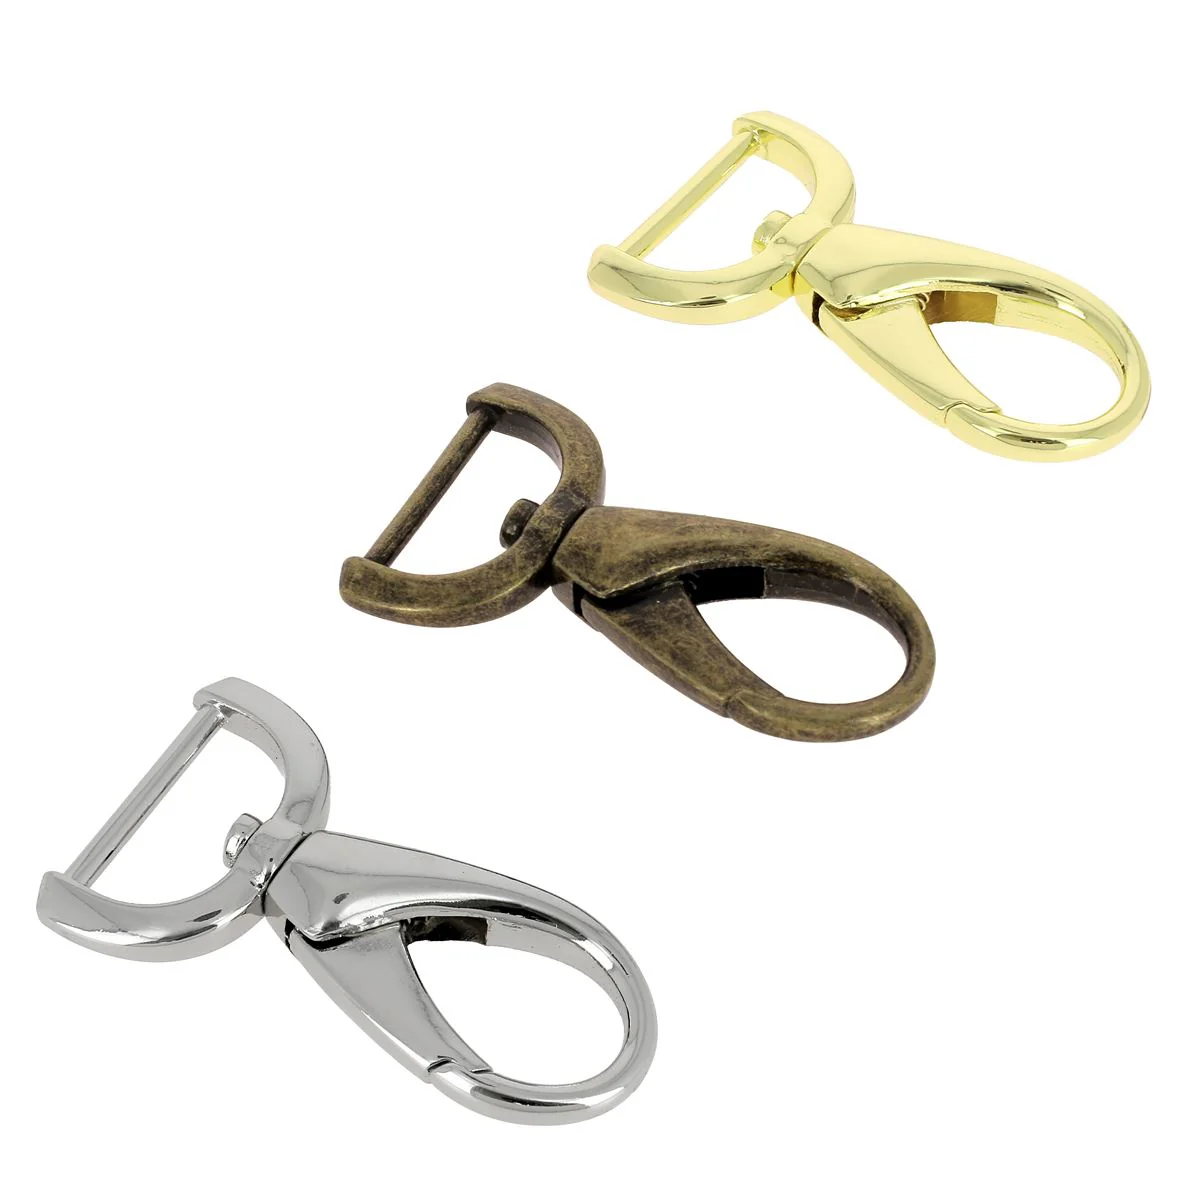
- 1 15mm oval swivel snap hook for strap
- 1 stud button with 8mm ring
- 1 tube of special leather contact glue
And the following tools:
- A round hole punch Ø 3mm
- A mallet
- A silver pen
- A cutter
- A ruler or straight edge
- A cloth
- Olive oil and a brush
- Shoe polish, grease, or oil to nourish the leather
- Optional: Alphabet and number stamps - 0.32 cm
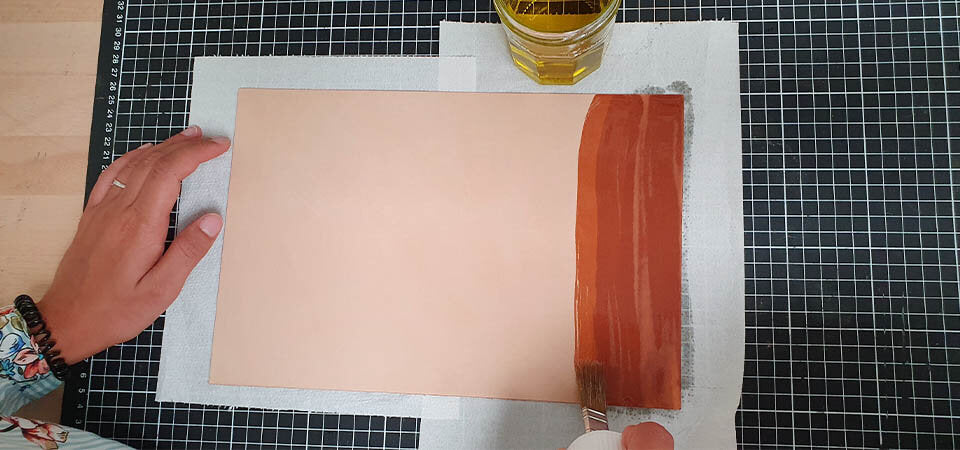
1. DYE THE LEATHER
Using a wide brush, dye the leather with olive oil. Apply at least 2 coats to the grain side (front) of the leather, trying to apply the same amount of oil everywhere and always in the same direction.
Allow the oil to soak into the leather for at least one day, and if possible, near a window.
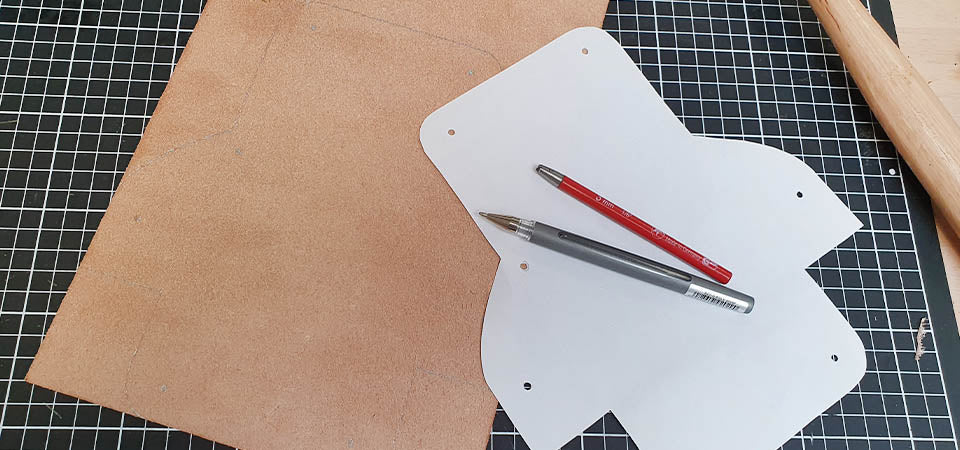
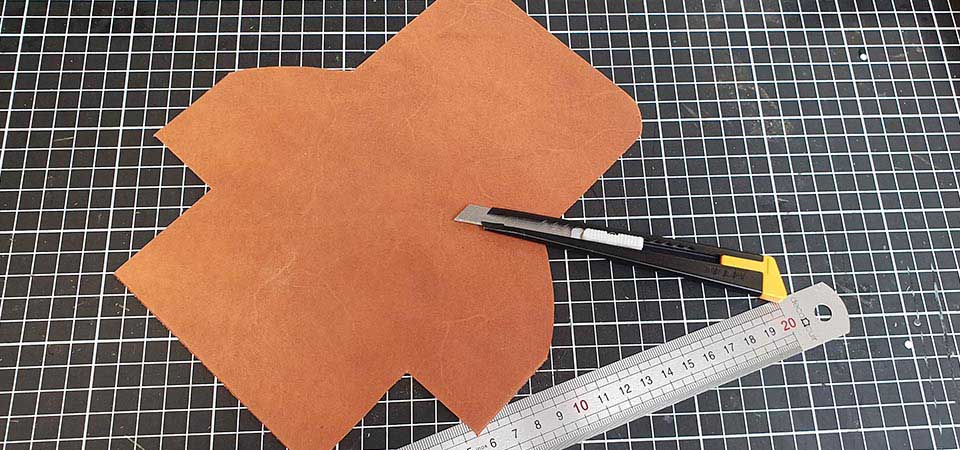
2. CUT OUT THE PATTERN
Download the pattern from our website. Print it to actual size, then cut it out, remembering to make the holes using the 3 mm hole punch.
Transfer the pattern onto the flesh side (back) of the leather using the silver pen.
3. CUT THE LEATHER
Cut the leather with a cutter, following the pattern.
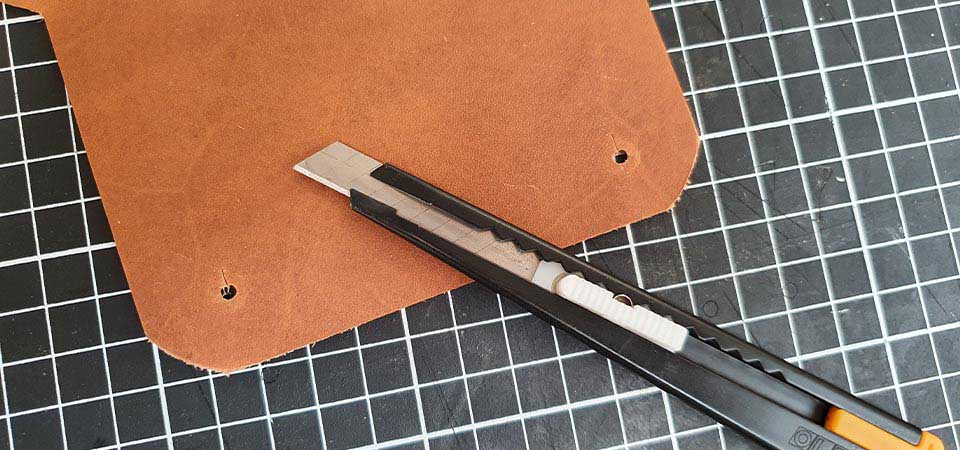
4. MAKE THE HOLES
Make the 7 holes indicated on the pattern using the 3 mm hole punch and a mallet.
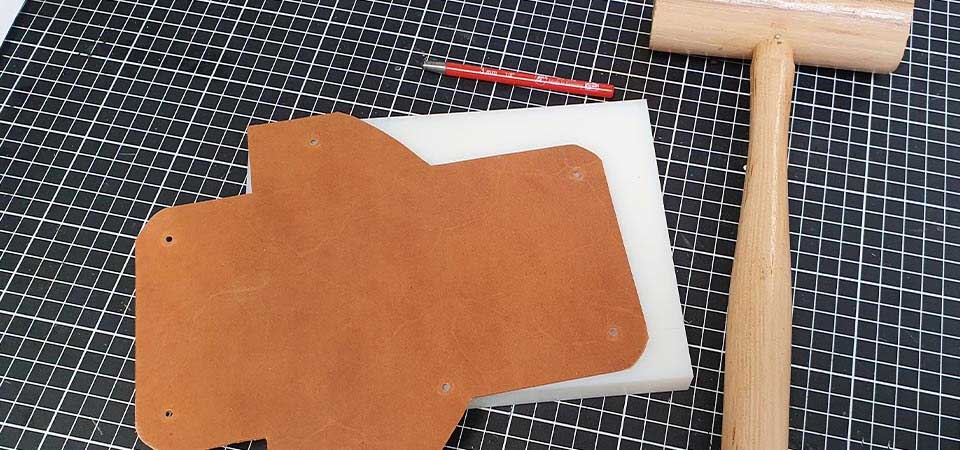
Make the 2 3mm incisions indicated on the pattern for the stud button heads to pass through.
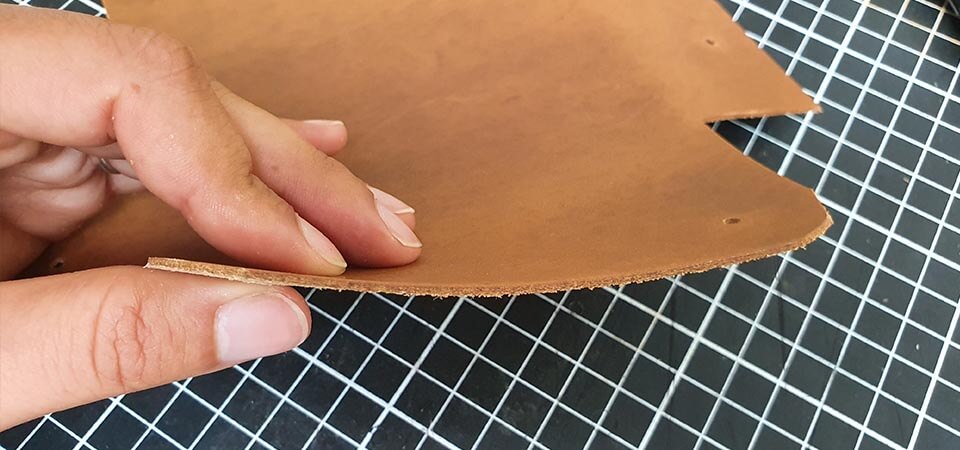
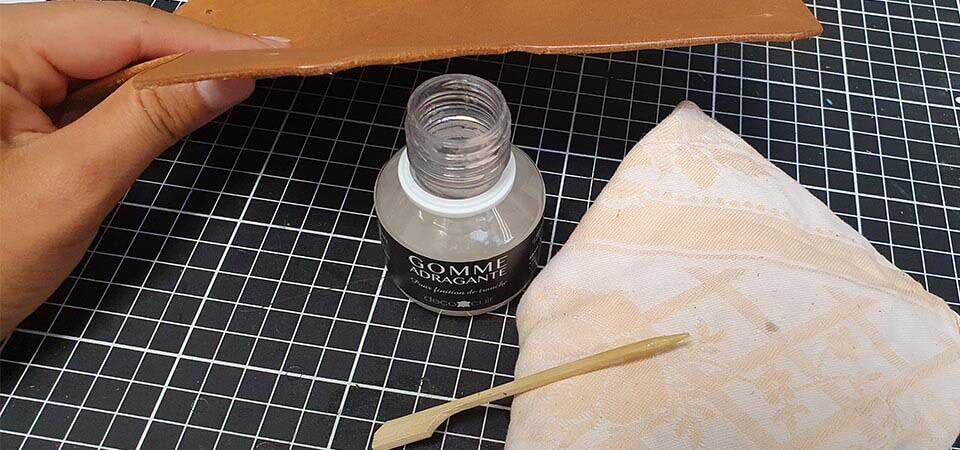
5. WORK THE EDGES
Lightly sand the edges with sandpaper. Then, apply tragacanth gum.
Apply a thin layer of the product to the edges of the leather. Wait a few moments for the product to absorb, then vigorously rub the edge with a cloth.
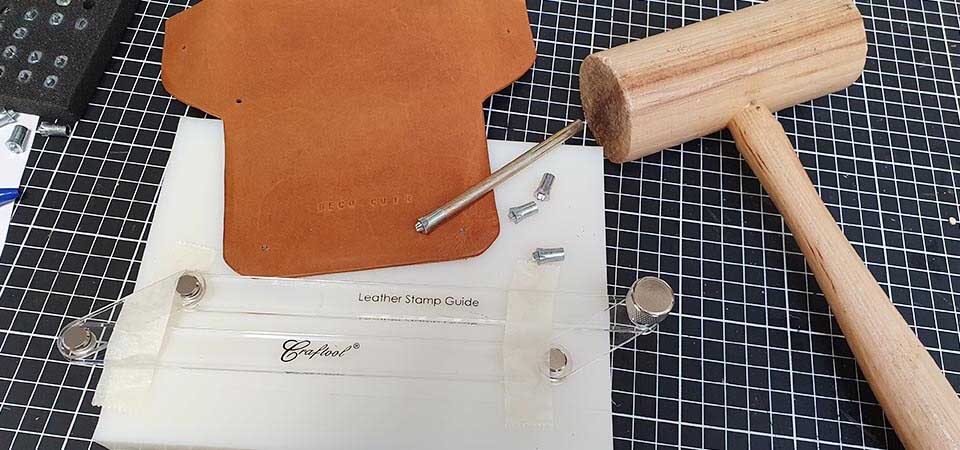
6. OPTION: PERSONALIZE THE CASE
Optional: personalize the cable pouch with an inscription using alphabet stamps. To do this, lightly dampen the leather with a sponge, then stamp the alphabet stamps onto the leather.
You can use a stamp guide to ensure your inscription is straight. For more information, here is an explanatory video on using a stamp guide and alphabet stamps:
VIDEO STAMP GUIDE >
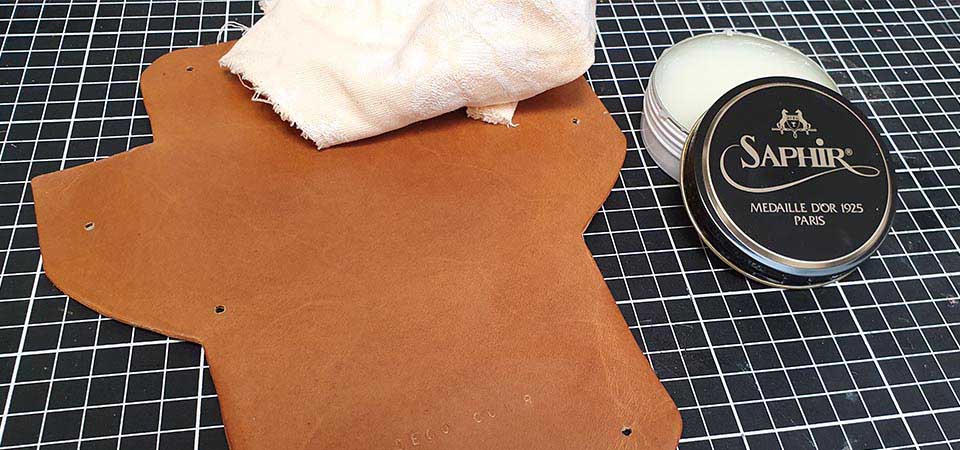
7. APPLY THE WAX
Polish the leather piece with shoe polish. Apply a thin, even coat with a cloth.
VIDEO THE SECTION >
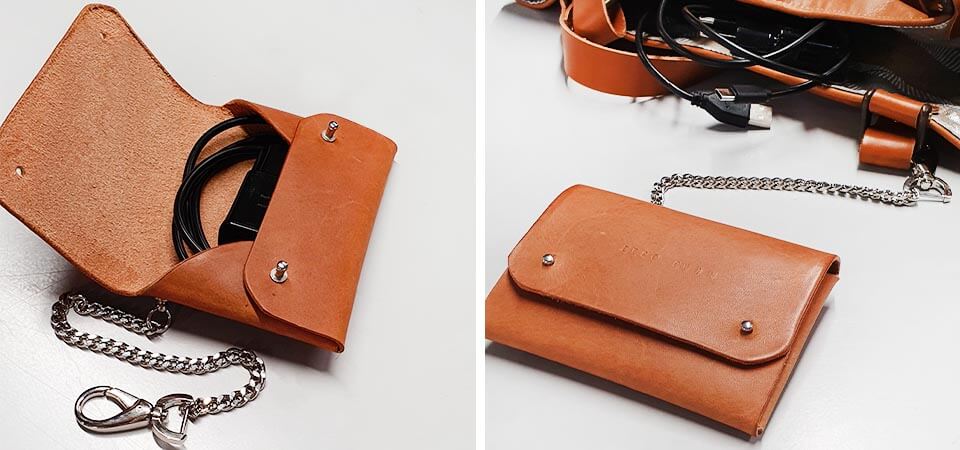
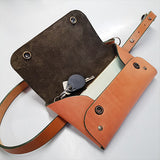
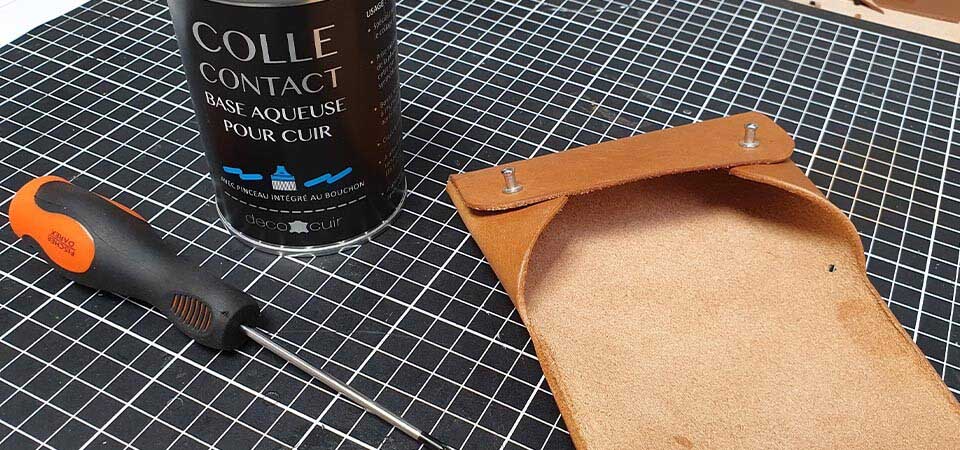
8. ASSEMBLE THE POUCH
Glue the lower part of the case with contact glue. Then, screw in the 2 stud buttons.
Add a dab of glue to each screw thread to reinforce the tightening.
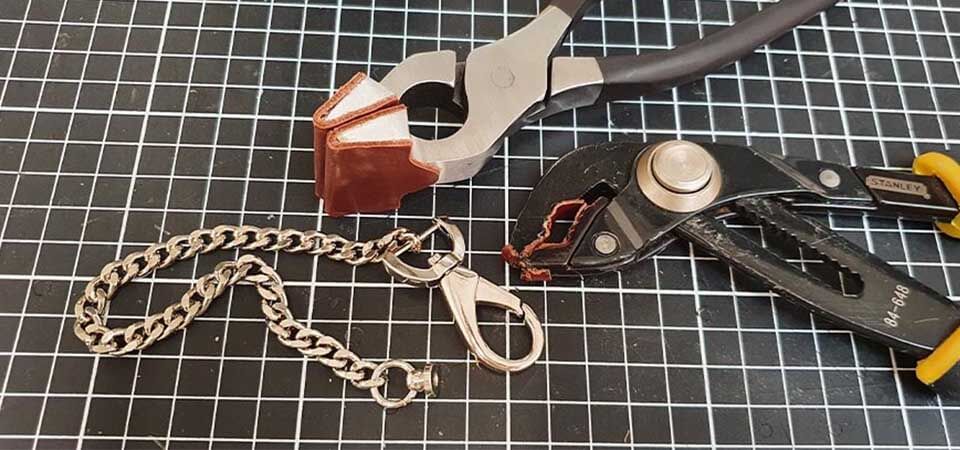
9. ASSEMBLE THE BAG CHAIN
Using 2 pliers, open the links at each end of the bag chain and close one part onto the ring of the stud button and the other onto the end of the snap hook.
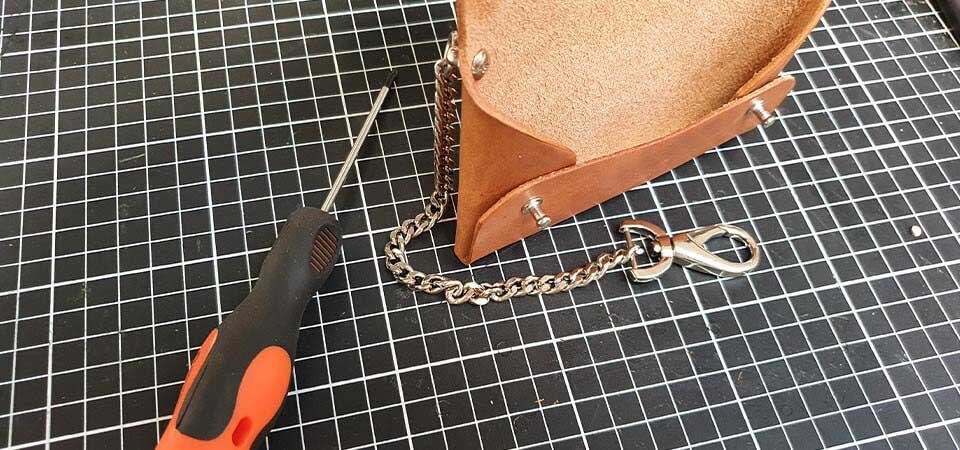
10. SCREW IN THE STUD BUTTON
Finally, screw the stud button with the ring onto the case.
YOUR POUCH IS FINISHED...
Ready to hold your cables!