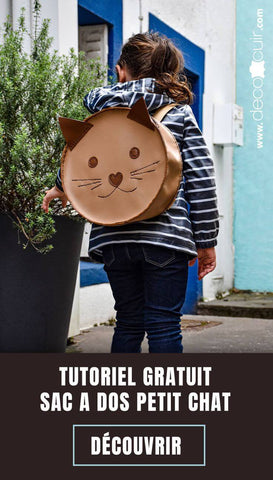


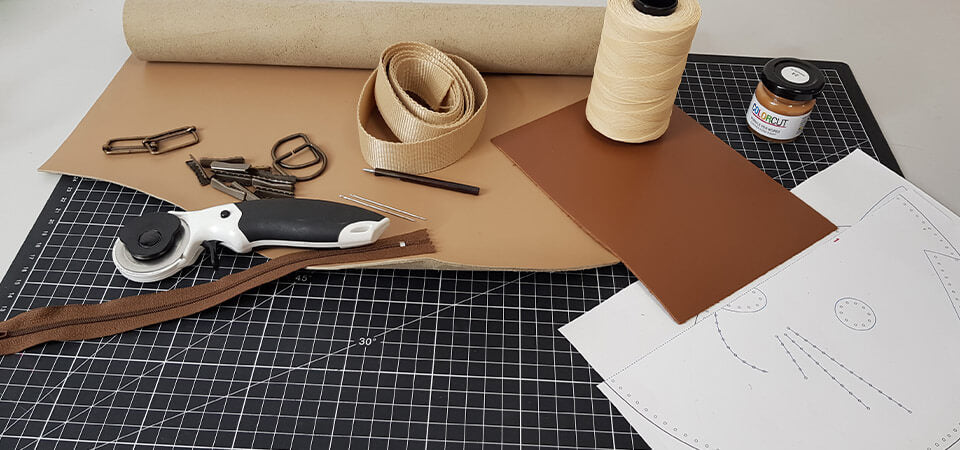
THE NECESSARY MATERIALS
To complete this tutorial, you will need:
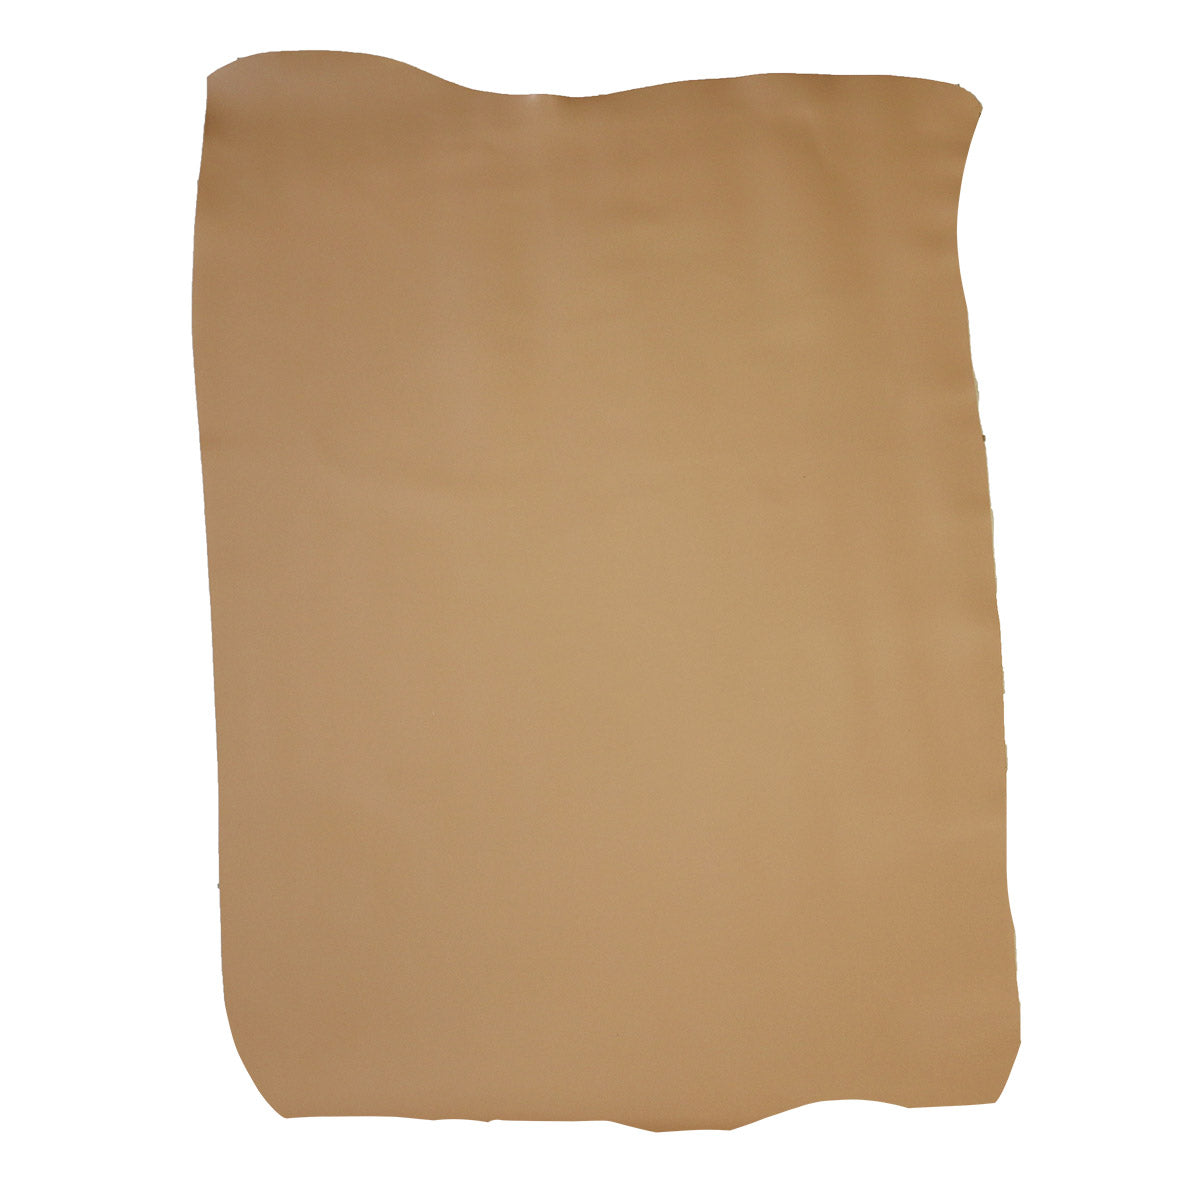
- 1 SATINLYS leather hide - Cappuccino - 0.35m² (minimum). We invite you to contact customer service for the size of the hide.
- 1 piece of SATINLYS leather - Brown - 15 x 20 cm - thickness 1.2 mm
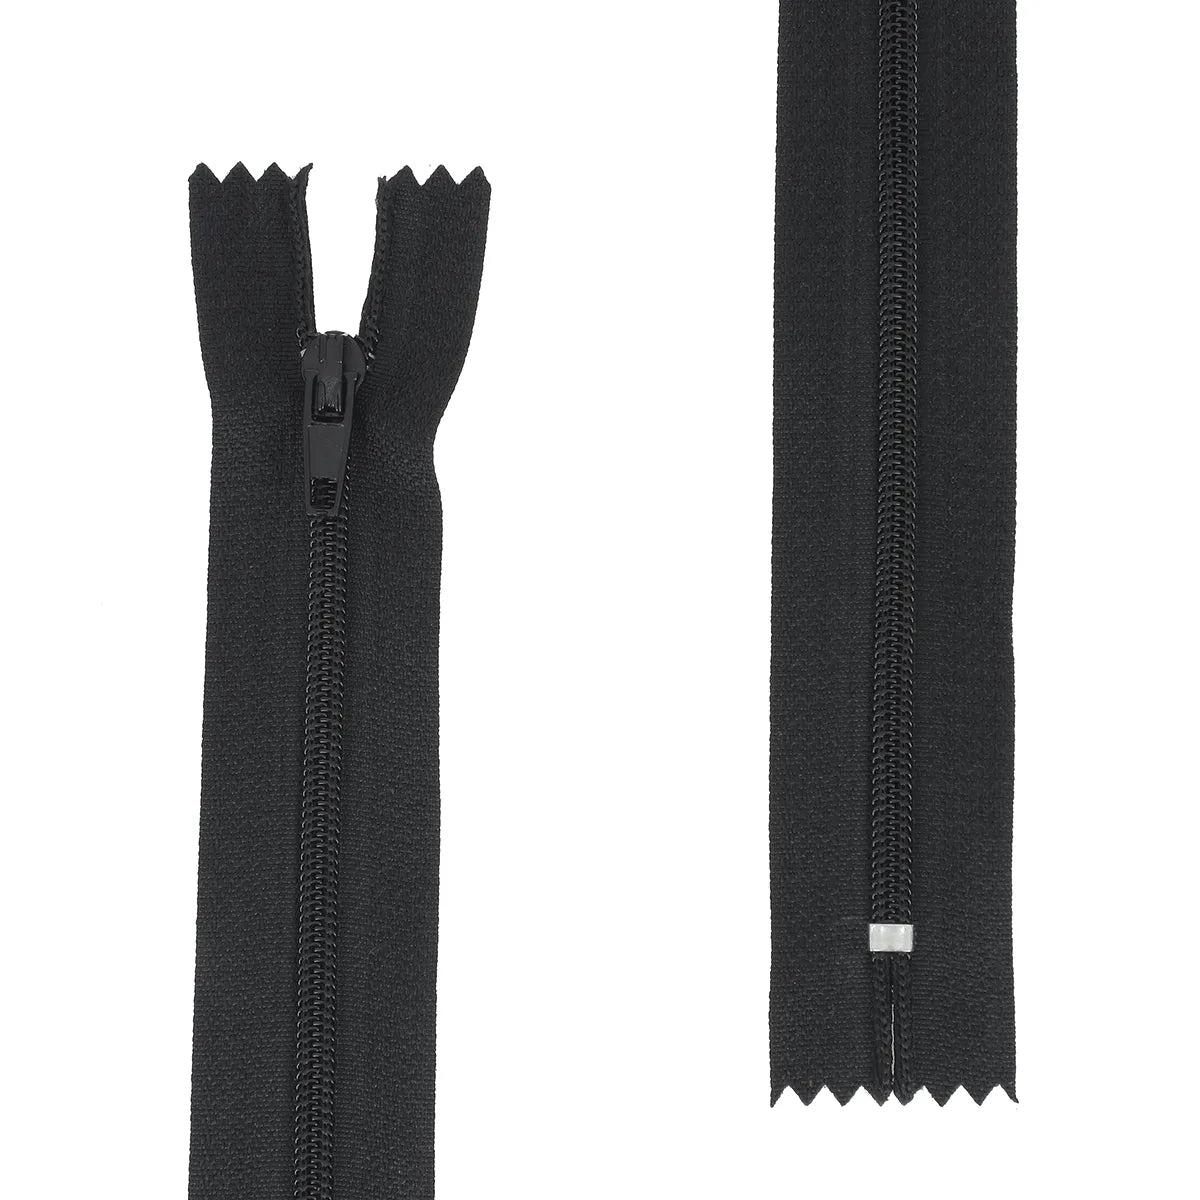
- 1 NYLON #4 zipper - Brown - Length 25 cm
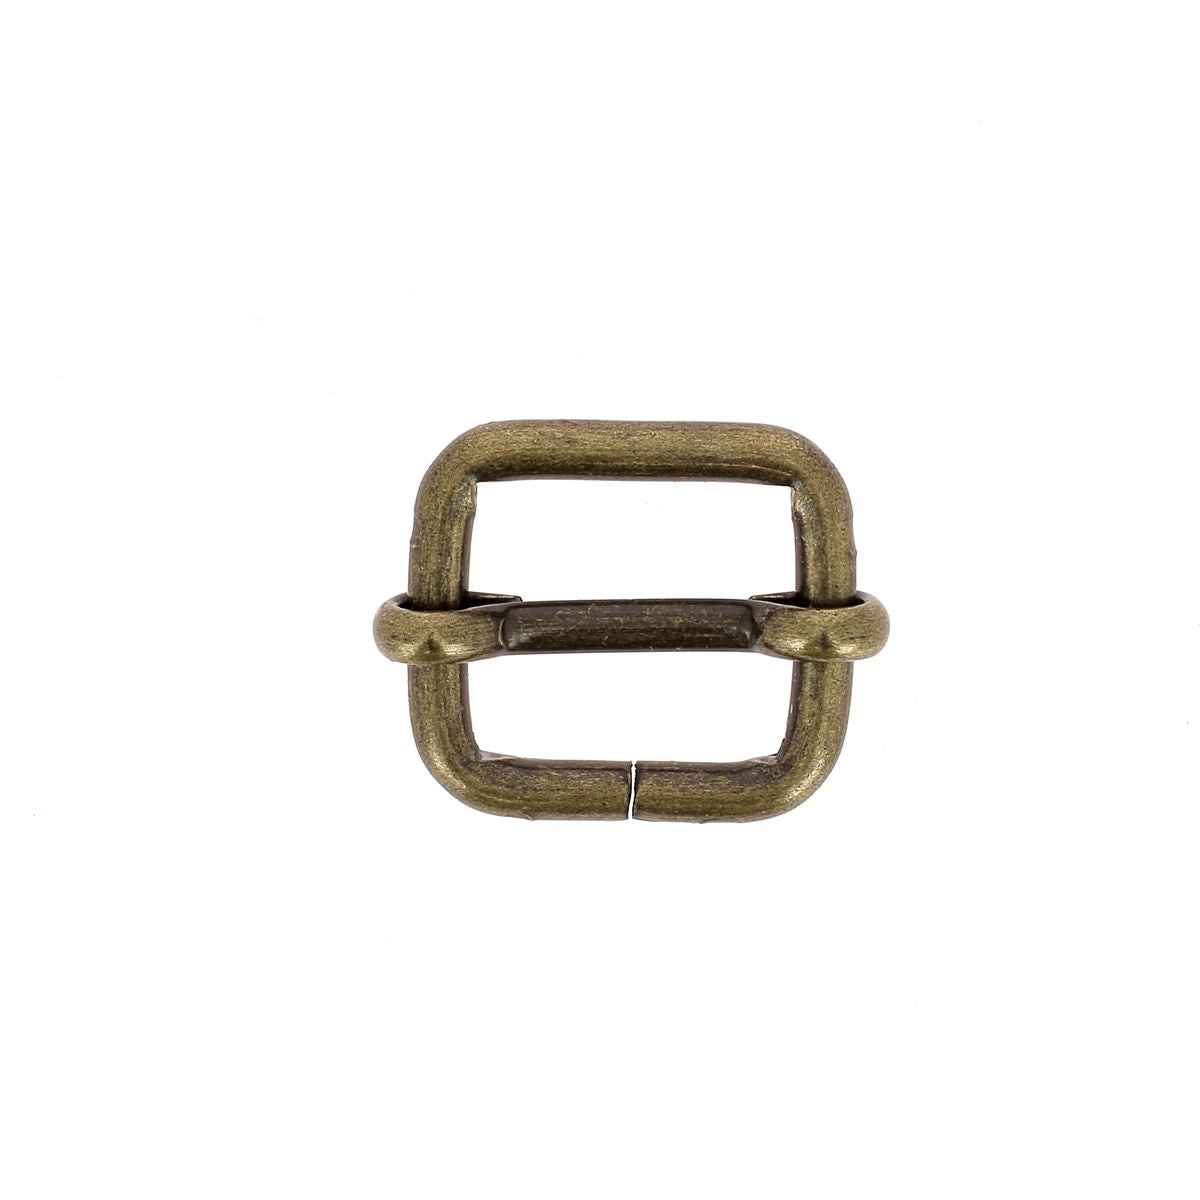
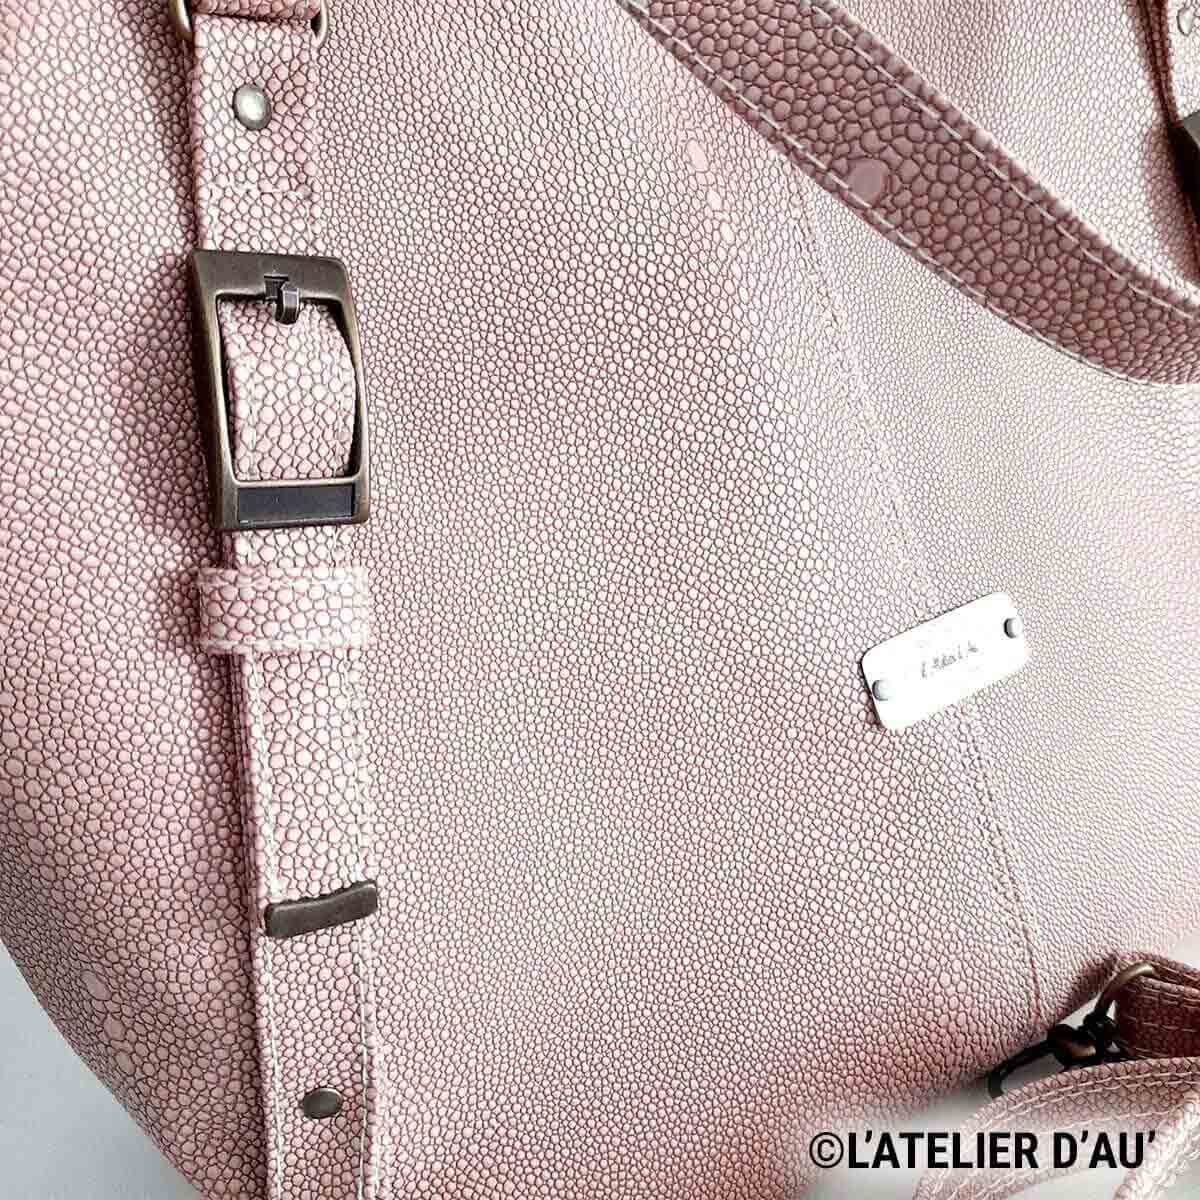
- 2 sliding buckles - aged brass - 30 x 13 mm
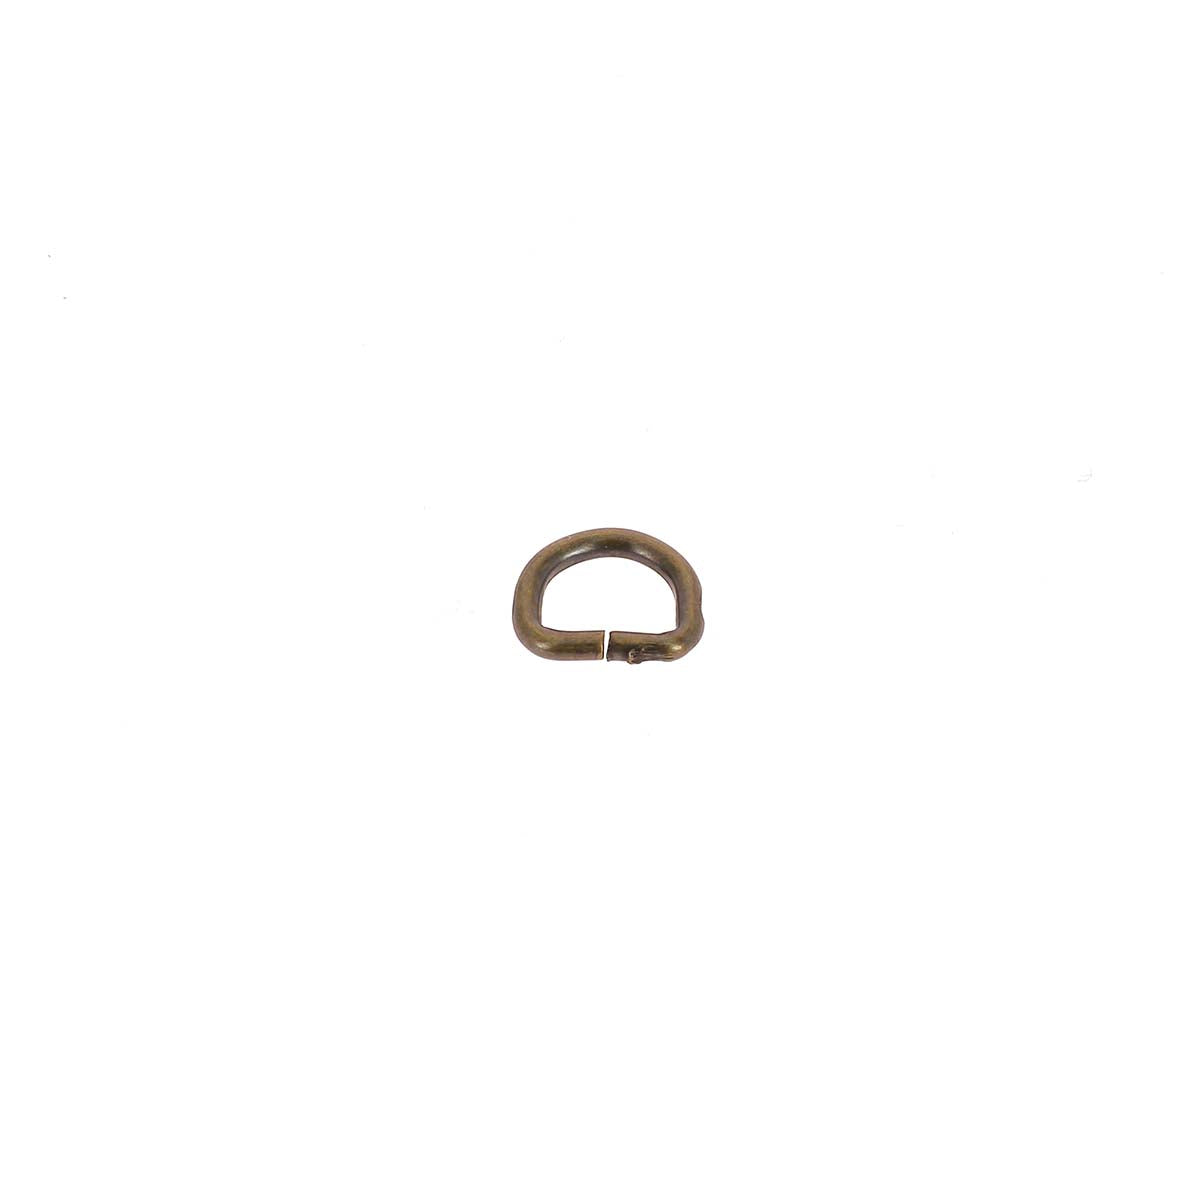
- 2 half-round rings - aged brass - 30 x 25 x 3 mm
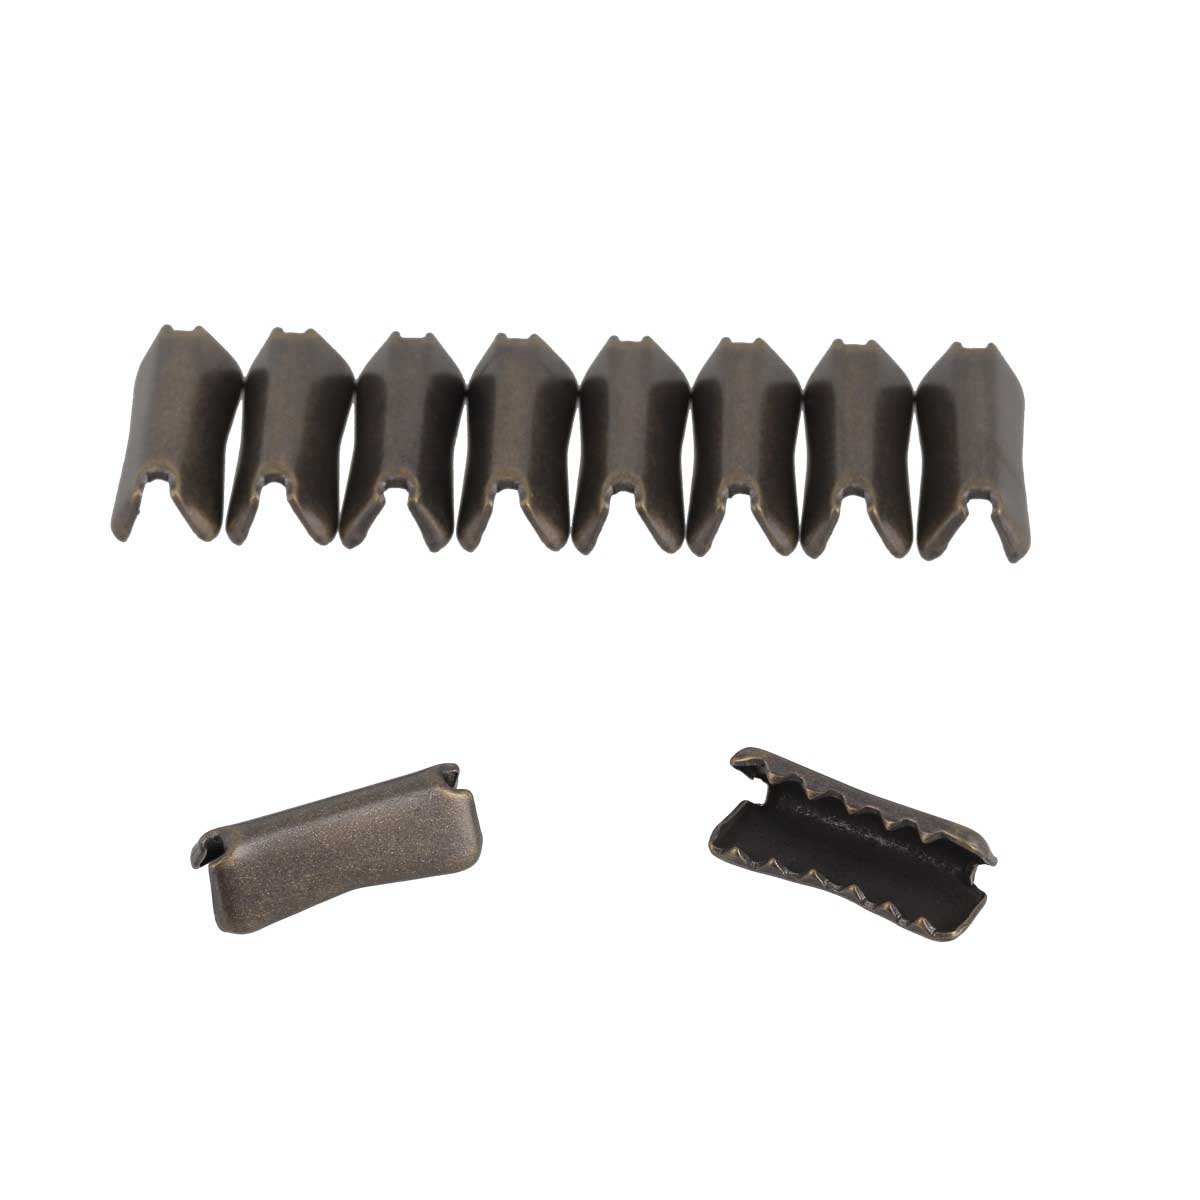
- 2 DESIGN claw strap ends - aged brass - 29 mm
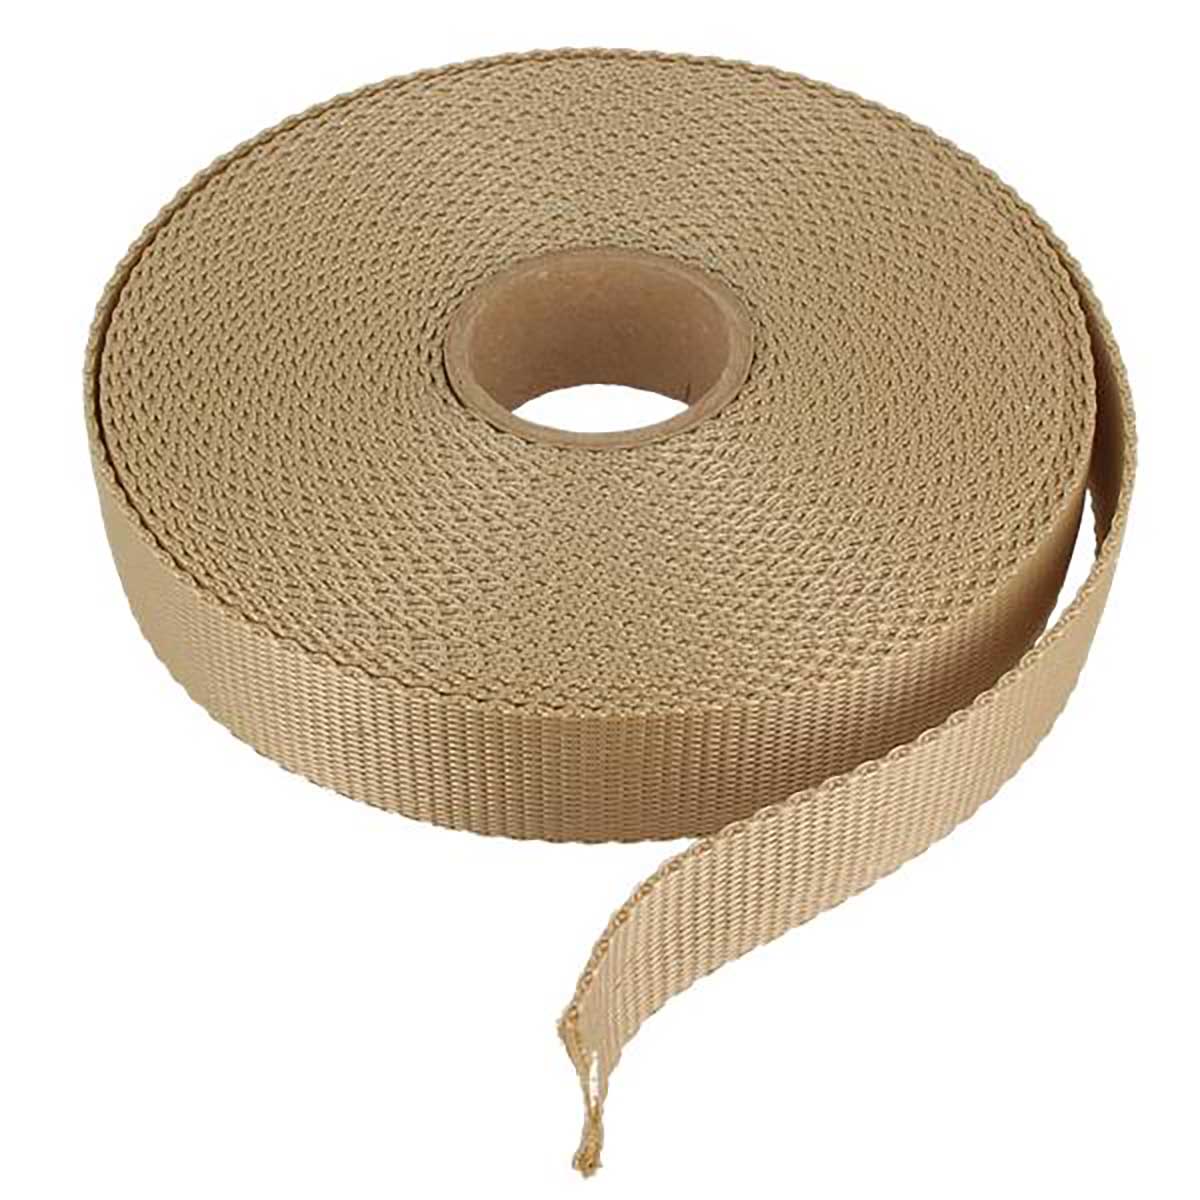
- 2 meters of beige nylon strap - width 30 mm
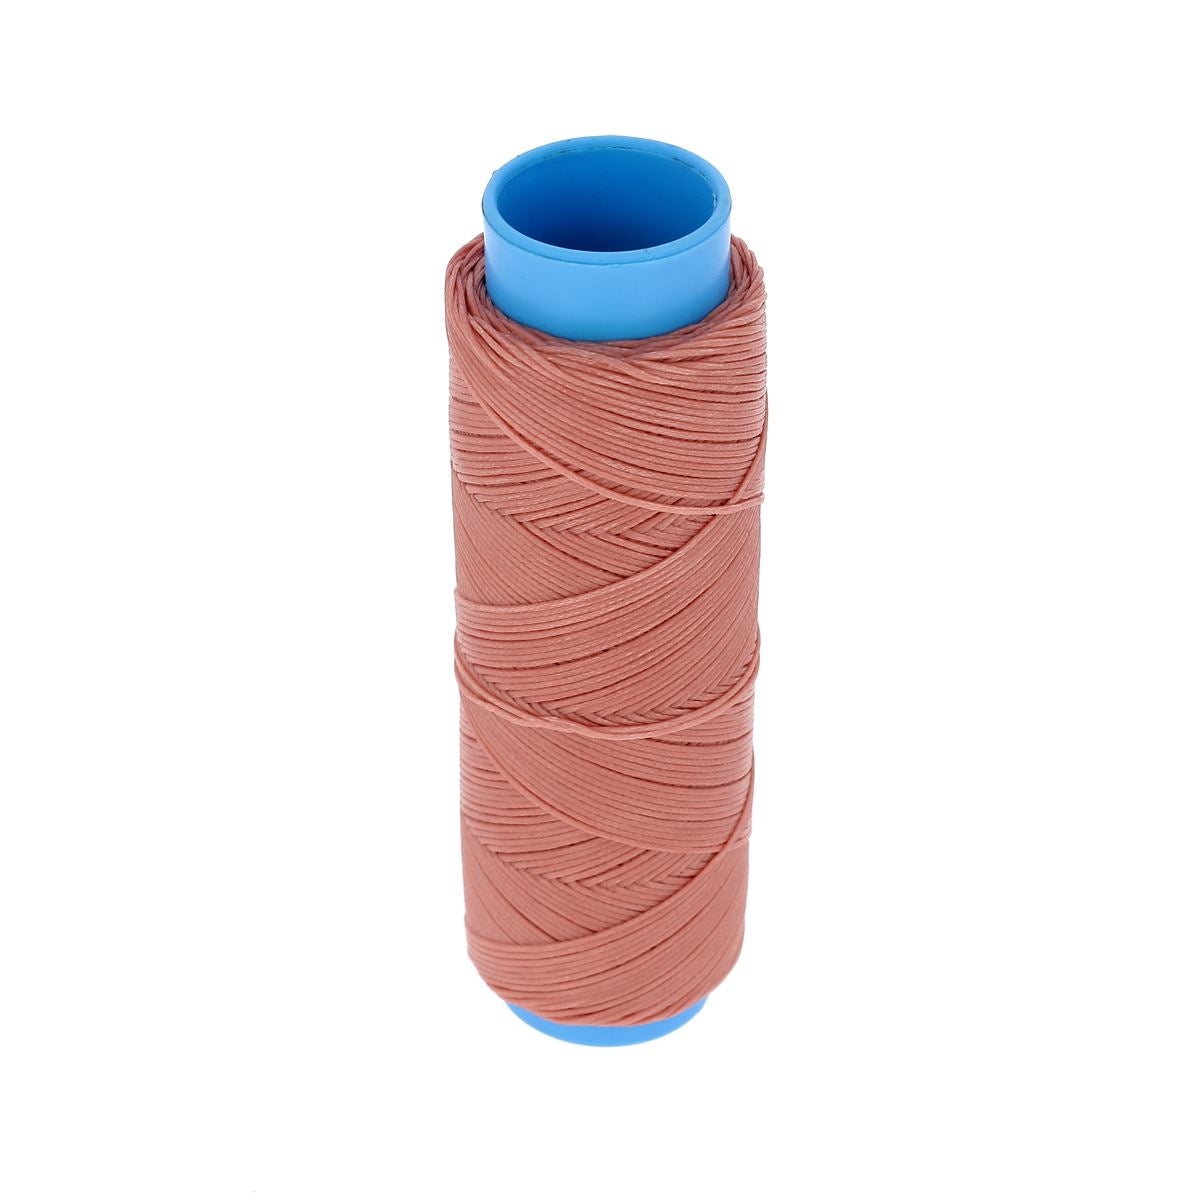
- 1 spool of braided and waxed polyester thread - diameter 0.8 mm - brown
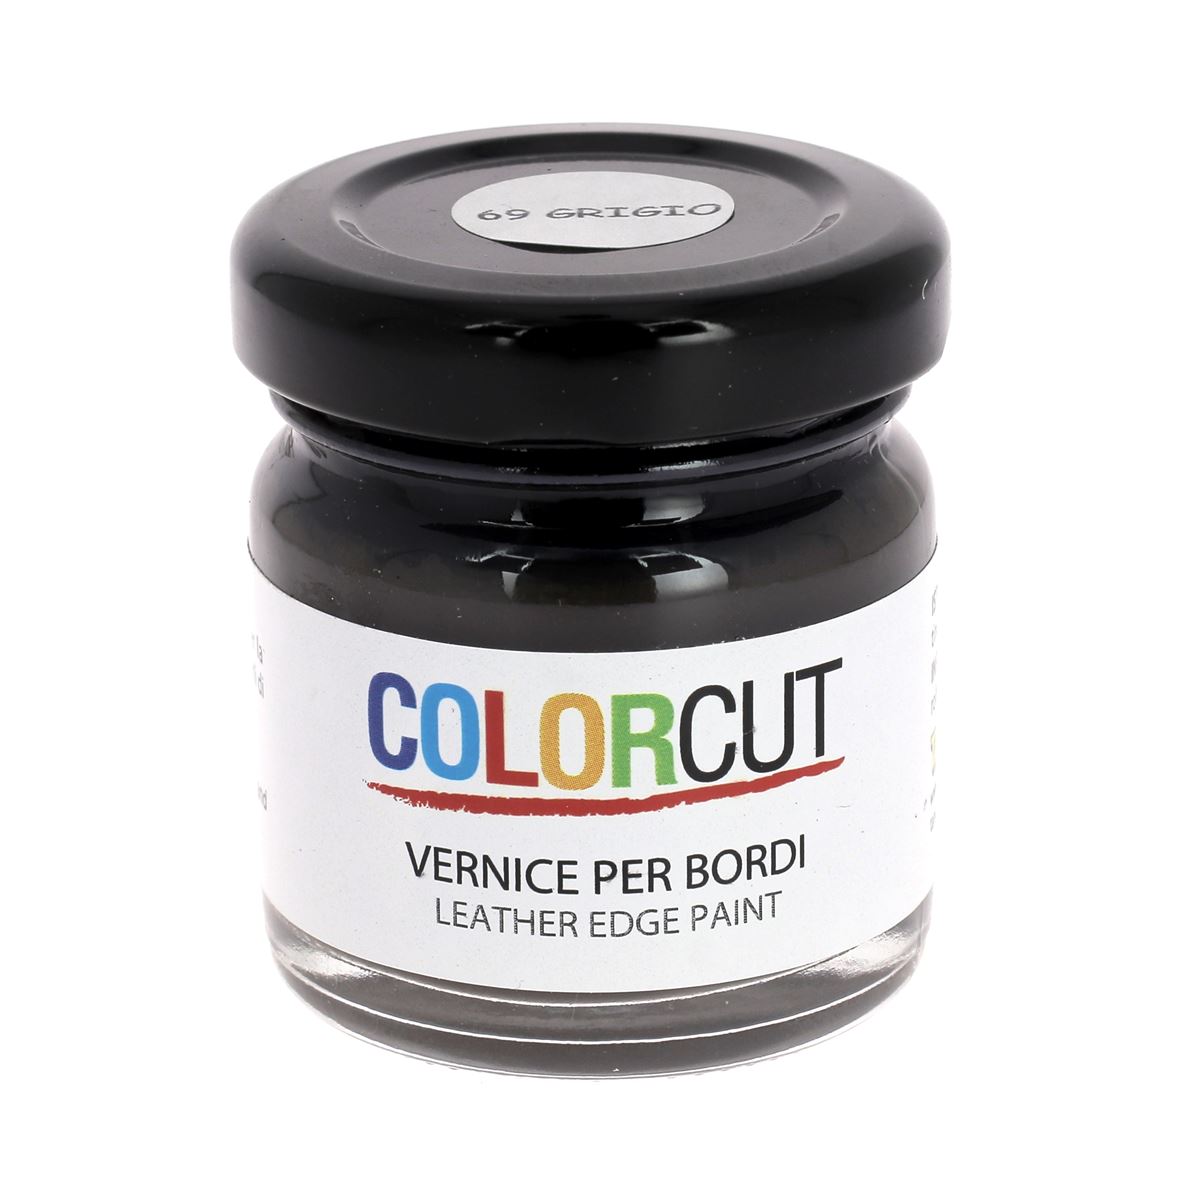
- 1 HAZELNUT slice finish - Colorcut - 30 ml
- 1 tube of special leather contact glue
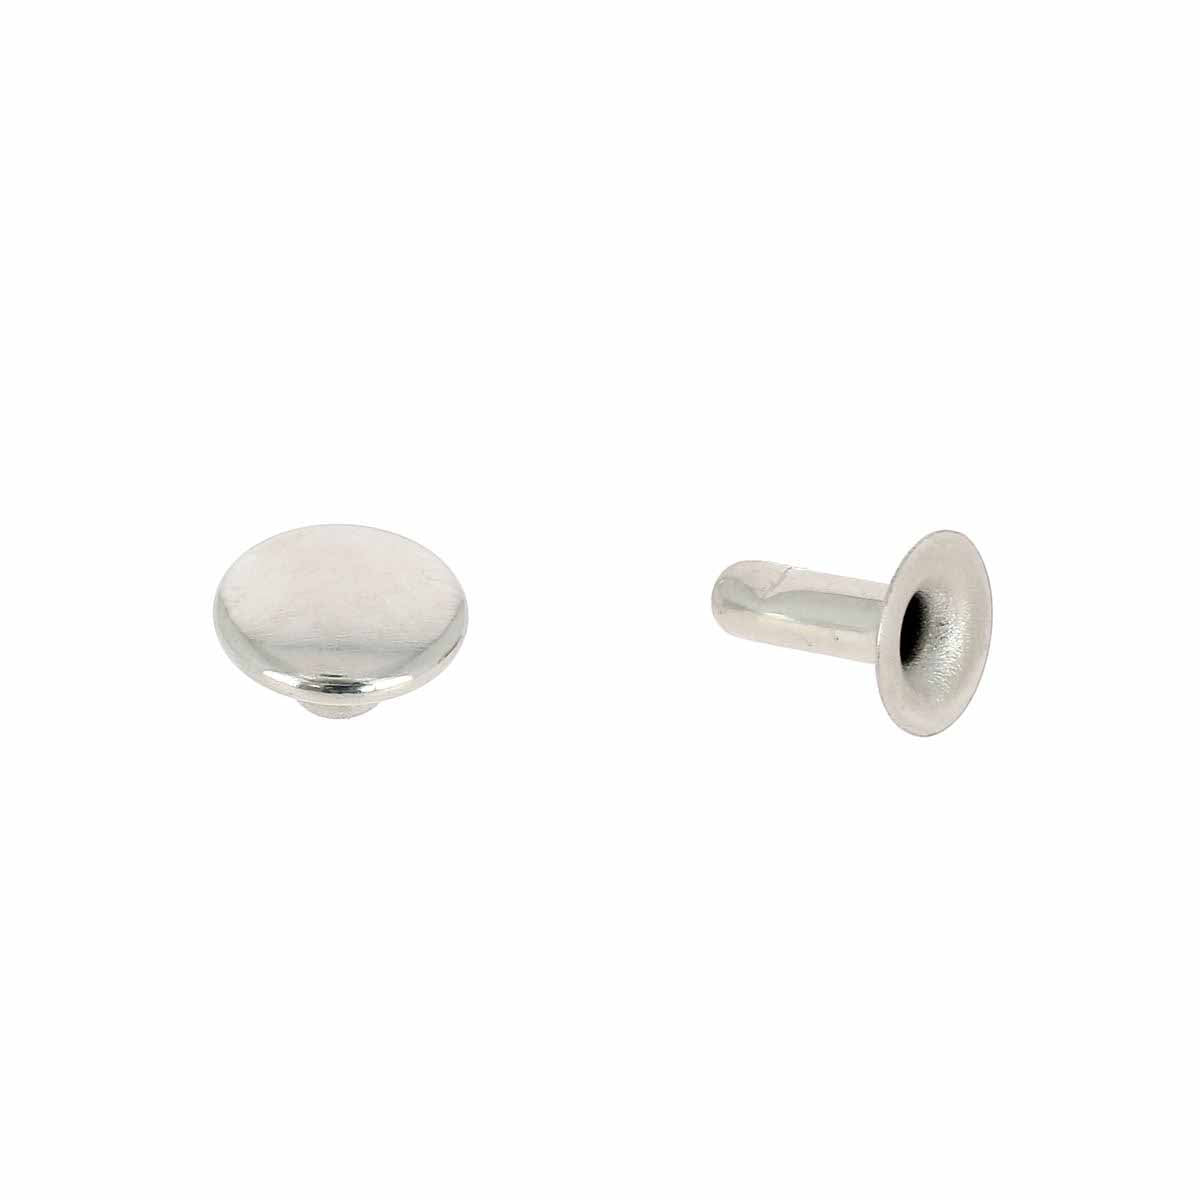
- 1 kit of 24 double cap rivets (T4) and installation tools - 9 mm - aged brass
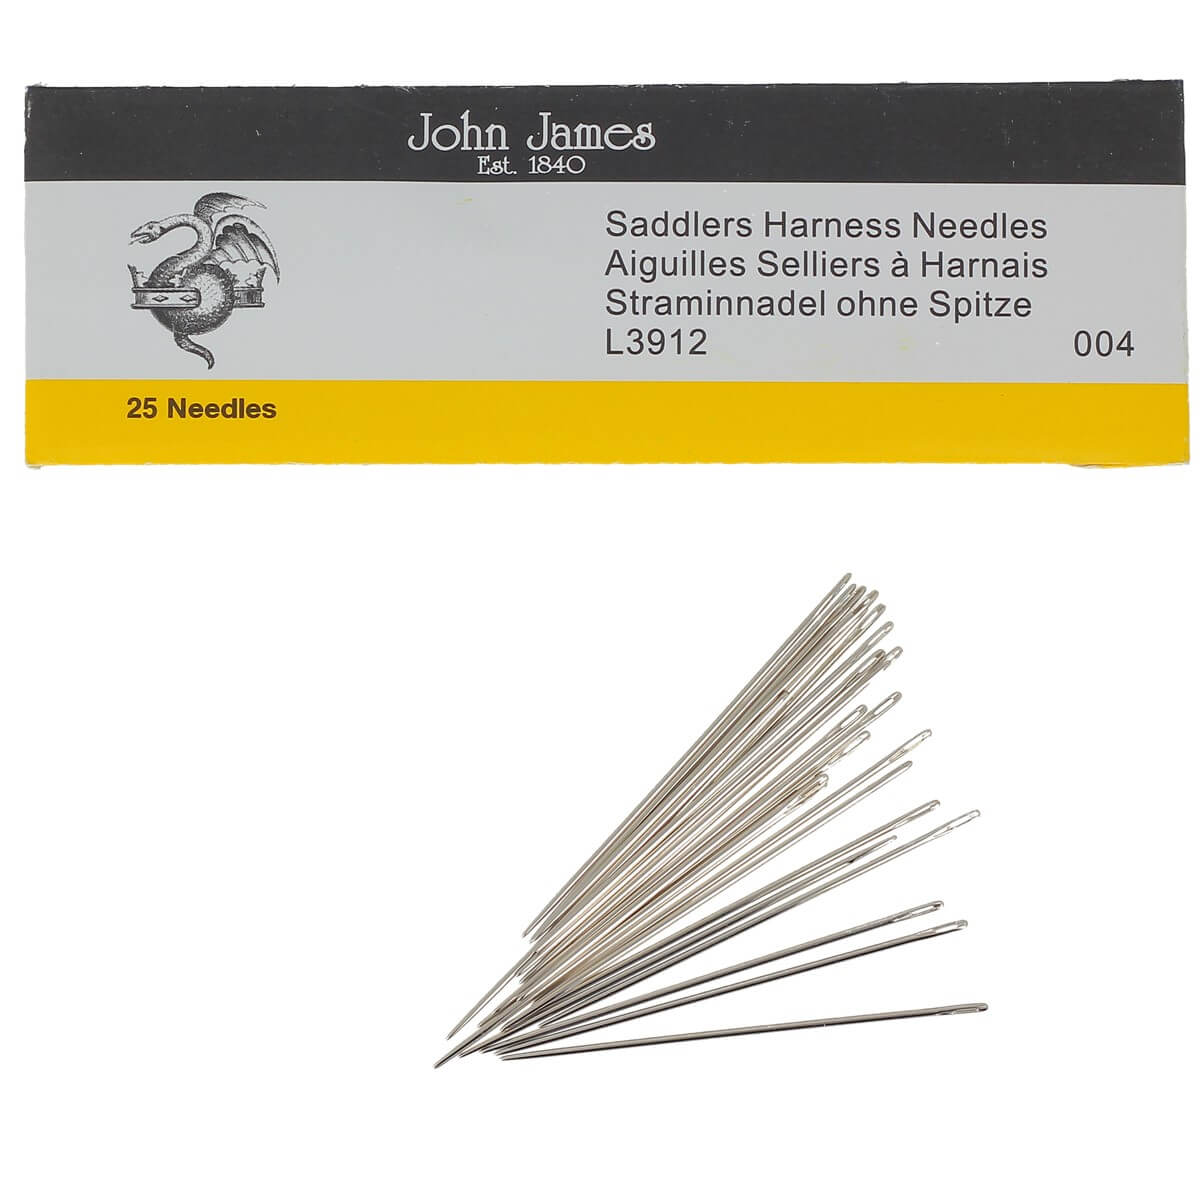
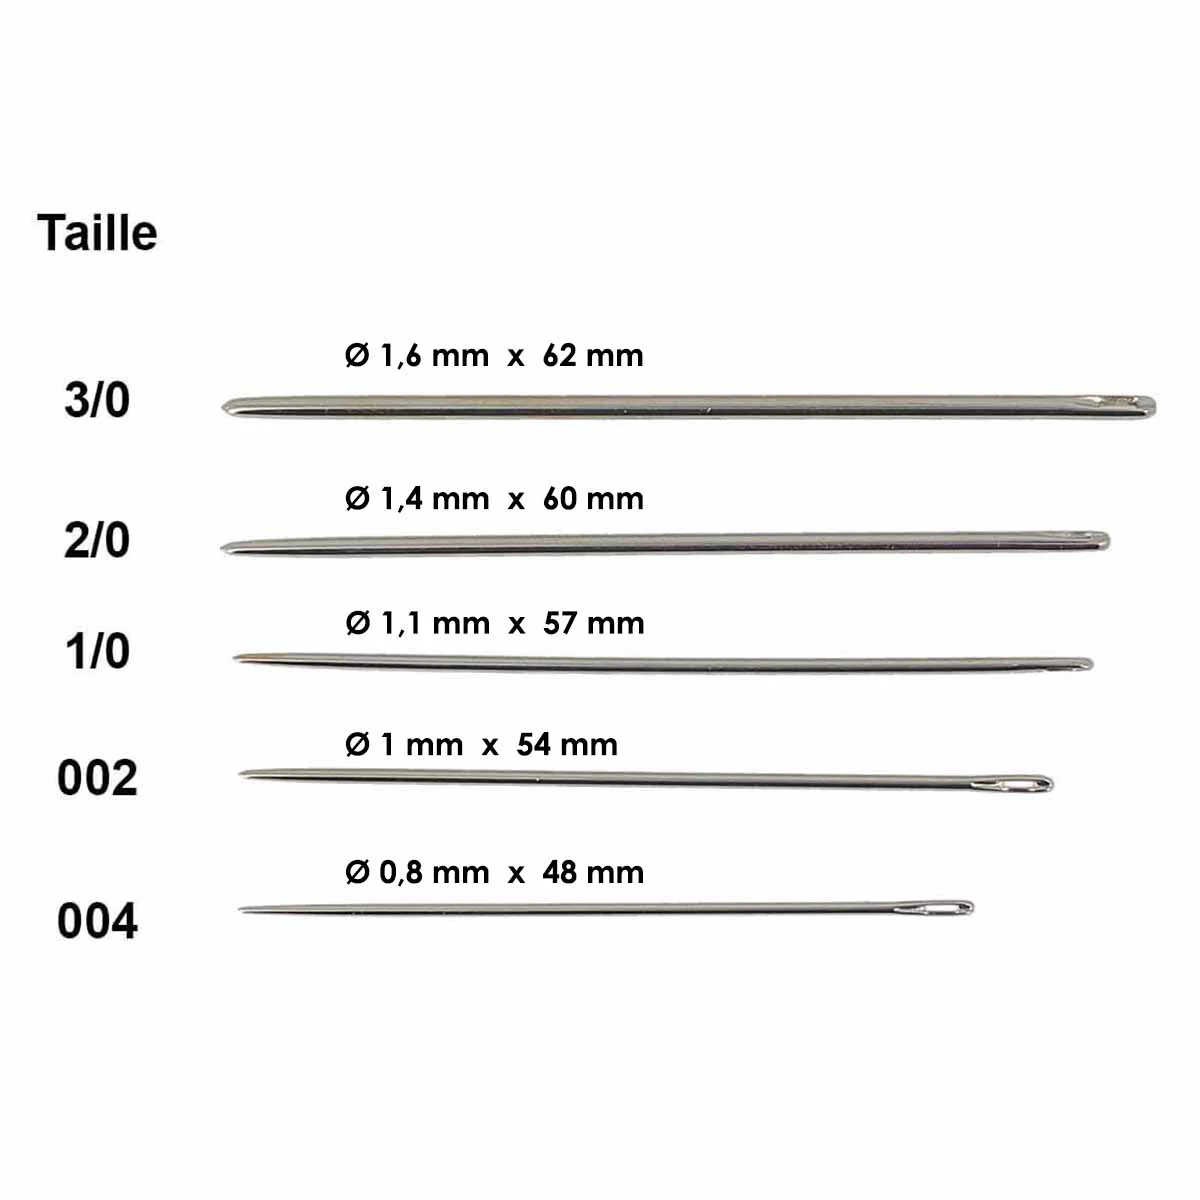
- 1 set of 25 saddle needles - round tip - size 1/0 - d=1.1 mm
- 1 BIG CAT cutout for natural leather key ring to personalize (optional)
- 1 round key ring - diam 25 mm (optional)
And the following material:
- 1 round punch - SEIWA Japan - diam: 1.5 mm
- 1 cutter and 1 rotary cutter
- 1 mallet
- 1 fine abrasive sponge - grain 400
- 1 adhesive masking tape
- 1 joiner's hammer
- 1 ertalon plate
- 1 cutting mat
WHAT IS SIMPLIFIED LEATHER STITCHING?
This technique of hand-stitching leather with holes makes this tutorial accessible to everyone. You can, of course, choose to use a "standard" saddle stitch.
SEE THE GUIDE > 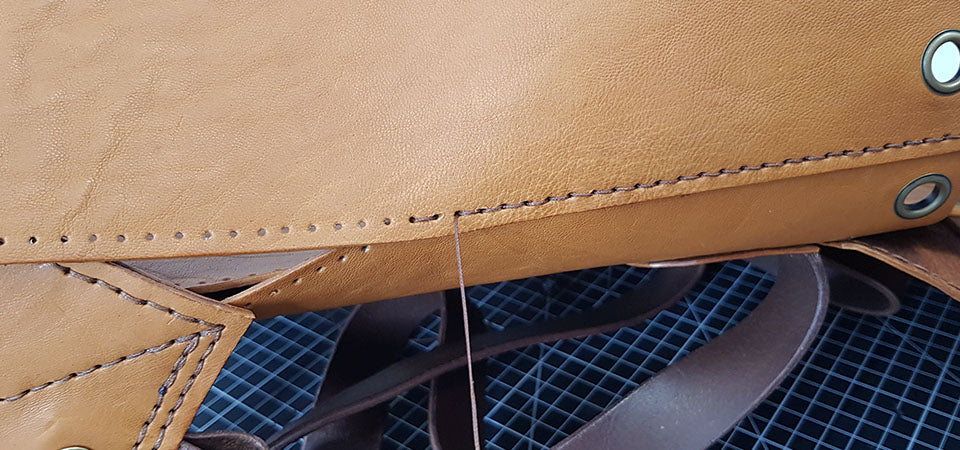
TO GET STARTED:
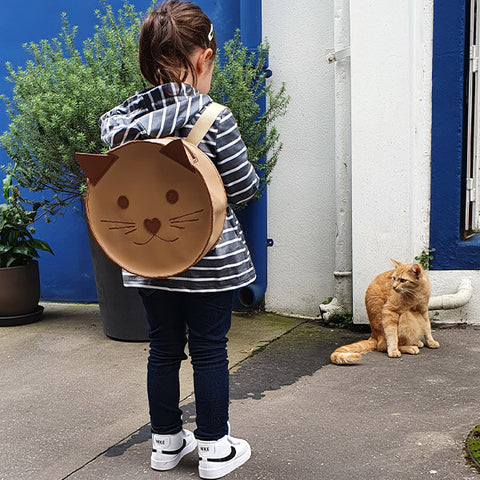
Want to practice before you start making a leather backpack? Here's a simpler version: the cat purse:
SEE THE WALLET TUTORIAL >
 |
 |
VIDEO TUTORIAL
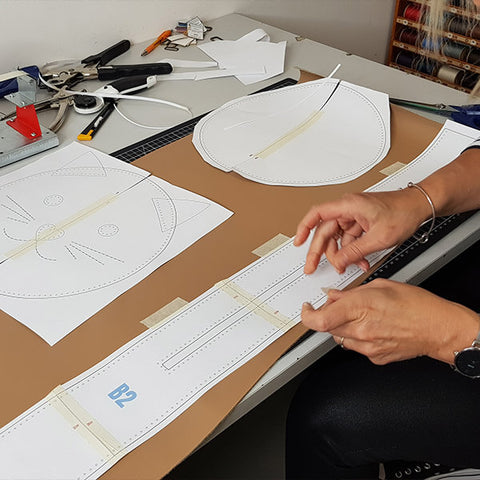
1. CUT OUT THE PATTERN PIECES
Download the pattern and print it in actual size (download it in the tab at the top of the page). Cut out the pattern, leaving about 1 cm of margin at the edge of the different pieces. 
2. POSITION THE PIECES ON THE LEATHER
Tape (using masking tape to avoid damaging the leather) the pattern pieces to the leather. Be careful, pieces 5, 6, 7, 8 and 9 (cat's face) must be taped to the small piece of leather (different color from the body of the bag).
 |
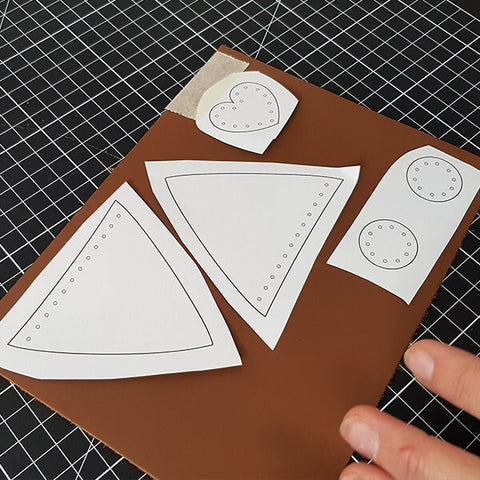 |
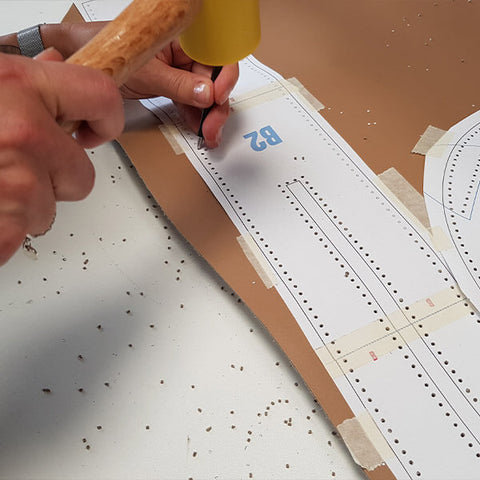
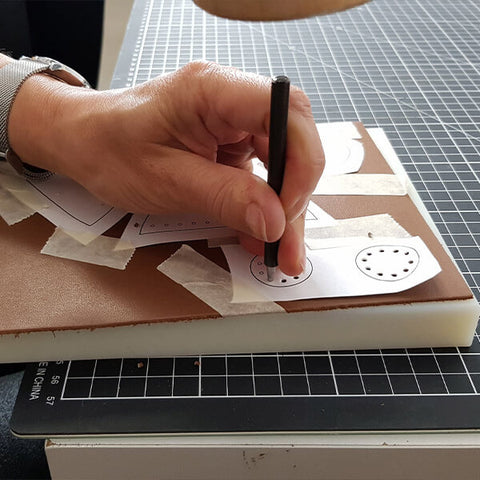
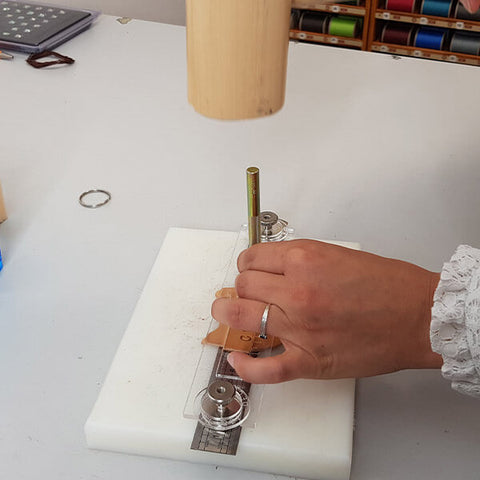
To prepare the pieces for sewing: pierce the holes indicated on the pattern using a 1.5 mm diameter round punch.
 |
 |
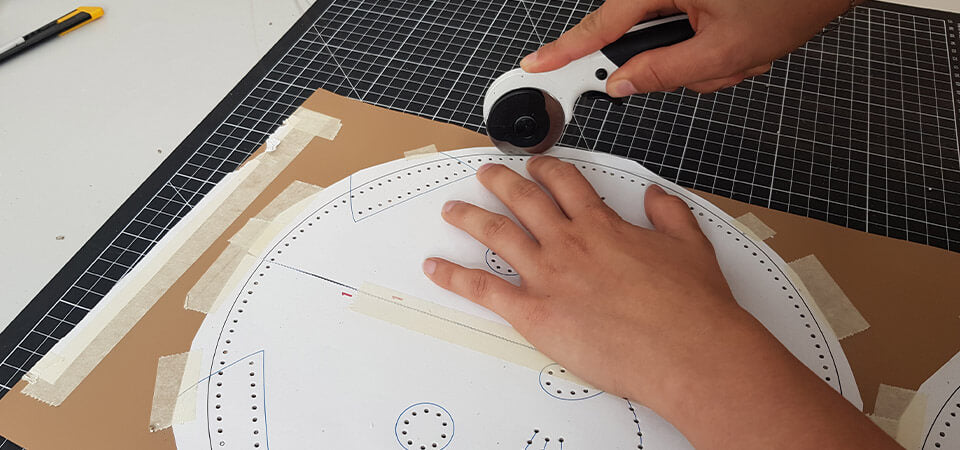
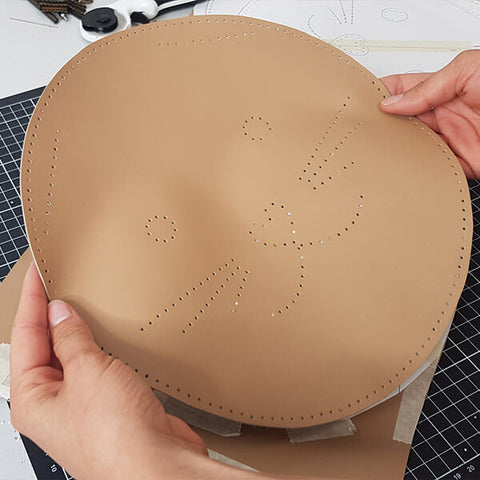
Then, cut out the different pieces, following the lines, with a cutter and/or a rotary cutter. To cut out the eyes, we used a 25 mm round punch cutter. 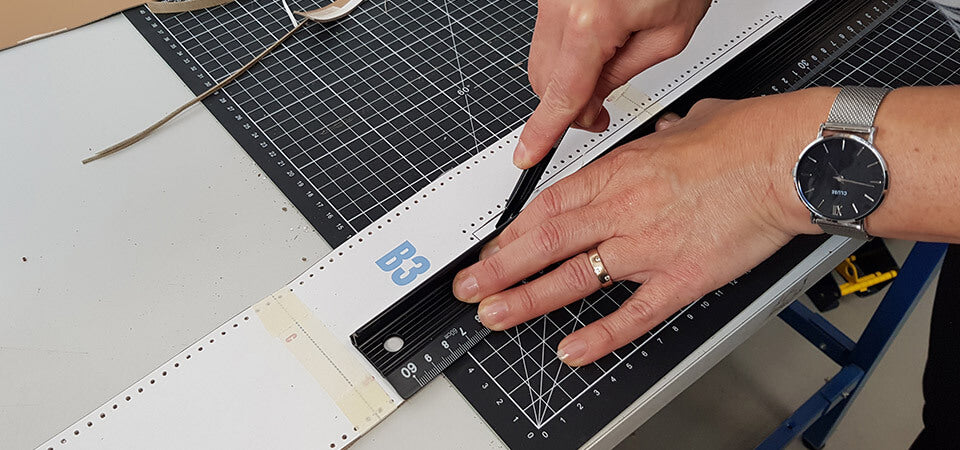
 |
 |
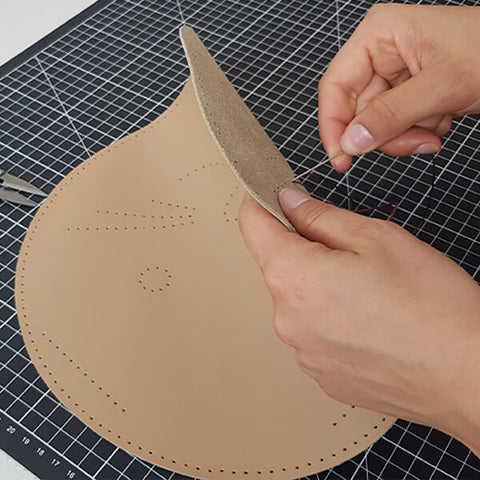
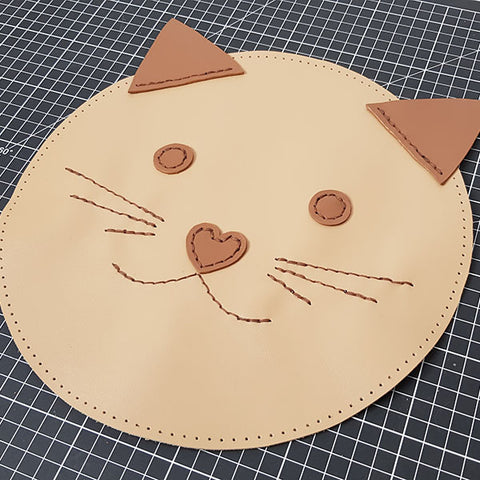
3. WORK ON THE SHAPES OF THE FACE
Sand the edges of the small face pieces (P5, 6, 7, 8, 9), the rectangle (P4) and the inner rectangle intended for the zipper (P3) as well as the ends of P3. 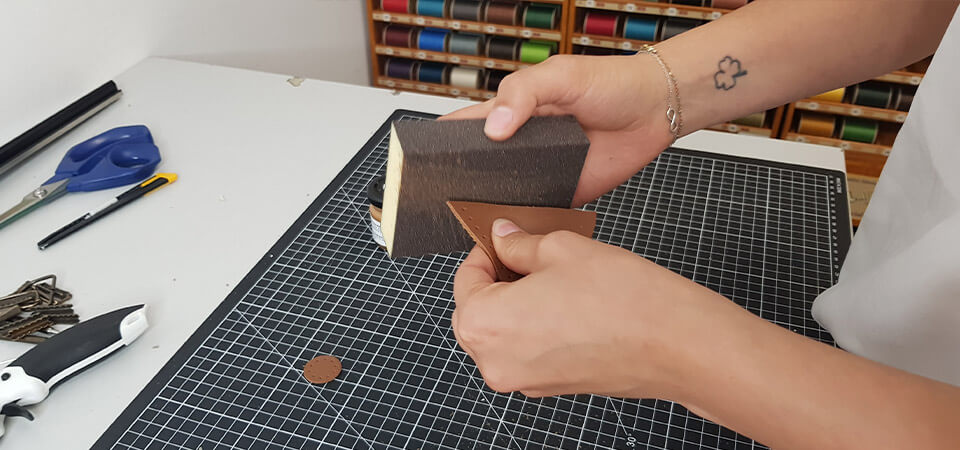
Work the edges of these pieces by applying edge stain. Apply 2 to 3 coats and sand between each coat.
 |
 |
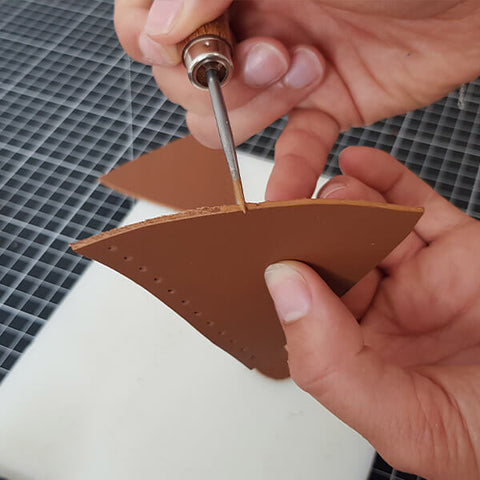
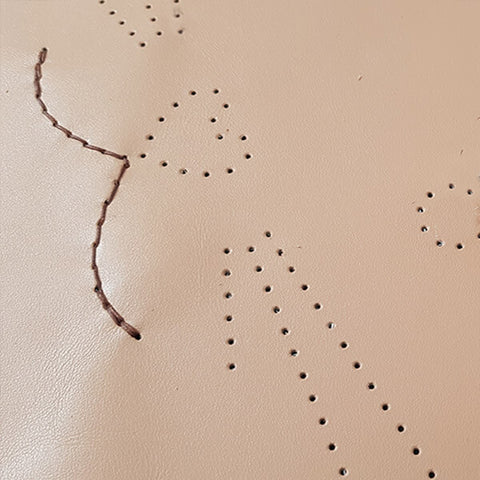
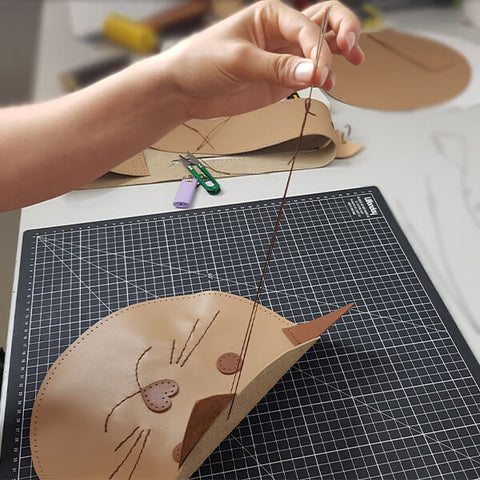
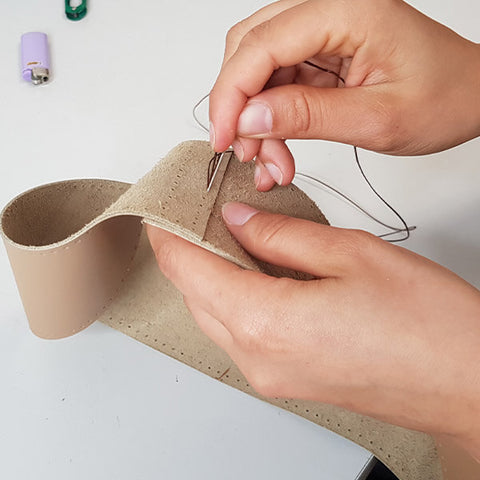
4. START SEWING LEATHER
Start by sewing the cat's whiskers and mouth . To do this:
Cut the thread: generally equivalent to 4 or 5 times the length of the sewing line.
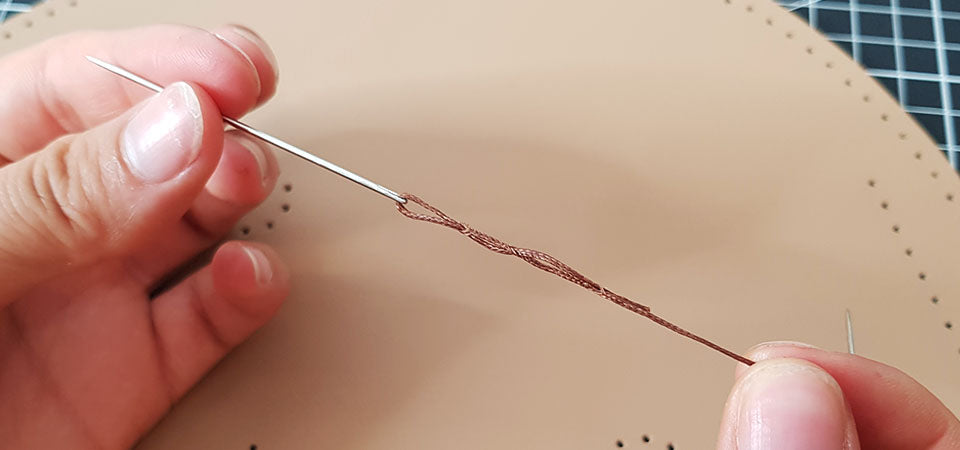
Thread a needle through each end of the thread:
- Insert the thread at needle height and then insert it twice.
- Crimp the end of the thread and pass it through the eye of the needle.
- Pull the thread to make the knot (see guide).
- Do the same thing to thread the other end of the thread onto the second needle.
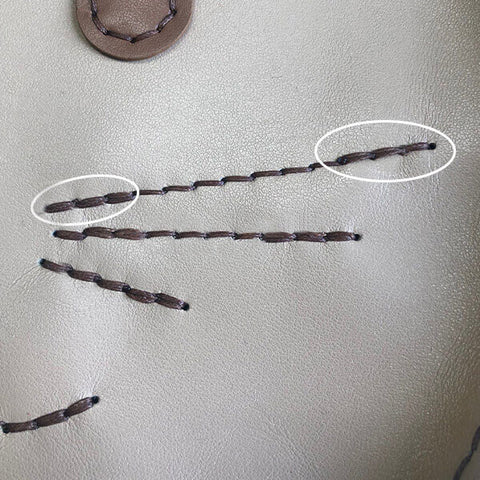
Pass one of the needles through the 4th hole and even out the threads (see photo 3). For aesthetic reasons, we started sewing at the 4th stitch in order to make 3 double stitches and thus have symmetry with our end seam (the 3 stop stitches) => to be done only if the seams do not join (see photo 4).
Sew by passing each needle through each hole one by one.
Then tighten the stitch well .
To finish the seam: make 3 backstitching stitches, cut the thread flush and then burn it (if polyester).
Finally, hammer the seams with a jointing hammer.
SEE THE GUIDE TO SIMPLIFIED LEATHER SEWING >
 |
 |
 |
 |
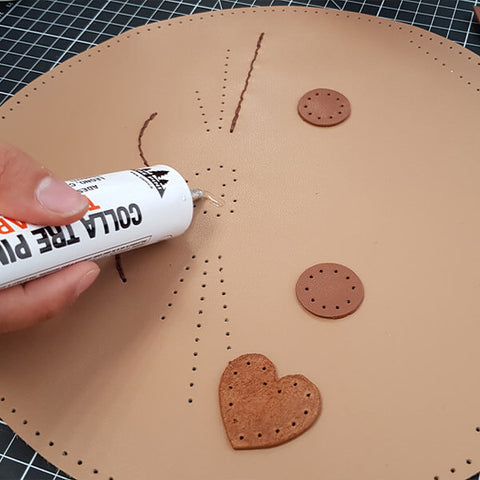
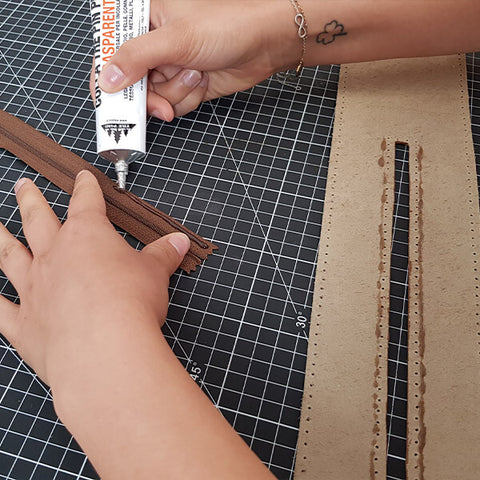
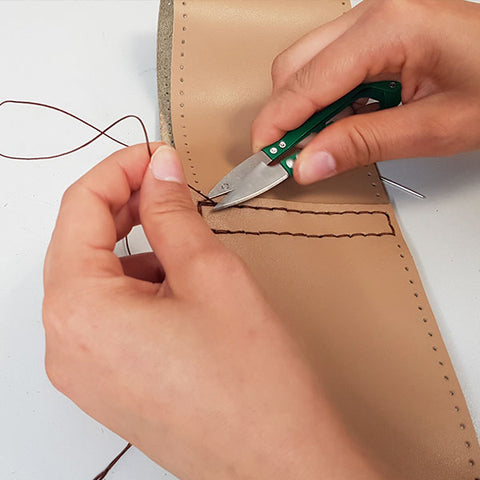
5. GLUING THE LEATHER PIECES BEFORE SEWING
Glue the cat's eyes, nose, and ears with contact cement. Wait a few moments for the glue to soak in before gluing the leather pieces. Also glue the zipper (see photo 2).
 |
 |
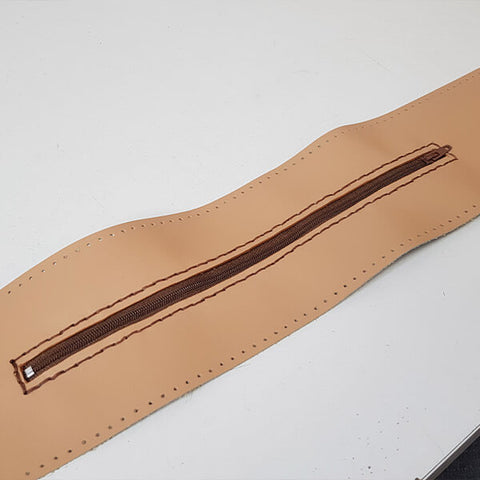
Sew the various seams on the face and zipper. Tap the seams with a joiner's hammer to flatten them.
 |
 |
 |
 |
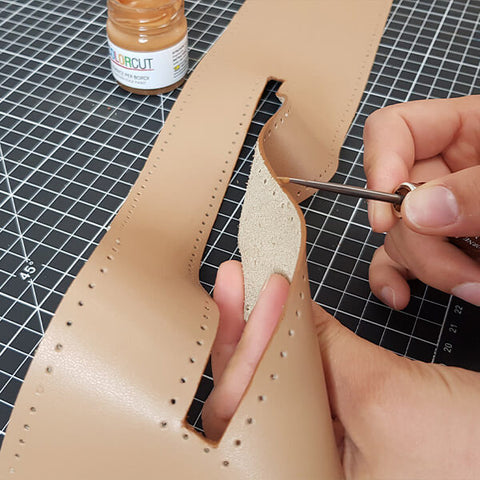
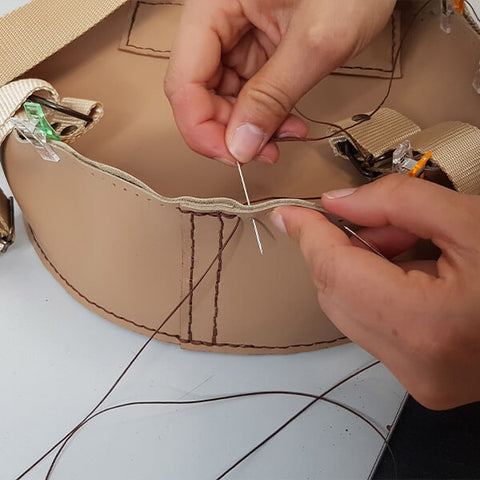
6. FORM THE ROUND OF THE BAG
After sewing the zipper, glue the two ends of the strip (P3) together to form a circle. Be careful when gluing: check that the holes are facing each other. Then, sew a rectangle to form the curve.
 |
 |
 |
 |

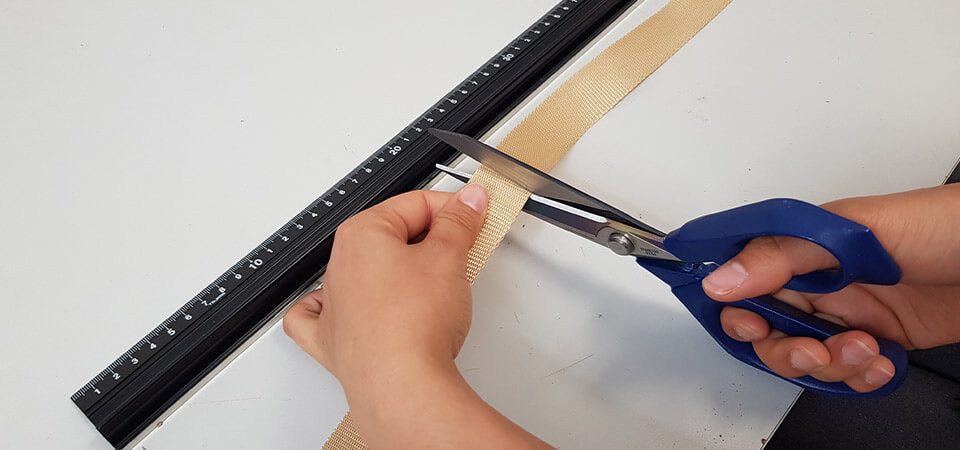
7. CUT AND POSITION THE STRAPS
Cut the nylon strap into:
- 2 pieces of 70 cm
- 2 pieces of 15 cm
- 1 piece of 22 cm
- Pass a half-round ring through and center it on each 15 cm strip.
- Fold the strap back on itself and place a strap end (and burn the excess threads for a nice finish).
- Then rivet (T4 rivets) the two thicknesses of the strap to block the half-round ring.
 |
 |
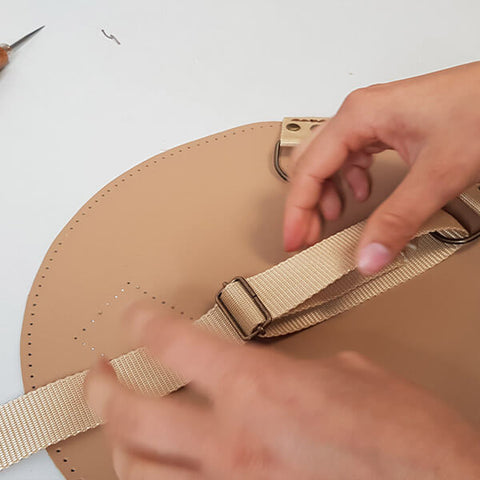
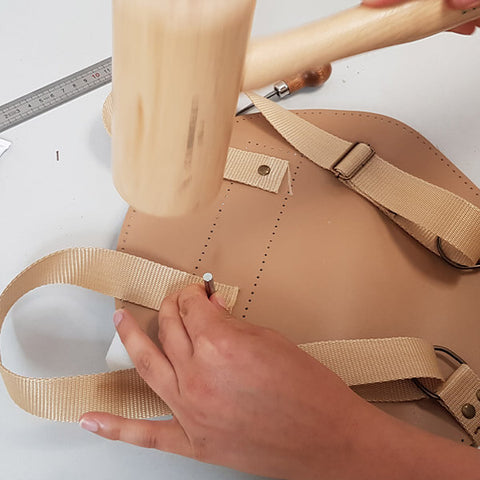
Position each strap on piece #1 at the location indicated on the pattern (blue dots). Then rivet and sew the pieces.
 |
 |
Hold the end of each strap with a T4 rivet. 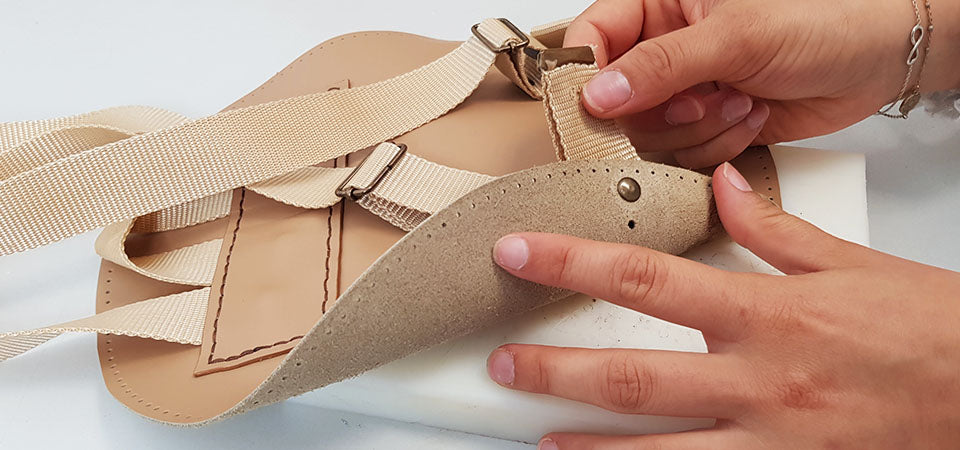
Take the 70 cm straps.
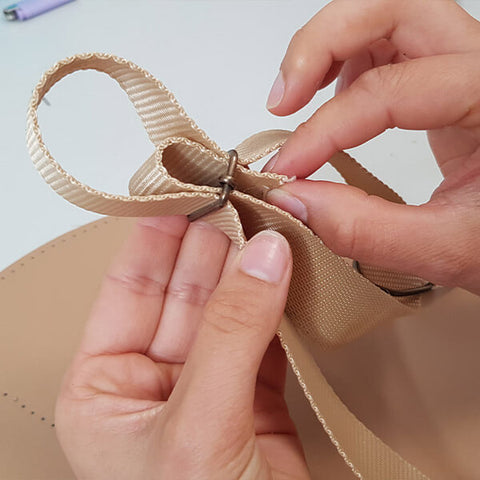
To have an adjustable strap: pass the sliding buckle through the strap then pass the strap through the half-round ring. Pass the end of the 70 cm strap back through the sliding buckle (photo 2). Then, close with a strap end (don't forget to burn the threads).
 |
 |
 |
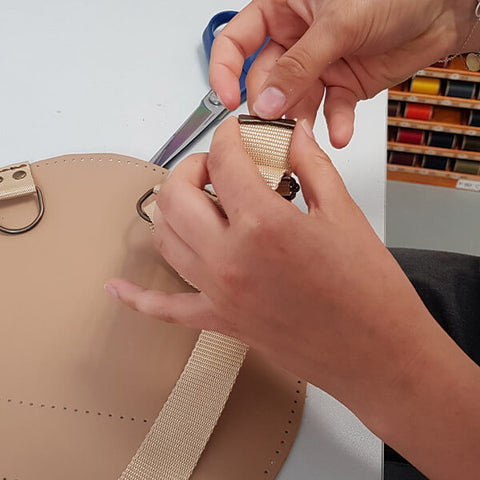 |
To hold the strap securely, rivet the two thicknesses of the nylon strap together (be careful to rivet the correct thicknesses). 
Burn the ends of the nylon straps to prevent them from fraying. Then, glue the ends of the 70 cm straps into the rectangle provided on part 1. Finally, attach the straps with rivets (see the position of the holes on the pattern).
 |
 |
Take the 22 cm strap.
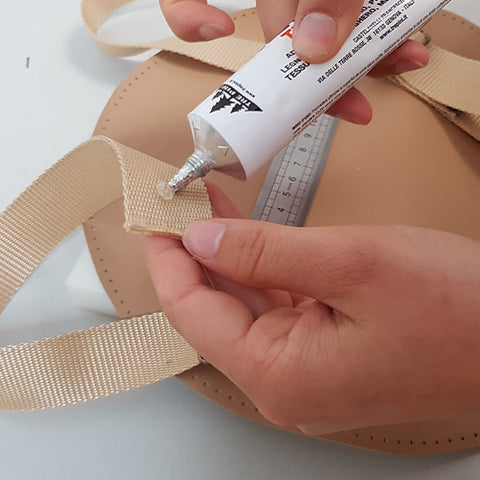
Glue the ends of the handle into the rectangle, then rivet*.
*If you wish, you can place the rivets after gluing part #4 to prevent the leather from "warping". 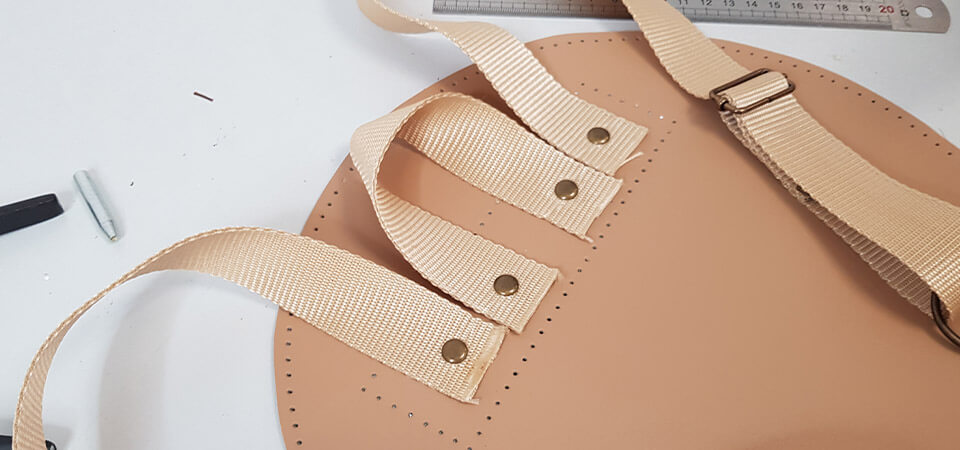
Finally, glue rectangle P4 then sew it onto piece no. 1.
 |
 |
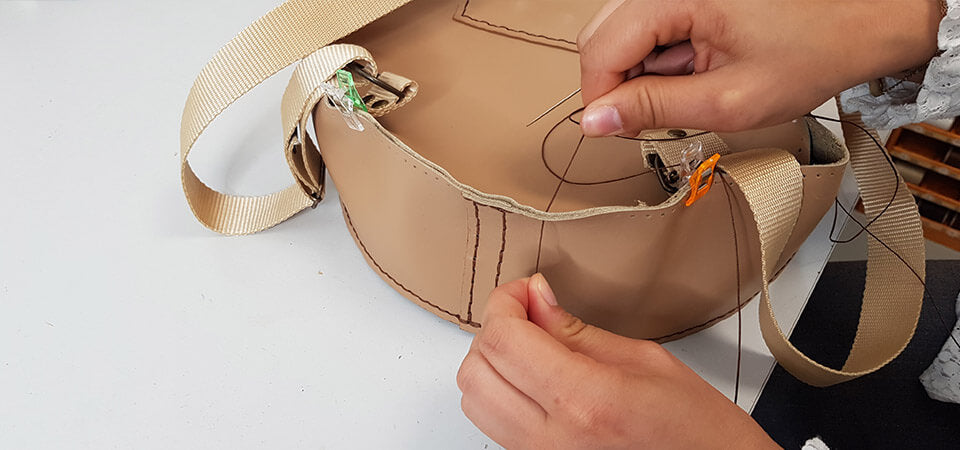
8. FORM THE BAG
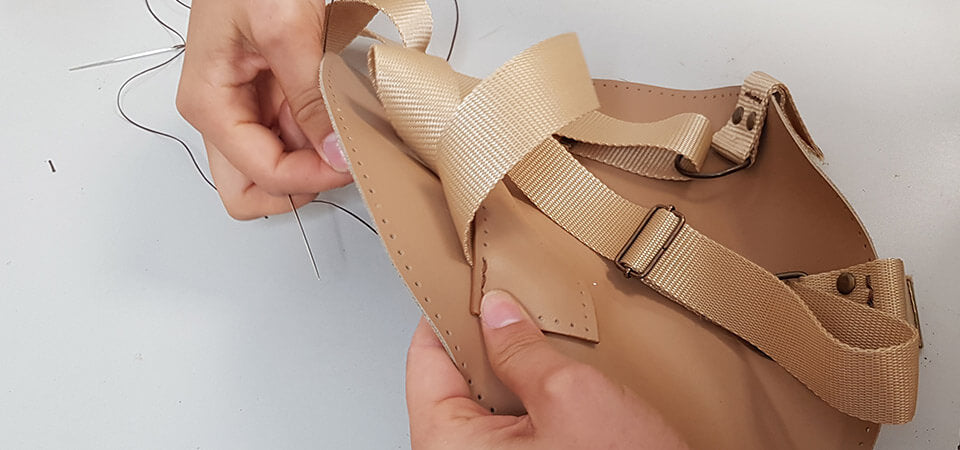
Before starting to sew, hold the pieces together with sewing clips. 
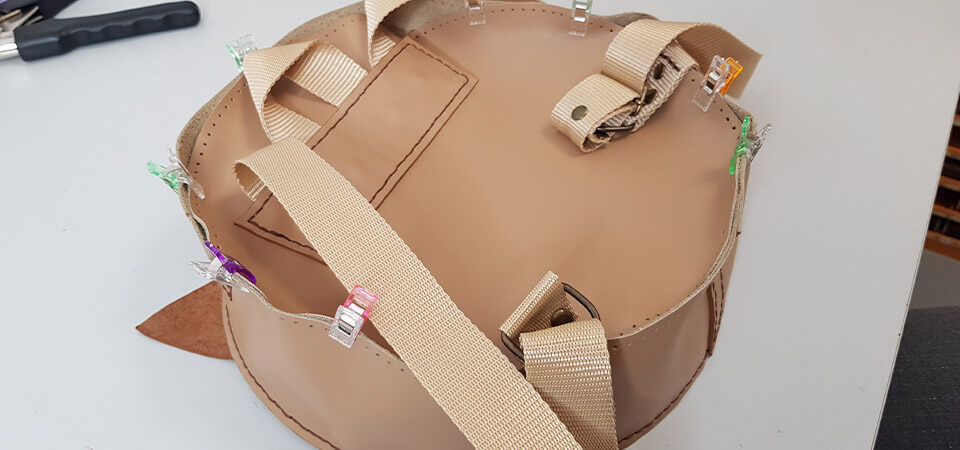
Sew edge to edge, wrong side to wrong side, piece #1 and piece #3, then piece #2 and piece #3. Pass each needle through each hole and pull the stitch tight.
 |
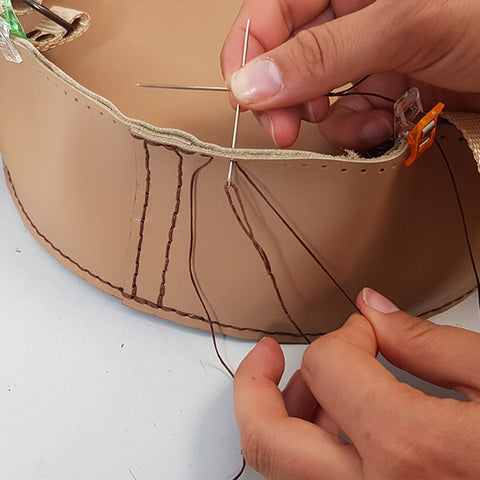 |
The needle may be more difficult to pass through when the straps are too thick. Use a round awl and pliers to force the needle through.
 |
 |
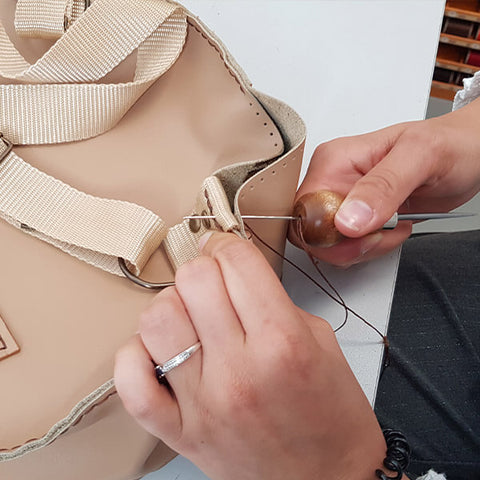
Finally, tap the seams with a jointer's hammer. 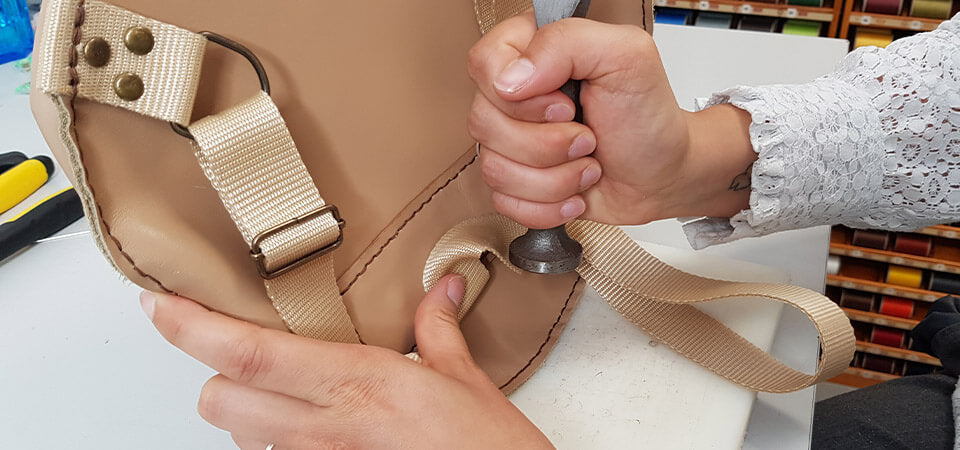
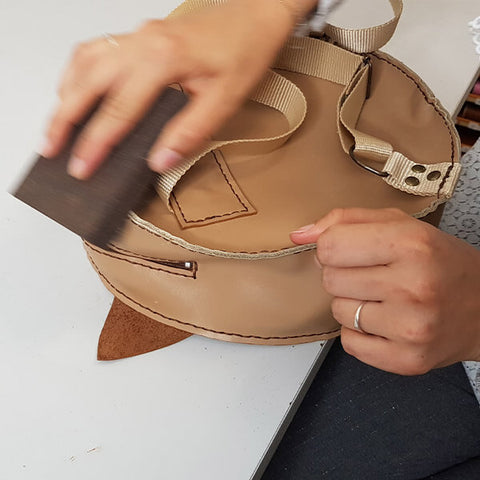
9. WORK THE SLICES
Sand the edges of the backpack and then apply edge stain. Repeat this process 2 to 3 times if necessary.
 |
 |
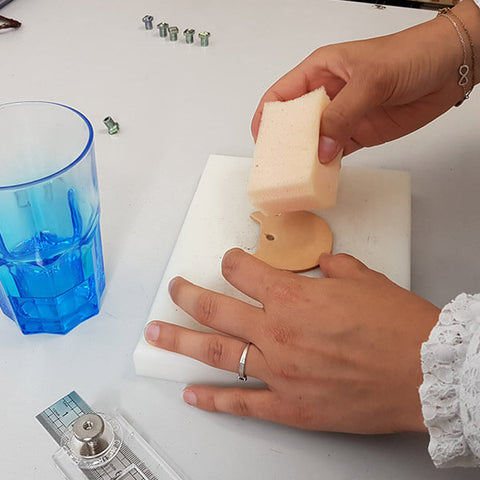
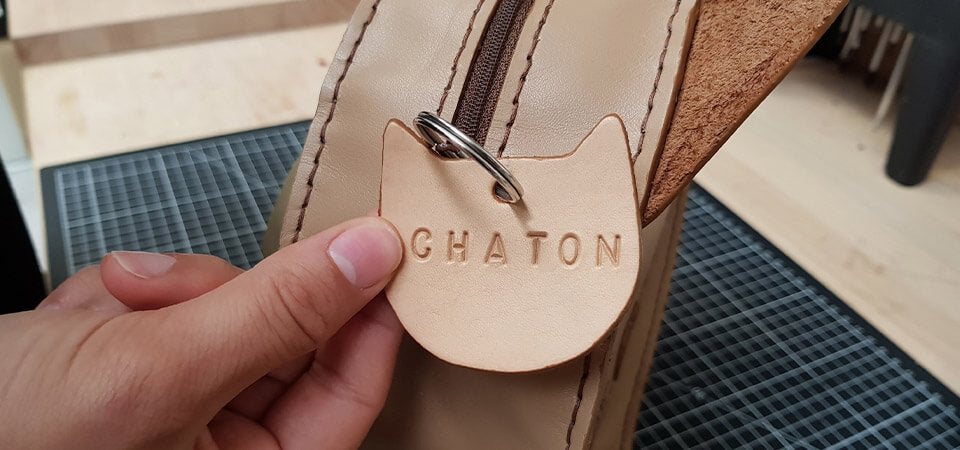
10. MAKE THE FIRST NAME KEYCHAIN (OPTION)
Moisten the cat-shaped keychain. Then, stamp the name with alphabet stamps.
Thread the half-round ring through the hole provided on the leather cutout, then attach the key ring to the backpack zipper. The key ring will make it easier to open the zipper.
SEE THE GUIDE >
 |
 |
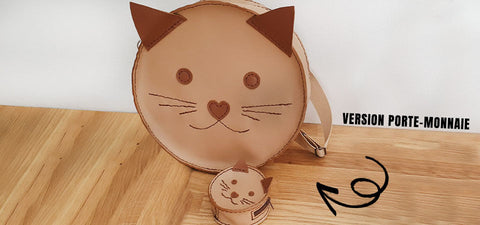
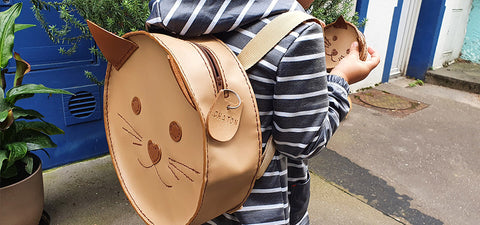
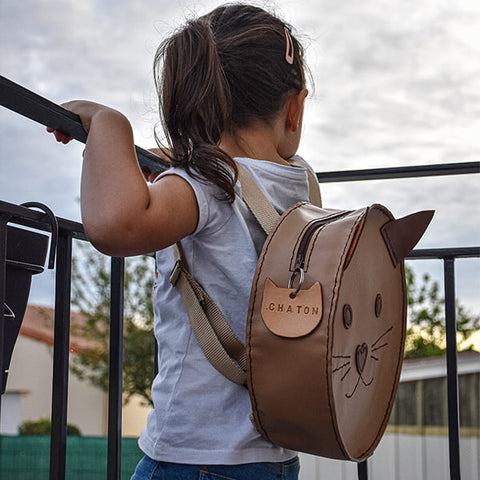
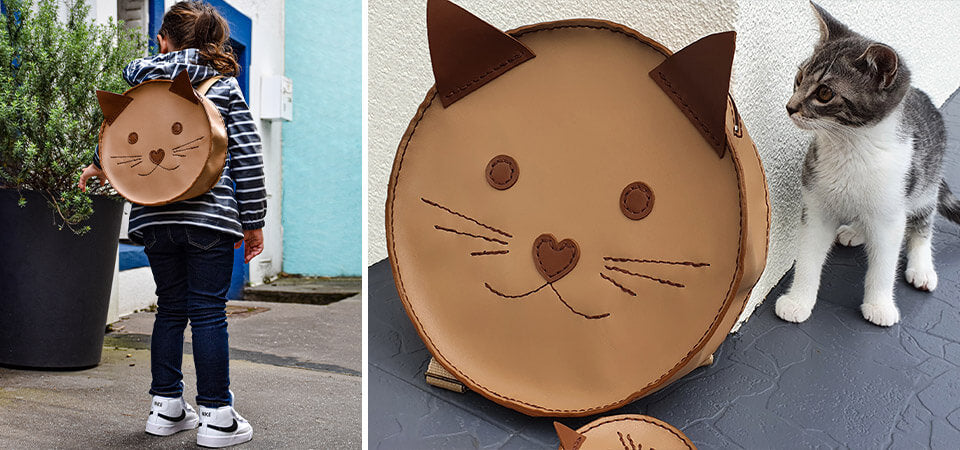
YOUR CAT BACKPACK IS FINISHED!
 |
 |
DON'T HESITATE TO PIN THE PHOTOS ON PINTEREST TO SHARE THE ARTICLE!