


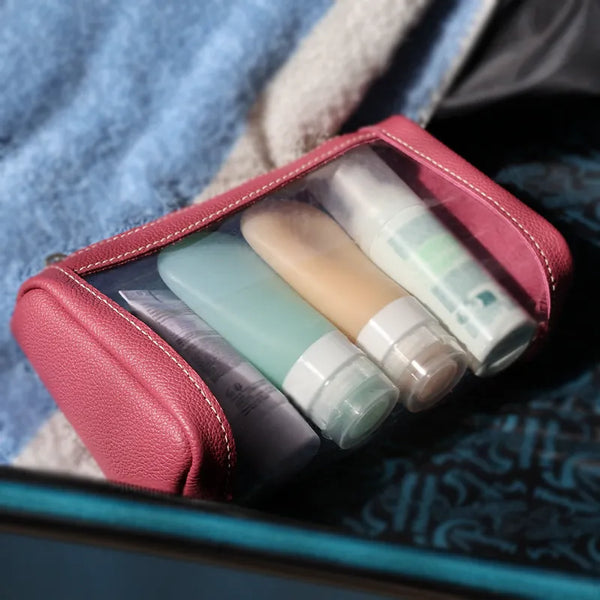
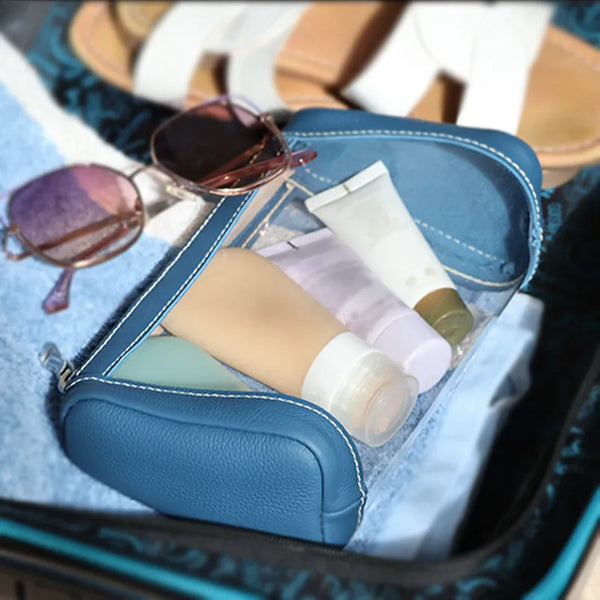
REQUIRED MATERIALS
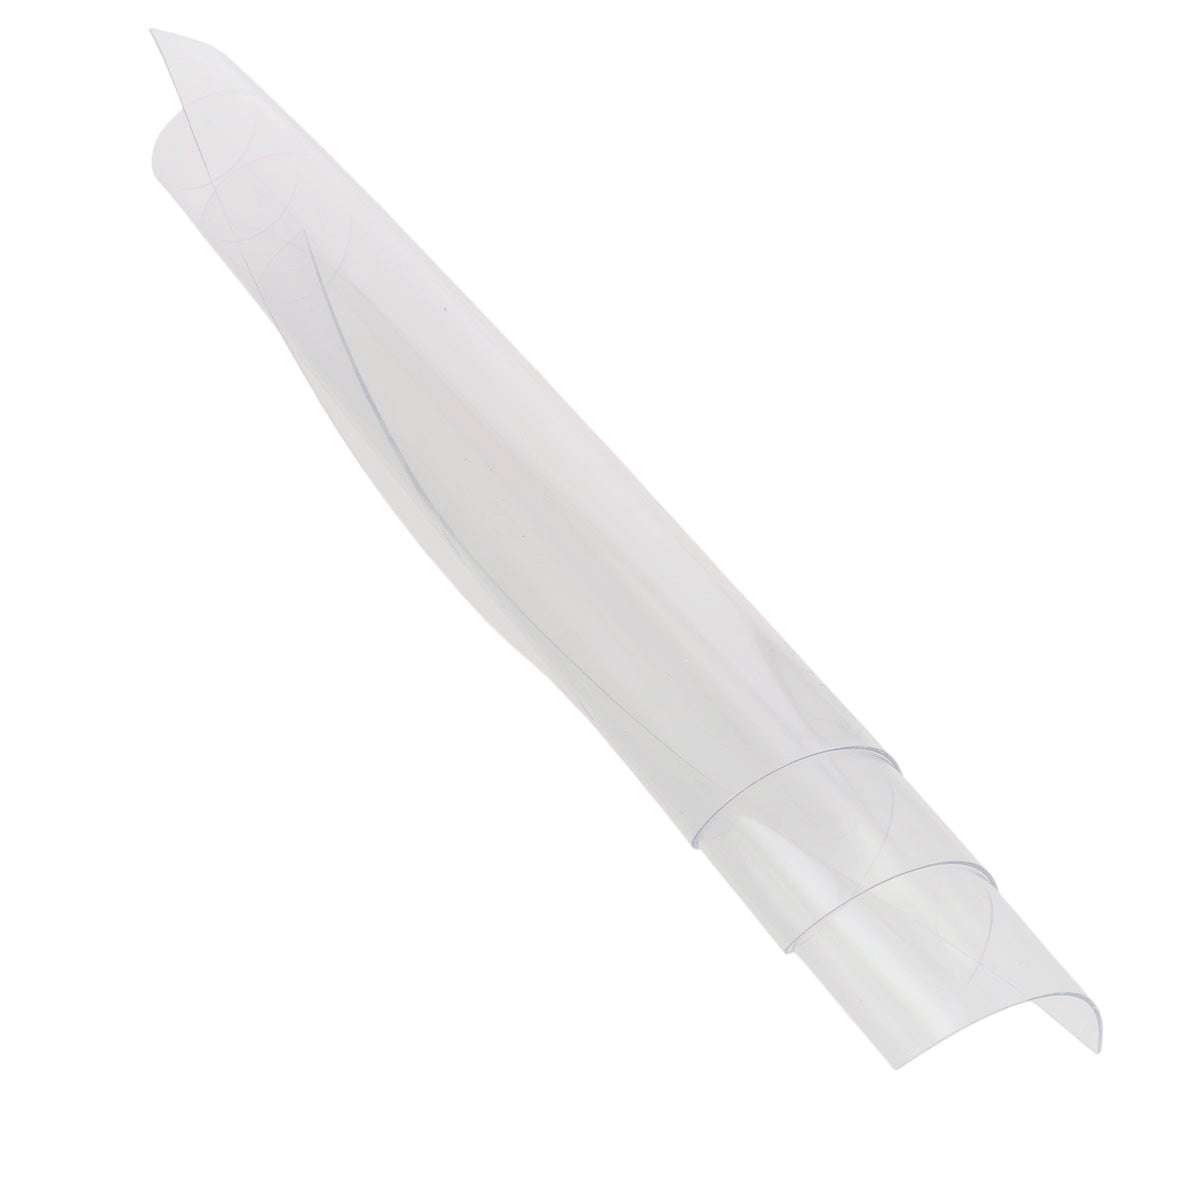
- 1 transparent PVC sheet - 1mm thick - 29 x 39 cm
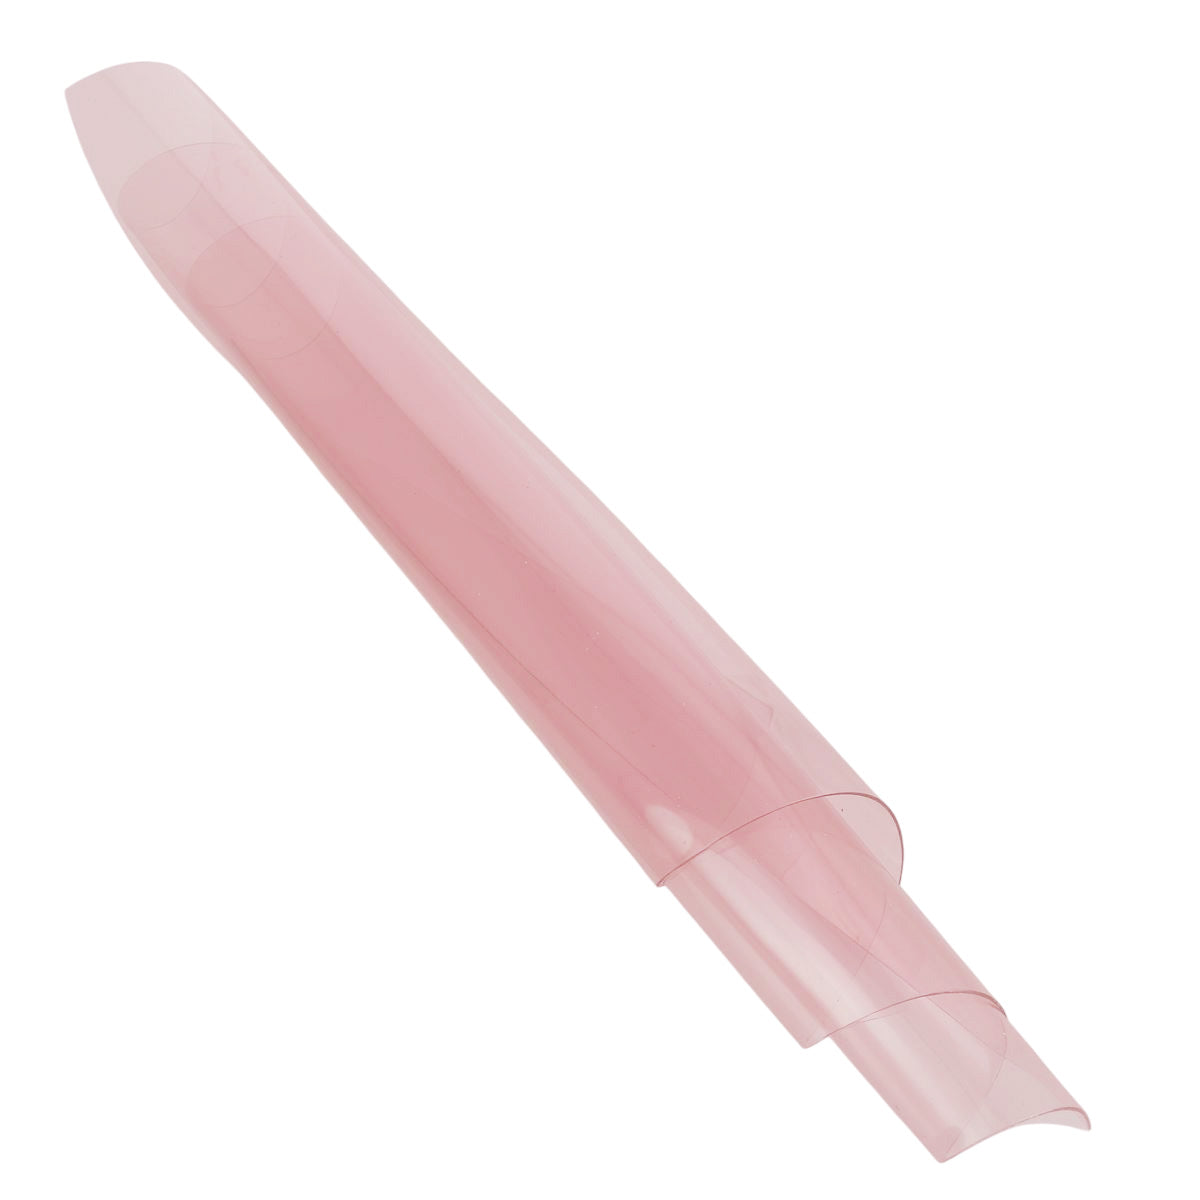
- 1 leather piece 20 x 30 cm - Medium-soft Medium-firm - 1.1 mm thick
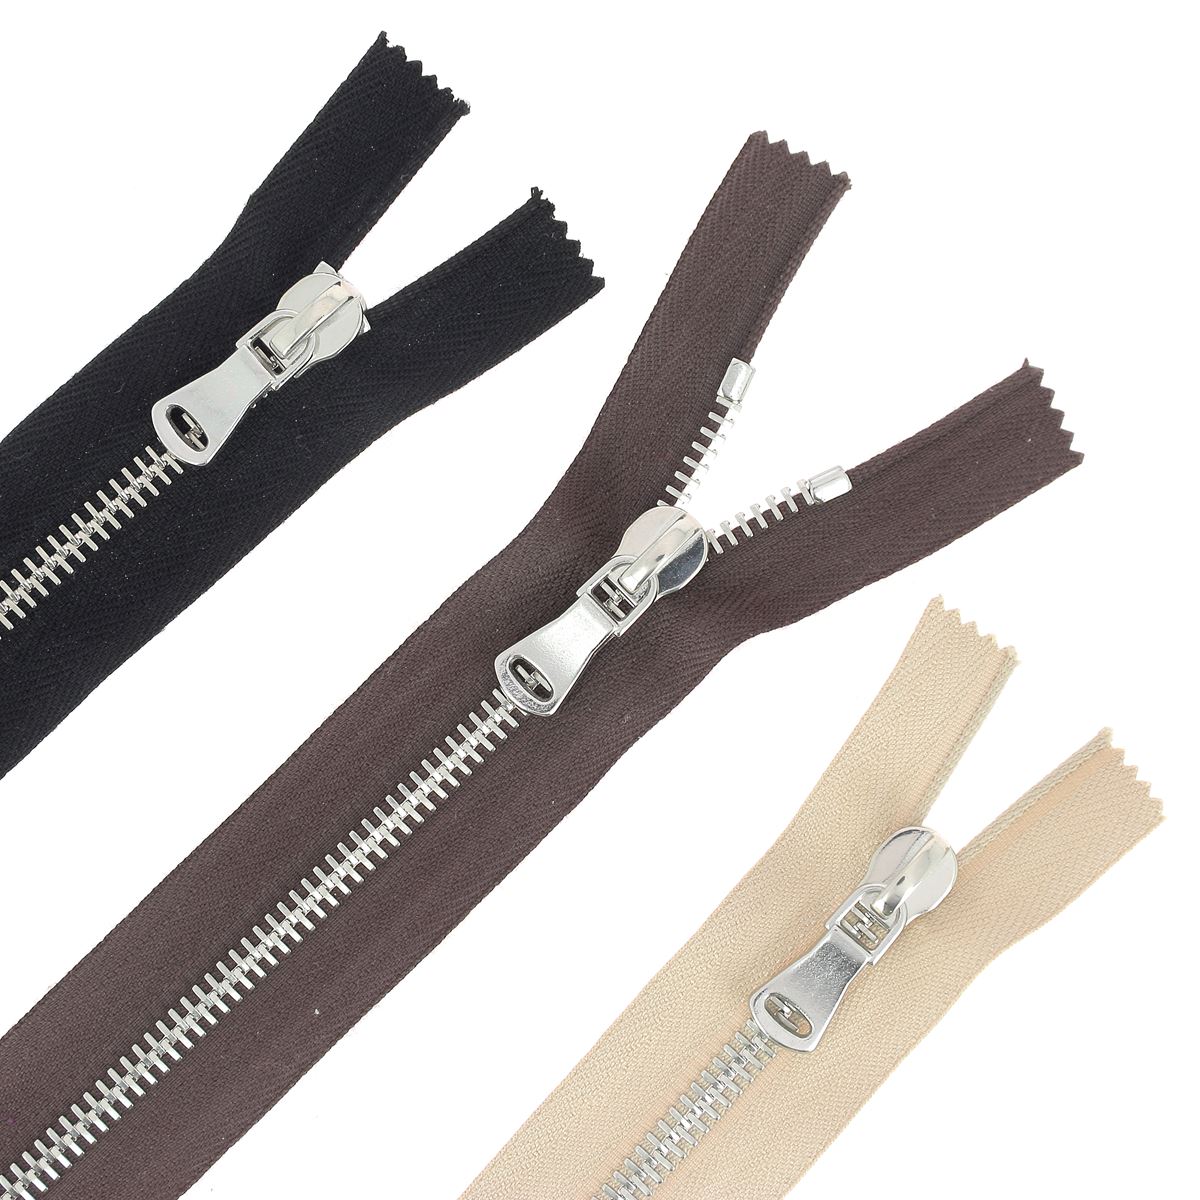
- 1 METAL zipper 6 mm wide - 20 cm long
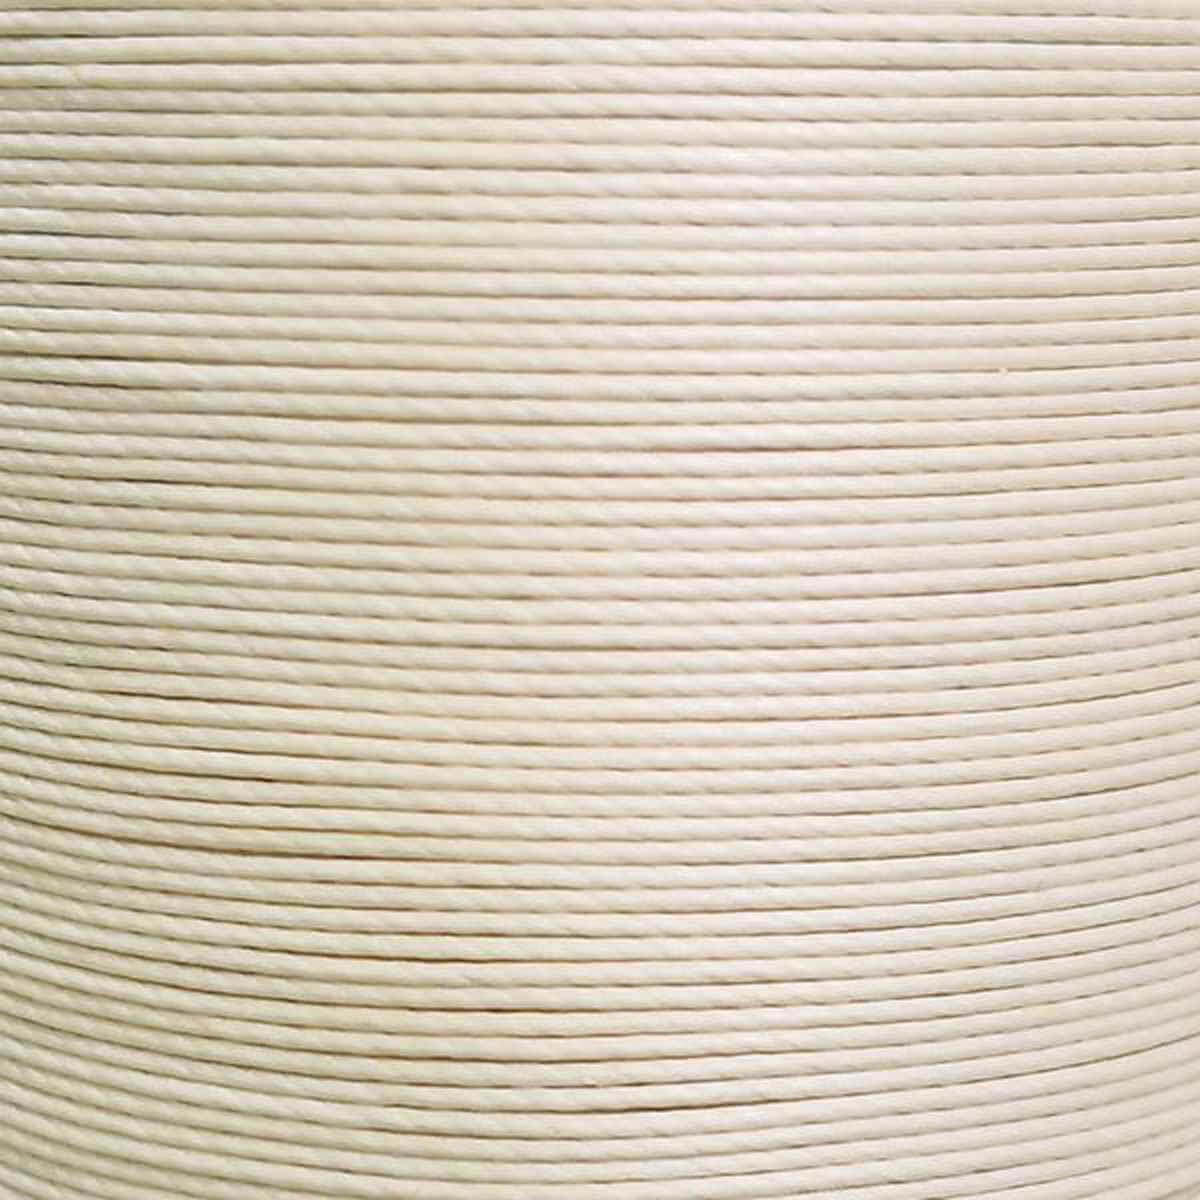
- 1 card of MeiSi waxed linen thread - M40 or M50
- 1 round punch - Ø 1 mm
- 1 double-sided adhesive tape - 3 mm wide
- 1 block of beeswax
- 1 cutter
Video
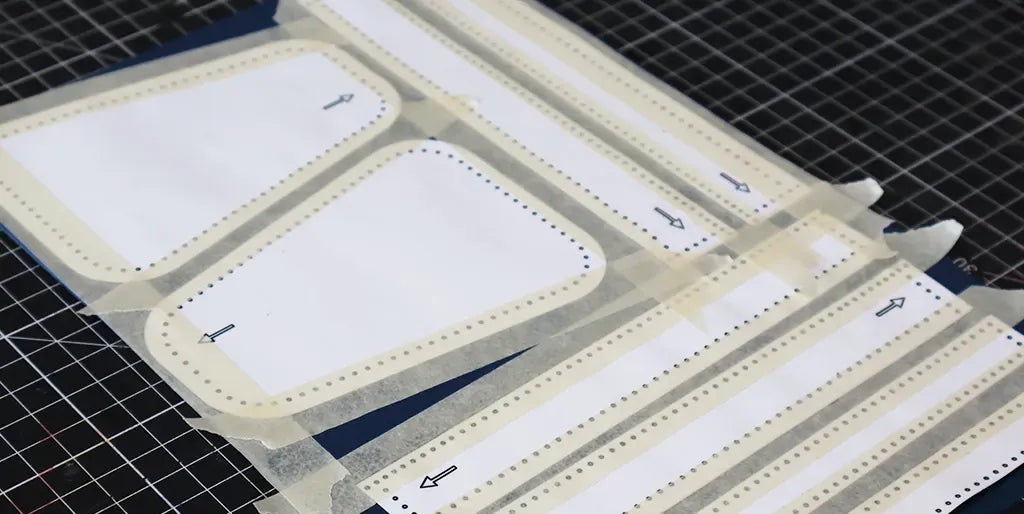
1. Print the pattern
Download the pattern and print it in actual size. Cut out and tape the pattern onto the leather using masking tape so as not to damage the grain of the leather.
Also tape piece P4 onto the PVC piece.
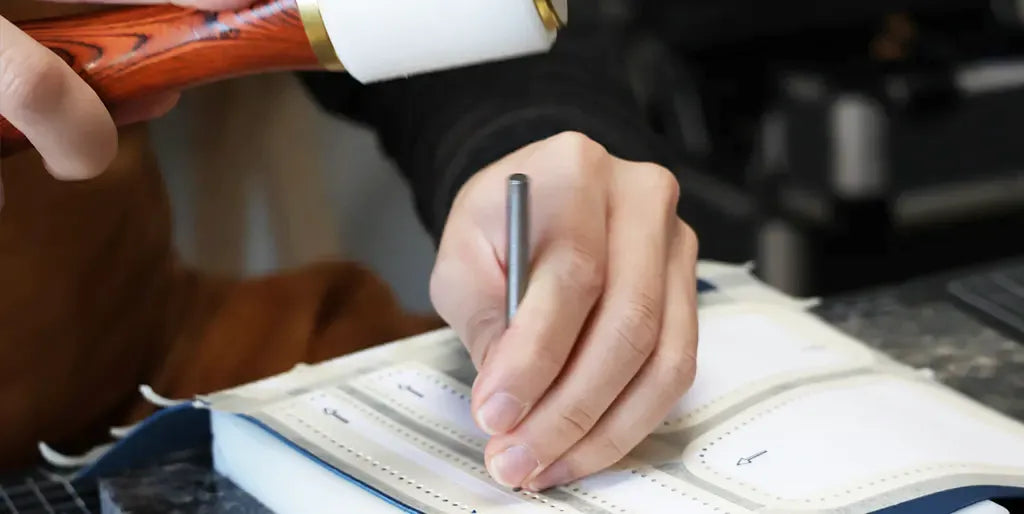
2. Punch stitching holes
Punch the stitching holes on the leather and PVC, using a 1mm Ø punch.
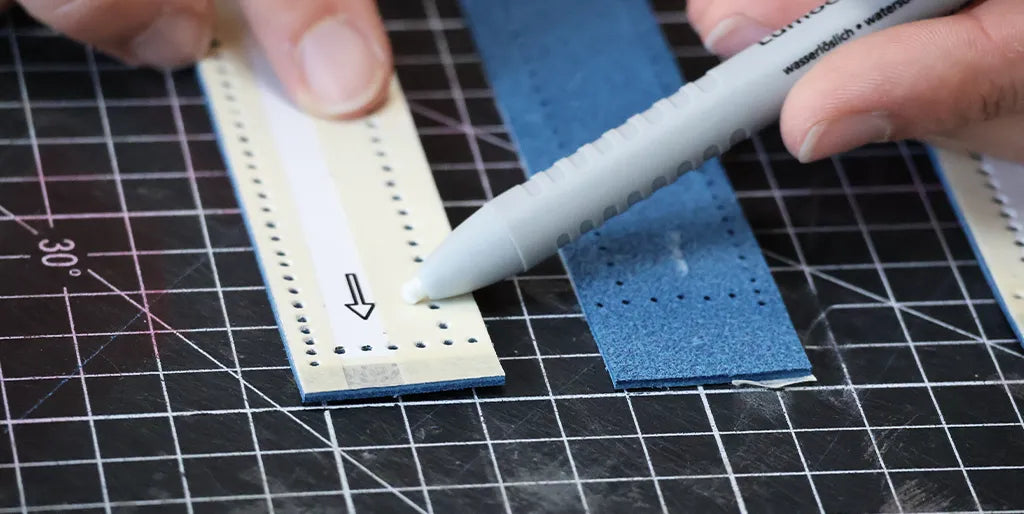
3. Cut with a cutter
Cut the leather and PVC following the pattern lines using a cutter.
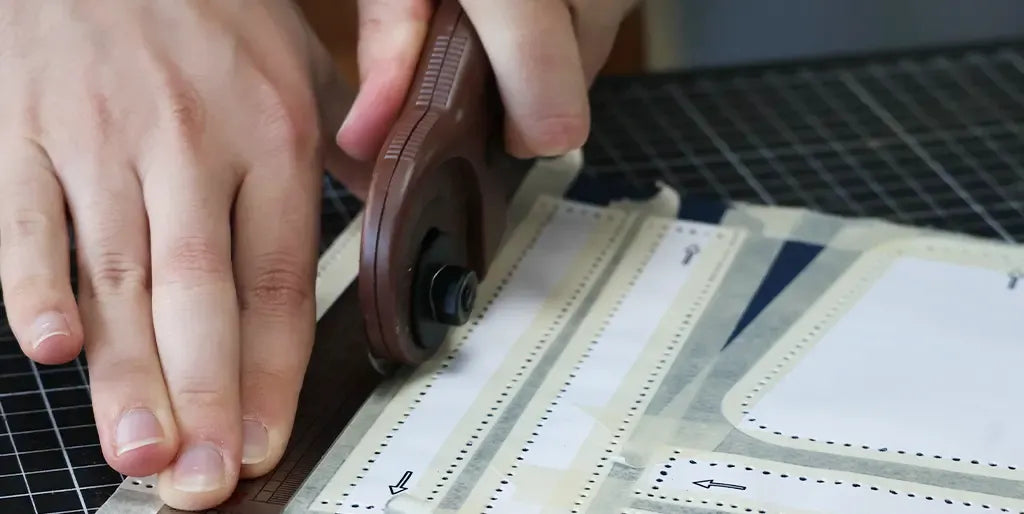
With an erasable pencil, copy the pattern arrows onto the leather to indicate the top of the pieces.
Leather stitching with English stitch
For this tutorial, we recommend stitching the leather with the English stitch: a simple and quick technique (with only one needle). As the side stitching is not easily accessible, saddle stitch would be too complex to implement. Furthermore, as this creation is not subject to high tension, the English stitch is perfectly suitable (just like for zipper stitching)!
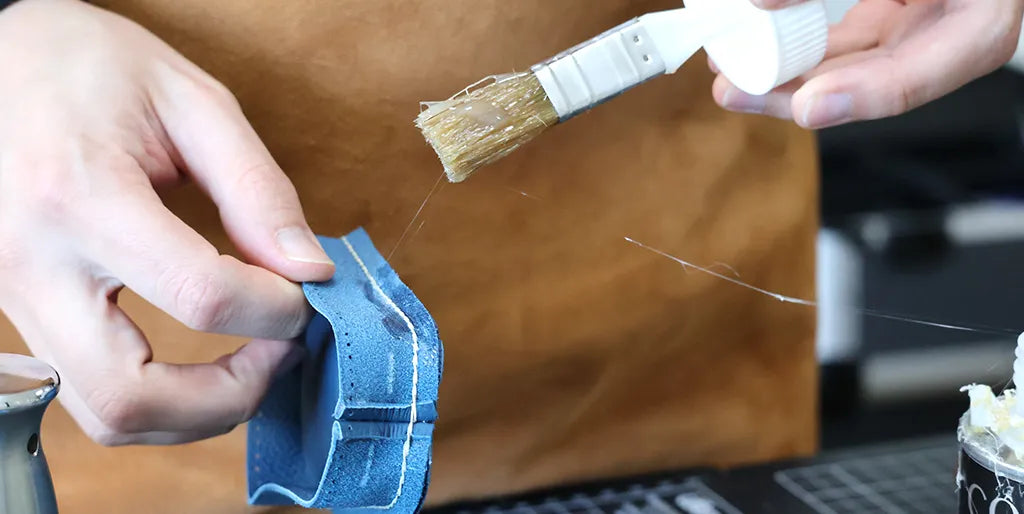
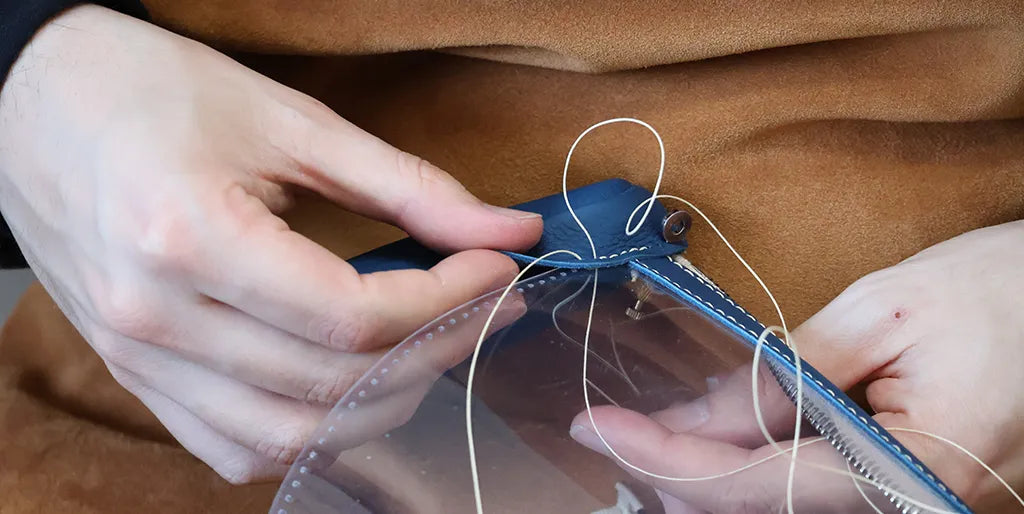
4. Stitch pieces P2 and P5
Wax the thread with beeswax. Thread one end of the needle and tie a knot at the other end.
Stitch the top of pieces P2 and P5 right sides together using the English stitch. Use the English stitch technique explained above.
![]()
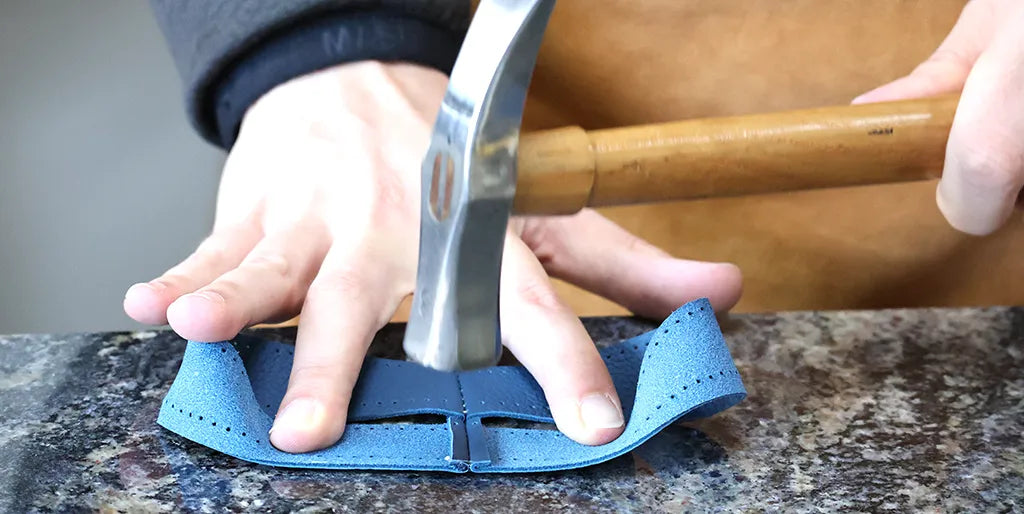
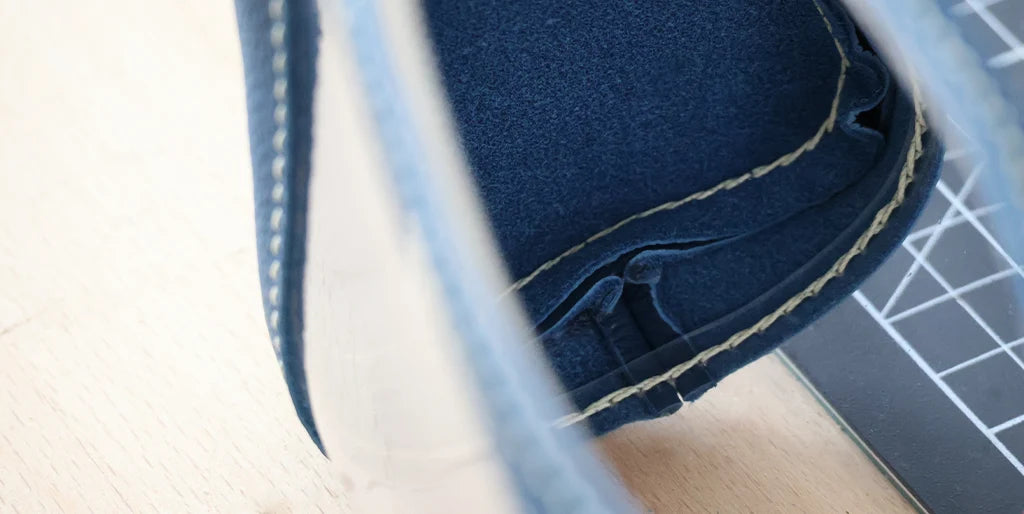
5. Open the seams
On the wrong side of the leather, open the seams with adhesive tape or contact glue. Then flatten with a steel roller or a jeweler's hammer.
 |
 |
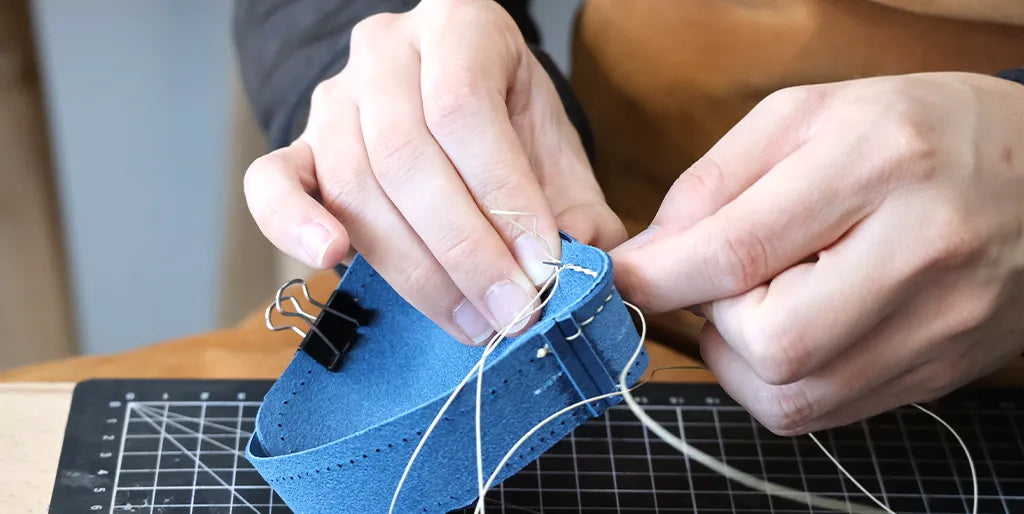
6. Stitch the sides
Position pieces P1 and P2/P5 correctly, right sides together, using the pattern arrows. Center the middle of piece P2/P5 on the middle of piece P1. Then stitch with the English stitch.
 |
 |
7. Shape the sides
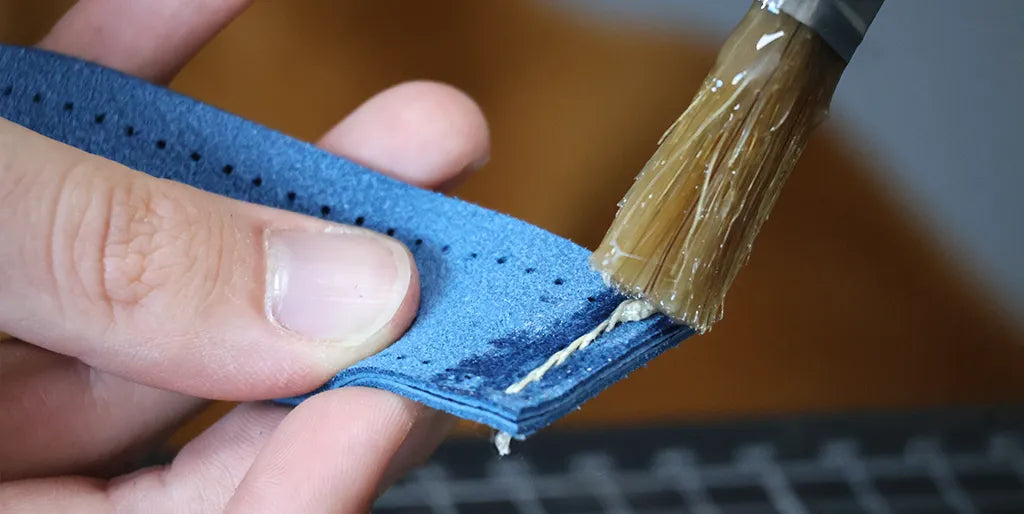
Apply neoprene glue 0.5 mm from the edge before flattening the seam.
Shape the leather after stitching to ensure proper positioning: use a tapper and a burnisher if necessary.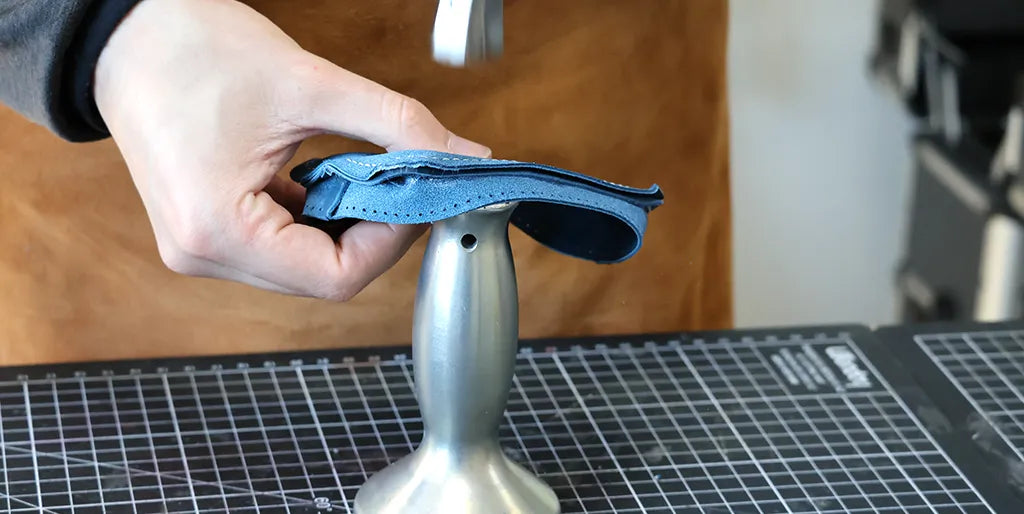
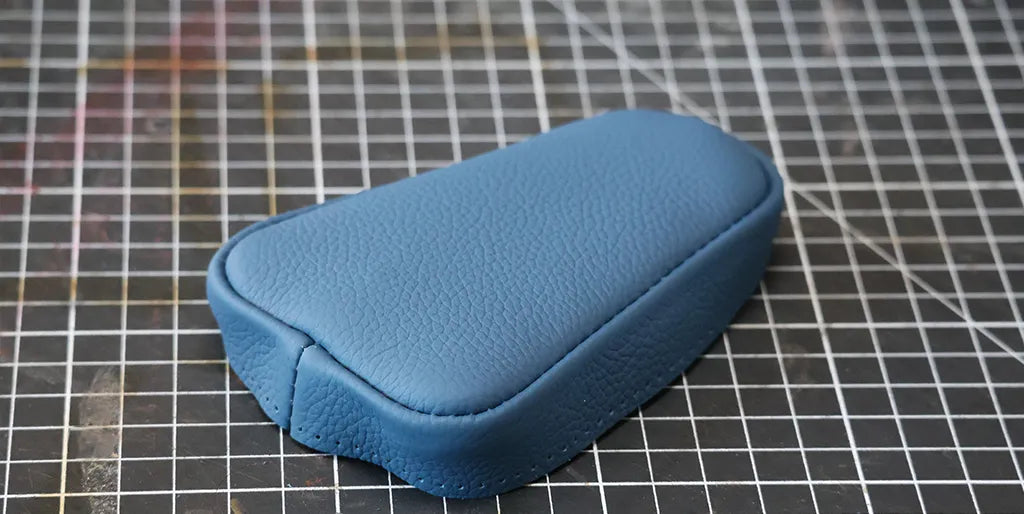
Do the same for the other pieces P1, P2 and P5.
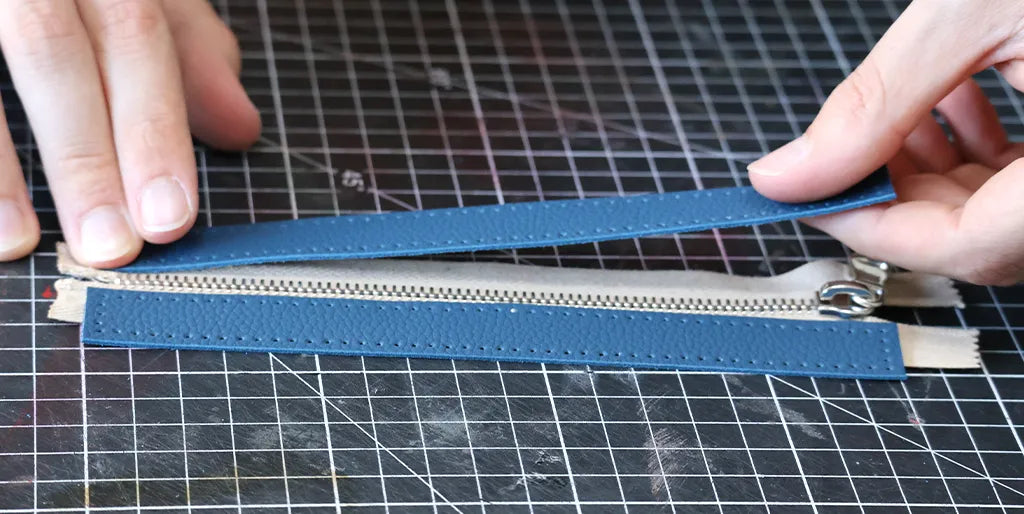
8. Cut the zipper
If the zipper is too long, cut it and use a suitable tool to remove the teeth.
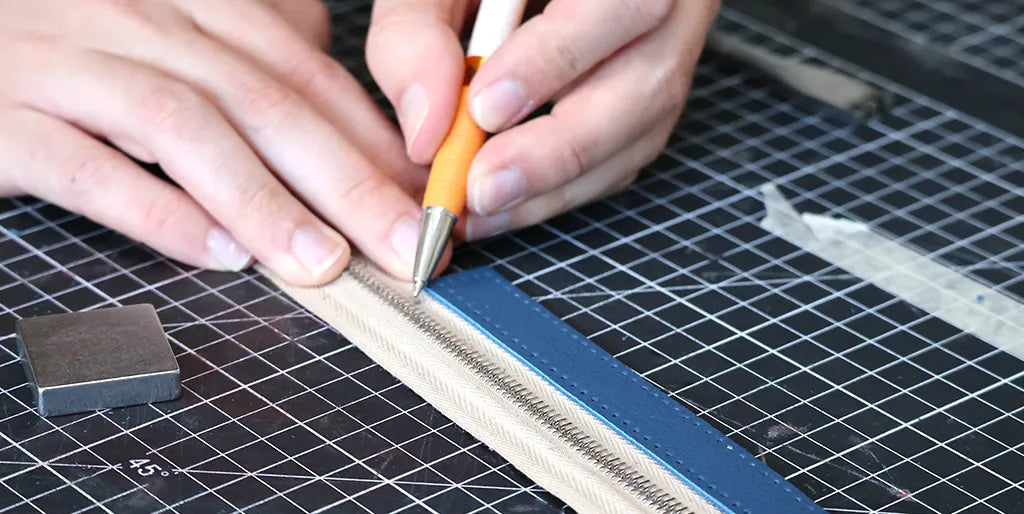

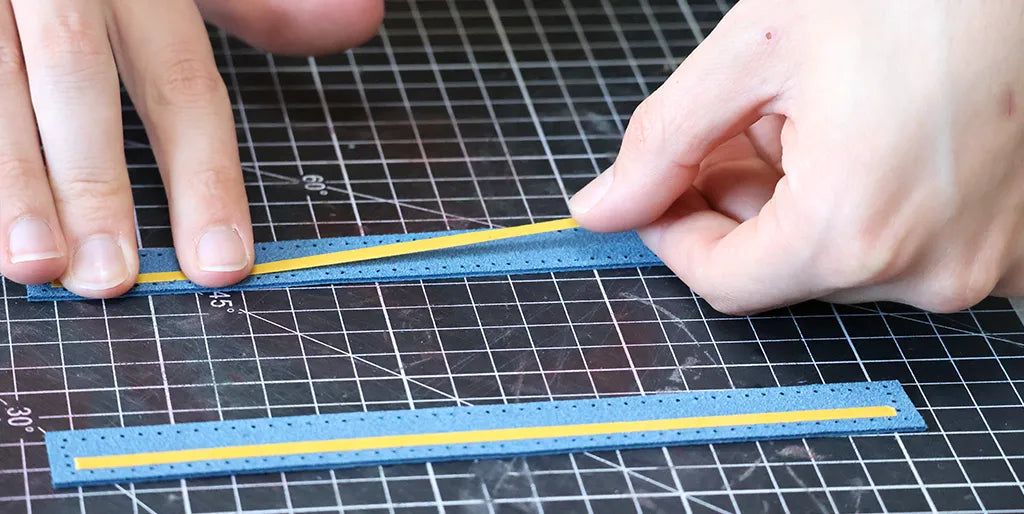
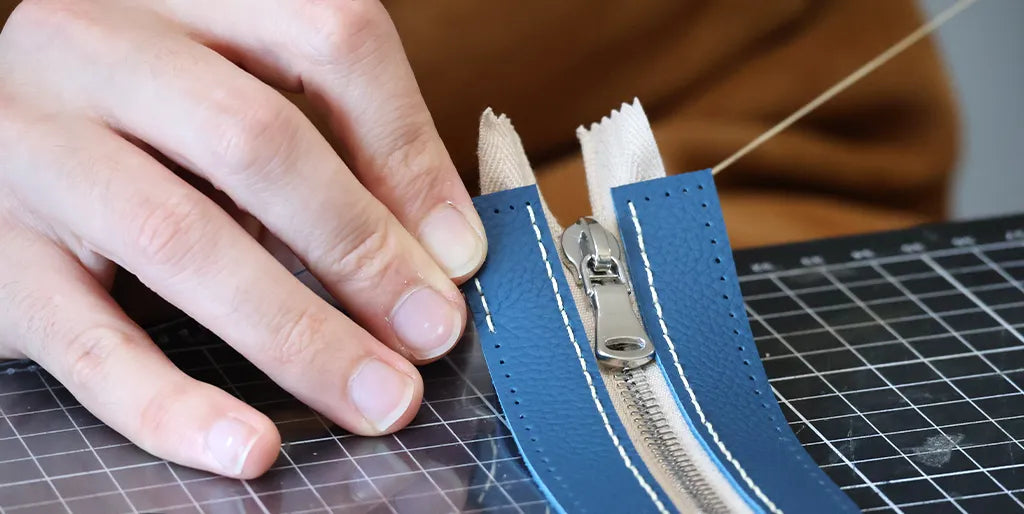
9. Apply double-sided tape
Glue double-sided tape to the back of leather strips P3, then attach them to the front (right side) of the zipper 4 mm from the teeth.
 |
 |
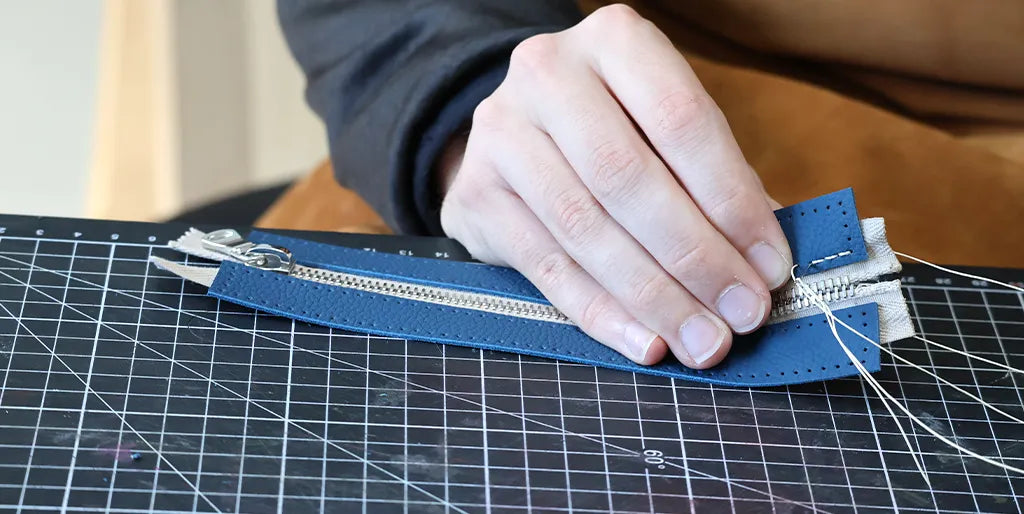
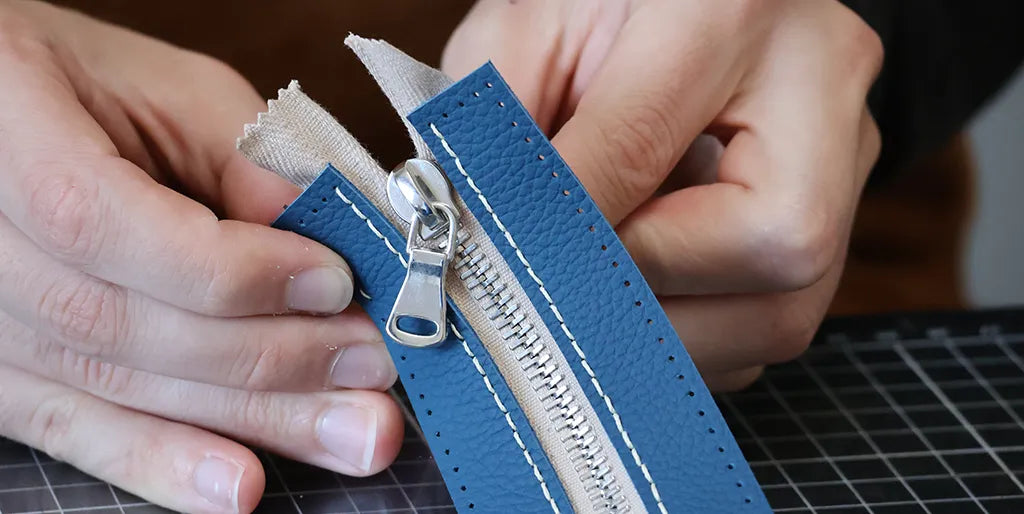
10. Stitch the zipper
Stitch the zipper and leather together with the English stitch.
 |
 |
11. Stitch the PVC
Stitch the two widths of the PVC (right side) to the P3 strips (wrong side).
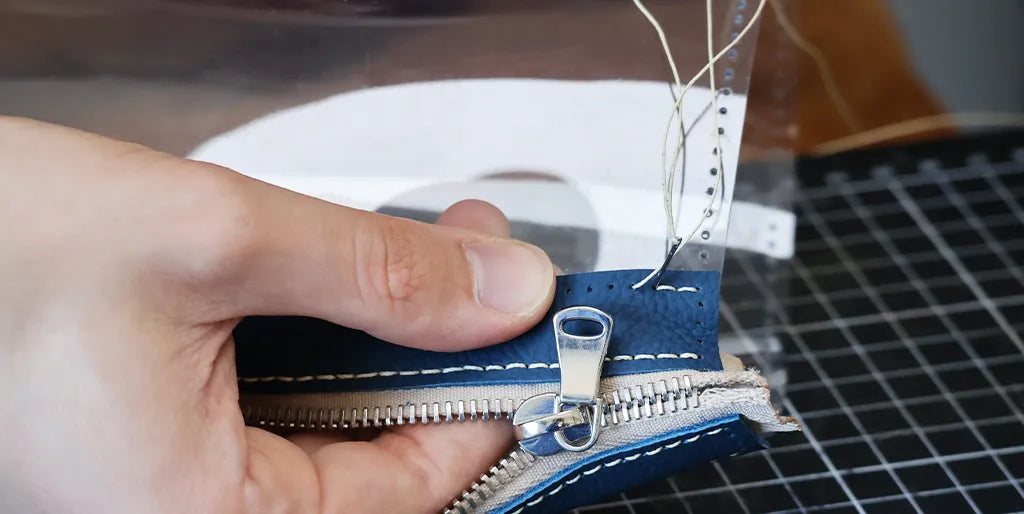
12. Stitch the sides
Open the zipper to facilitate stitching. Then, stitch the leather sides to the PVC.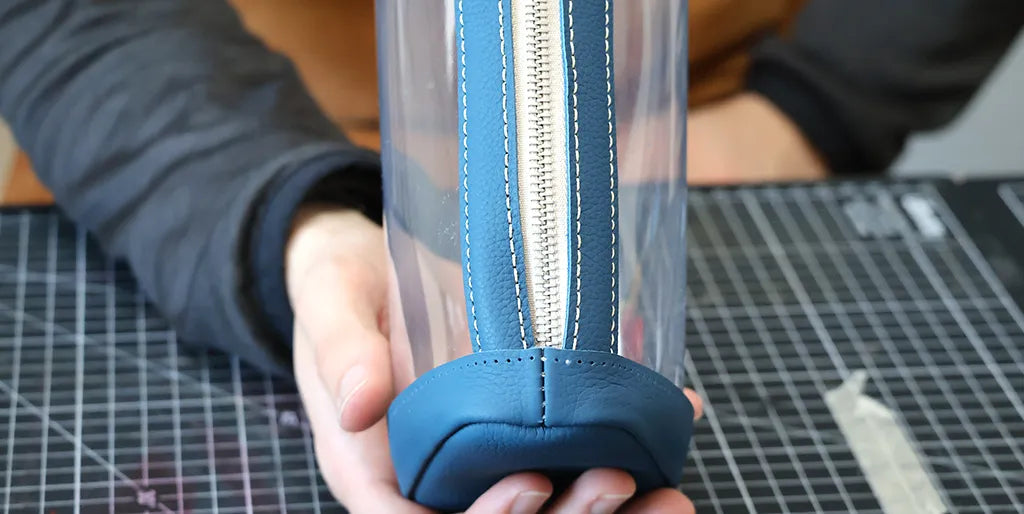
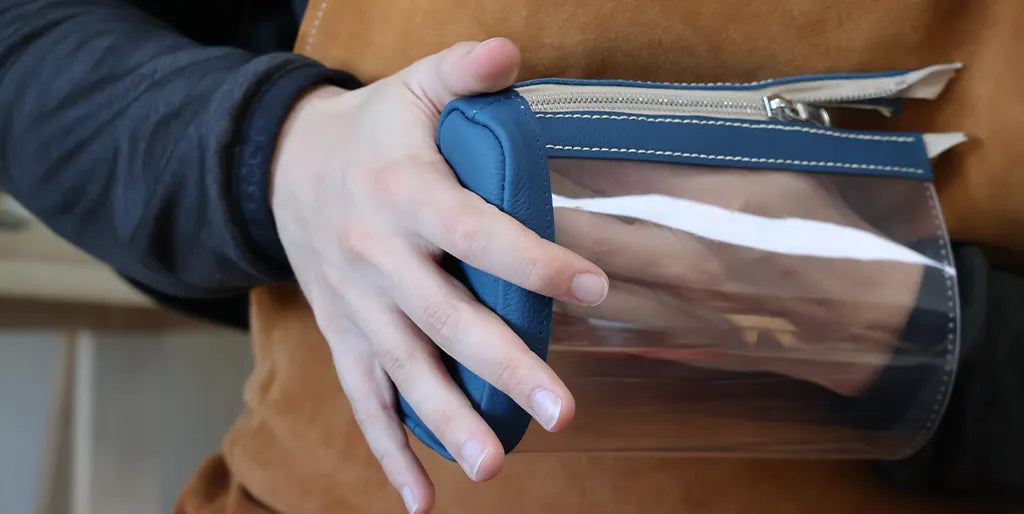
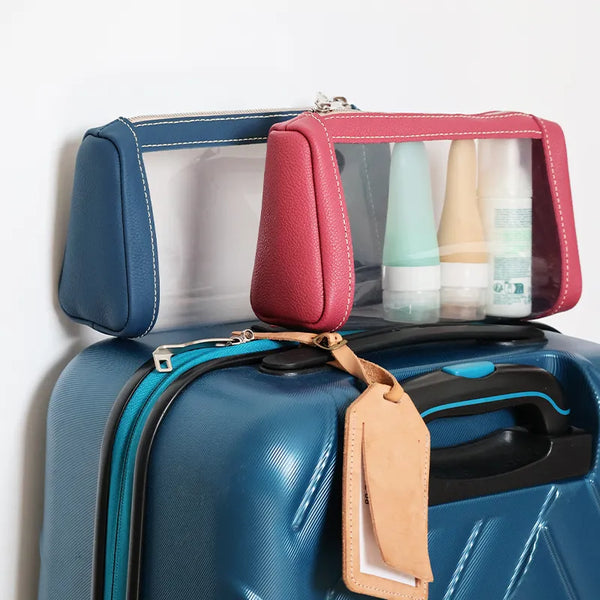
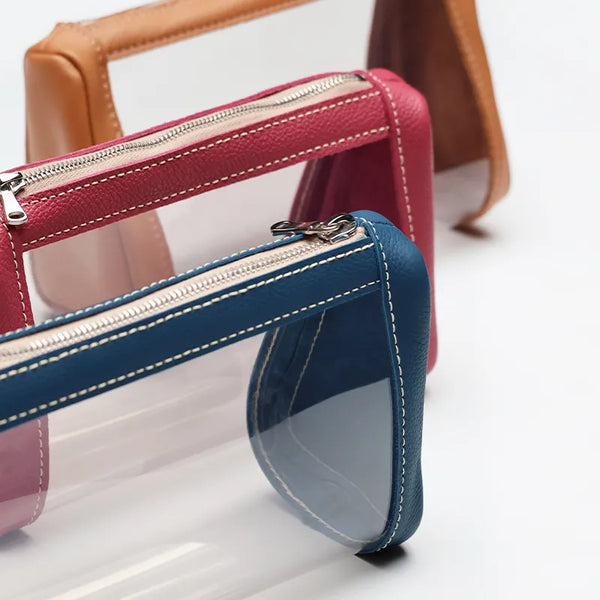
YOU HAVE FINISHED!
 |
 |
 |
 |

