


What are the advantages of a saddle stitch seam?
One of the main advantages of this seam over the saddle stitch is that it is virtually foolproof and does not require specific tools.
This technique is ideal in the following cases:
- Zipper sewing
- Hard-to-reach areas
- Turned seam
- Leather and fabric assembly (practical for flexible materials)
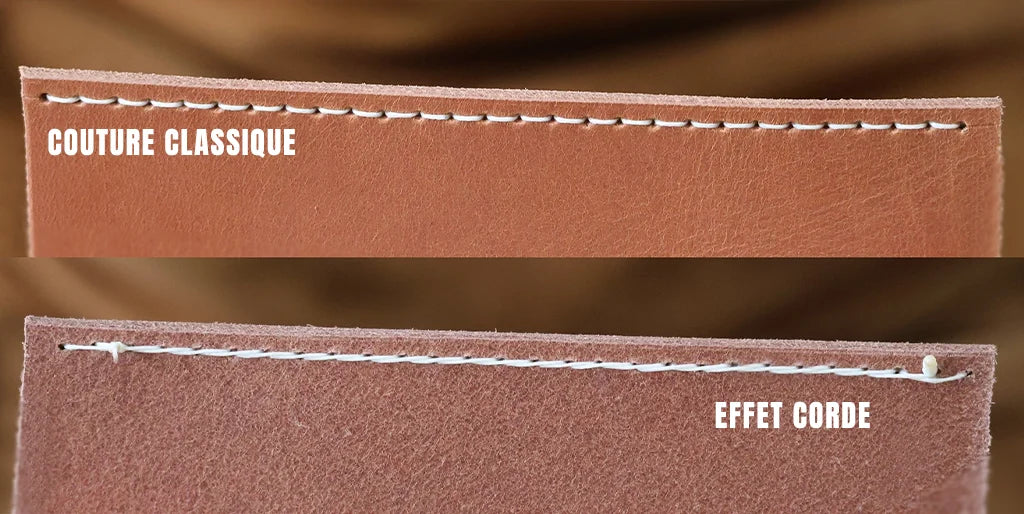
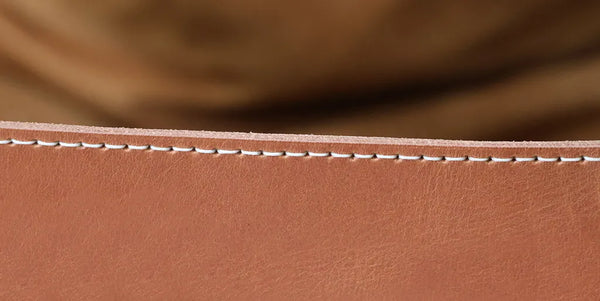
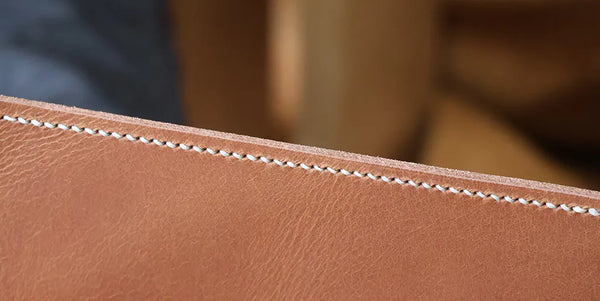
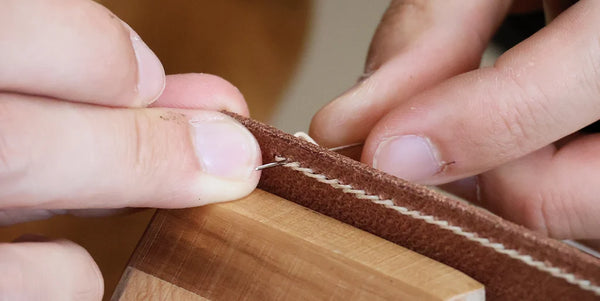
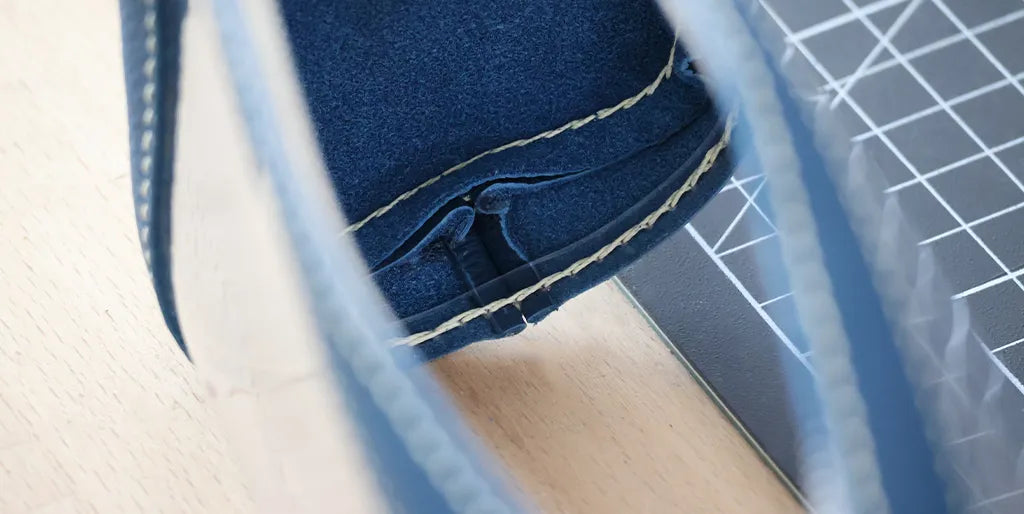
The appearance of the seam differs depending on the side:
It is considered a decorative seam.
- On one side, it has a classic, stitch-by-stitch look
- On the other, a twisted, "rope" appearance
You can choose the visible finish according to your project. Here, we have created the "rope" look on the back and the "stitch-by-stitch" look on the front.
Caution: if the "rope" effect stitch is made on the grain side (visible side of your creation), the seam becomes more vulnerable to external aggressions (especially friction).
The different variations
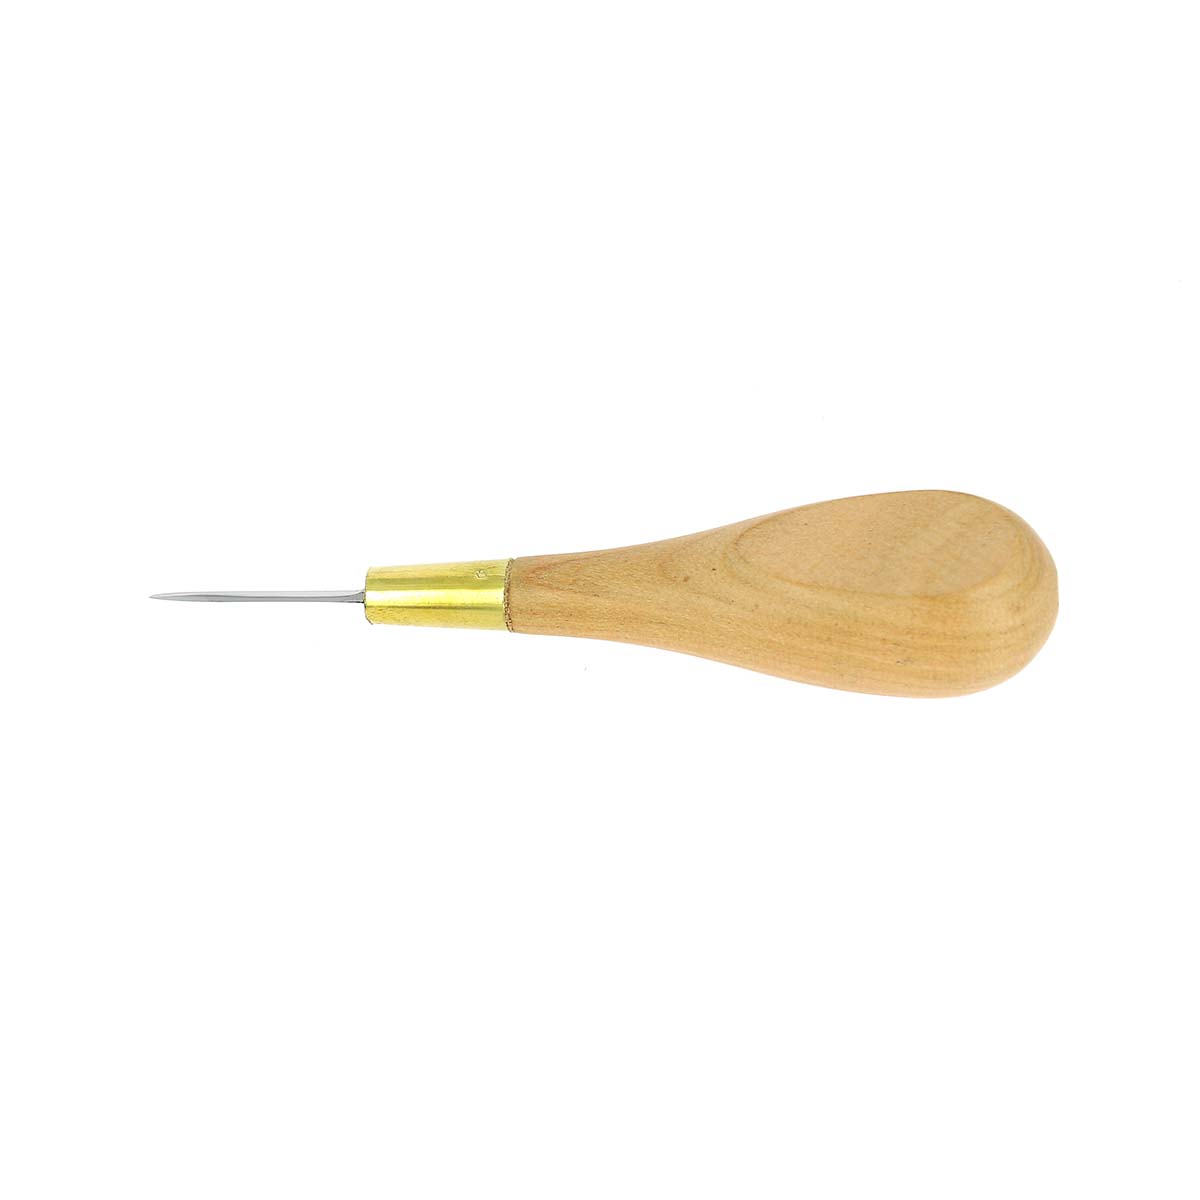
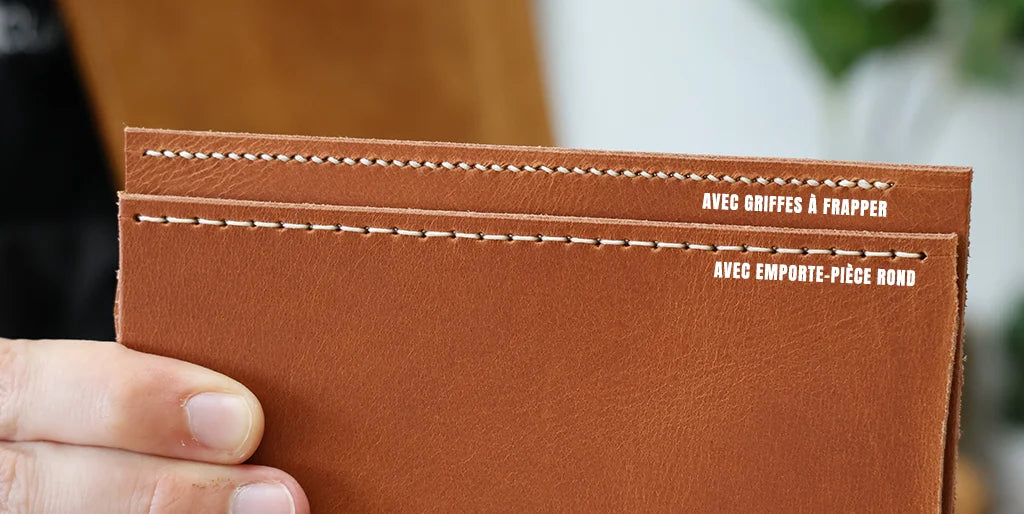
The saddle stitch seam is made with a thread and a needle. The sewing holes can be punched with a Ø 1 mm round punch (for a straight look) or marked with stitching chisels and punched with a diamond awl (for a more angled look, similar to a saddle stitch).
👉 Watch the technique in video!
1. Prepare the thread
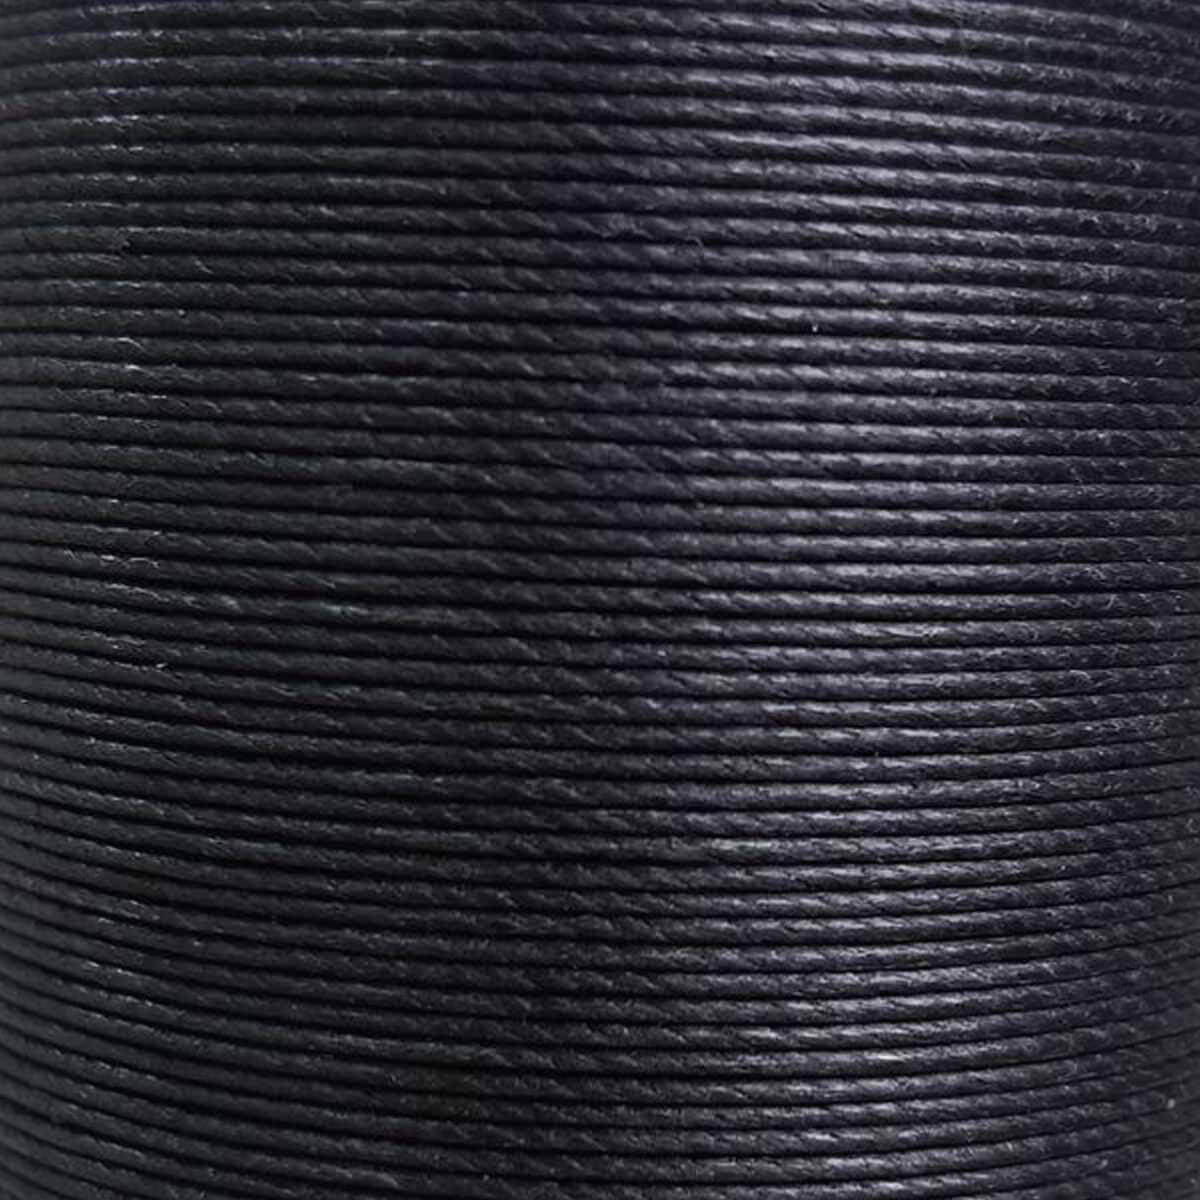
Cut an arm's length of linen thread or braided and waxed polyester thread. If using linen thread: wax it with beeswax (pass it through 3 times, then wipe it).
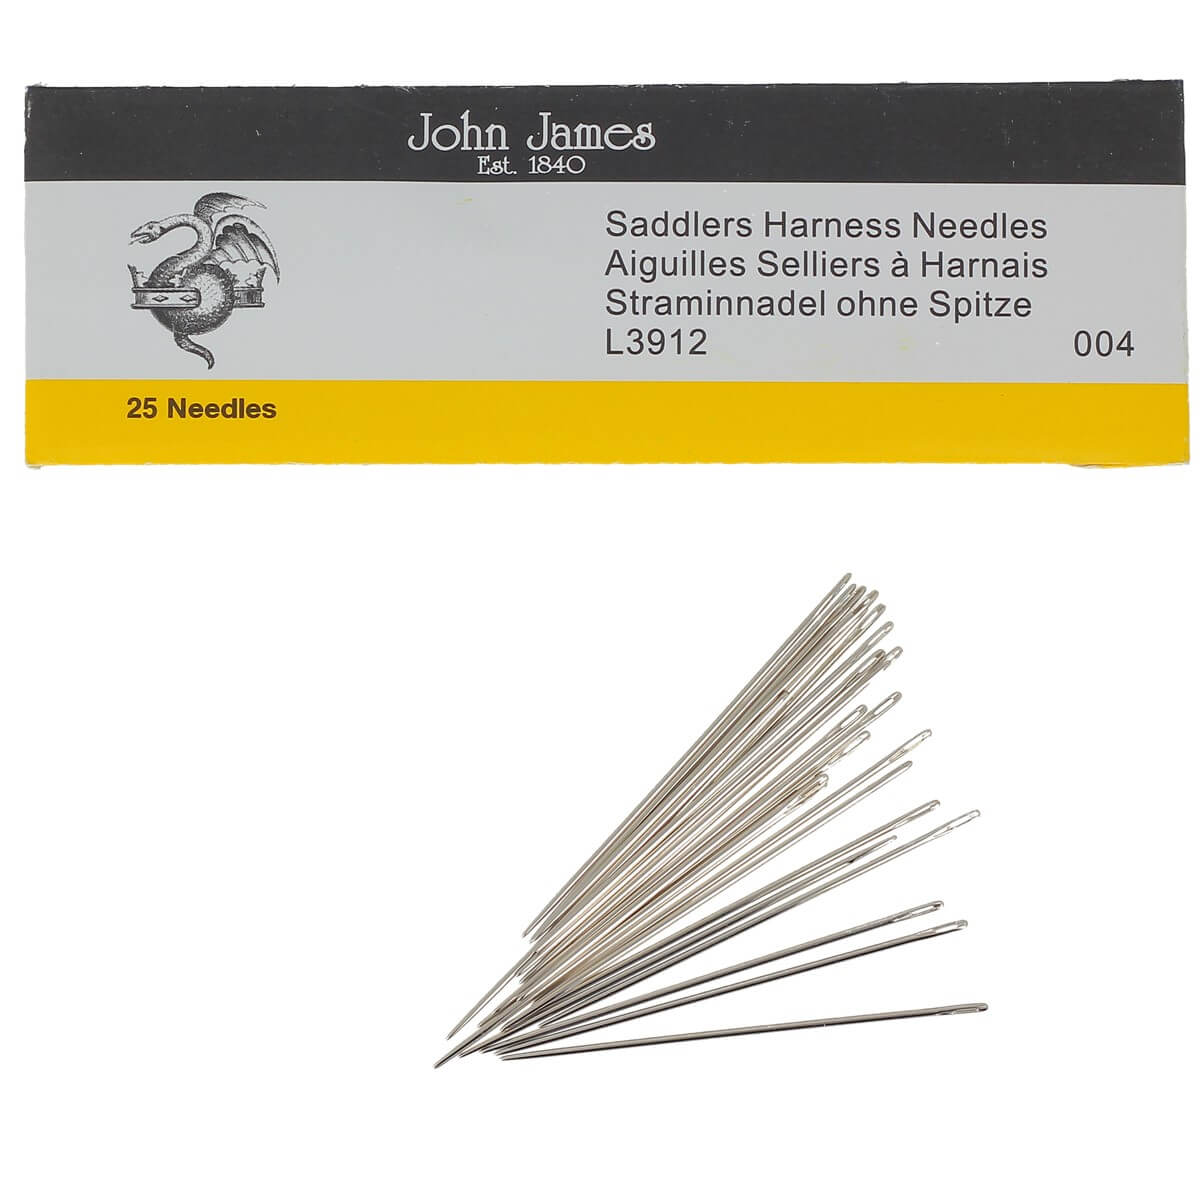
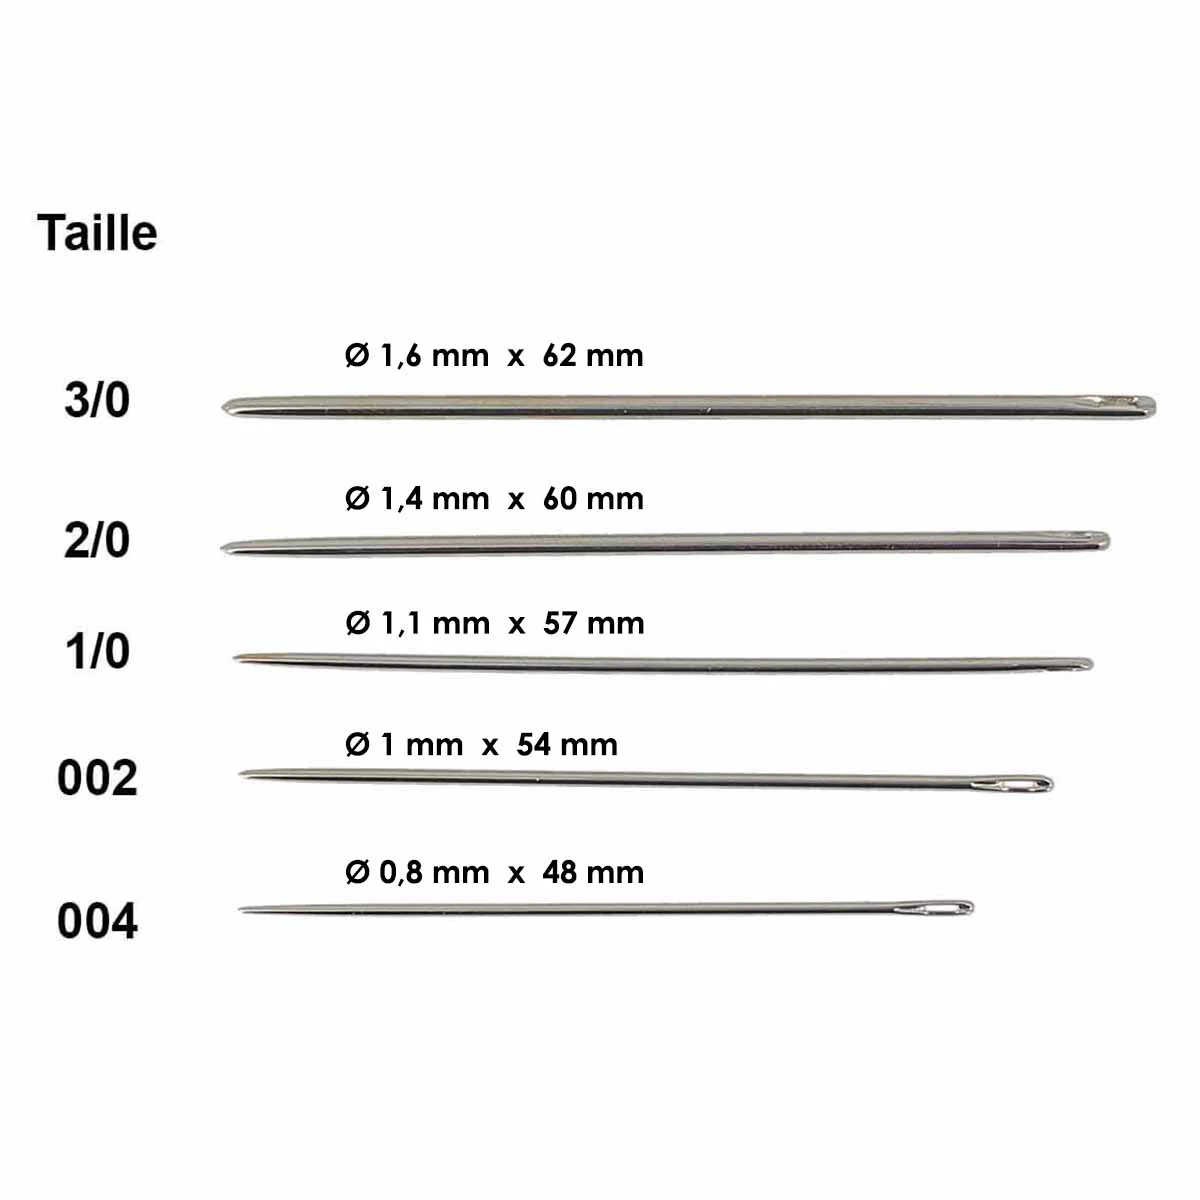
GUIDE: WHICH THREAD AND NEEDLE TO CHOOSE?
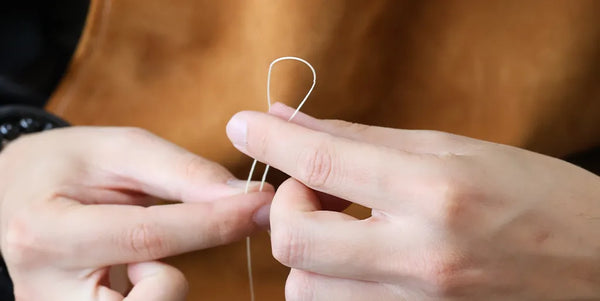
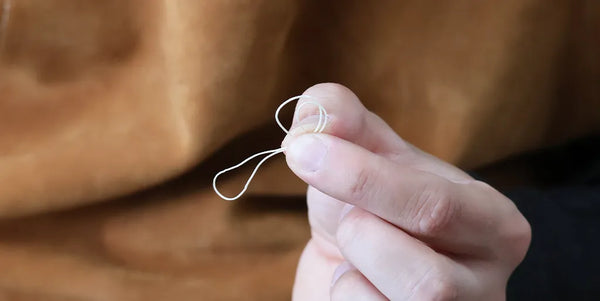
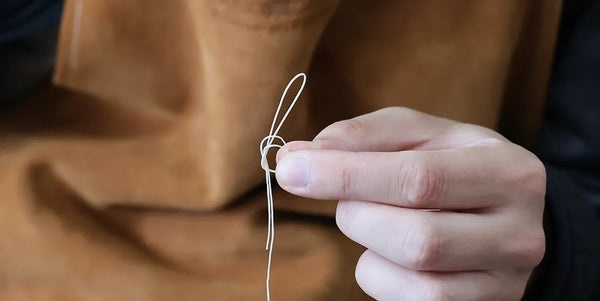
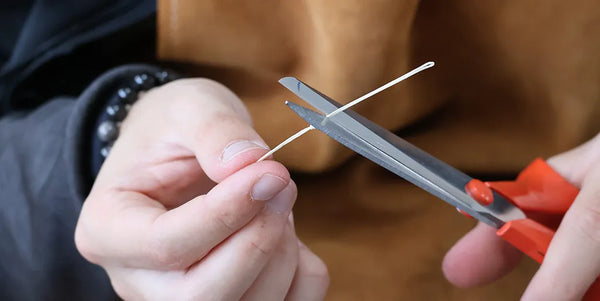
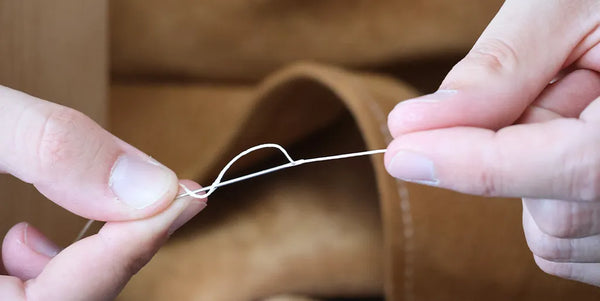
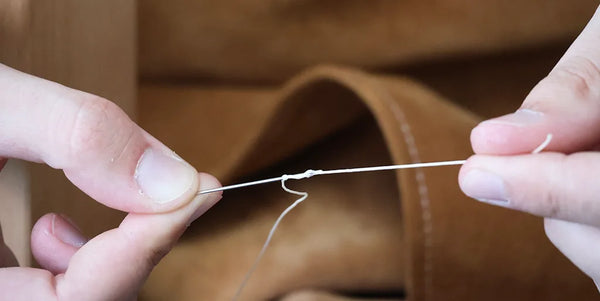
Tie a knot at one end:
- Form a knot by folding the thread to create a loop
- Pass through the loop twice
- Tighten to secure the knot
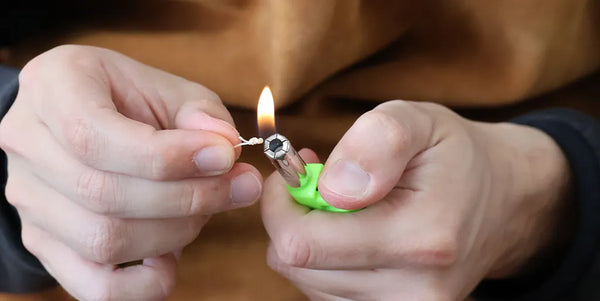
- Cut off the excess, then lightly burn (only for polyester thread)
 |
 |
 |
 |
 |
 |
 |
 |
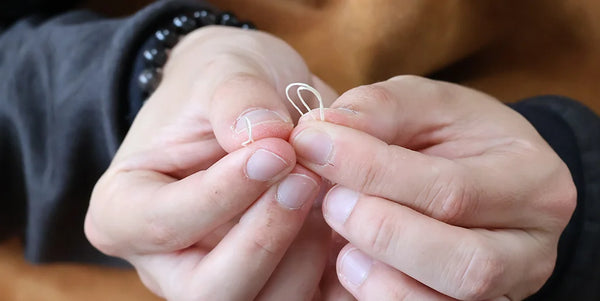
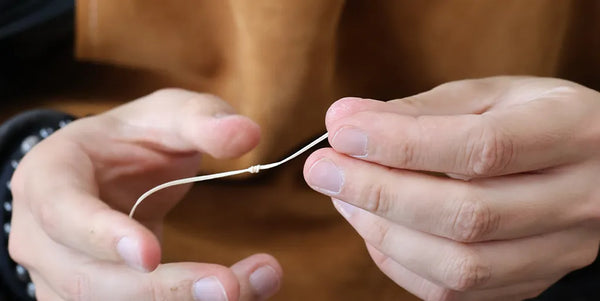
At the other end, thread a needle:
- Pierce the thread with the needle for the length of one needle, then pierce it twice more.
- Flatten the end of the thread.
- Pass it through the eye of the needle.
- Pull to secure.
 |
 |
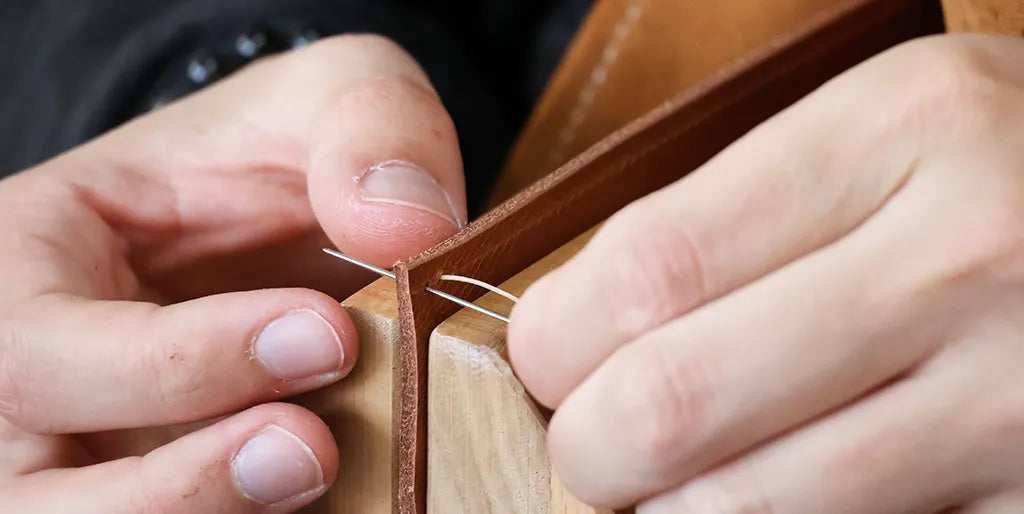
2. Pierce the holes
Two options are possible:
Round holes version :
Pierce the holes with a Ø 1 mm punch.
 |
 |
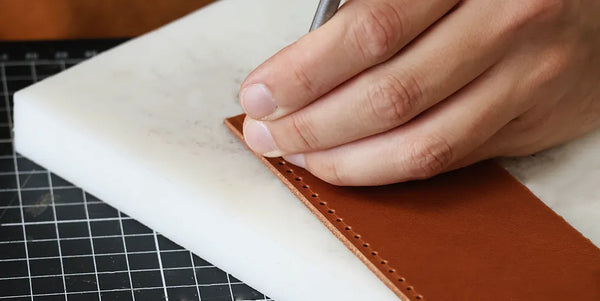
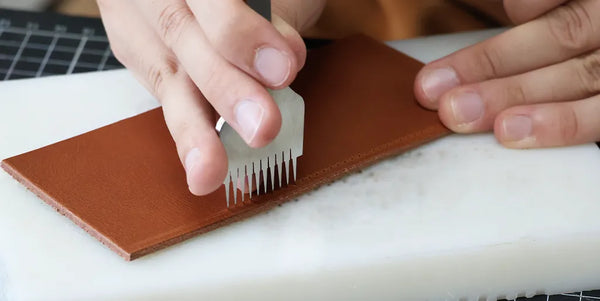
Angled version:
Mark the stitch points with a pricking iron.
 |
 |
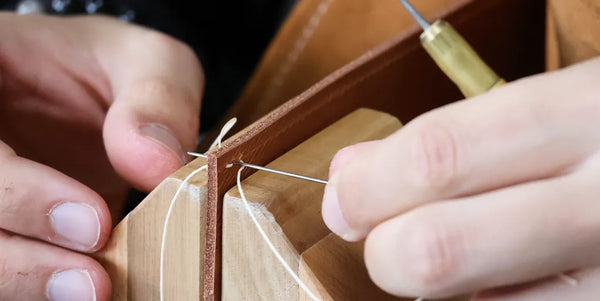
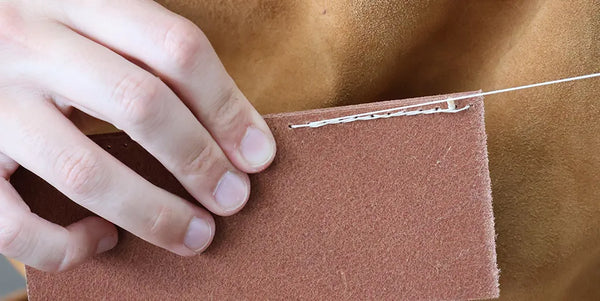
3. Stitching with the English stitch
Begin stitching by passing the needle through the second hole from the back/wrong side of the leather or from the front/right side, depending on the desired finish.

Then, pass the needle through the first hole on the right side of the leather.
Then, repeat the following movement:
➡️ move forward two holes, then back one hole
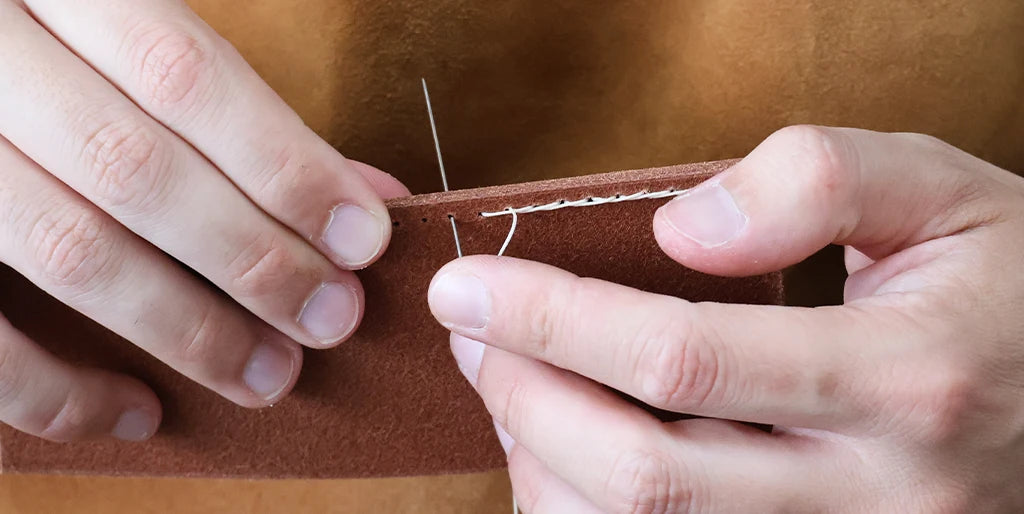
Use a diamond awl to achieve an angled stitch (version with marking irons).
 |
 |
 |
 |
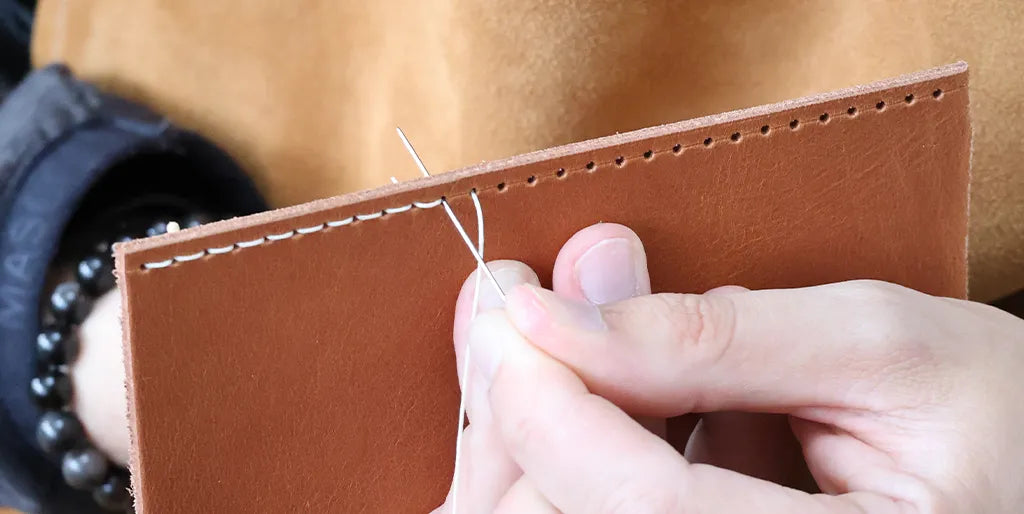
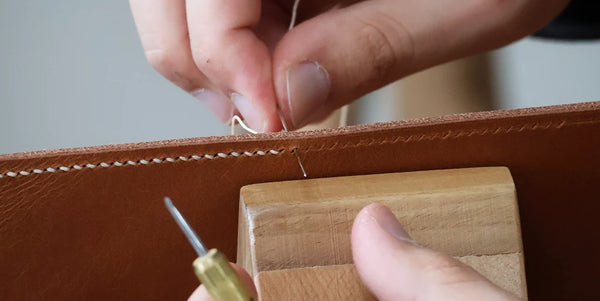
Continue in this manner until the end of the seam. Ensure the thread loop is always kept downwards and the needle is passed through the top of the seam for a consistent finish.
 |
 |
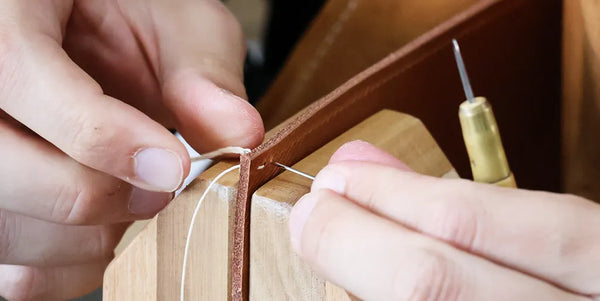
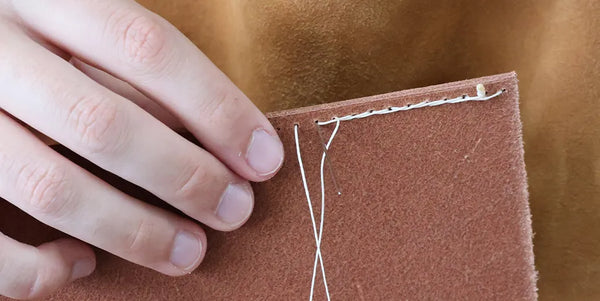
4. Finish the seam
At the end, two options:
- Make three backstitches
- Tie a knot by passing the needle through the thread of the previous stitch

Burn the ends if using polyester thread.
You have finished your saddle stitch seam! ✨
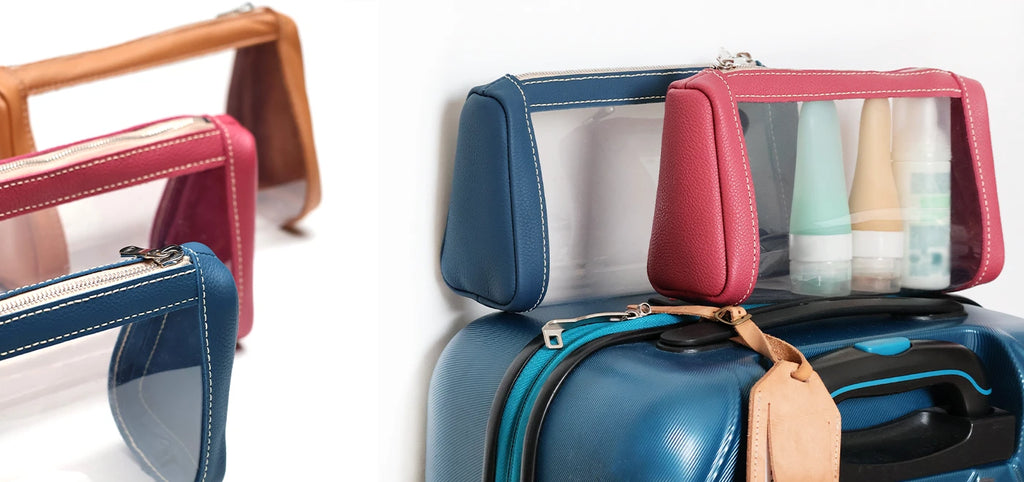
A tutorial to practice!
Discover the tutorial for sewing a transparent leather and PVC toiletry bag. This pouch is sewn with a saddle stitch, ideal for practice.