









REQUIRED MATERIALS
-
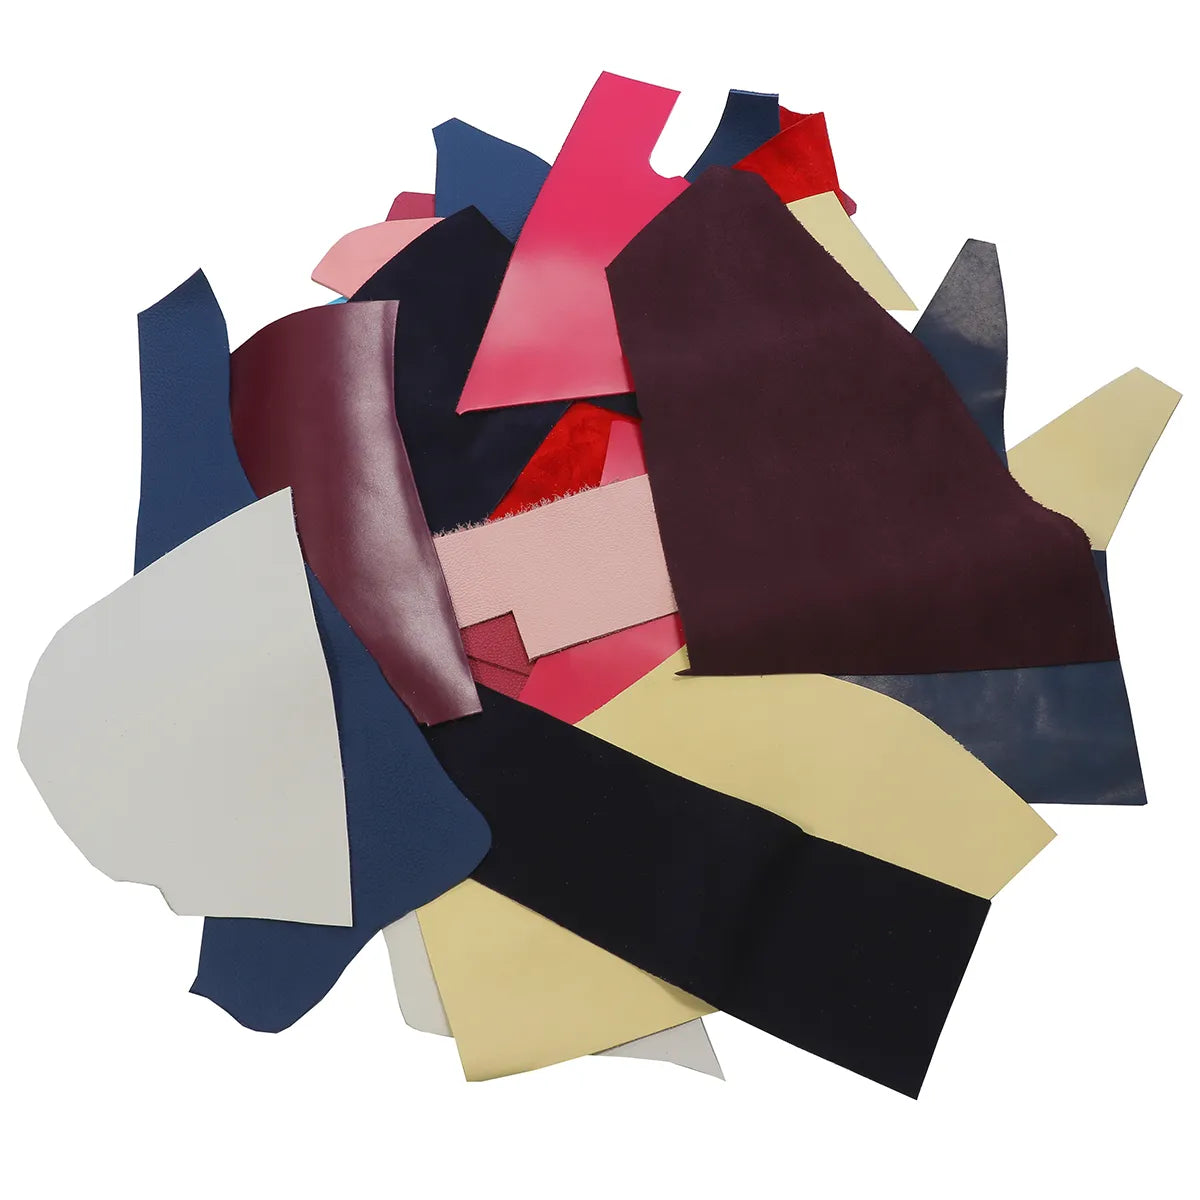
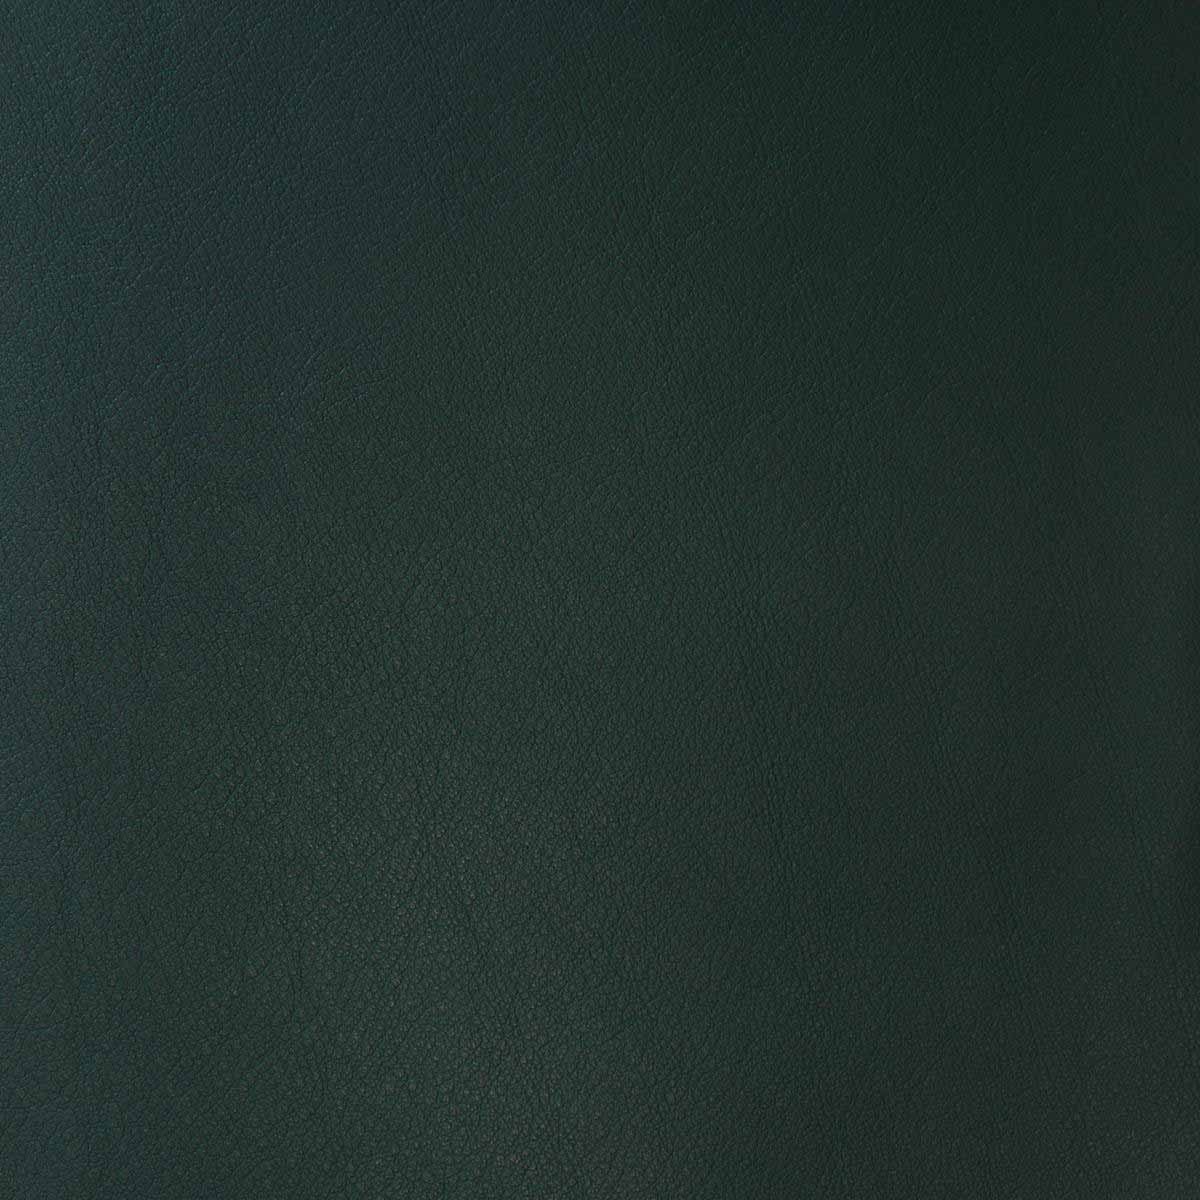
Leather scraps - Soft - Between 1.1 and 1.4 mm thick
Or leather pieces from the Sweet 2 range - 1 piece of 200g/m² polyester batting or cotton
-
1 snap hook or key ring
- One spool of polyester thread M40 Ø0.36 mm
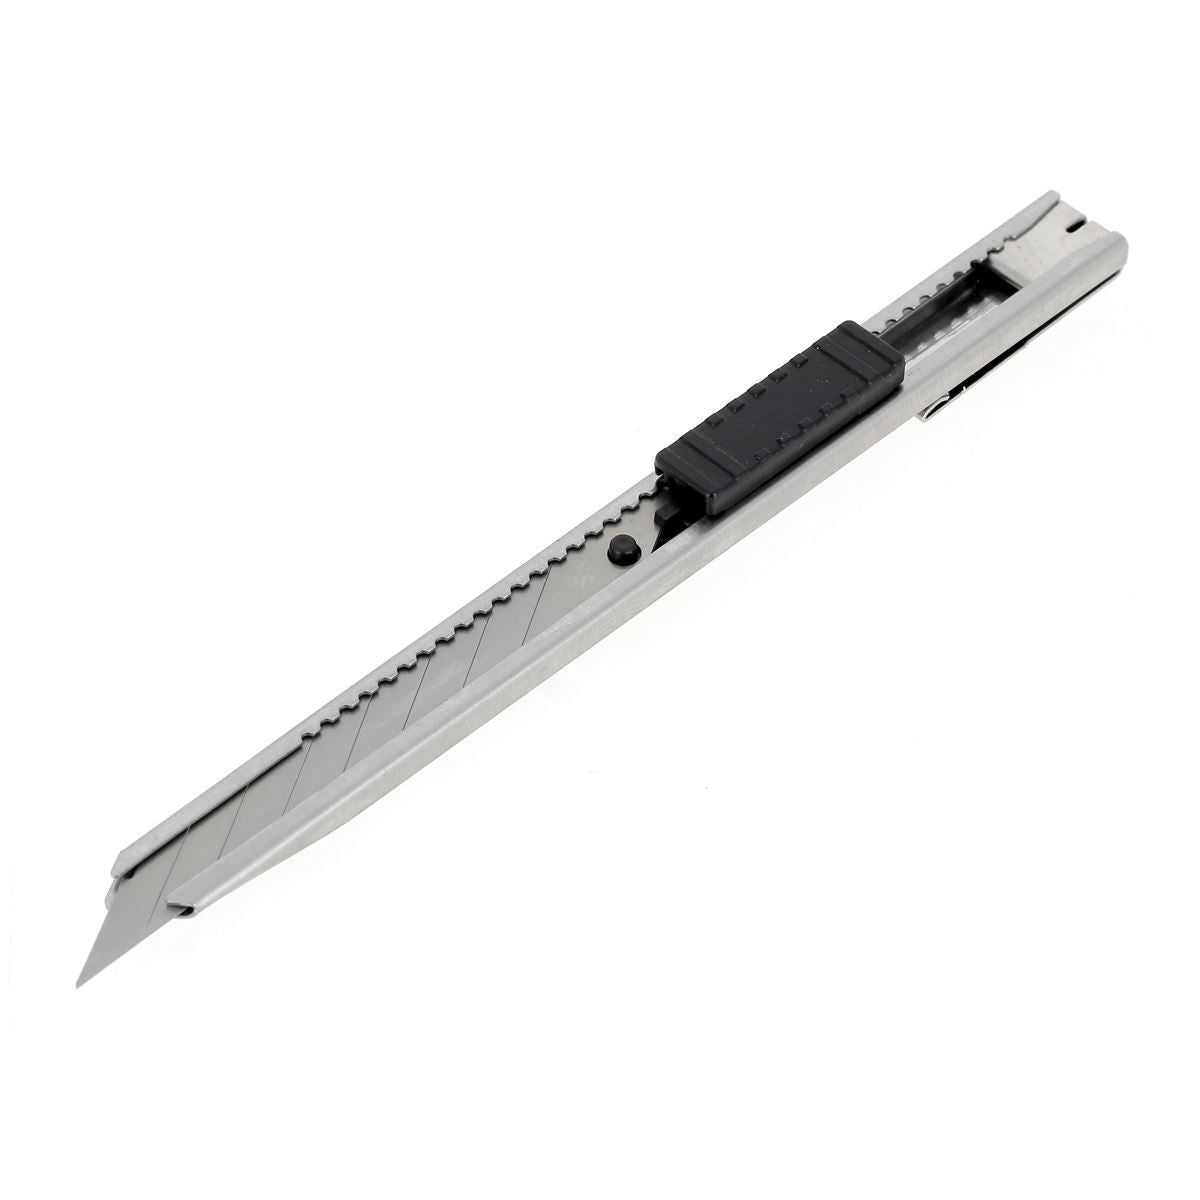
- A utility knife
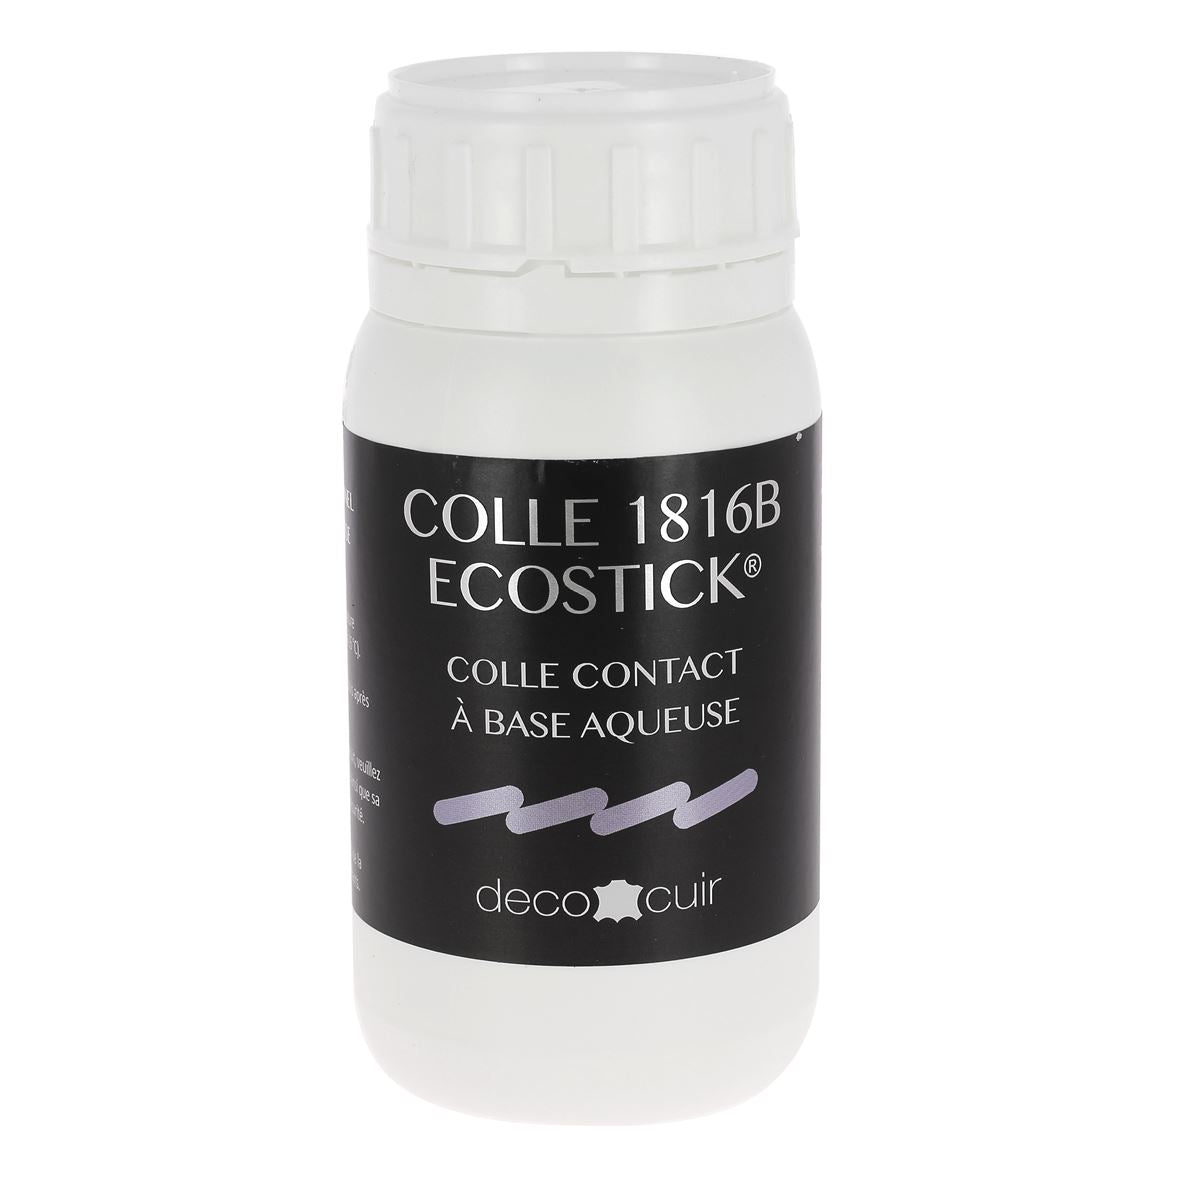
- Some contact adhesive for leather
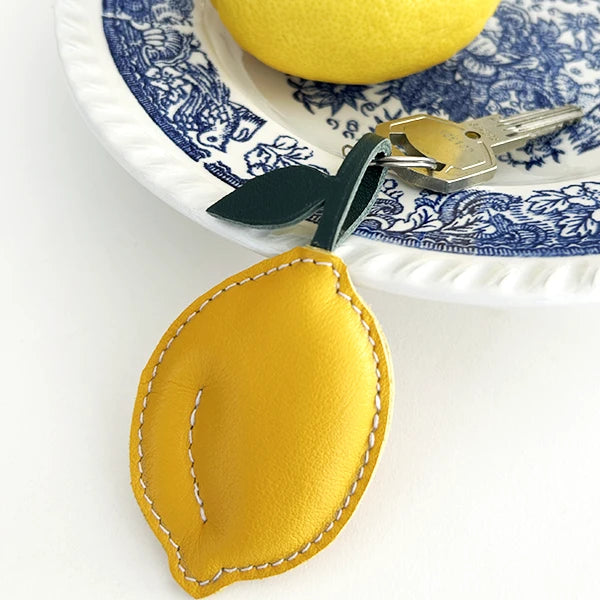
LEMON-SHAPED LEATHER CHARM
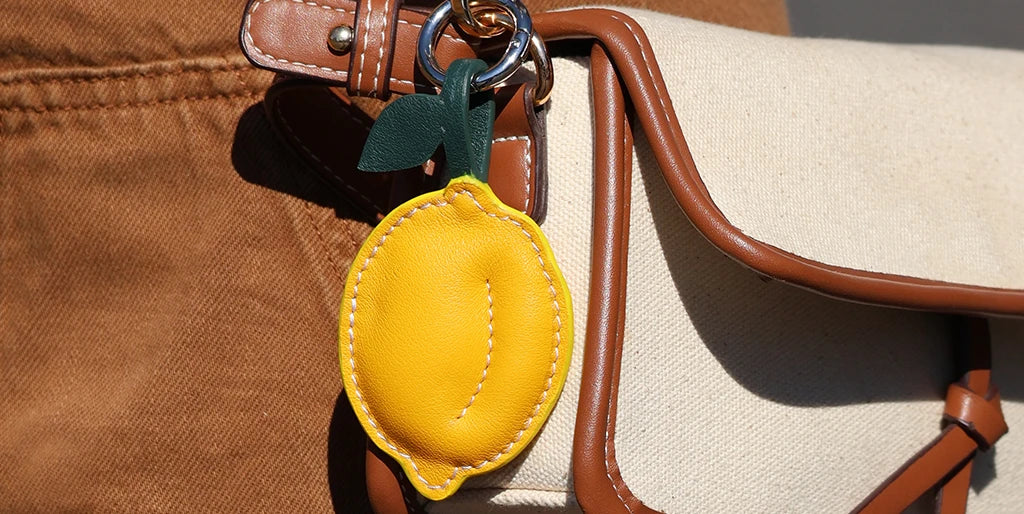
FULL VIDEO:
1. Trace the pattern
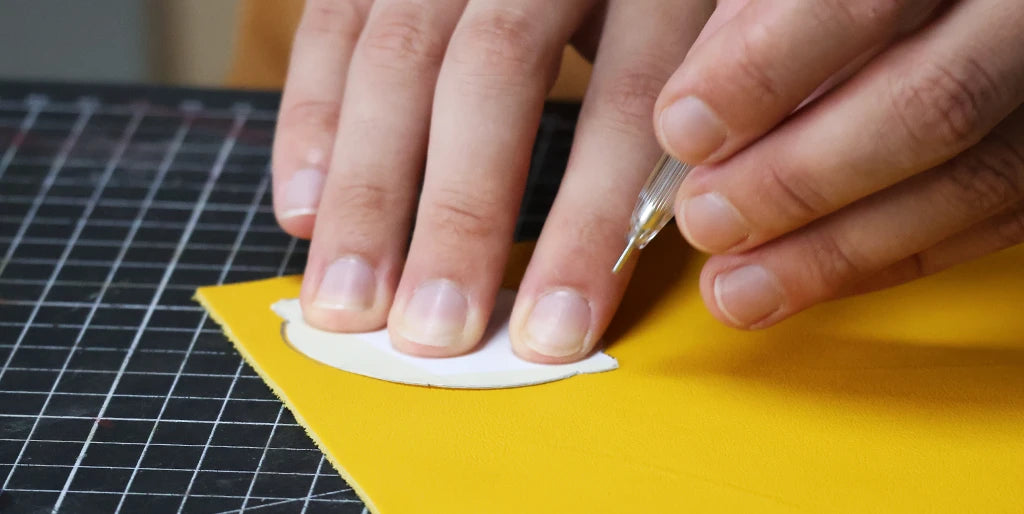
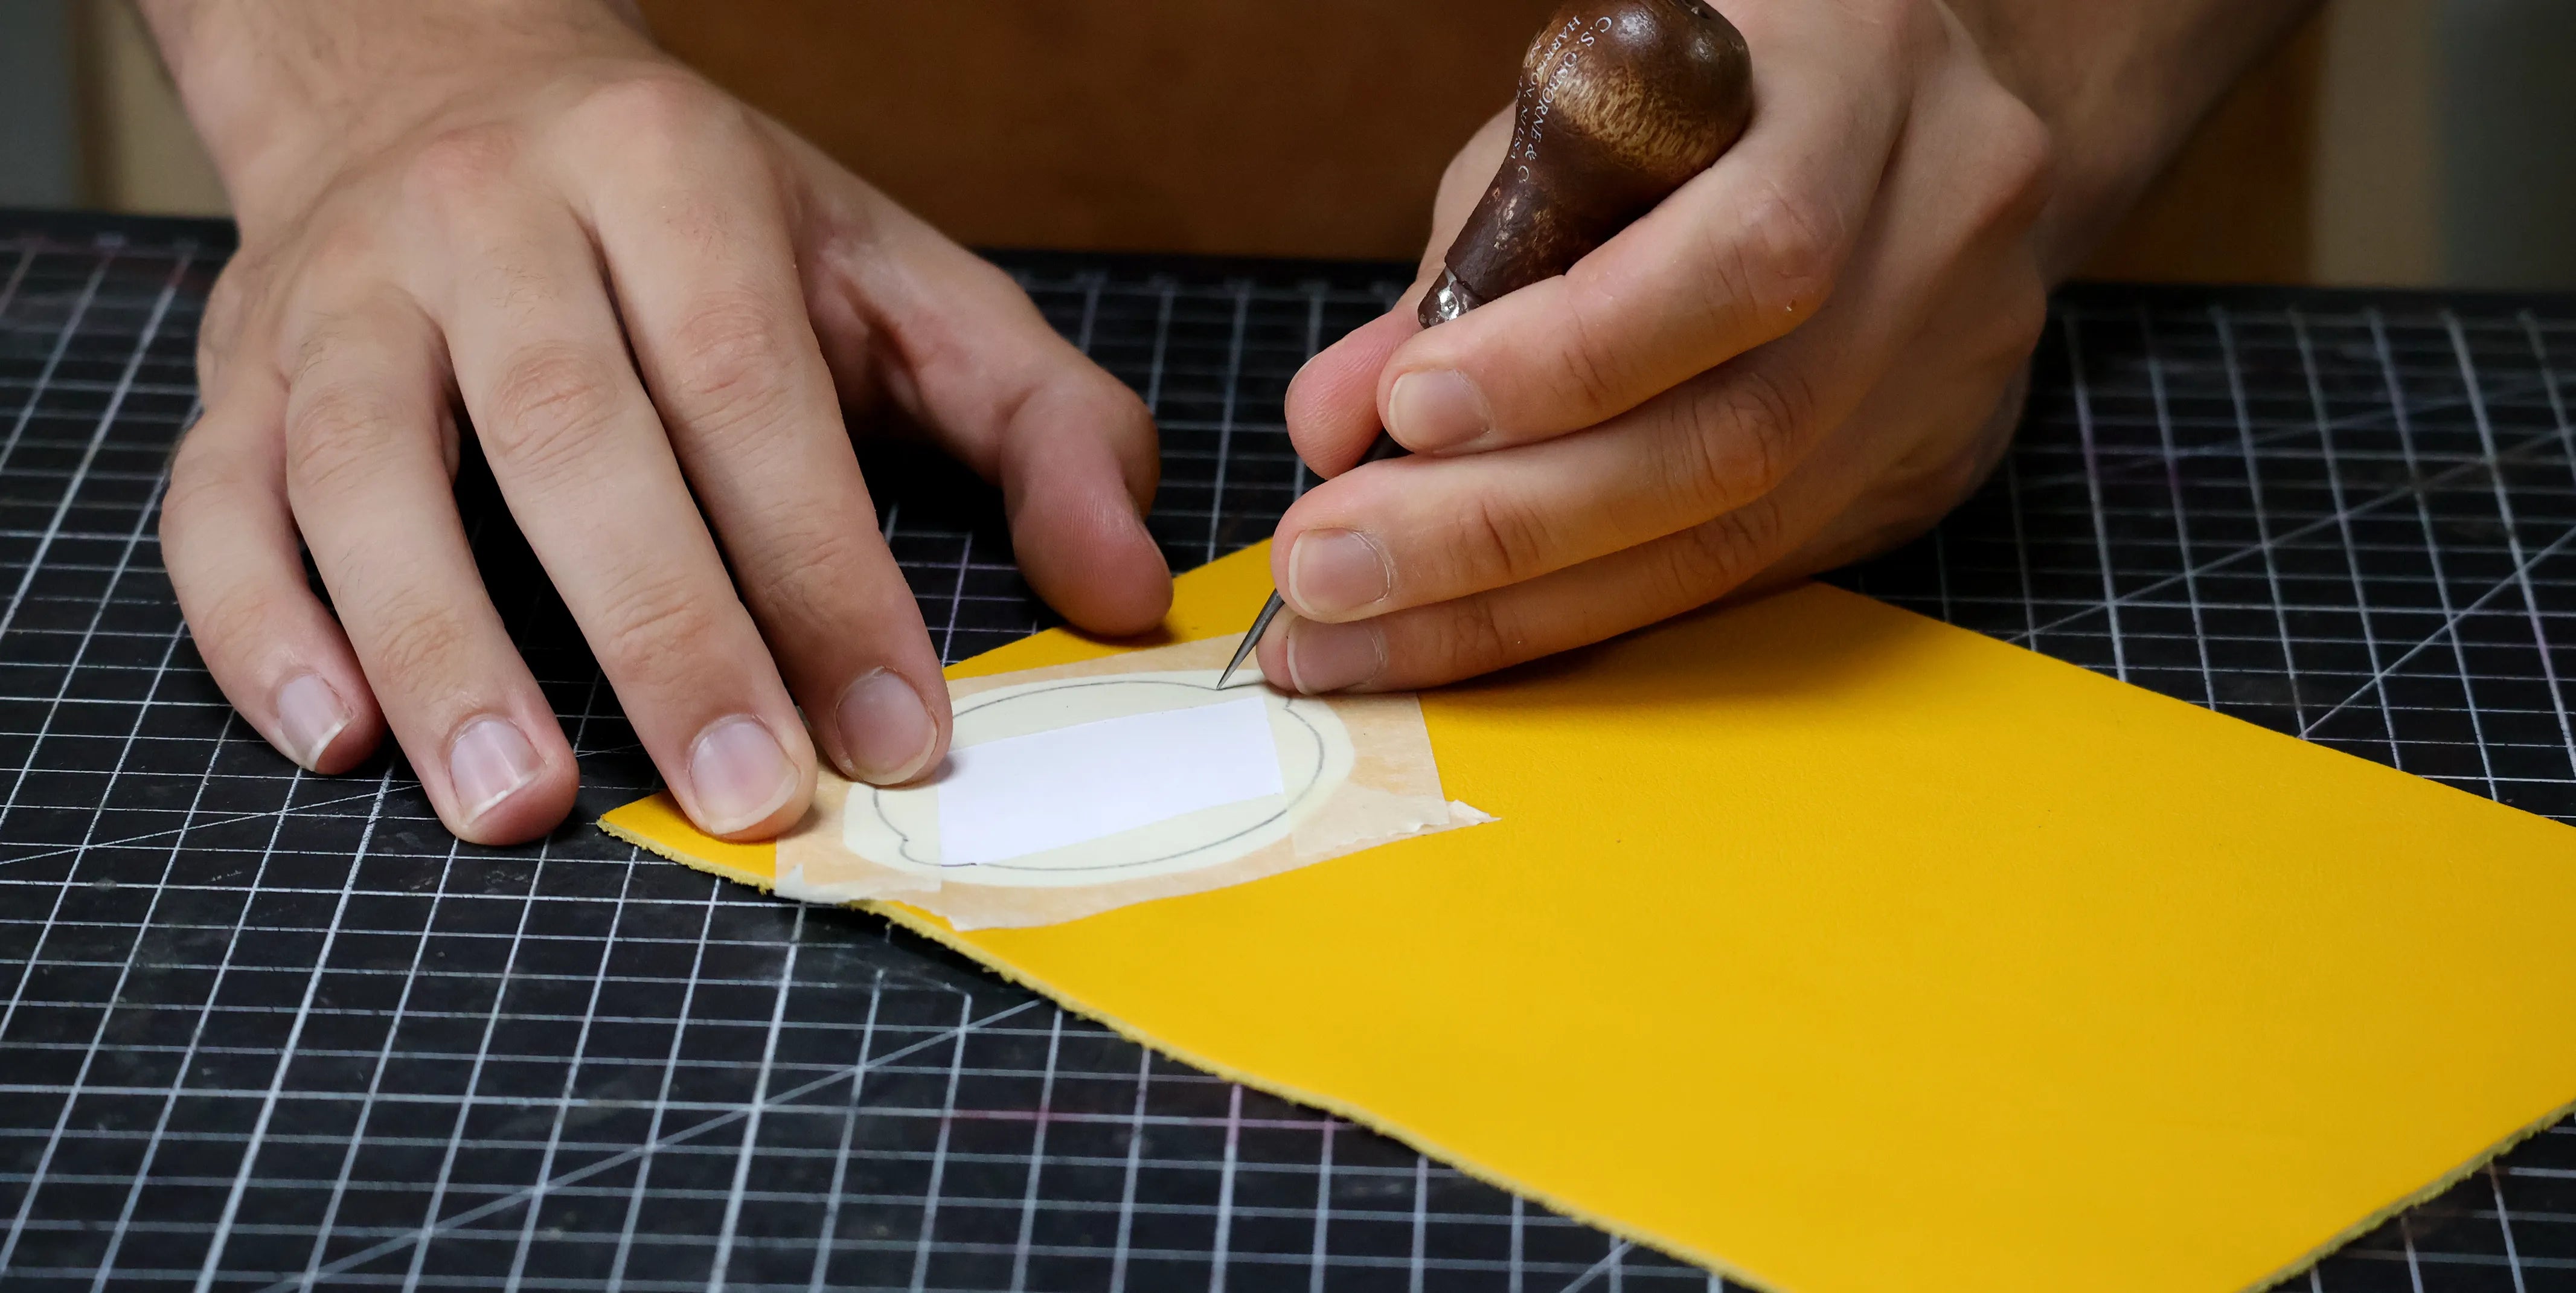
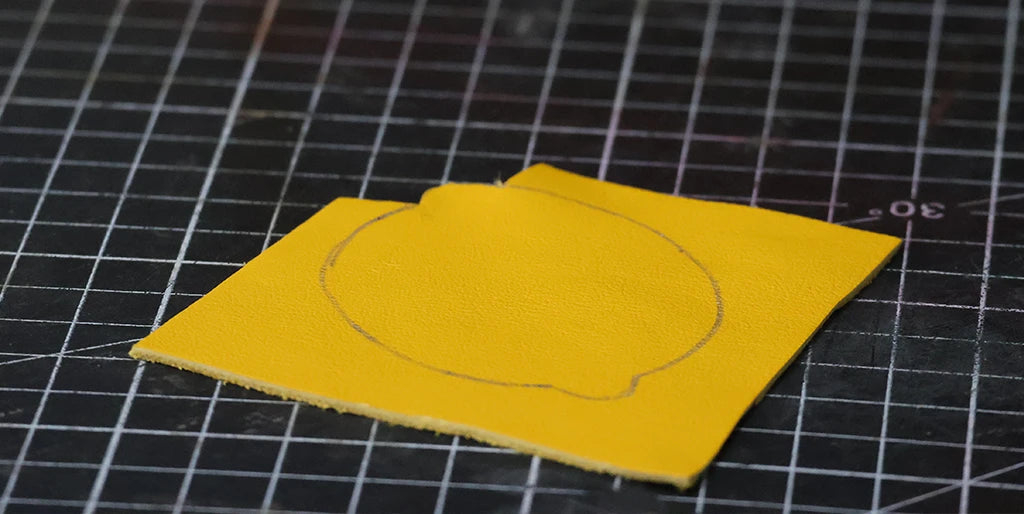
Download and print the Deco Cuir pattern (at the top of the page). Trace the lemon pattern on the right side (grain side) of yellow leather. Then reproduce the pattern symmetrically on the reverse (flesh side) using pricking tools (round awl). Repeat the process a second time.
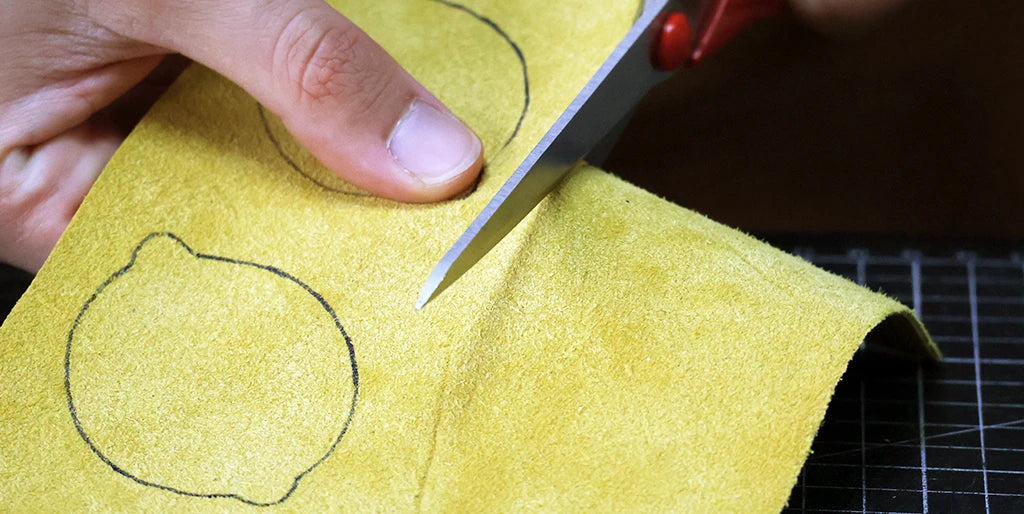
2. Cut out the 2 lemons
Roughly cut the leather using a pair of scissors.
3. Apply contact adhesive
Apply contact adhesive to the flesh side of both pieces of leather, then allow the adhesive to soak in.
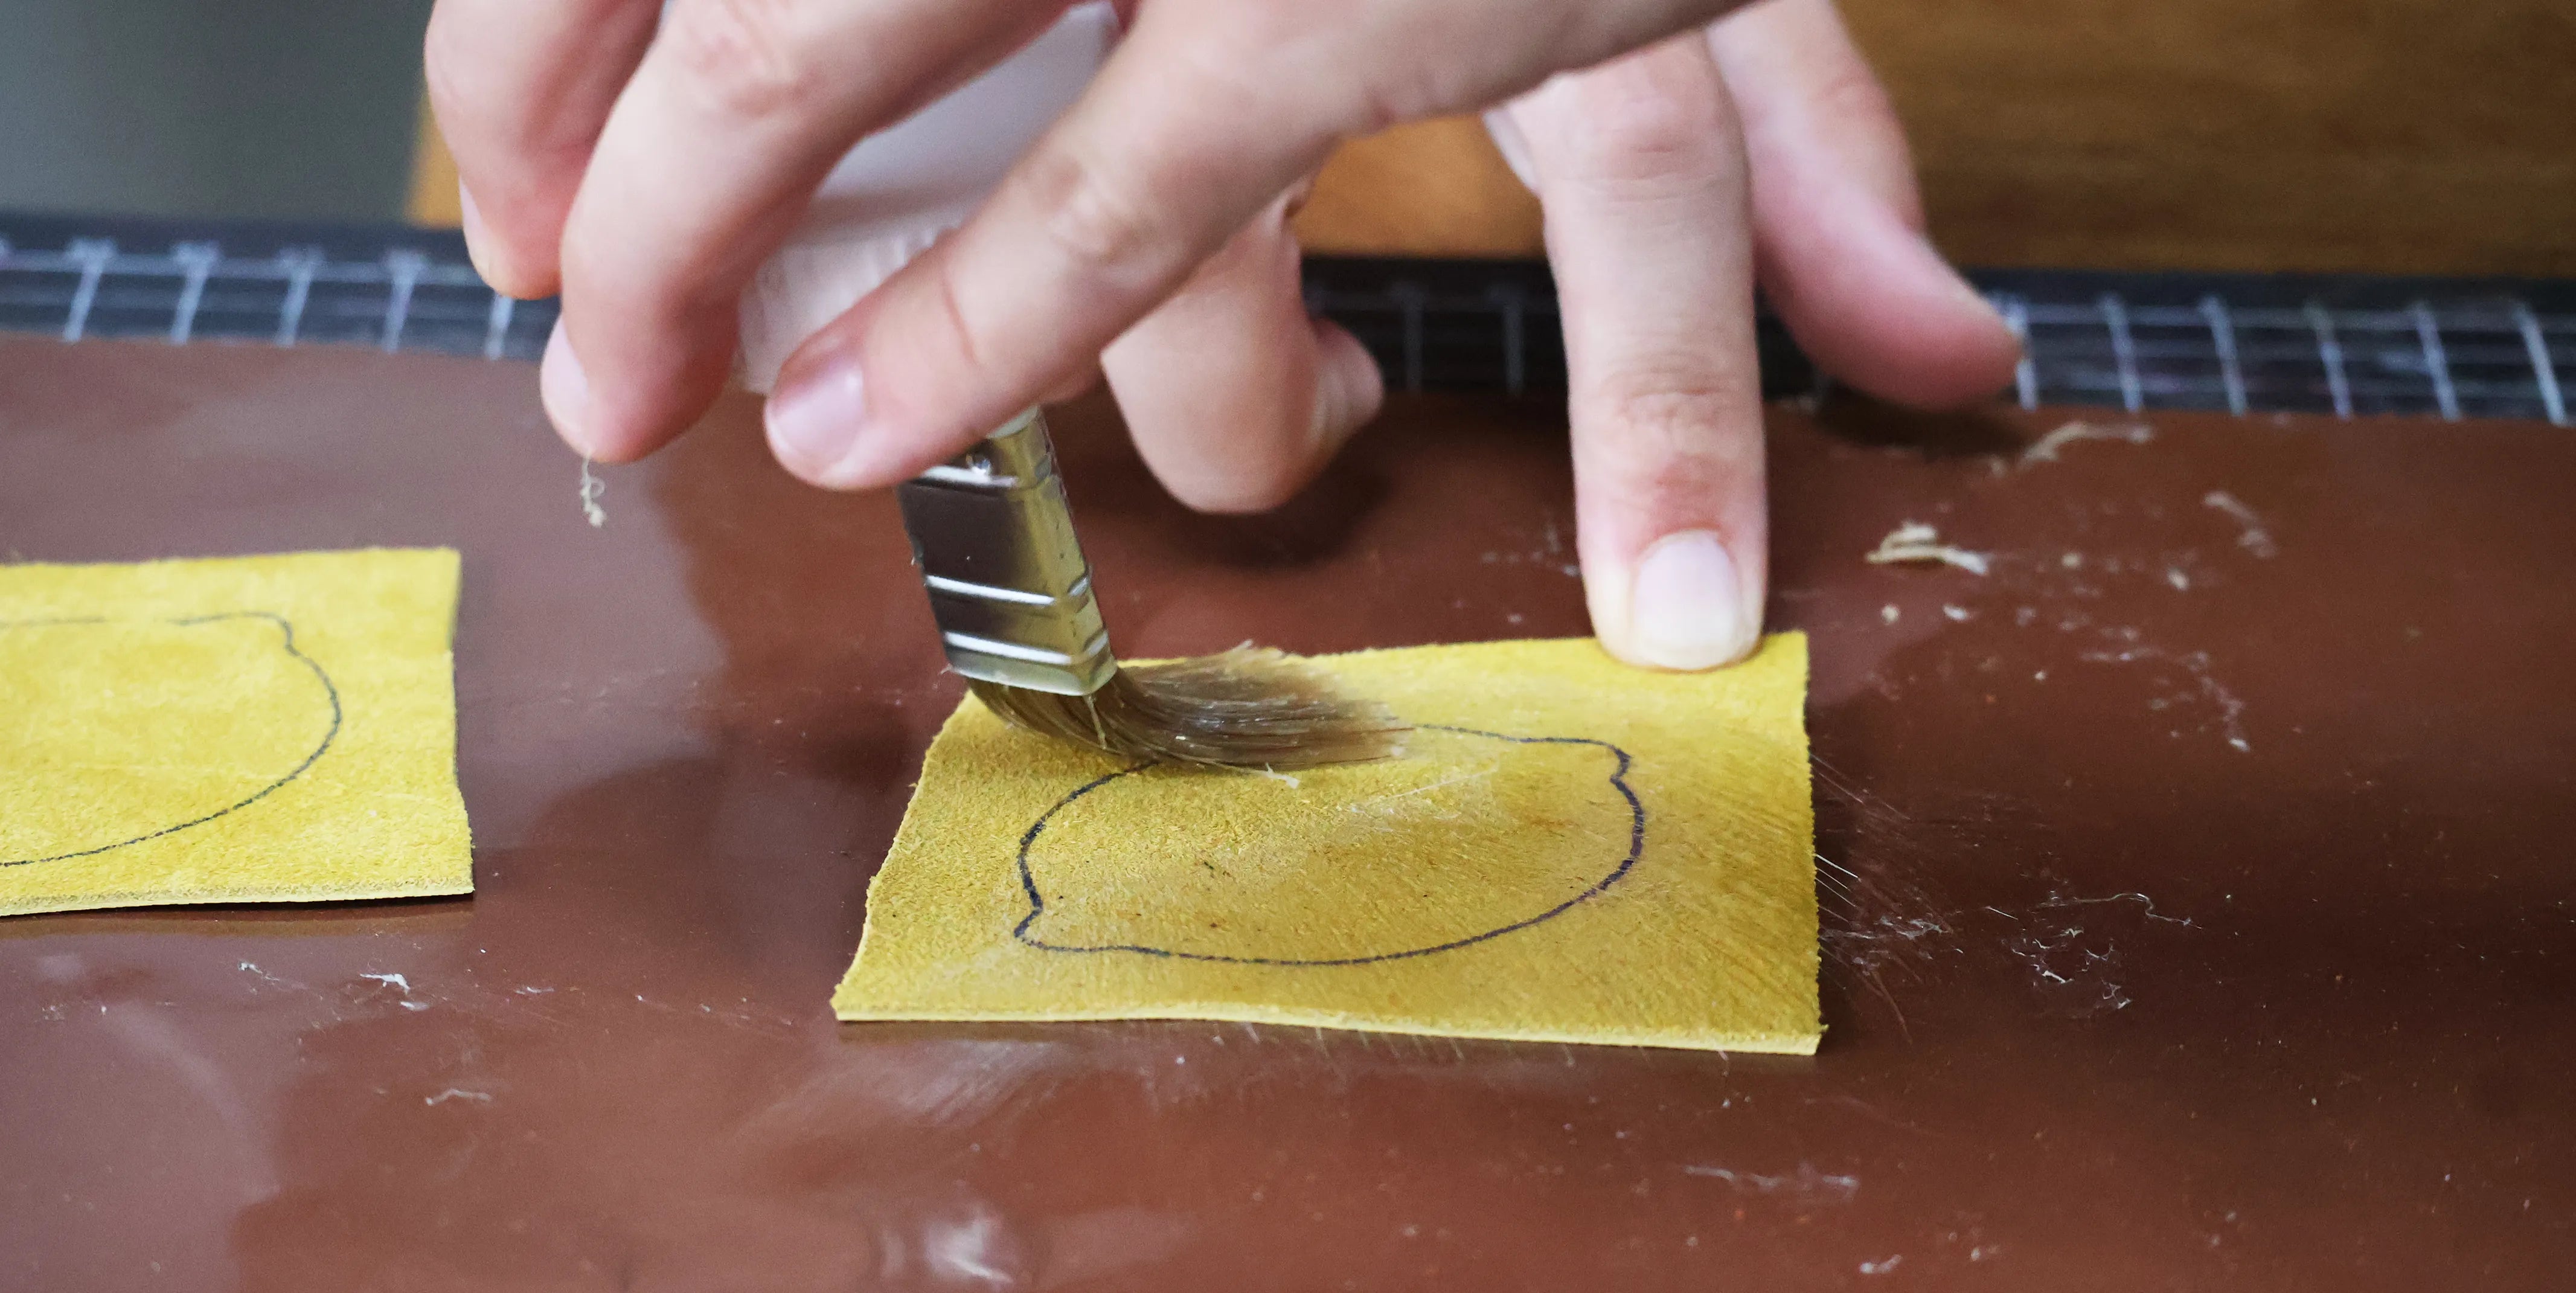
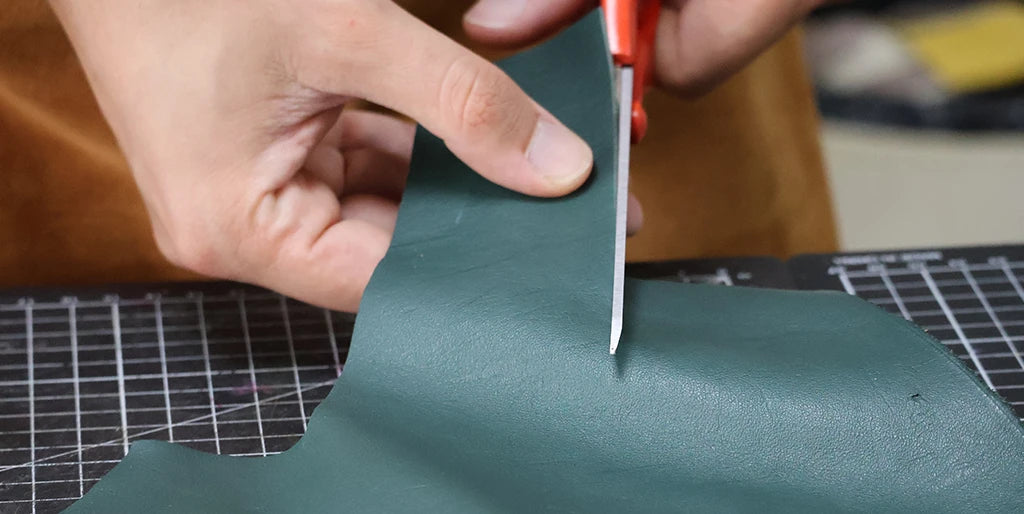
4. Cut out the stem
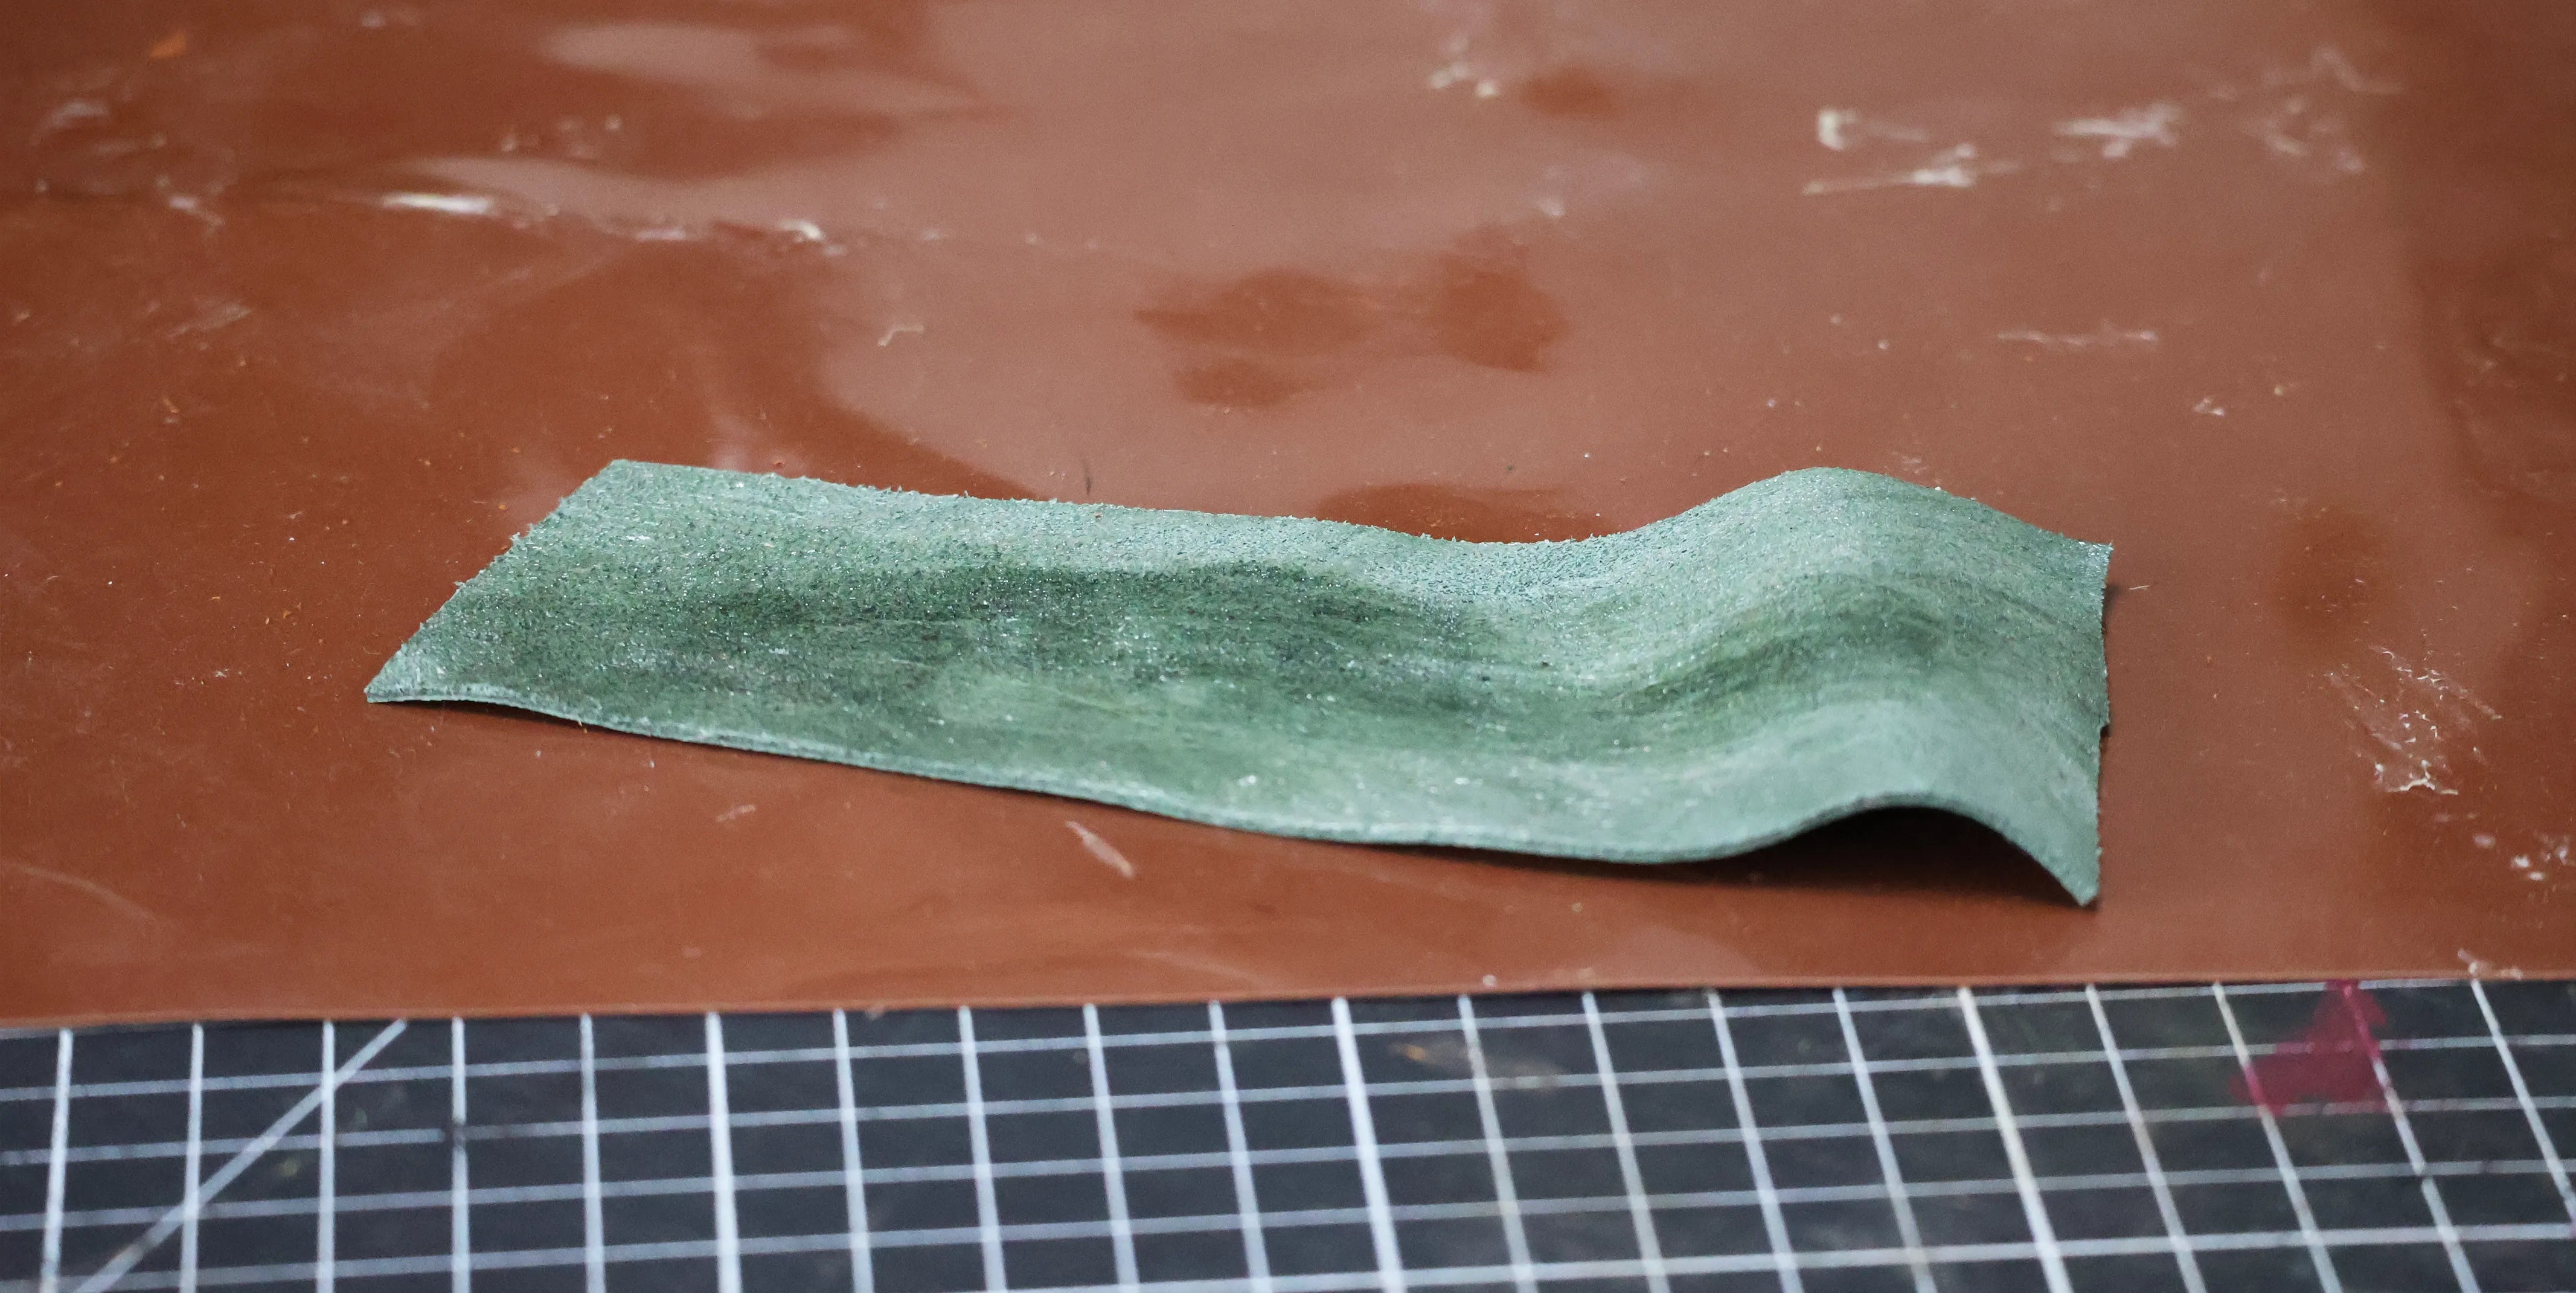
Apply contact adhesive to a piece of green leather (piece size 5x12 cm) then fold it in half (lengthwise) and glue it.
 |
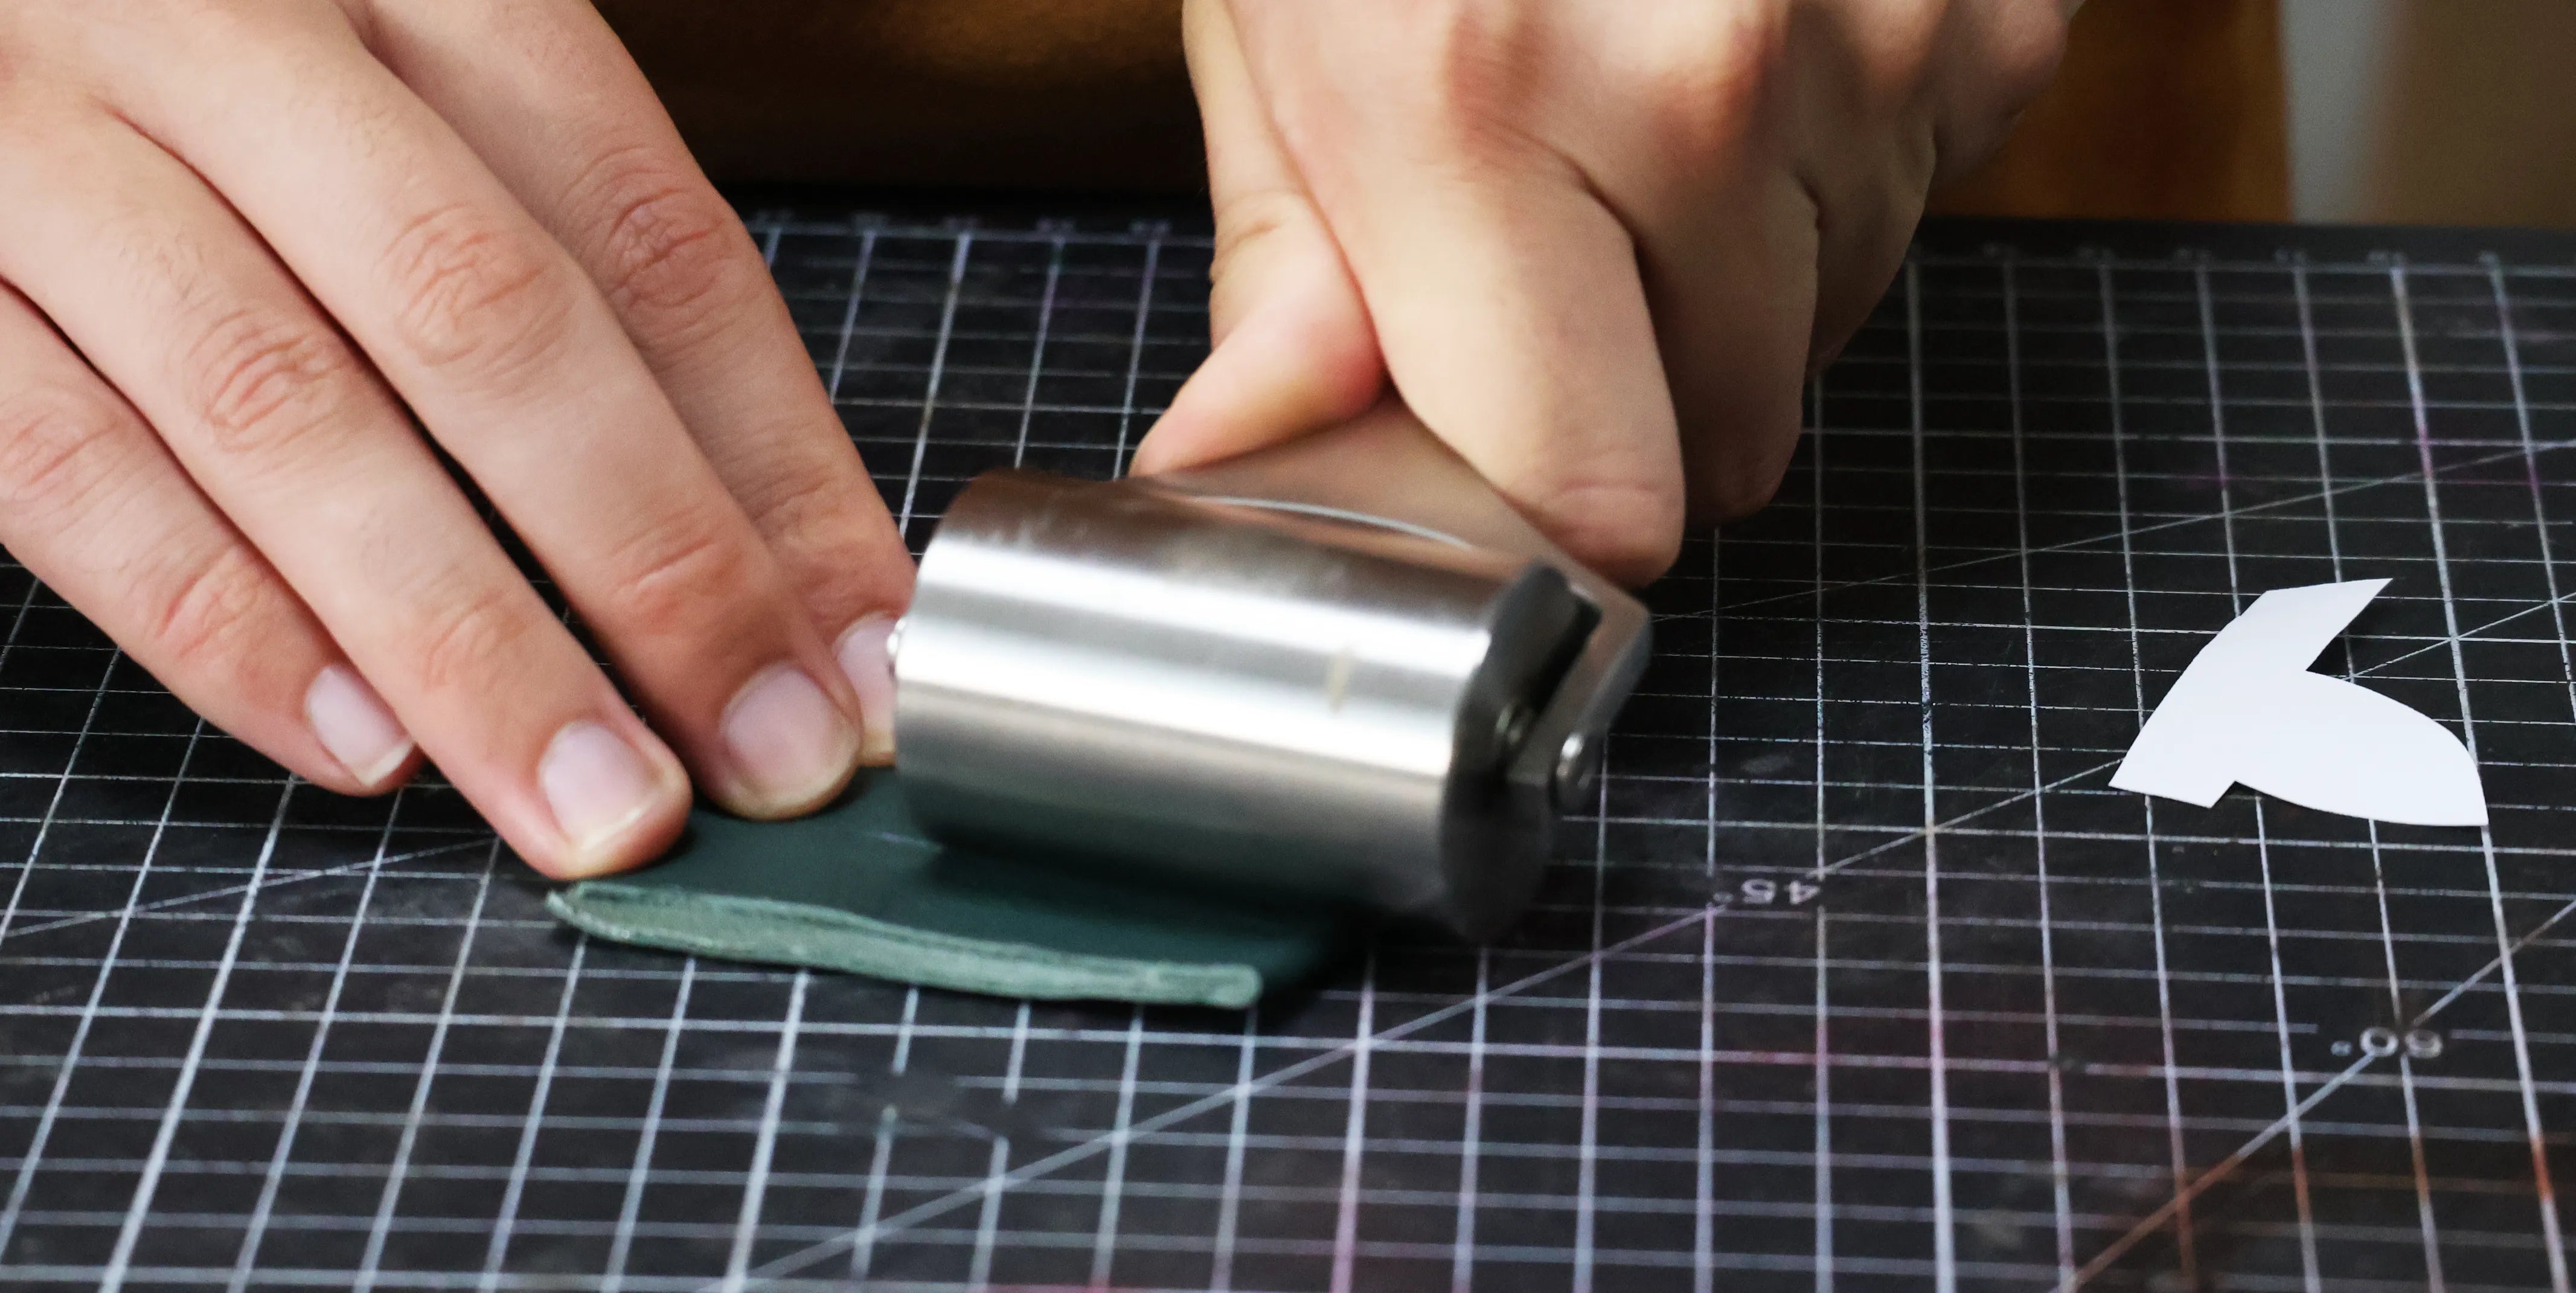 |
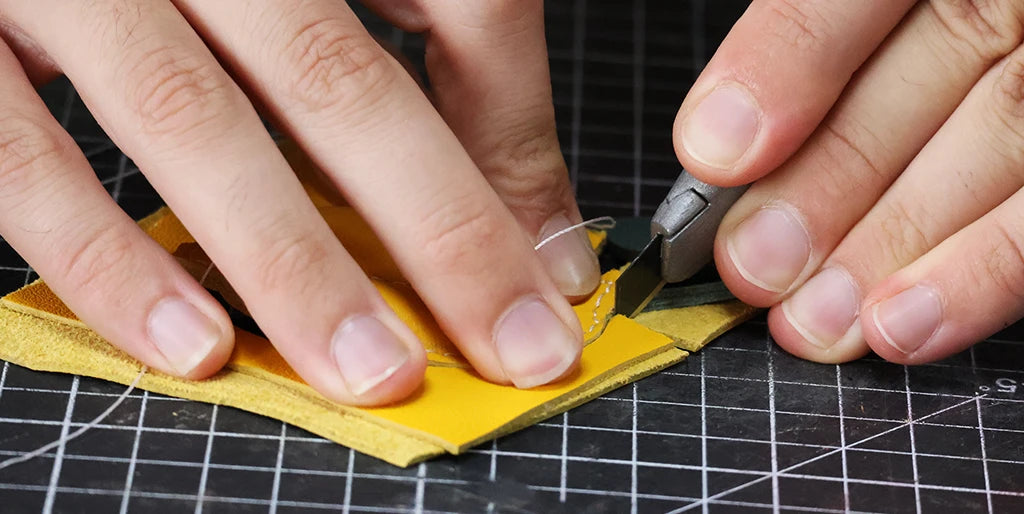
Position the stem pattern on the piece using masking tape and cut the leather with a utility knife following the pattern outline.
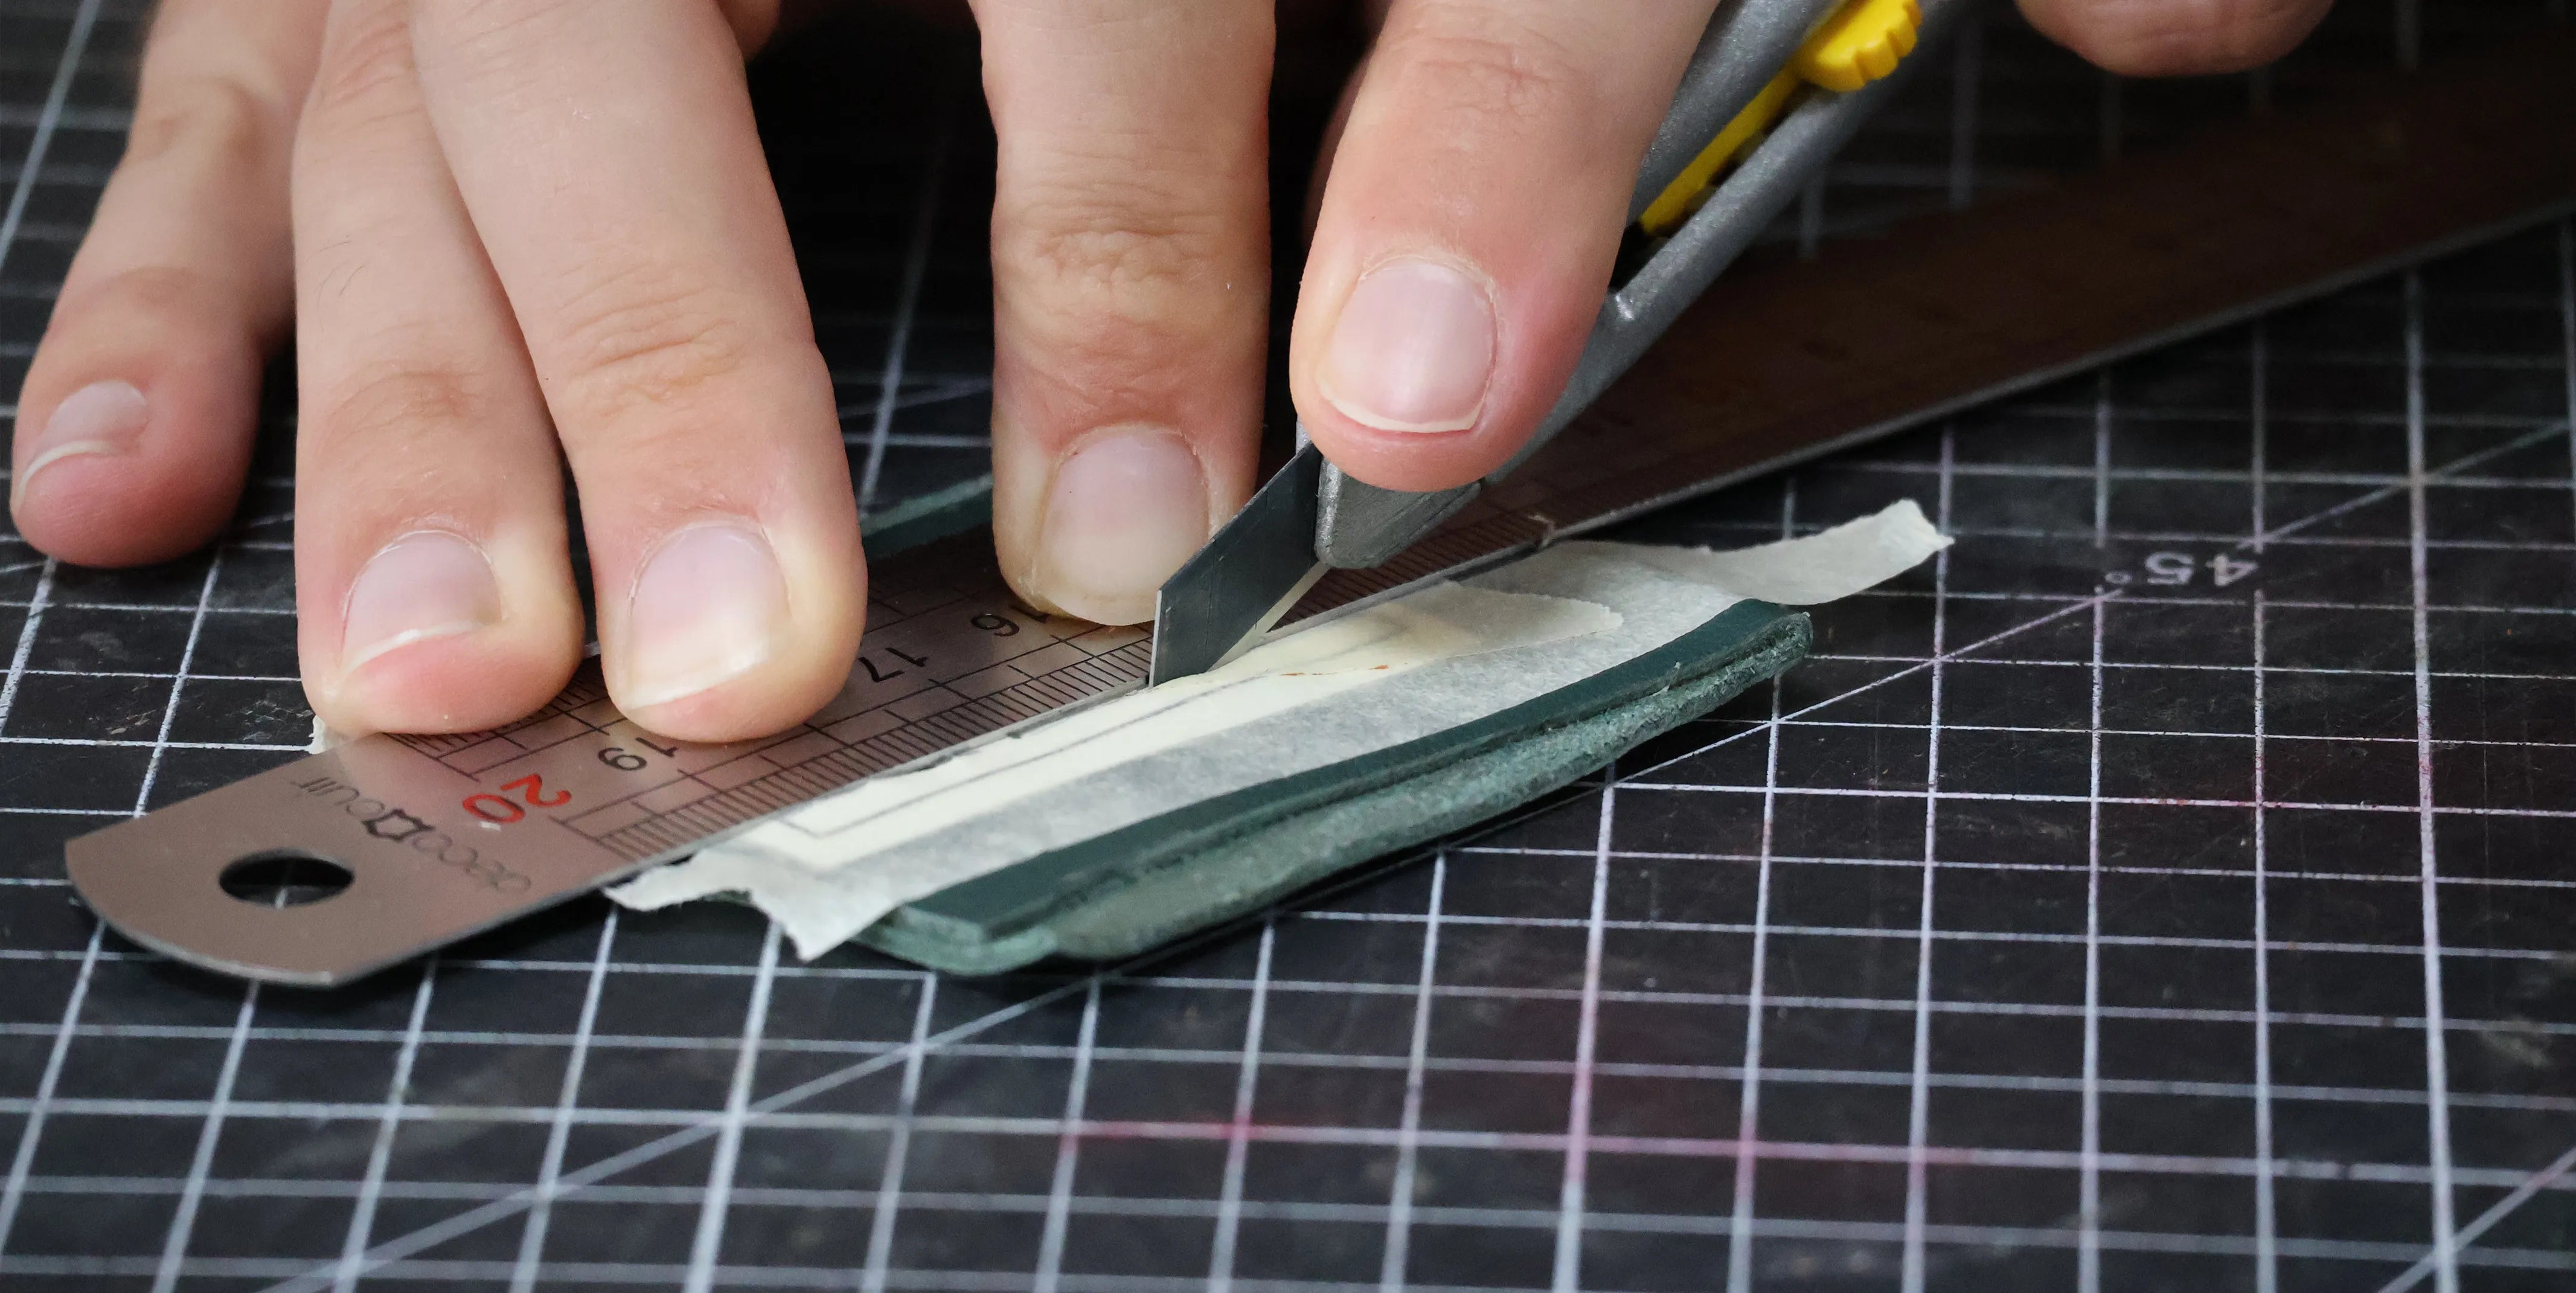
Trim the 2 ends of the stem (see the video) then apply glue to these 2 ends.
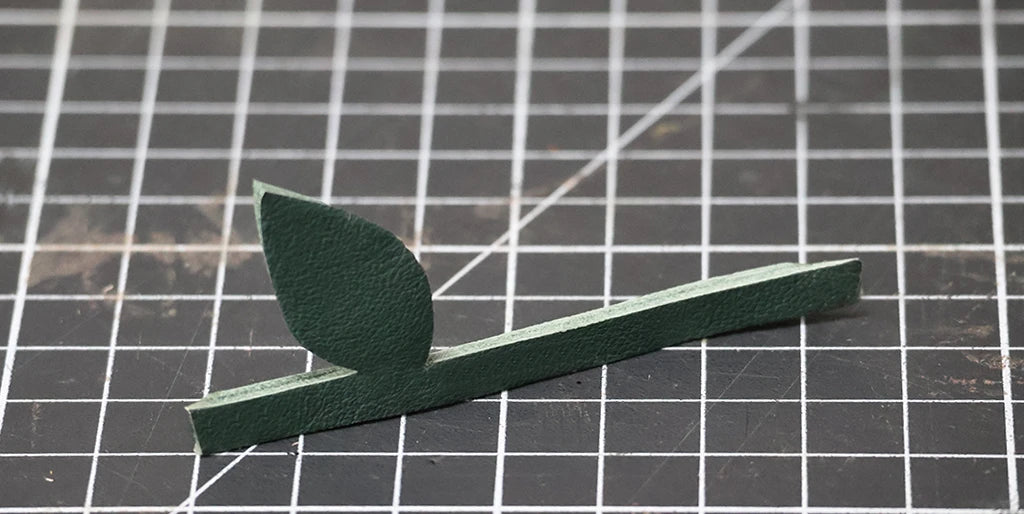
5. Add the batting
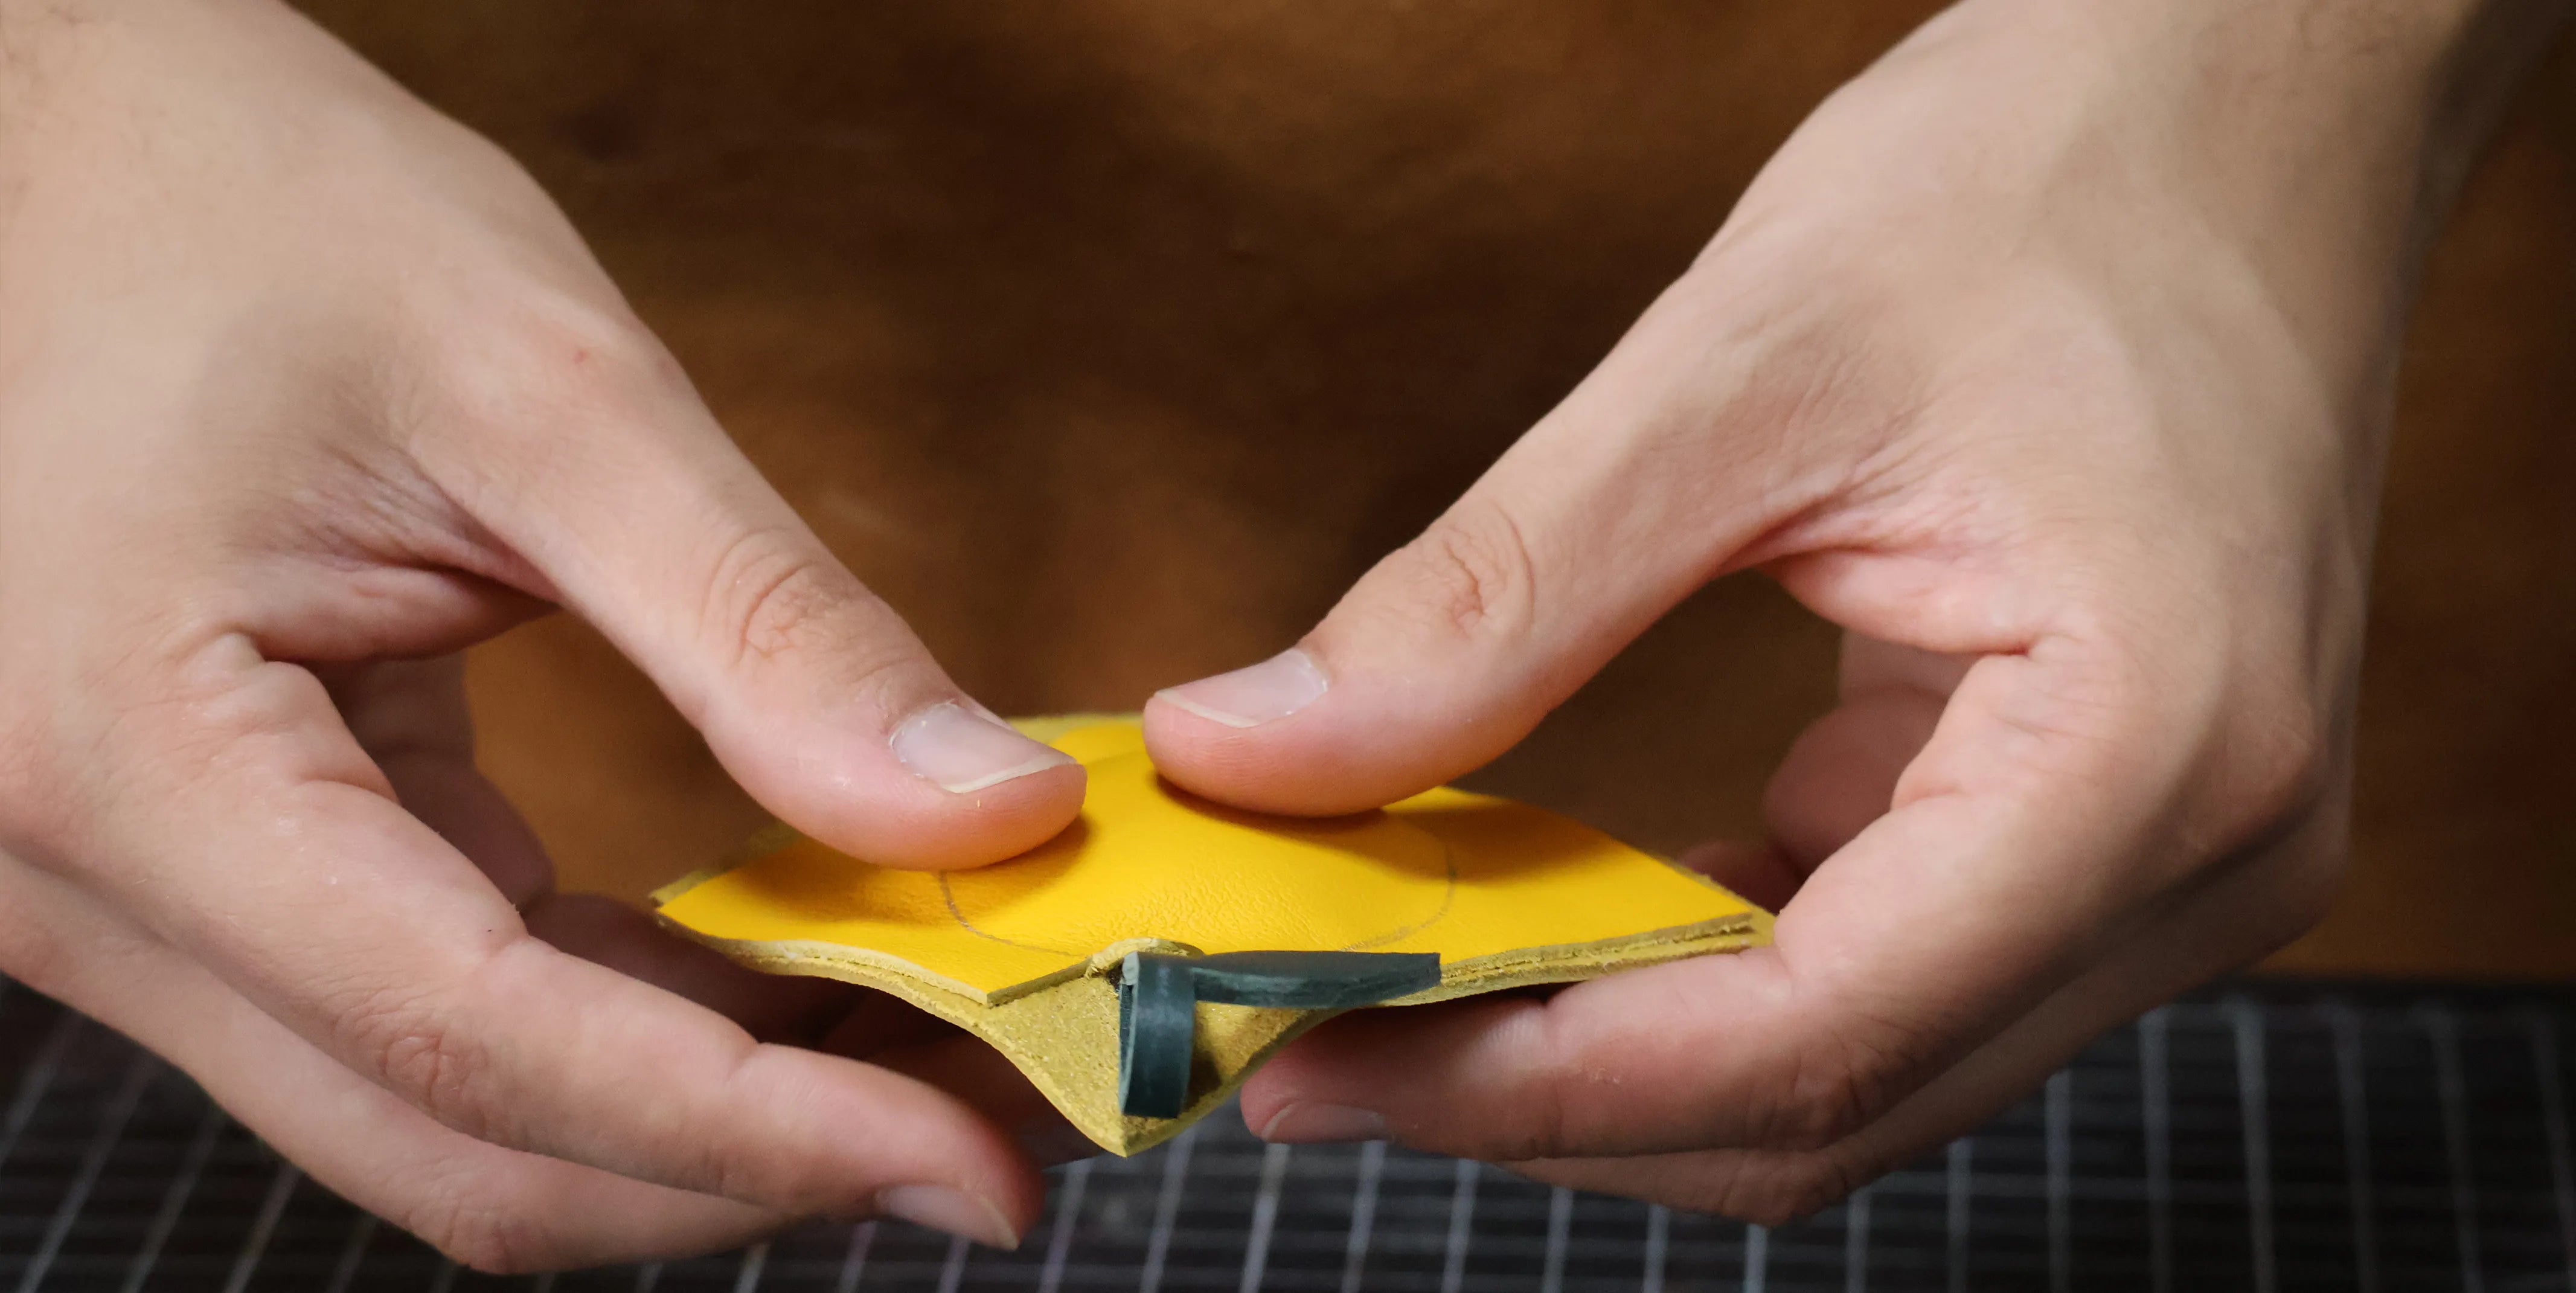
Next, take a piece of 200g/m² batting, form it into a ball to give it volume, and insert it inside the lemon to stuff it.

6. Position the second yellow piece
Next, cover the batting with the other piece of yellow leather.
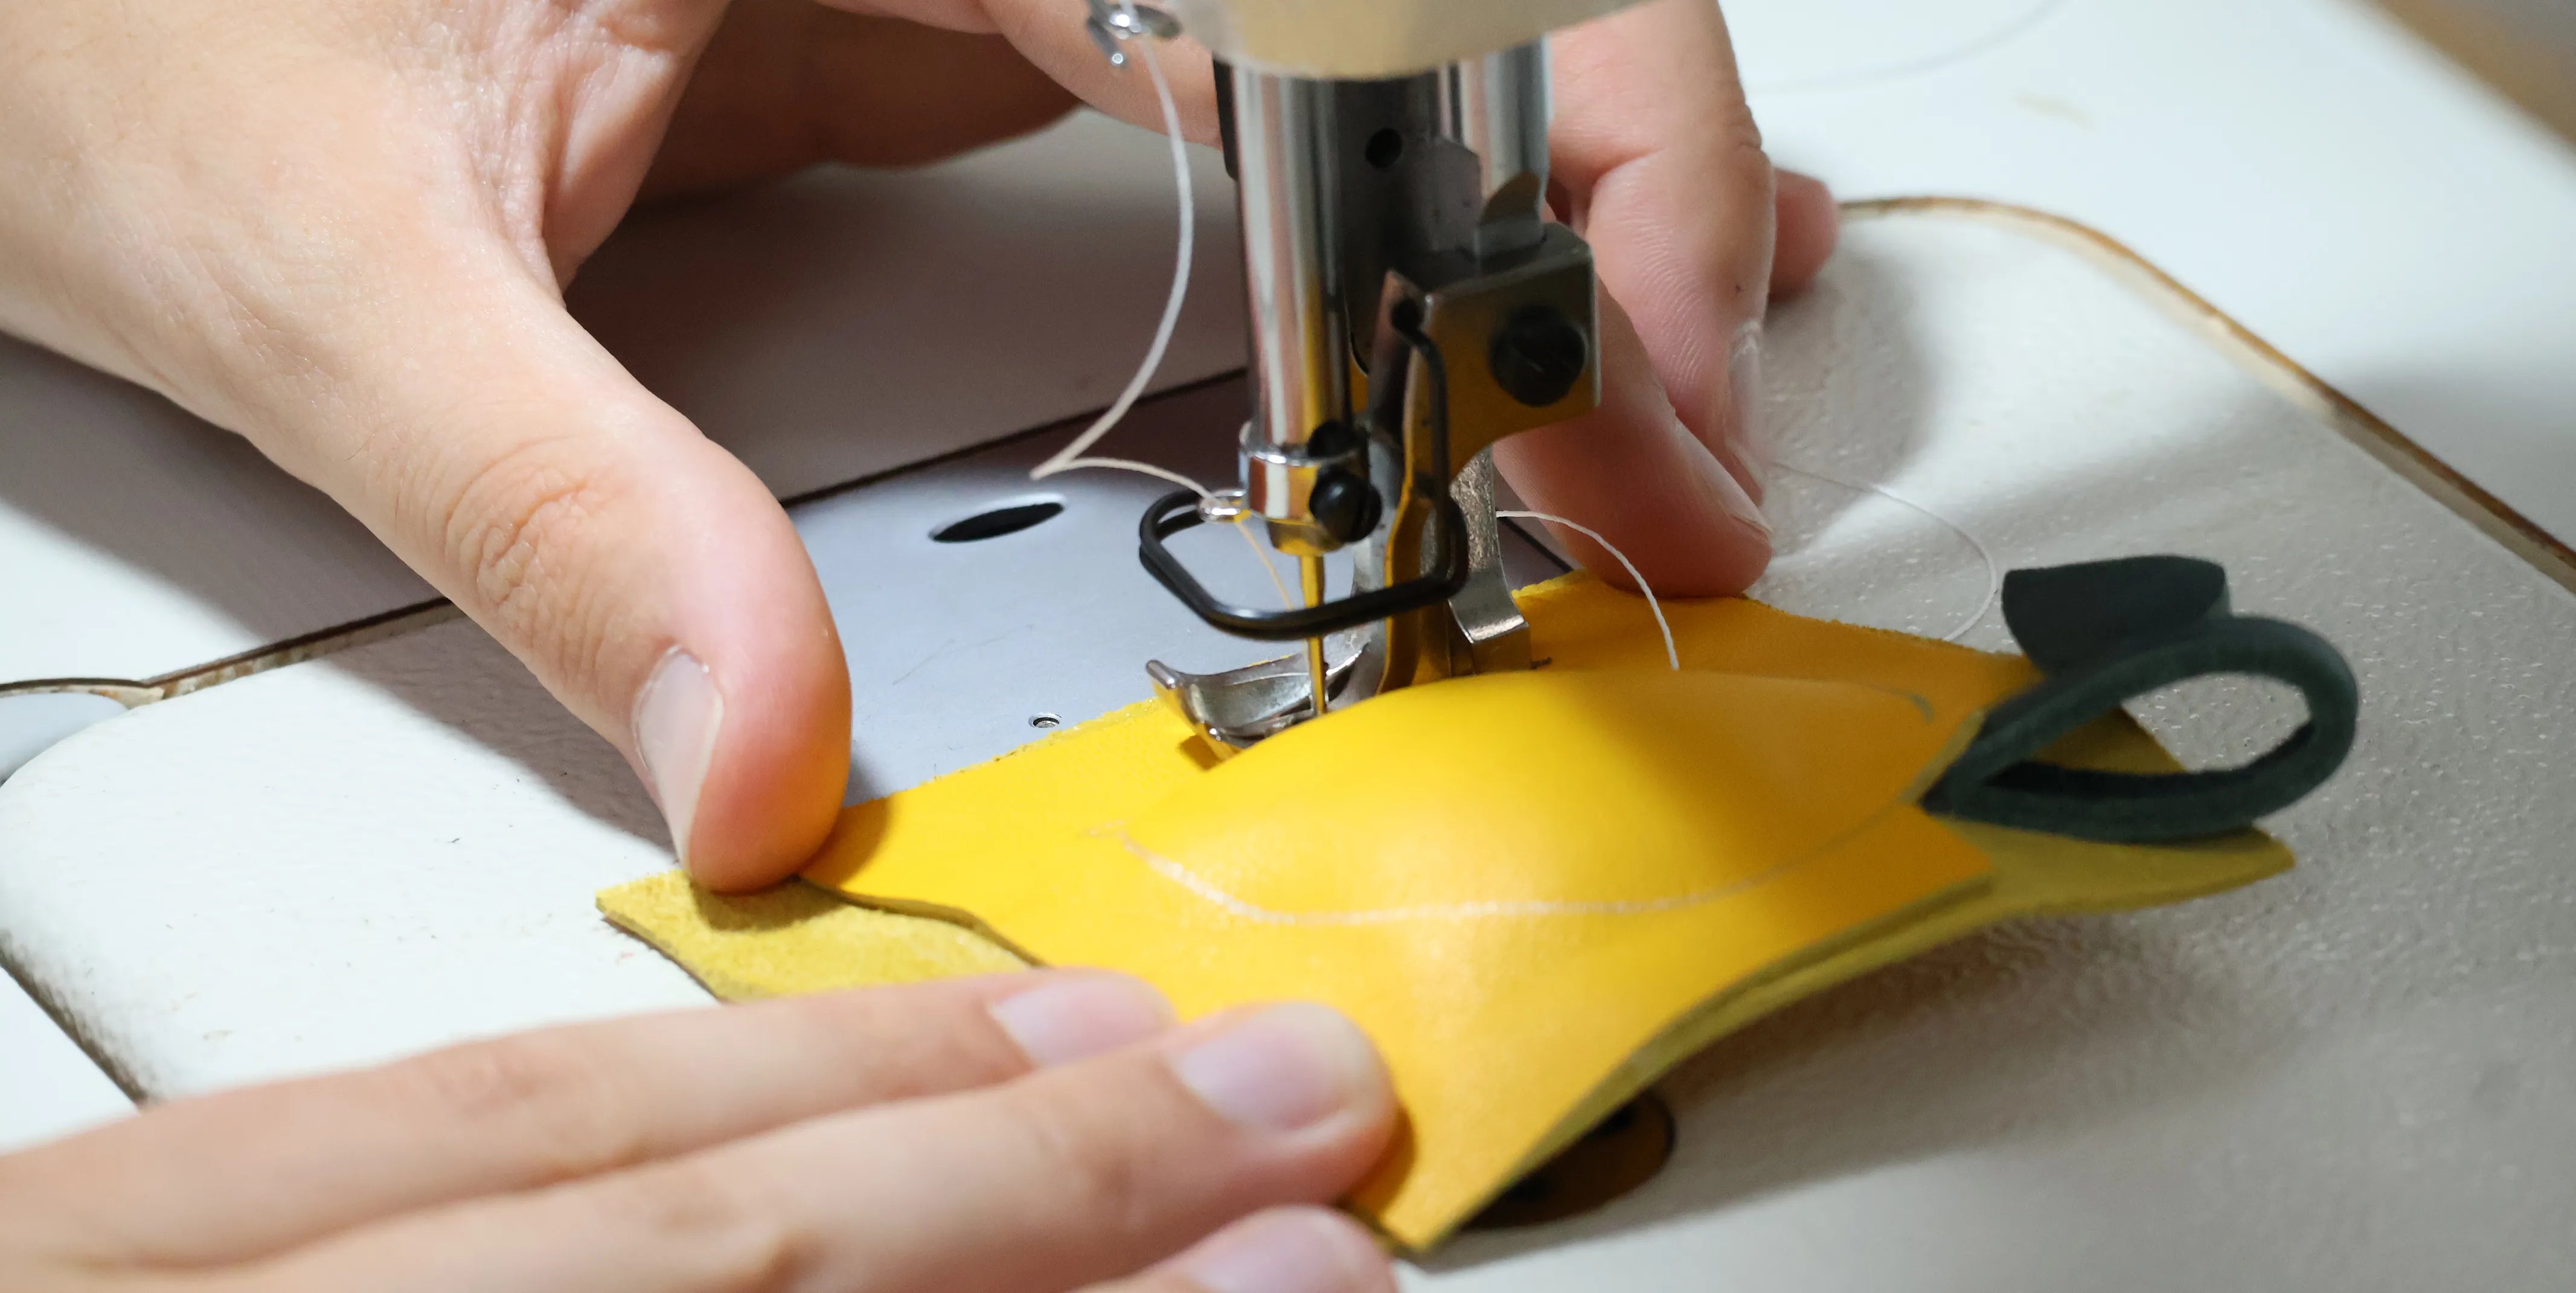
7. Machine stitching
Next, sew all around the lemon with a sewing machine following the pattern outlines.
 |
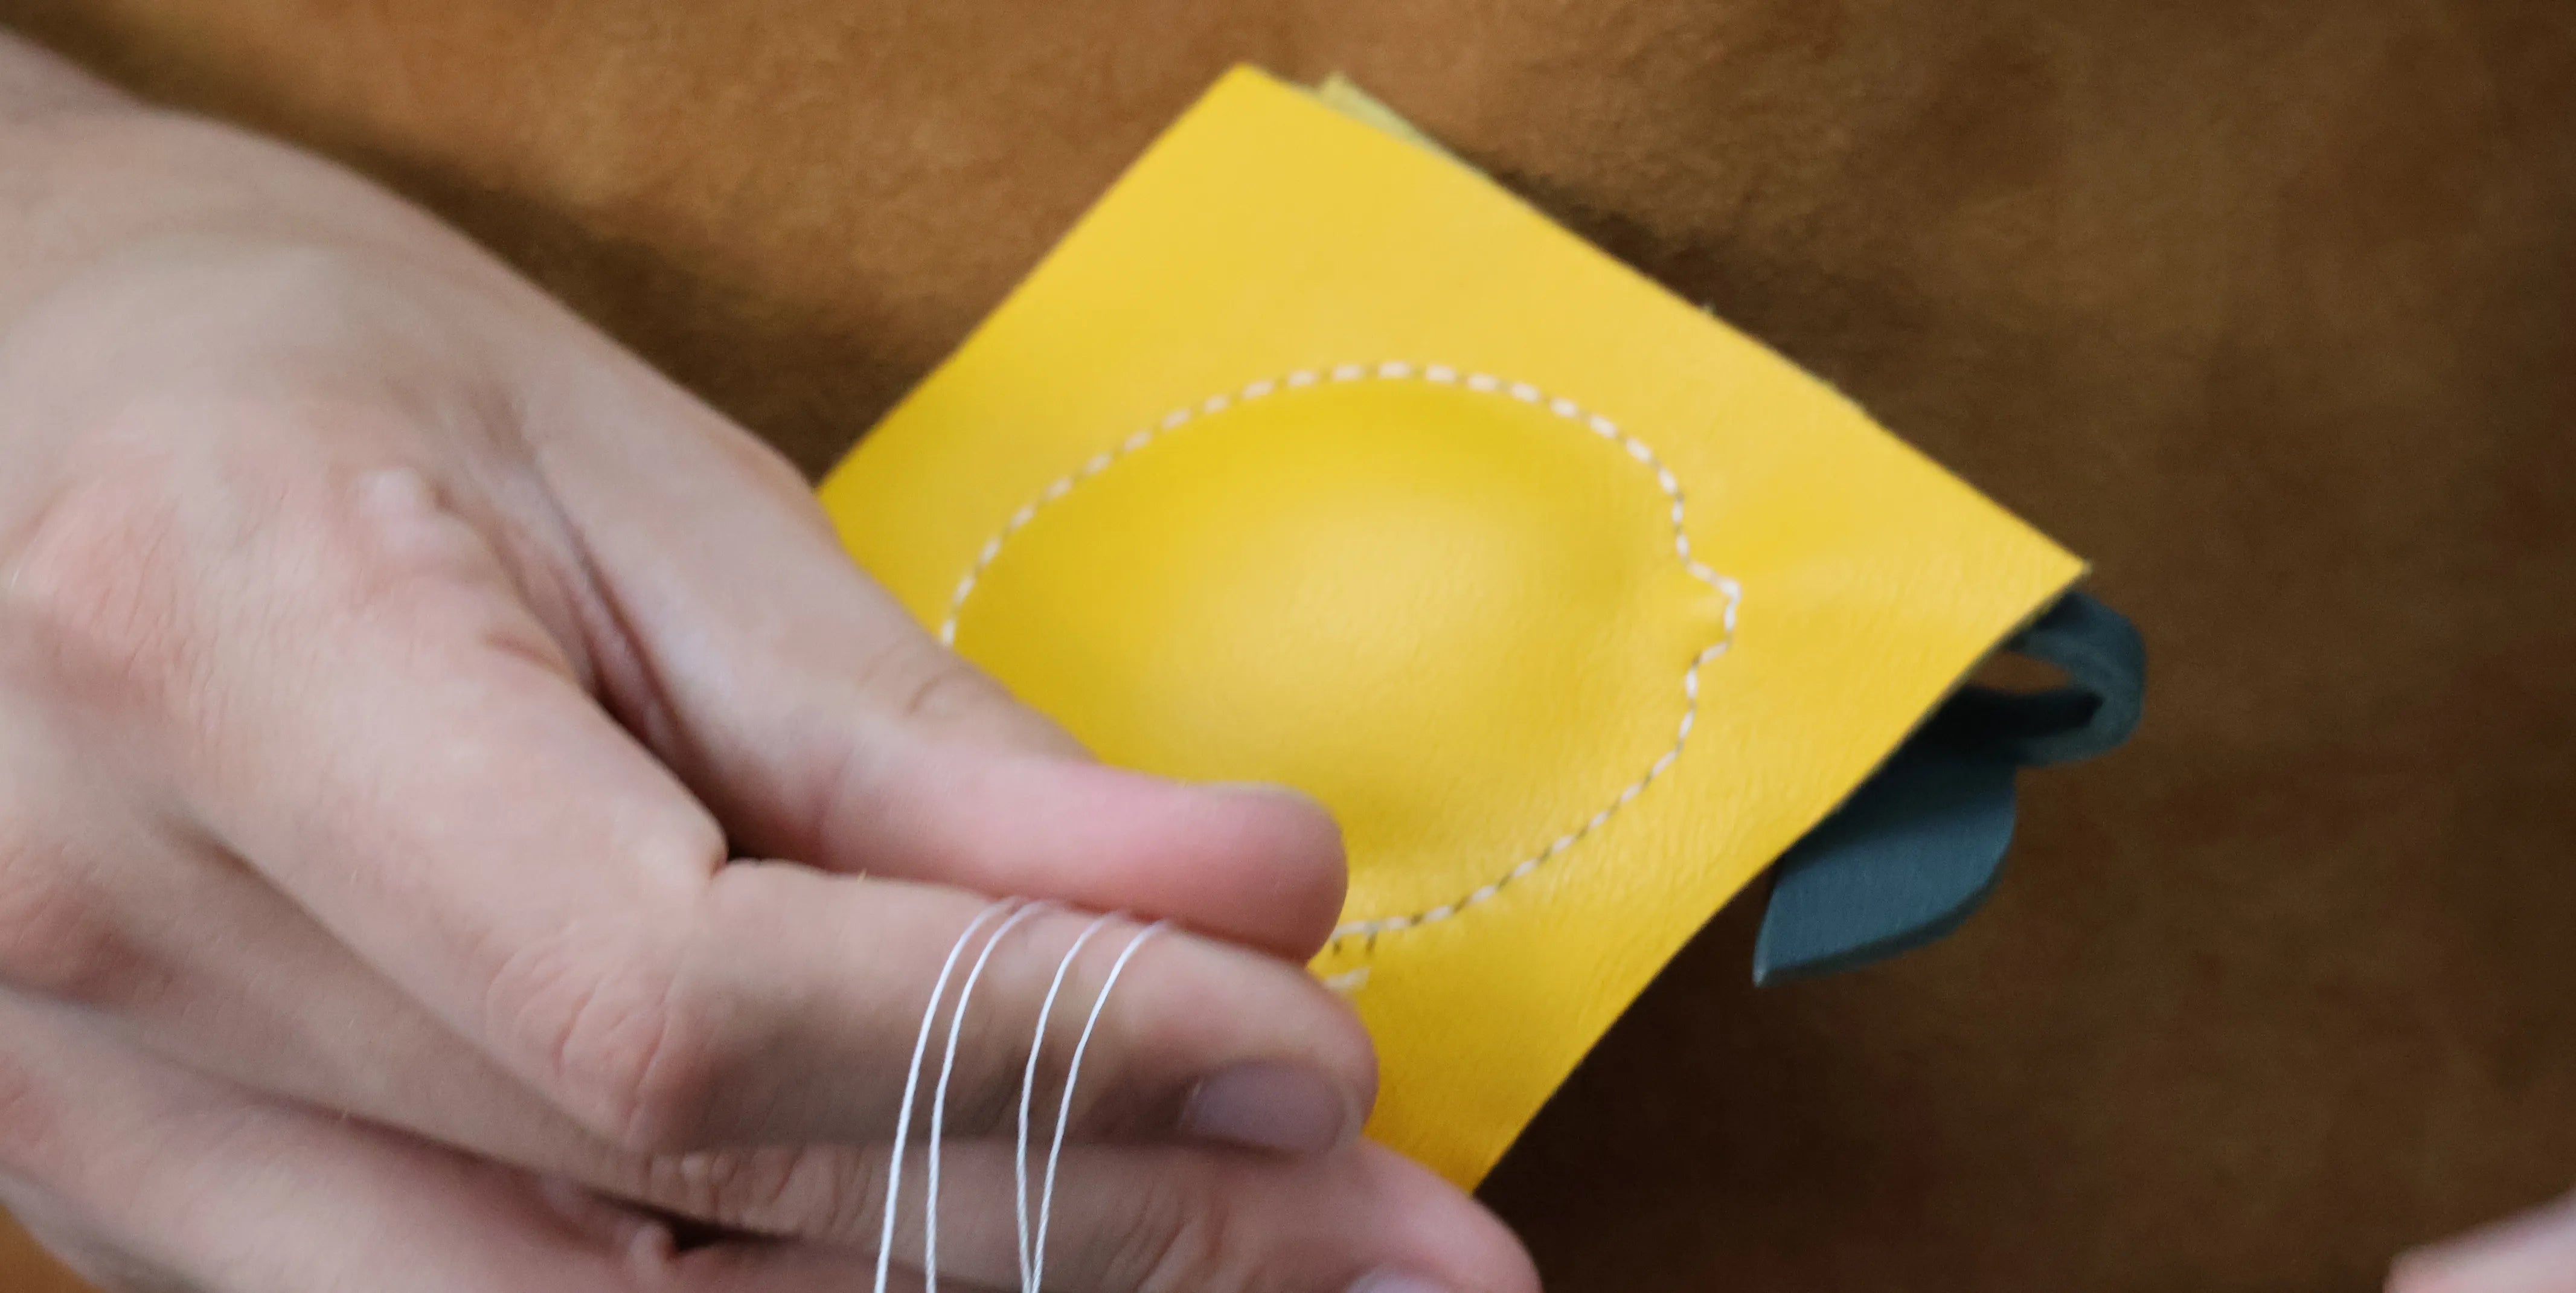 |
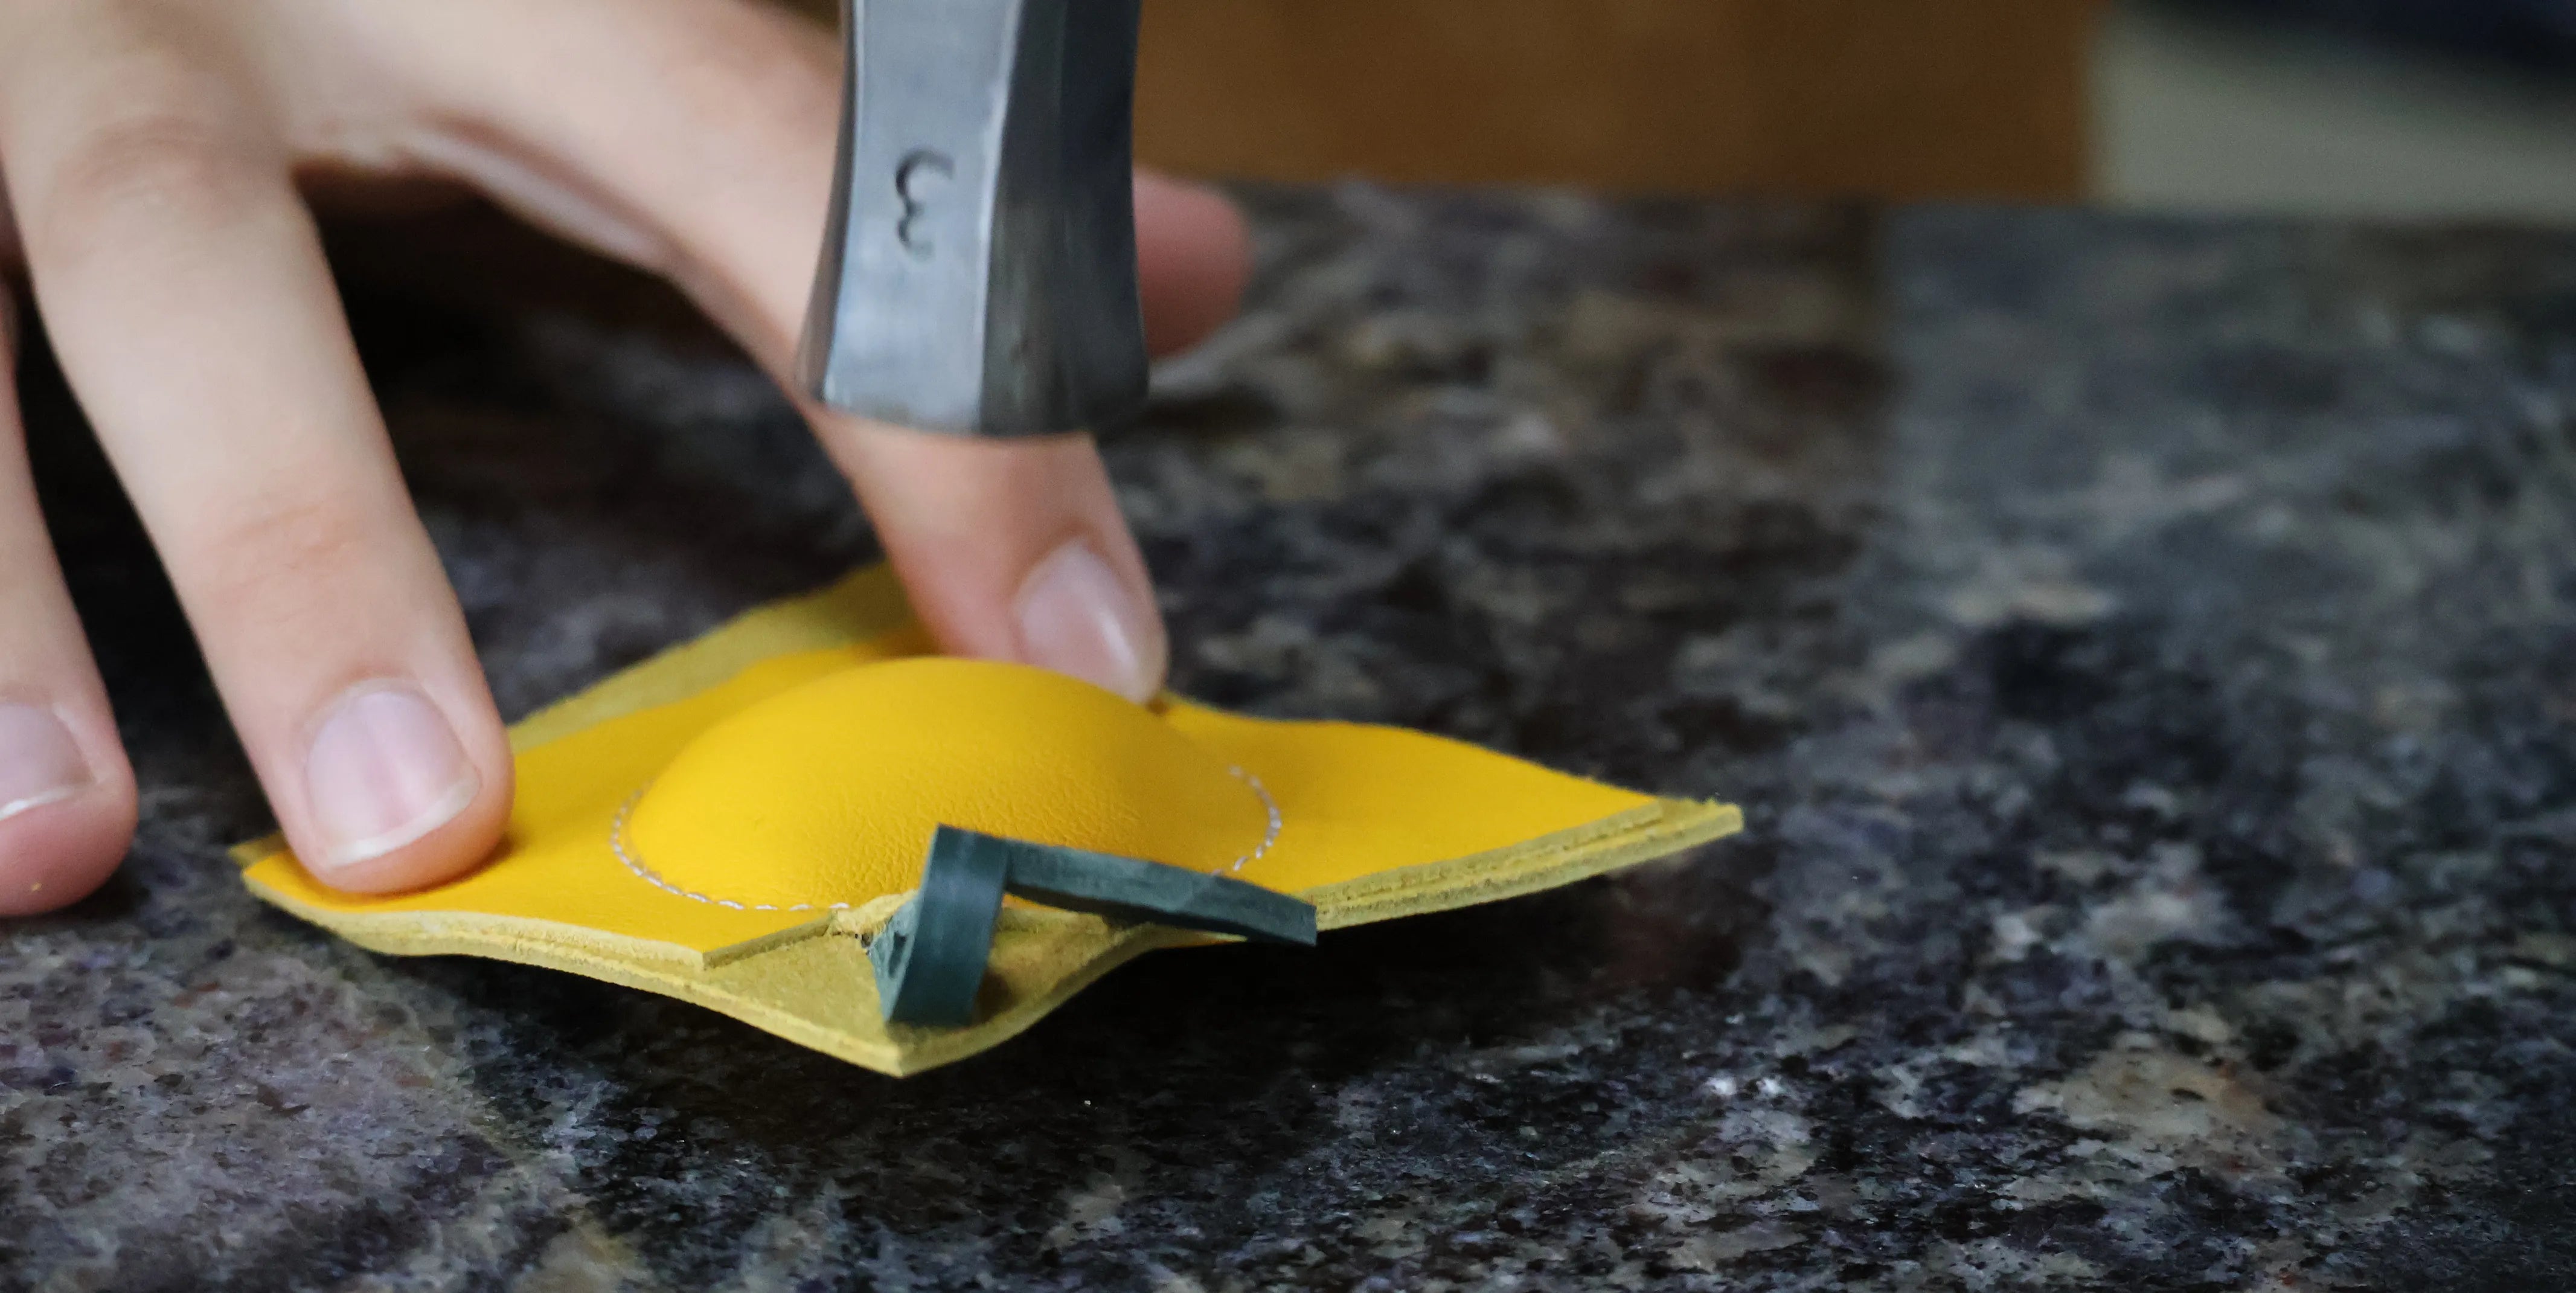
Gently tap the seams with a stitch hammer to achieve a neater finish and distribute the batting evenly inside the lemon.
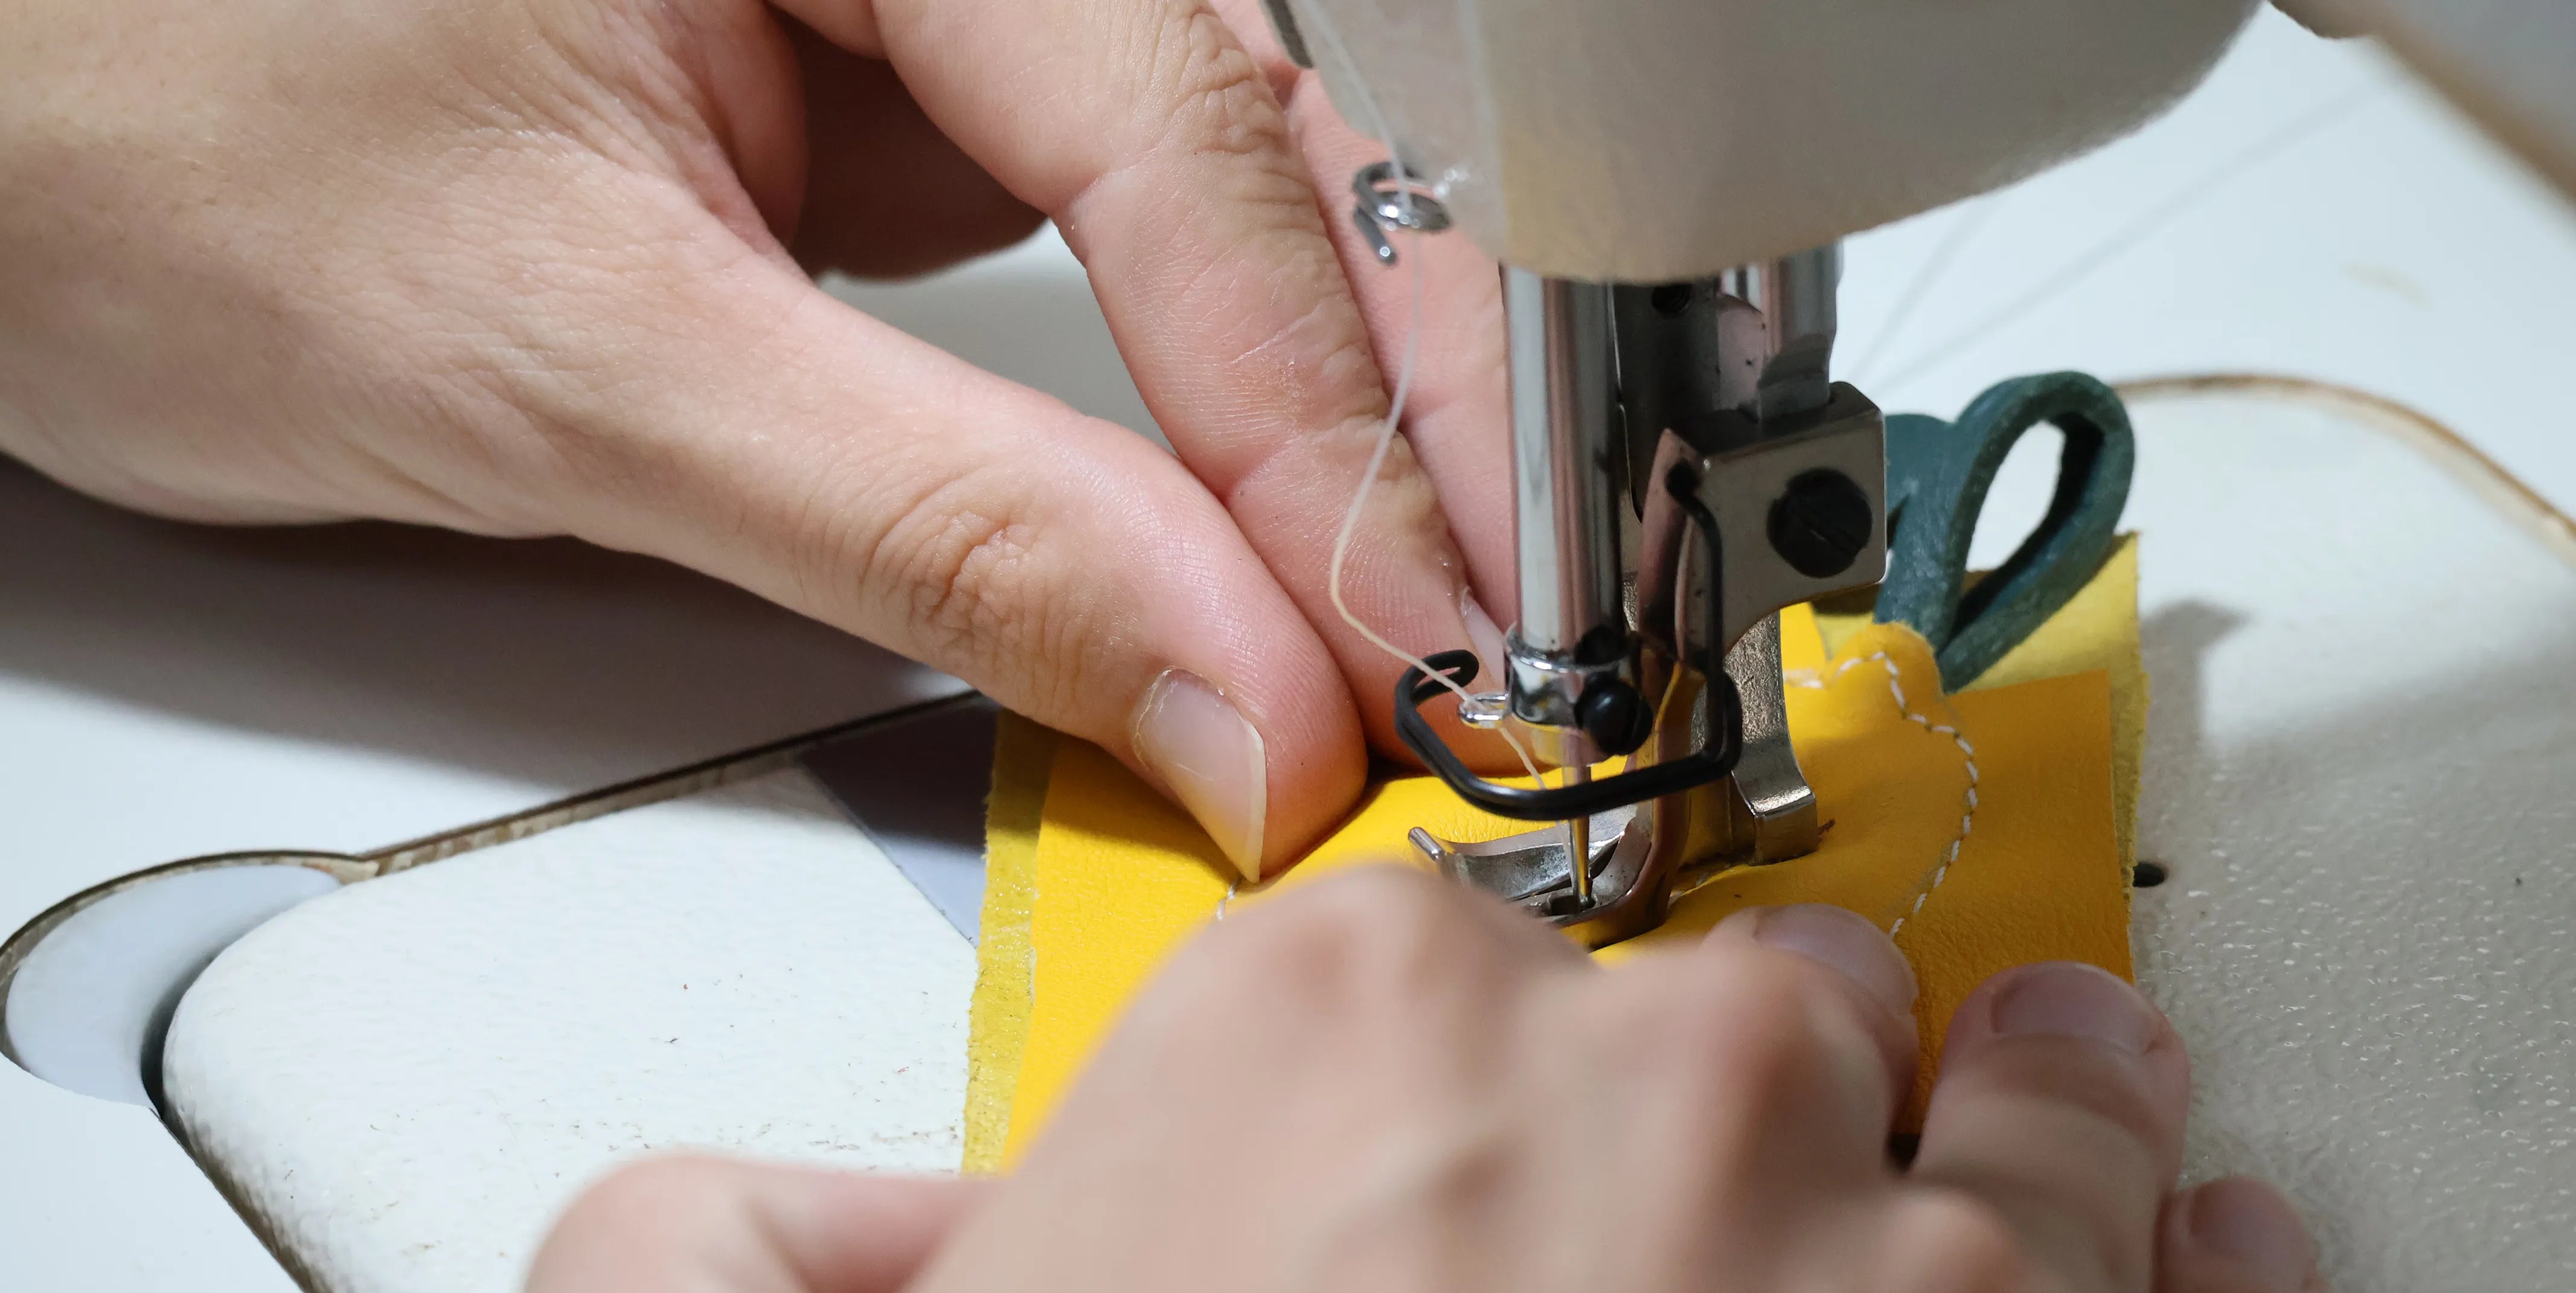
Add a few stitches on top of the lemon to give it a more realistic appearance.
8. Cut off the excess leather
Using a utility knife or a pair of scissors, cut off the excess leather 3 mm from the machine stitching.
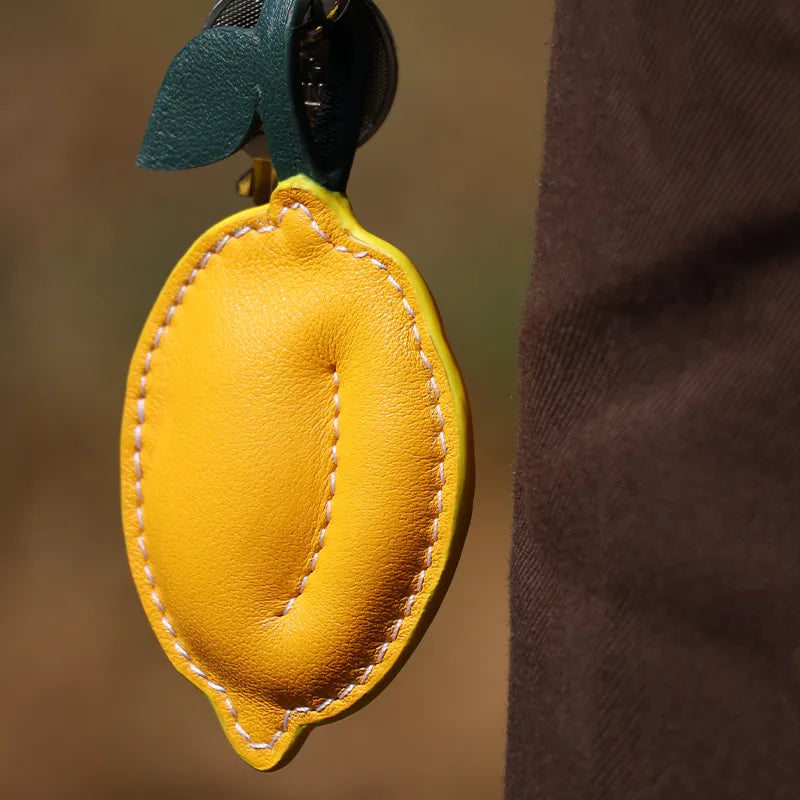
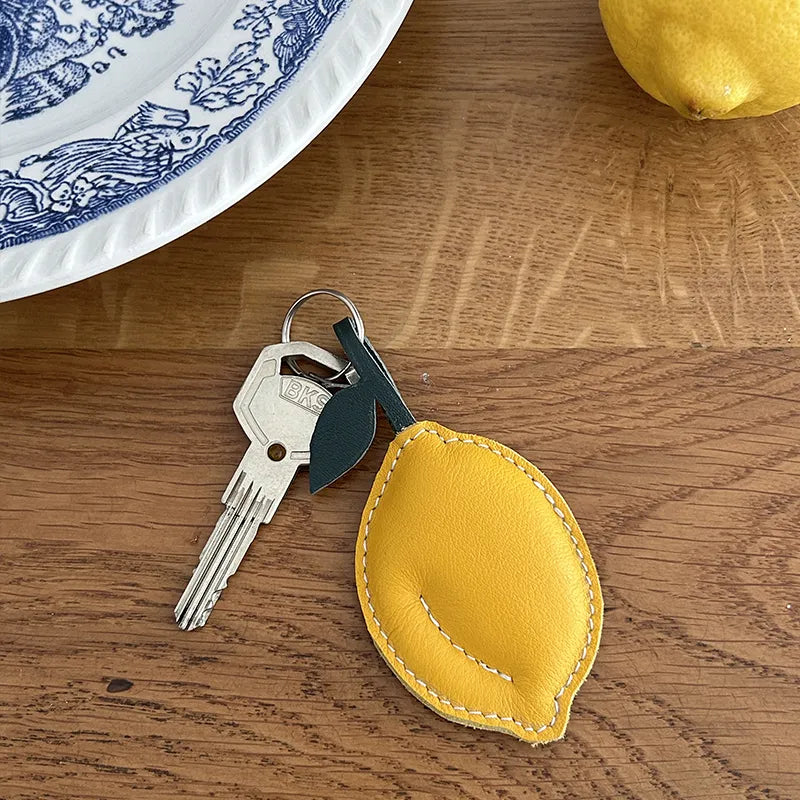
The tutorial is complete!
 |
 |
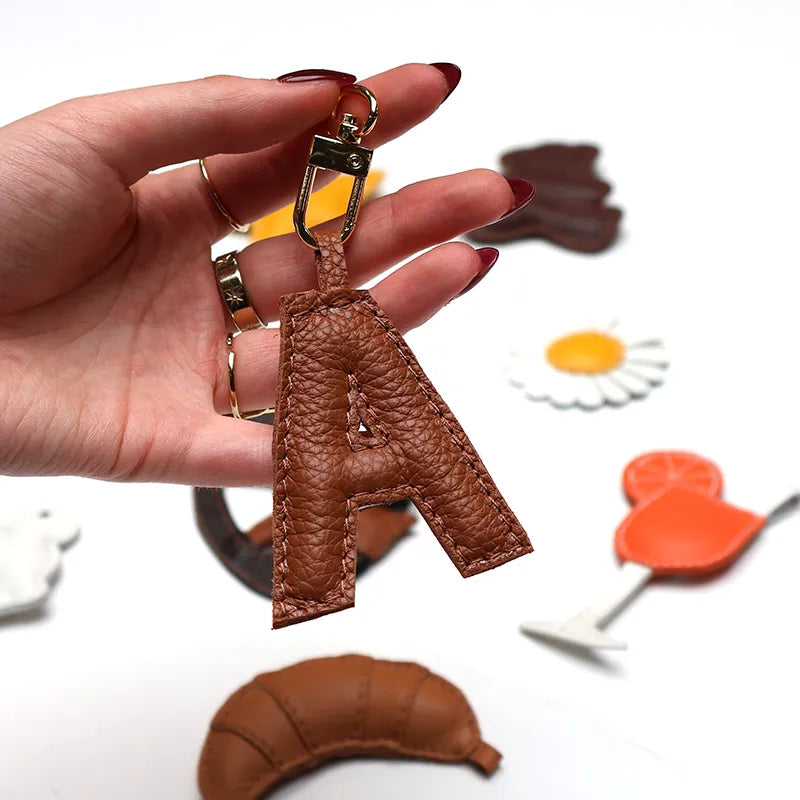
OTHER MODEL - LETTER CHARM
1. Trace the pattern
Download and print the Deco Cuir pattern or draw the shape of your choice.
In the example below: create the letter template directly in Word and print it.
Once printed (in real size) and cut out, trace the outline of the pattern twice on the grain side with a silver pencil. Be careful, for the second piece, transfer the shape in mirror image compared to the first.
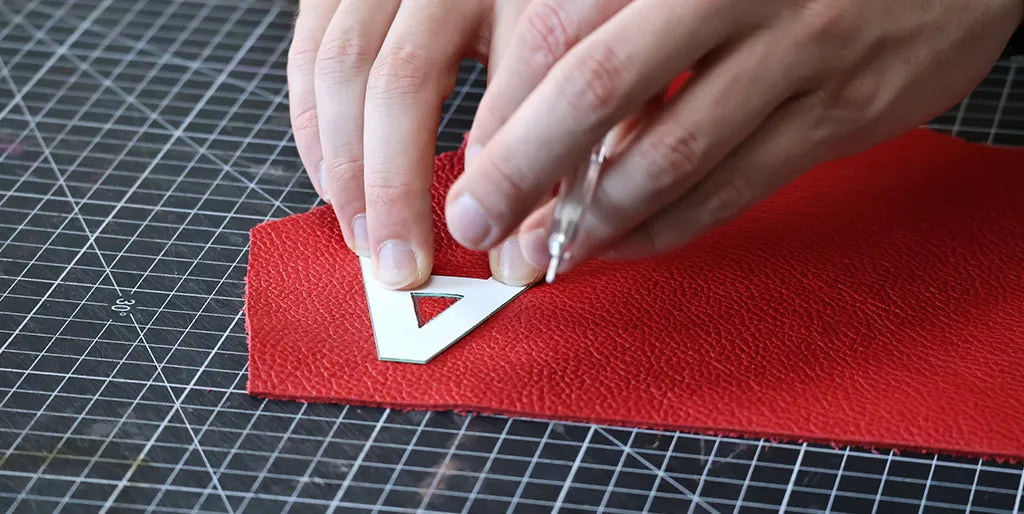
2. Prick the leather
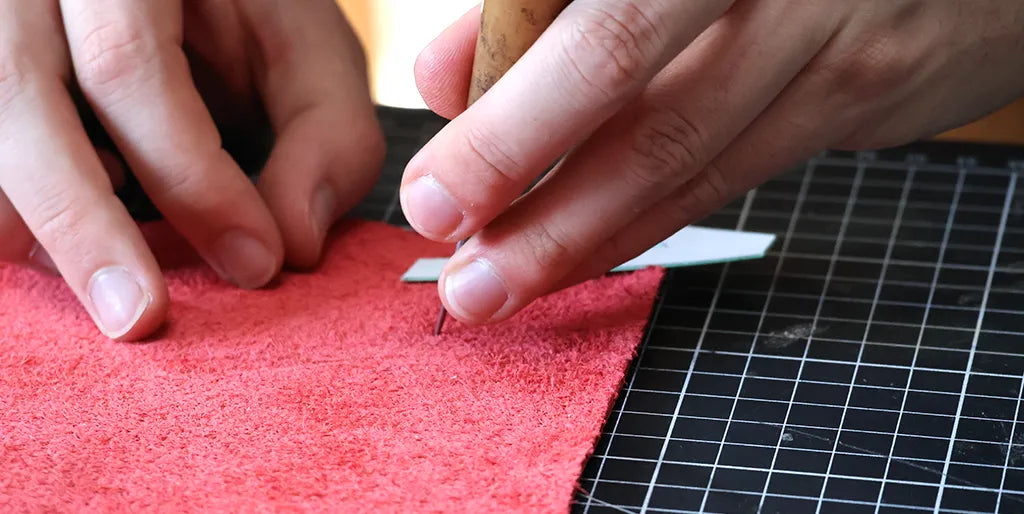
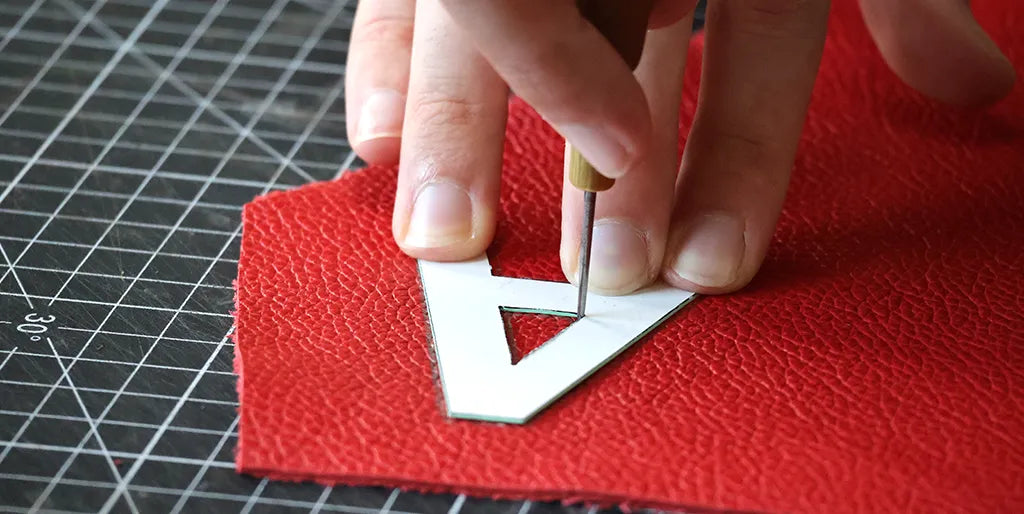
Prick the corners using a round awl to transfer the shape to the flesh side of the leather and make cutting easier later.
 |
 |
3. Cut out the shape
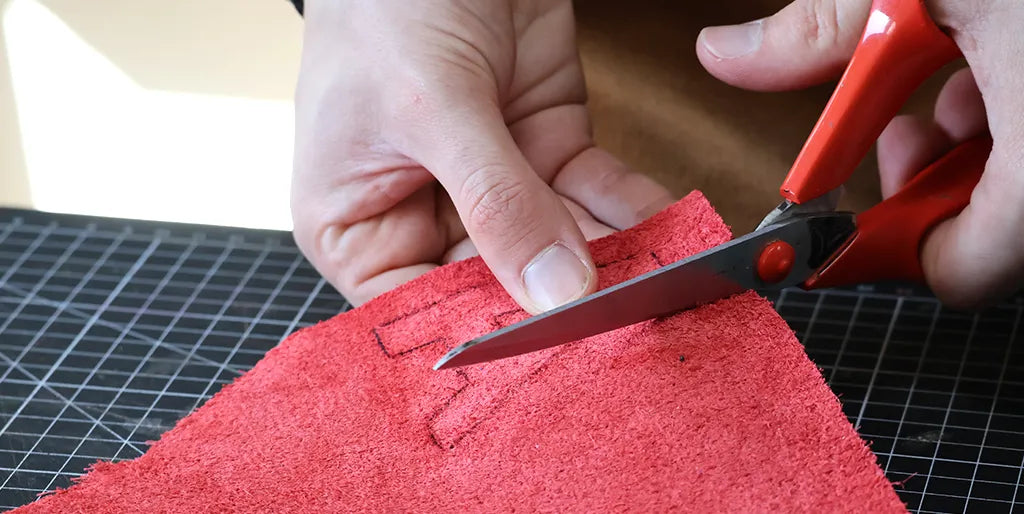
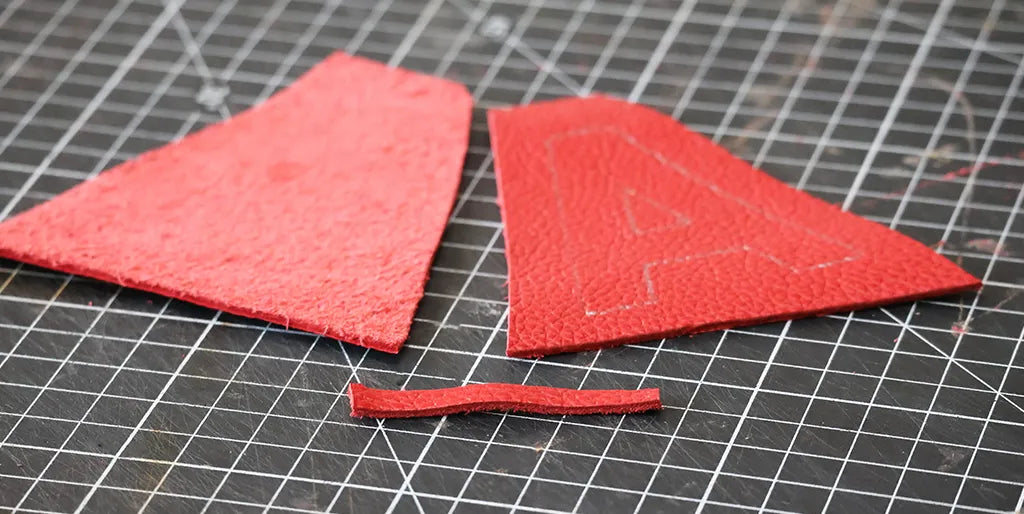
Roughly cut the outline of the two patterns using a pair of scissors. Also cut out a tab so you can attach a snap hook later.
 |
 |
4. Glue the elements
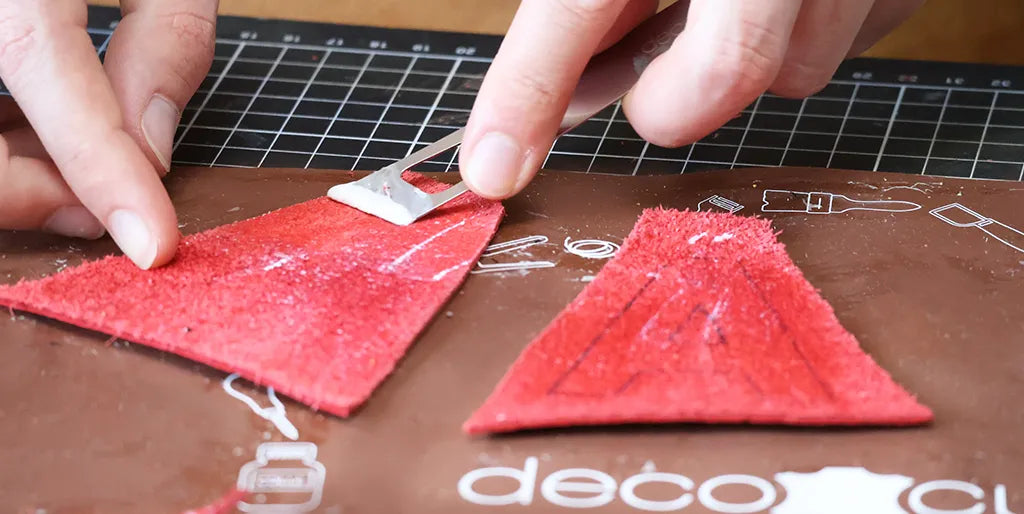
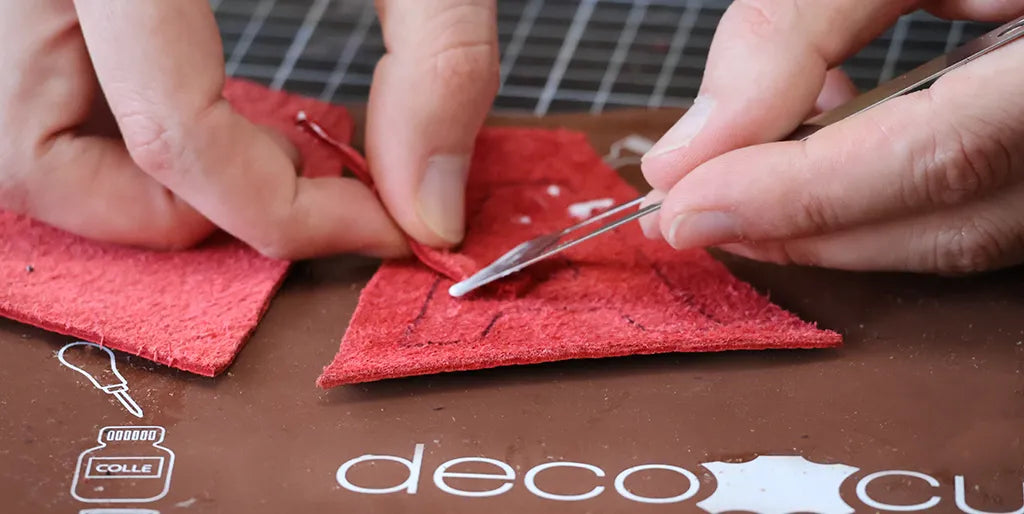
Apply contact adhesive to the reverse (flesh side) of the tab as well as the reverse of the shapes, then allow it to soak in.
 |
 |
5. Stuff with batting
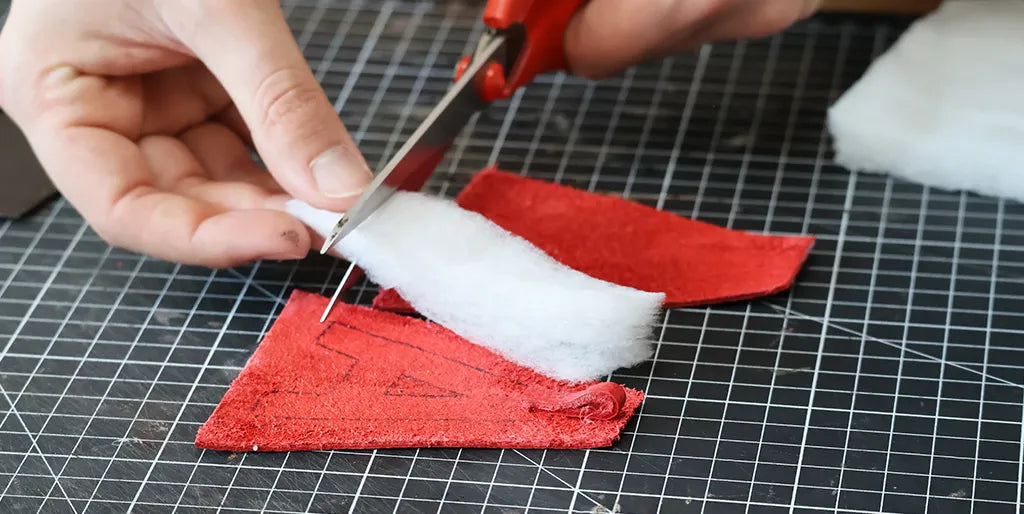
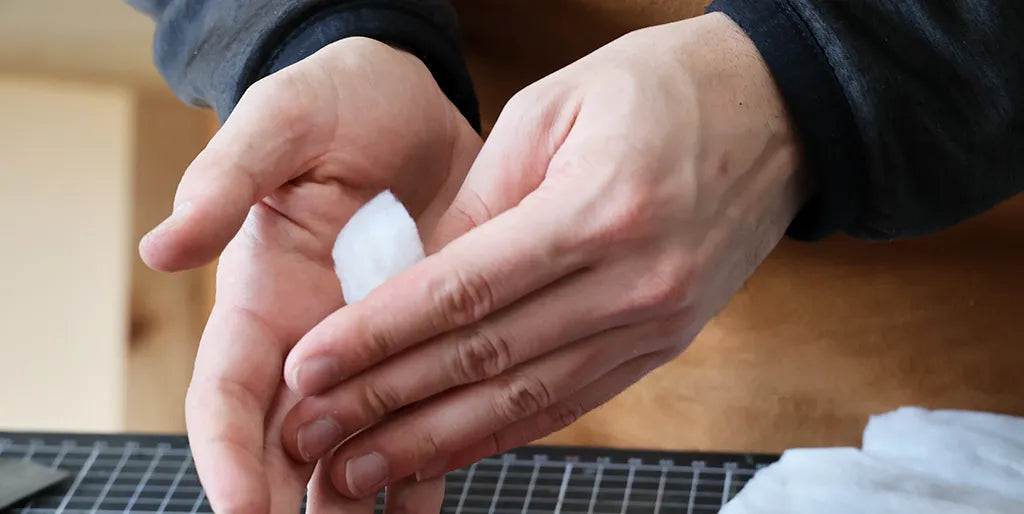
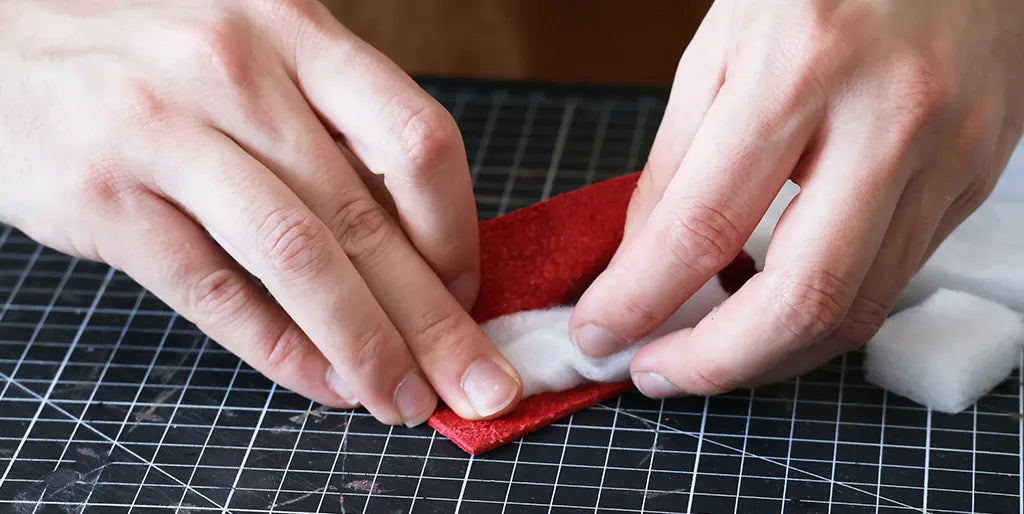
Cut the batting into three pieces for the three strokes of the A, then shape it by rolling it in the palm of your hand.
 |
 |
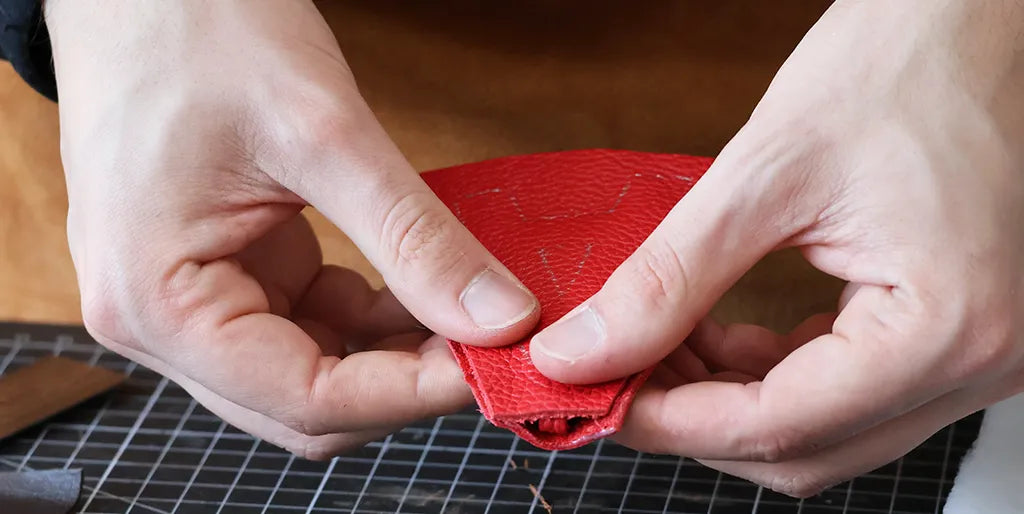
Place the batting on the back of one of the two pieces, taking the shape into account. Then glue the second piece onto the batting and the leather to form the charm. Place the leather tab in the desired location.
 |
 |
6. Machine stitching
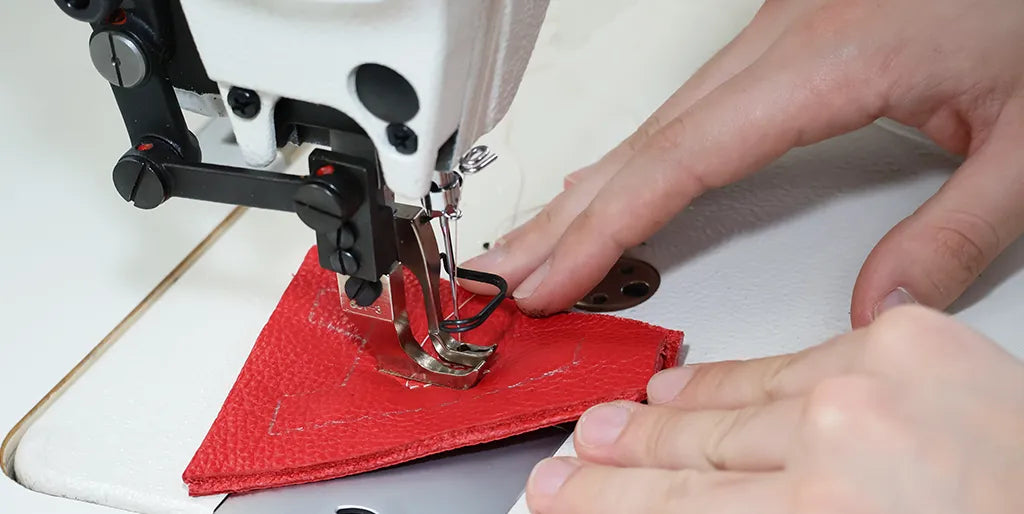
With a sewing machine, stitch all the outlines of the previously traced shape.
GUIDE TO MACHINE STITCHING LEATHER >
7. Cut off the excess
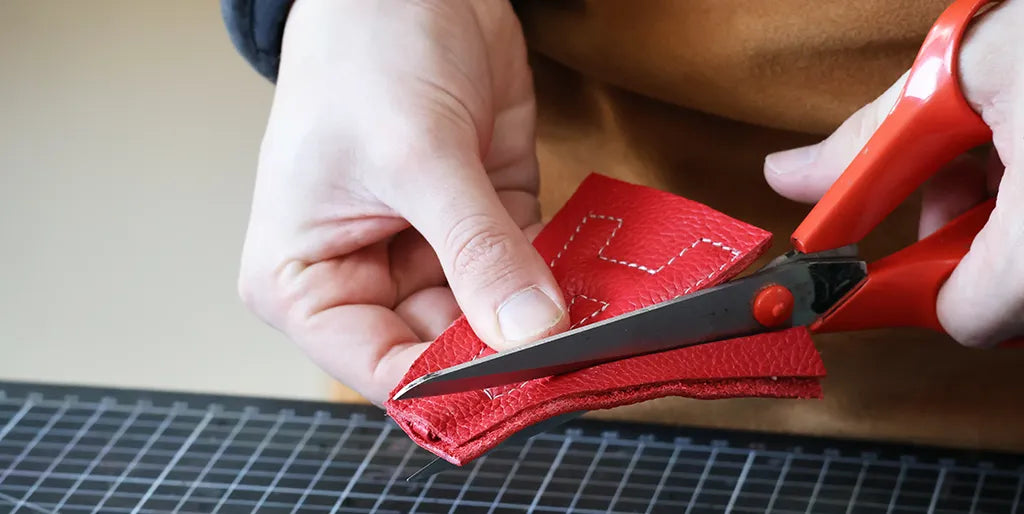
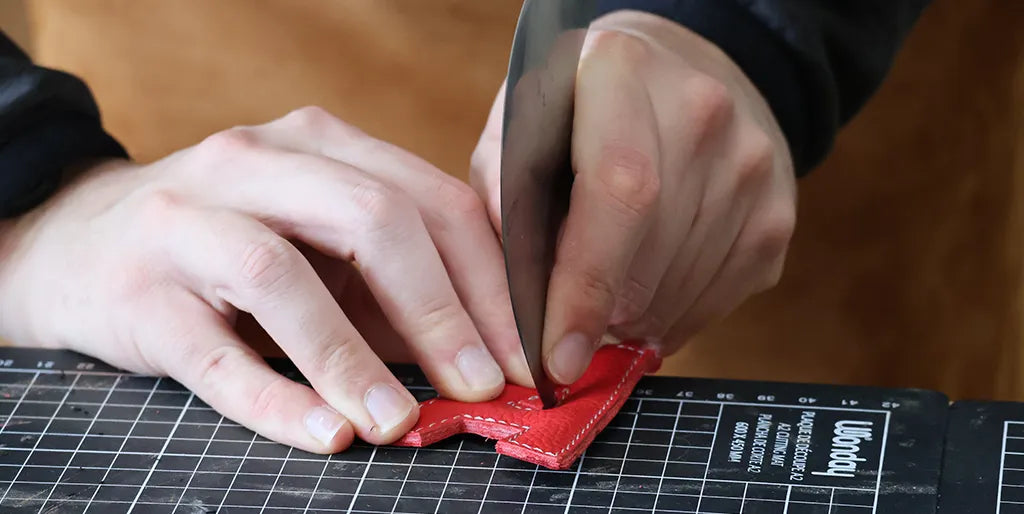
Using a pair of scissors or a utility knife, cut out the final shape.
 |
 |
OPTION:
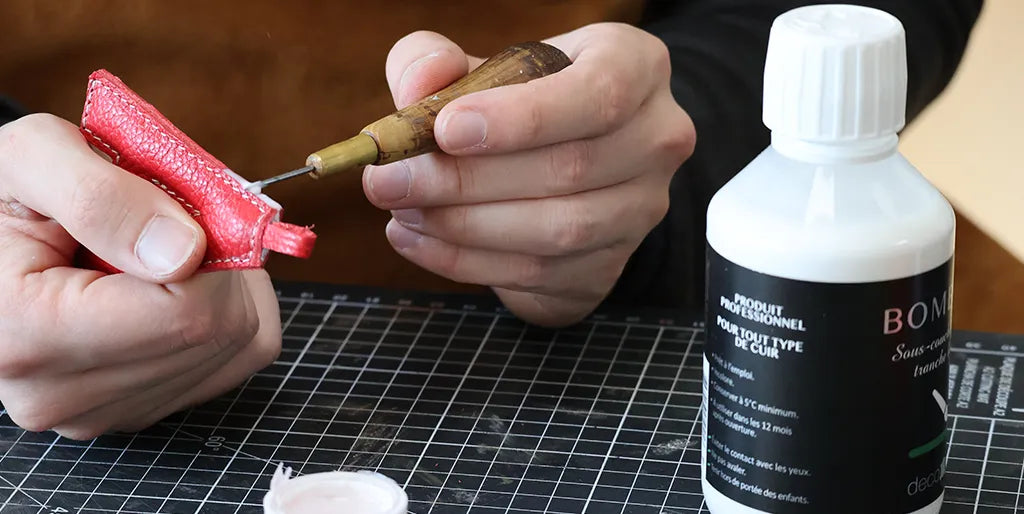
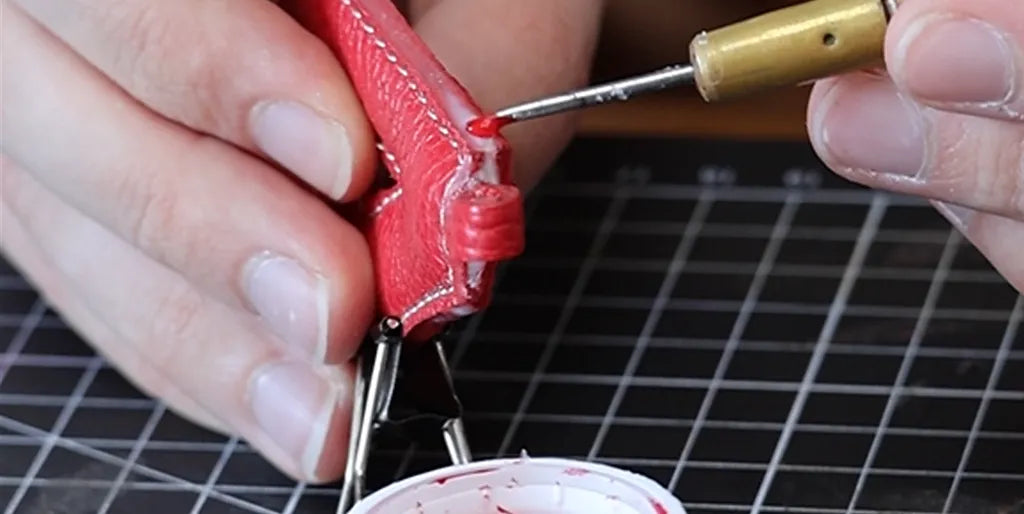
For a neater finish, it is recommended to work the edges. Apply a thin layer of edge paint as well as a thin layer of edge finishing using a round awl.
 |
 |
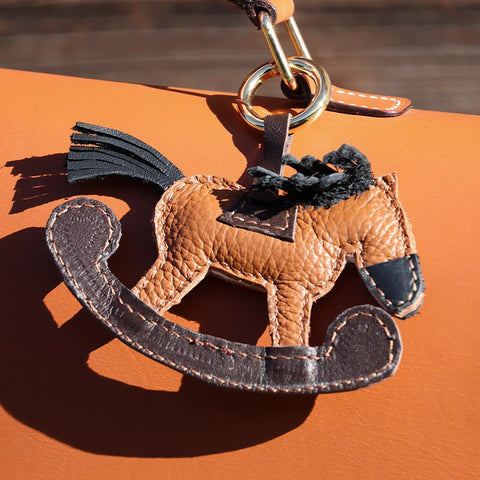
OTHER MODEL
Watch the rocking horse keychain video ⬇️
Leather ghost video
You're done!
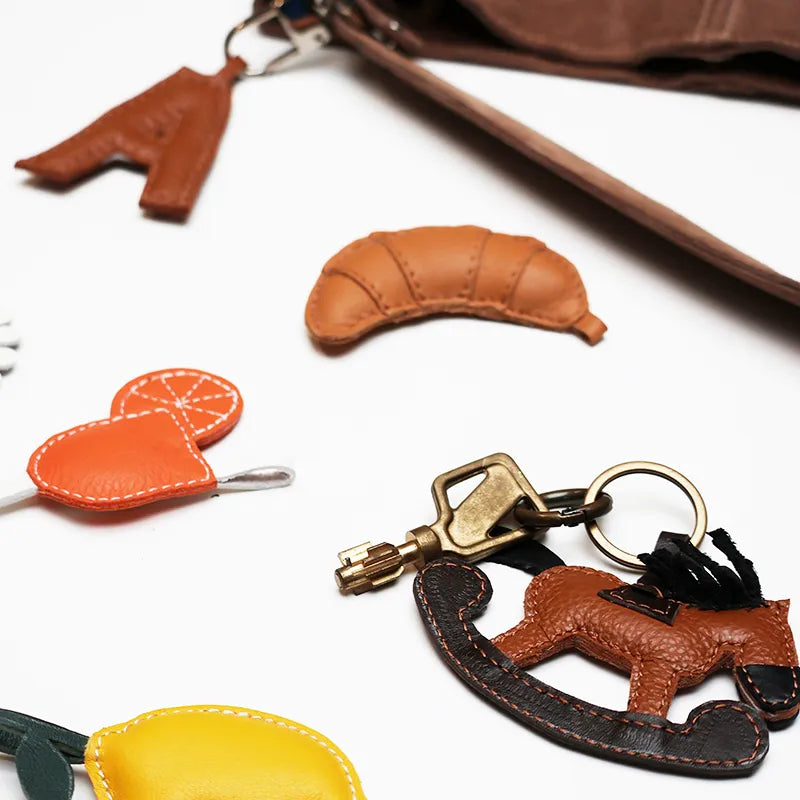
You can personalize your charms with any pattern. You will find other charm patterns on our blog.
 |
 |
 |
 |


