tutoriel sacoche mixte en cuir le nomade Deco Cuir

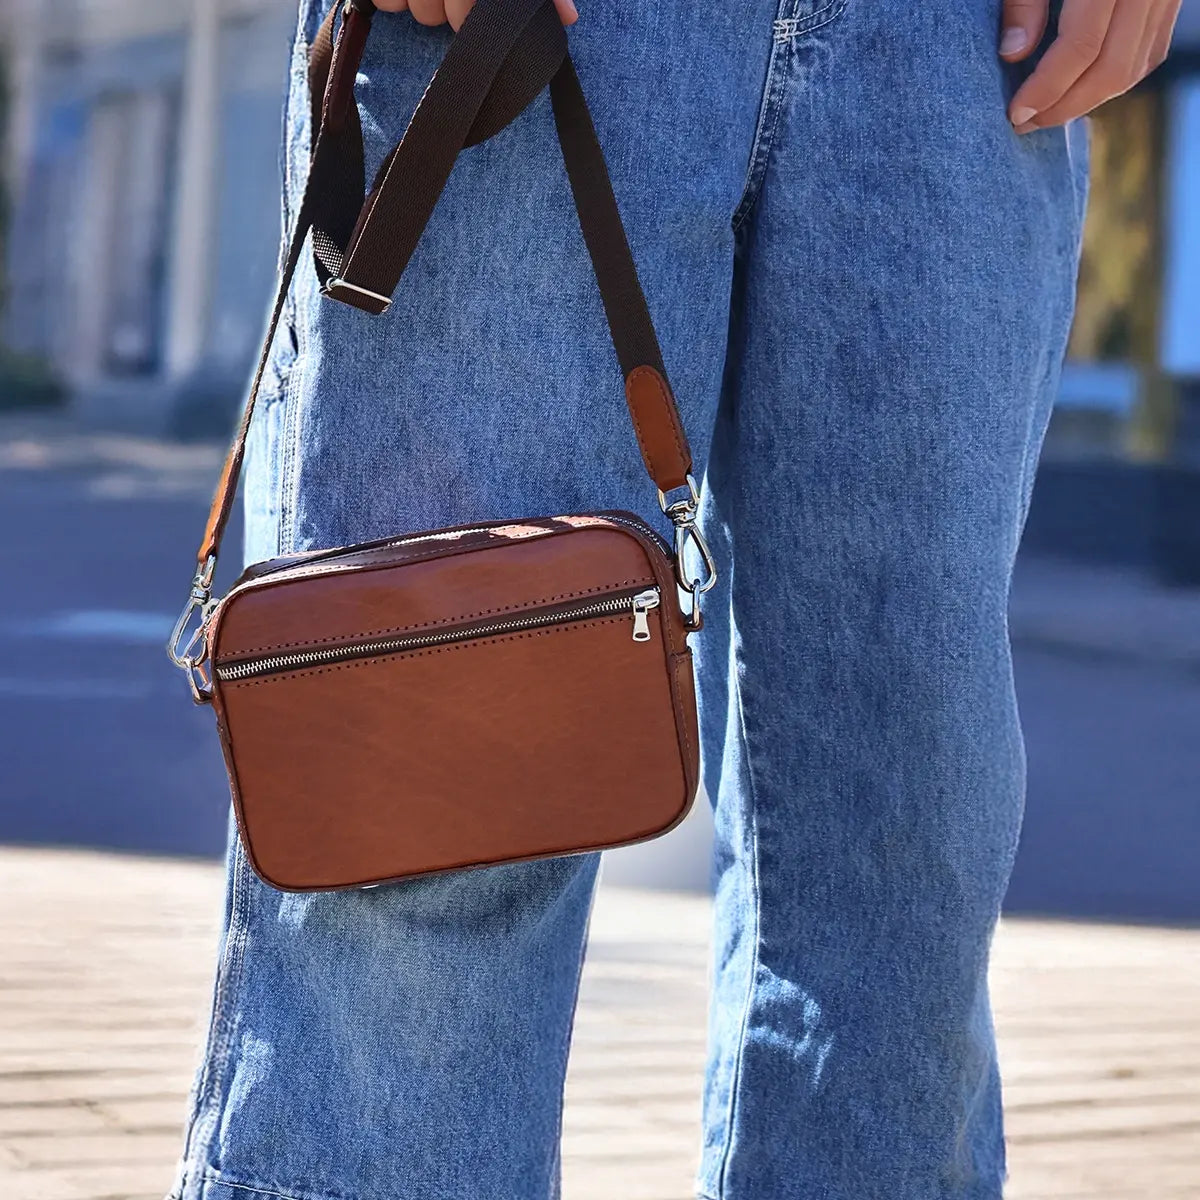
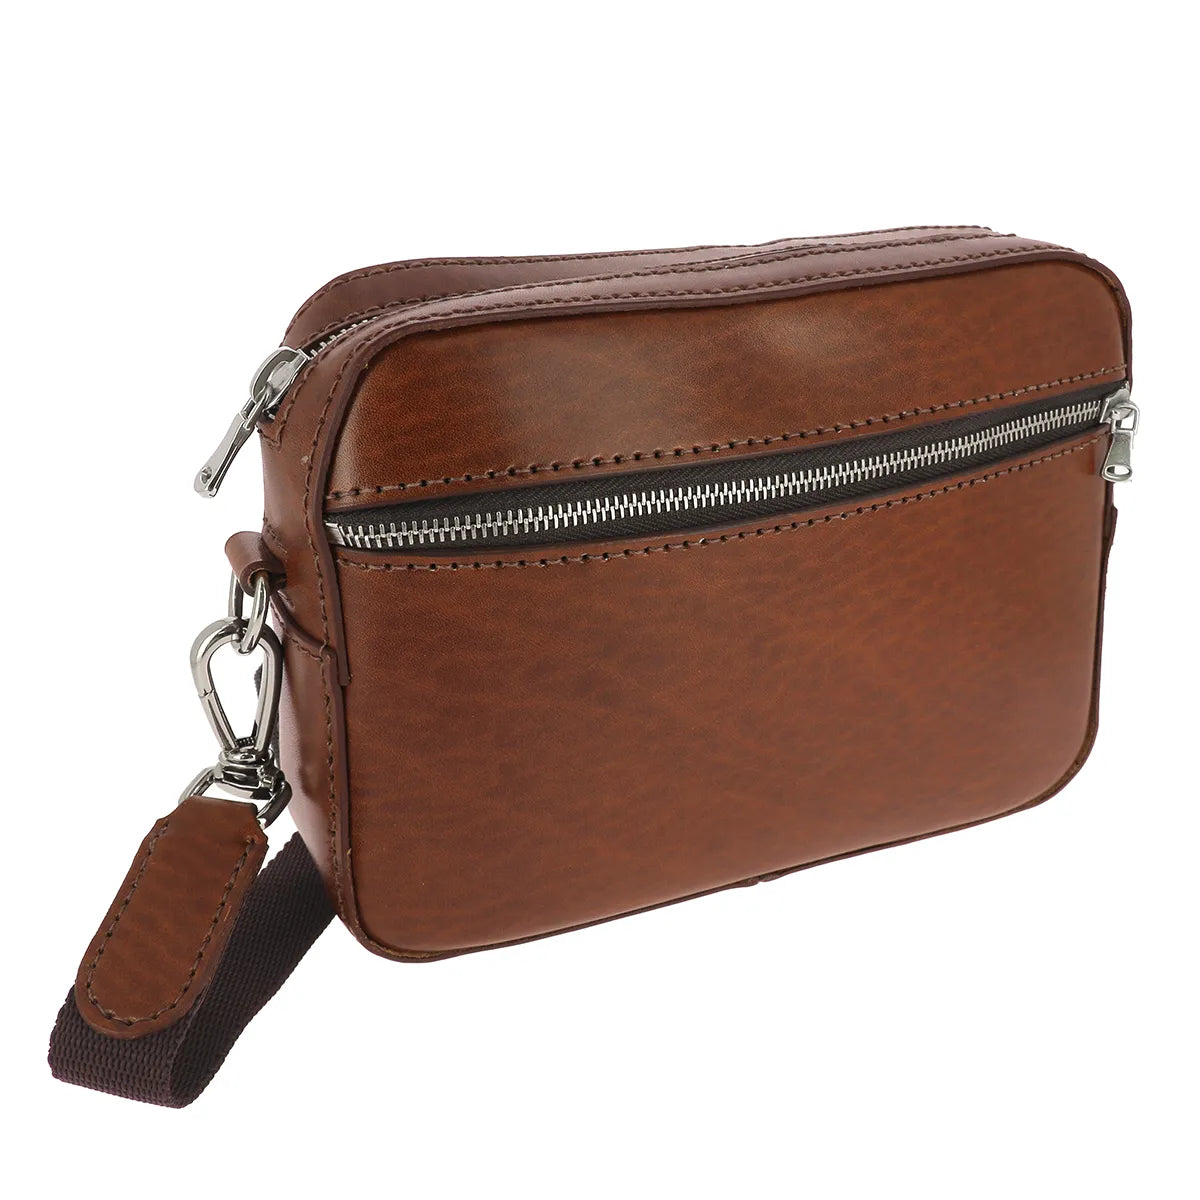
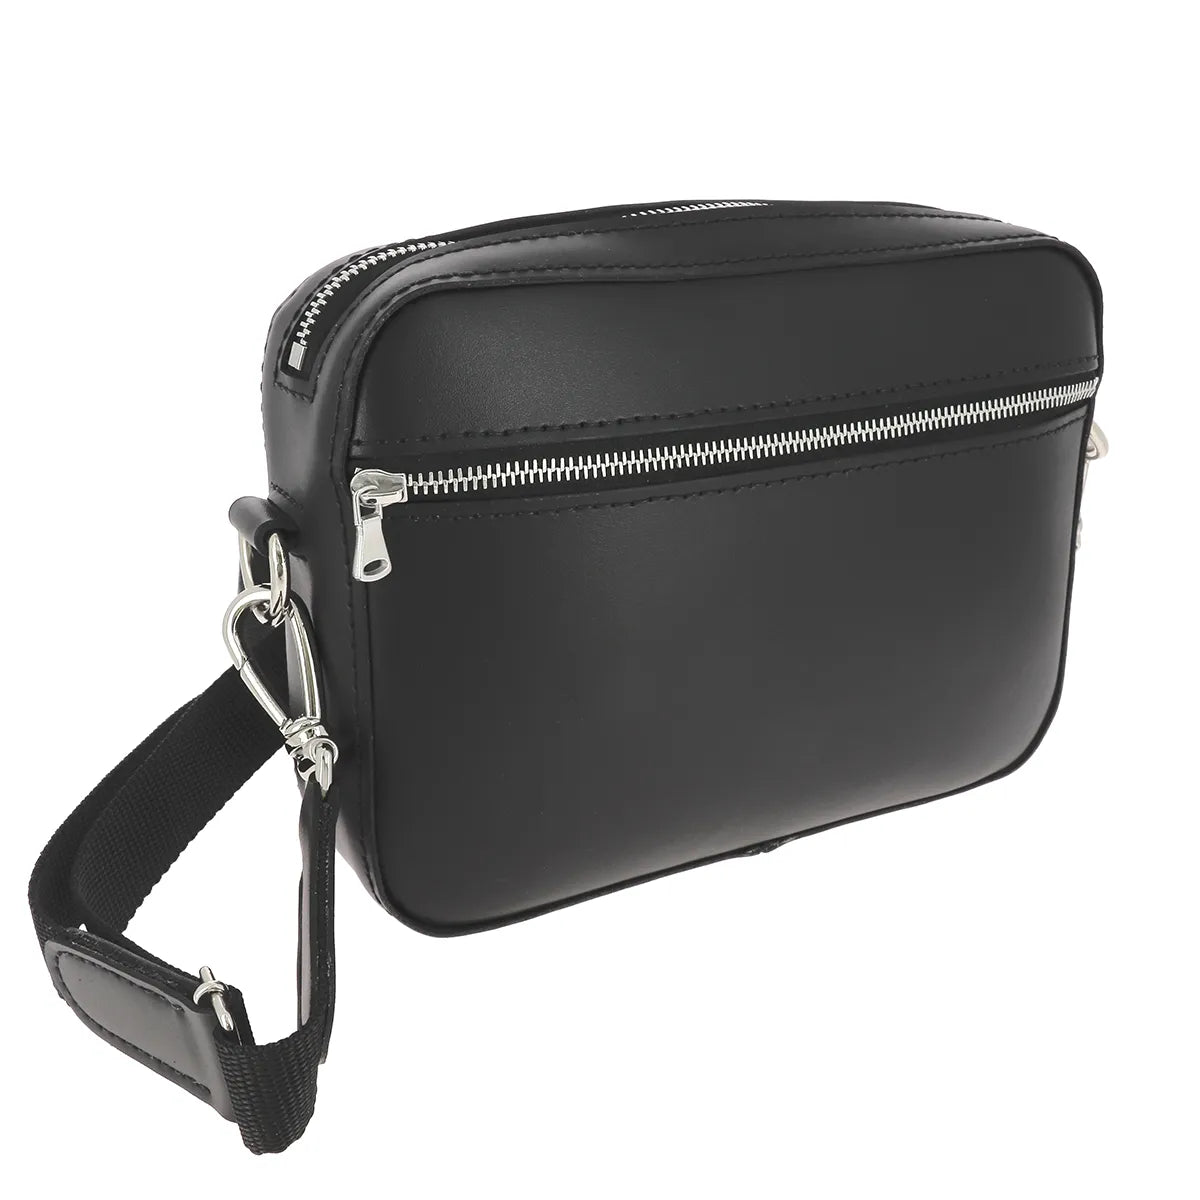
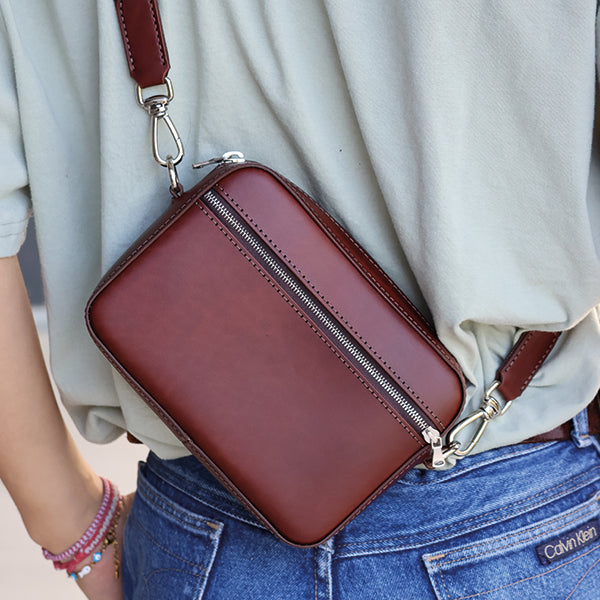
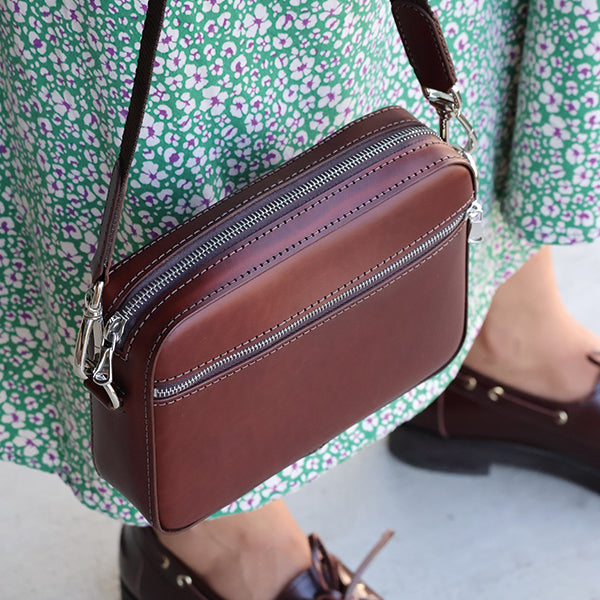
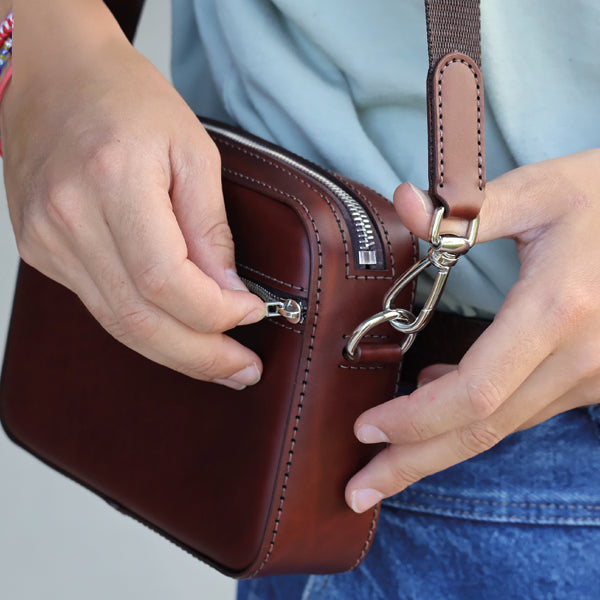
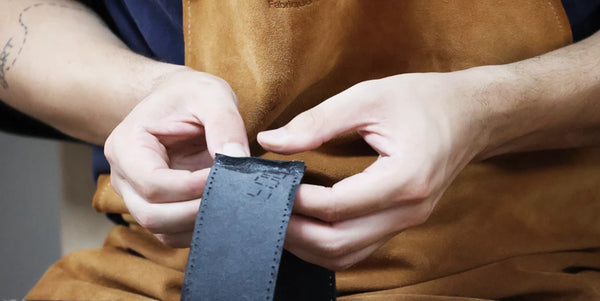
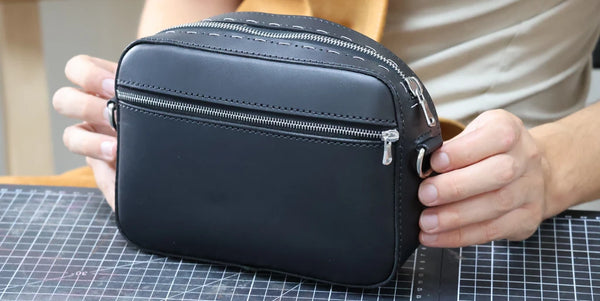
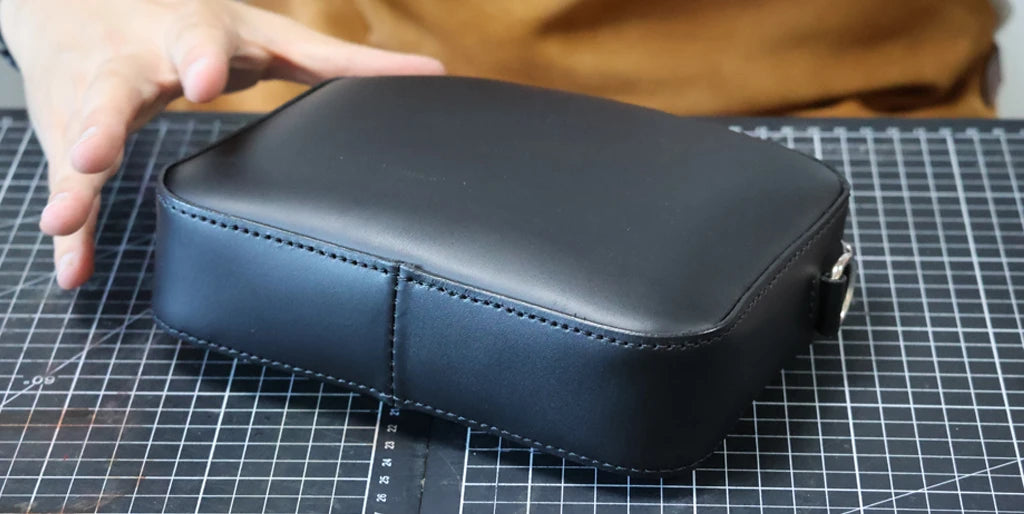
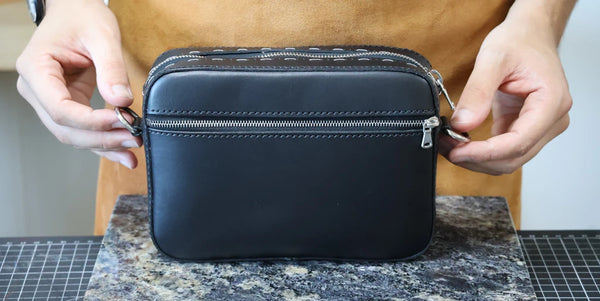
Learn how to make a unisex leather bag, to be worn as a crossbody, on the shoulder, or as a waist bag. This tutorial guides you step-by-step through making an elegant, durable bag entirely hand-stitched using the saddle stitch technique and the simplified stitching. (accessible to beginners).

This project is ideal for leathercraft enthusiasts wishing to make a durable, practical, and personalized leather accessory. This tutorial is accessible to beginners thanks to its simple assembly method.


SADDLE STITCH GUIDE
Discover, in the guide below, the essential points to know before starting hand-stitching with the saddle stitch.

VIEW THE GUIDE >


SIMPLIFIED STITCHING GUIDE
Discover, in the guide below, the essential points to know before starting simplified hand-stitching, or hole-based stitching.

VIEW THE GUIDE >


Final dimensions of the bag:

  • Height: 14 cm
  • Width: 20 cm
  • Depth: 5 cm


TECHNICAL VIDEO

Maxime presents the bag from a technical point of view.

Supplies
The products needed to complete this tutorial
Emporte-pièce à frapper rond de 1 mm pour cuir, outil de marque Autres, utilisé pour découper des formes précises.Outil emporte-pièce à frapper rond de 1 mm pour cuir, marque Autres, utilisé pour découper des formes précises.
Sale price2,90 €
  • DIAMETER: 1mm 1.5mm 2mm 2.5mm 3mm 3.5mm 4mm
Gamme suivie Belgique ⚫🟡🔴
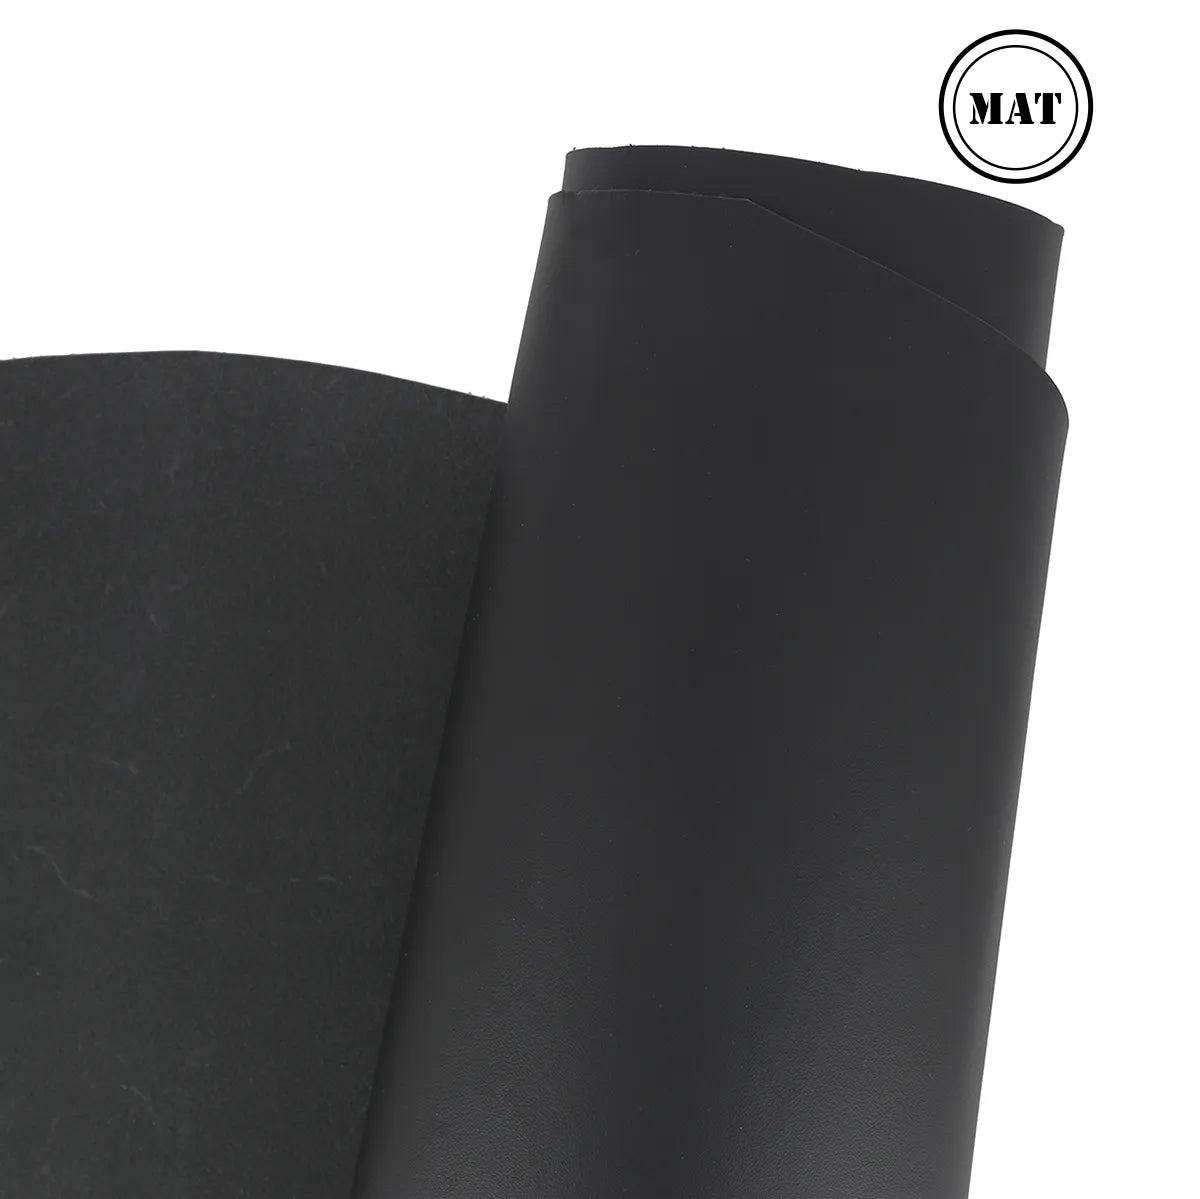
Peaux de cuir tannage végétal Sauvage Mat de couleur noire, finition mate, pour la confection de produits en cuir.Échantillon de cuir végétal tannage sauvage de Deco Cuir, morceau de cuir noir mat, texture naturelle et authentique.
From
Sale price38,15 €
  • THICKNESS: 1mm 1.4mm 1.9mm
  • AREA: from 0.30 to 0.39 m² from 0.40 to 0.49 m² from 0.50 to 0.59 m² from 0.60 to 0.69 m² from 0.70 to 0.79 m² from 0.80 to 0.89 m² from 0.90 to 0.99 m² from 1 to 1.09 m²
Gamme suivie
Peau de cuir de porc velours noir VELVET, peau de croûte de cuir souple pour projets de couture ou décoration.Peau de cuir de porc velours noir, texture douce et souple, pour projets de couture ou décoration intérieure.
From
Sale price4,80 €
  • AREA: from 0.20 to 0.29 m² from 0.30 to 0.39 m² from 0.40 to 0.49 sq m from 0.60 to 0.69 m² from 0.70 to 0.79 m² from 0.80 to 0.89 m²
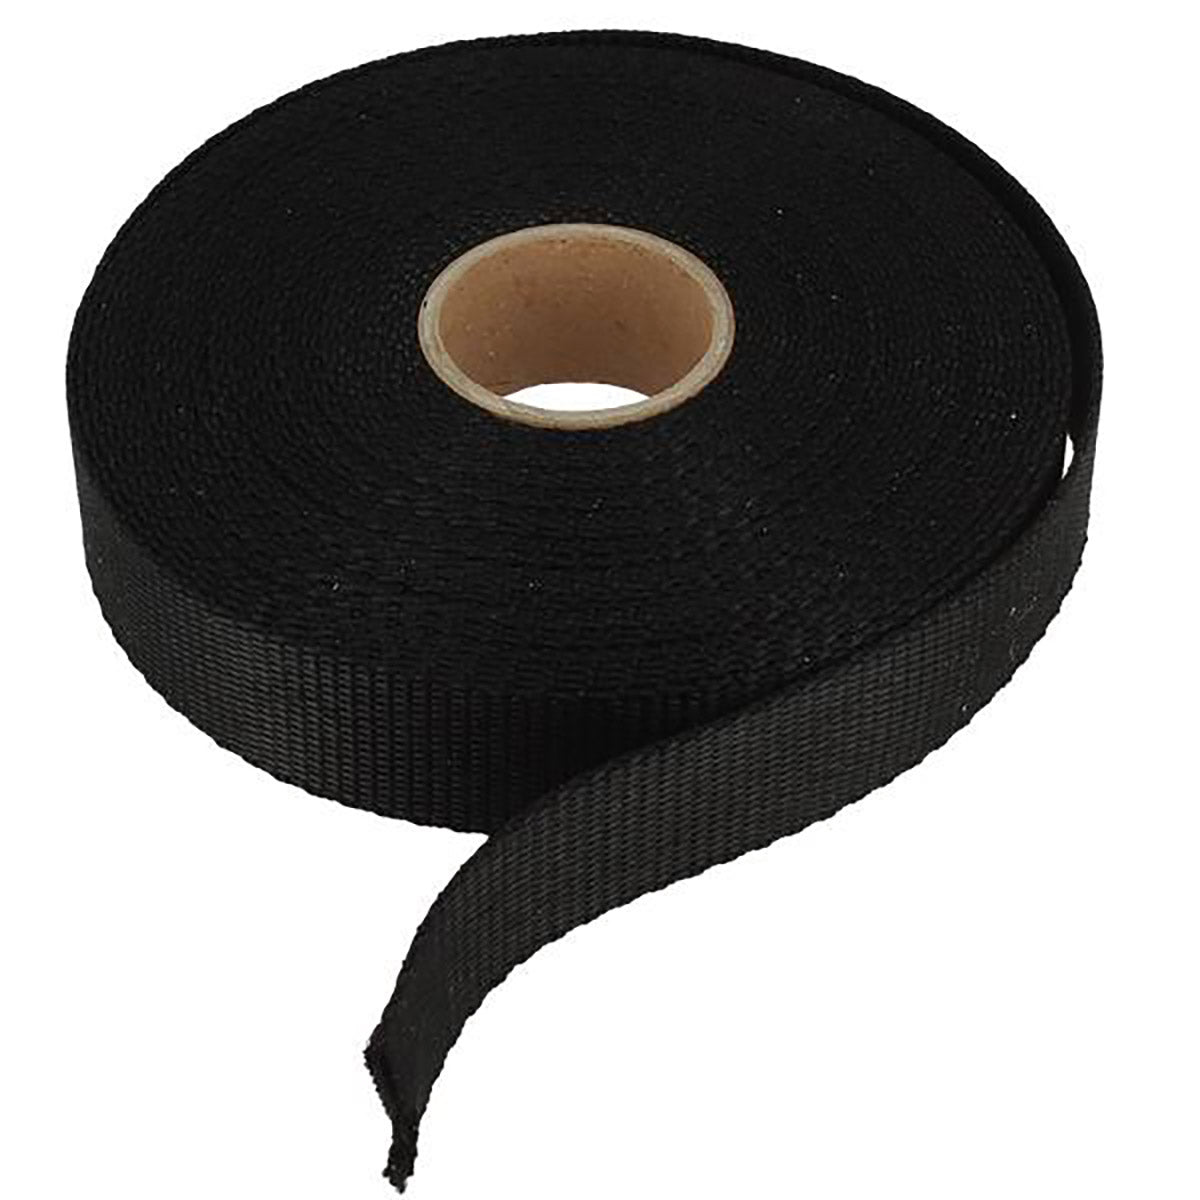
Sangle en nylon noire pour mercerie, résistante et flexible, visible sur fond clair dans une image de produit.Sangle en nylon noire pour mercerie, résistante et durable, idéale pour la couture et les projets de bricolage.
From
Sale price2,70 €
1,93 € / m
  • WIDTH: 20mm 25mm 30mm 40mm
  • LENGTH: 10 meter reel 1 meter
M50
Bobine de 80m de fil de lin ciré MeiSi noir, 0,55 mm, mercerie super fine M50, détail de la texture du fil.Bobine de 80m de fil de lin ciré MeiSi noir, 0,55mm, super fin pour mercerie, vue en gros plan.
Sale price12,00 €
  • Black
  • Beige
  • White
  • Blue
  • Gray
  • YELLOW
  • Brown
  • Multicolor
  • +4 shades
Gamme suivie
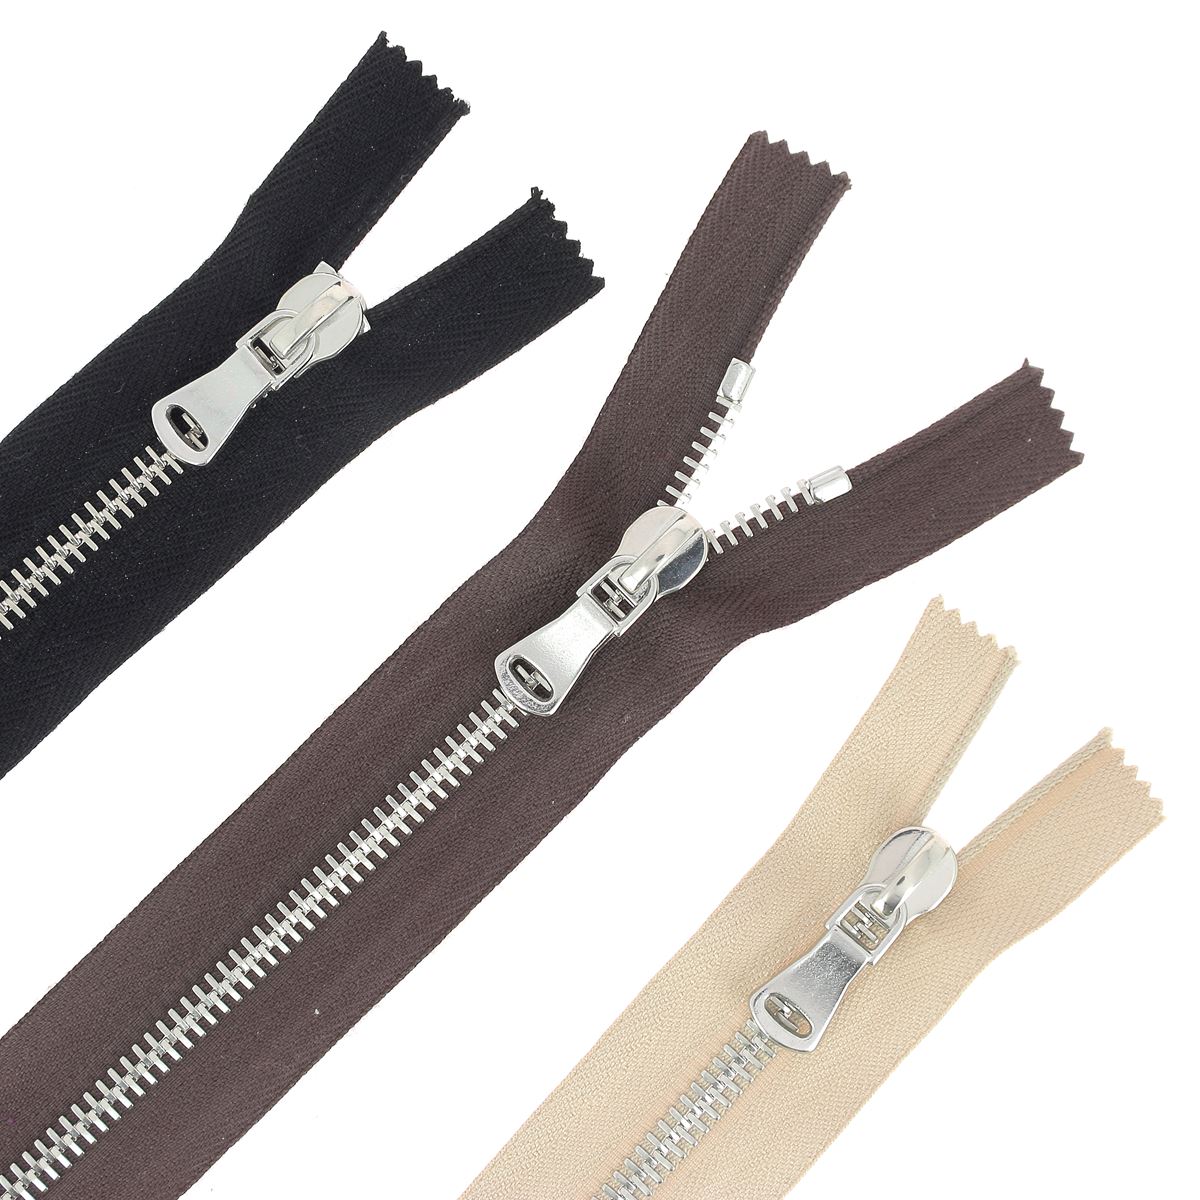
Fermeture à glissière en métal de 4mm de largeur, nickelée, pour vêtements et accessoires, de la marque SUPRA.Fermeture à glissière en métal de 4mm de largeur, nickelée, pour couture et travaux de mercerie, par la marque SUPRA.
From
Sale price2,99 €
  • COLOR: Black Beige Chocolate
  • LENGTH: 10cm 15cm 20cm 25cm
Gamme suivie
Fermeture à glissière en métal de 6mm de marque SUPRA, nickelée, pour vêtements et accessoires.Fermeture à glissière en métal 6mm de marque SUPRA, nickelée, pour vêtements et accessoires de mercerie.
From
Sale price3,37 €
  • COLOR: Chocolate Black Beige
  • LENGTH: 15cm 20cm 25cm 30cm 35cm
Mousqueton tournant à double articulation en nickel, attache rectangle de 15mm, boucle de sécurité pour équipement.Mousqueton tournant à double articulation de 15 mm, attache rectangle, boucle en métal pour équipement ou camping.
From
Sale price2,16 €
  • FINISHING: Nickel plated Light gold
Italie 🟢⚪🔴
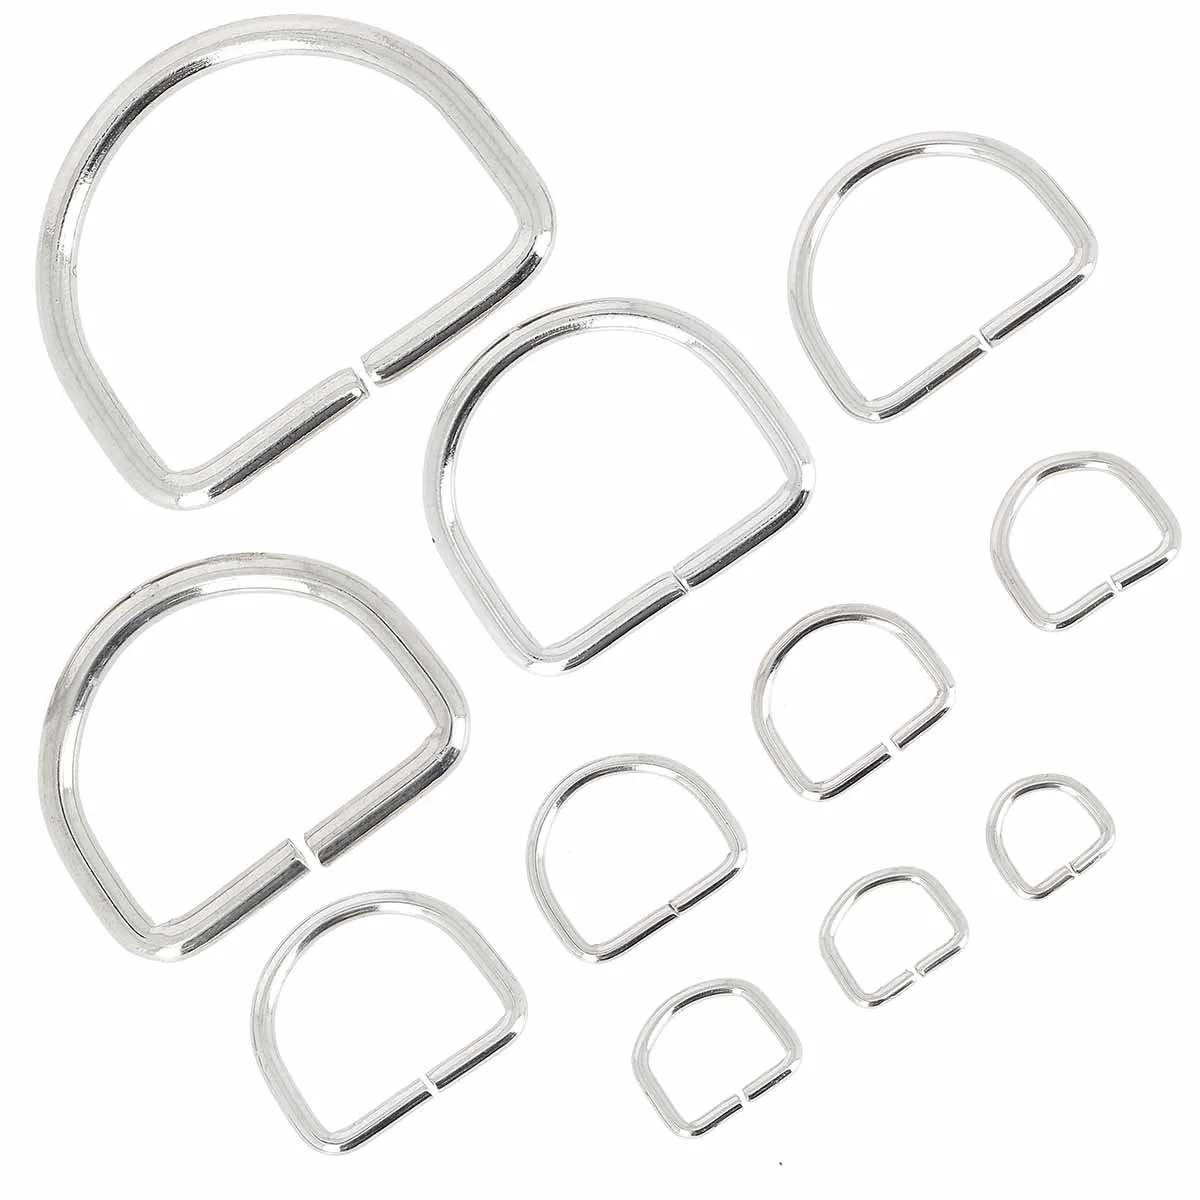
Anneau demi-rond en acier nickelé de 8 mm, bouclerie durable pour créations en bijoux.Anneau demi-rond en acier nickelé, bouclerie pour créations de bijoux, visible avec finition métallique brillante.
From
Sale price0,06 €
  • WIDTH: 8mm 10mm 12mm 14mm 16mm 18mm 20mm 25mm
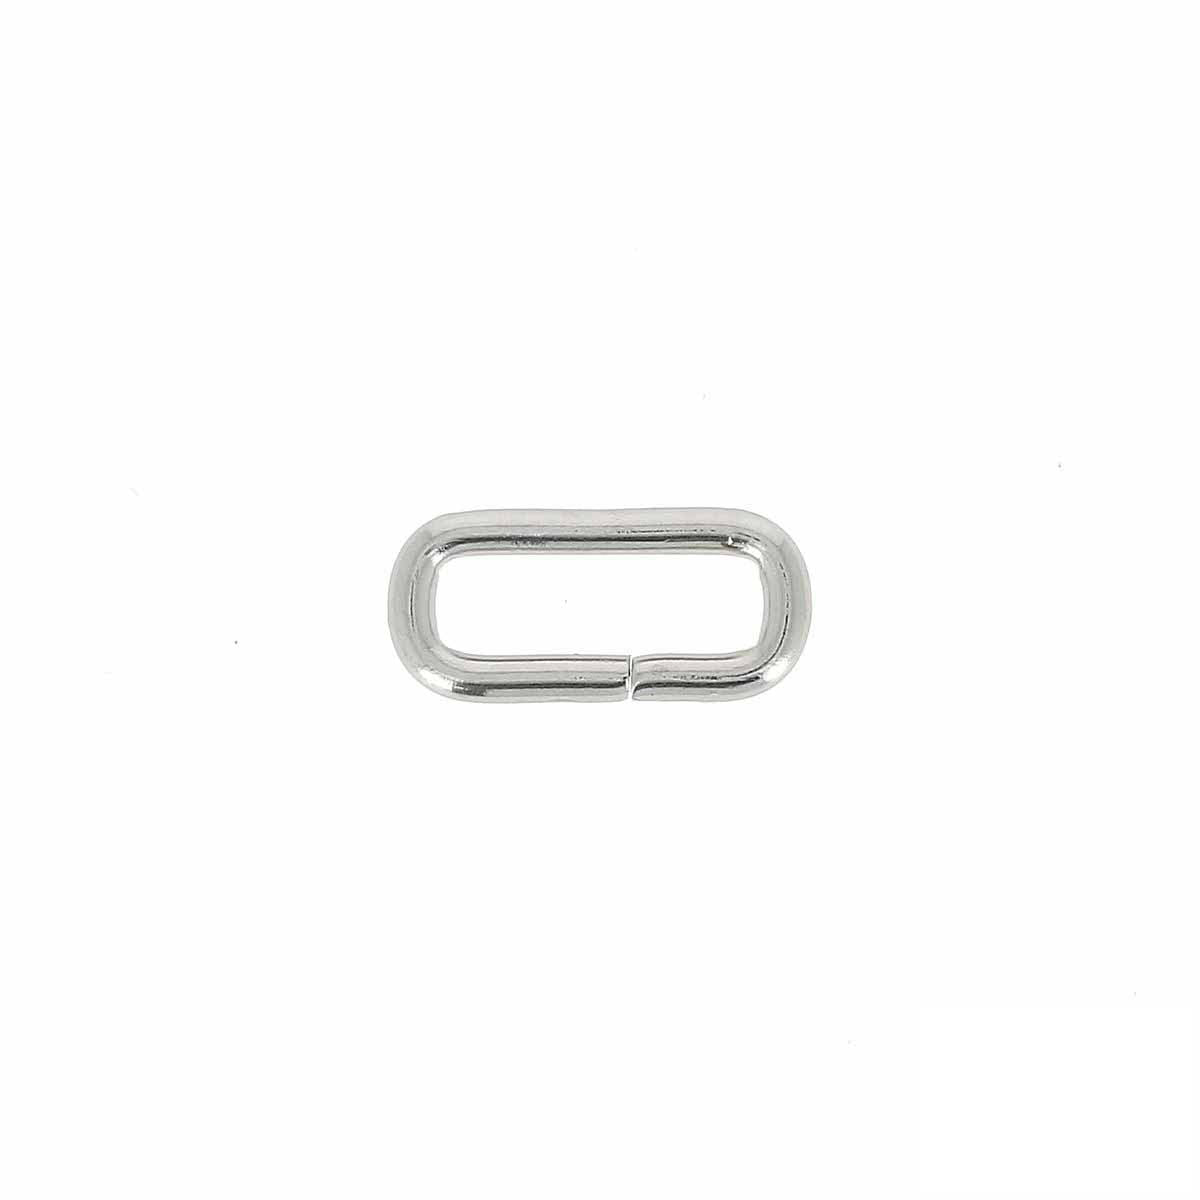
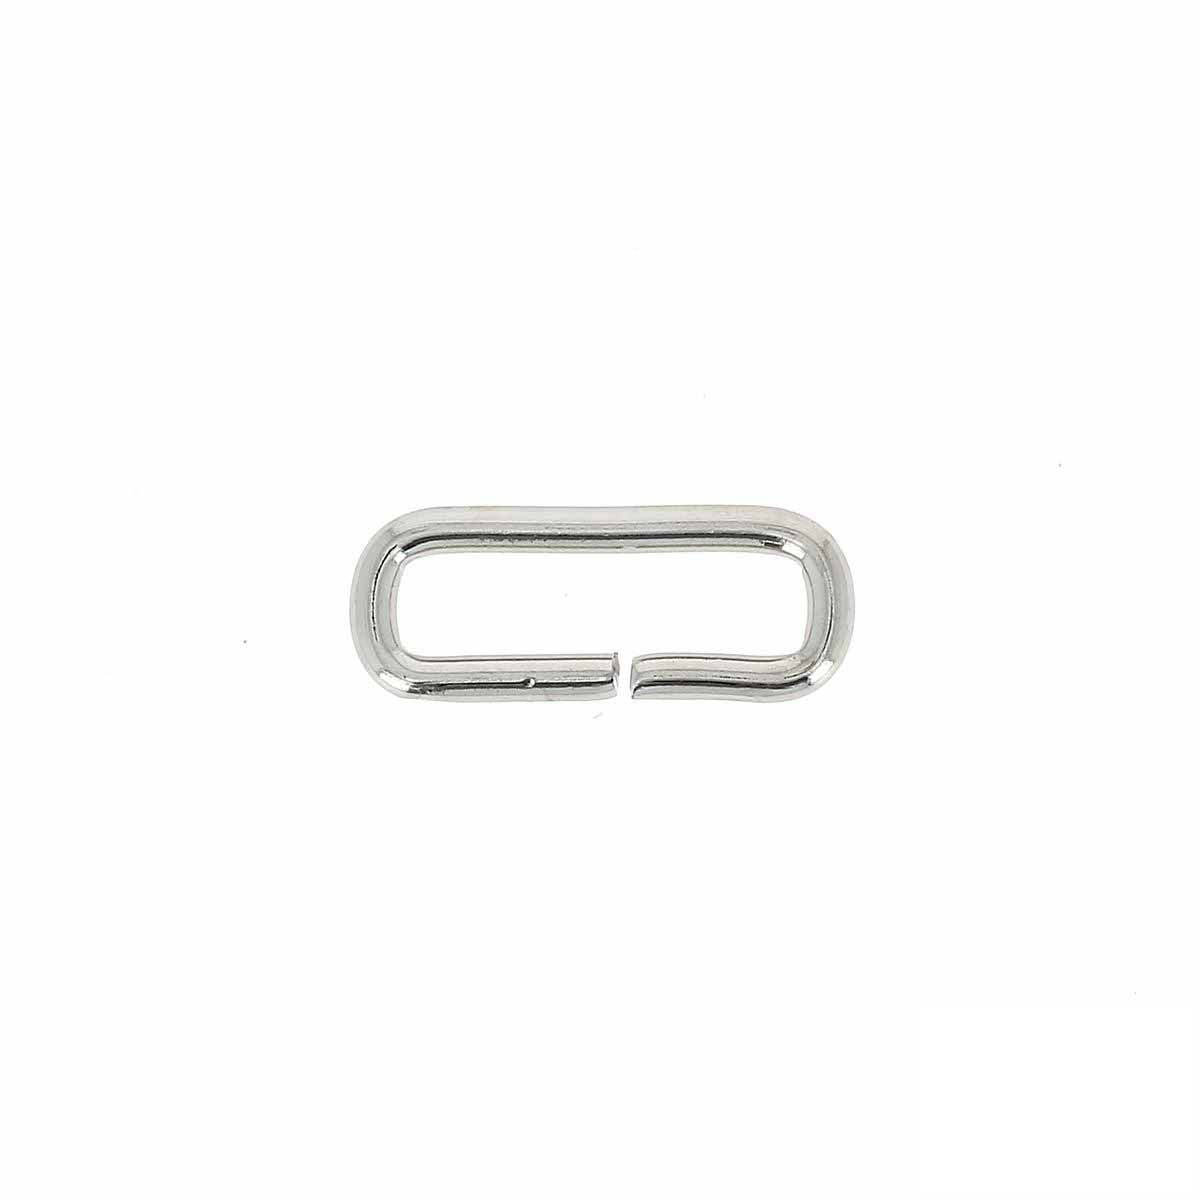
Passant rectangulaire à angles arrondis en nickelé, pour boucle en fil de 3 mm, dimensions 20x6 mm, pour bijoux ou cordons.Passant rectangulaire en nickelé avec angles arrondis, fil 3mm, pour bijoux ou travaux de bijouterie.
From
Sale price0,10 €
  • WIDTH: 20mm 25mm
Italie 🟢⚪🔴
Boucle coulissante en fil fin nickelé, pièce de bouclerie de 16x10mm pour création jewelry.Boucle coulissante en nickelé avec fil fin pour sangle en coton pailletée, accessoire de bouclerie élégant et pratique.
From
Sale price0,18 €
  • SIZE: 16mm 20mm 25mm 30mm 35mm 40mm
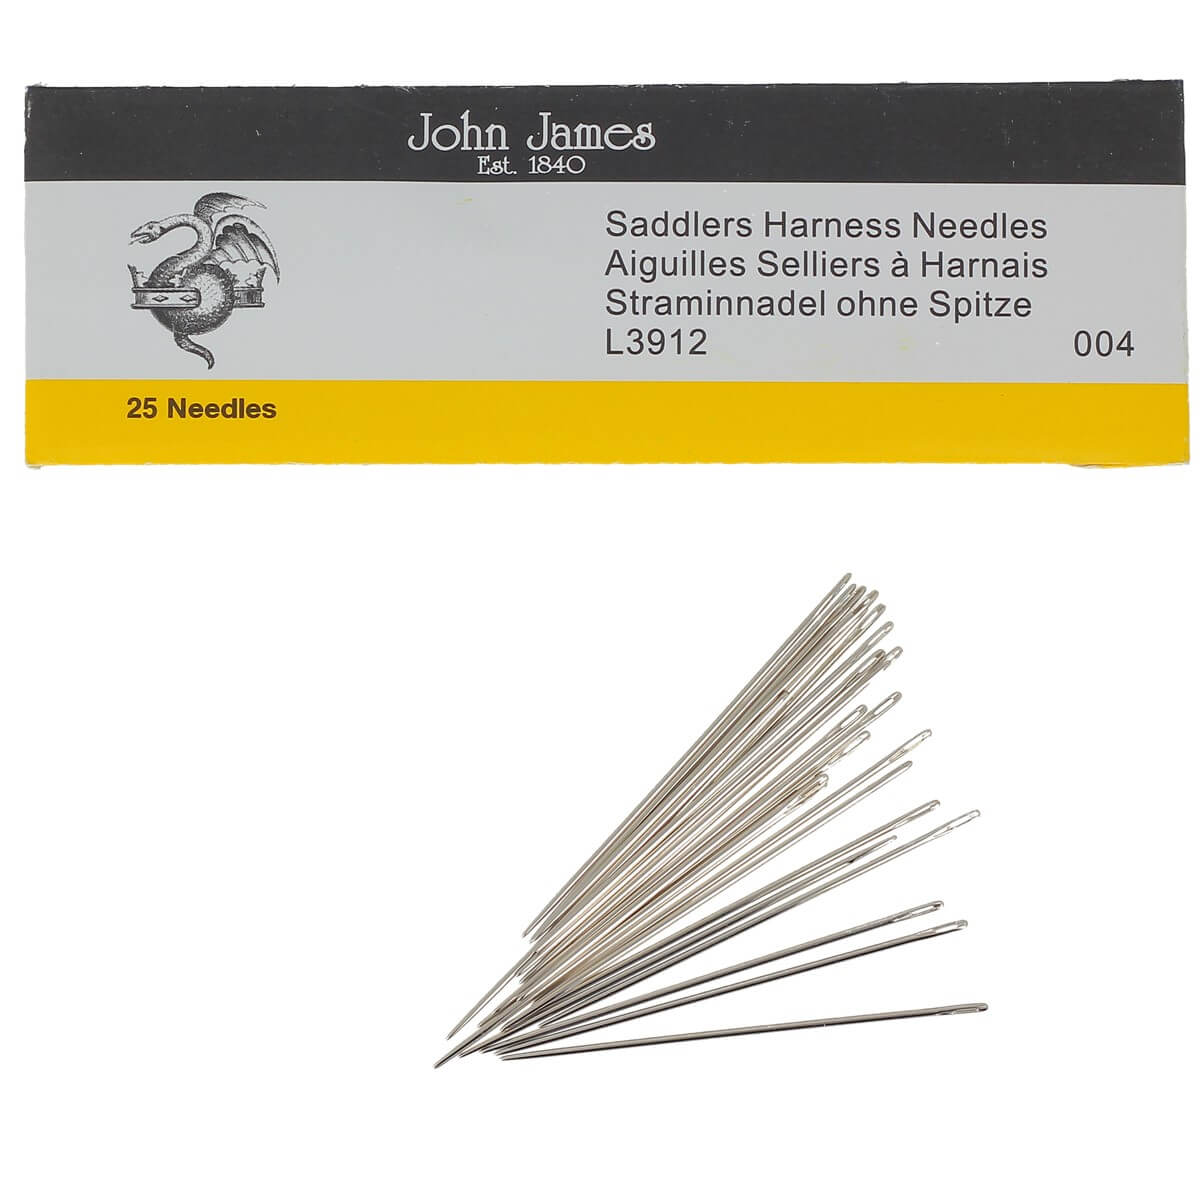
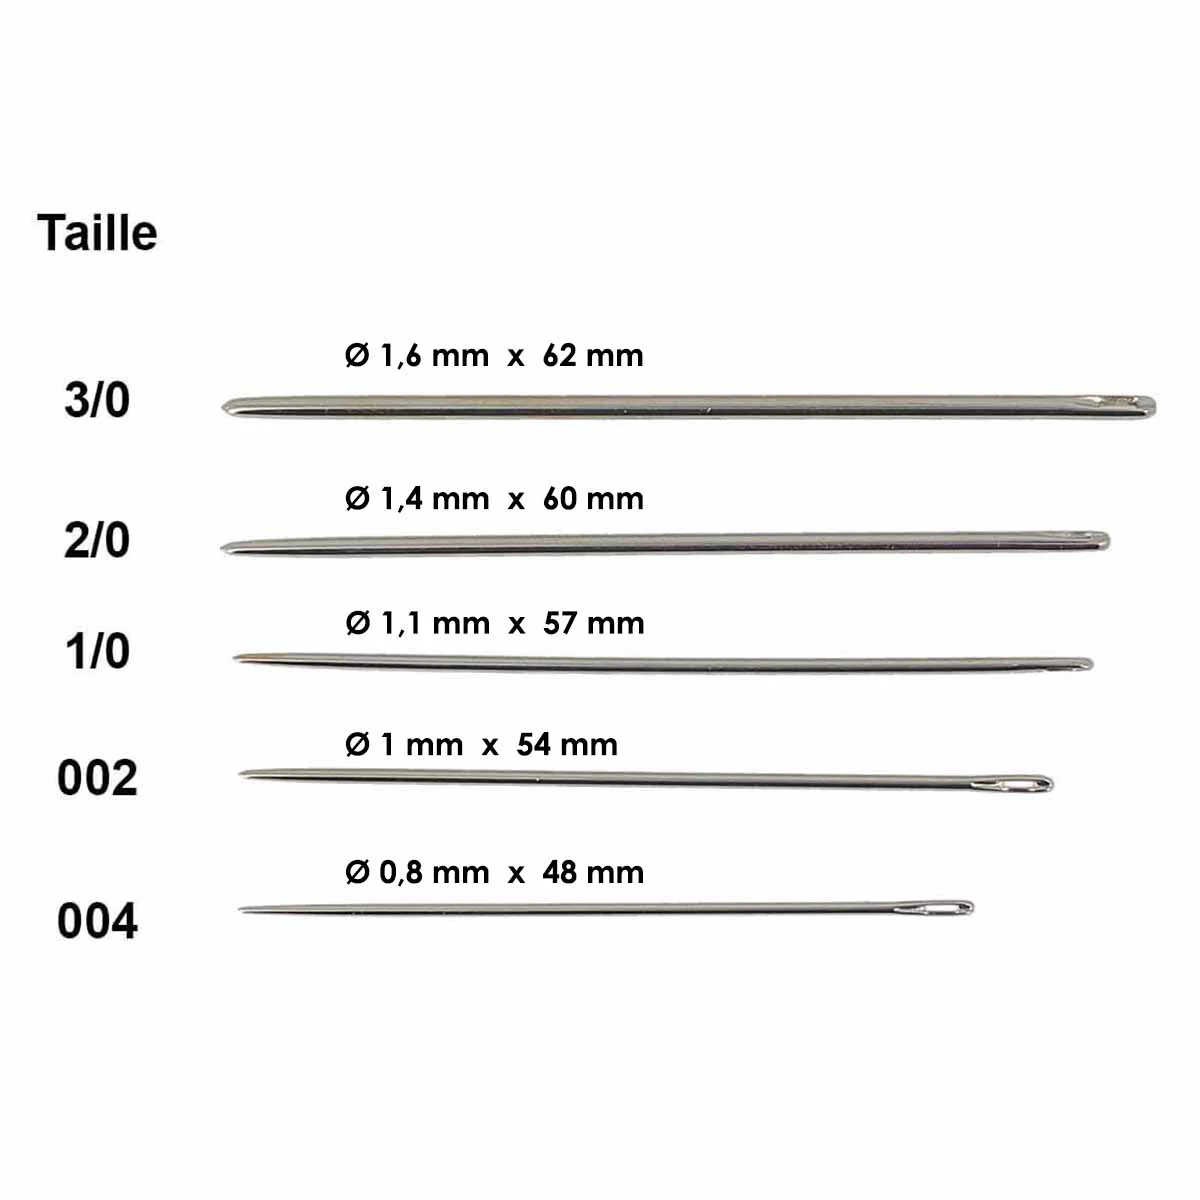
25 aiguilles sellier John James L3912 avec bout rond pour couture et maroquinerie, visibles sur l'image.Aiguilles sellier John James L3912 avec bout rond, ensemble de 25 aiguilles de mercerie pour couture et travaux de sellerie.
From
Sale price3,53 €
  • DIAMETER: 0.80mm 1mm 1.10mm 1.40mm 1.60mm
Gomme de finition pour cuir Tokonole, neutre, utilisée pour la finition de cuir, dans la catégorie teintures et peintures.Gomme de finition Tokonole neutre pour cuir, appliquée sur une tranche de cuir, produit de teinture et de peinture.
From
Sale price7,90 €
65,83 € / kg
  • CAPACITY: 4.2 oz 500g

REQUIRED MATERIALS

To complete this tutorial, you will need:

  • Double-sided adhesive tape - 3 mm width
  • Leather contact cement
  • A round hole punch (Ø 5 mm and Ø 1 mm)
  • Thread Ø 0.55 mm (at least 24 meters) and blunt-tip needles
  • Tokonole or edge finishing product
Patterns & Full Kits
Nouveauté
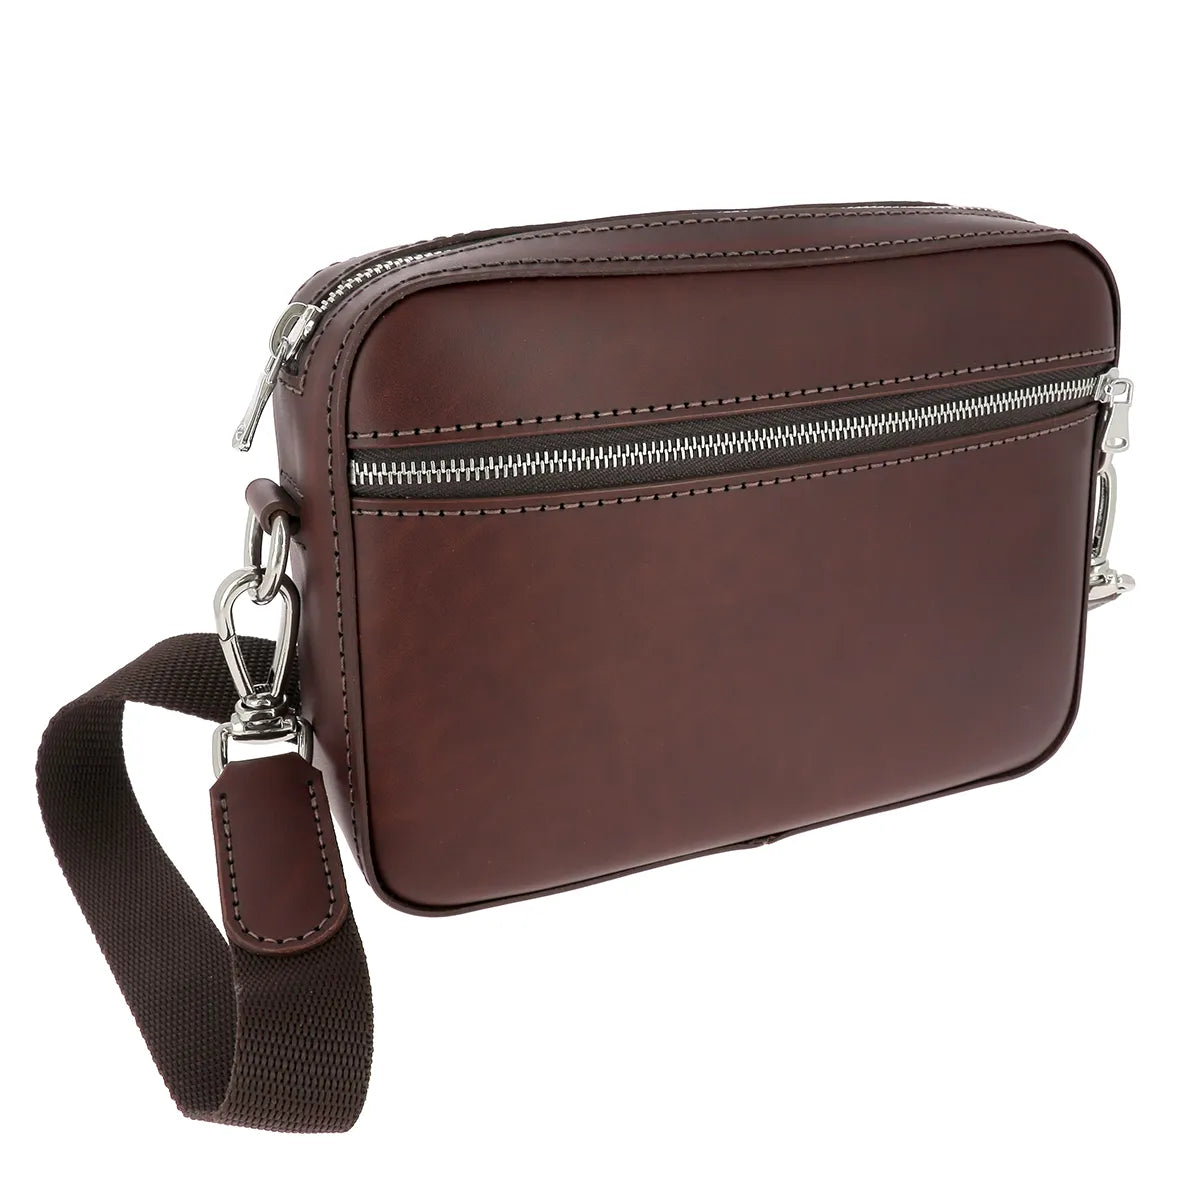
Concevez à partir d'un patron cette magnifique sacoche en cuir pour homme Le Nomade.sacoche en cuir le nomade Deco Cuir
From
Sale price3,00 €
  • RELEASE: PDF Paper PDF with Commercial License
Nouveauté
Kit DIY - Sacoche Le Nomade en cuir tannage végétal SAUVAGE BRILLANT - NOISETTEsacoche en cuir noisette le nomade
Nouveauté
Kit DIY - Sacoche Le Nomade en cuir tannage végétal SAUVAGE MAT - CHÂTAIGNEsacoche en cuir le nomade Deco Cuir
Nouveauté
Kit DIY - Sacoche Le Nomade en cuir - NOIRsacoche en cuir le nomade Deco Cuir
Sale price59,00 €

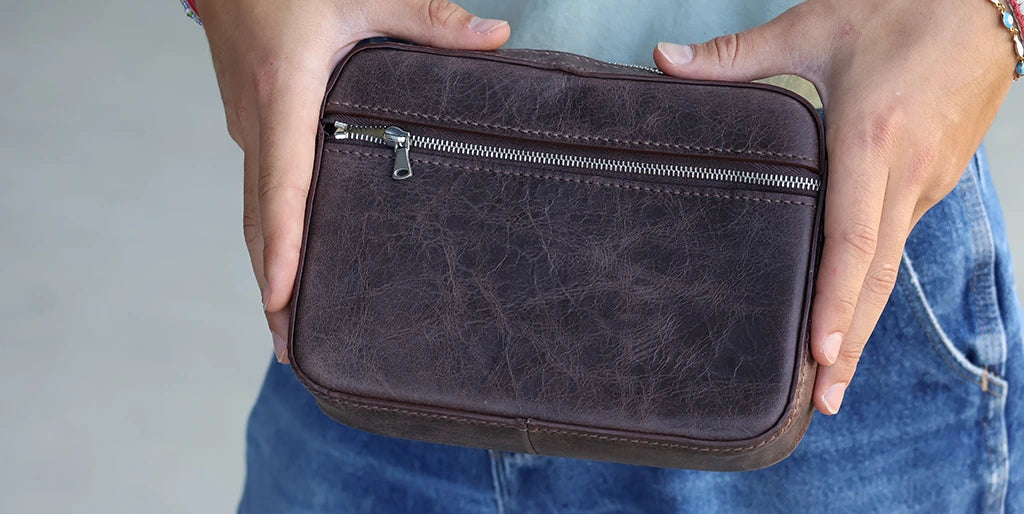
For soft leather, we recommend reinforcing the bag with 0.4 mm Salpa. This will give the bag better structure. For example, with the CLUB leather range.
gamme-club-sacoche-nomade

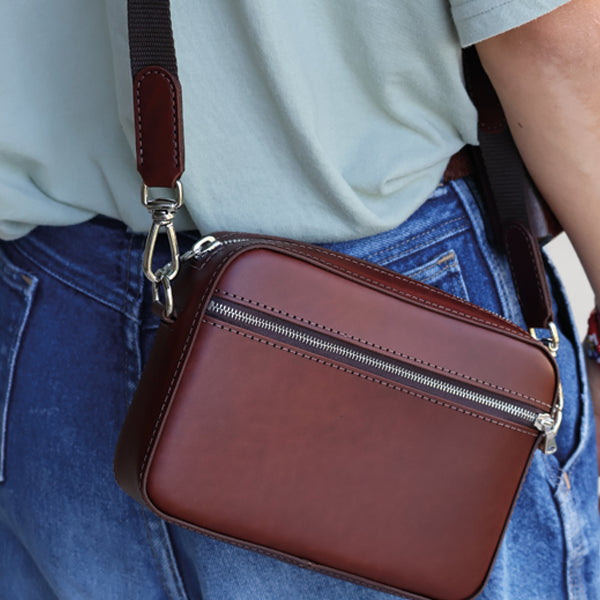
A CLOSER LOOK AT THE "LE NOMADE" UNISEX BAG
sacoche nomade Deco Cuir


FULL VIDEO TUTORIAL

1. PRINT AND CUT THE PATTERN

Purchase the paper or PDF pattern (print at full size).

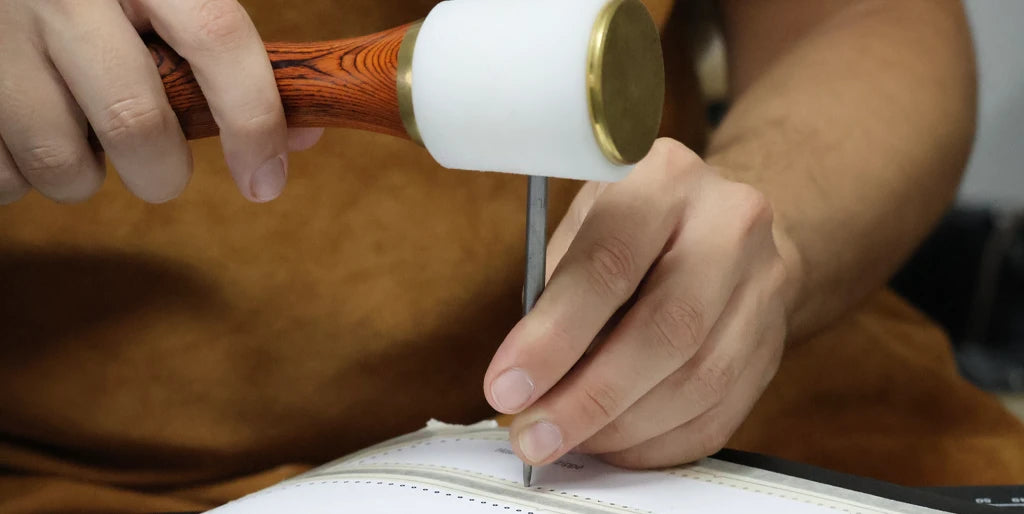
Cut out the pattern pieces, position them on the leather and lining. Secure them with masking tape, then punch the sewing holes using a Ø 1 mm hole punch.
Percer les trous de couture

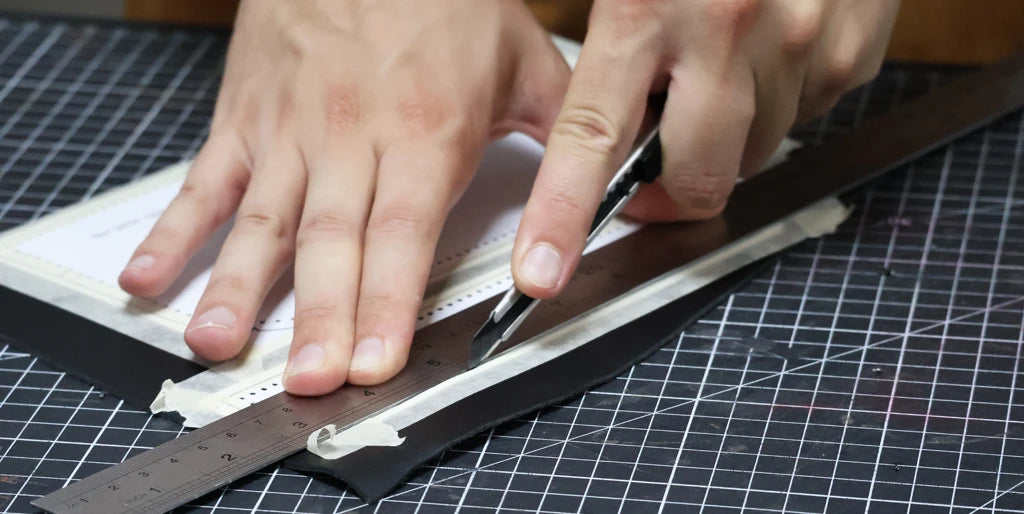
Use a Ø 5 mm round hole punch and a craft knife to create the oblong holes on pieces P4. Then cut out the opening for the zipper (also on pieces P4), then cut out all the leather and lining pieces using a craft knife or scissors.
Couper le cuir et la doublure

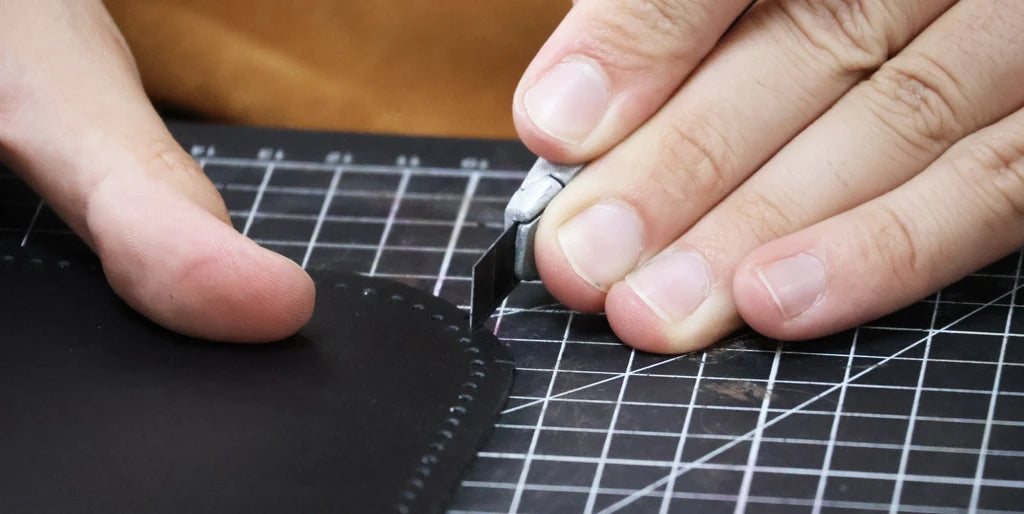
Mark the centers of the pieces, then notch the rounded edges of the leather pieces P1, P2, and P3.
Cranter les arrondis

2. Finish the edges

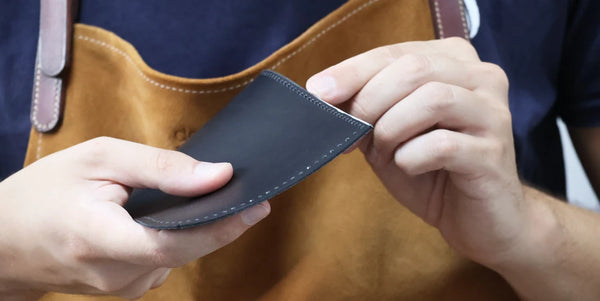
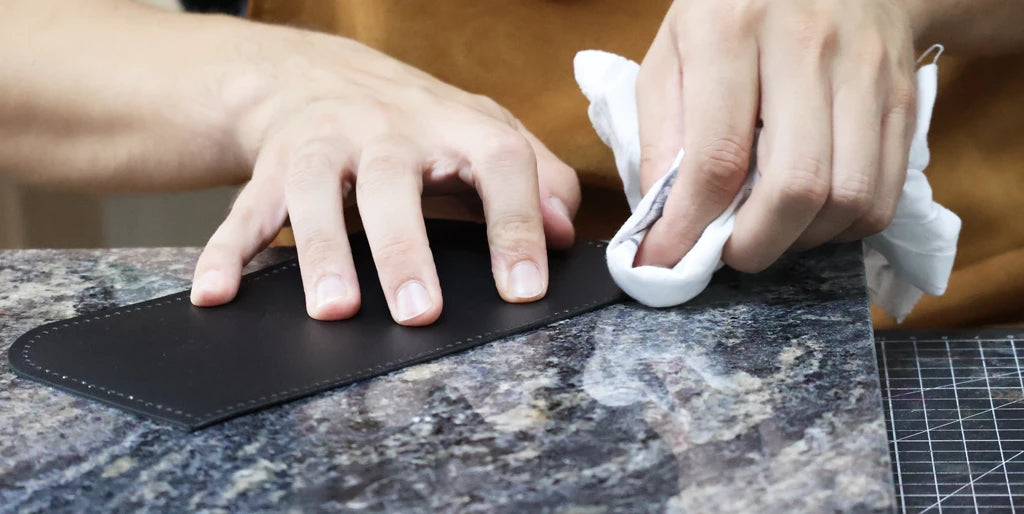
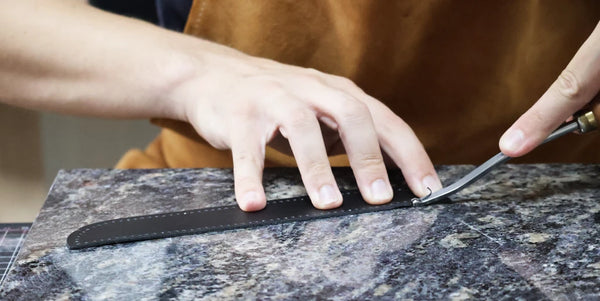
Bevel the edges of the leather pieces and finish them with the product of your choice (gum or edge finish).

Finish only the edges that will remain visible once the bag is assembled:

  • The top edge of the lower front piece (P1);
  • The bottom edge of the upper front piece (P2);
  • All edges of the contour piece (P4), including the zipper opening;
  • All edges of the tabs (P5, P6, and P7).
Abat-carrer les tranches
Travailler les tranches
Travailler les tranches avec du tokonole

3. Sew the small zipper

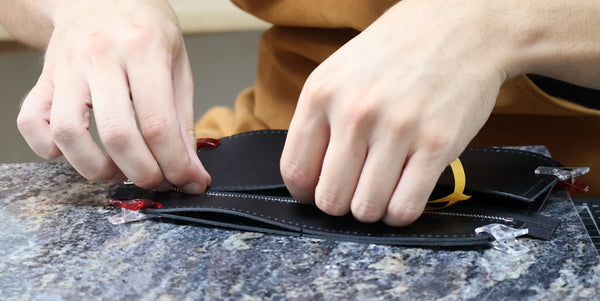
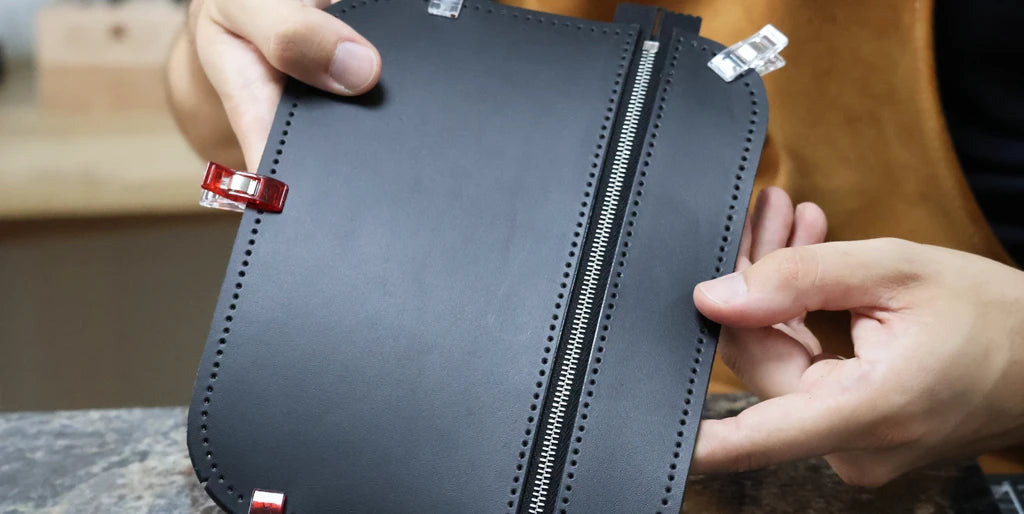
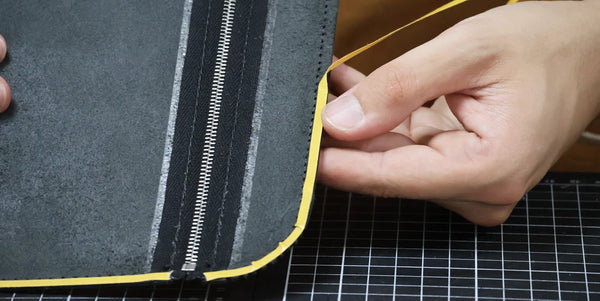
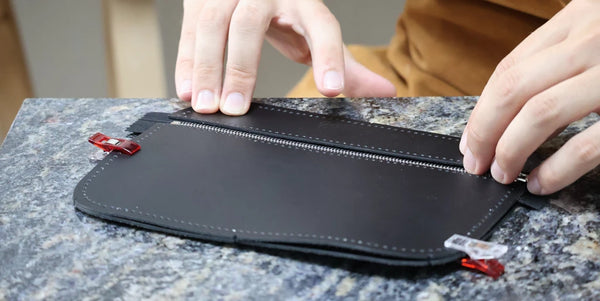
Using double-sided tape, glue the upper front piece (P2) to one side of the 20 cm zipper, then the lower front piece (P1) to the other side. Check the orientation of the slider. Position the pieces 3 mm from the zipper teeth.

Align the front pieces with the back piece (P3) to ensure the leather is positioned correctly relative to the zipper.
Coller la face avant sur la petite fermeture
Coller face avant sur petite fermeture
Coller la face avant sur petite fermeture

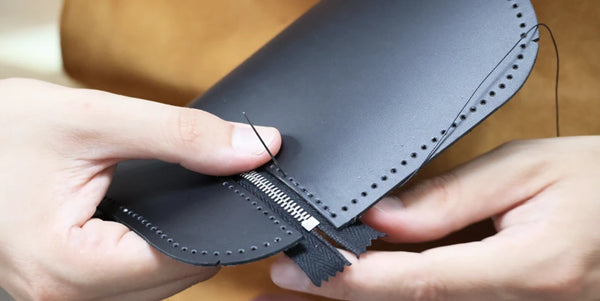
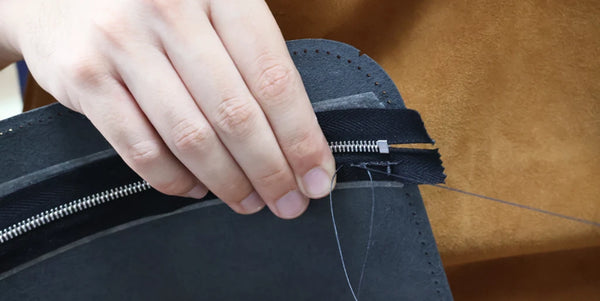
Sew both sides of the zipper using an English stitch.
Coudre la petite fermeture

4. Prepare the large zipper

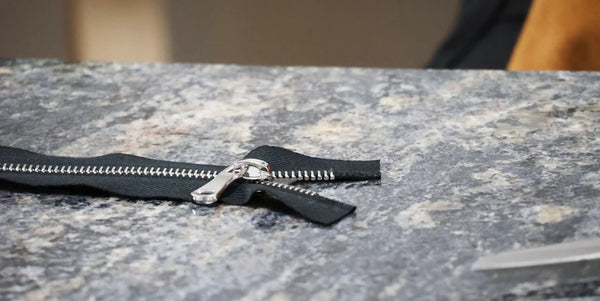
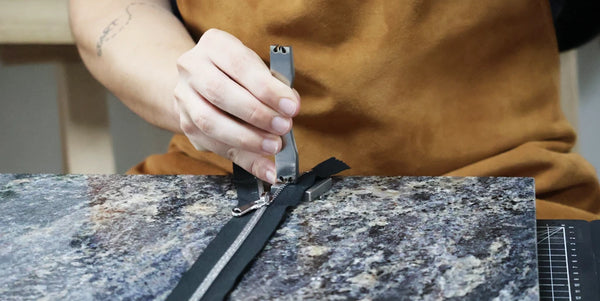
Take the 25 cm zipper and shorten it to 23.5 cm, then remove 0.75 cm of metal teeth from the newly cut side. Add bottom stops if necessary.
Enlever les mailles de la fermeture
Couper la fermeture à glissière

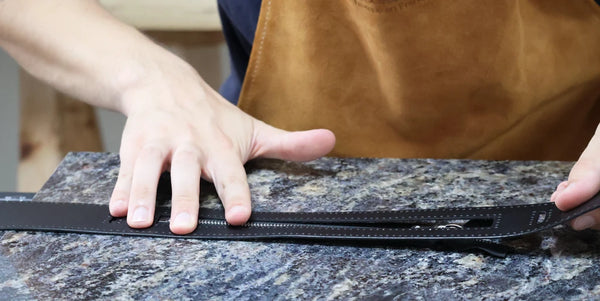
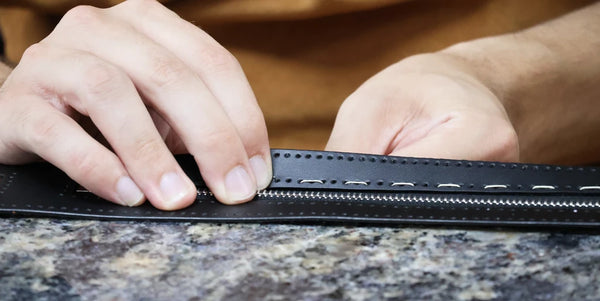
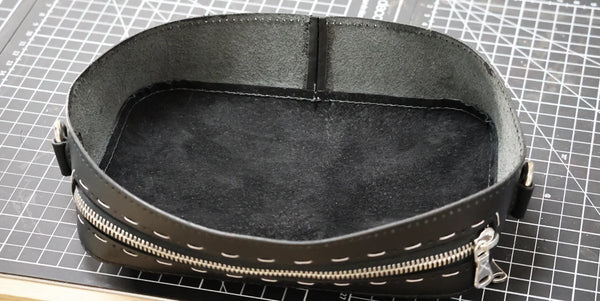
Apply double-sided tape to the flesh side of leather piece P4, around the zipper opening. Then, position the piece on the zipper, centering it carefully.
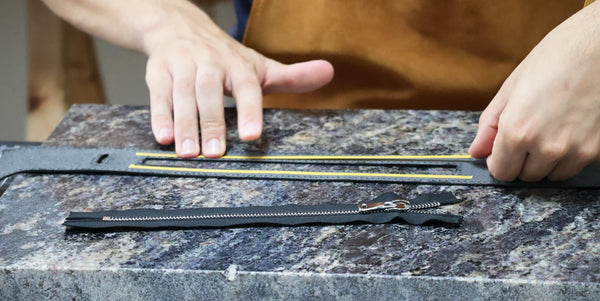
Coller la grande fermeture

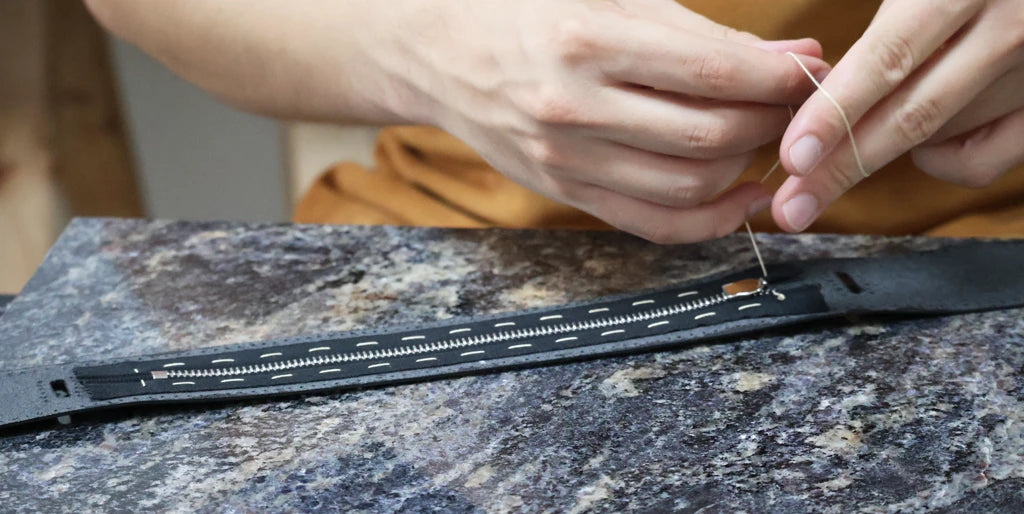
This zipper will be sewn at the end of assembly along with the lining. In the meantime, use a holding stitch to facilitate the next steps. You could also fix it with double-sided tape, but subsequent handling might cause it to shift. Remove this stitch at step 10.

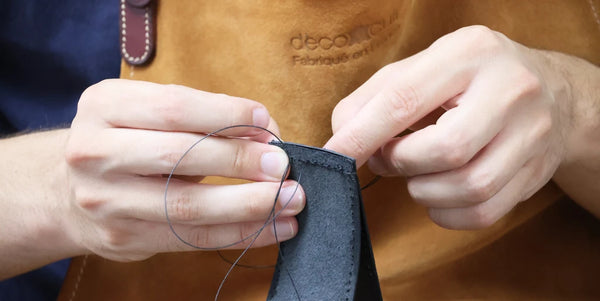
Using needle and thread, perform a holding stitch by passing through the first hole, then skipping one hole and passing through the second, and so on. Tie a knot, then leave this stitching in place.
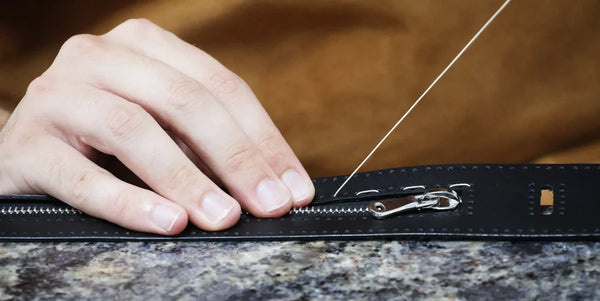
Faire une couture de maintien
Finir la couture de maintien

5. Sew the tabs

Prepare the P5 tabs by folding them in half.
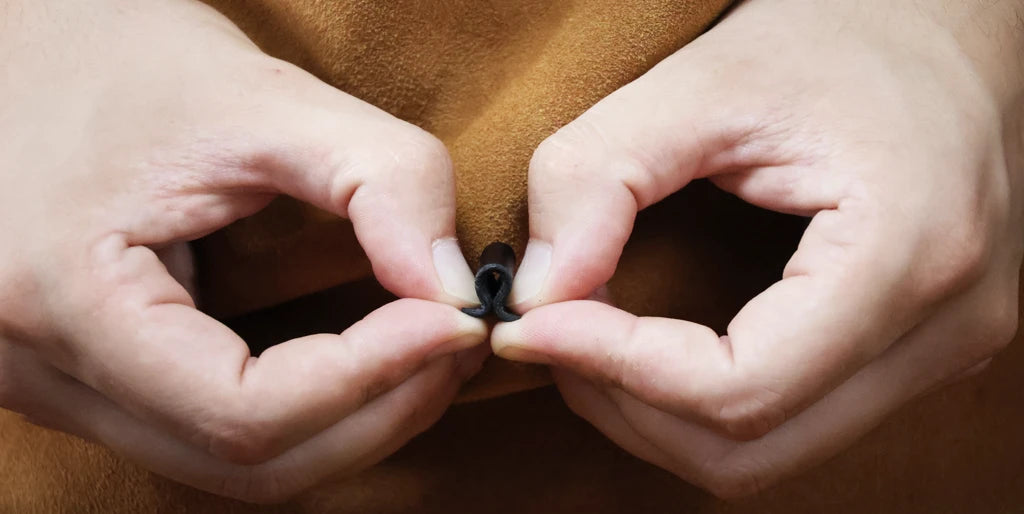
Former les petites pattes

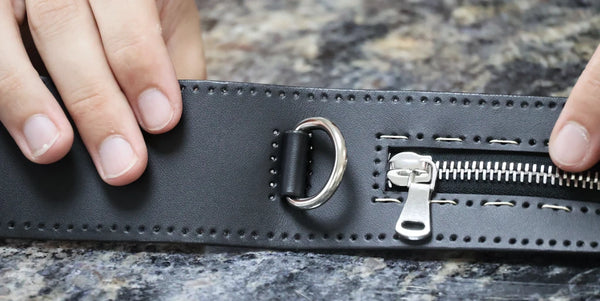
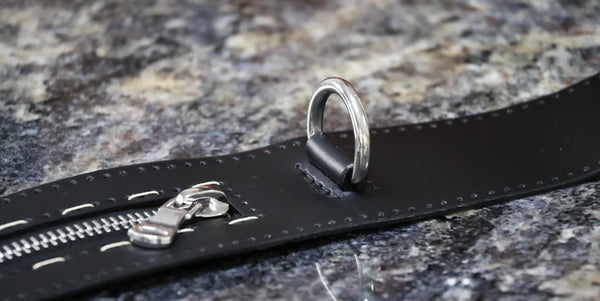
Insert the D-rings into the tabs, then place them in their designated slots (oblong holes) on the leather contour piece (P4).
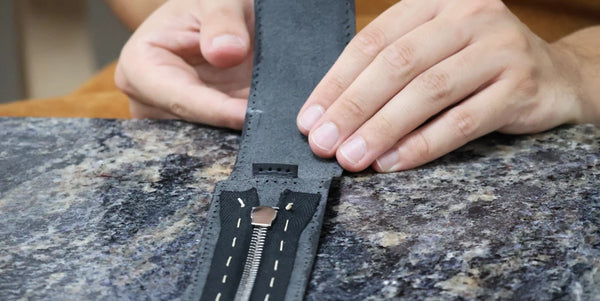
Insérer pattes dans contour cuir
Coudre les pattes avec les anneaux demi-ronds

Sew the tabs onto the leather contour piece (P4) using the English stitch or simplified stitching technique.
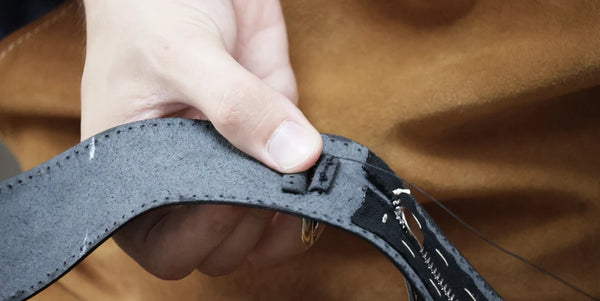
Coudre les pattes avec anneau demi rond

6. Sew the contour

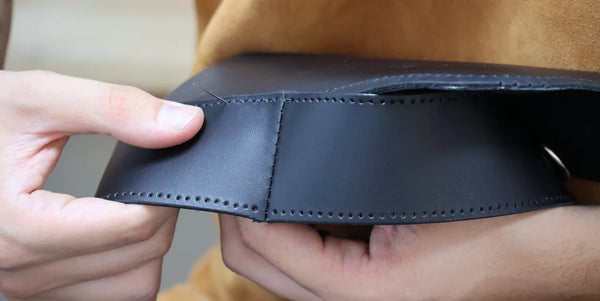
Join the two ends of the leather contour piece (P4), right sides together, then sew using an English stitch. Perform a saddle stitch at the beginning and end of the seam.
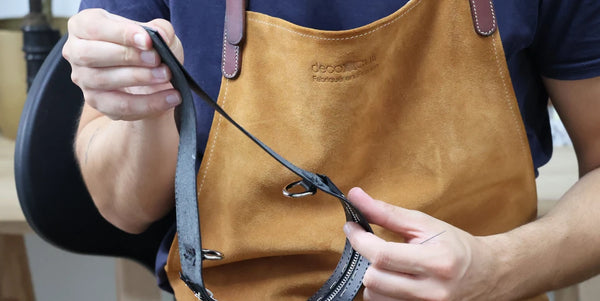
Coudre les extrémités du contour
Coudre les extrémités du contour cuir
coudre l'extrémité du contour

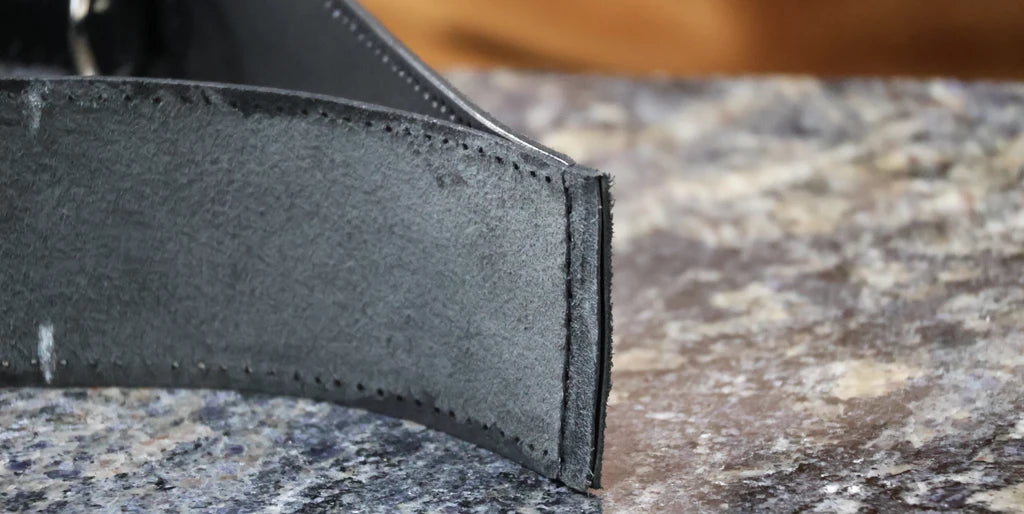
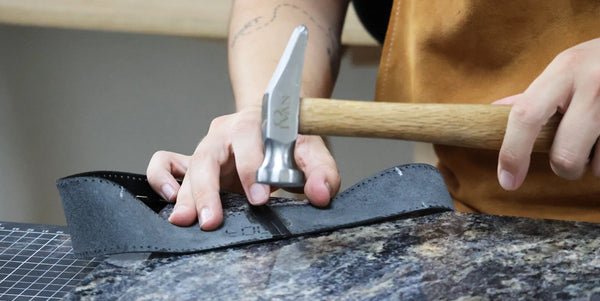
Apply contact cement to the seams. Let dry, then flatten the seams with a riveting hammer.
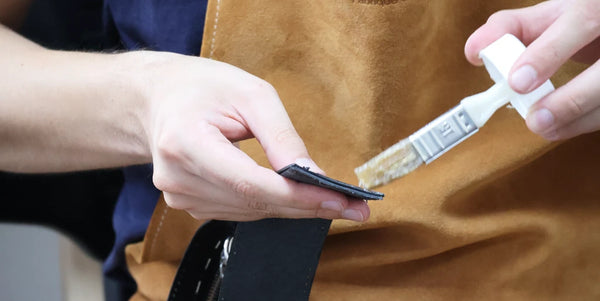
Ouvrir les coutures
Ouvrir les coutures du contour
OUvrir les coutures
Ouvrir les coutures

Re-punch the sewing holes (Ø 1 mm) at the ends.
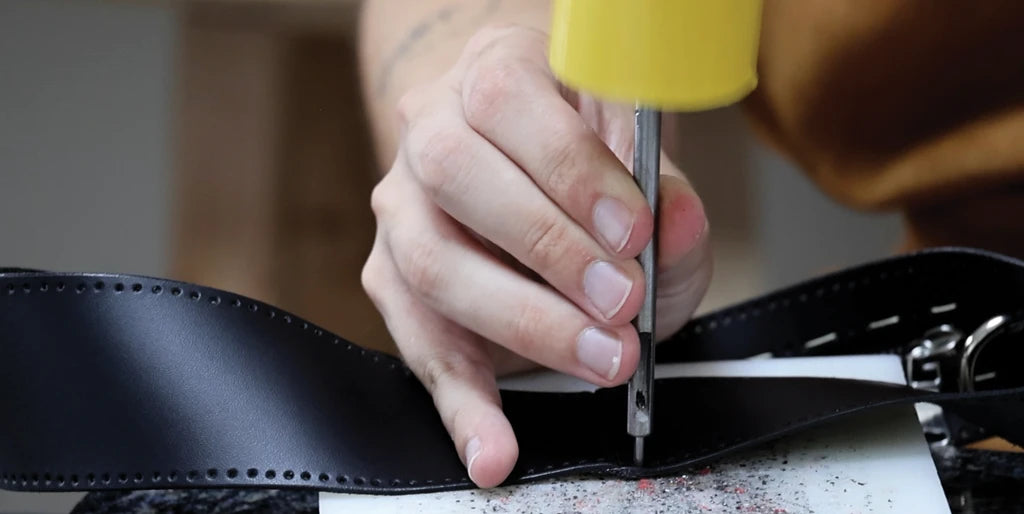
repercer les trous

7. Prepare the small front pocket

Apply double-sided tape on the flesh side of the front pieces (P1 and P2), along the entire perimeter. Avoid covering the sewing holes to make final assembly easier.
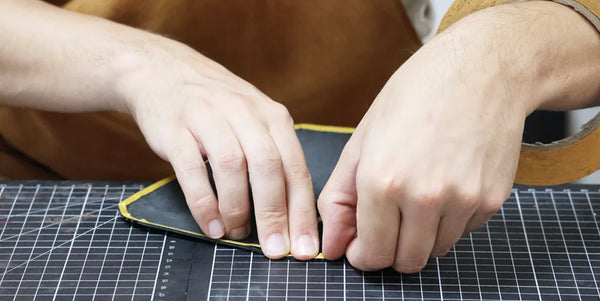
Coller la face avant sur doublure
Mettre du double face sur face avant

Then, glue the right side of one of the back lining pieces (P3) to the flesh side of the leather front piece (P1/P2). Glue edge-to-edge, carefully aligning the holes.
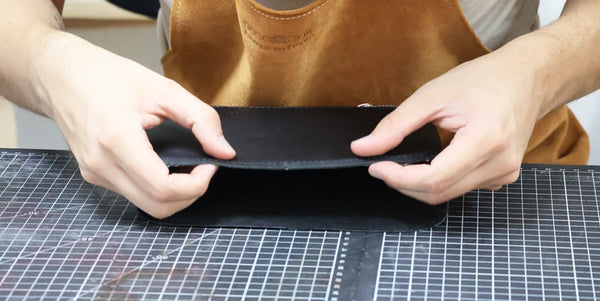
Glue the front panel onto the front lining
Glue the front panel onto the lining

8. Sew the contour

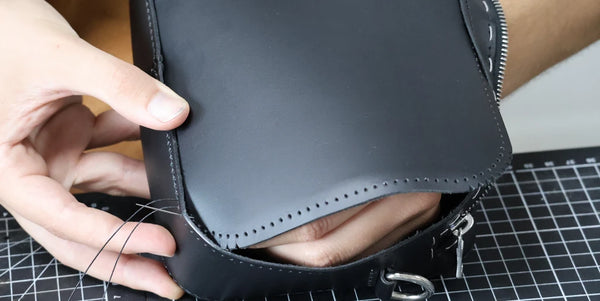
Sew the contour piece P4 (leather) onto the front piece P1 (leather and lining) using the saddle stitch technique. Start by aligning the centers: for piece P4, the center is located in the fold formed between the two sewn ends. Sew the reverse side of P4 onto the right side of the P1/P2 assembly.
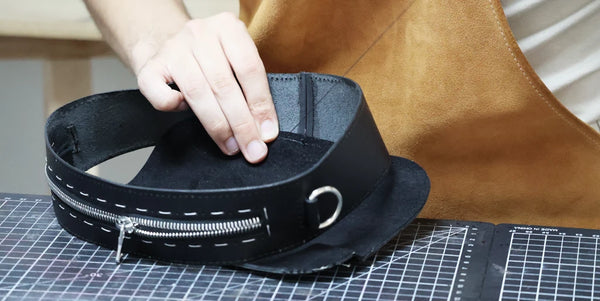
Saddle stitching the front panel
Sew the front panel using saddle stitch
Front stitching finished
Saddle stitching the front part of the bag

Then, sew the reverse side of piece P4 onto the right side of the back piece P3. Start by aligning the centers, then sew using the saddle stitch. Reach through the opening of the 25 cm zipper to finish the stitching.
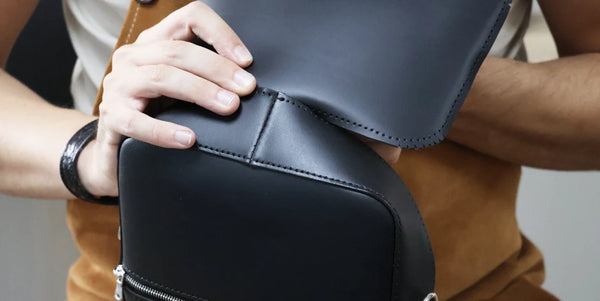
Sew the back panel
Sew the back panel using saddle stitch
Stitching the back panel

Hammer the seams with a riveting hammer, then shape the corners of the bag.
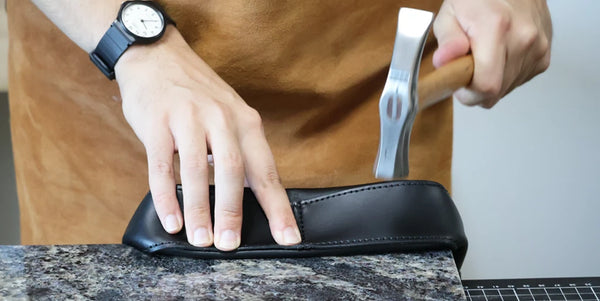
Hammer the seams
Stitching of the front and back panel