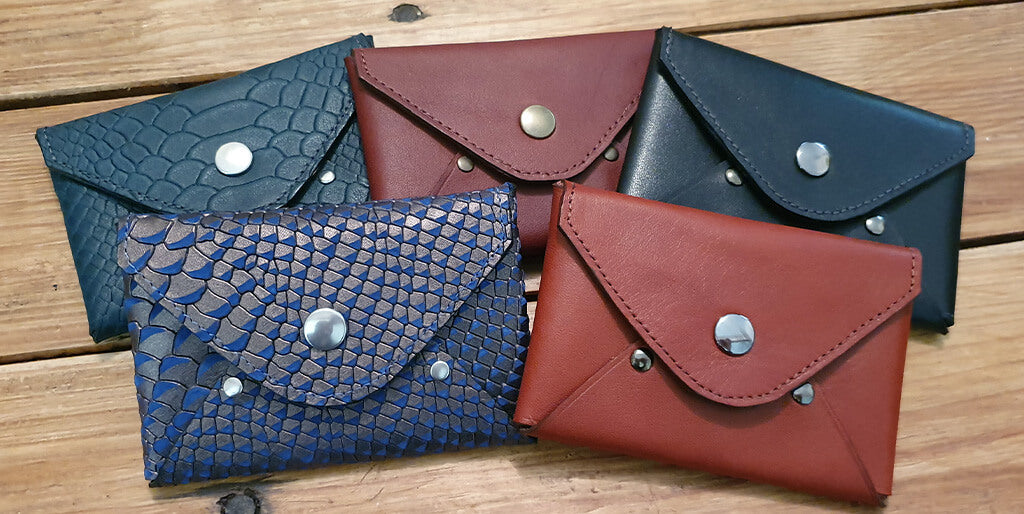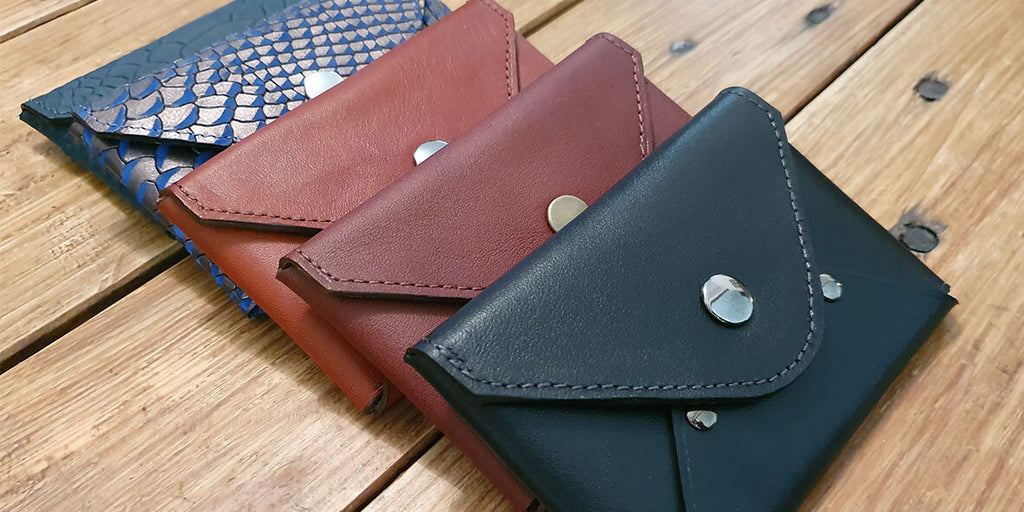



NECESSARY MATERIALS
- 1 piece of firm calf leather measuring 20 x 30 cm - 1.4 mm thick (Sauvage range from Deco Cuir)
- 1 piece of firm calf leather measuring 15 x 20 cm - 1 mm thick (Sauvage range from Deco Cuir)
- 1 round punch tool, Ø3 and Ø4 mm
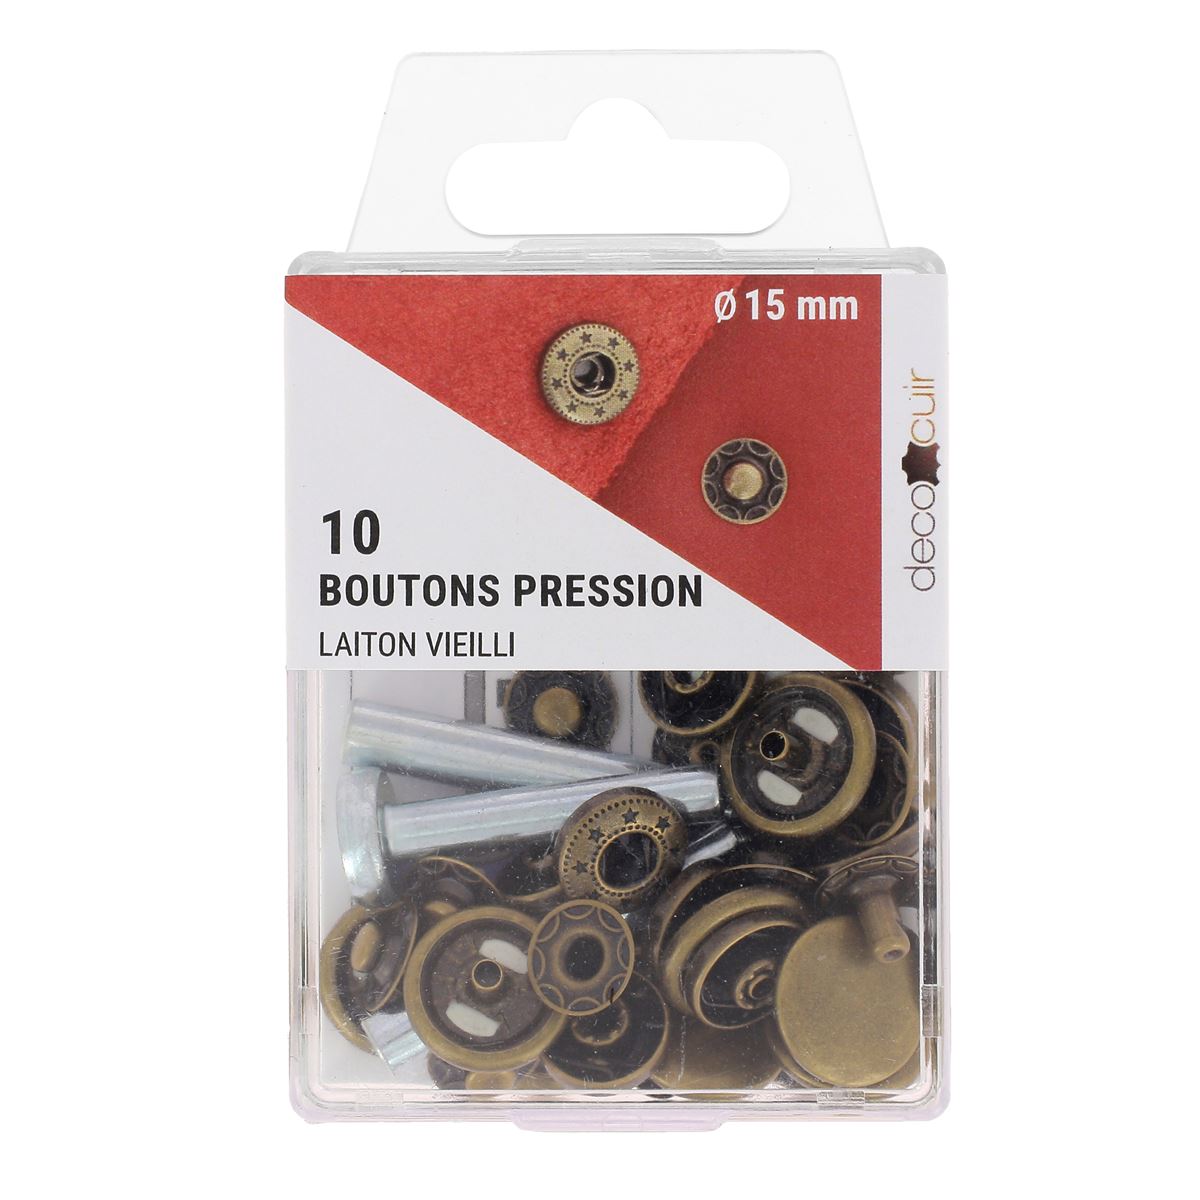
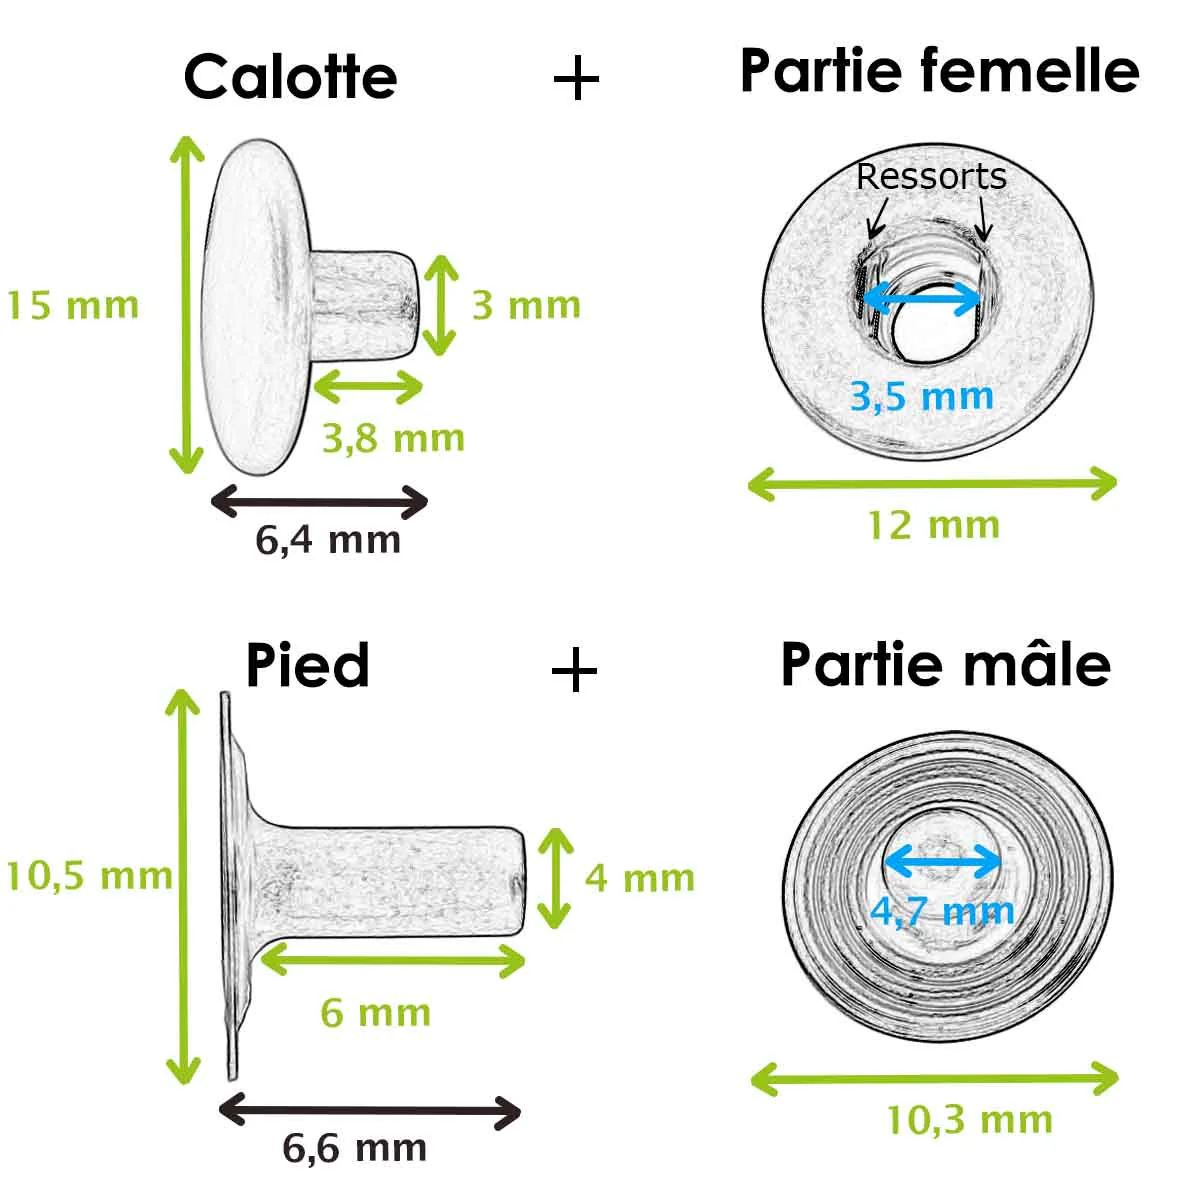
- 1 snap fastener, Ø12 mm and setting tool
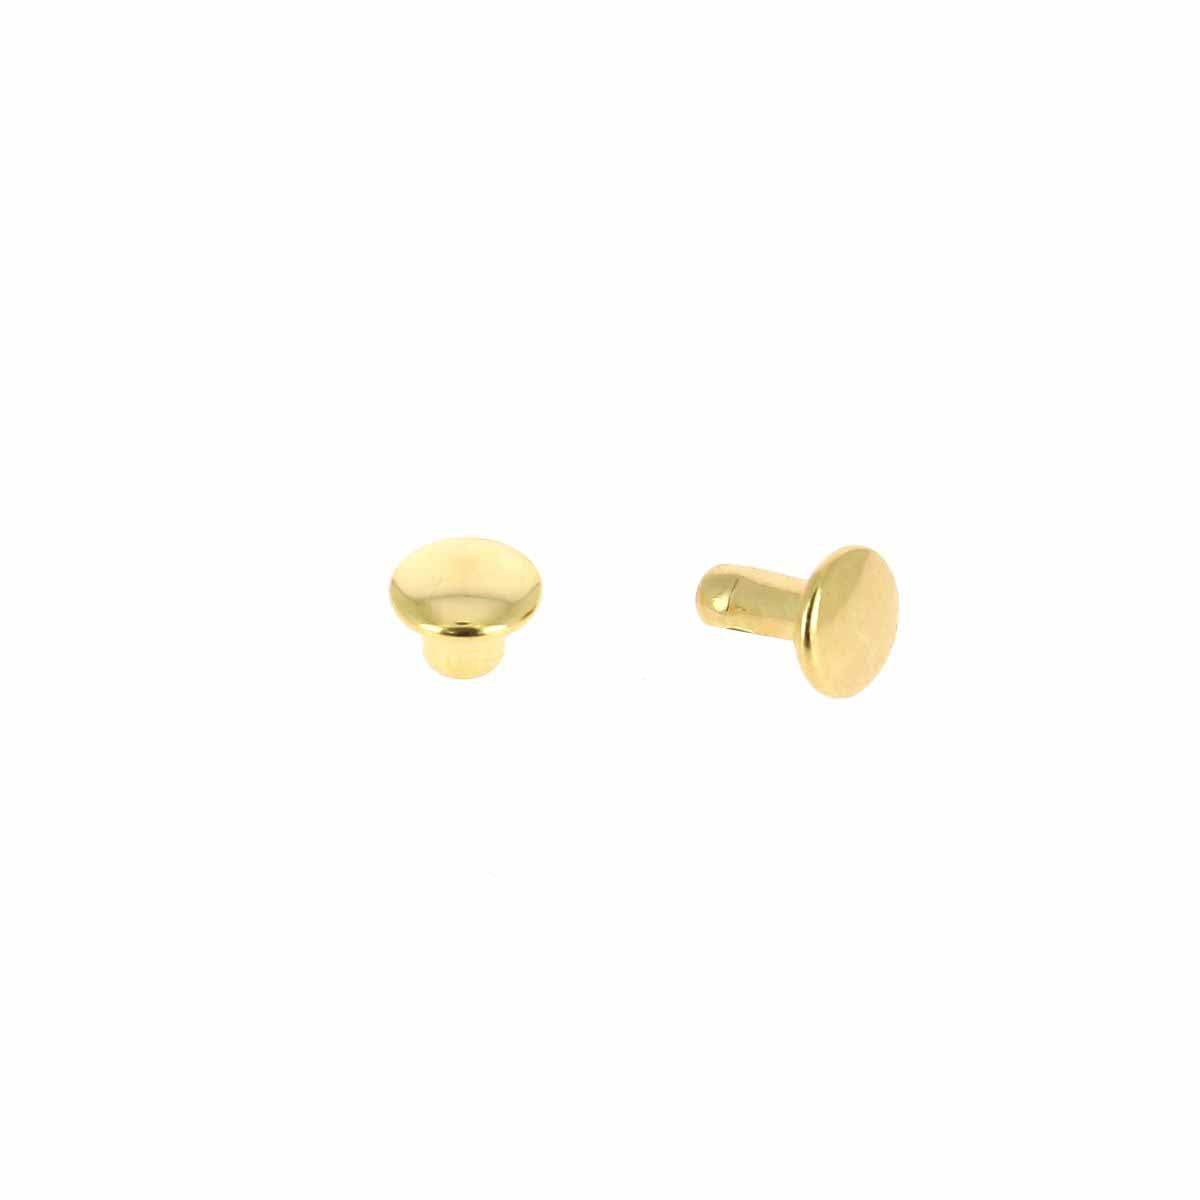
- 2 T2 double-cap rivets and setting tool
- Double-sided adhesive tape
- Alphabet stamps and a scrap of vegetable-tanned leather (for stamping)
- 1 silver pencil
1. POSITION THE PATTERN AND PUNCH THE HOLES
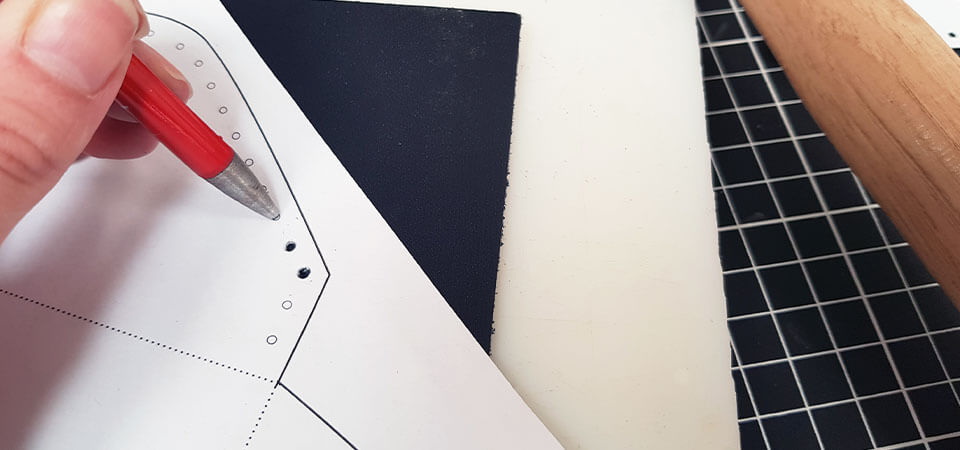
Position the pattern pieces on the leather and hold them in place using masking tape. Place the flap (P2) and the pocket (P3) on the 1 mm thick leather. Then, punch the Ø 3 mm holes for setting the rivets and the snap fastener. Only punch a Ø 4 mm hole for the head of the snap fastener.

For simplified stitching (using pre-punched holes), punch the Ø 1 mm stitching holes indicated on the pattern before cutting out the pieces.
2. CUT OUT THE PIECES WITH A CUTTER
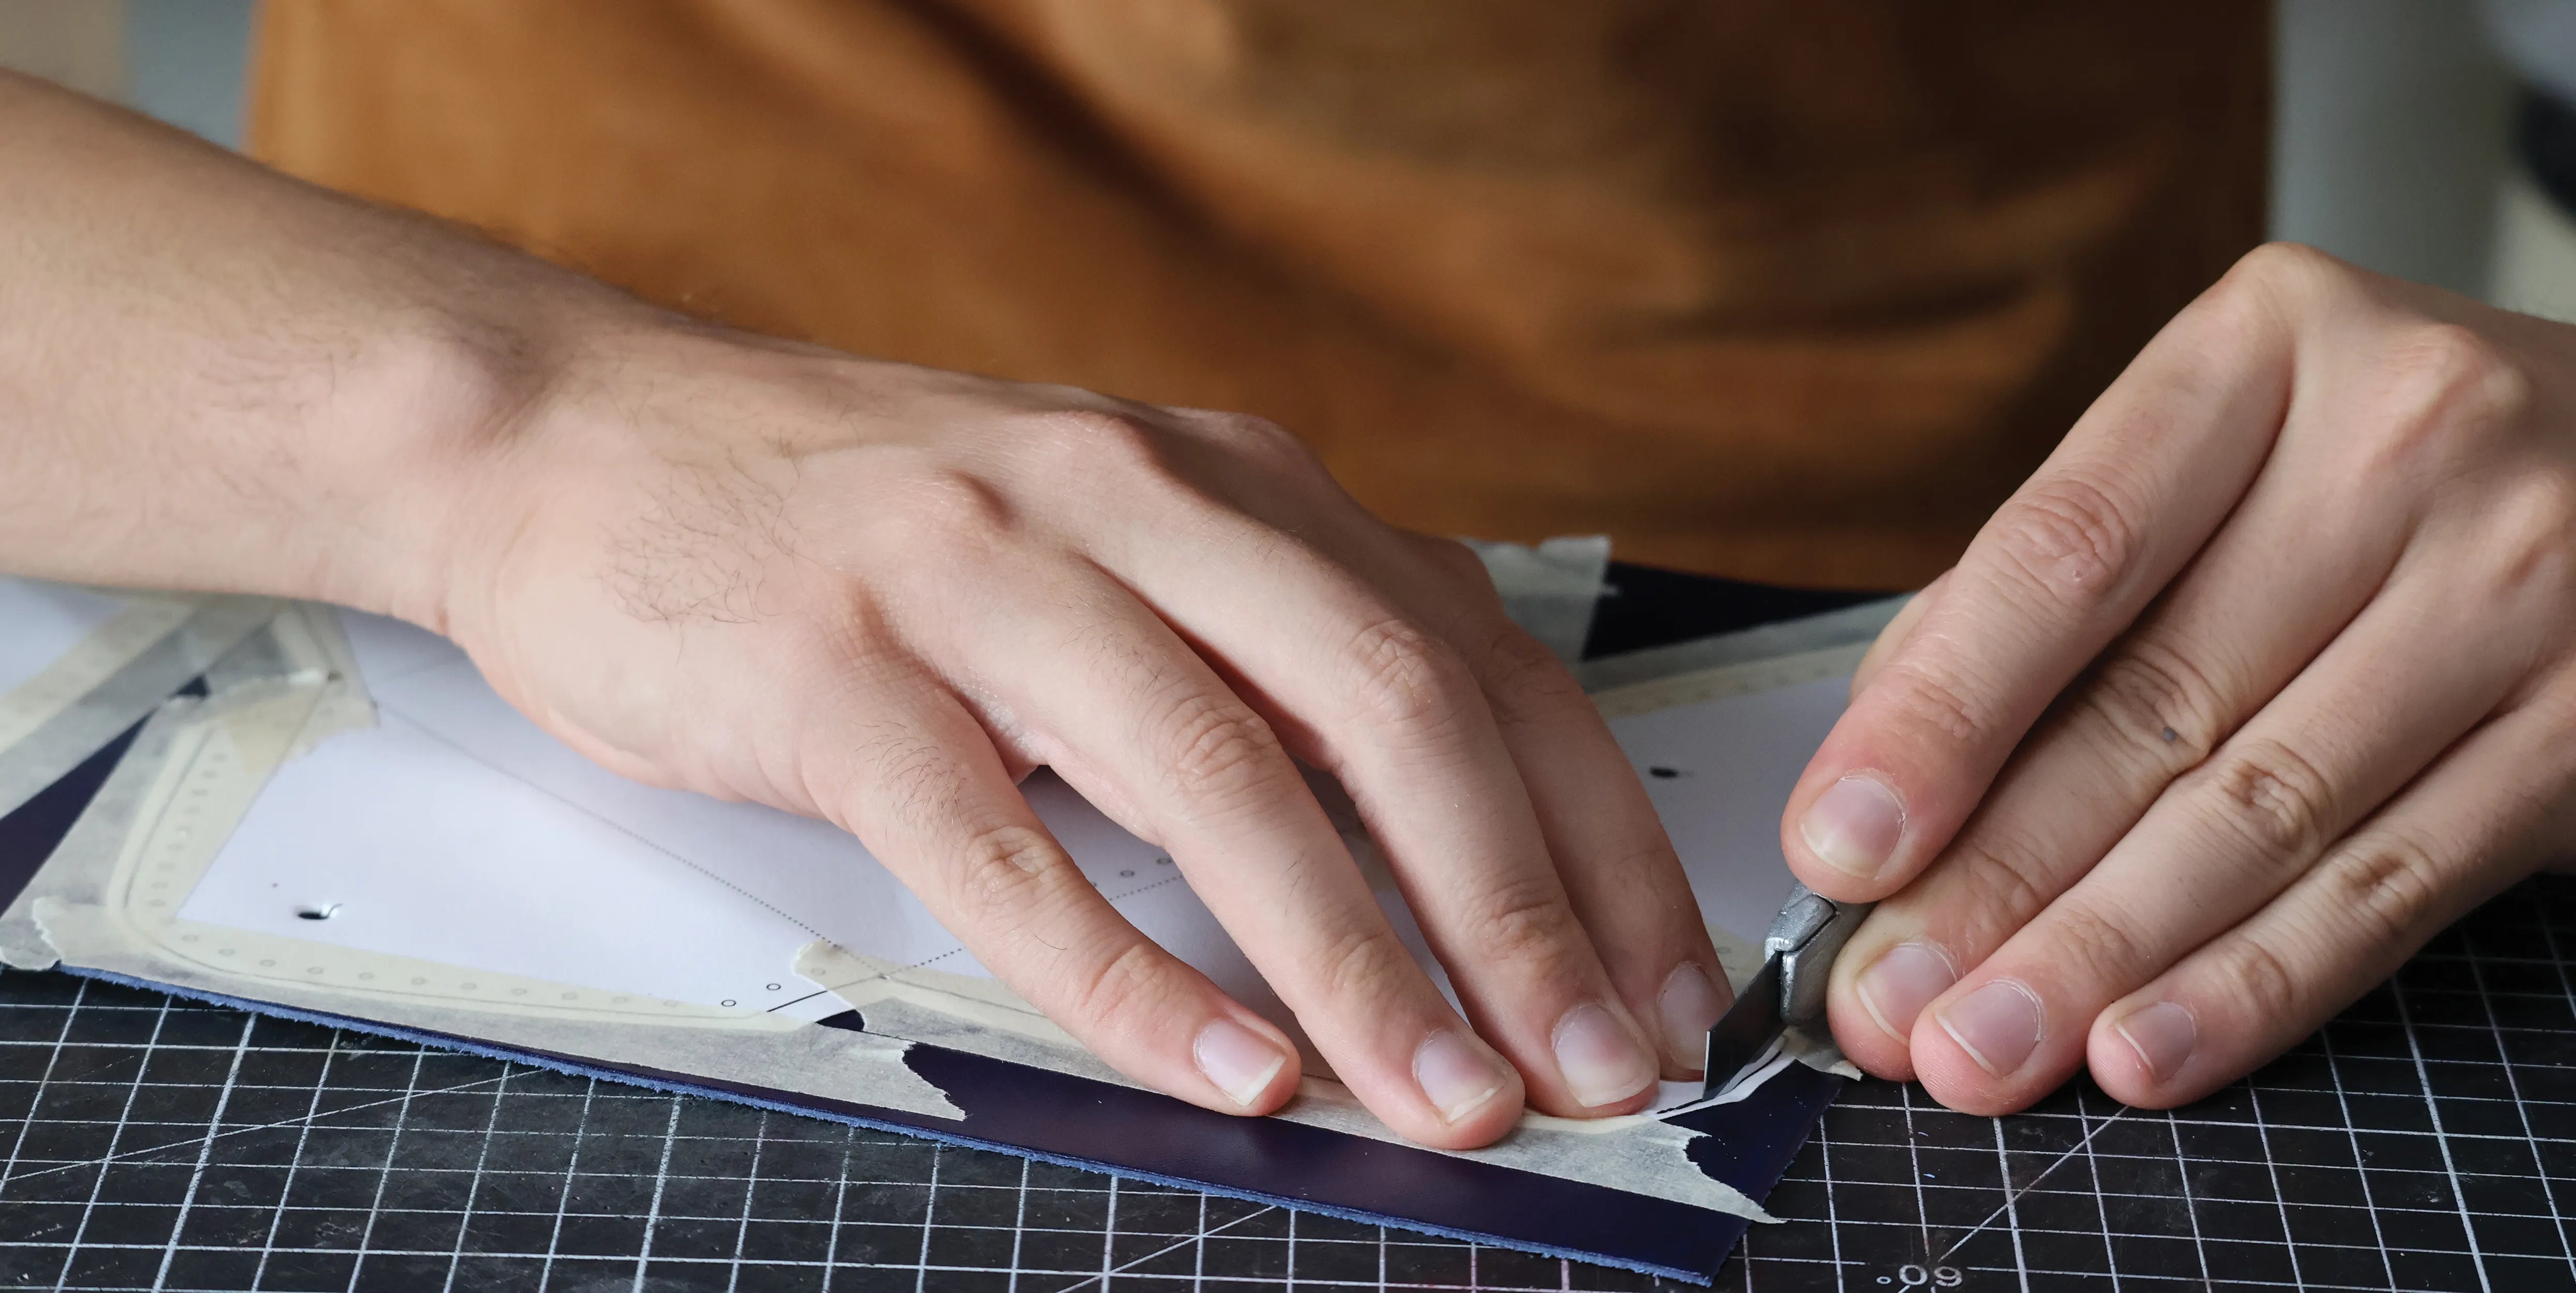
Cut out the various pieces with a utility knife. For the flap P2, follow the dashed lines: its final shape will be achieved after gluing.
3. FINISH THE EDGES
Finish the edges with the product of your choice and use an edge beveler if necessary.
 |
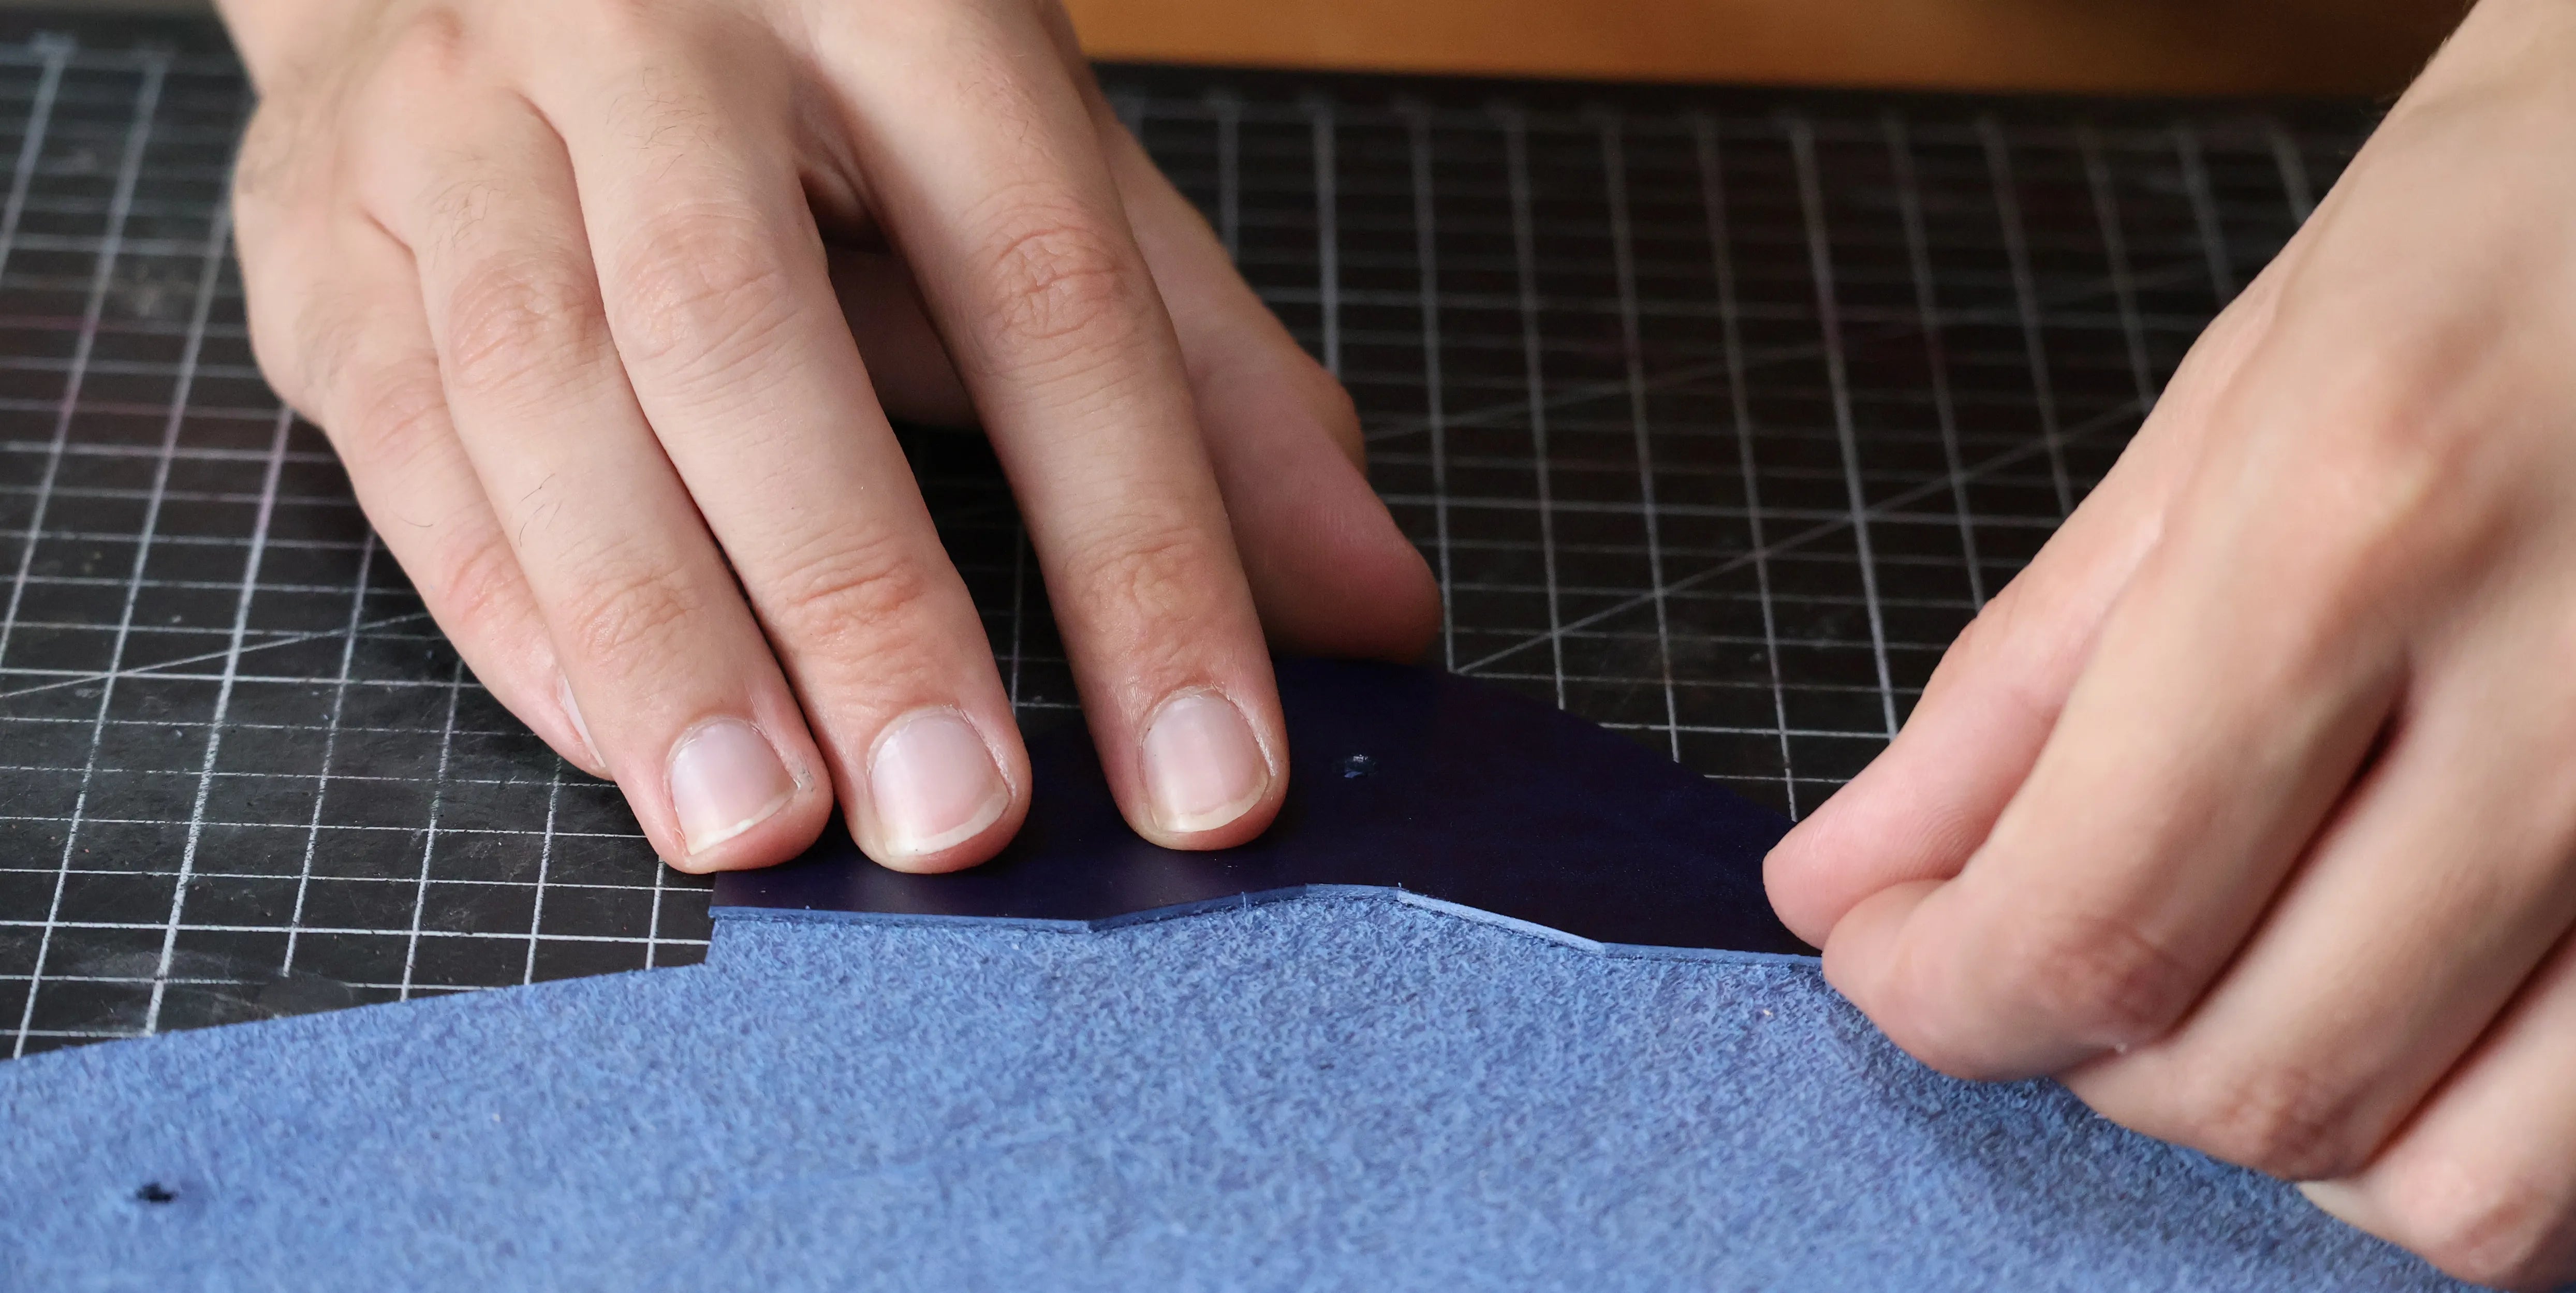
4. GLUE THE FLAP
Apply glue to the back of flap P2 and the top, back side, of the main piece. Glue the two pieces together, then trim flap P2. Finish the edges of the flap for a neat look.
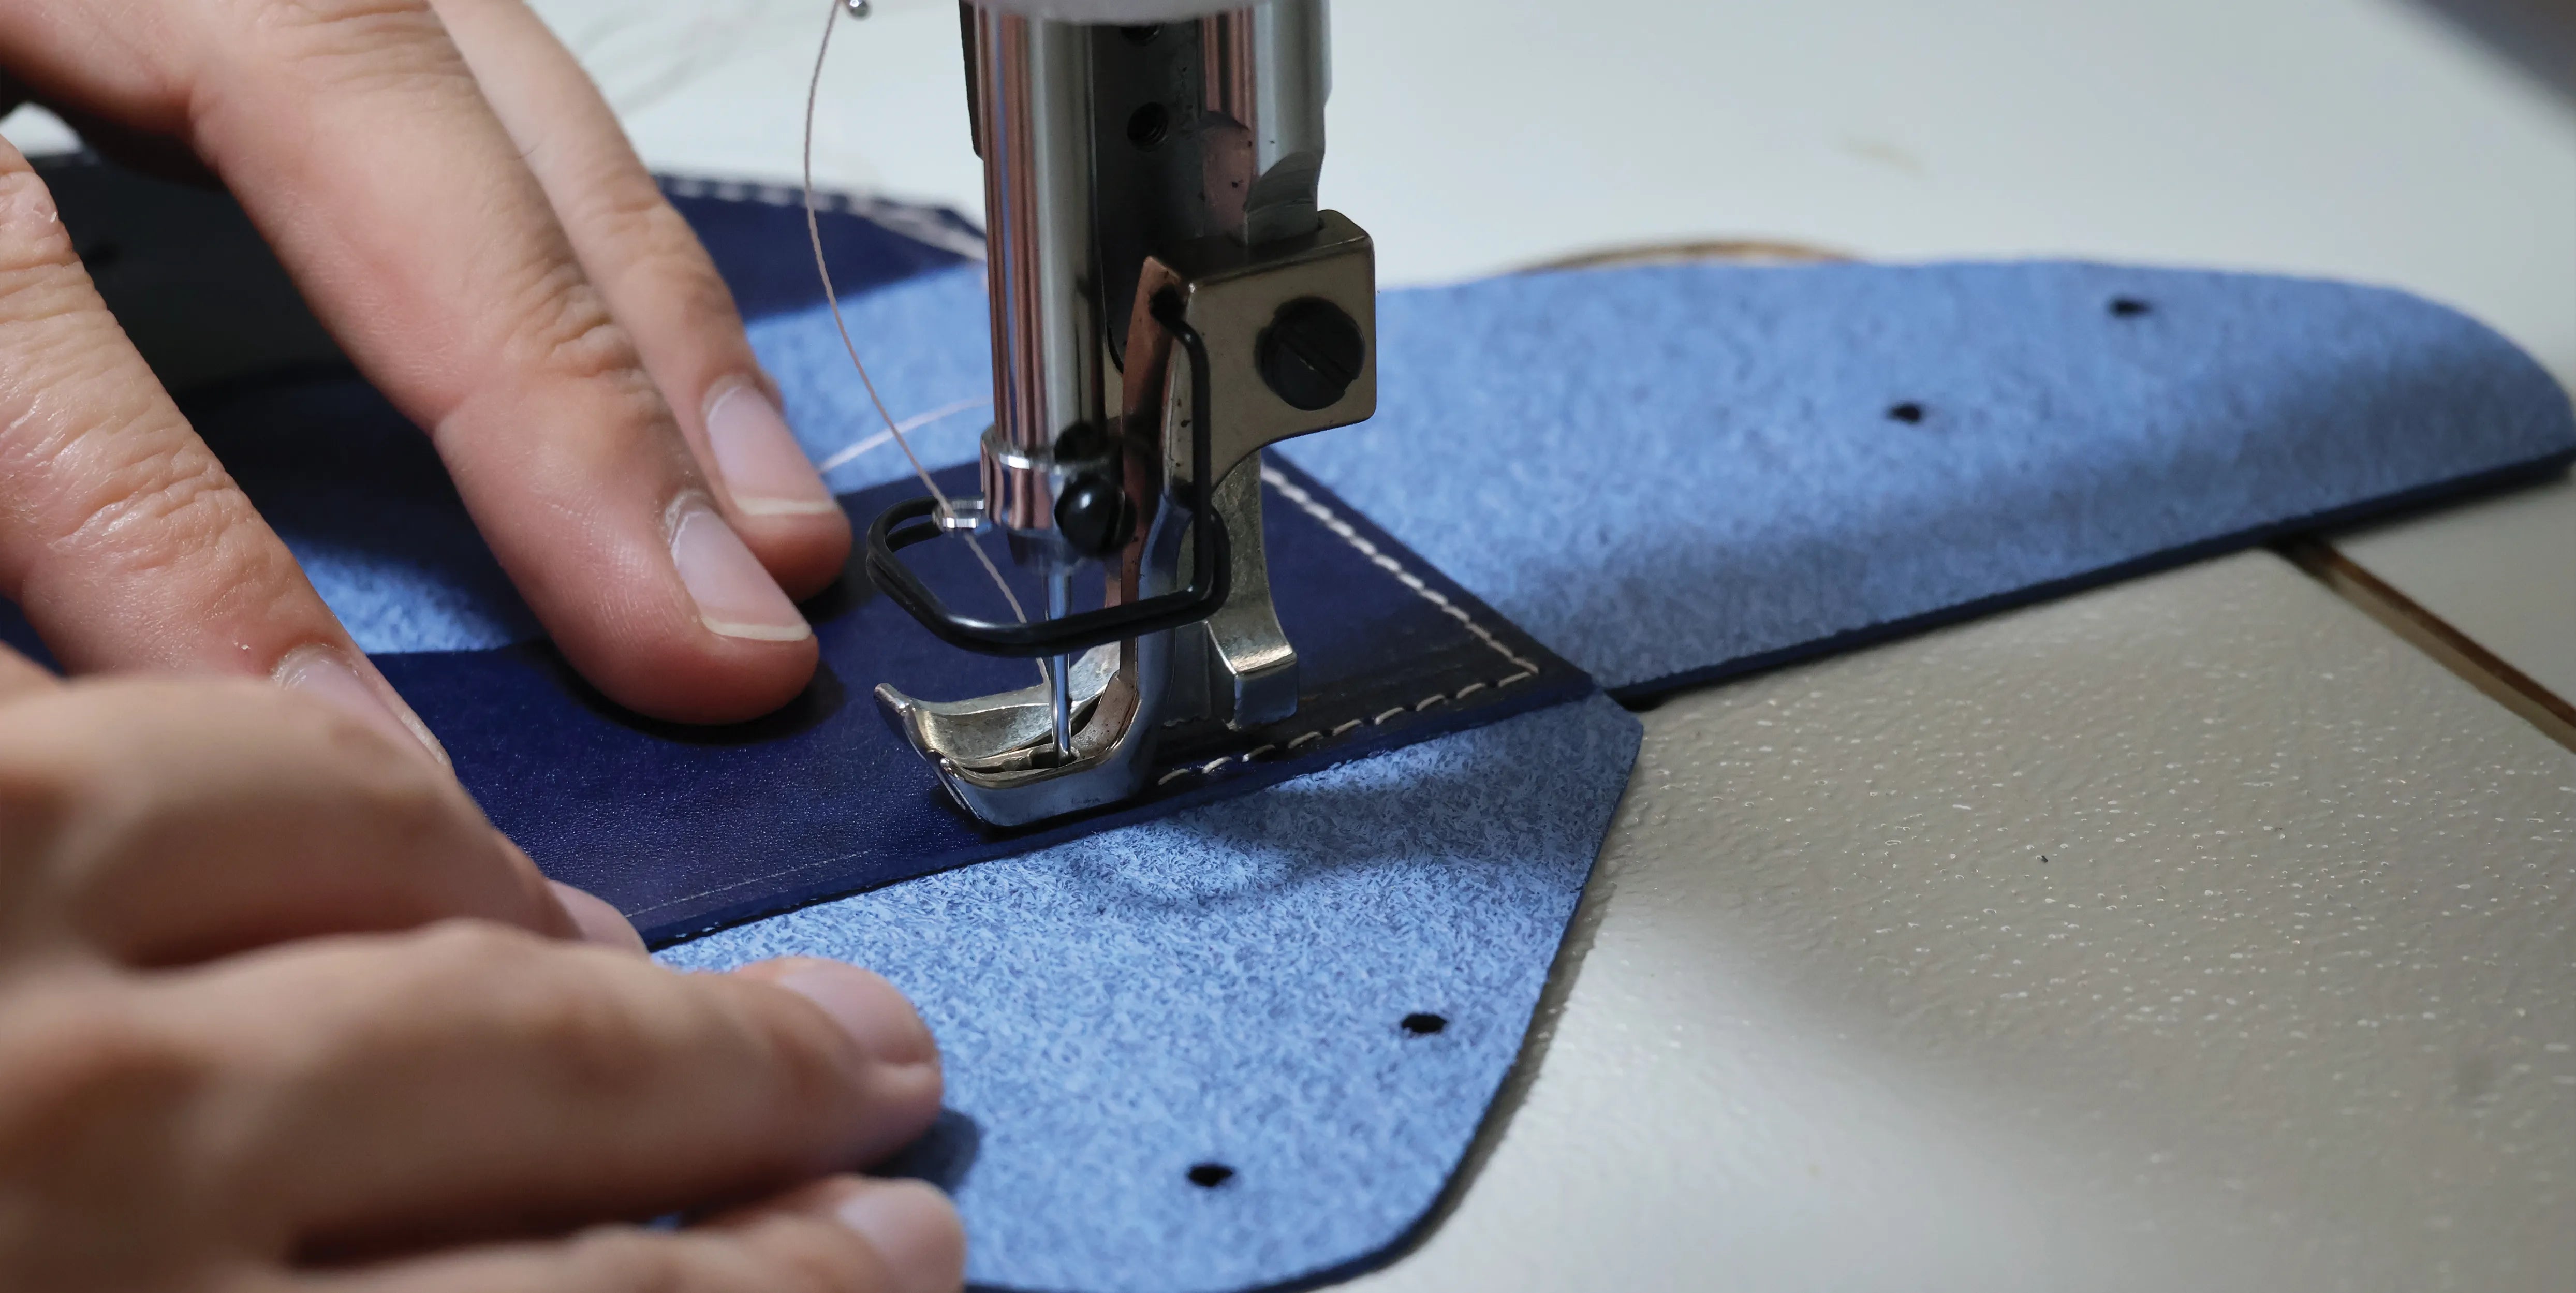
5. STITCH THE FLAP
Stitch the flap.
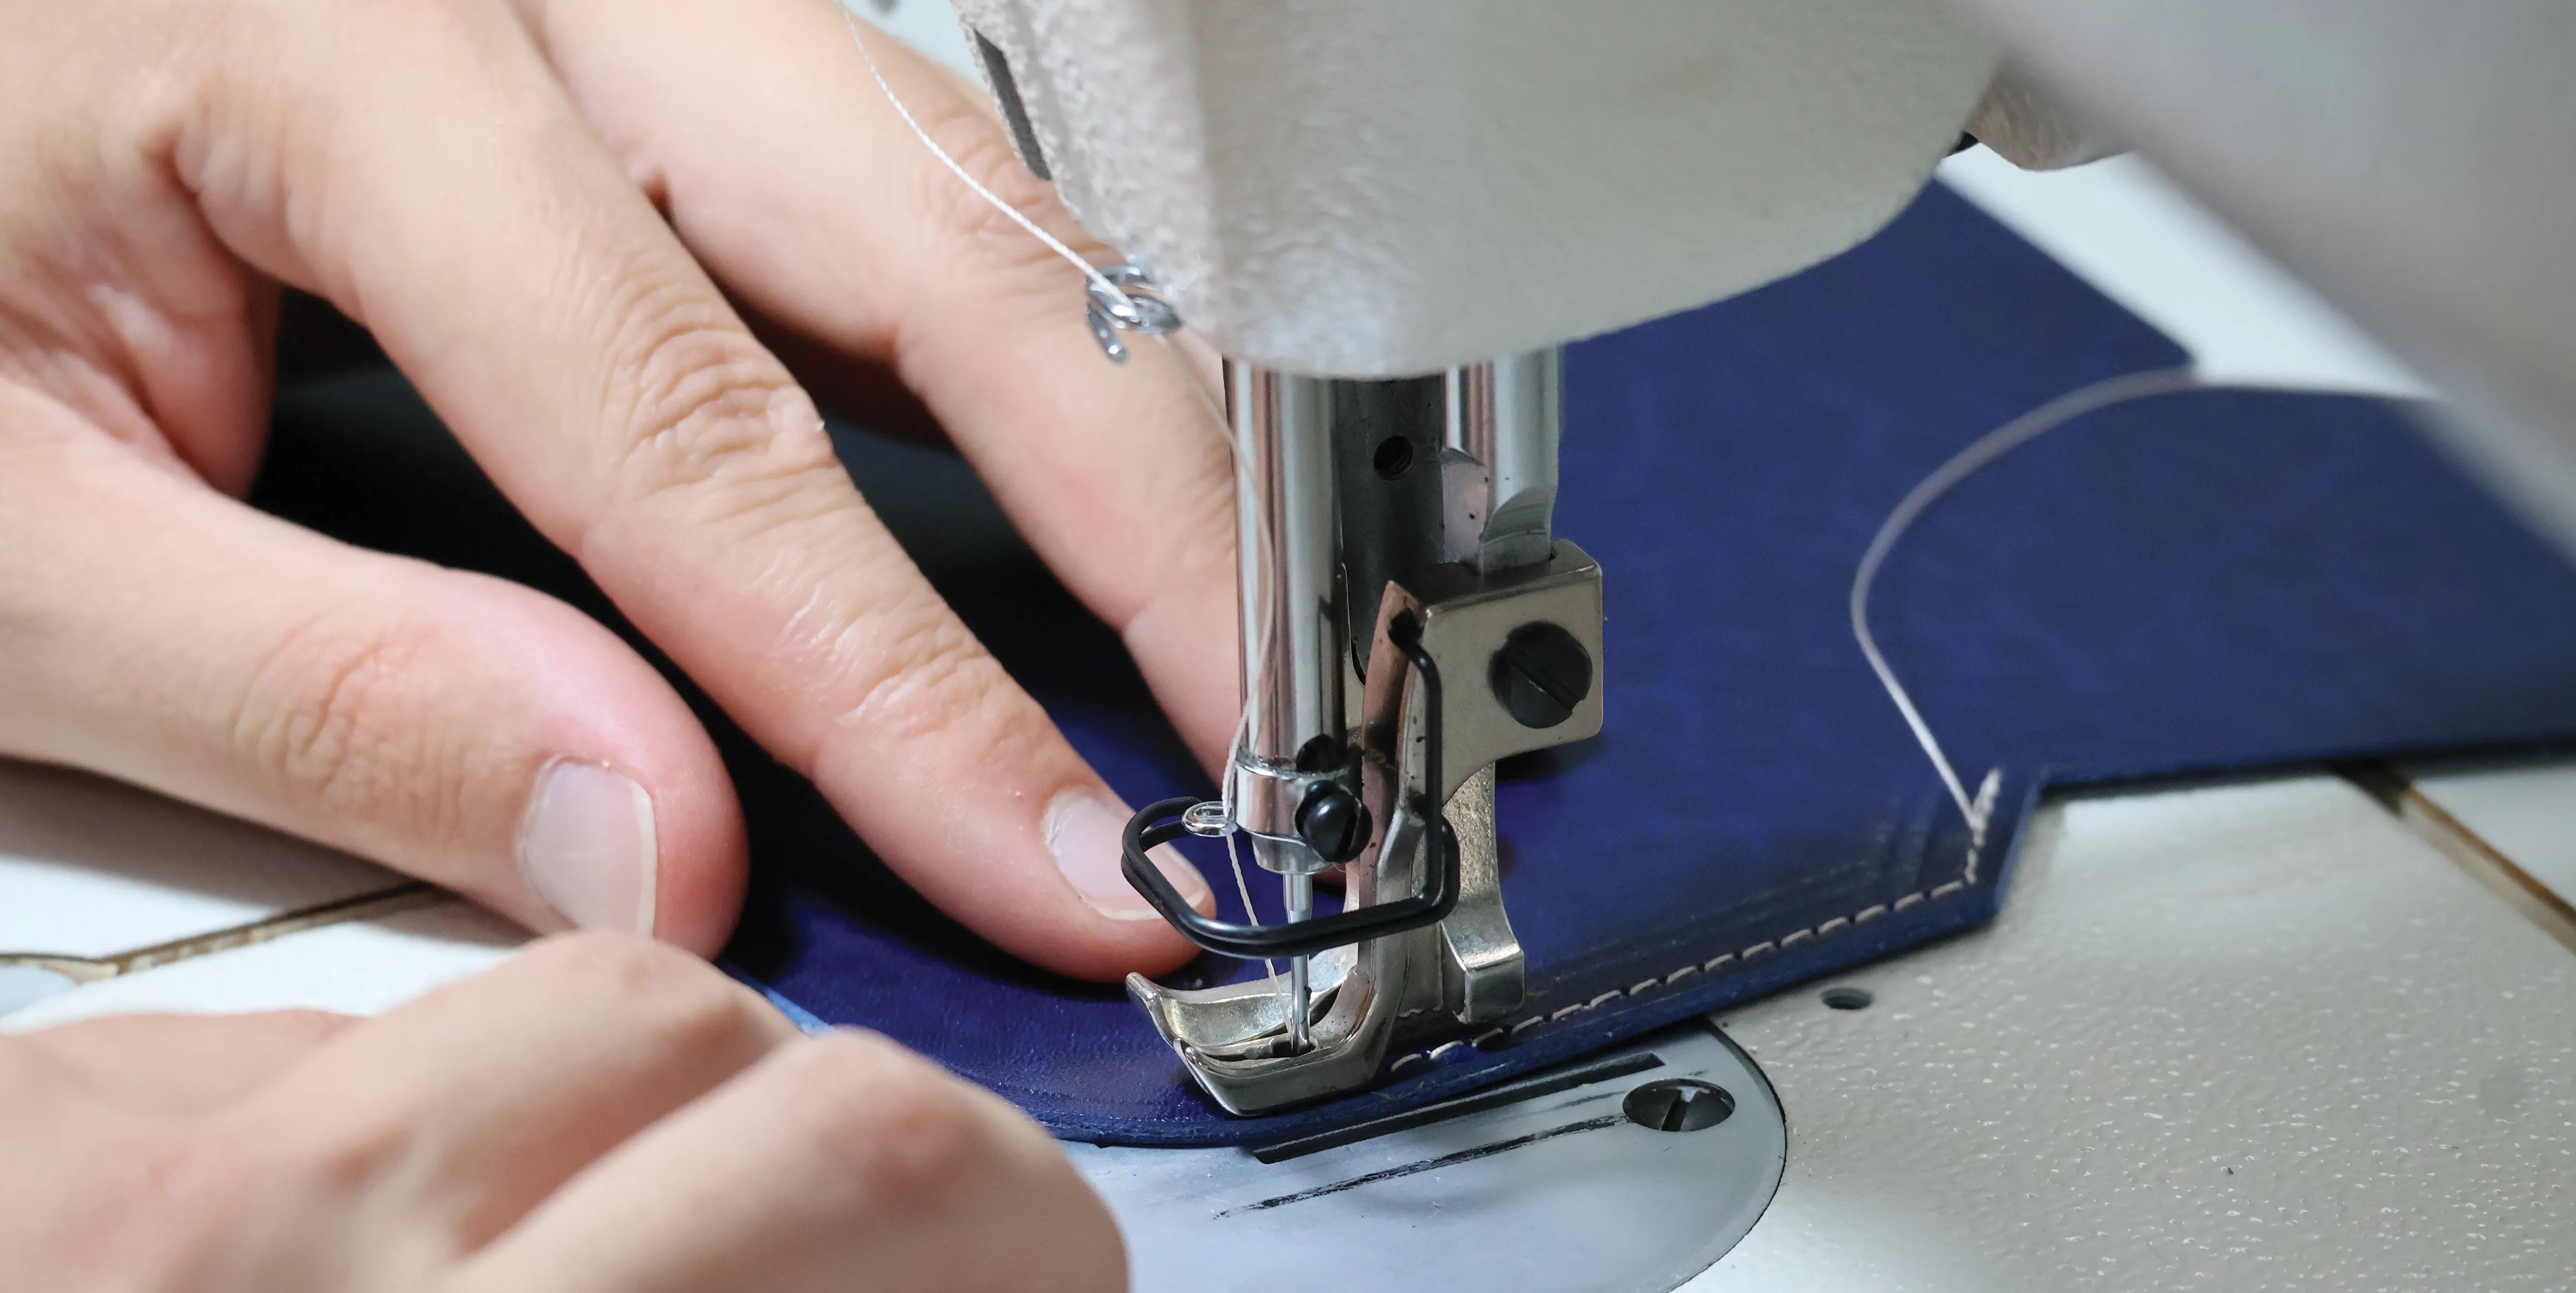
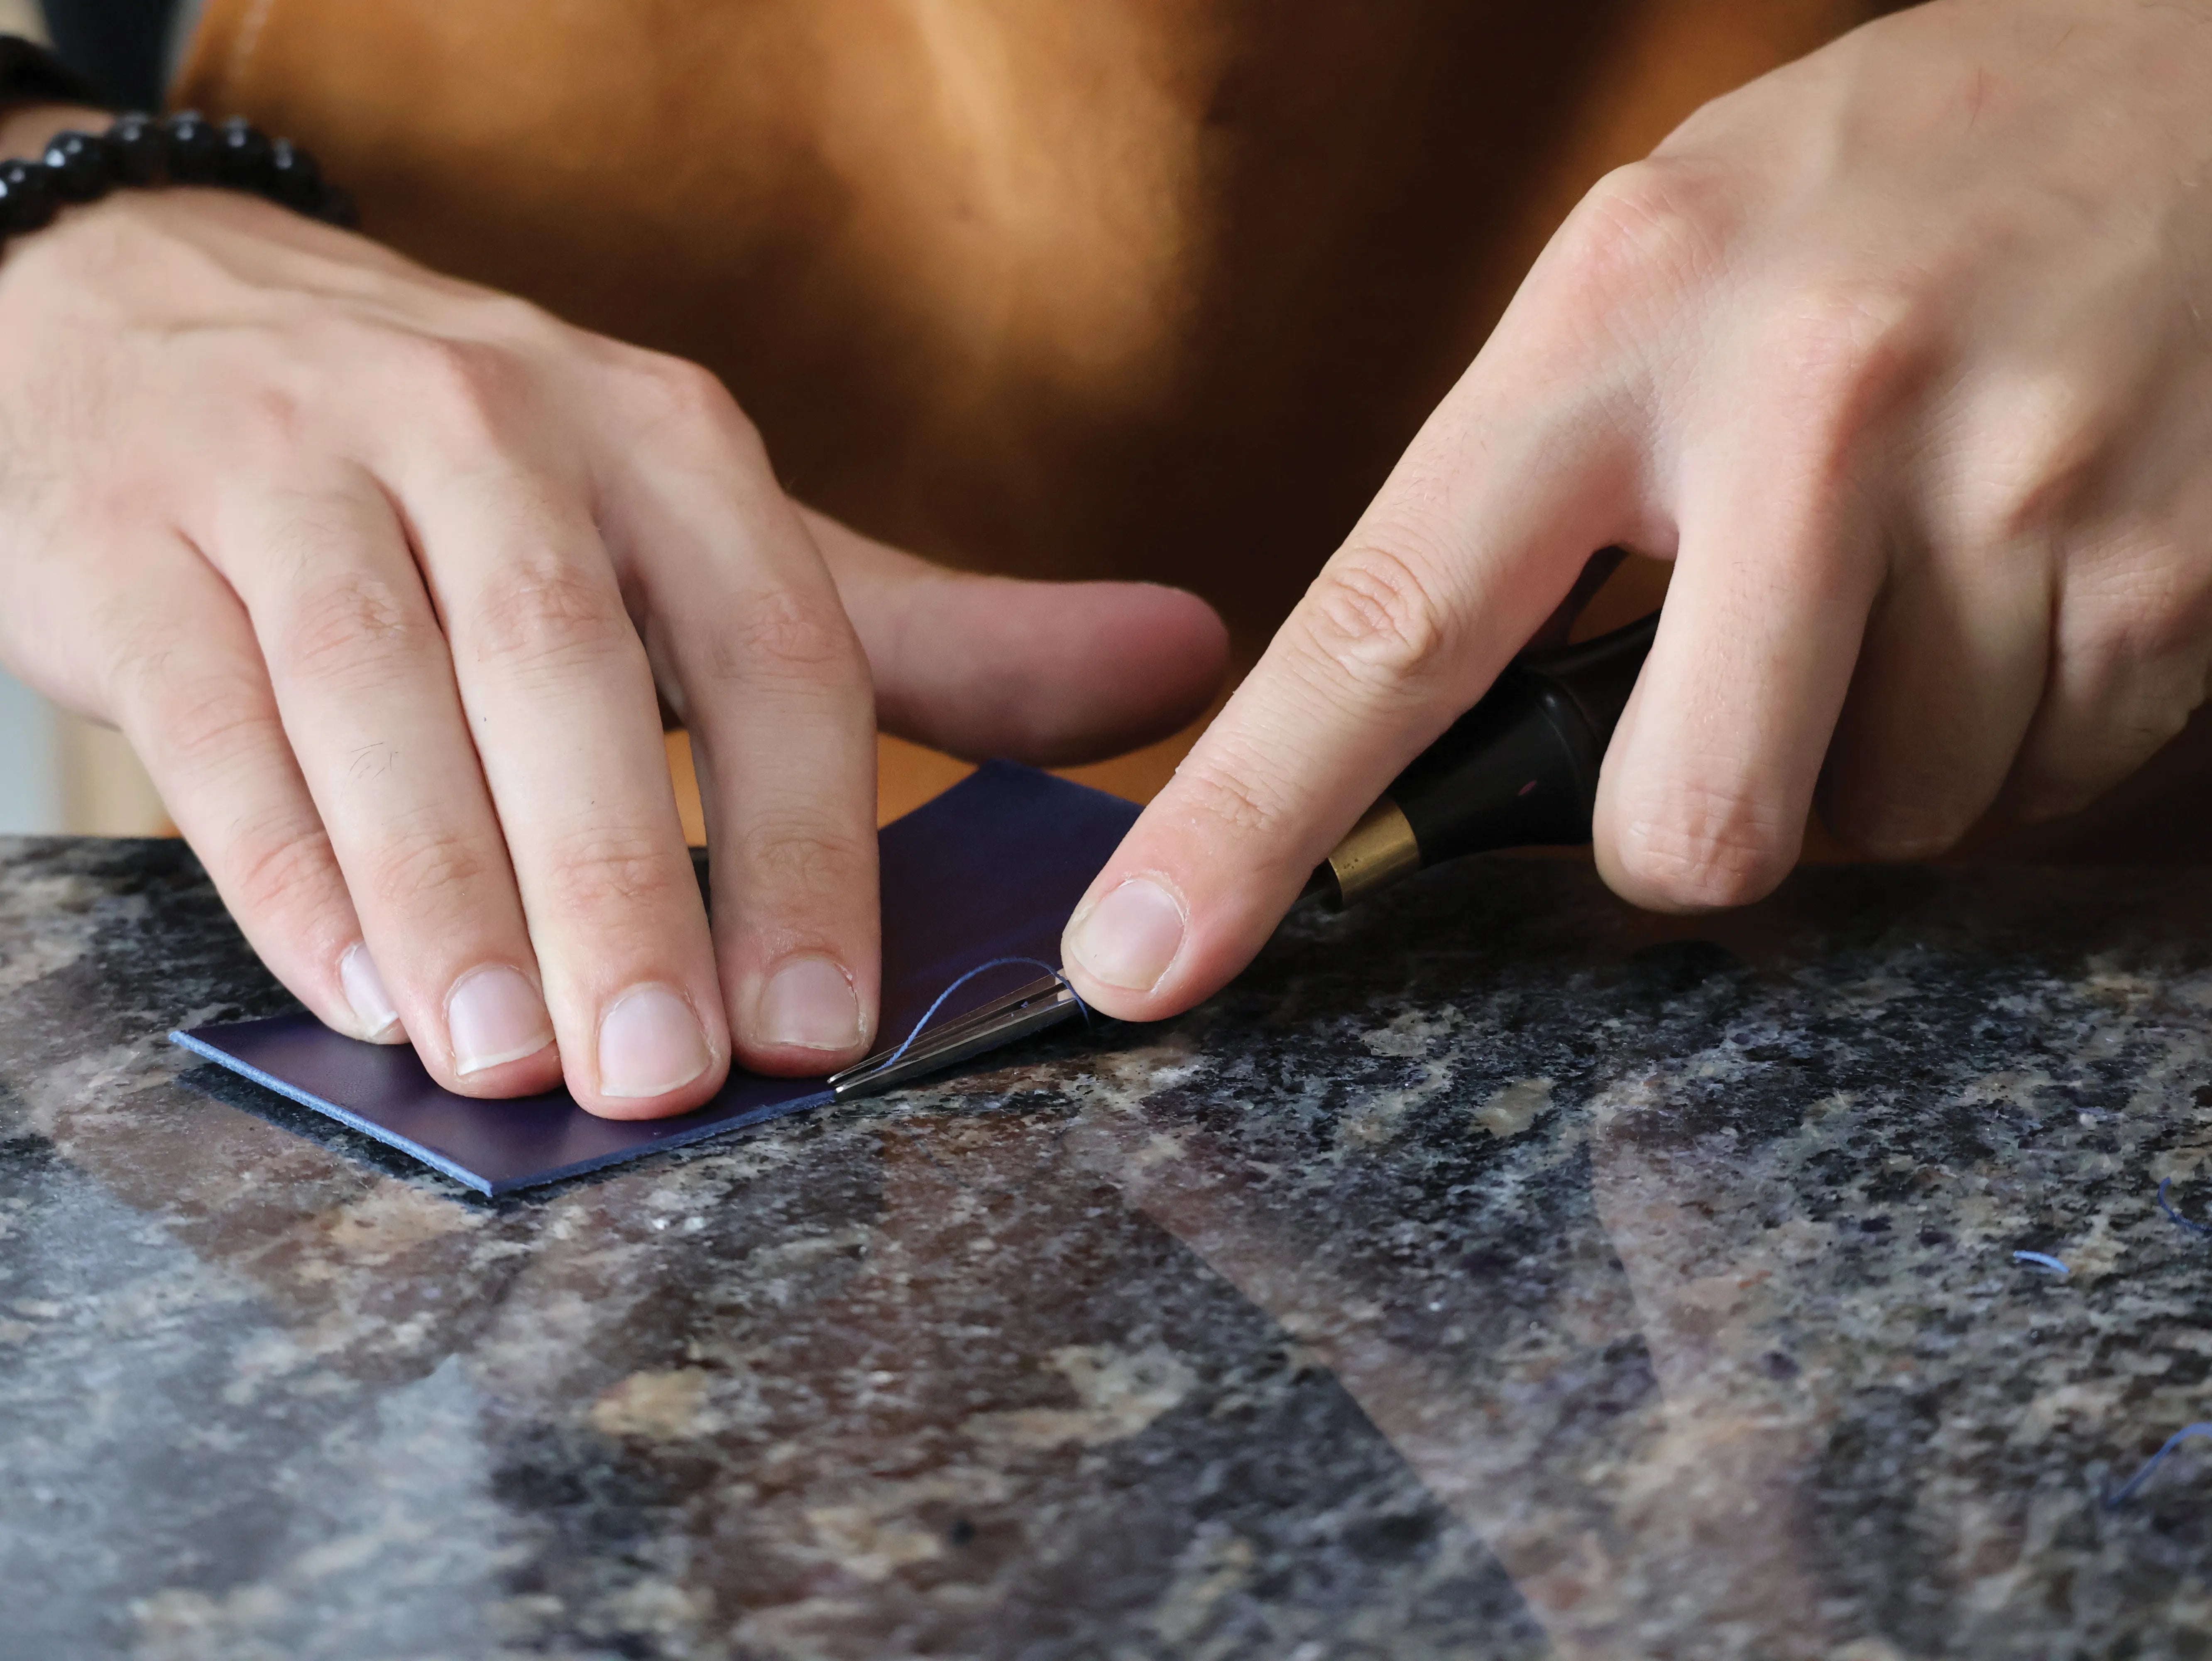
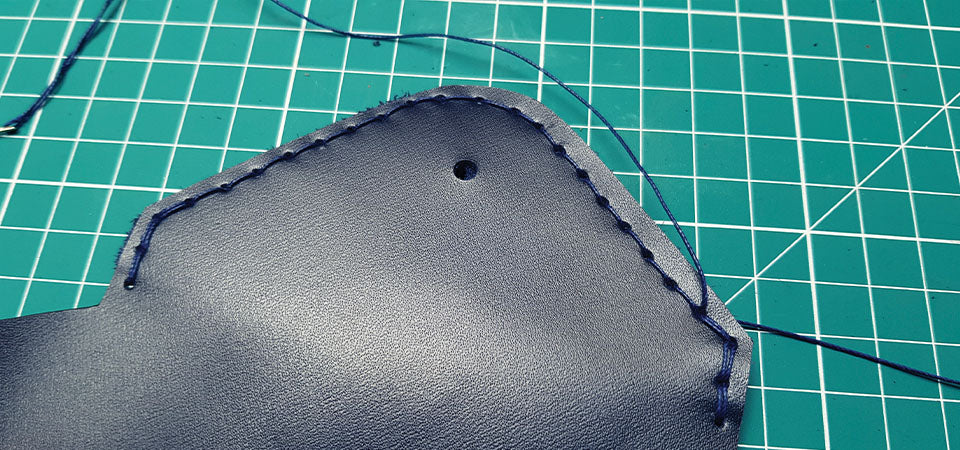
Simplified stitching version: to start stitching, cut a thread equivalent to 5 times the length to be stitched. Then, thread a needle at each end of the thread.
Stitch by passing each needle through each hole. At the end of the stitching, make 3 backstitches and hammer the stitches with a cobbler's hammer/mallet.
6. POSITION THE POCKET
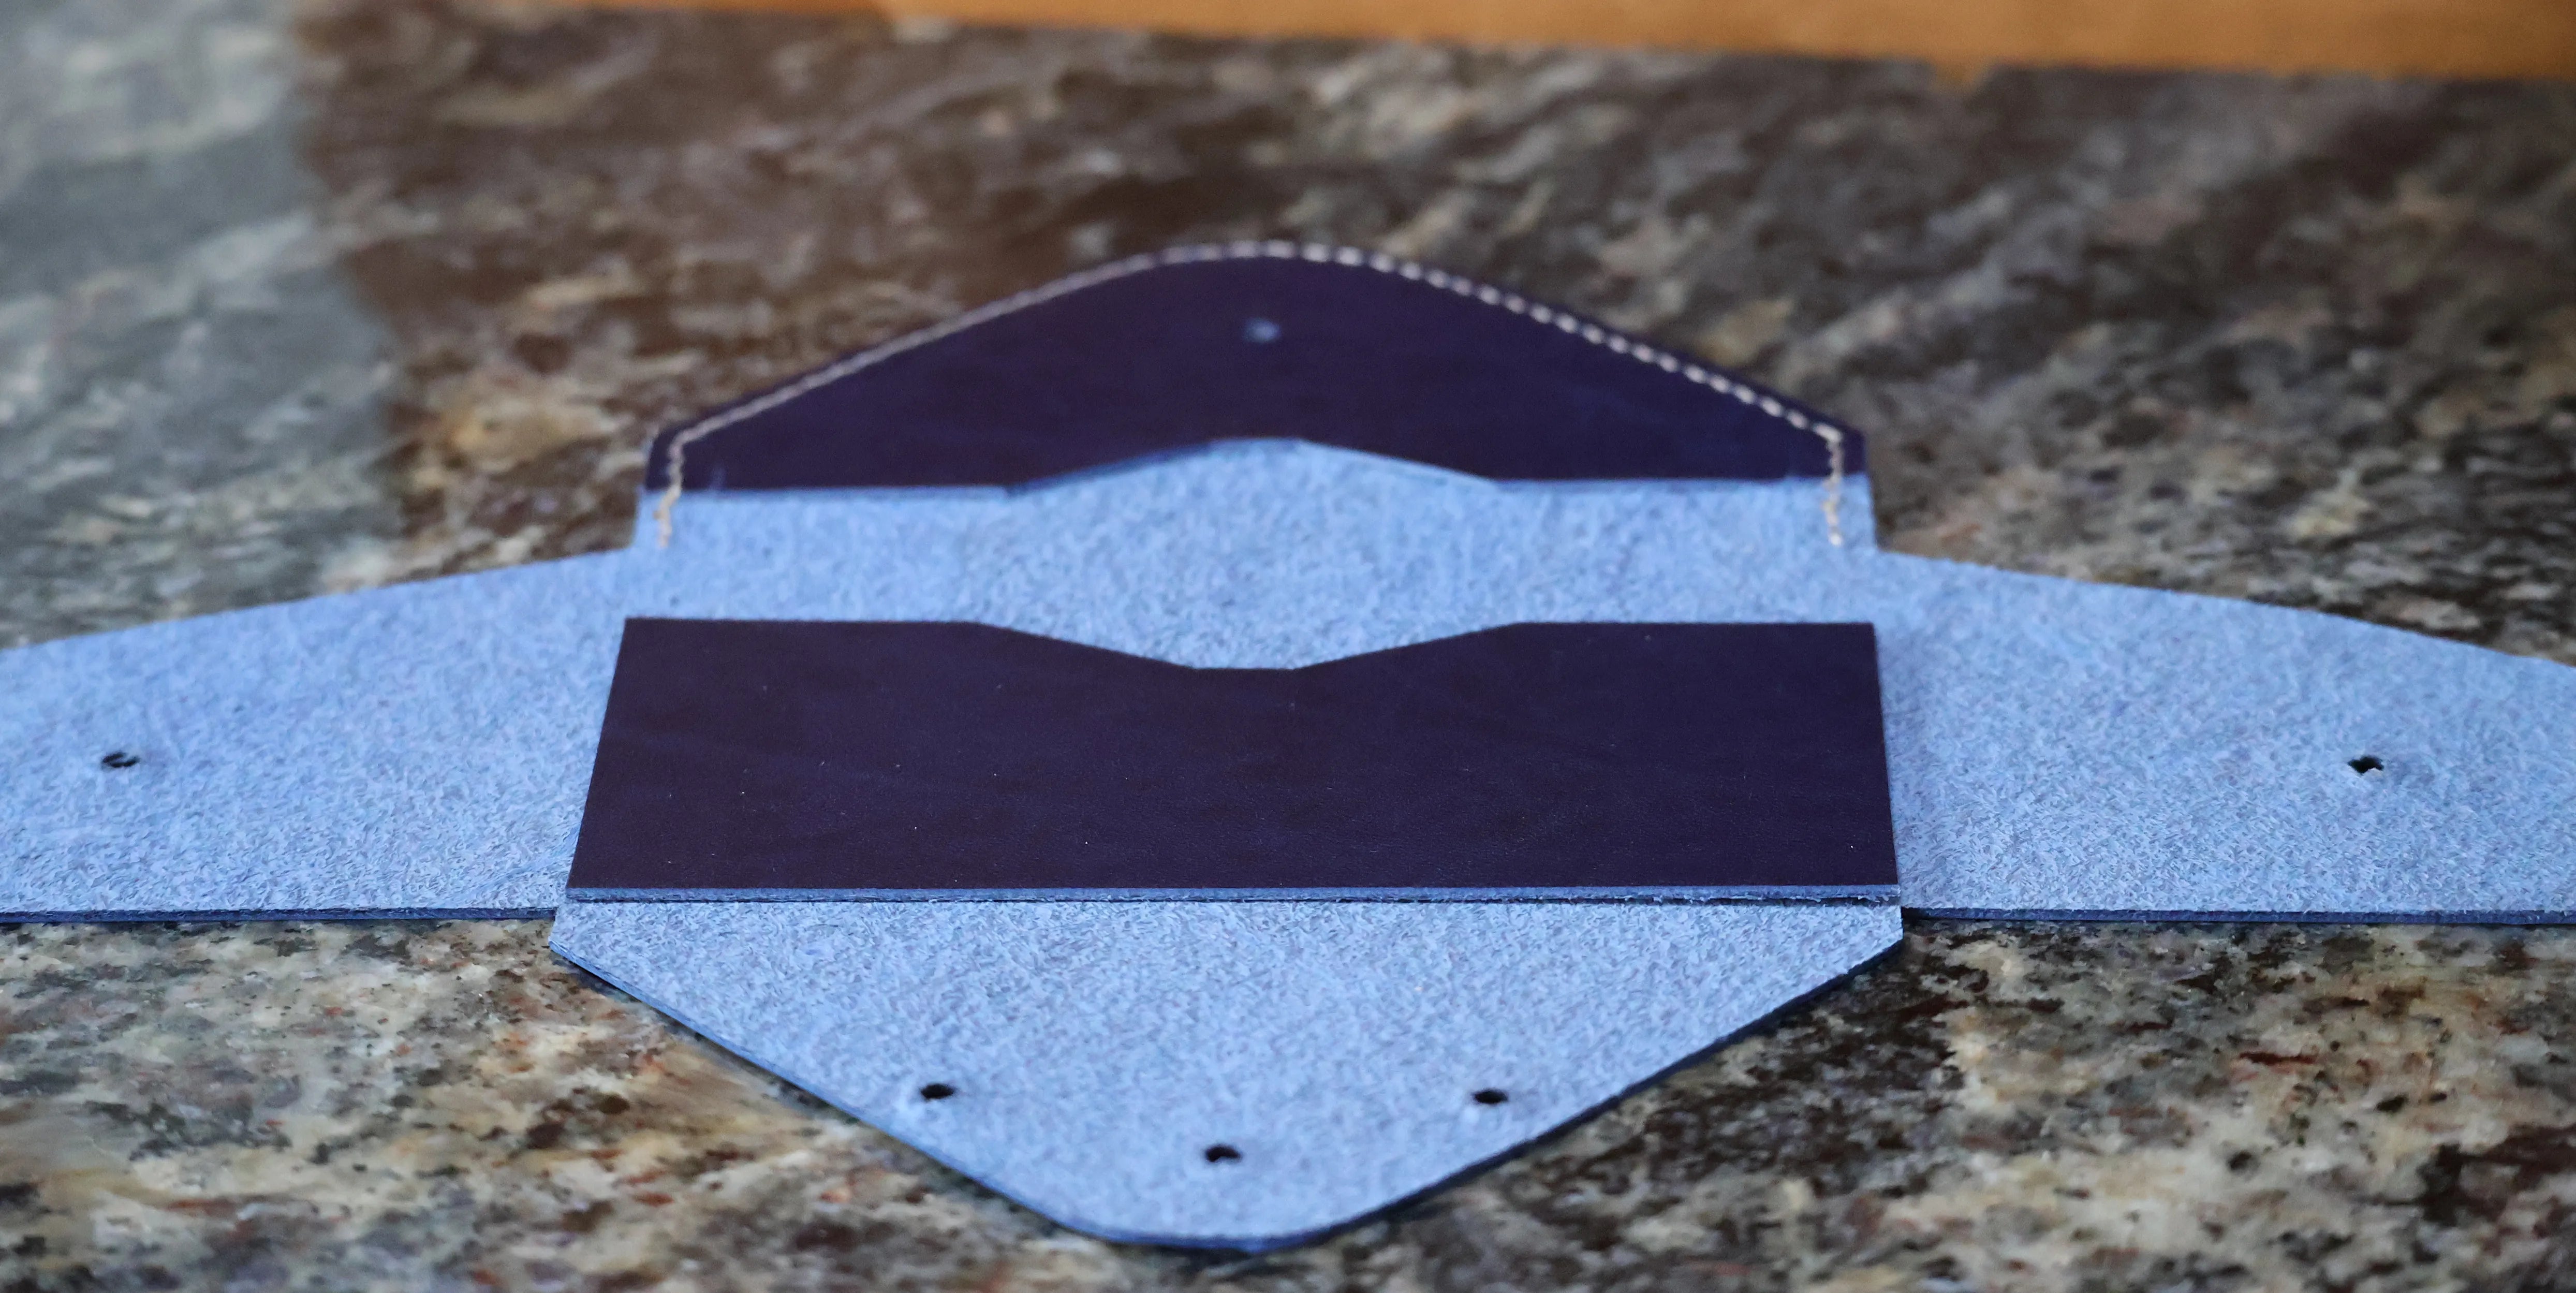
Position the pocket (P3) on the main piece and hold it in place with double-sided adhesive tape.
7. STITCH THE POCKET
Stitch the pocket on three sides only, without stitching the top length.
8. FORM THE COIN PURSE
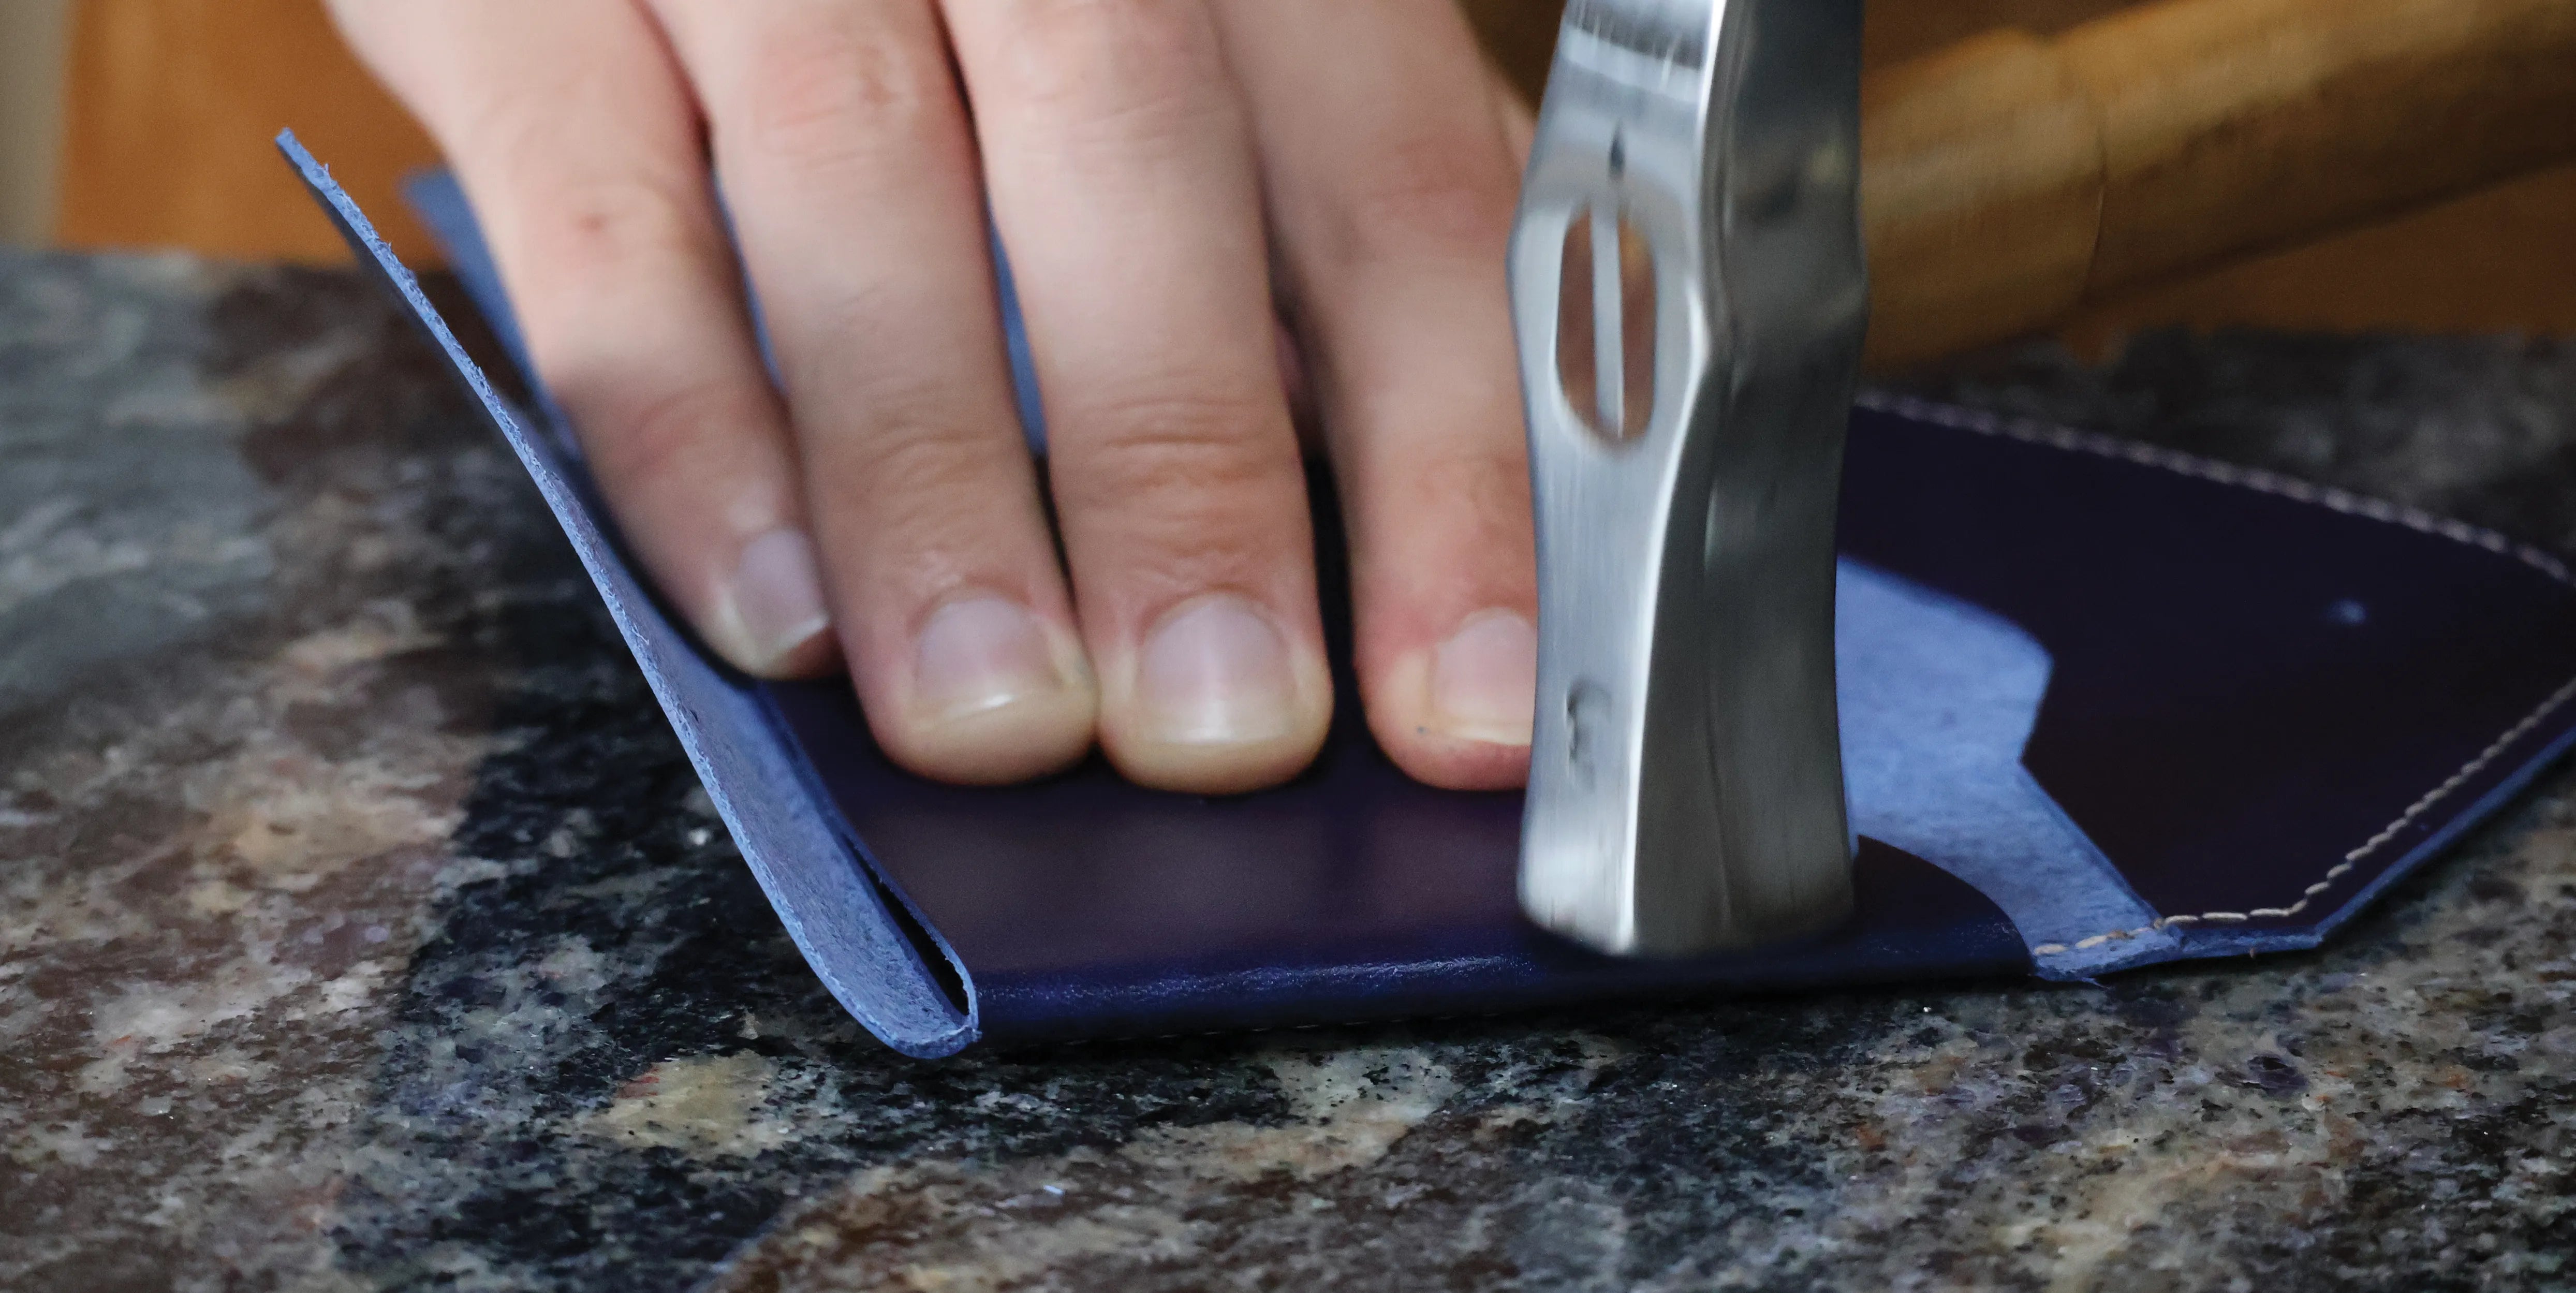
Fold the sides in, then tap them gently with a rivet hammer to shape the leather.
Apply neoprene glue to each end of the main piece (right back and left front) and wait a few minutes for the solvent to evaporate before gluing the pieces together. Then do the same to glue the lower flap. This will prevent coins from falling out!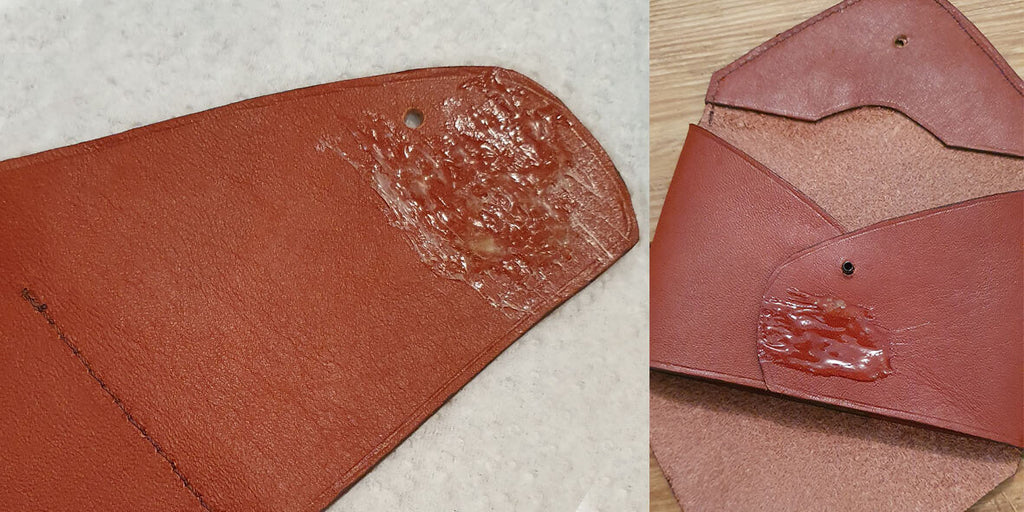
9. ATTACH THE SNAP FASTENER
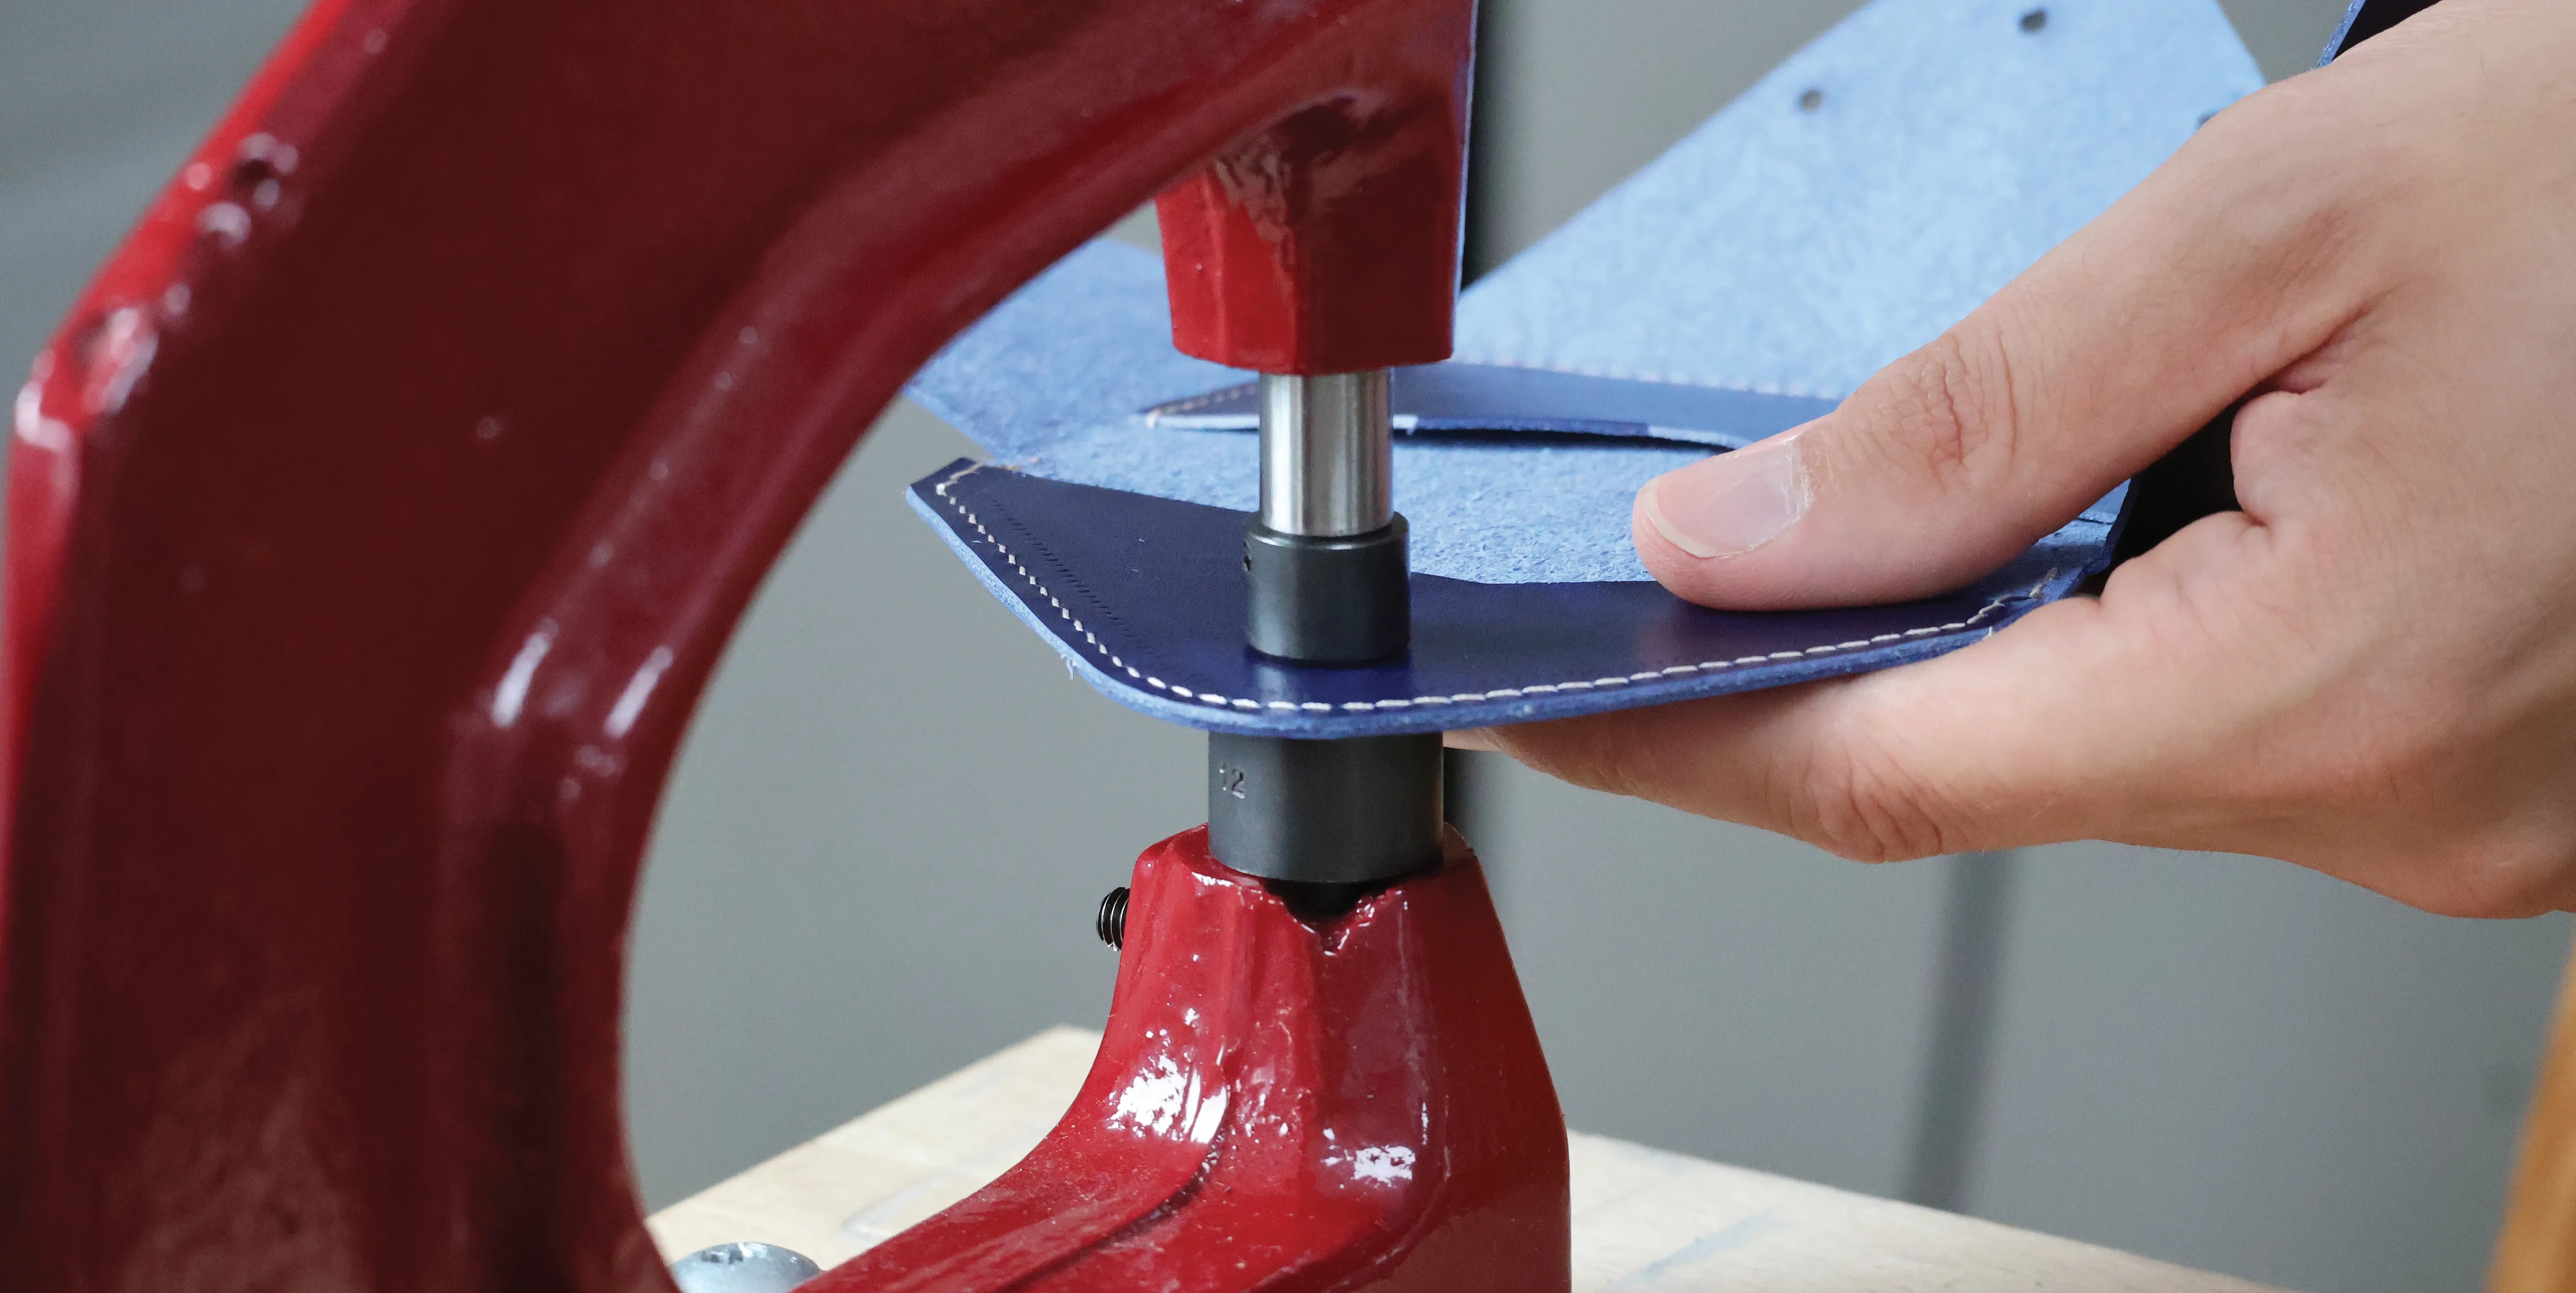
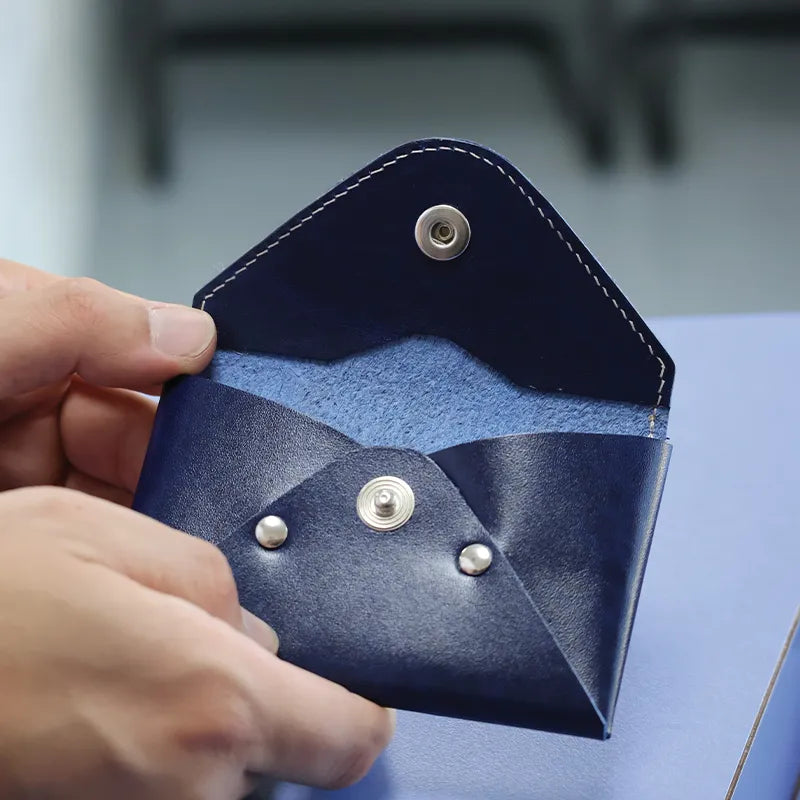
Attach the head and the post of the snap fastener at the locations indicated on the pattern.
10. ATTACH THE RIVETS
Attach the two T2 rivets to keep the coin purse properly closed.
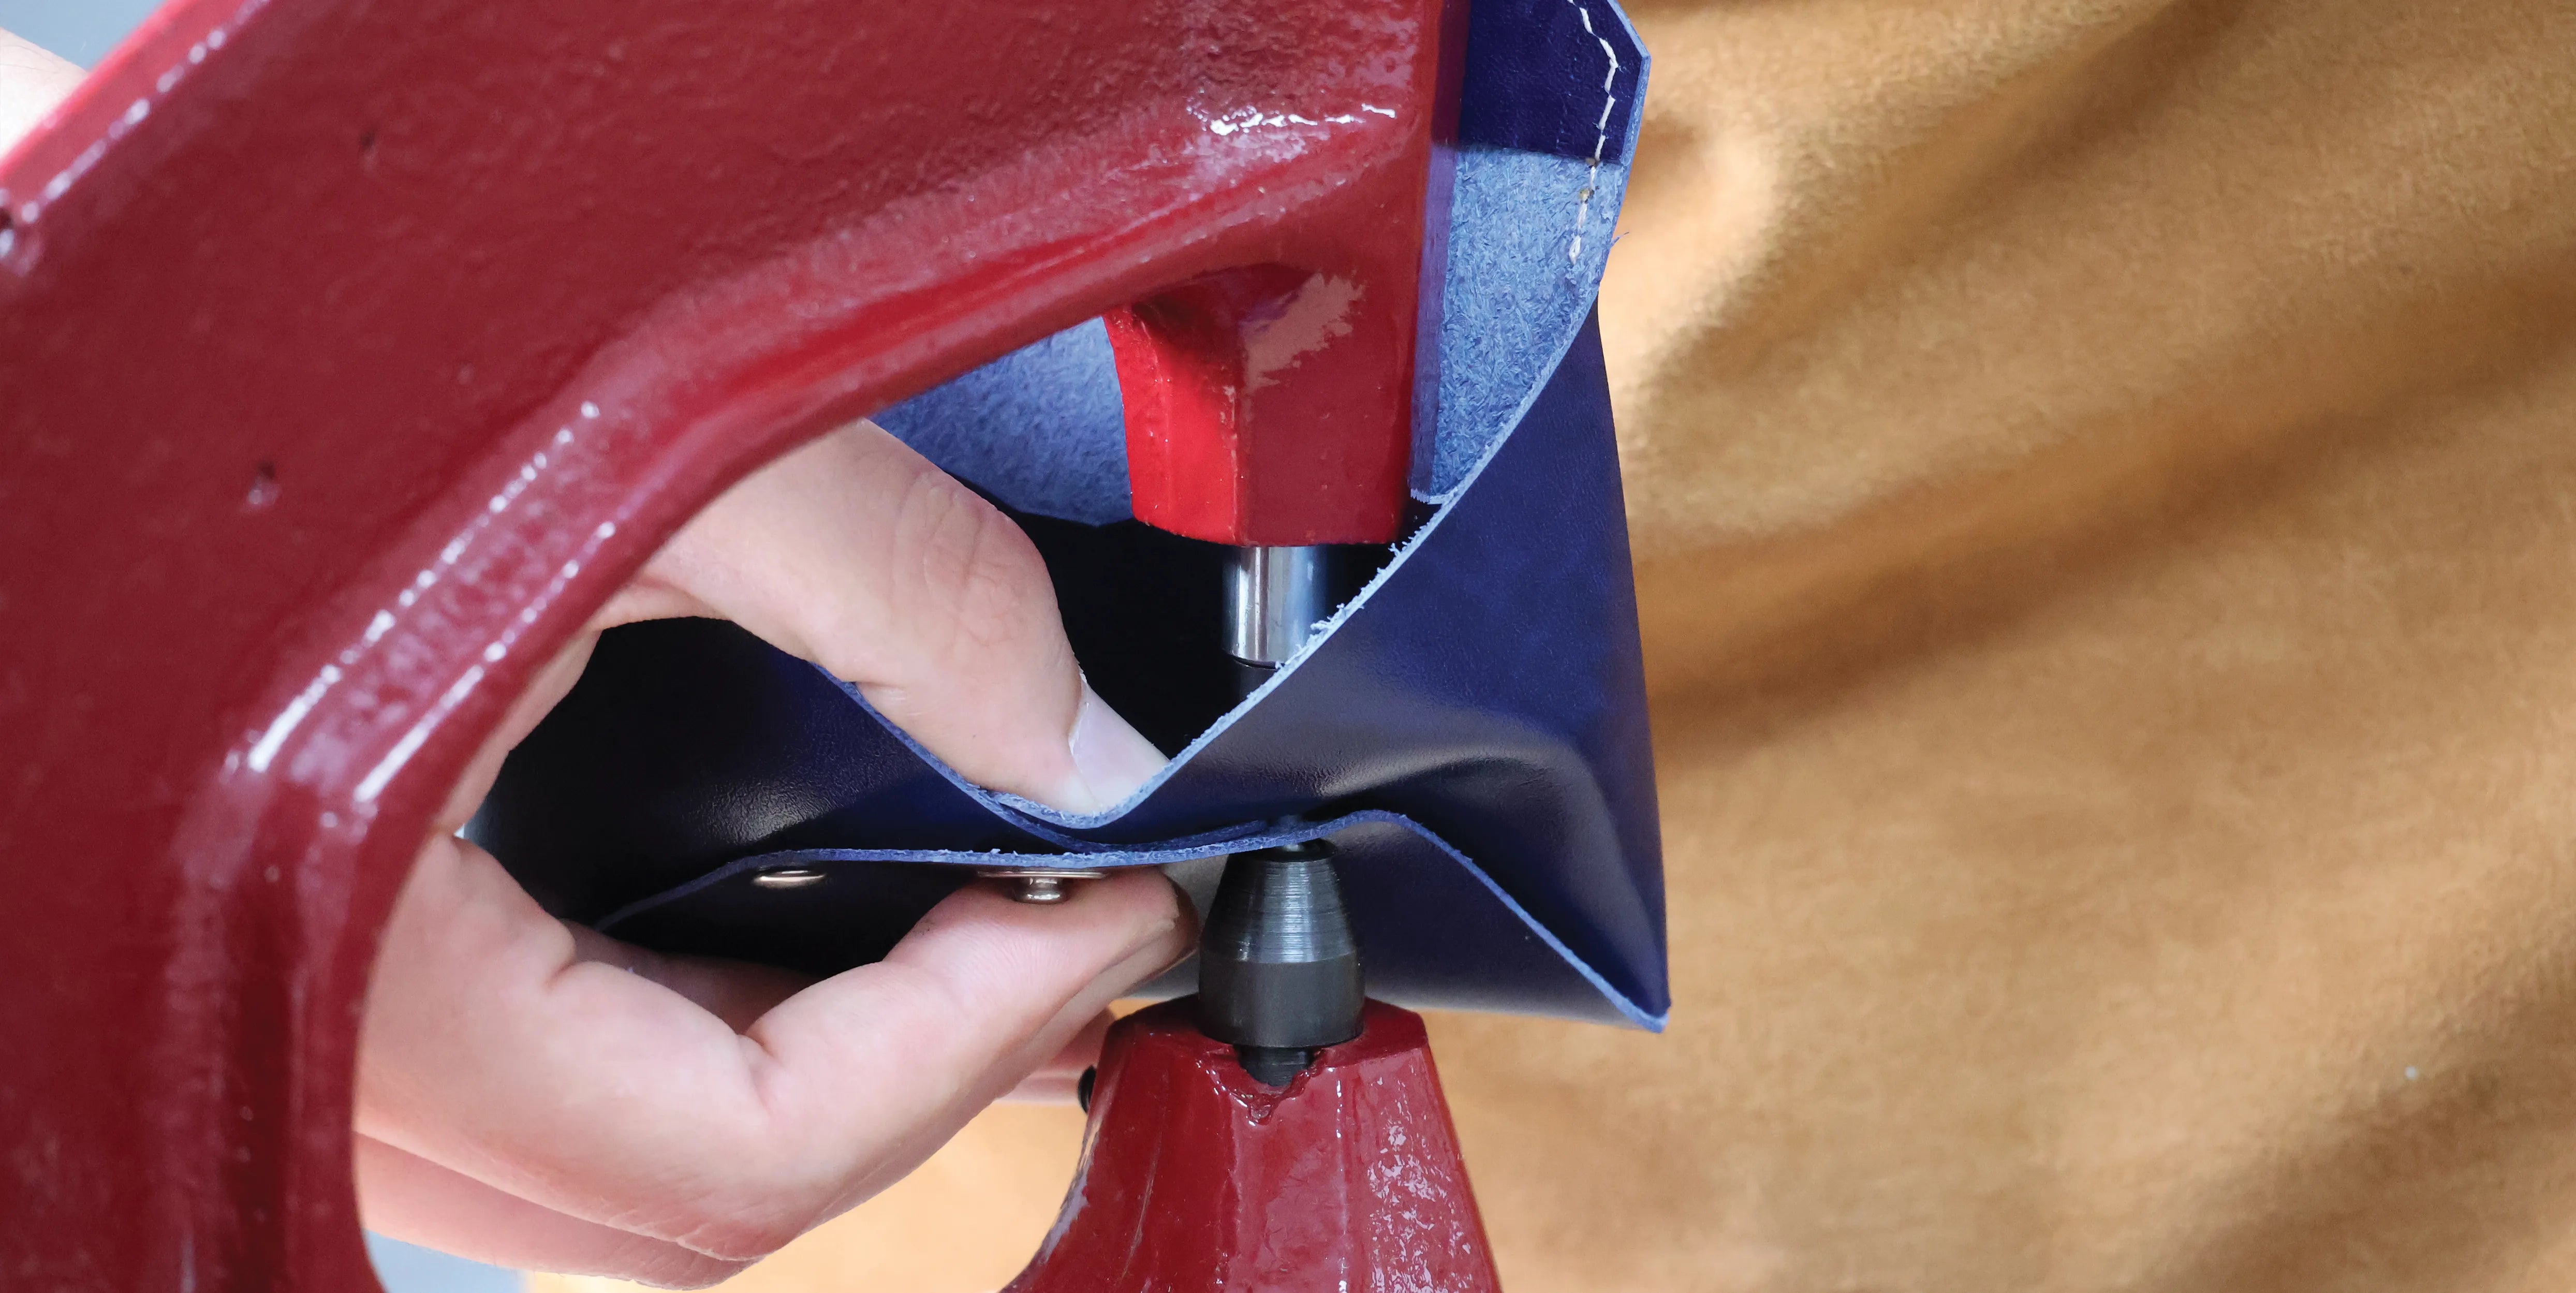
If you do not have a setting set: use Chicago screws instead of rivets and a collar button instead of a snap fastener.
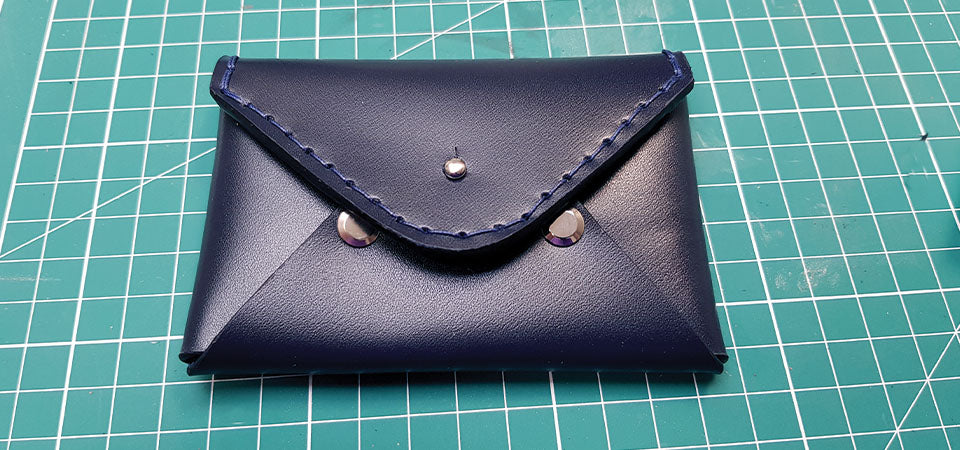
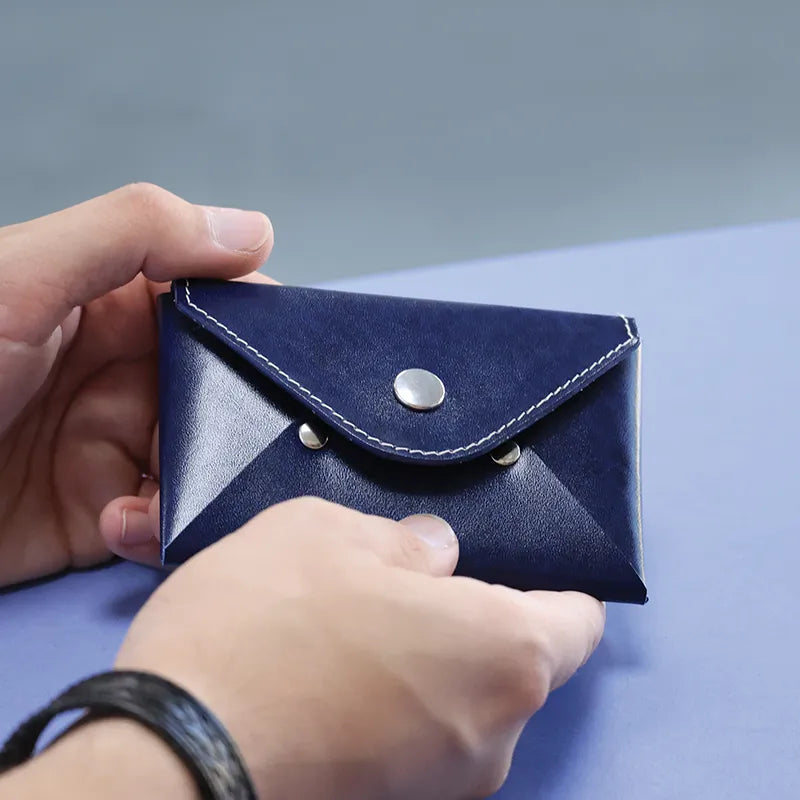
YOU ARE FINISHED!
 |
 |