


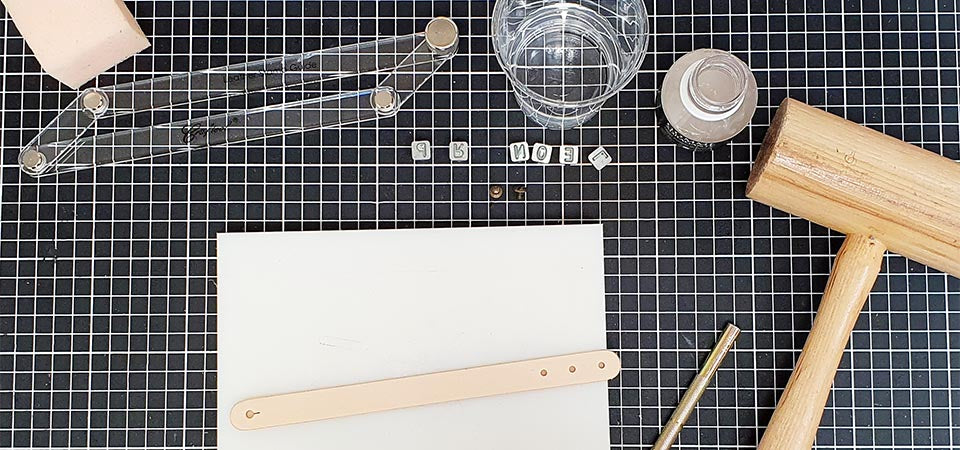
MATERIALS NEEDED
To complete this tutorial, you will need:
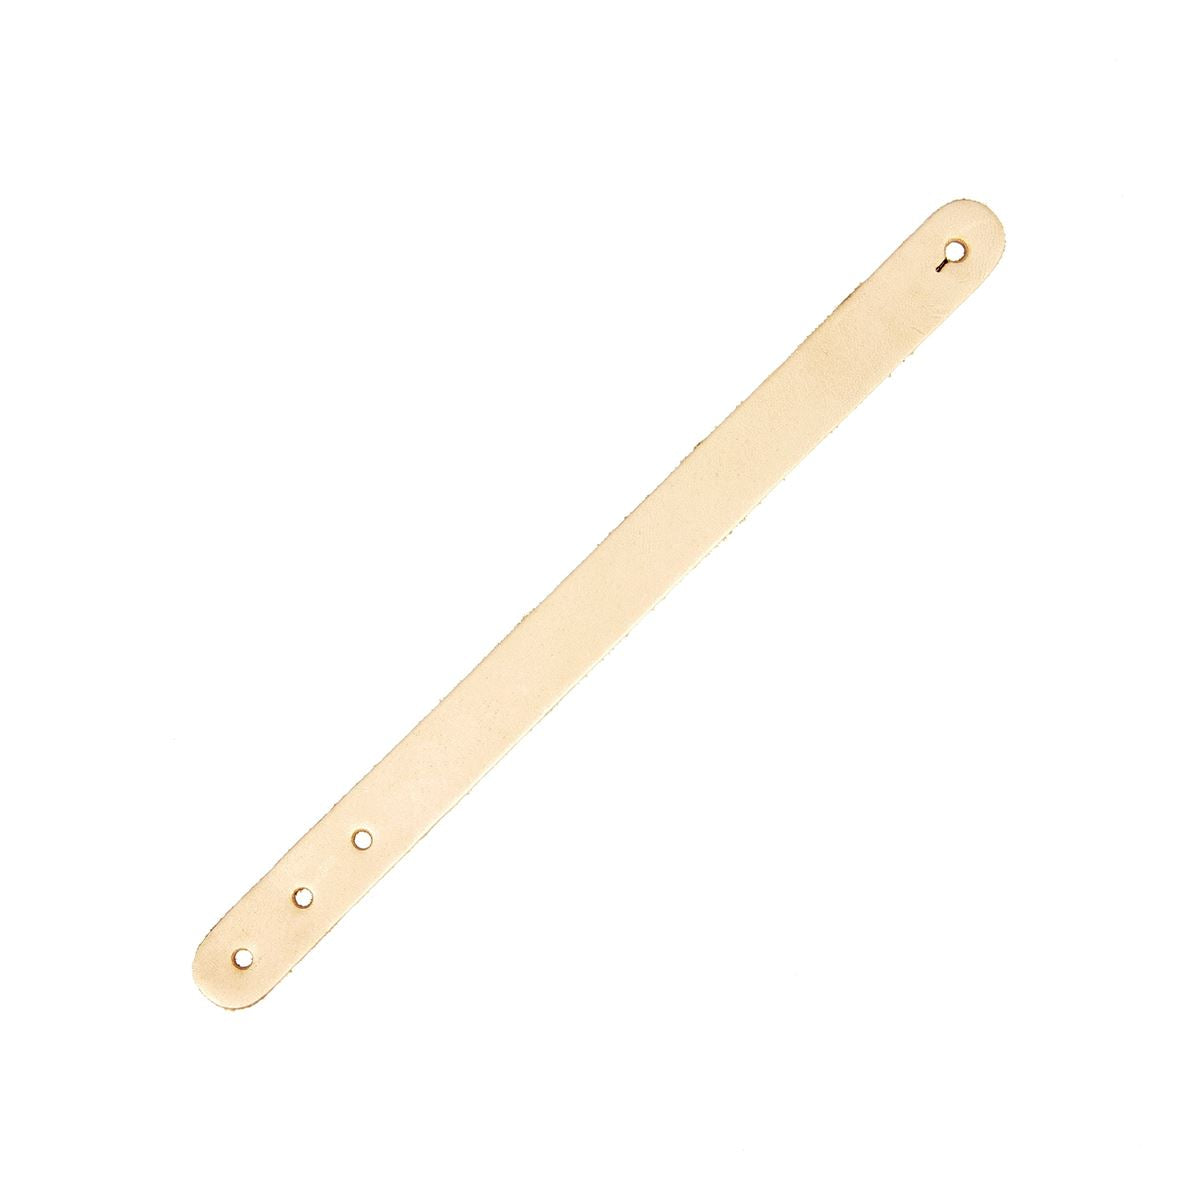
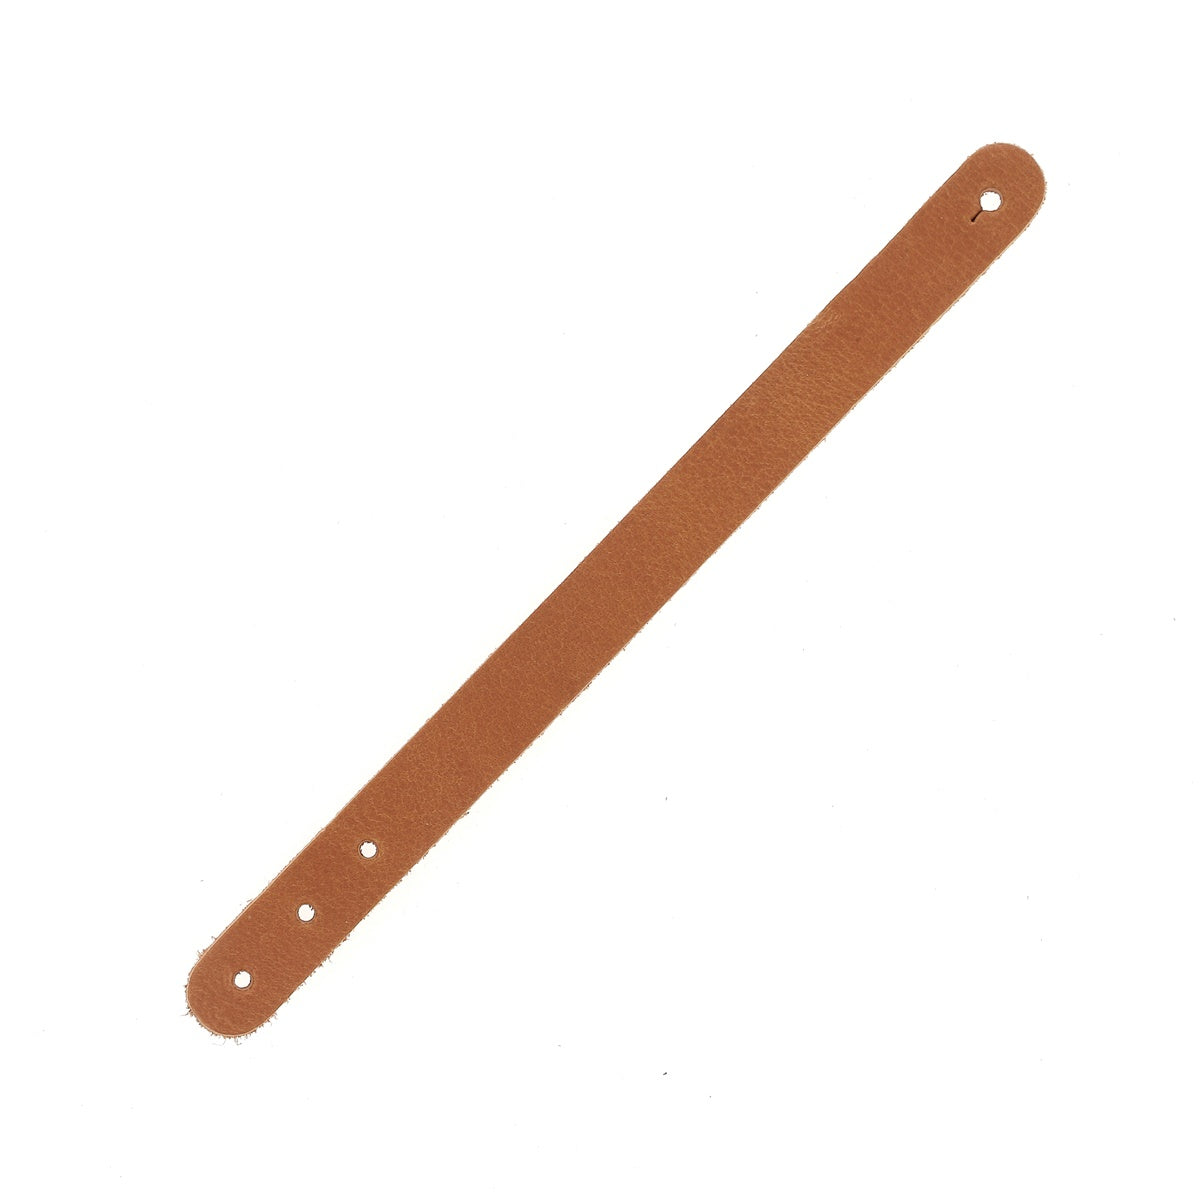
- 4 natural leather (vegetable-tanned) bracelets to personalize - 20 x 1.5 cm
- Tragacanth gum for edge finishing
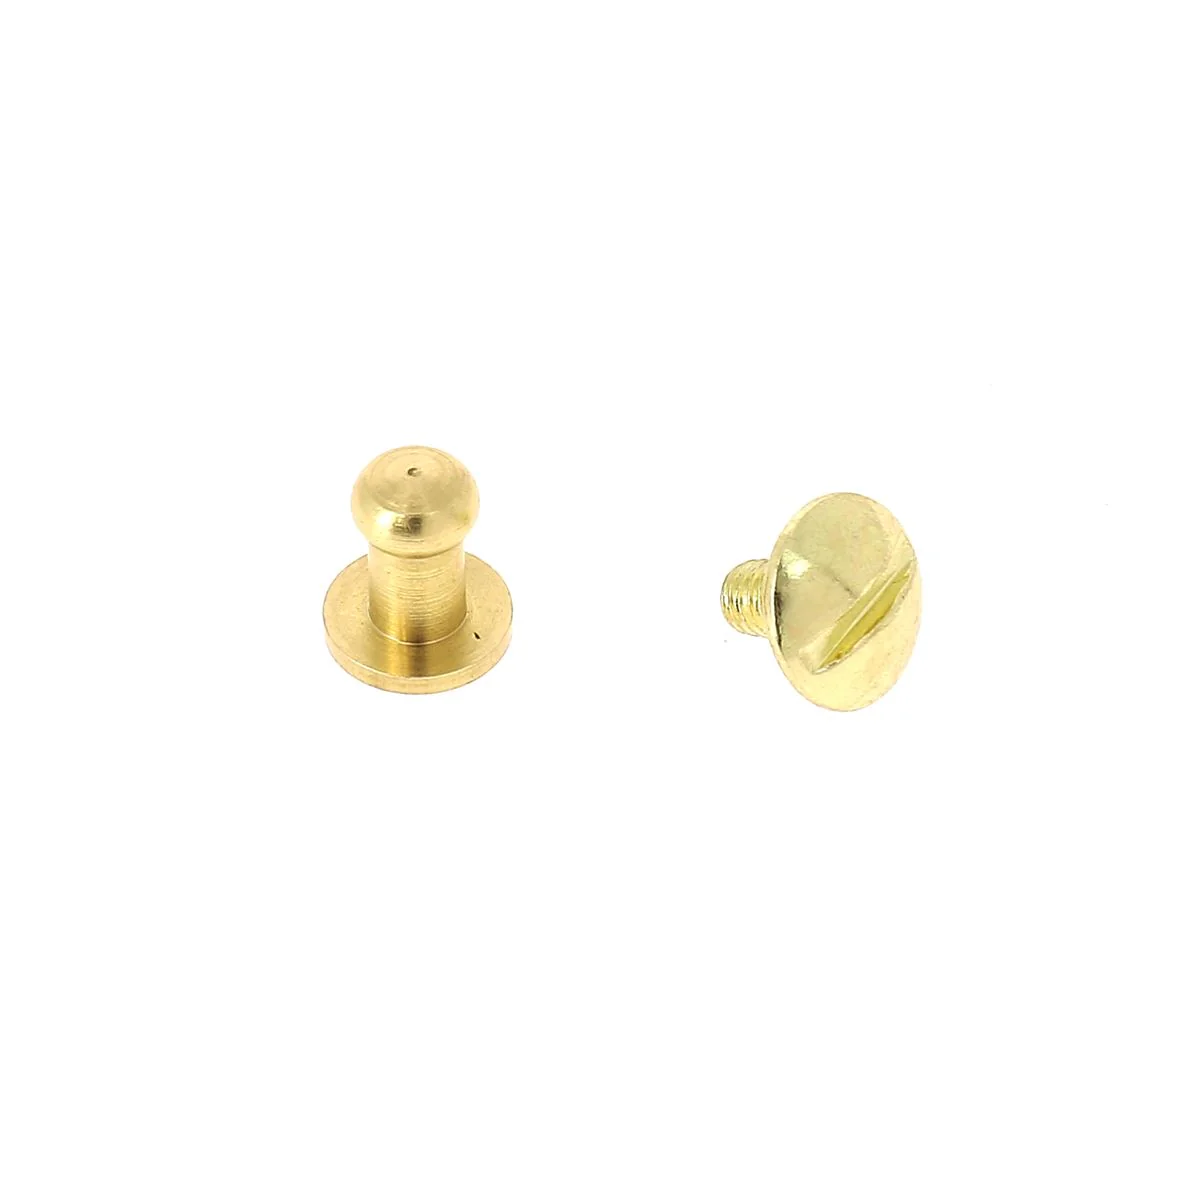
- 4 T3 screw-in collar buttons - Antique brass
- Standard set of numbers and letters - 0.64 cm
- 1 sponge
- 1 stamping block
- 1 mallet
- 1 screwdriver
- 1 cloth
1. MOISTEN THE LEATHER
Soak a sponge with water and moisten the vegetable-tanned leather bracelet (grain side): this will make personalized marking easier.
Be careful to moisten the leather uniformly to avoid marks.
WHAT IS VEGETABLE-TANNED LEATHER?
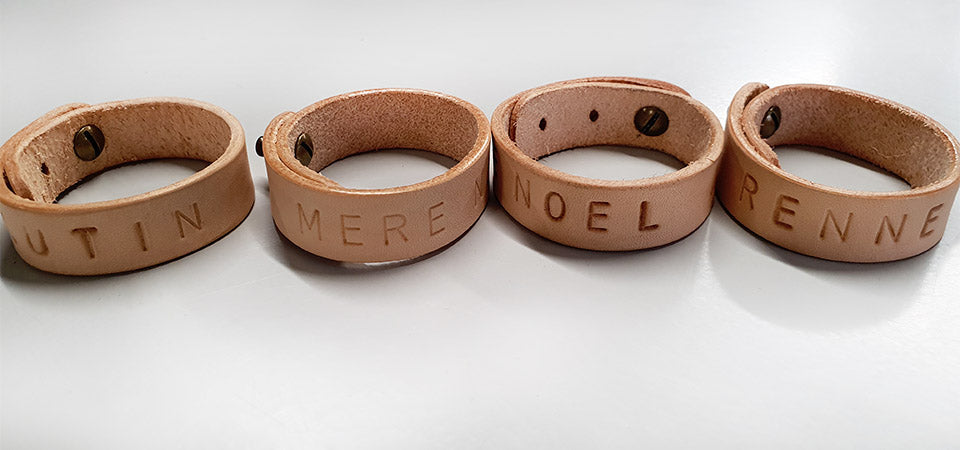
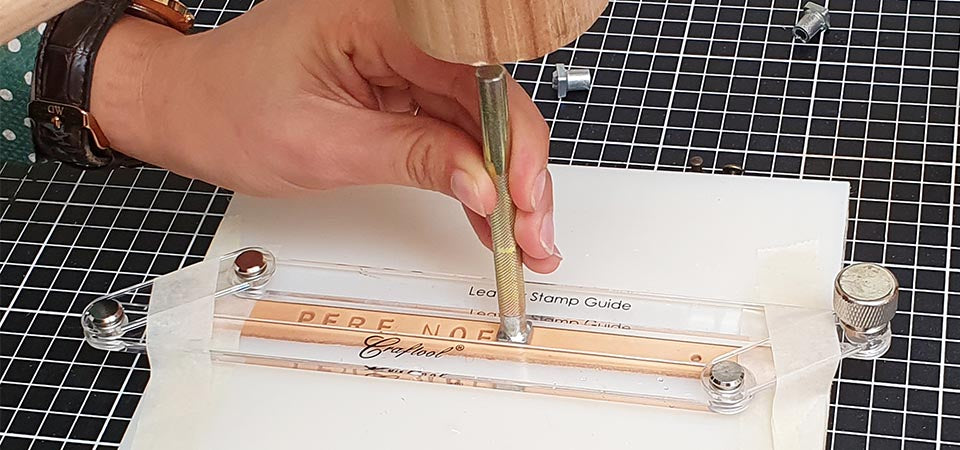
2. MARK THE LEATHER
Using the stamping tool handle and a mallet, stamp the letters onto the vegetable-tanned leather. Make sure to check the direction of the letter before striking.
You can use a stamping guide to help you stamp straight.
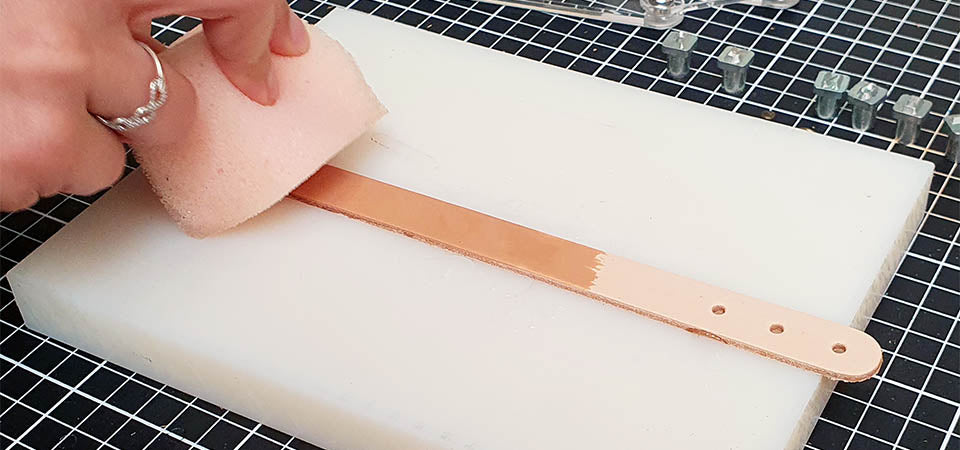
3. APPLY A FINISHING GUM
After lightly sanding the edges with sandpaper, apply a finishing gum (tragacanth, arabic, or tokonole).
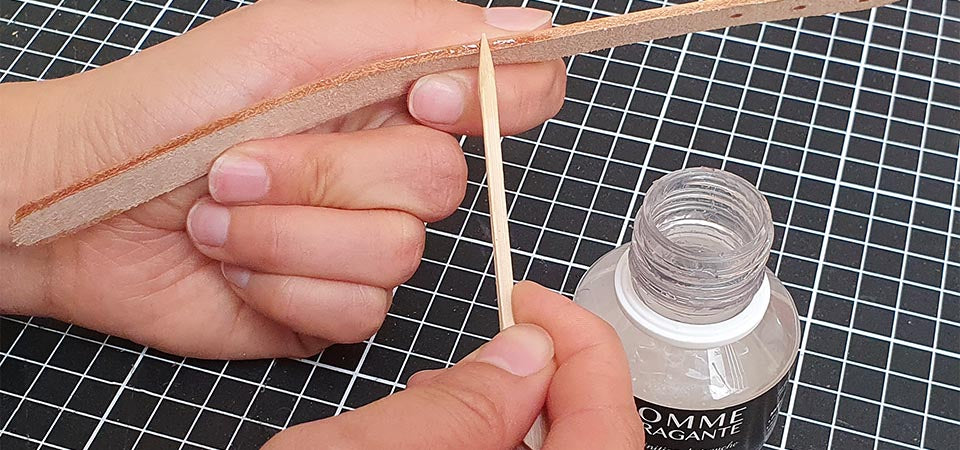
Apply the product in a thin layer to the edge. Wait a few moments for the gum to soak in, then rub the edge vigorously with a cloth or slicker. The tragacanth gum dries and warms up with friction, and the edge will darken and shine.

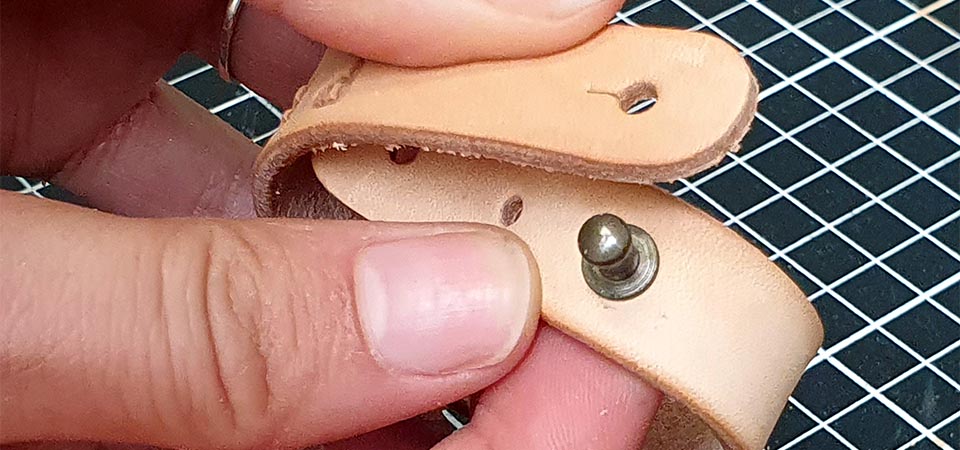
4. ATTACH THE COLLAR BUTTON
Insert the collar button into the first hole of the bracelet and then screw it in.
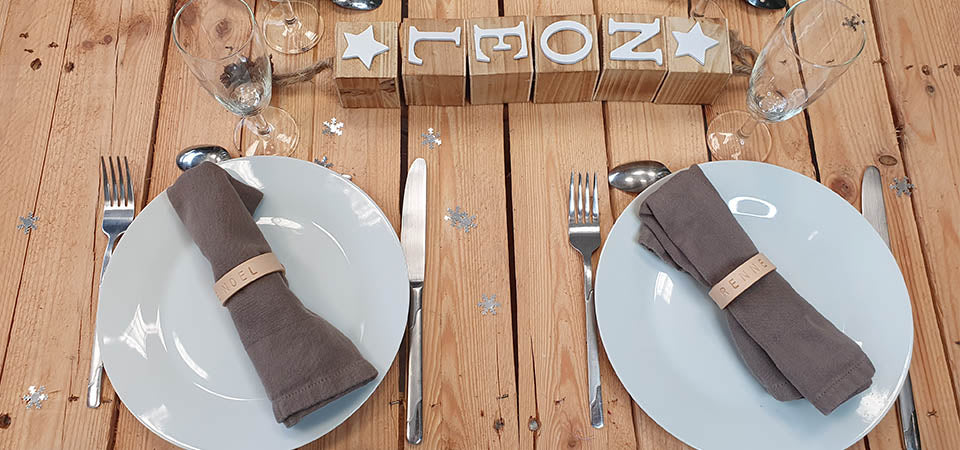
YOUR NAPKIN RING (OR PERSONALIZED BRACELET) IS COMPLETE!
The little extra: dye the napkin ring with leather dye.