


THE NECESSARY EQUIPMENT
To complete this tutorial, you will need:
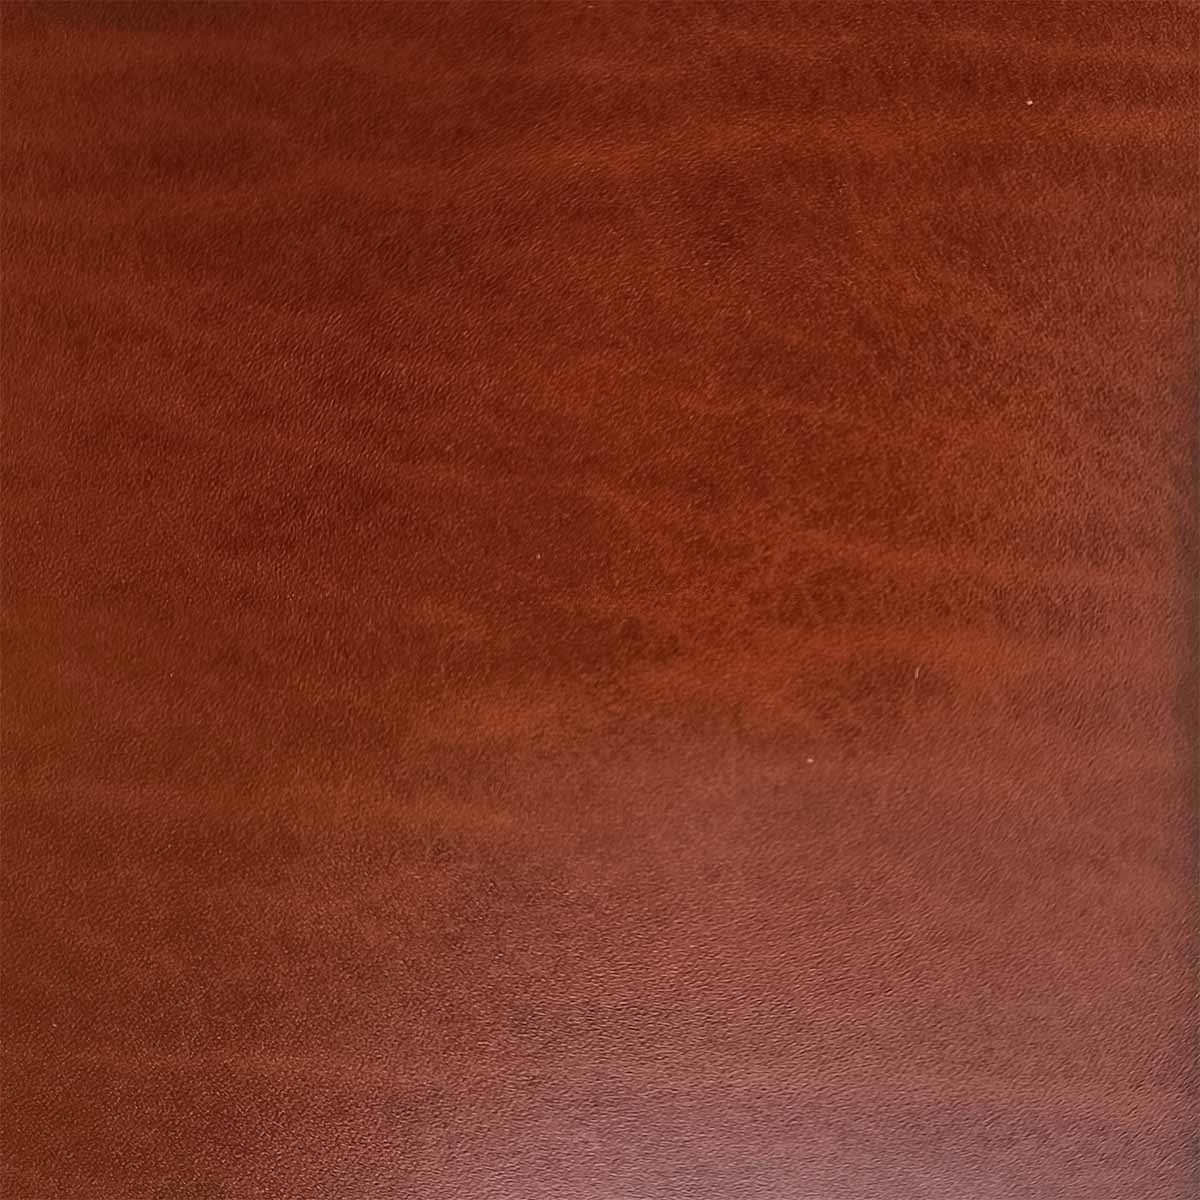
- 1 piece of firm leather - 30 x 40 cm - approximately 1-1.2 mm thick
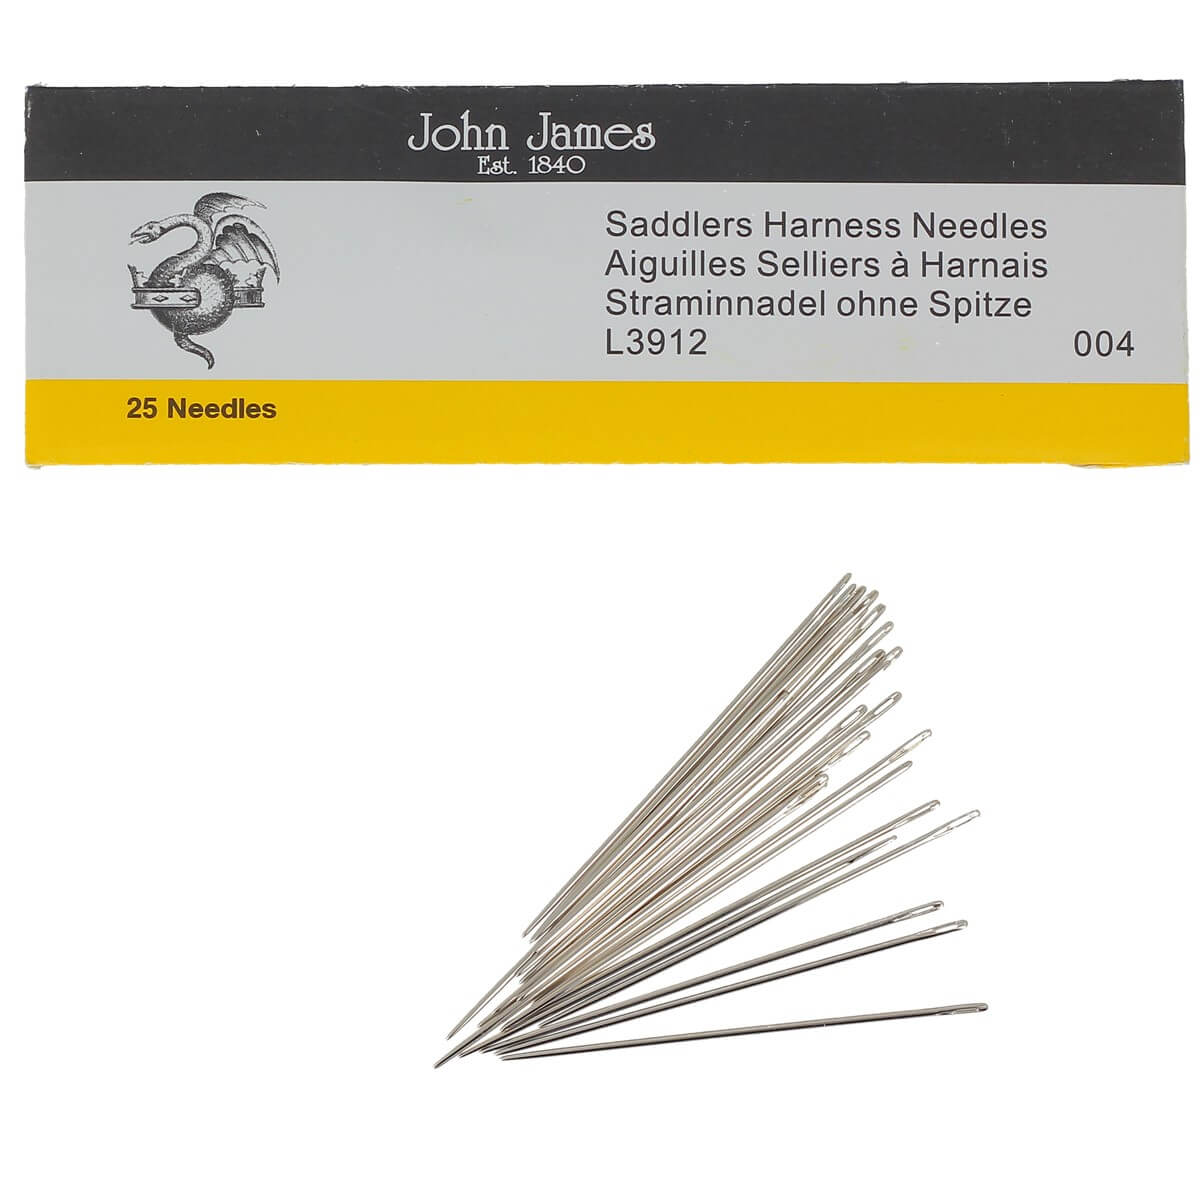
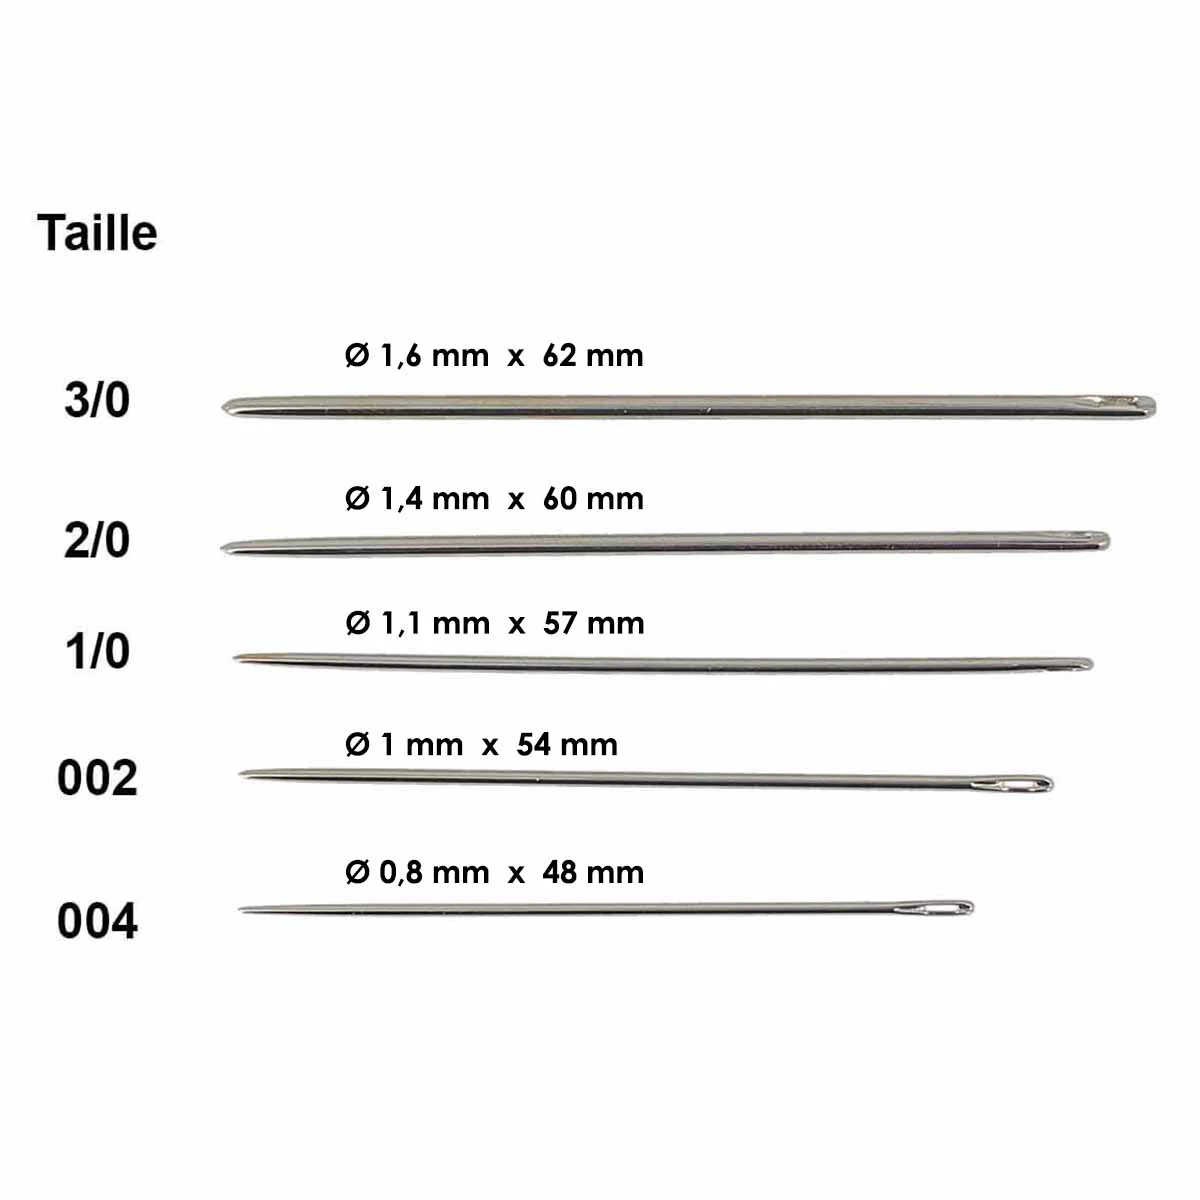
- 2 round-tipped saddler's needles - Size 002
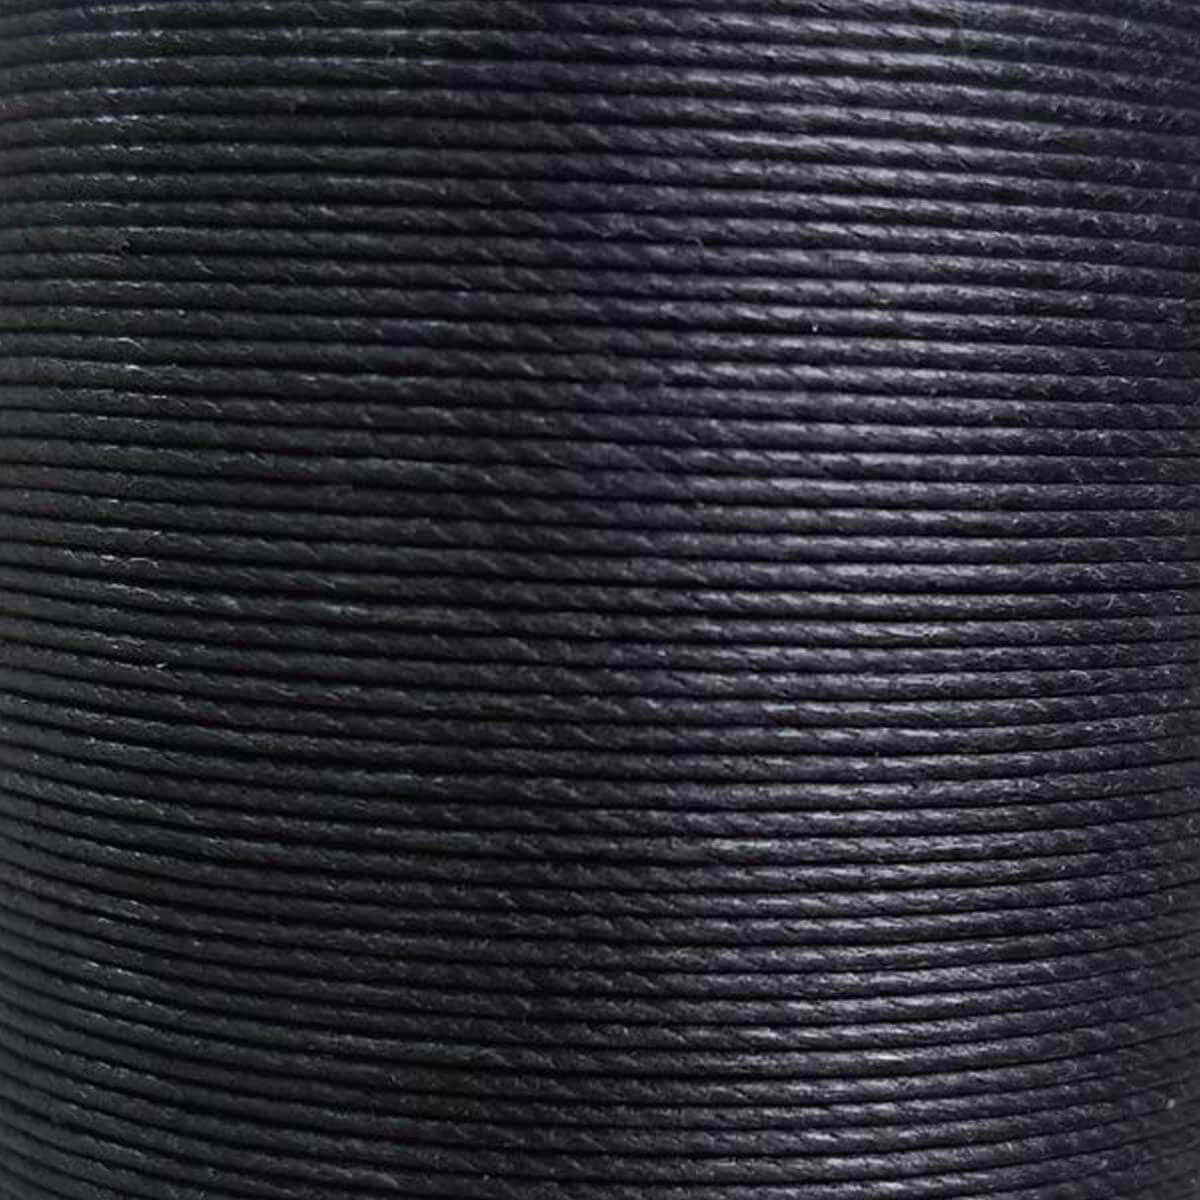
- 1 spool of 8m MeiSi super fine waxed linen thread M50 - 0.55 mm - BLACK - MS001
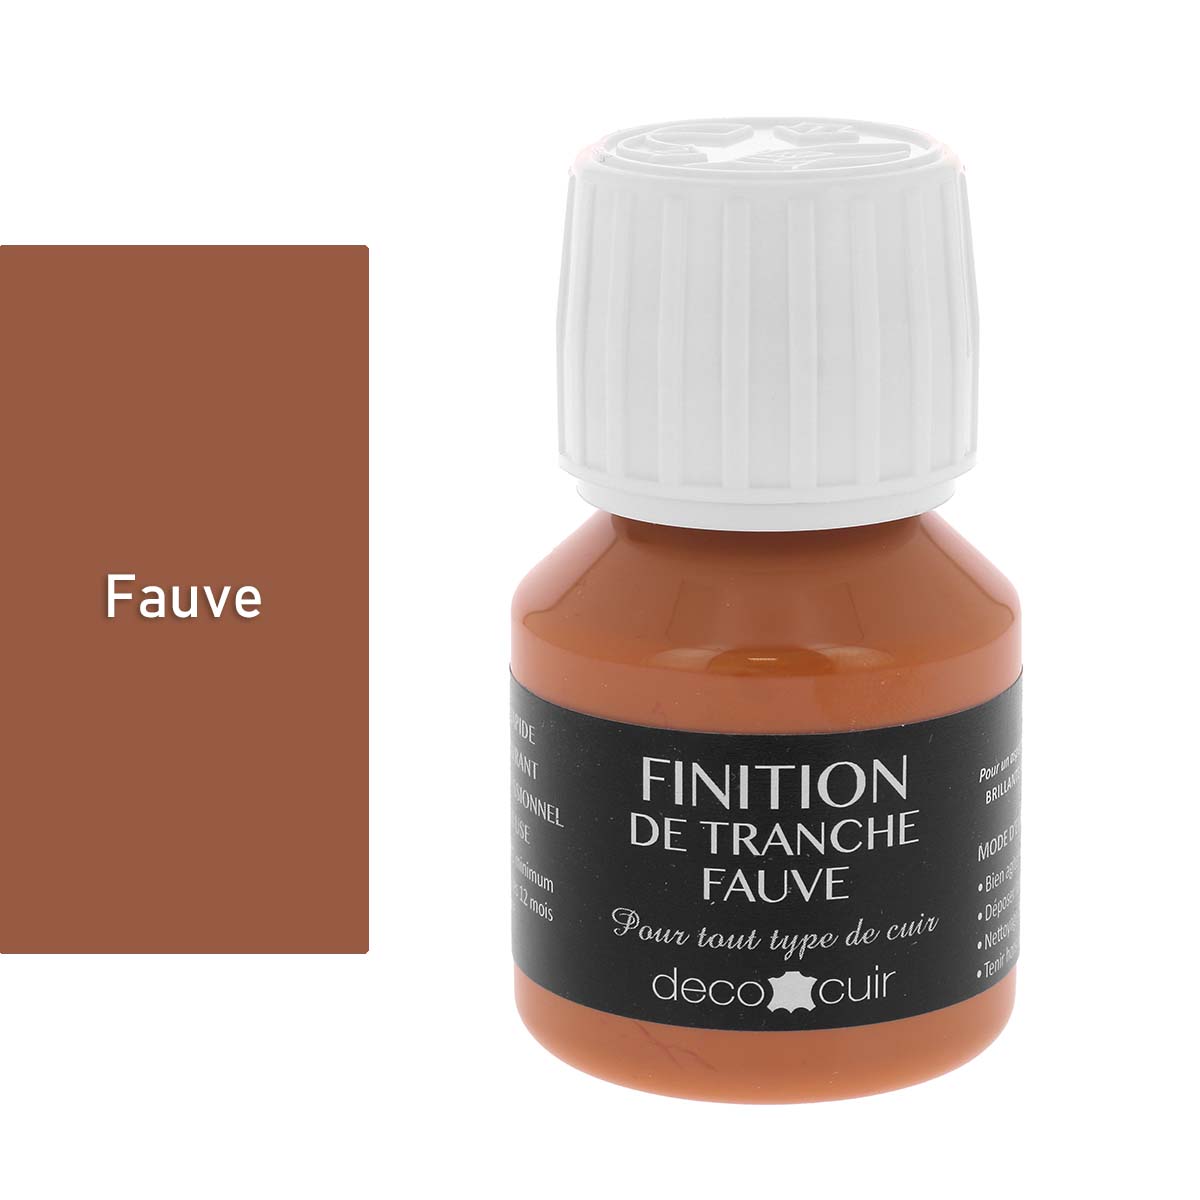
- 1 jar of slice finish
- 1 round punch for stamping Ø1 mm
- 1 abrasive sponge
- 1 cutter
- 1 mallet
- 1 masking tape
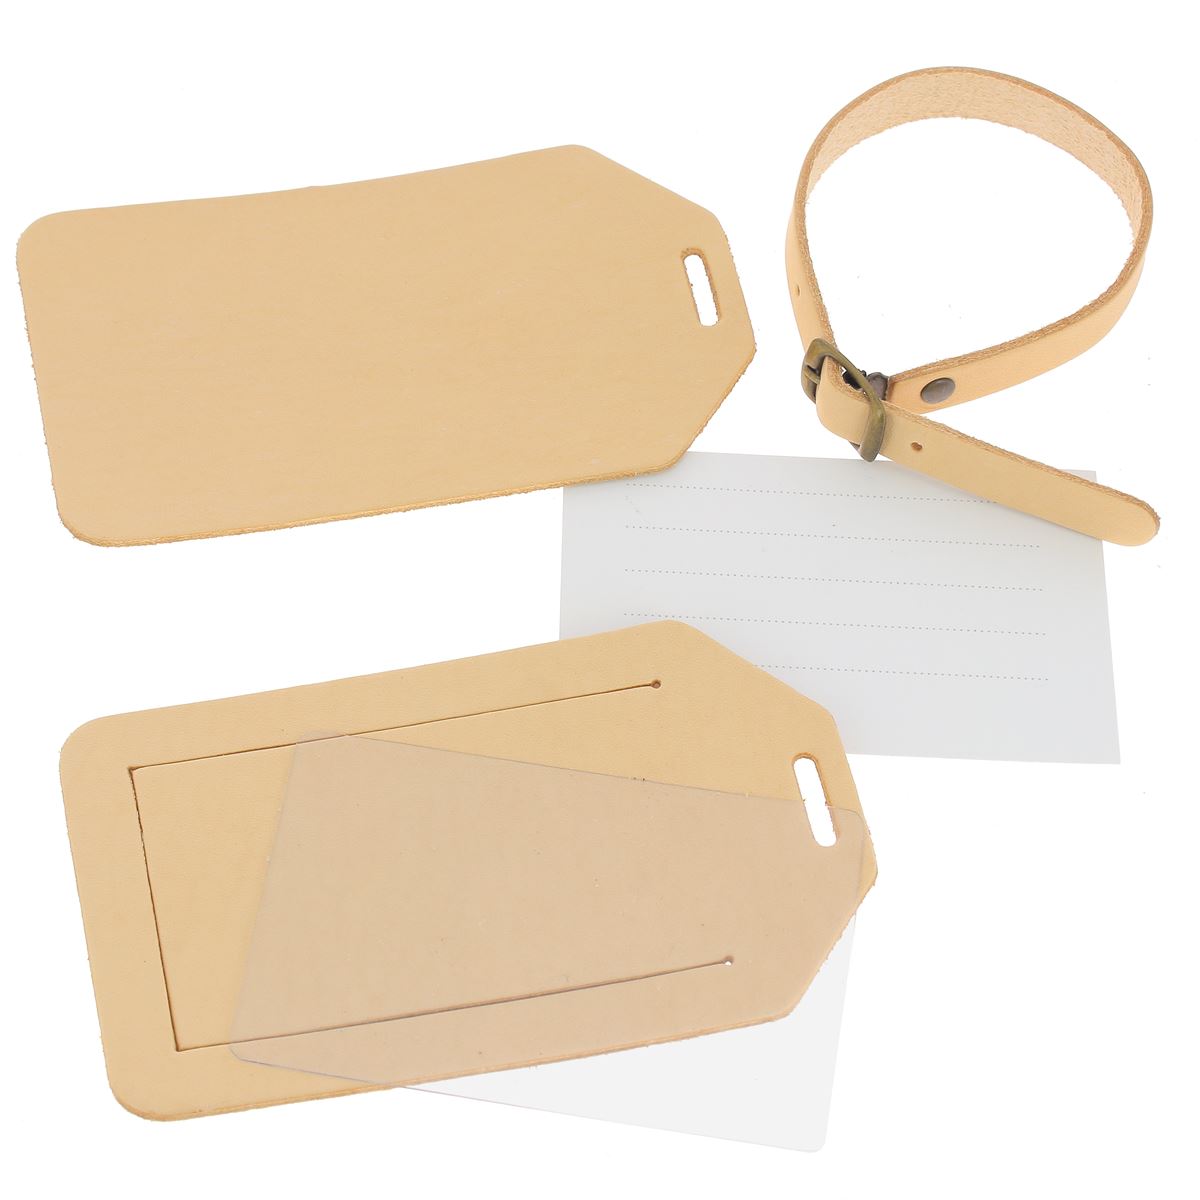
GOOD TO KNOW: we sell complete kits with pre-cut and pre-drilled parts.
Go directly to step 4 if you opted for one of our "Passport Holder" kits with pre-cut and pre-drilled pieces!
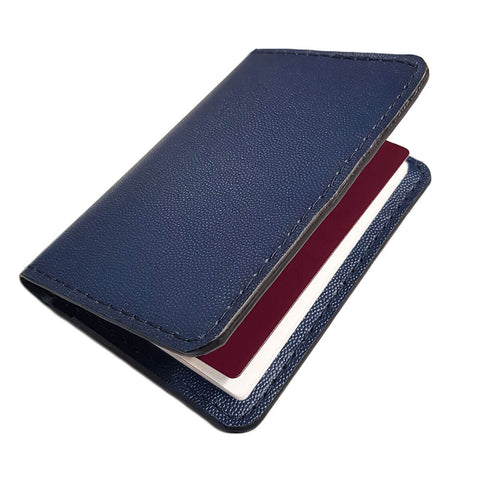
![Kit DIY Deco Cuir porte-passeport en cuir de croupon tannage végétal, coloris bleu foncé, vue extérieure du porte-passeport.]() Sale price22,00 €
Sale price22,00 €![Kit DIY porte-passeport en cuir de croupon tannage végétal de couleur carmin, création artisanale Deco Cuir.]() Sale price22,00 €
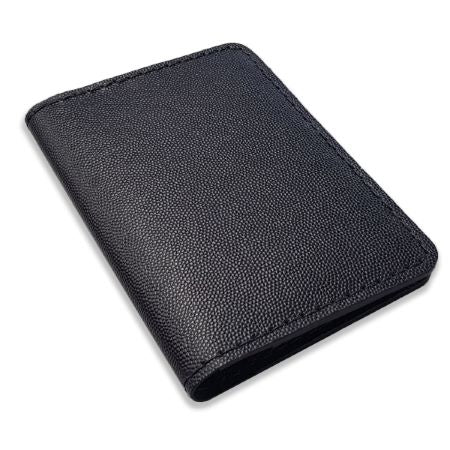
Sale price22,00 €![Kit DIY Deco Cuir pour porte-passeport en cuir de croupon tannage végétal noir, extérieur élégant et artisanal.]() Sale price22,00 €
Sale price22,00 €![Kit DIY porte-passeport en cuir de Croupon tannage végétal, création Deco Cuir, extérieur en cuir couleur cognac.]() Sale price22,00 €
Sale price22,00 €![Kit DIY Deco Cuir pour porte-passeport en cuir marron avec composition extérieure, création personnalisée et élégante.]() Sale price19,00 €
Sale price19,00 €![Kit DIY Deco Cuir pour porte-passeport en cuir nacré avec composition extérieure, création artisanale élégante et raffinée.]() Sale price19,00 €
Sale price19,00 €![Kit DIY Deco Cuir pour porte-passeport en cuir noir, comprenant matériaux et instructions pour création artisanale.]() Sale price19,00 €
Sale price19,00 €


Watch the full video tutorial ⬇️
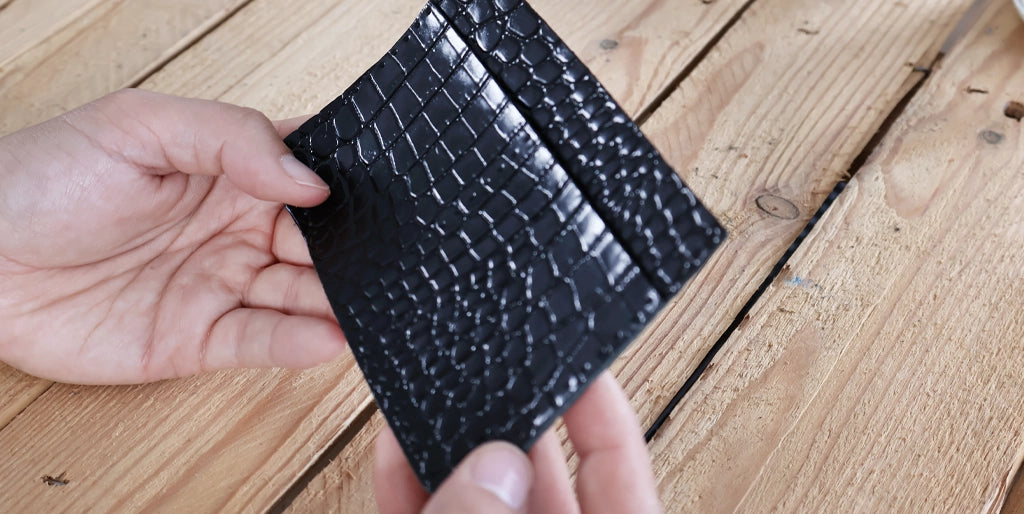
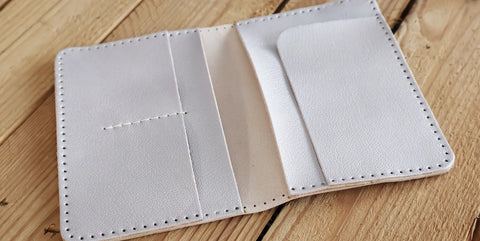
1. CUT OUT THE PATTERN
Cut out the pattern, leaving a 5mm margin around the lines. Then place and hold the pieces onto the piece of leather using masking tape. 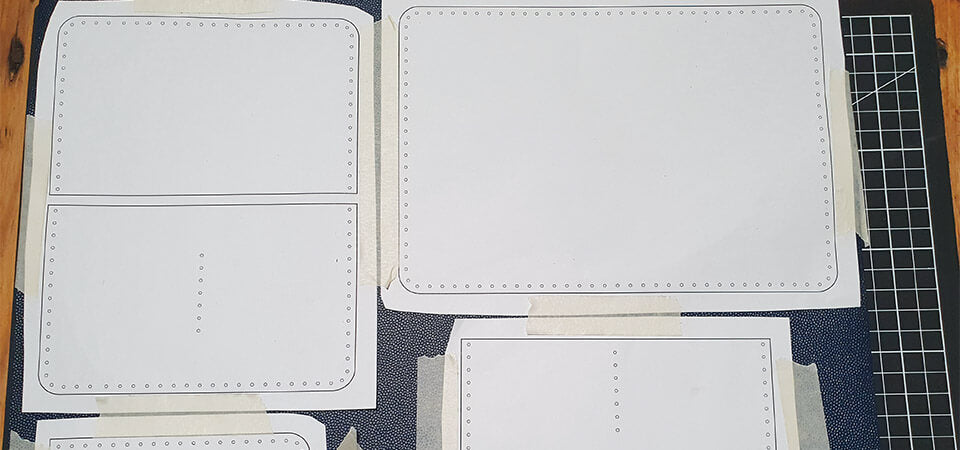
2. PIERCE THE SEWING HOLES
Pierce the various stitching holes by striking a round punch (Ø 1 mm) with a mallet. 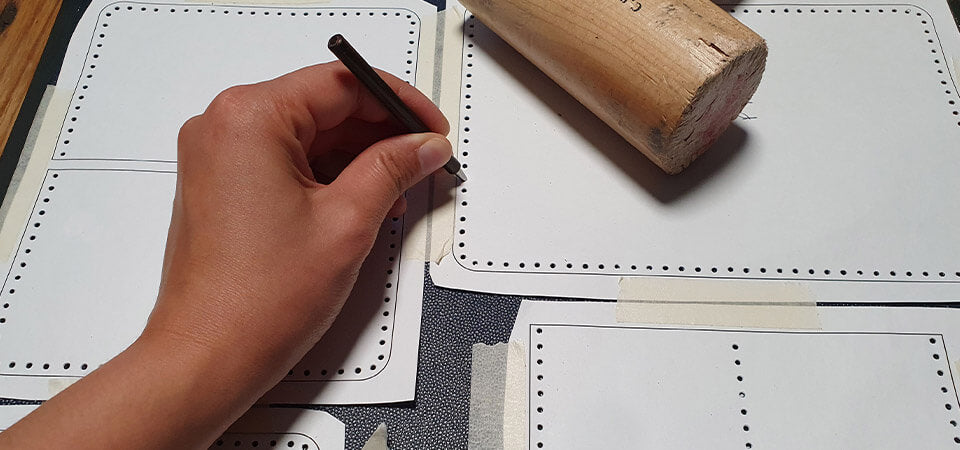
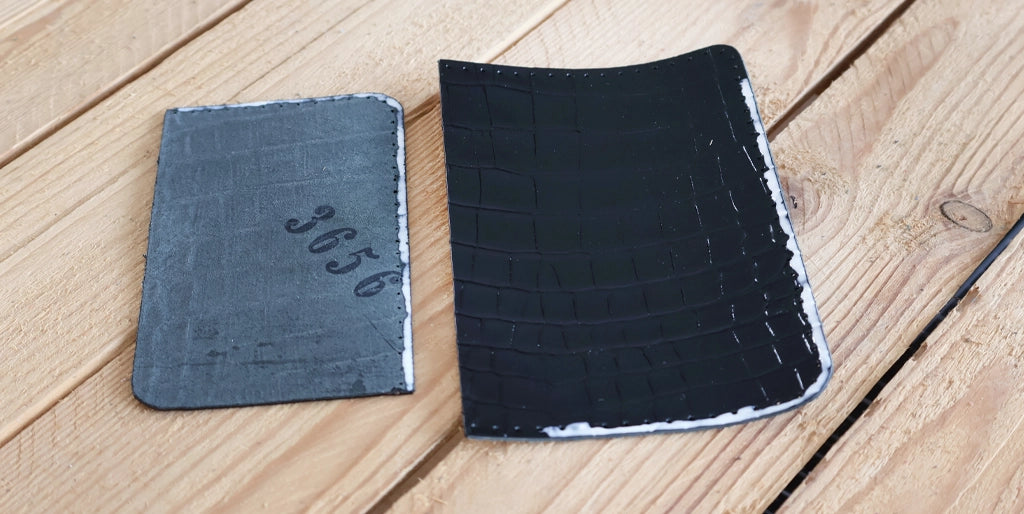
3. CUT THE LEATHER
Using a cutter and a ruler, cut out the 5 pieces of leather. 
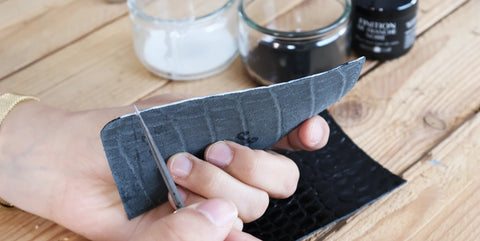
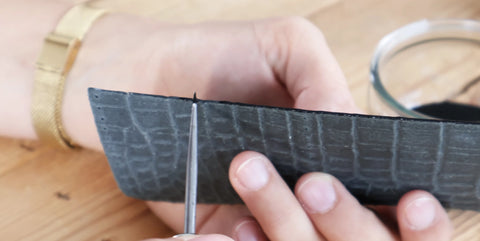
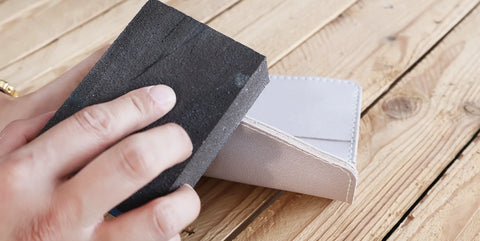
4. WORKING THE SLICES
Work on the edges that will not be sewn. Sand, then apply two to three coats of edge finish using a round awl or a toothpick.
 |
 |
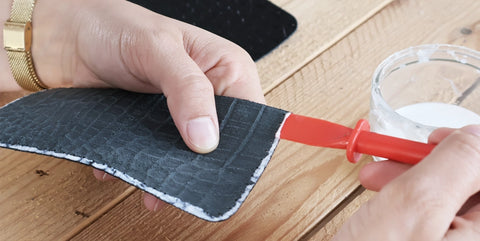
5. GLUE THE PIECES
Take parts P2 and P3 and then apply a thin bead of glue approximately 3 mm thick:
- on the reverse side of P3, along the edges to be glued.
- on the location of P2, only at the location where P3 will be glued.
Caution: do not apply glue to all sides, only to those that will be sewn.
 |
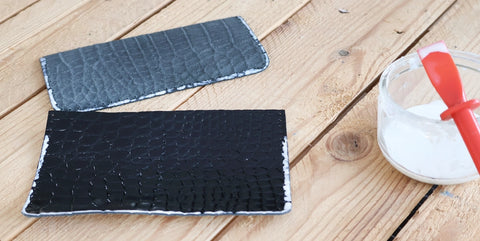 |
Allow the glue to dry slightly, then glue the two pieces edge to edge, carefully aligning them.
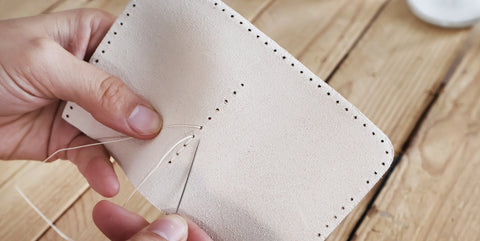
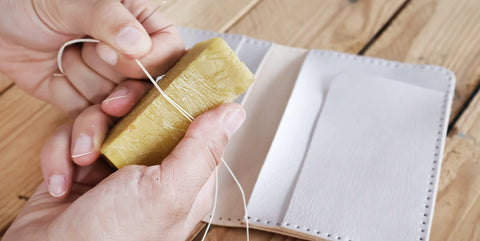
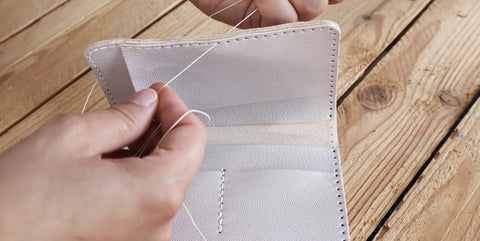
6. GETTING STARTED WITH SEWING
Sew the center points of pieces P2 and P3. Take half an arm's length of thread (about the length of an arm) , then thread a needle onto each end of the thread. Sew by passing each needle through each hole. At the end of the seam, make three backstitches, then hammer the seams with a hammer or mallet.
COMPLETE GUIDE TO SIMPLIFIED LEATHER SEWING >
 |
 |
7. GLUE THE PIECES
Take parts P4 and P5 and apply a thin bead of glue approximately 3 mm thick:
- on the reverse side of P5, along the edges to be glued (where there are stitches) .
- on the location of P4, where P5 will be glued.
Caution: do not apply glue to all sides, only to those that will be sewn.
8. GLUE THE PIECES
Glue pieces P2/P3 and P4/P5 onto P1. Apply a thin bead of glue approximately 3 mm wide to the edges of P1 where the other pieces will be glued (do not apply glue to the center). Make marks before applying the glue to know where to stop. Then apply glue to the back of P2/P3 and P4/P5, only on the edges that will be sewn.
 |
 |
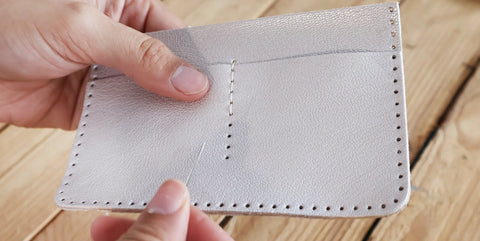
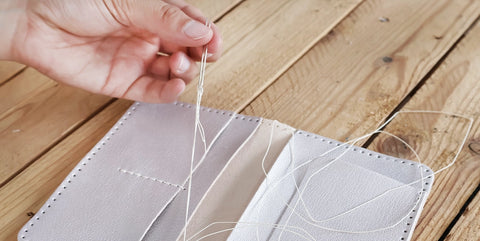
9. SEW THE PASSPORT HOLDER
Sew all around piece P1 in two steps. Take a length of thread (arm's length) so you don't have to handle several meters of thread. Then make the first seam. Finish with three backstitches, then start a new seam with a fresh length of thread. Finally, press the seams flat.
 |
 |
 |
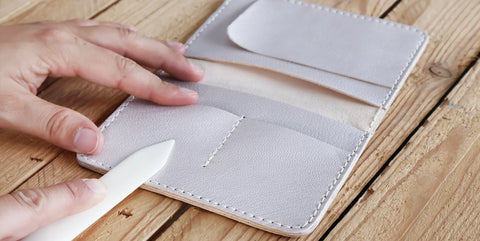 |
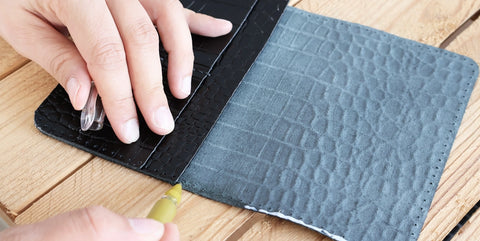
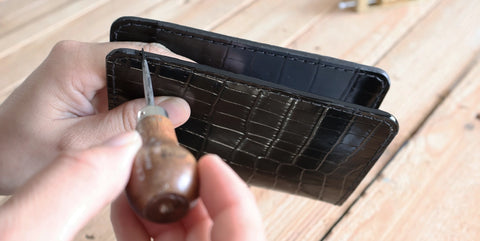
10. WORKING THE SLICES
Using an abrasive sheet, sand the unstained edges. Apply 2 to 3 coats of stain with the tool of your choice and let it dry.
 |
 |
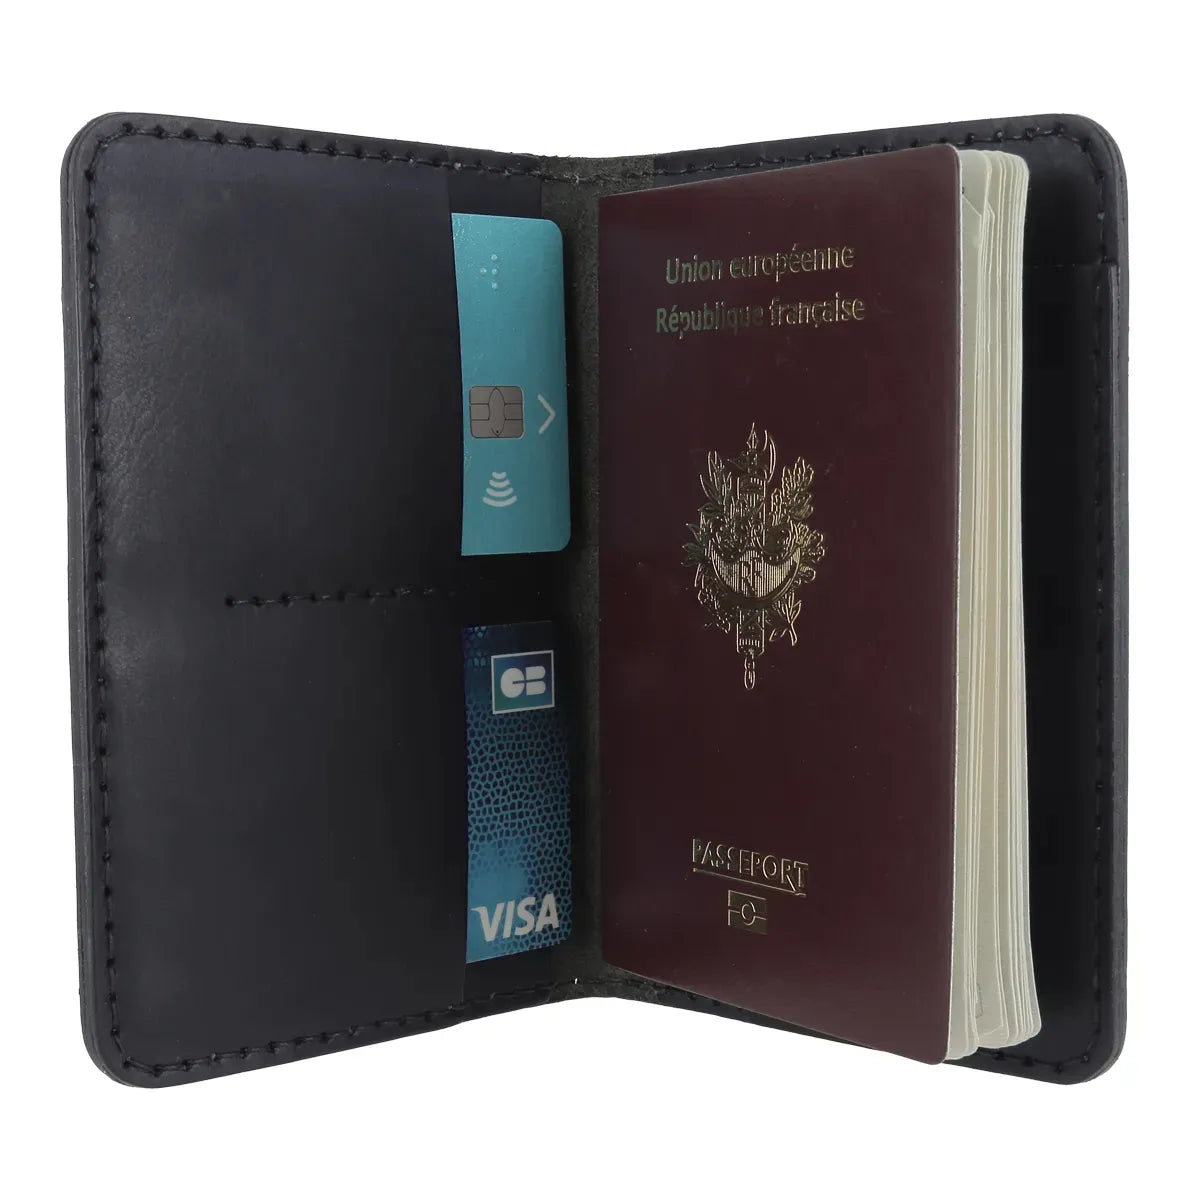
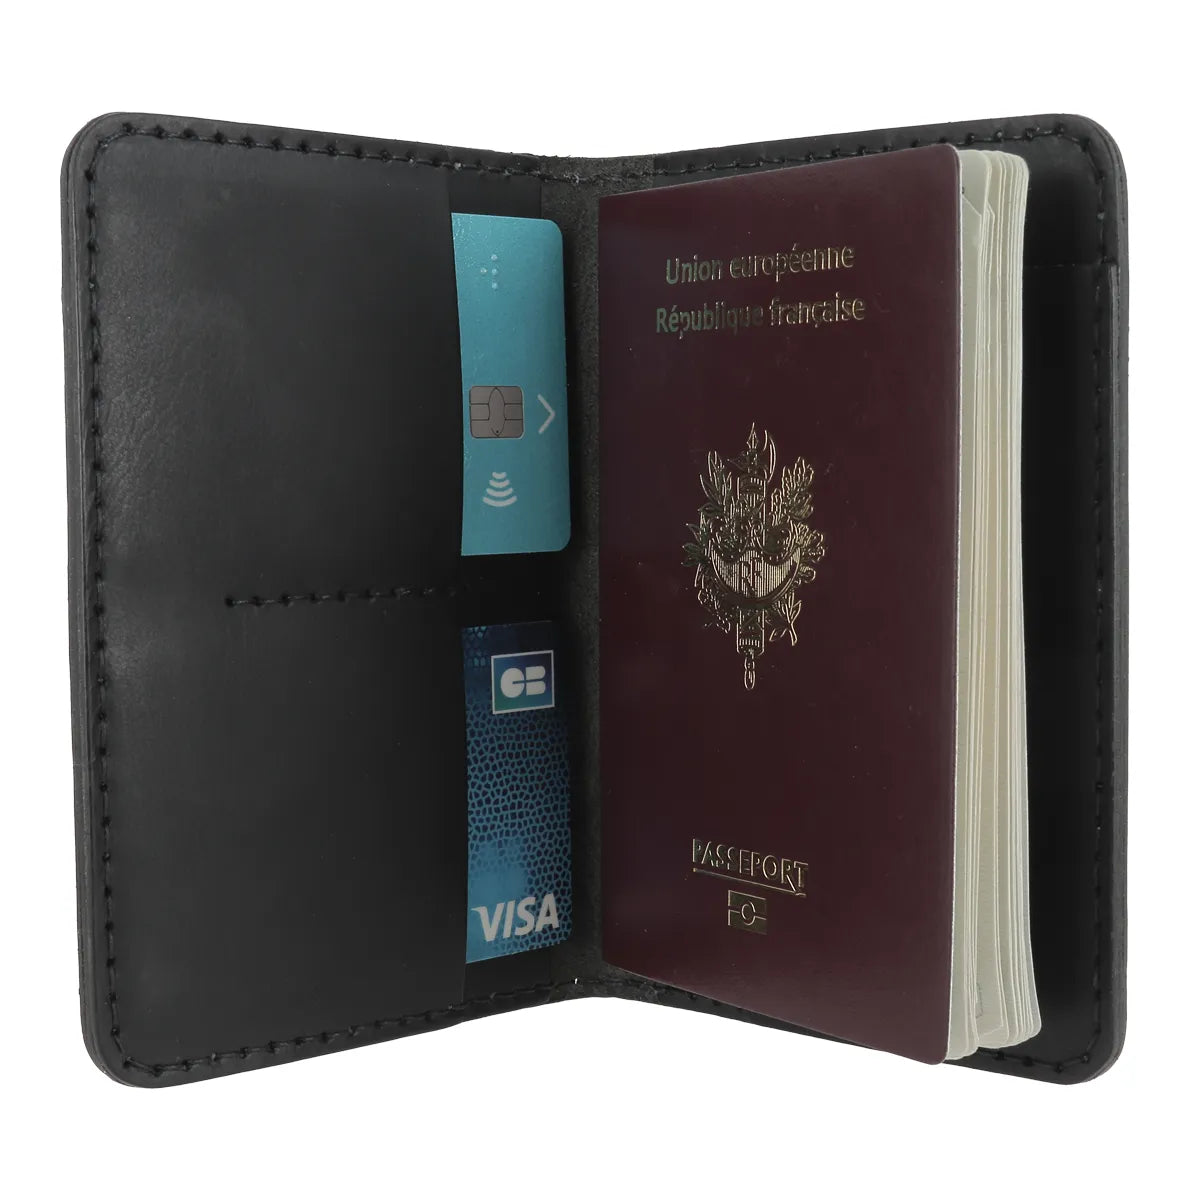
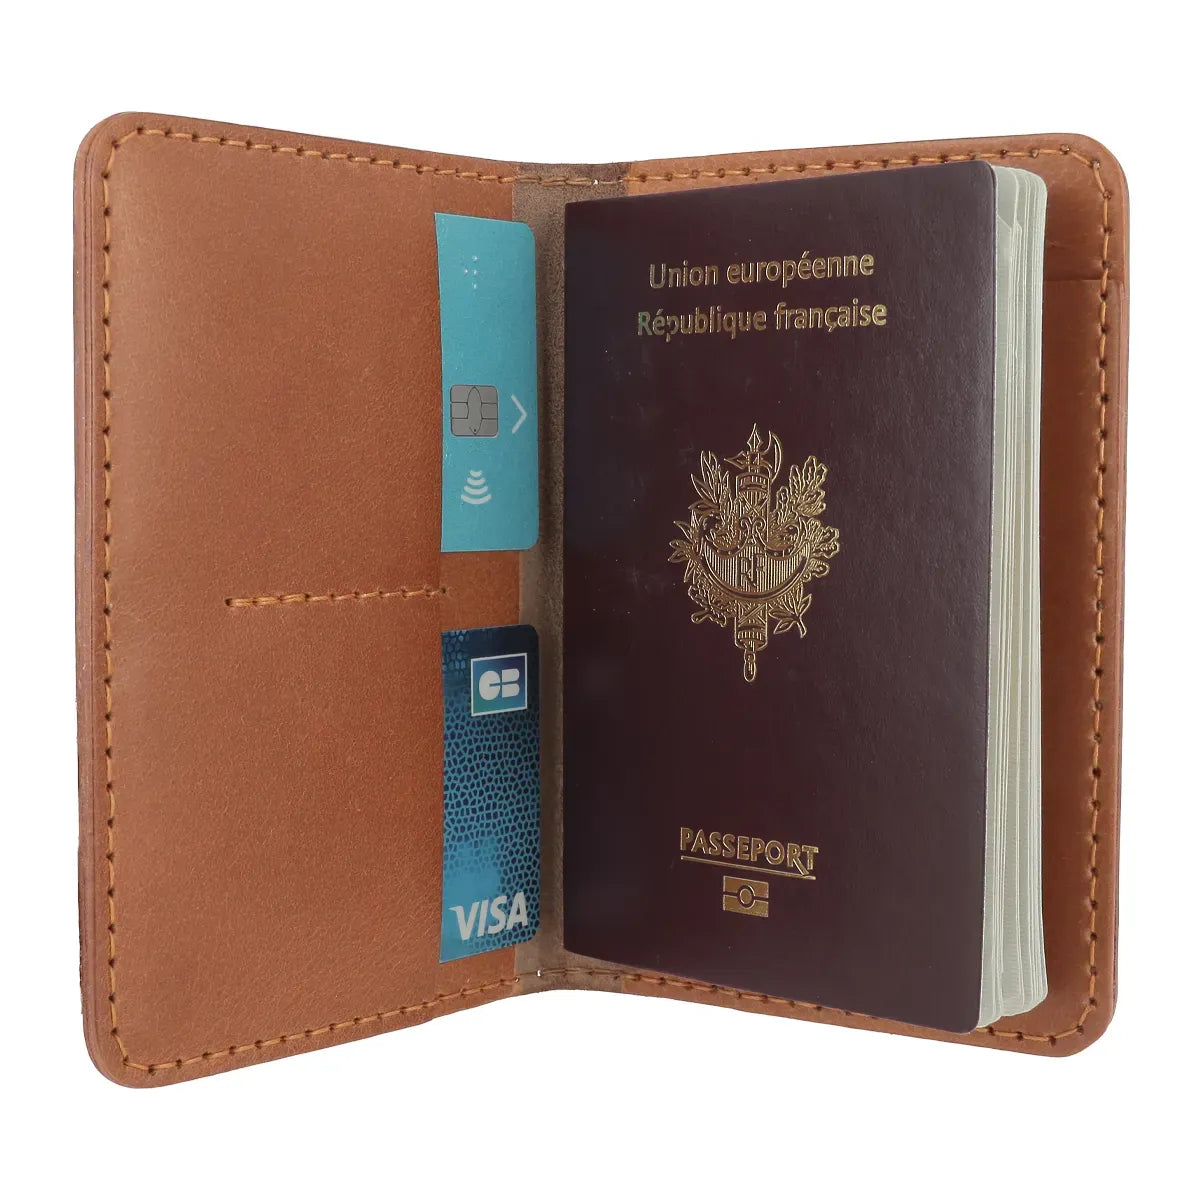
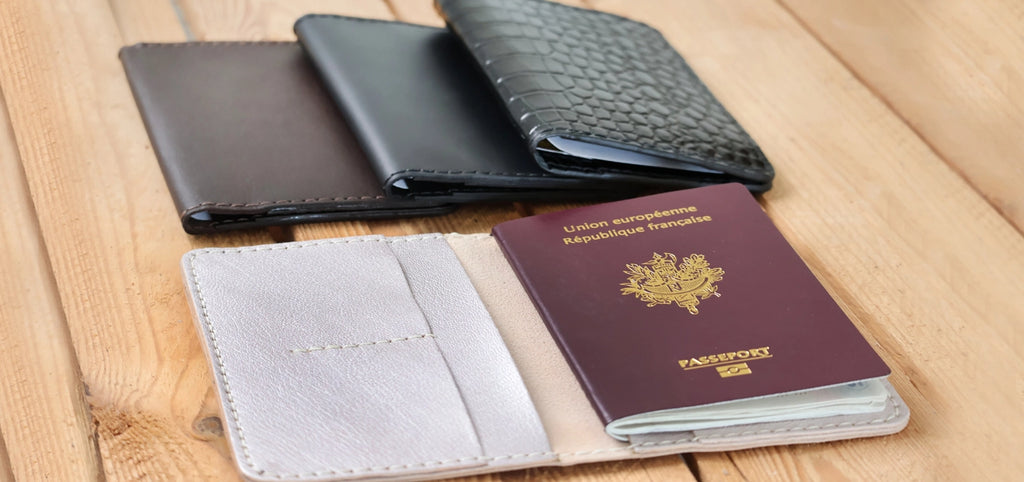
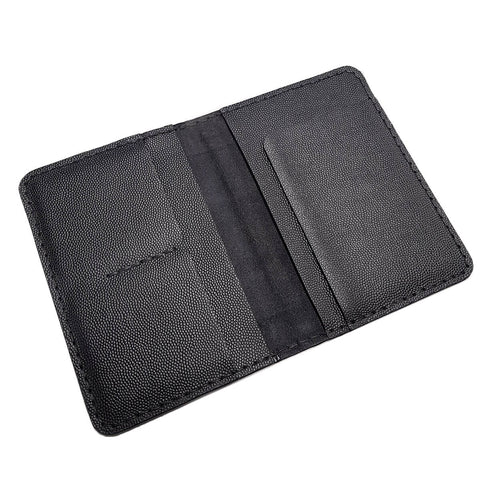
THERE YOU GO, YOU'RE READY TO TRAVEL!


 |
 |
 |
 |
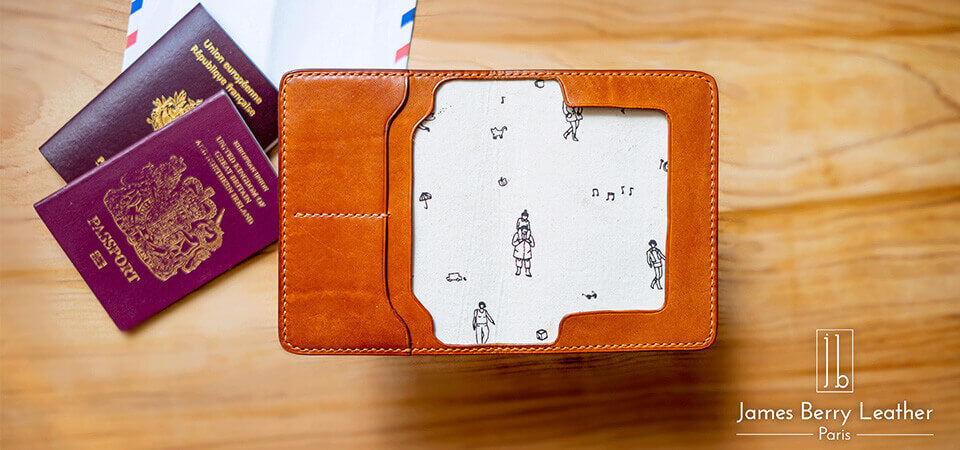
DISCOVER JAMES BERRY'S PASSPORT HOLDER VERSION
Version in vegetable-tanned leather with fabric lining.
SEE THE TUTORIAL & PATTERN >


4 comments
Anonymous
Bonjour,
Suite à votre commentaire nous sommes allés voir sur leur site et effectivement il ressemble beaucoup à notre porte-passeport… il faut savoir que notre tutoriel est en ligne depuis décembre 2021 (date renseignée en haut du tutoriel). L’équipe Deco Cuir
Il ressemble beaucoup au tuto protège passeport de ma petite mercerie !
Anonymous
Bonjour Aurélie,
Oui bien sûr vous pouvez prendre un cuir plus épais mais dans la limite du raisonnable sinon vous allez devoir parer vos bords (l’épaisseur de vos tranches risque d’être importante). Je vous conseille de ne pas choisir un cuir plus épais que 1,4 / 1,6 mm.
Le cuir de veau/vachette est à privilégier car il vous sera plus facile de sélectionner un cuir ferme (le cuir de chèvre ou d’agneau ont tendance à être plus souples par exemple).
Bonne journée,
L’équipe Deco Cuir
Anonymous
bonjour
je souhaiterais faire le porte-passeport avec la couture simplifiée. J’aurais voulu savoir s’il faut exactement le style de cuir qu’il y a dans le kit. Je vois 1mm d’épaisseur peut-on prendre un peu plus épais et faut-il que se soit du cuir de vachette?
Merci d’avance pour votre réponse.
Cordialement.
Jaunasse Aurélie.