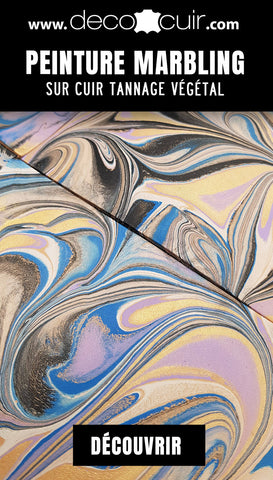


WHAT IS MARBLING TECHNIQUE?
The marbling technique involves dropping paint onto the surface of a plastic tray filled with thickened water to create marbled effects on natural vegetable-tanned leather.
This technique can also be used on other materials: fabric, paper, cardstock, recycled paper, wood, plaster, etc.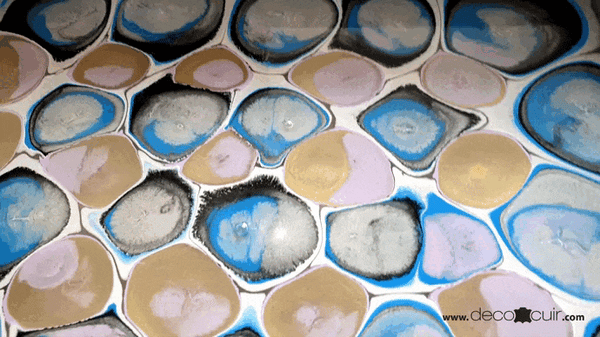
Please note that this technique has nothing to do with leather dyeing. Furthermore, paint and dye should not be confused: the technique and the result are not the same. Feel free to consult our complete guide on leather dyeing.
VIEW DYEING GUIDE >
OUR ADVICE BEFORE YOU START
All indications in this guide are for information purposes only: we advise you to perform tests before embarking on concrete projects. Consider that in this guide we give you the basics of a recipe with secret ingredients and that you must demonstrate creativity, audacity and patience to make it your own.
HOW TO ACHIEVE MARBLED LEATHER?
First of all, marbling paint is only compatible with natural vegetable-tanned leather. This technique does not work with already colored leathers or with mineral tanning (chrome).
GUIDE: WHAT IS TANNING?
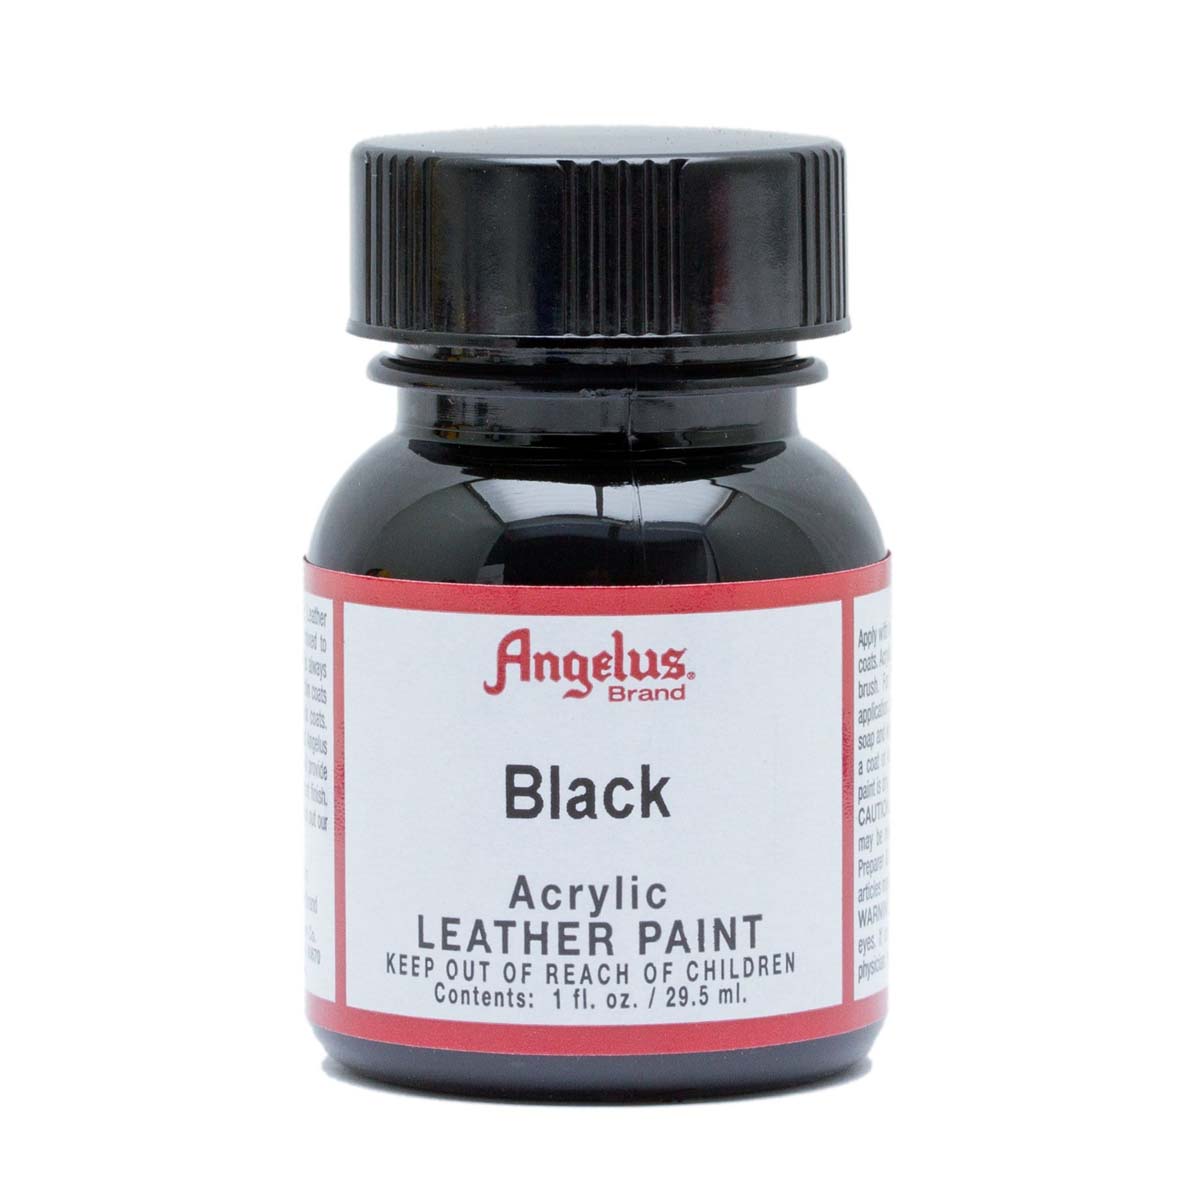
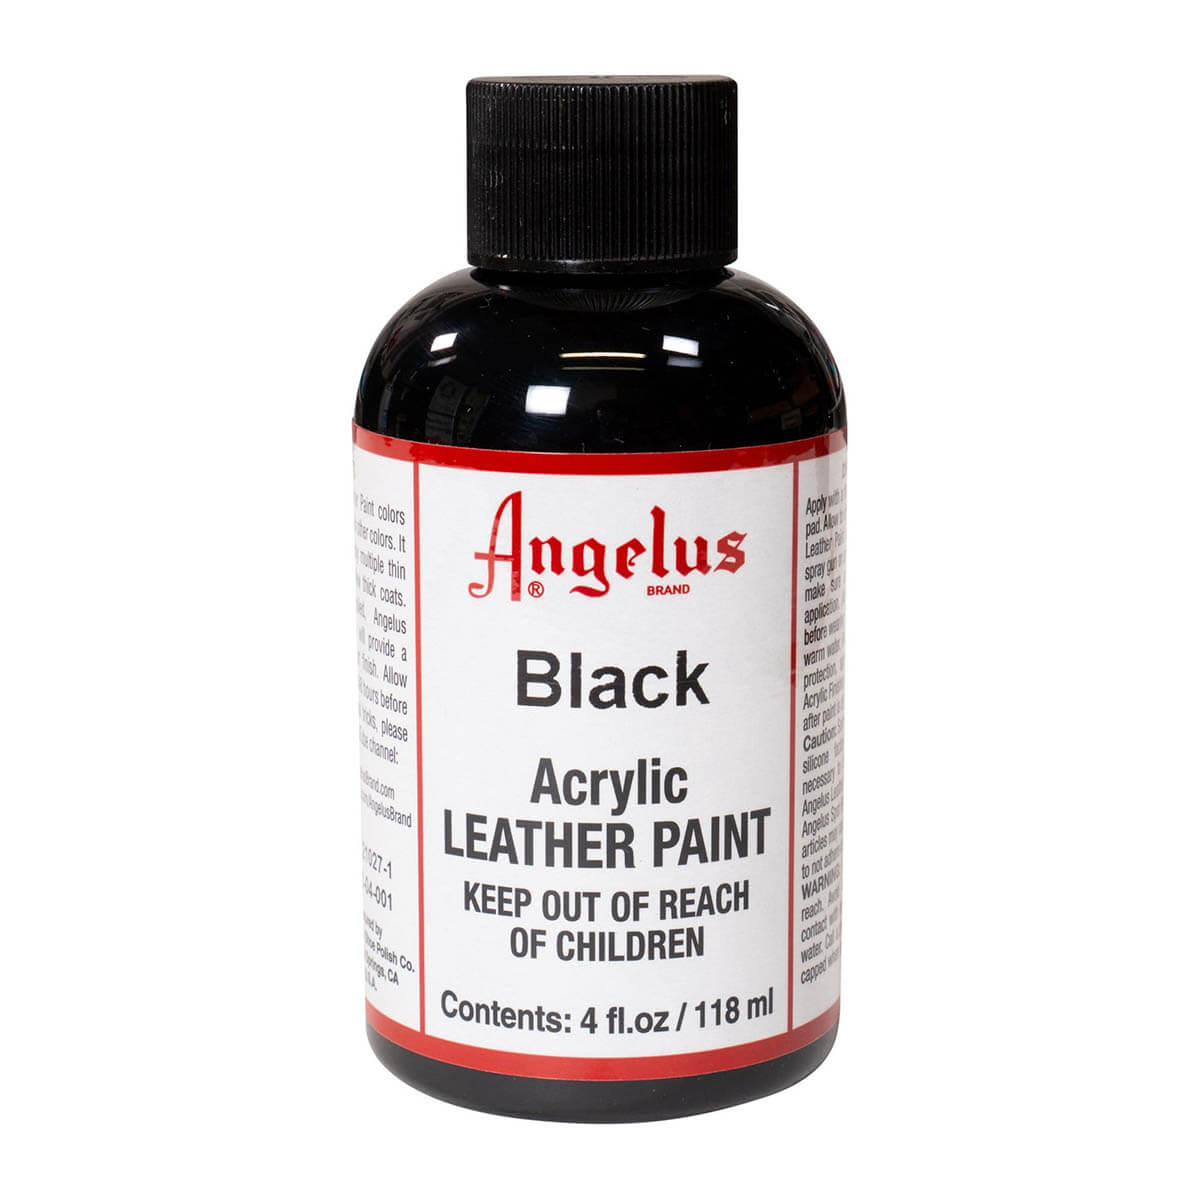
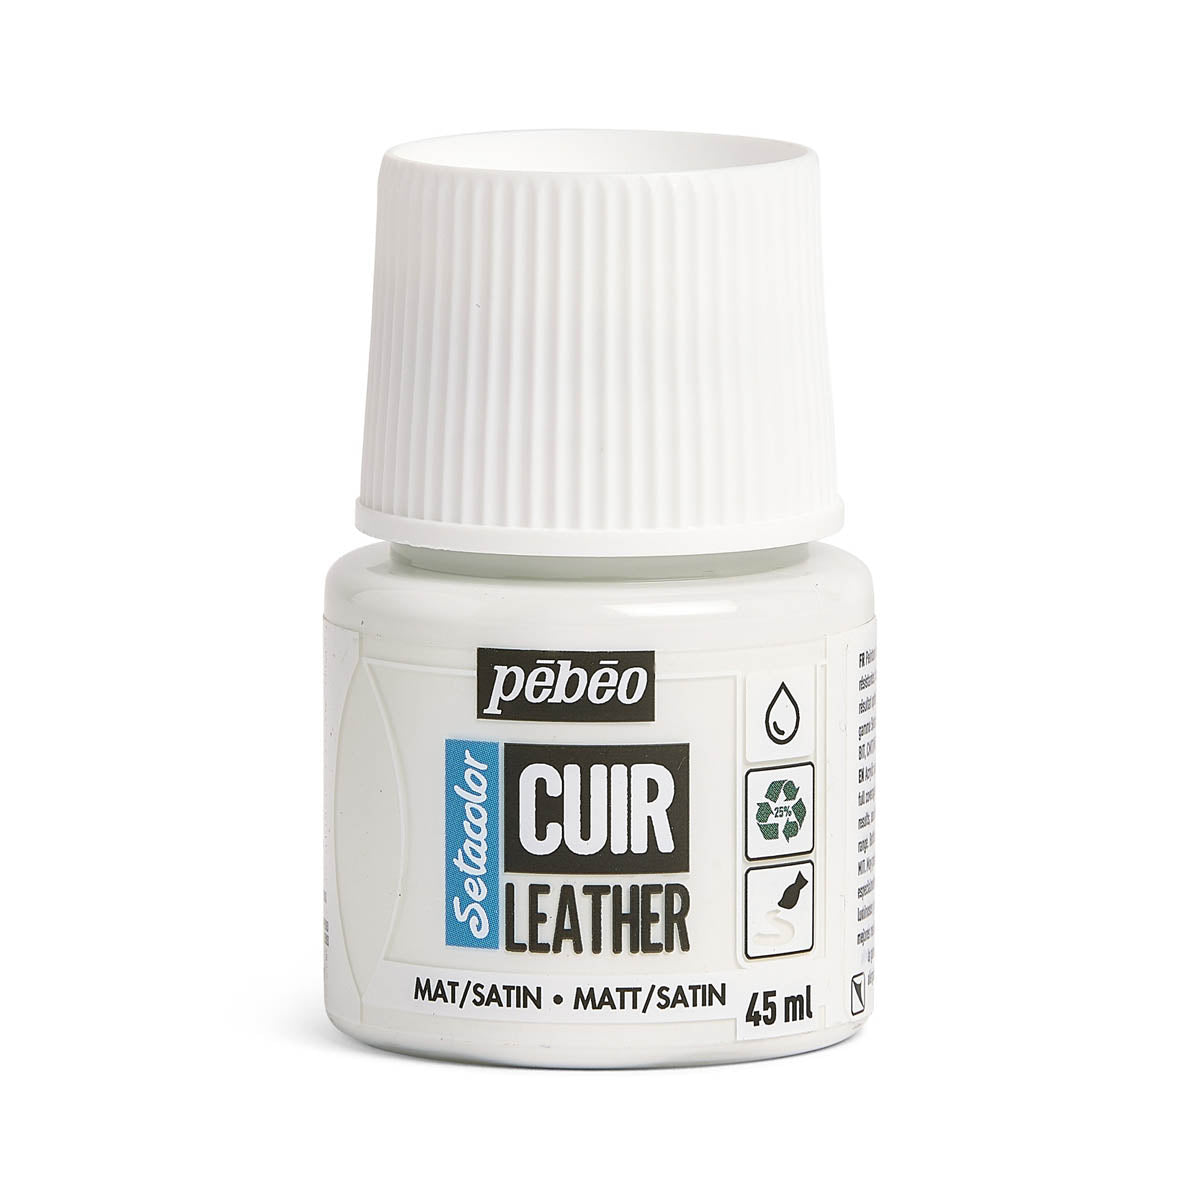
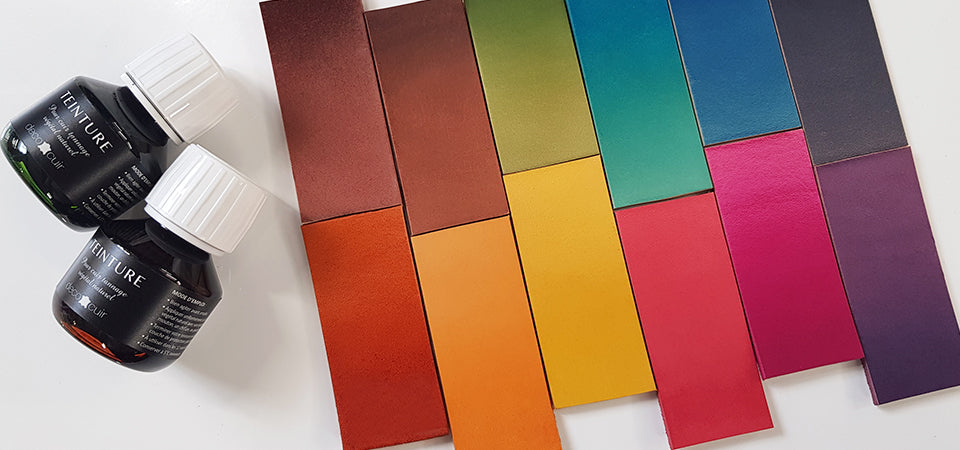
Regarding the choice of paint (and to avoid buying special marbling paints), we recommend Angelus acrylic leather paints (it also works with Pébéo - Setacolor acrylic leather paints). These paints should be diluted with water to achieve the perfect consistency to float on the surface of the marbling bath with the right amount of pigments (see step 4 below and the video).
 |
 |
THE DIFFERENT STEPS
Since a video is more informative than text:
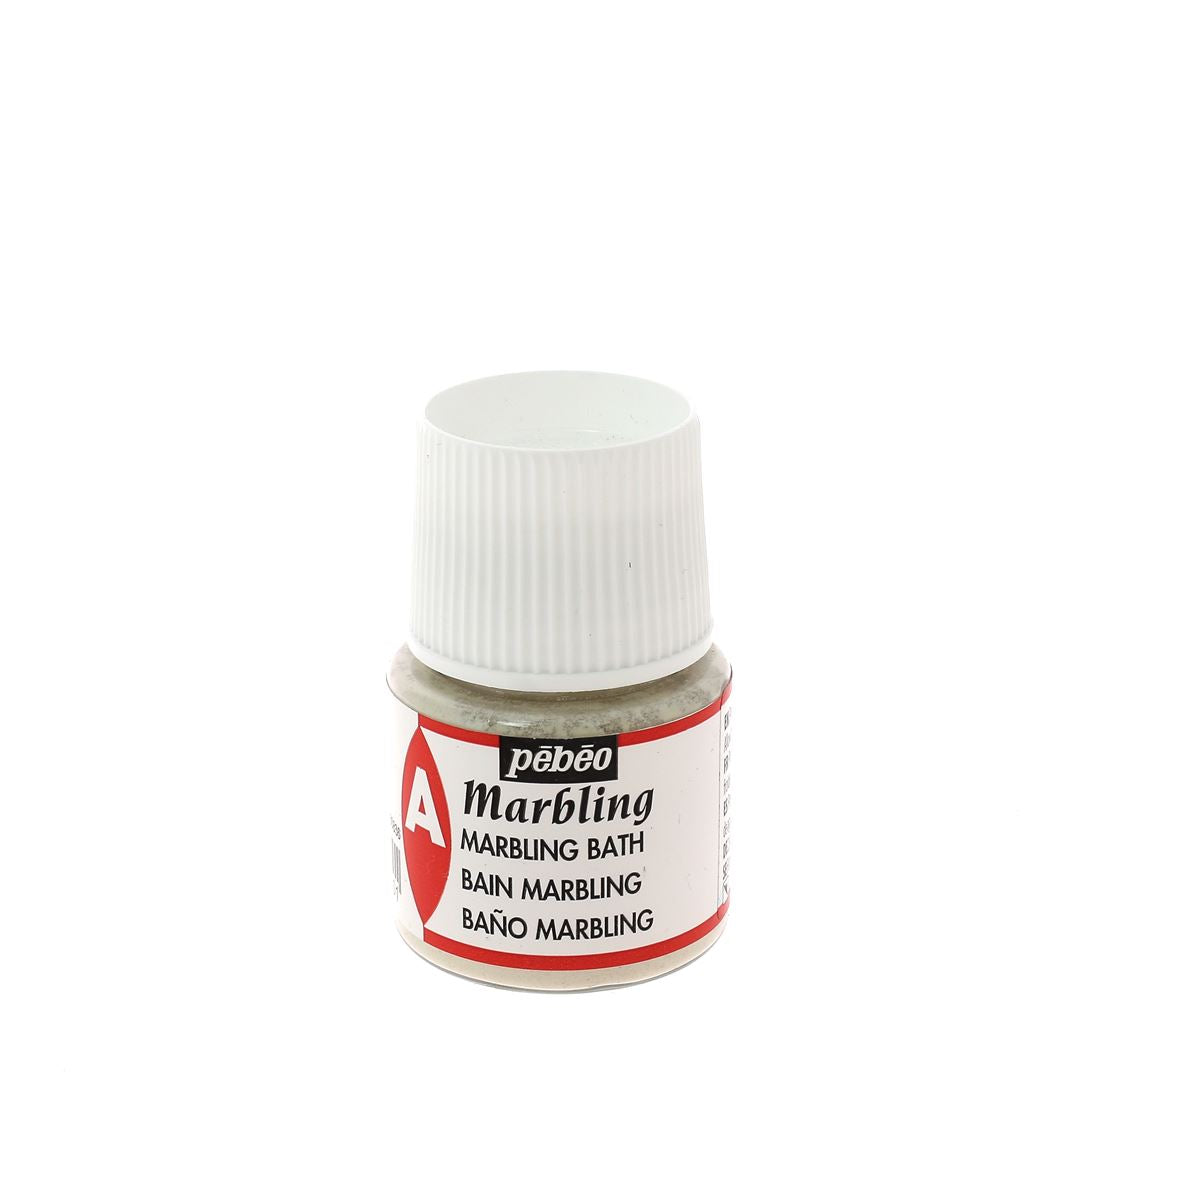
1. PREPARE THE MARBLING BATH
Pour 1 liter of cold water into a bowl.
Sprinkle 2 teaspoons (7 grams) of thickening/gelling powder for marbling bath.
Mix vigorously with a fork, whisk, or electric mixer to avoid lumps.
2. LET THE MARBLING BATH REST
Let the preparation rest for a minimum of 2 hours: the water will gel.
3. PREPARE THE MARBLING TRAY
Take a plastic tray larger than your piece of leather (and not too high) then place parchment paper at the bottom of the tray to facilitate cleaning after marbling. We recommend taping the parchment paper to the sides of the tray so that it does not fall onto your marbling work.
Transfer the thickening bath into the tray (a layer of gel 1 to 2 cm thick) while filtering it with a strainer (to remove any remaining lumps).
For information: the thickening bath can be used for several successive creations. However, we recommend using a small amount of the preparation and changing the bath often.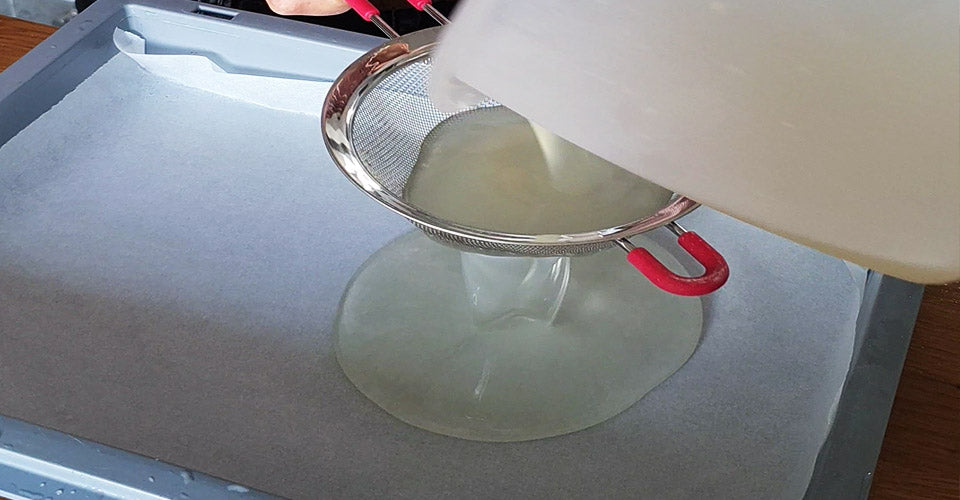
4. DILUTE ANGELUS ACRYLIC PAINT
This step is the most complicated but also the most important for optimal results.
Each selected Angelus paint must be diluted before use: dilute Angelus paint with water until it reaches the consistency of milk. Shake the paint pot before mixing.
We recommend putting the paint in a small container and gradually adding water while testing the mixture in a "test" marbling bath until the paint spreads perfectly on the surface. Once your mixture is validated, transfer it to a plastic bottle with a dropper.
*We do not recommend the use of Thin Angelus. We validate our tests with standard, pearlescent, and metallic Angelus paint. We have not performed tests with neon.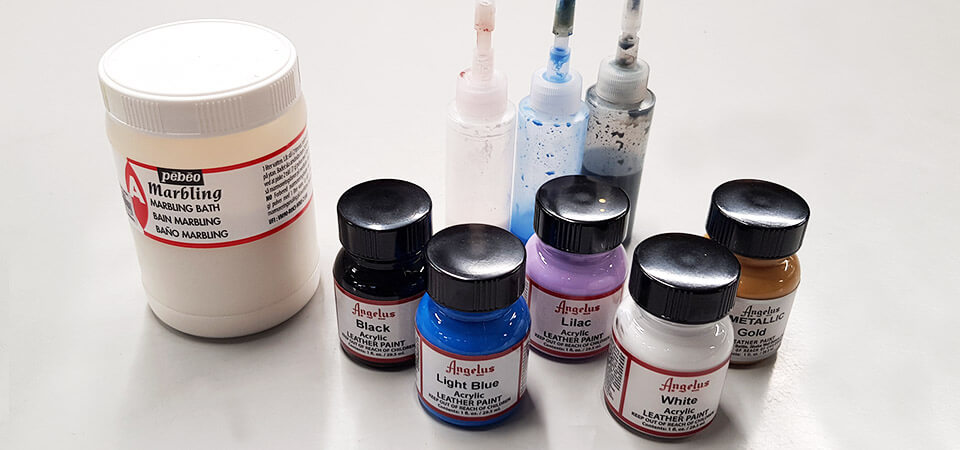
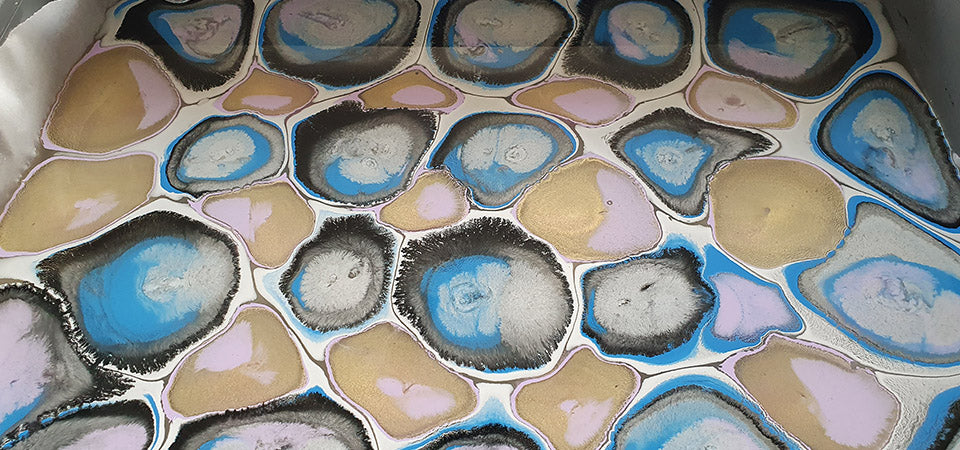
5. DO THE MARBLING WORK
This is the most satisfying step and calls for your creativity.
Using a dropper/plastic bottle, drop the paint onto the water as you wish to create patterns. Alternate light and dark colors, allowing the paint to spread between each drop; the colors will overlap but never mix. The goal is to drop the paint drops into each other to obtain concentric spots.
When you feel you have applied enough paint, wait a few seconds before working them with a stick, a needle, a toothpick... By guiding the colors in different ways, it is possible to obtain varied patterns and marbling.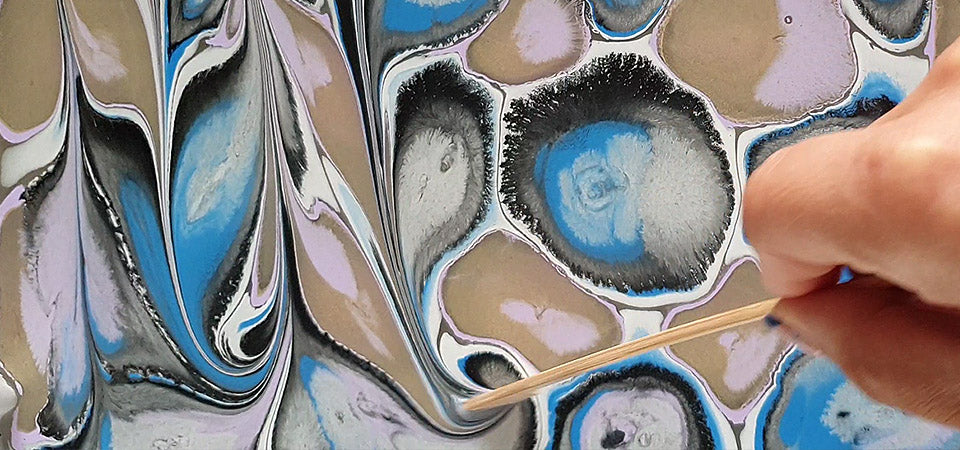
6. PLACE THE LEATHER ON THE SURFACE
Pop any air bubbles that have formed on the surface of the bath (to avoid marks on your leather) and gently place the grain side of the leather onto the marbling work and wait a few seconds. Do not immerse the leather, so as not to affect the marbling result.
As with leather dyeing: the leather piece must be colored before working it (cutting, sewing...). 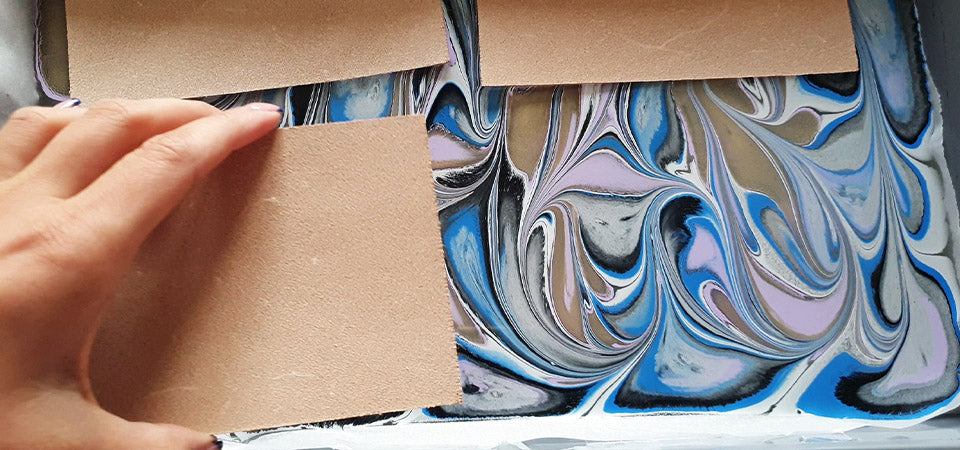
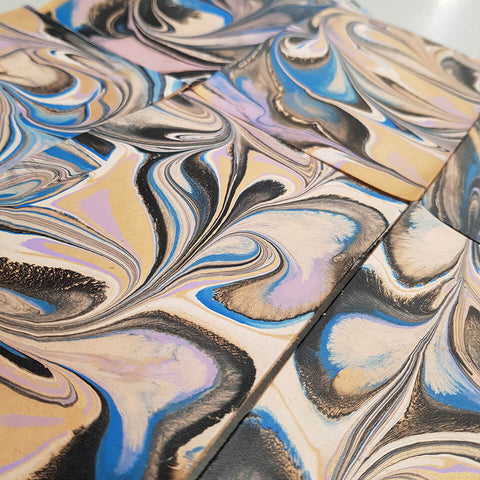
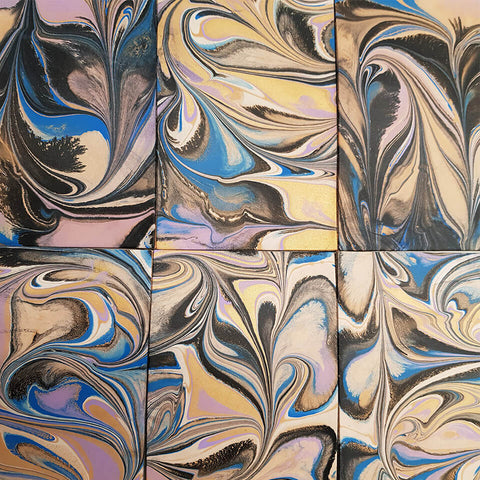
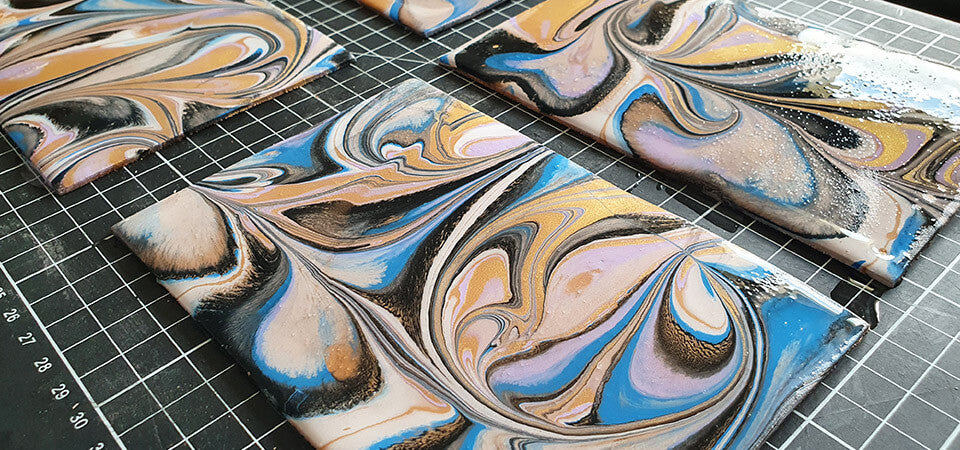
7. LET THE LEATHER DRY
Gently remove the leather and admire your work! Place your creation on a flat surface and let it dry for 24 hours (in a non-humid room).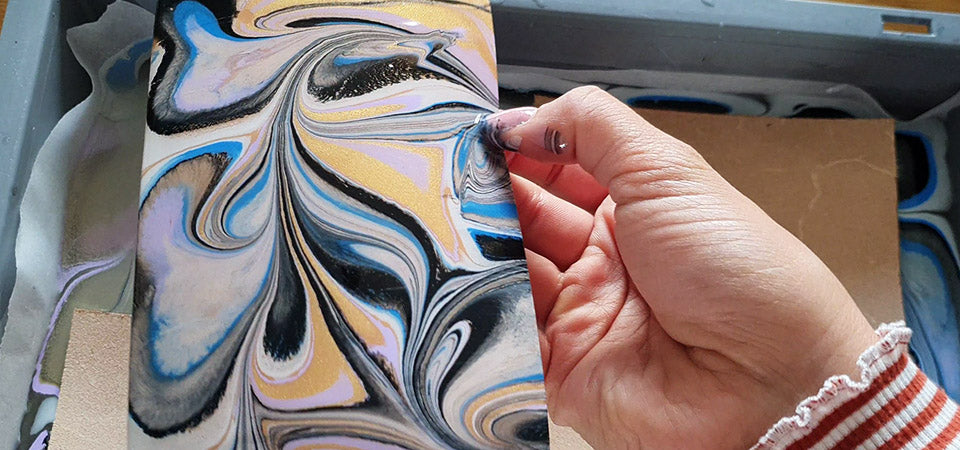
8. NOURISH THE LEATHER
Once dry (after 24 hours) and before working on the piece of leather: nourish it with neat's-foot oil because water dries out the leather.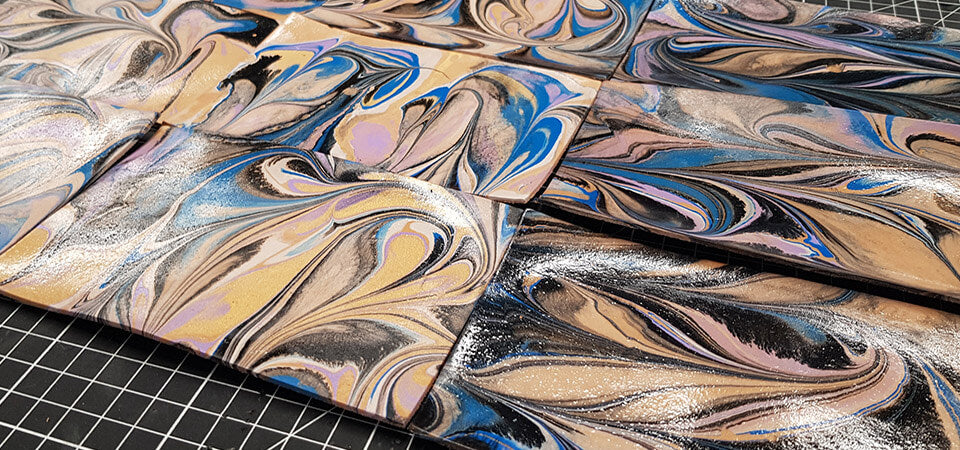
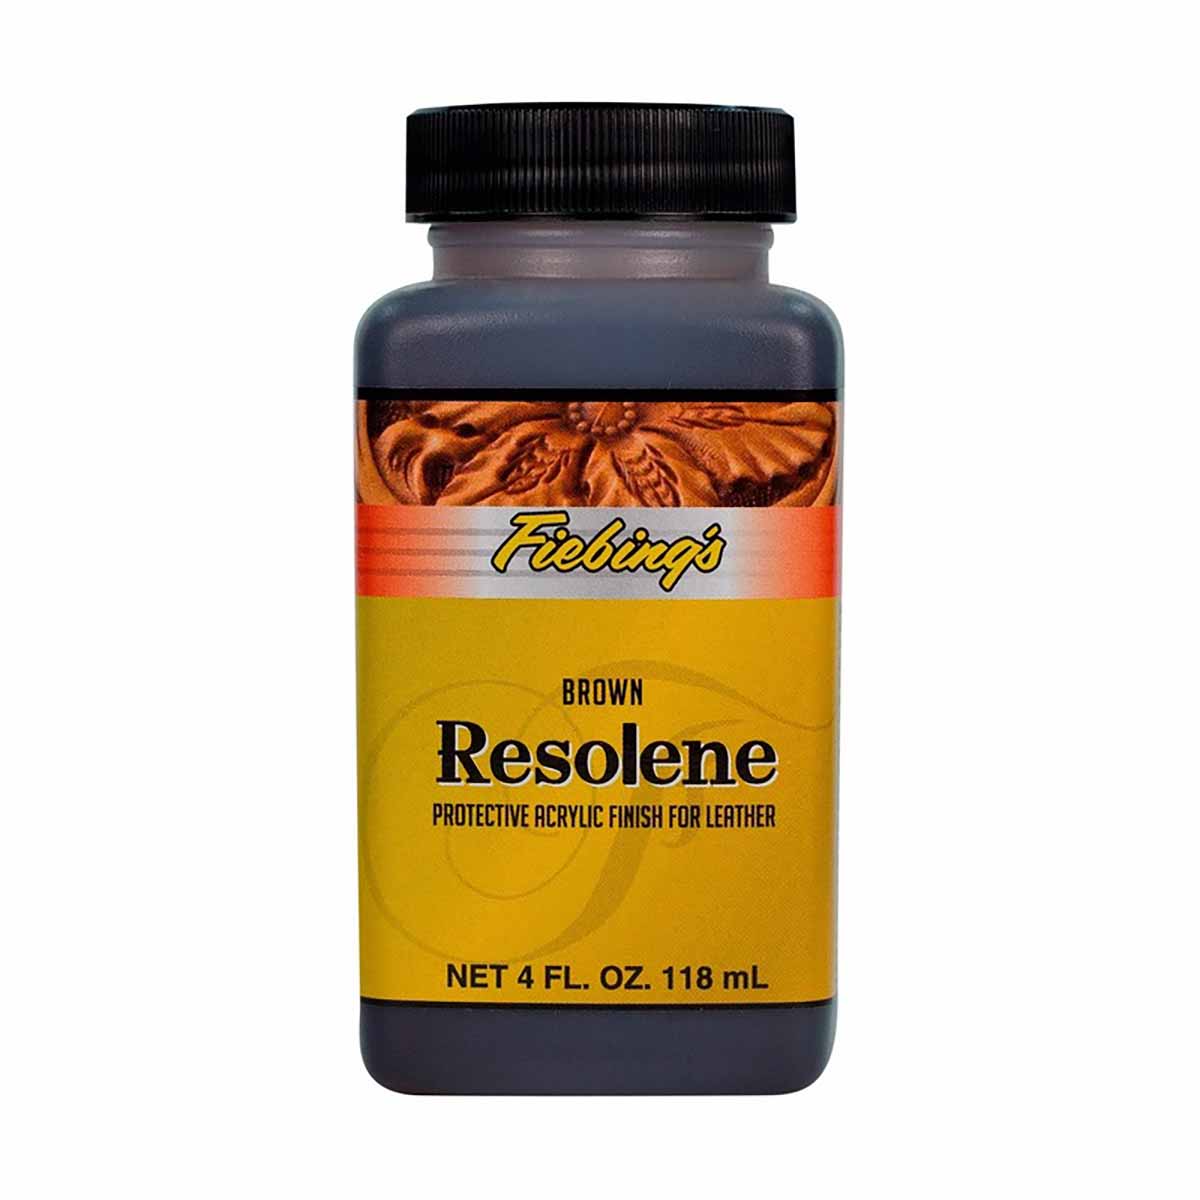
9. PROTECT YOUR CREATION
When your creation is finished (sewn and assembled): apply Fiebing's acrylic resolene protective varnish.
Lightly dampen a sponge and then soak it with Resolene. Then apply a generous coat of varnish to your creation. Make circular movements. Let dry overnight and then buff the leather with a soft cloth.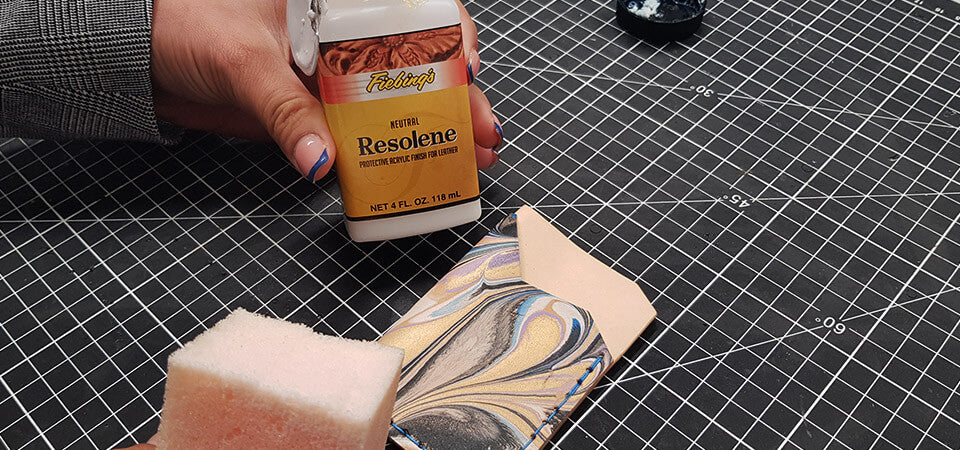
DURABILITY OF MARBLING OVER TIME
If you protect your work well with a varnish, there is nothing to worry about: the paint is very resistant (even when trying to rub or scratch the leather).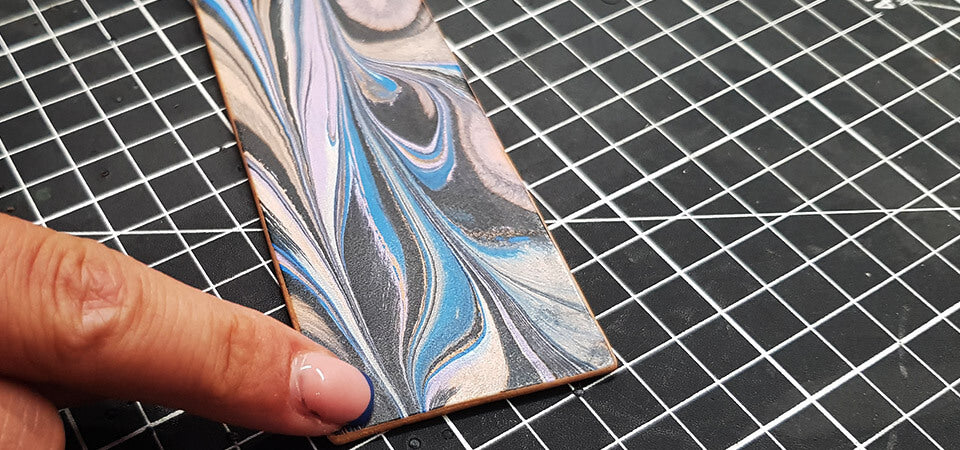
INSPIRATIONS & TECHNIQUES
There's no secret, the more you experiment with color mixtures, the more you'll learn: there's nothing better than practice and learning from your own experience. Nevertheless, we recommend checking out Mae Leather's Instagram account: an American with a lot of experience in leather marbling.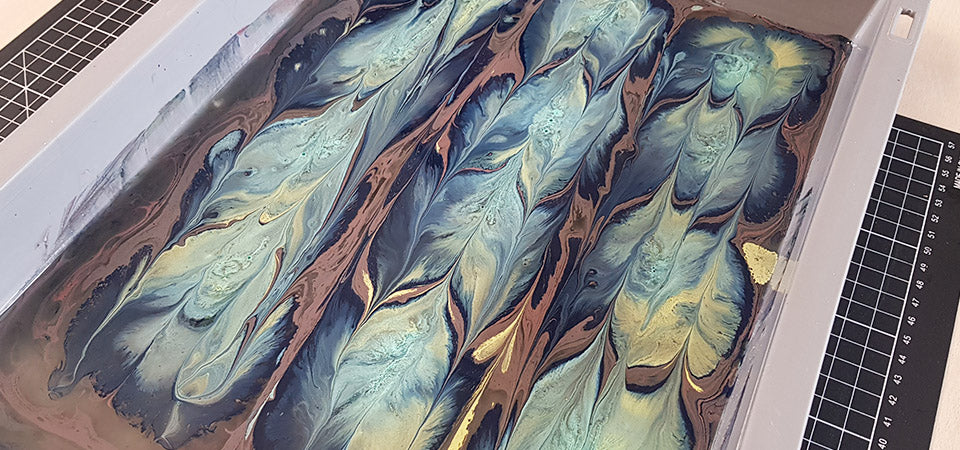
OUR SMALL LEATHER GOODS CREATIONS IN MARBLED LEATHER
Given that marbling paint is a rather original technique in the world of leatherwork, we advise you to first create small items. You will discover some ideas below!
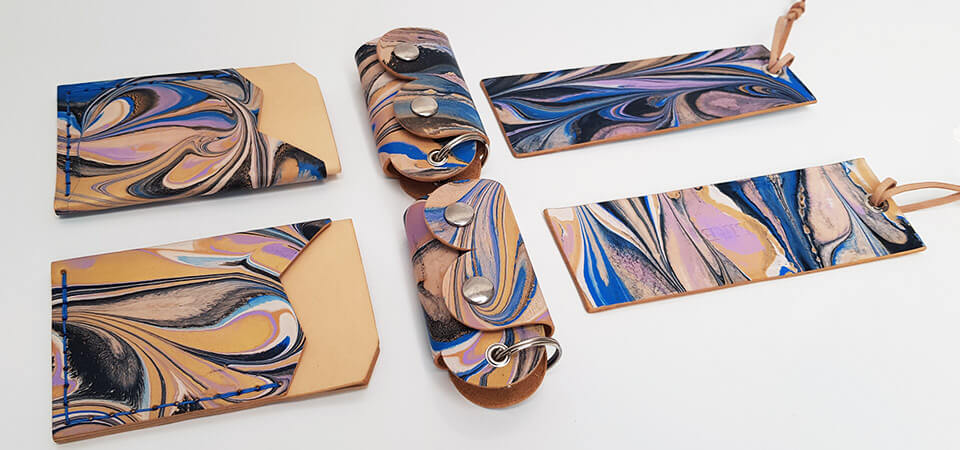
MARBLED LEATHER BOOKMARKS
Very simple to make, just laminate 2 pieces of marbled leather, cut them to the desired dimensions, then work the edges with an edge creaser and a finishing gum (here Tokonole). Finally, make a hole at the top of your bookmark to place a rolled eyelet (5 mm diameter) and secure a flat leather lace with a knot.
Dimensions of our bookmarks: 4.8 x 14.6 cm / 3 mm thick
EDGE CREASER GUIDE >

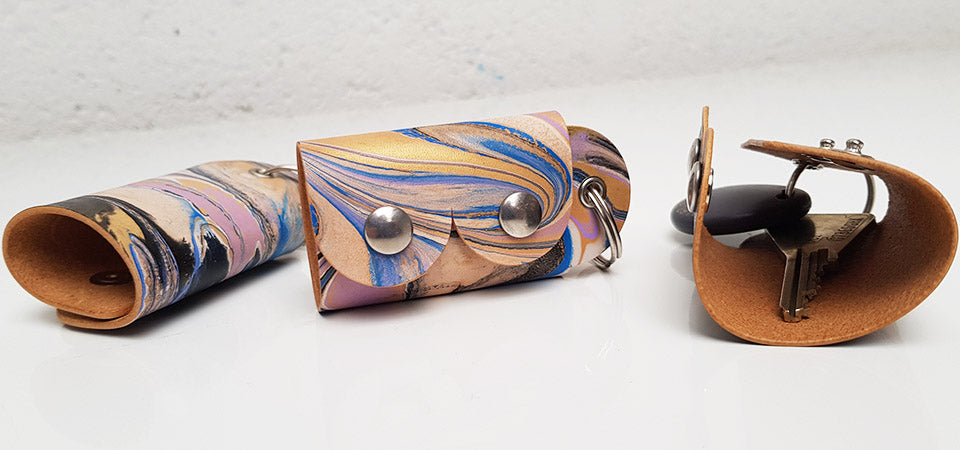
MARBLED LEATHER BOOBS KEYCHAIN
Make this leather keychain to raise awareness about breast cancer screening during the Pink October campaign. Practical for slipping in your house keys or car keys, this trendy accessory will accompany you everywhere! This tutorial requires no sewing.
VIEW FREE TUTORIAL AND PATTERN >
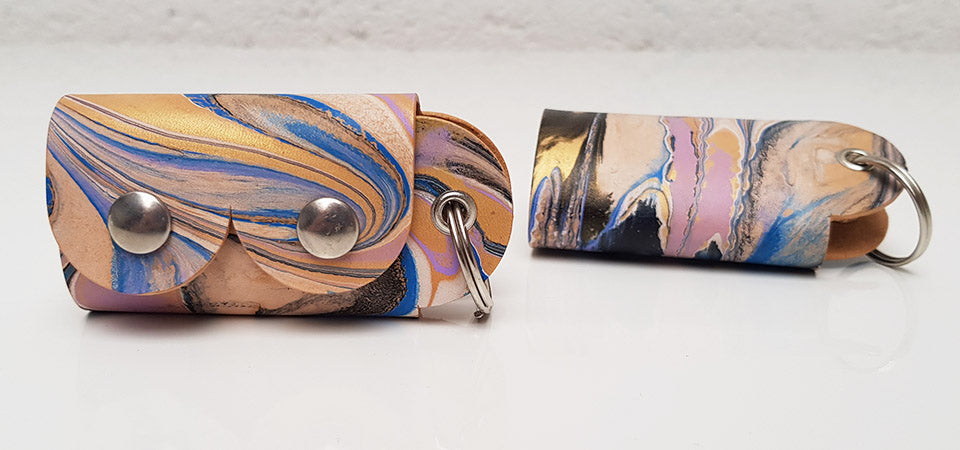
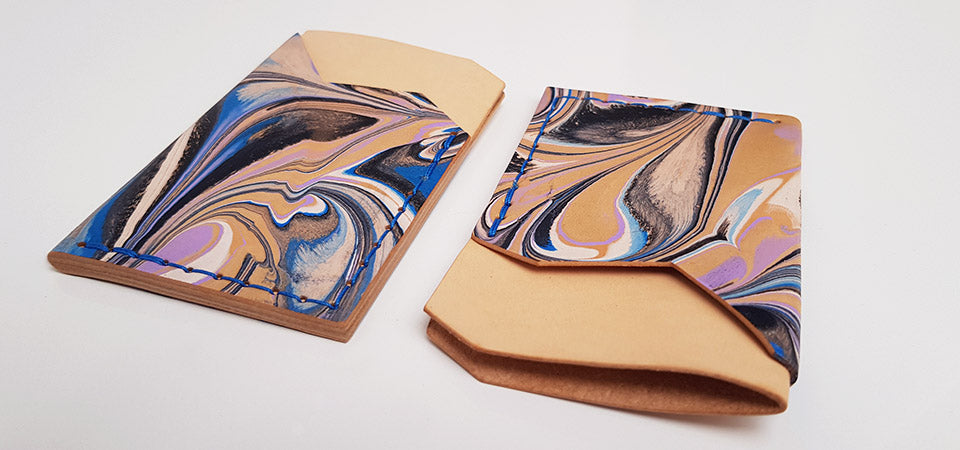
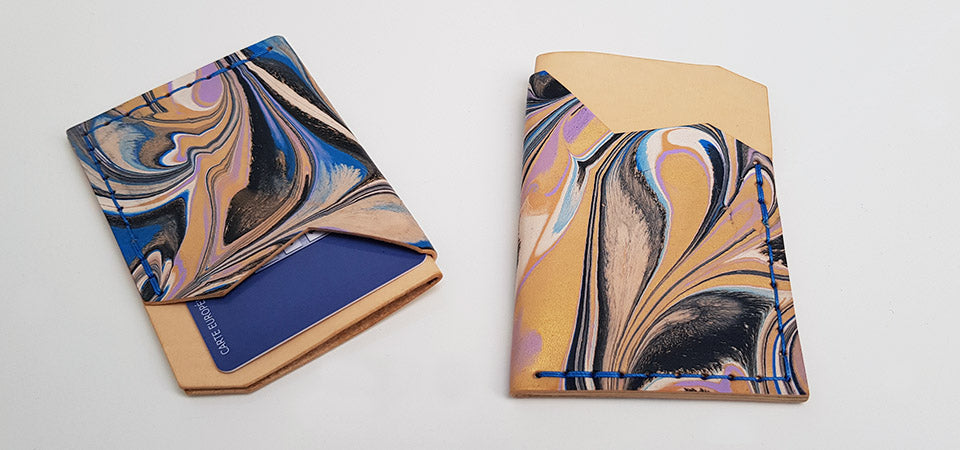
MINIMALIST MARBLED LEATHER CARD HOLDER
Make your minimalist leather card holder. It can hold up to 4 cards. Simple and stylish, this card holder will go everywhere with you! This tutorial is accessible to beginners with simplified sewing.
VIEW FREE TUTORIAL AND PATTERN >
AND NOW, IT'S YOUR TURN TO SHARE YOUR CREATIONS AND TIPS WITH US!
DON'T HESITATE TO PIN THE PHOTO ON PINTEREST TO SHARE THE ARTICLE!