


MATERIALS NEEDED
- 2 pieces of leather (different) 20 x 30 cm - 0.5 mm thick
- 4 mini snap fasteners – Nickel-plated – 10.5 mm diameter
- Hand press pliers and setting tools for mini snap fasteners
- 2 mm and 4 mm punch tools
- 2 sliding buckles – Nickel-plated – 16 x 10 mm
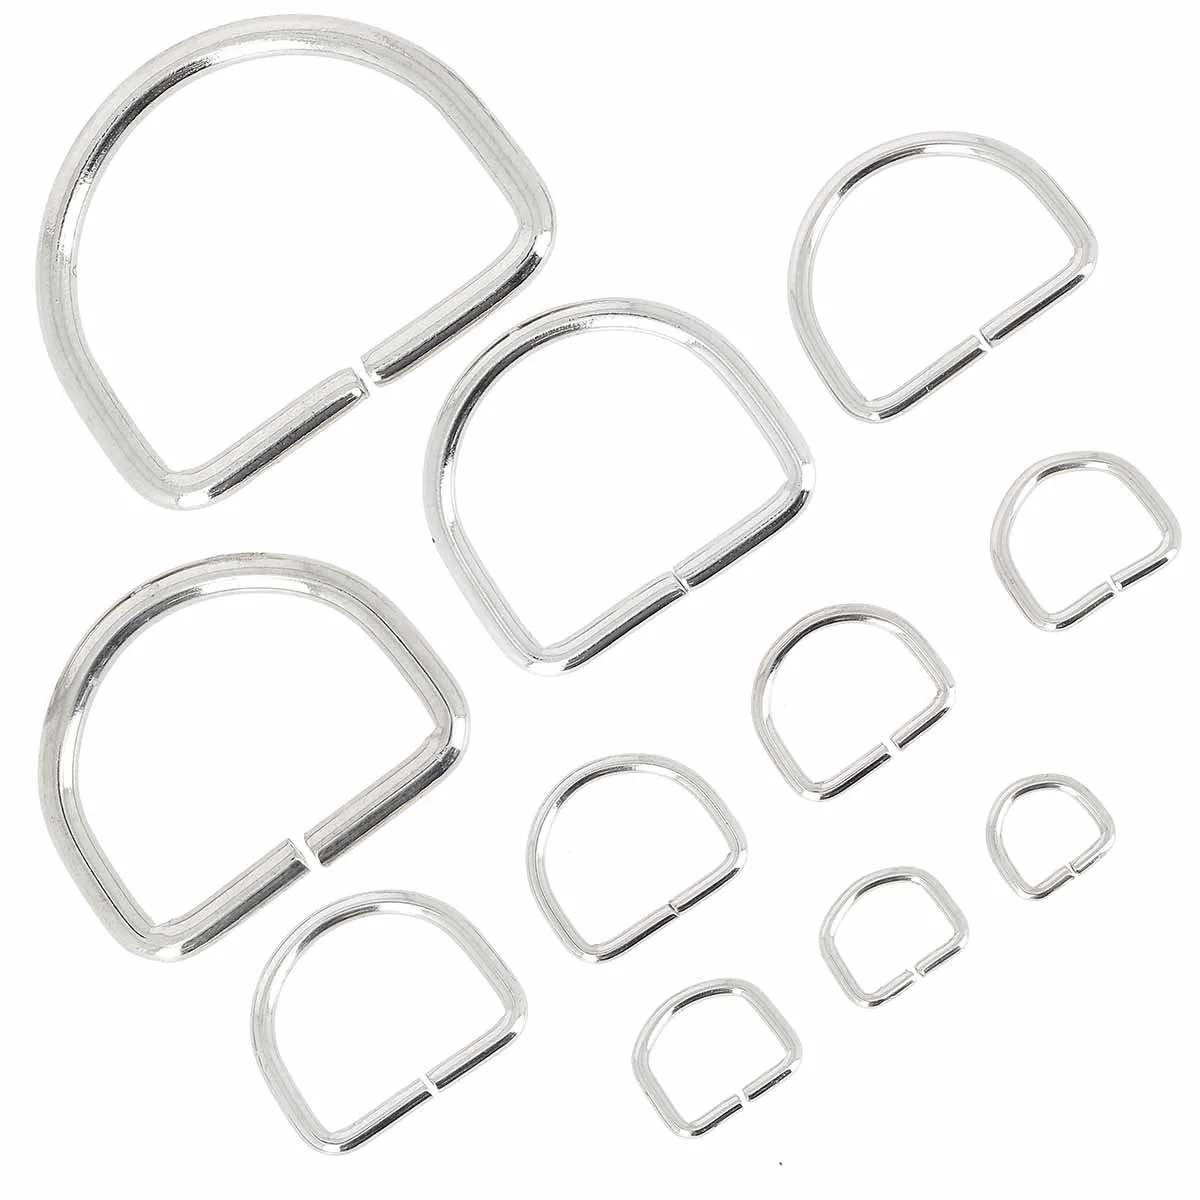
- 2 D-rings – NICKEL-PLATED – 14 x 12 x 2.2 mm
- Black tear-resistant adhesive tape
- 1 silver pencil
- 1 metal ruler or straightedge
- 1 cutting mat
- 1 utility knife and scissors
- Fabric (for the neck strap) at least 10 x 65 cm
- As well as a sewing machine and polyester thread.
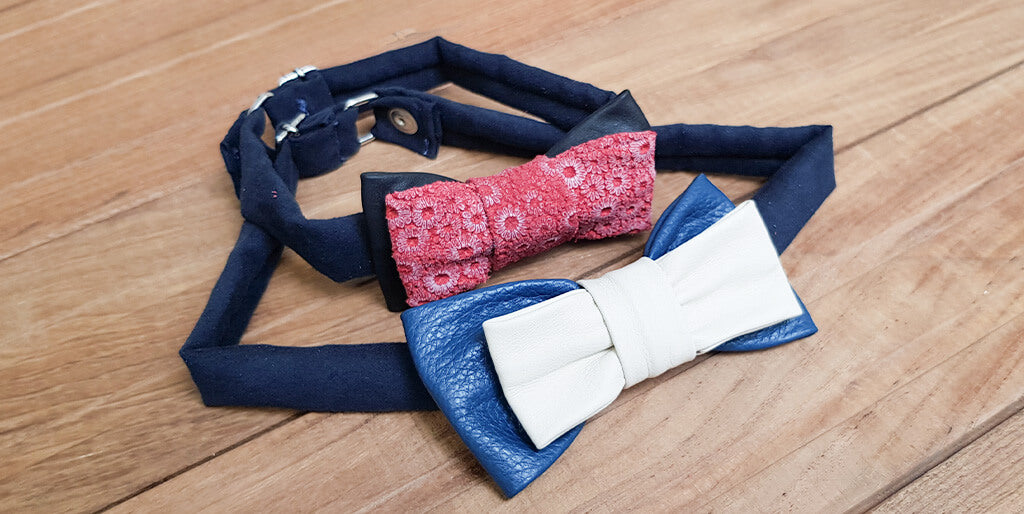
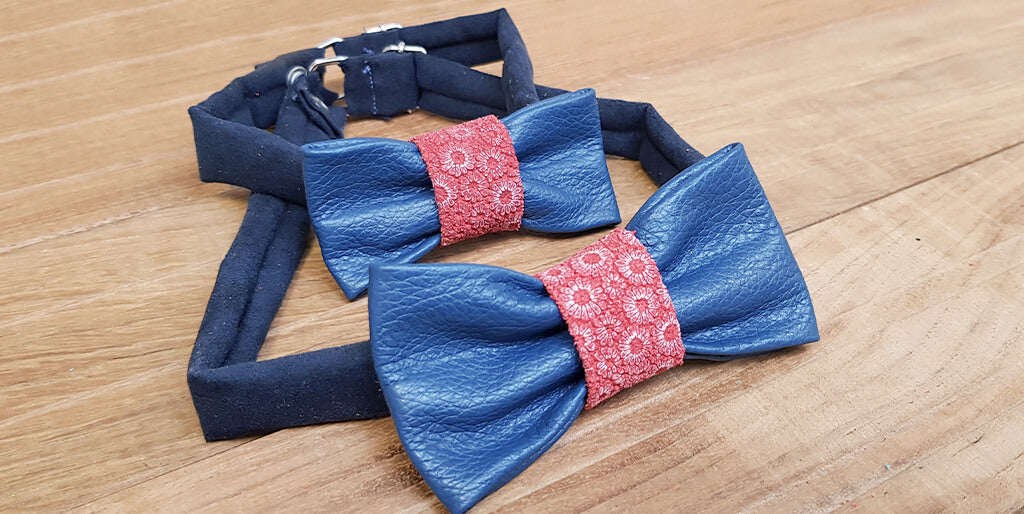
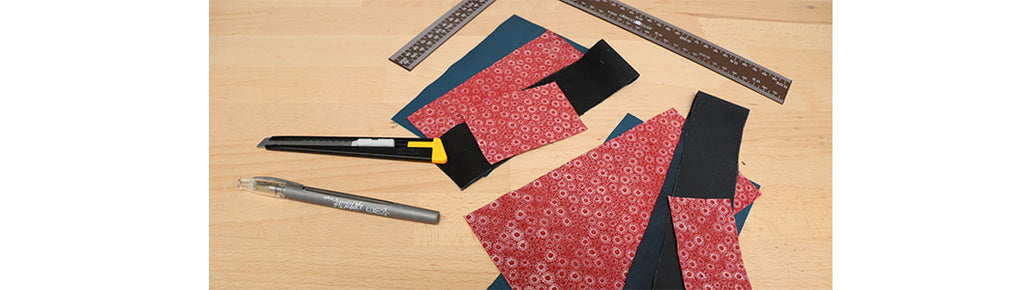
1. CUT THE 4 PIECES (FOR EACH BOW TIE – FATHER & SON)
Using the silver pencil, trace the pieces onto the leather.
Cut out the rectangles using a straightedge and a utility knife (or a pair of scissors).
Piece n°1 (largest bow tie) -> 1 time (leather 1)
Piece n°2 (smallest bow tie) => 1 time (leather 2)
Piece n°3 (bow tie loop) => 1 time (leather 2)
Piece n°4 (fabric neck strap) => 1 time
The pencil is erasable on most leathers with a simple eraser (do not use on vegetable-tanned leather). We recommend you do a test beforehand to check the erasable function on your leather.
2. REINFORCE THE BOW TIE LOOP WITH TEAR-RESISTANT TAPE
Apply tear-resistant tape to the flesh side of the leather for the bow tie loop (piece n°3).
3. SEW PIECES N°2 AND 3 (FATHER AND SON)
Fold pieces n°2 (small bow tie) and n°3 (bow tie loop) in half (lengthwise) and sew the upper edge on the right side.
4. MOVE THE SEAM TO THE CENTER
Move the seam to the center for pieces n°2 (small bow tie) and n°3 (bow tie loop).
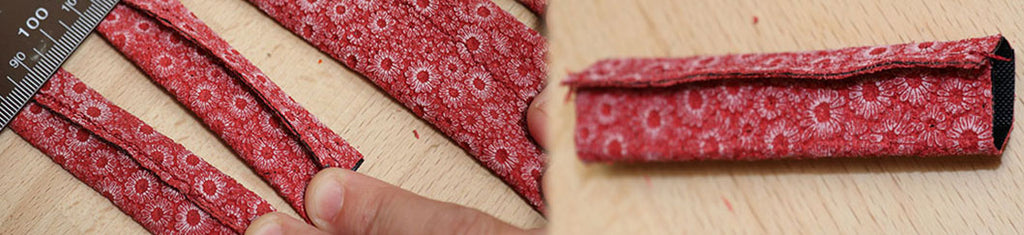
5. SEW PIECE N°2 (SMALL BOW TIE) ALONG ITS WIDTH
Fold pieces n°2 (small bow tie) in half (widthwise) and sew the upper edge (on the same side as the previous seam).
Move the seam to the middle and turn the bow tie inside out (photo n°3).
6. SEW THE ENDS OF THE BOW TIE LOOP.
Sew the ends of piece n°3 (bow tie loop) on the same side as the previous seam.
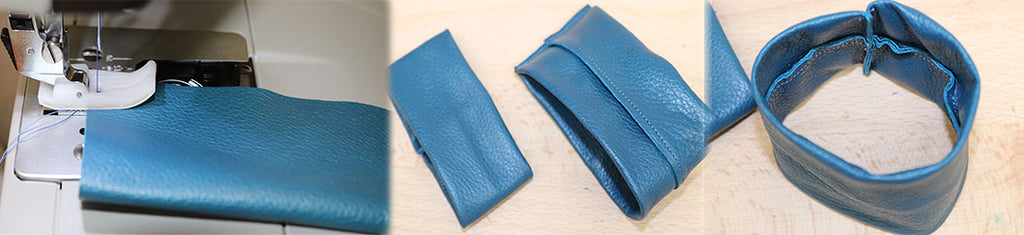
7. SEW PIECE N°1 (LARGE BOW TIE)
- Follow the same steps as for piece n°2 (small bow tie).
- Fold pieces n°1 (large bow tie) in half (lengthwise) and sew the upper edge on the right side.
- Move the seam to the center.
- Fold pieces n°1 (large bow tie) in half (widthwise) and sew the upper edge (on the same side as the previous seam).
- Move the seam to the middle and turn the leather bow tie inside out (photo n°3).
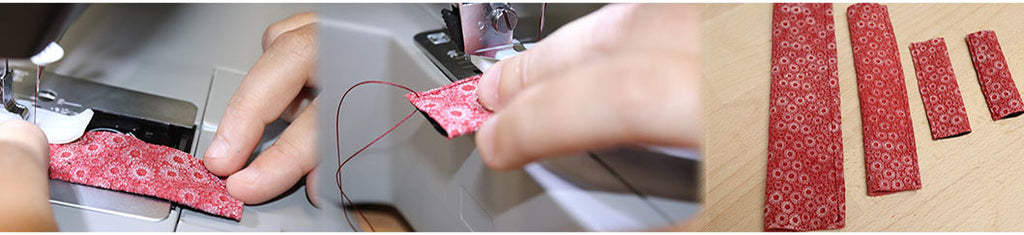
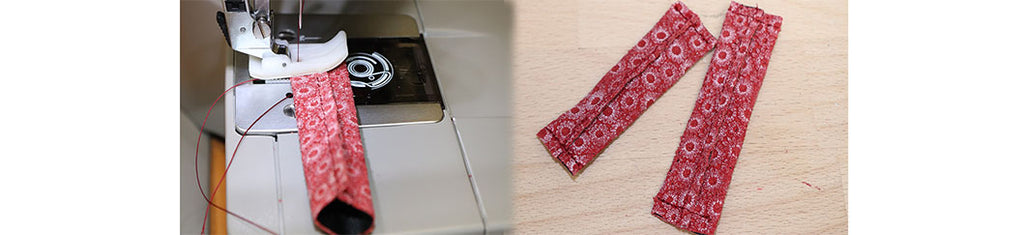
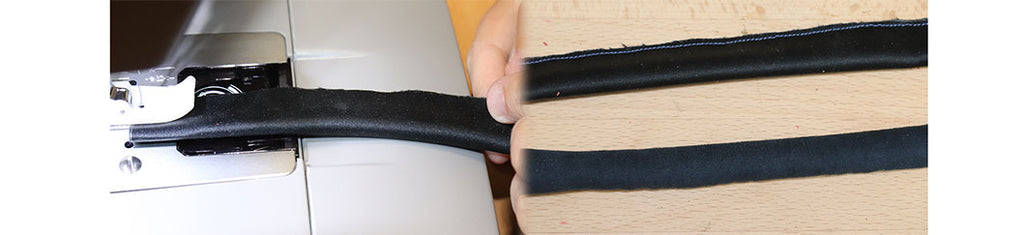
8. SEW PIECE N°4 ON THE WRONG SIDE
- Fold pieces n°4 (neck strap) in half (lengthwise) and sew on the wrong side. Do not topstitch at the end to make turning the piece easier.
- Turn the piece right side out to conceal the seam.
- Place the seam in the middle.
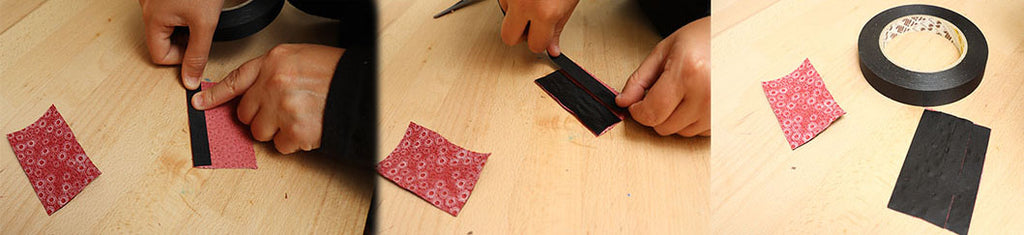
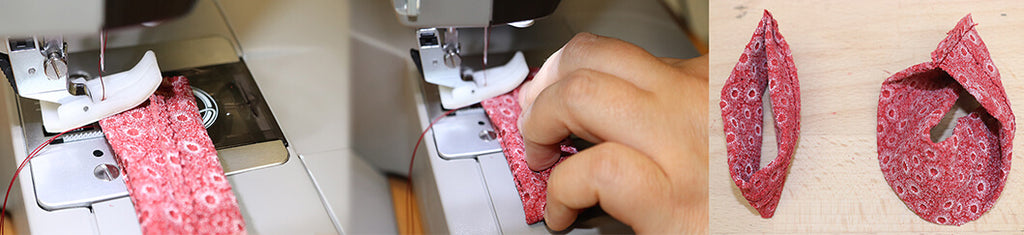
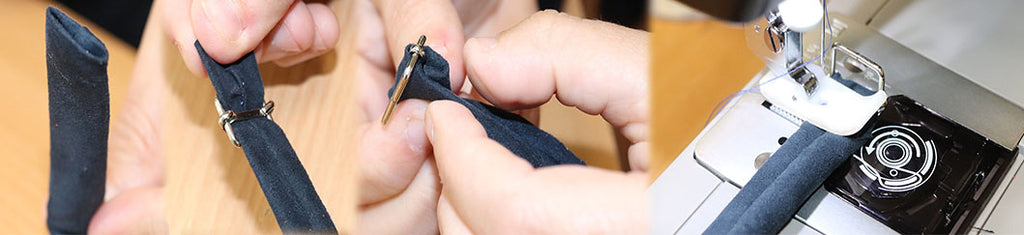
9. SEW THE ENDS OF PIECE N°4
- At the ends: turn the fabric back on itself (photo n°1)
- Thread the sliding buckle (photo n°2)
- Fold the end of the neck strap (the side where topstitching was not done) back on itself (photo n°3) and sew it.
- Sew the other end.
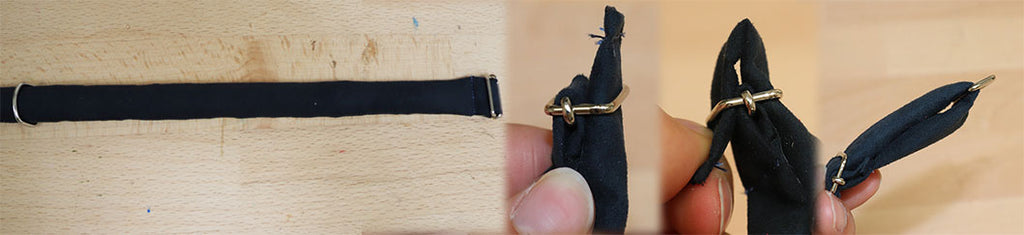
10. MAKE THE NECK STRAP ADJUSTABLE
- Thread the D-ring (photo n°1)
- Then thread the end of the neck strap through the sliding loop (photos n°2 and 3)
11. MAKE THE HOLES FOR THE SNAP FASTENERS AND INSTALL THEM
Make the holes for the snap fasteners (4mm for the cap and 2mm for the post) on the neck straps and bow tie loops.
You can follow this video to learn how to install snap fasteners:
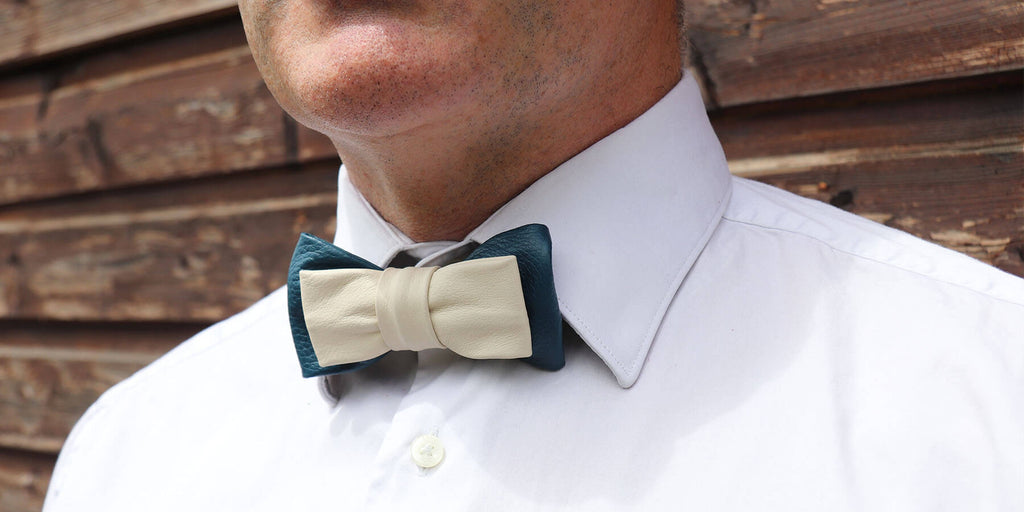
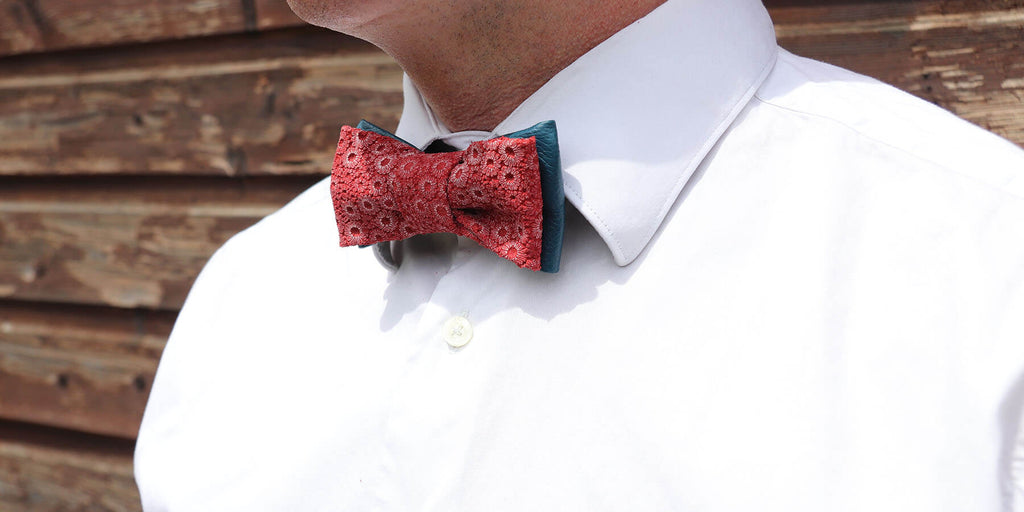
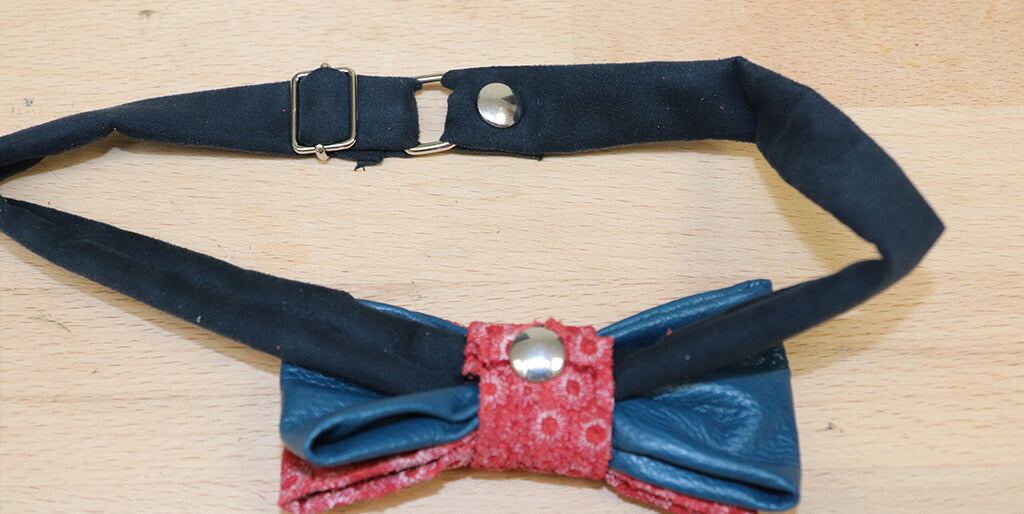
12. ASSEMBLY
All you have to do is assemble the different pieces!