


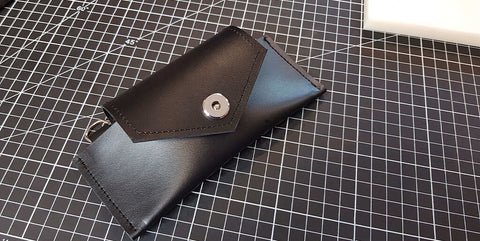
REQUIRED MATERIALS:
- 1 piece of leather - BLACK - 20 x 30 cm / Thickness 1.2 mm
- 1 piece of leather - BLACK - 20 x 30 cm / Thickness 0.5 mm
- 1 vegetable-tanned leather strap - BLACK - Thickness 1.9 mm – Width 15 mm – Length 120 cm
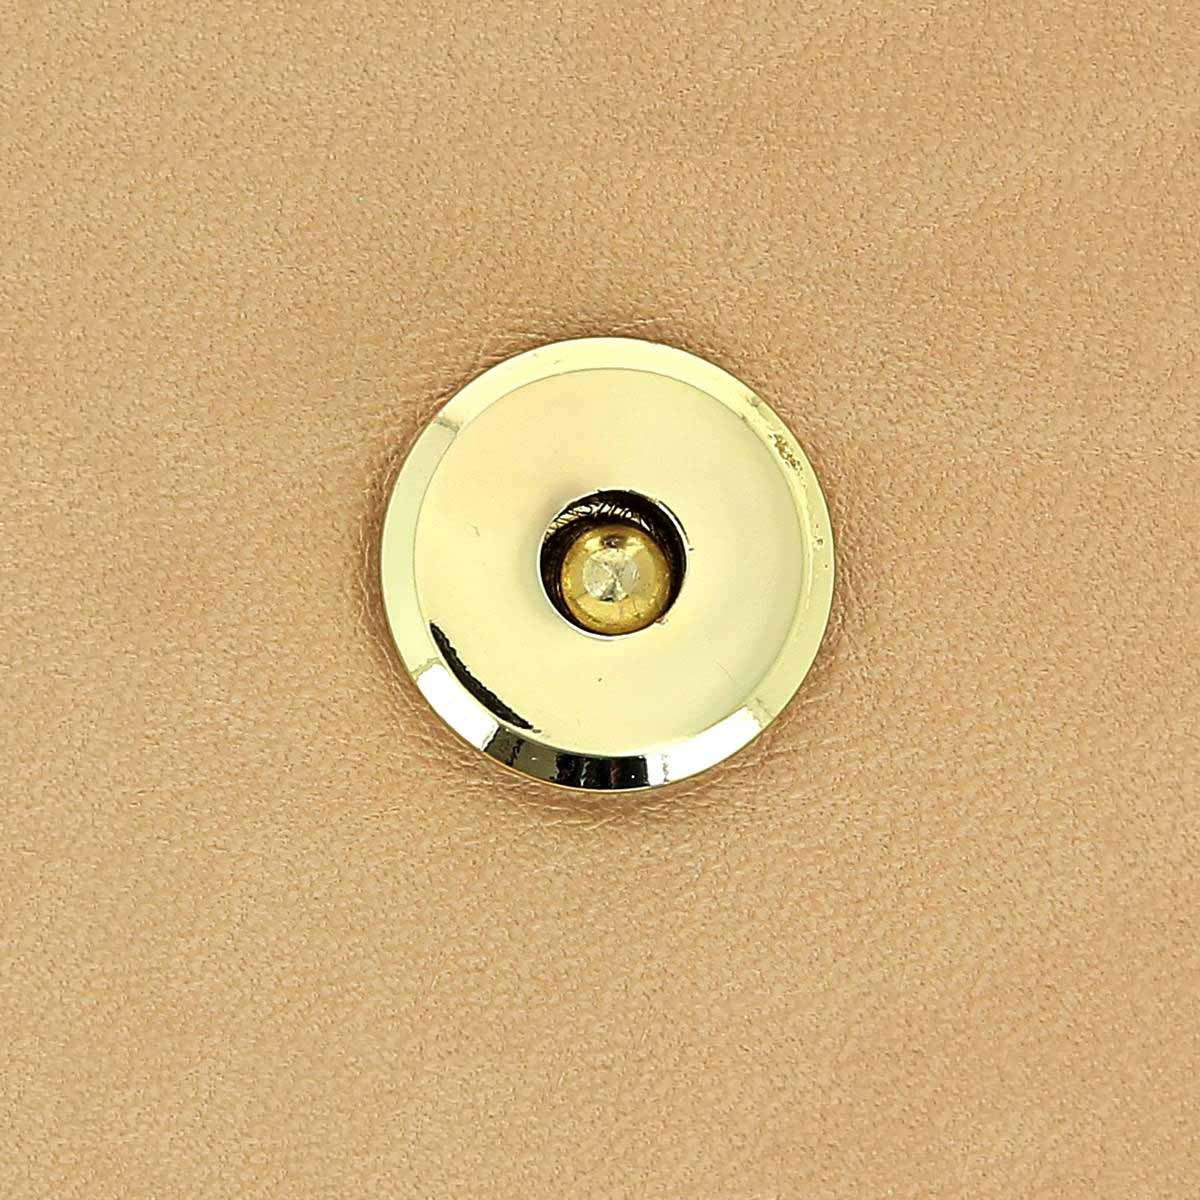
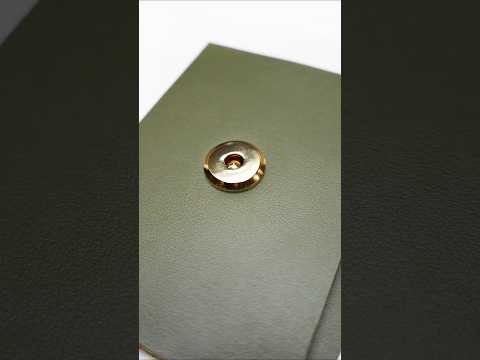
- 1 POLO magnetic TOP clasp - Ø 17 mm
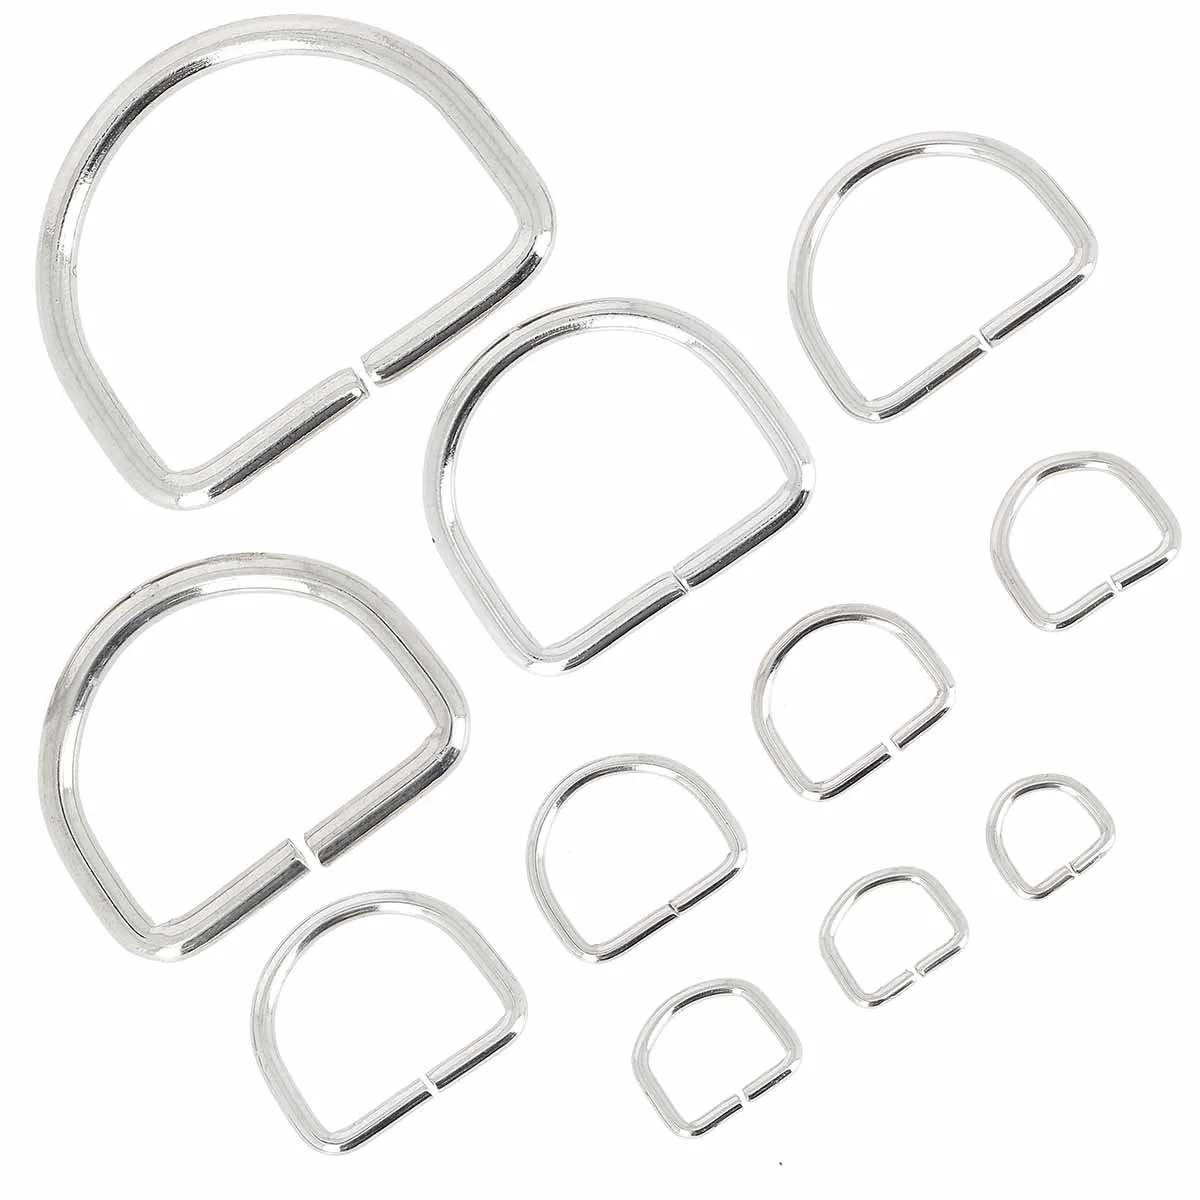
- 1 set of steel half-round rings – Width 14 mm
- 2 snap fasteners - Ø 10.5mm - Nickel-plated
- 1 precision hole punch - SQUARE - 2.5 x 2.5 mm
- A 3mm round punch
- A cutter
- Fastener sets (rivet and snap button)
- A spool of thread
- Pure leather glue
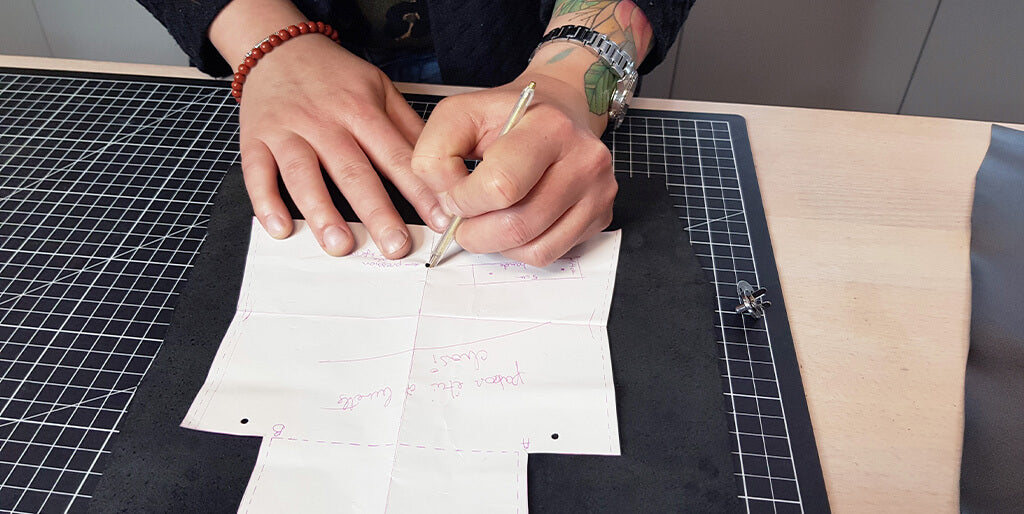
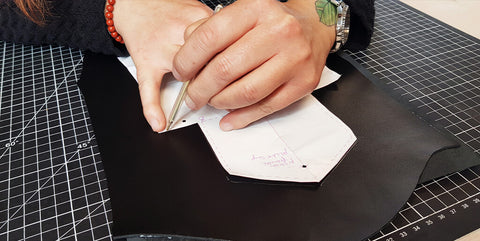
1. PRINT YOUR PATTERN
Download the pattern and print it at full size. Center the pattern on the piece of full-thickness leather and mark the position of the male part (bottom part) of the POLO magnetic top.
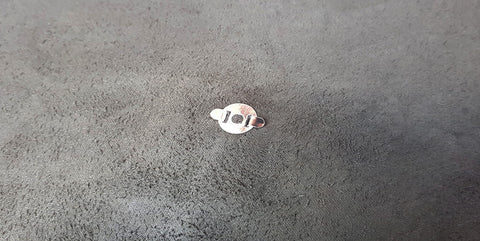
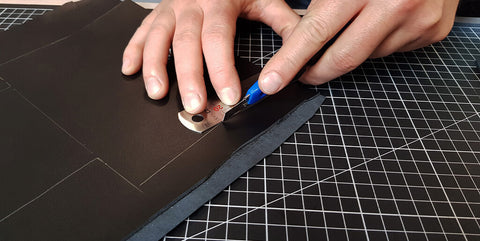
2. SECURE THE ELEMENTS
Cut the leather with a cutter and attach the elements of the lower part of the top by folding the tabs over the metal washer.
 |
 |
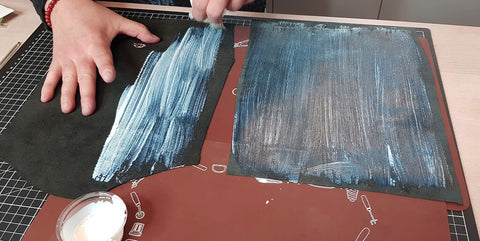
3. ASSEMBLE THE PIECES OF LEATHER
Using contact adhesive for leather, glue the two pieces of leather back to back (piece of 1.2 and 0.5 mm).
 |
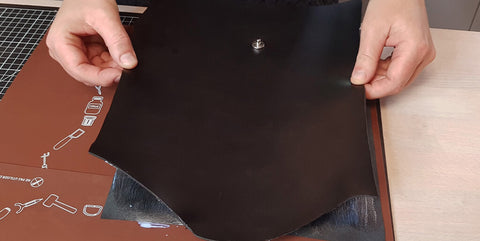 |
4. POSITION THE ELEMENTS
Reposition the pattern on the grain side of the leather (full thickness piece). Use the "peg" on the magnetic top to correctly position the pattern on the leather. Make sure the pattern is completely flat. For the machine-sewn version, also trace the stitching line (from A to B) with a silver pencil. This will be useful for topstitching the flap (see pattern). For the hand-sewn version: punch the stitching holes with a diameter of 1.5 mm.
 |
 |
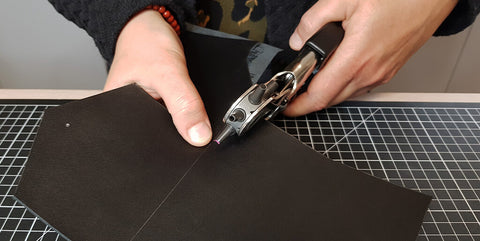
5. DRILL THE PIECE
Drill the 3mm holes (for the rivets and snap fasteners) and the 10mm hole for the top of the magnetic top. Cut out the different pattern pieces with a craft knife.
 |
 |
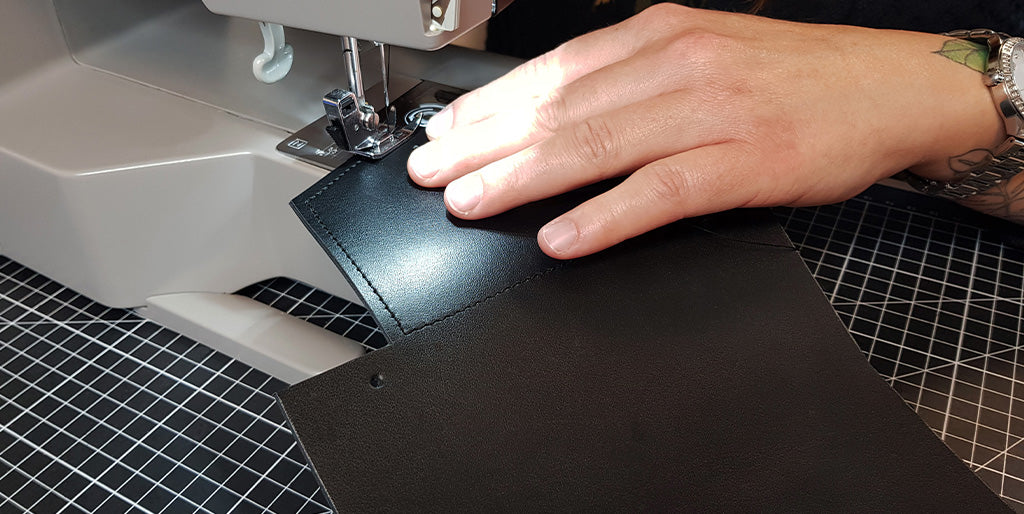
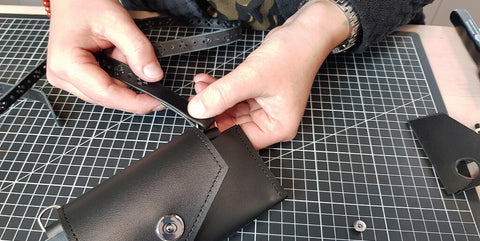
6. TOPSTITCH THE PIECE
Topstitch all around the flap of the main piece.
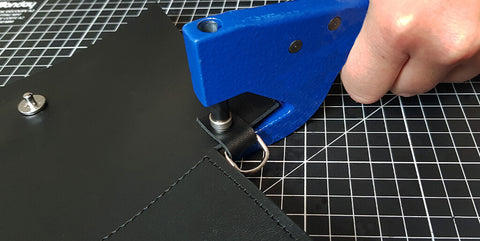
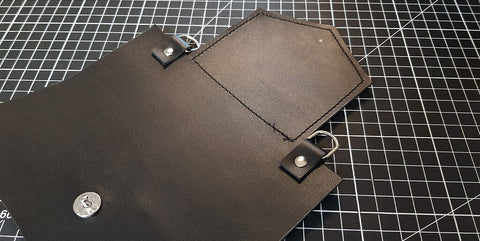
7. ADD THE STRIPS
Fold the small strips in half and slide a half-round ring into them. Then attach them to the case with a double-cap rivet .
 |
 |
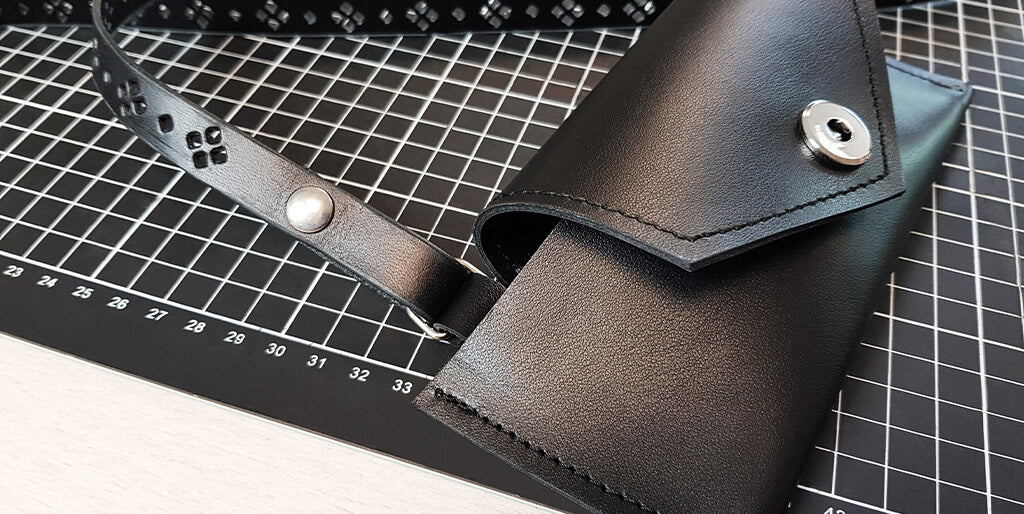
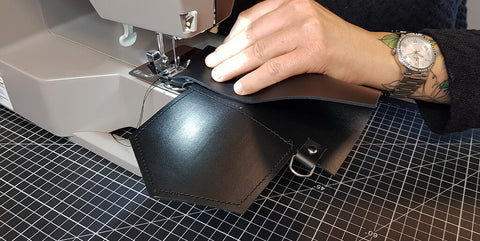
8. FOLD THE CASE
Fold the case in half and stitch on each side 3 mm from the edge.
 |
 |
9. HANG THE MAGNETIC TOP
Screw the top part of the magnetic top in place. If your leather is too thin, place a leather washer to prevent the clasp from moving.
 |
 |
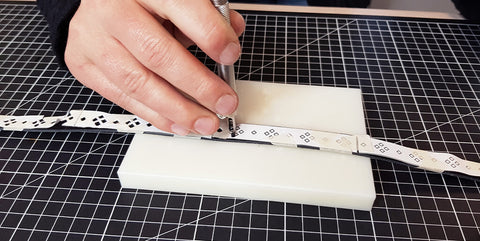
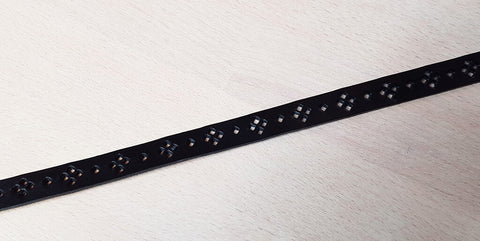
10. CUT THE STRAP
Cut your leather strap to the desired length. OPTION: Position the pattern on your strap and cut out the designs with a precision punch. Leave 10 cm (unpunched) at each end of the strap.
 |
 |
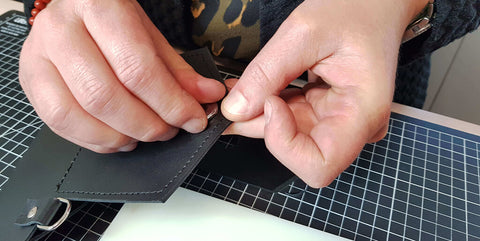
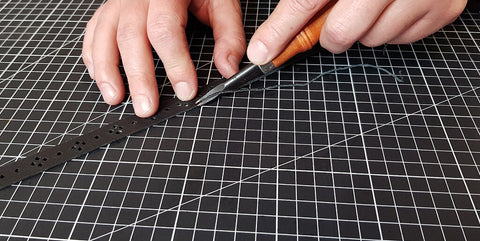
11. PREPARE THE SLICES
Work on the edges of your strap. You can bevel the edges and then apply a finishing compound like Tokonole. You can also work on the edges of the sheath with an edge finish.
 |
|
12. INSTALL THE RIVETS
Insert the ends of the strap into the half-round rings, then attach snap fasteners or rivets to secure the strap to the case.
 |
 |