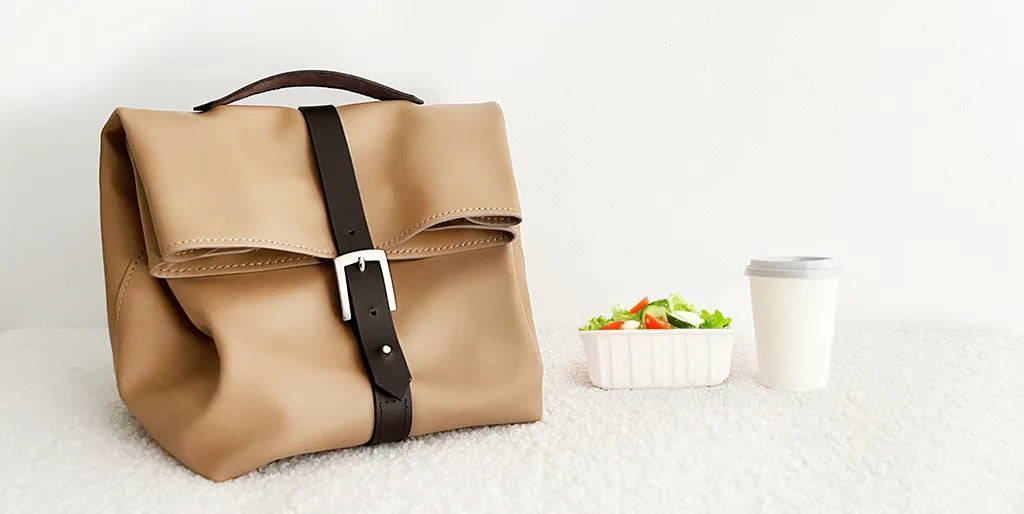


THE NECESSARY EQUIPMENT
- 1 calfskin/cowhide hide approximately 1 mm thick and with a surface area of 0.65 m² (surface area given as an indication)
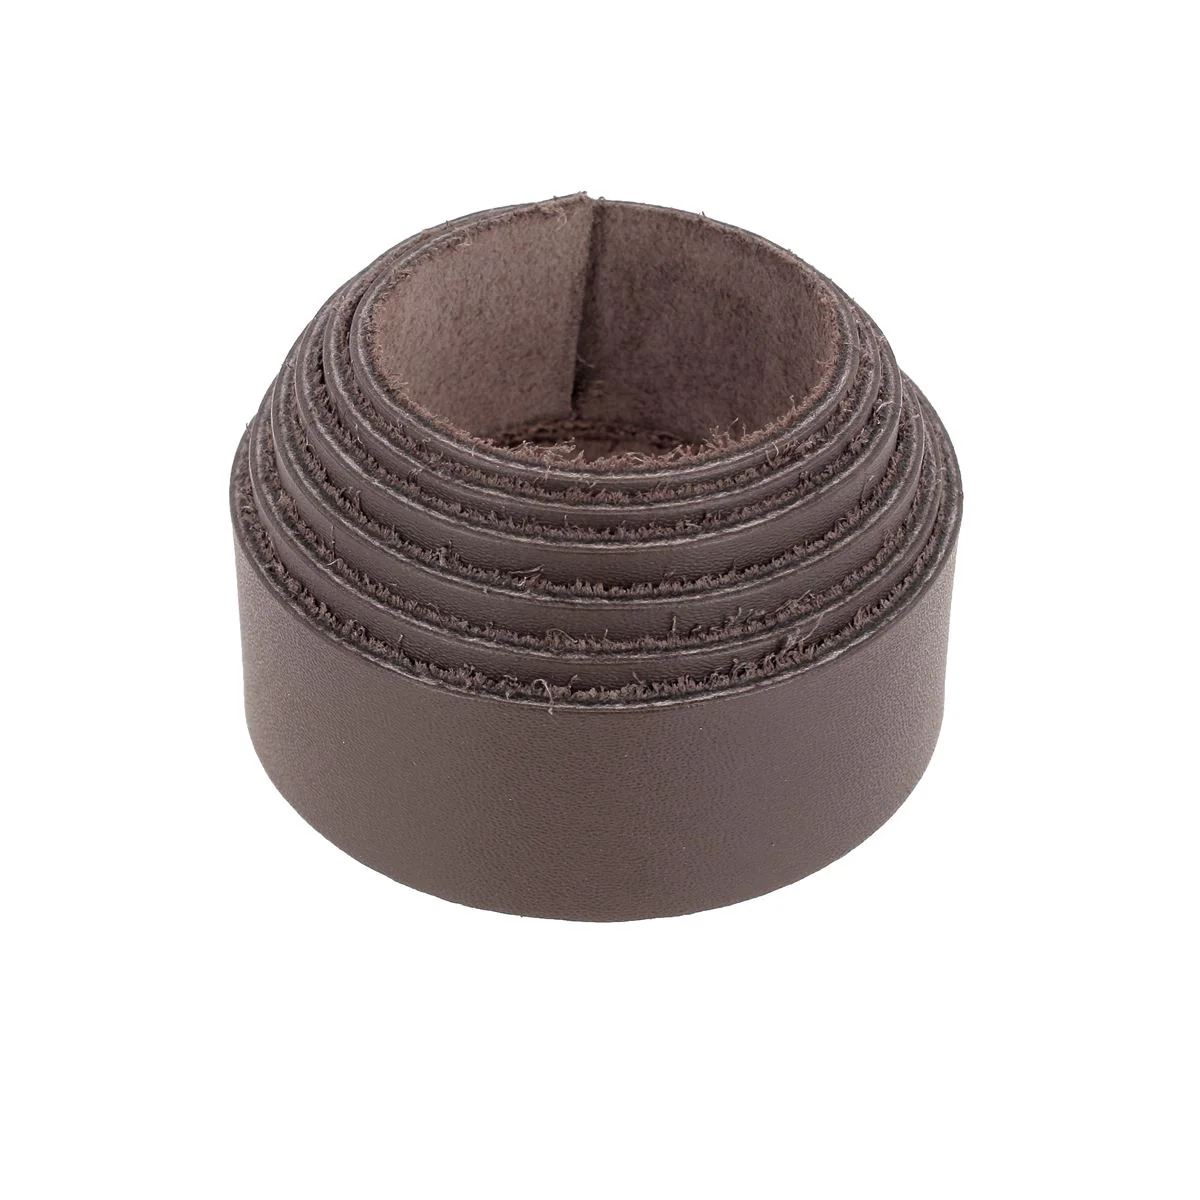
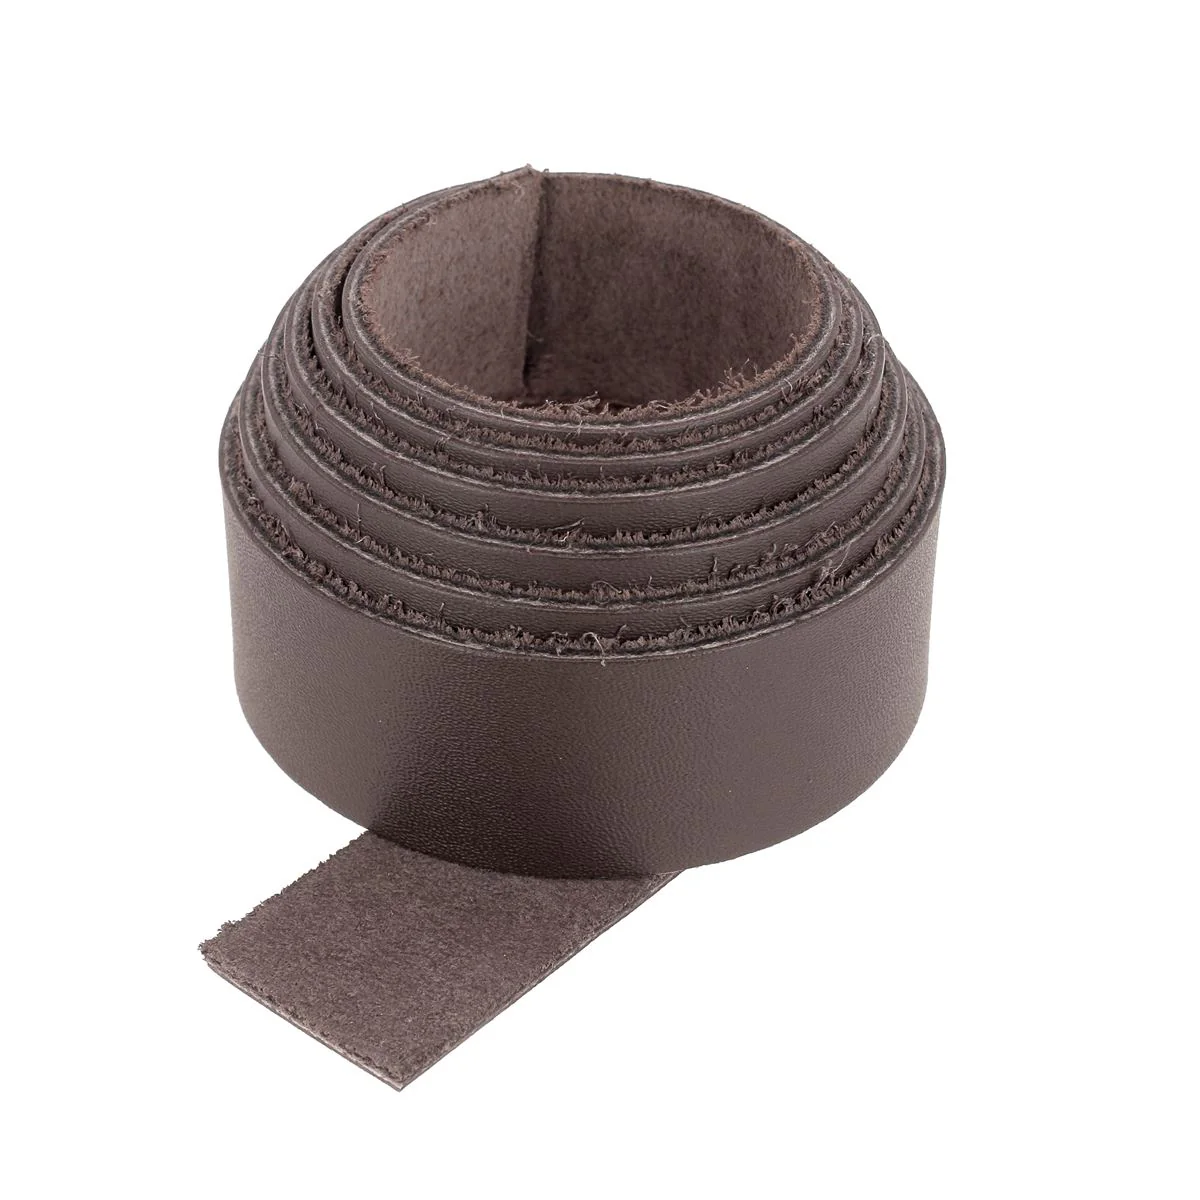
- 1 leather strap approximately 1.6 mm thick, 19 mm wide and 120 cm long
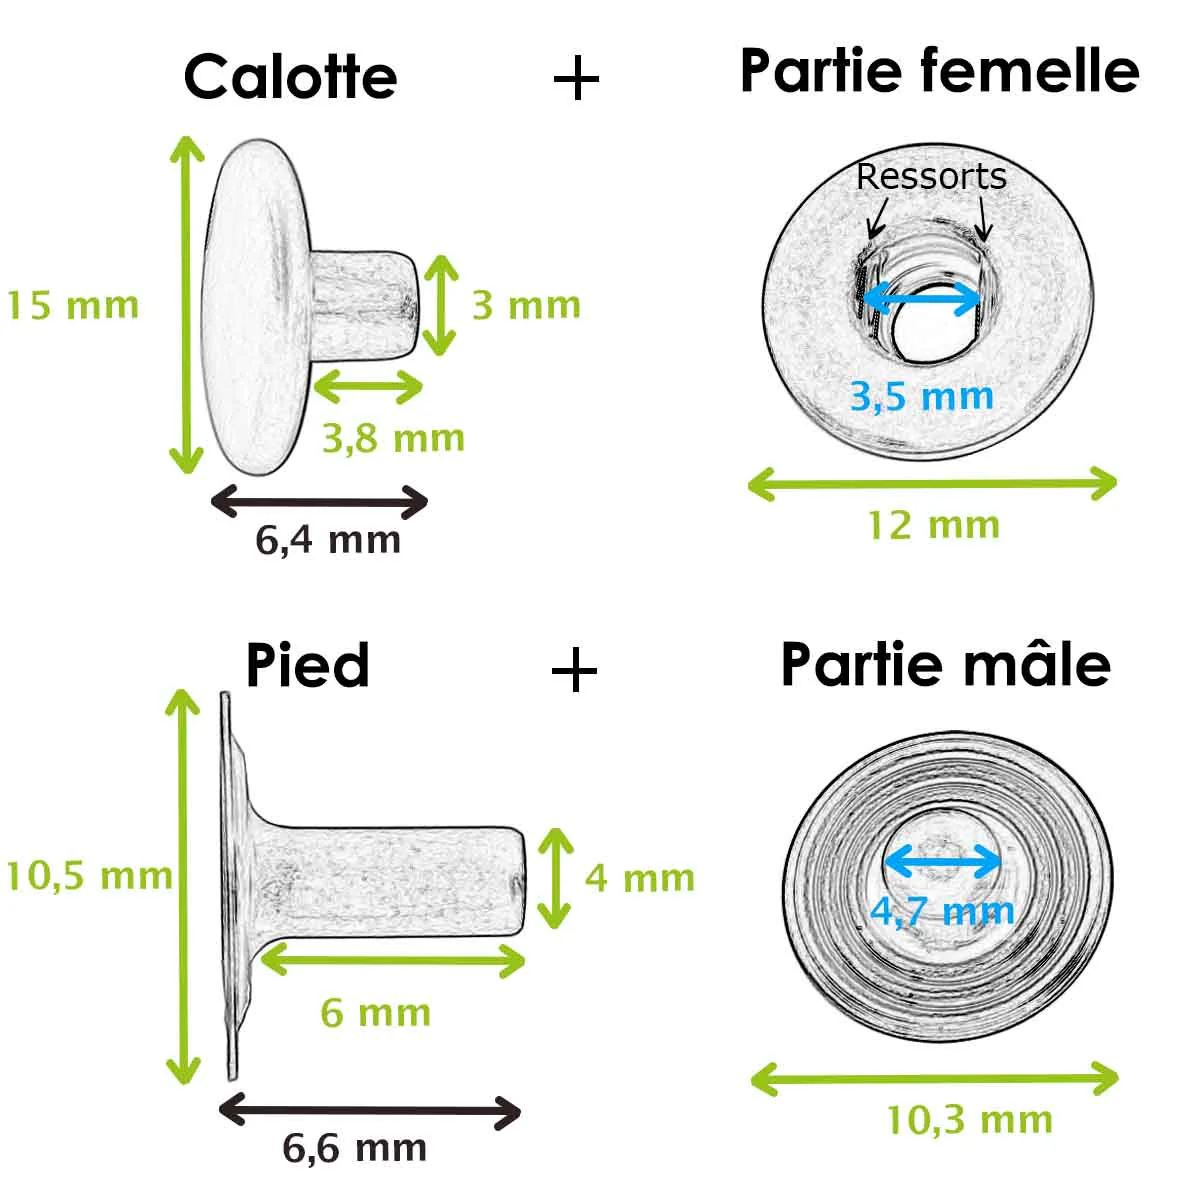
- 4 T3 rivets
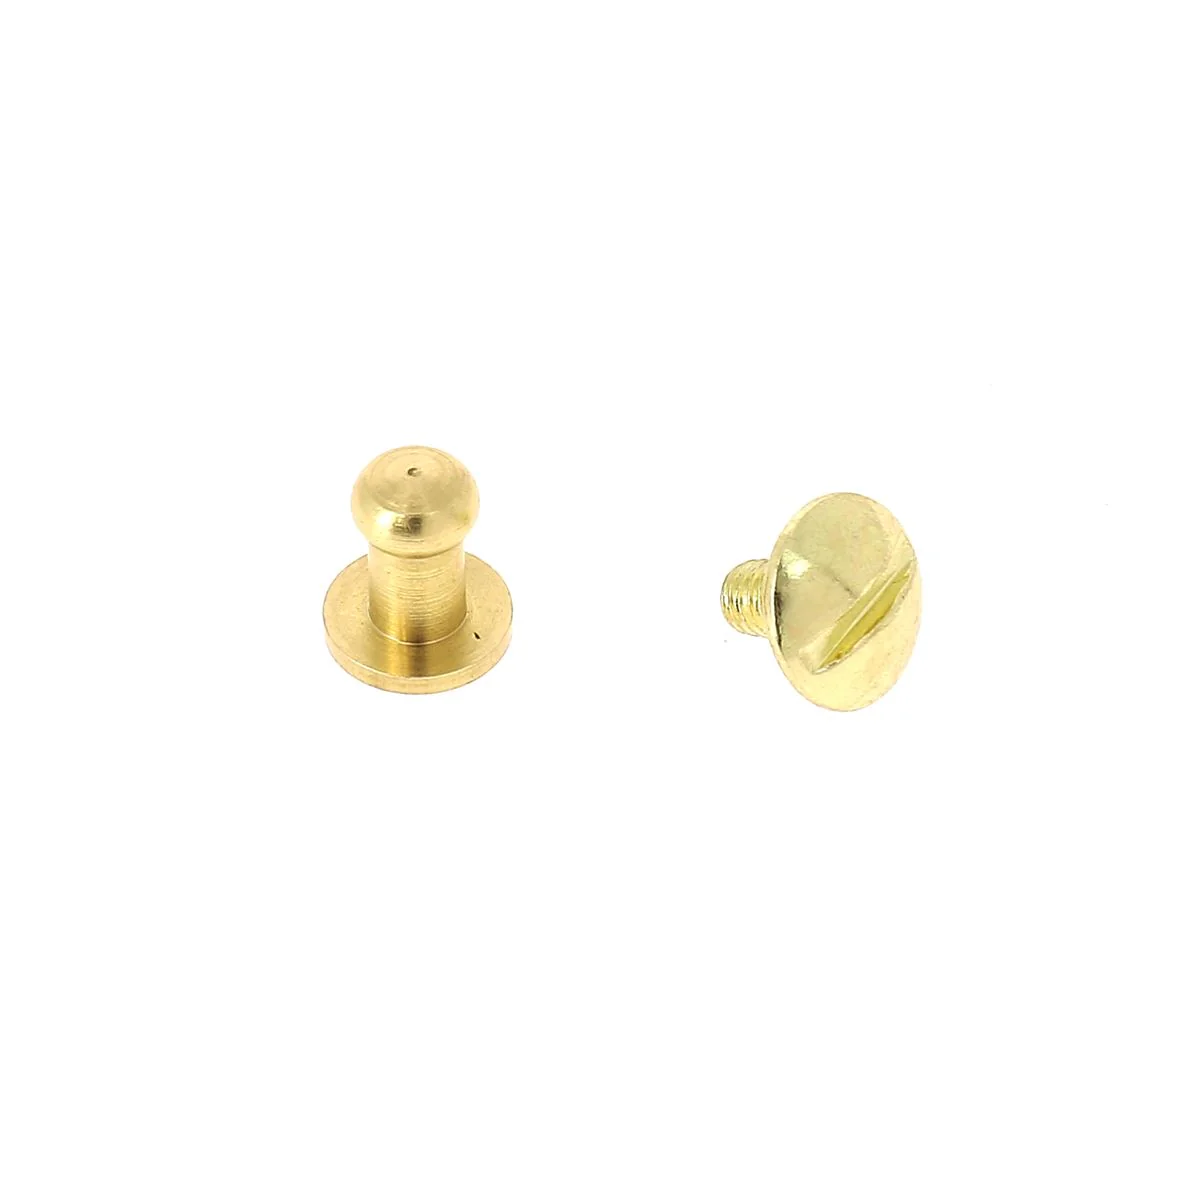
- 1 collar button T3
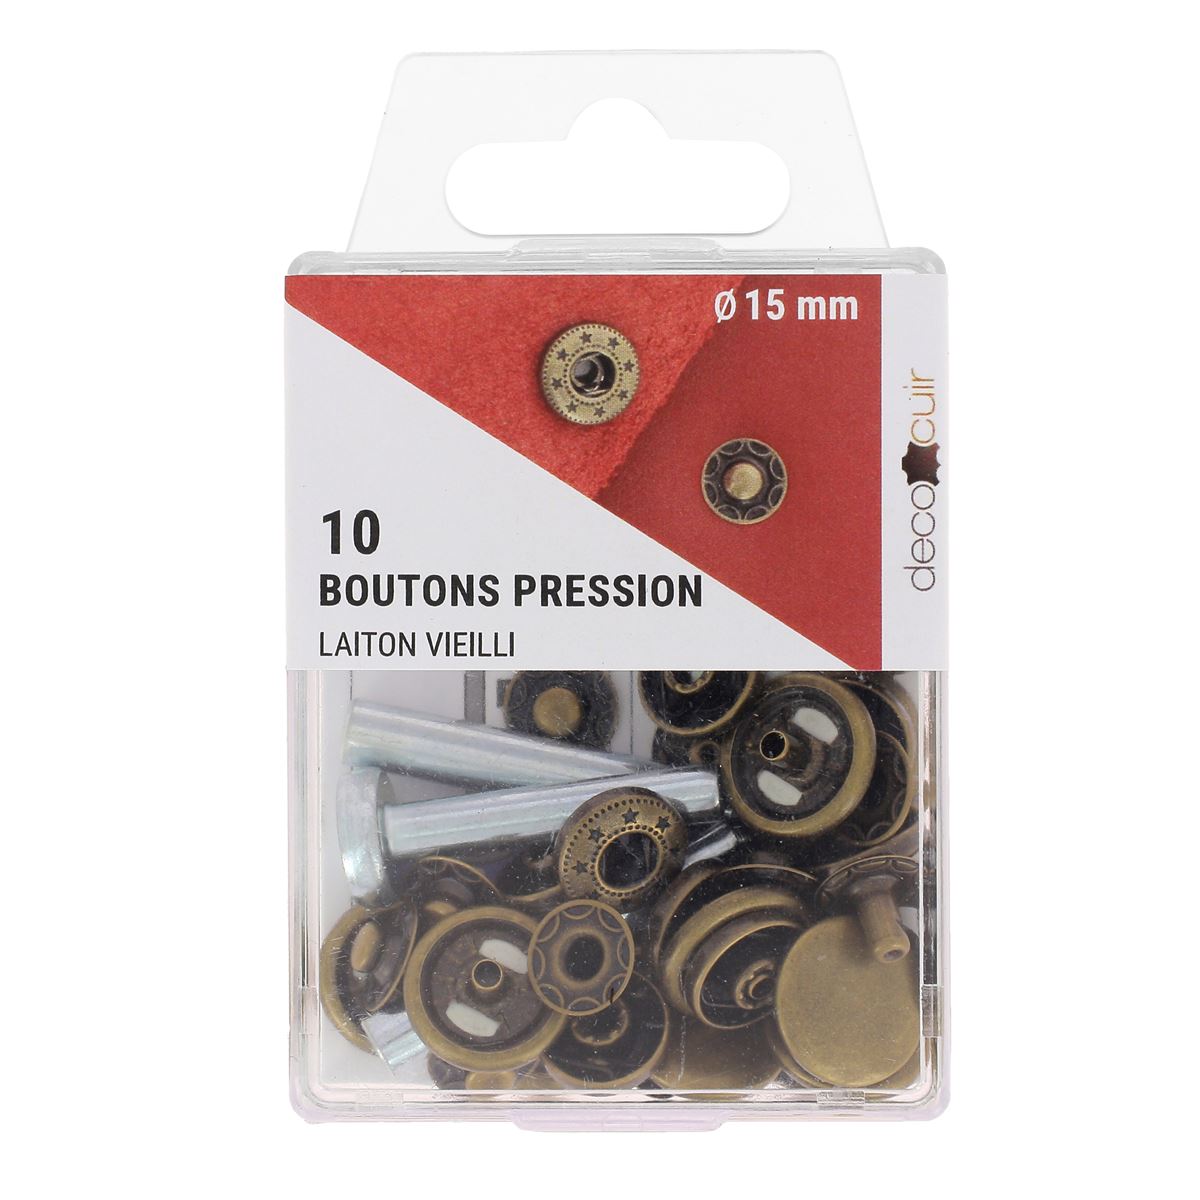
- 3 snap fasteners, 15 mm in diameter
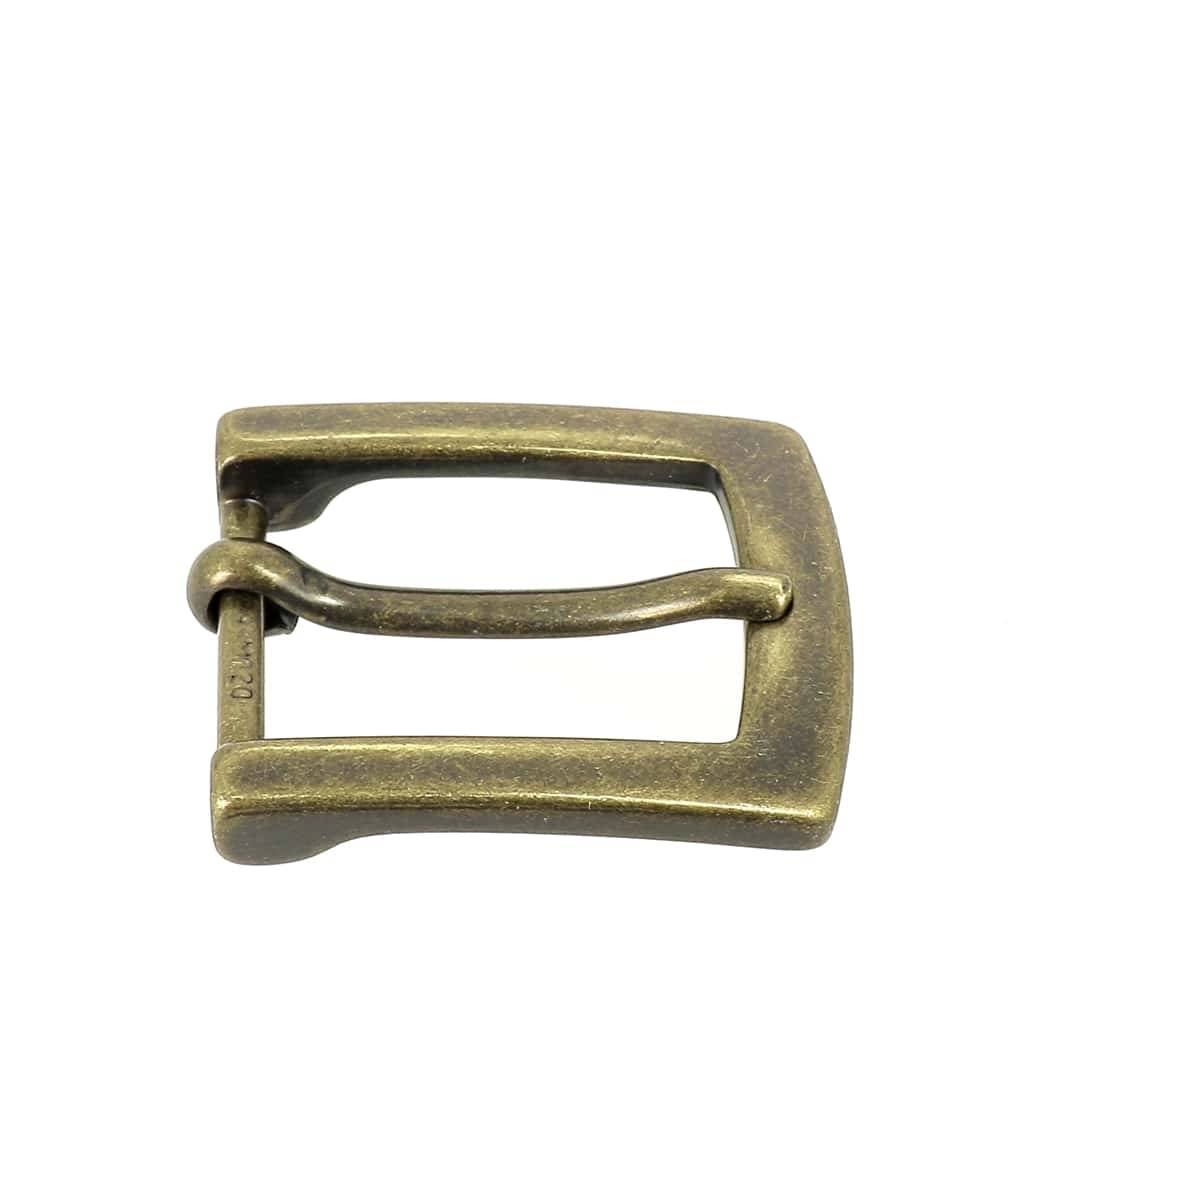
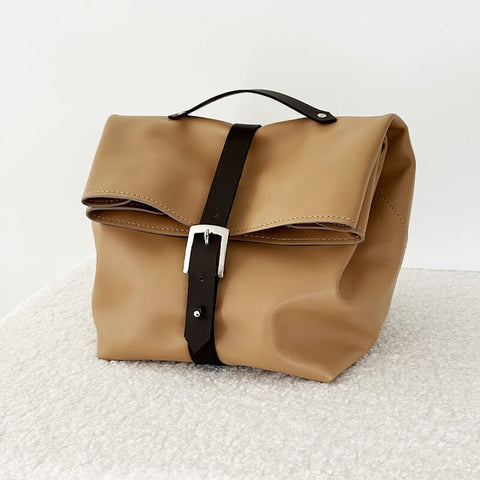
- 1 belt buckle, 20 mm wide
- 1 jar of edge dye
- Insulated lining (not sold on our website, available in haberdasheries)
- 1 cutter
- 1 round punch cutter - Ø3 mm
- Double-sided
GET THE PATTERN
Two options for buying the pattern
- in digital format (PDF to print at actual size and assemble)
- in paper version (poster B1 which you will receive at home)
Available for sale on our website (reference KA185)!

FULL VIDEO TUTORIAL
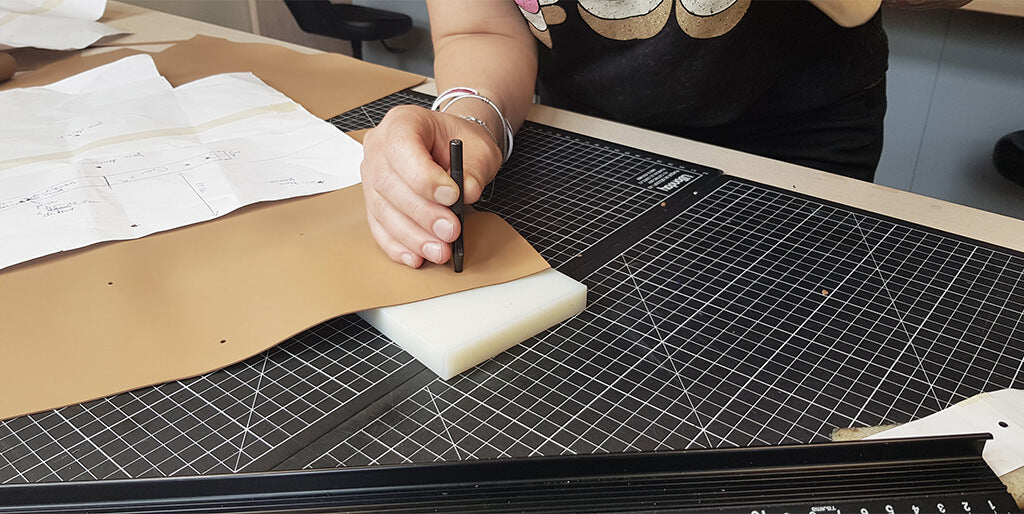
1. TRANSFER THE PATTERN TO THE LEATHER
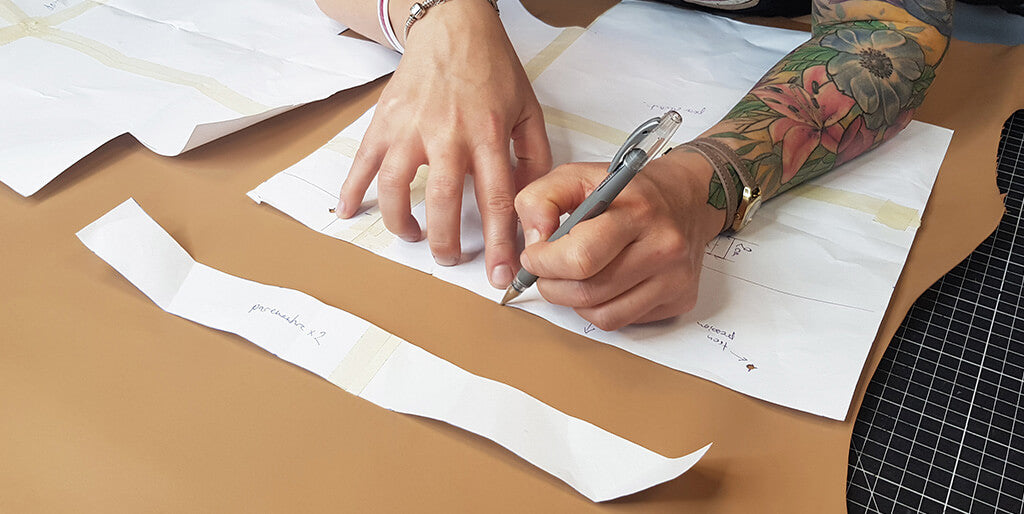
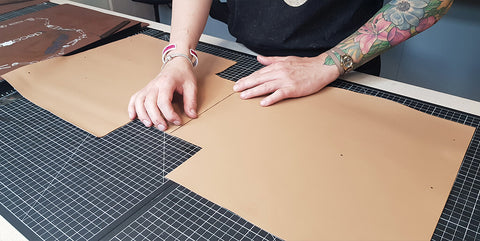
Using a silver pencil, trace the pattern pieces onto the leather and lining. Also mark the position of the various holes.
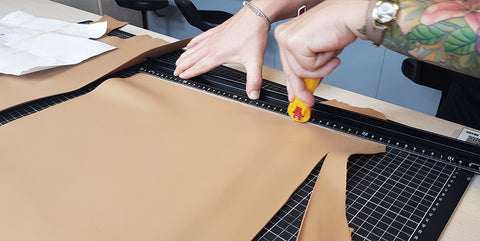
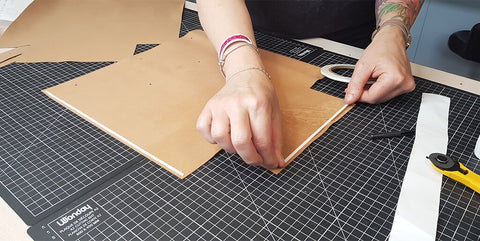
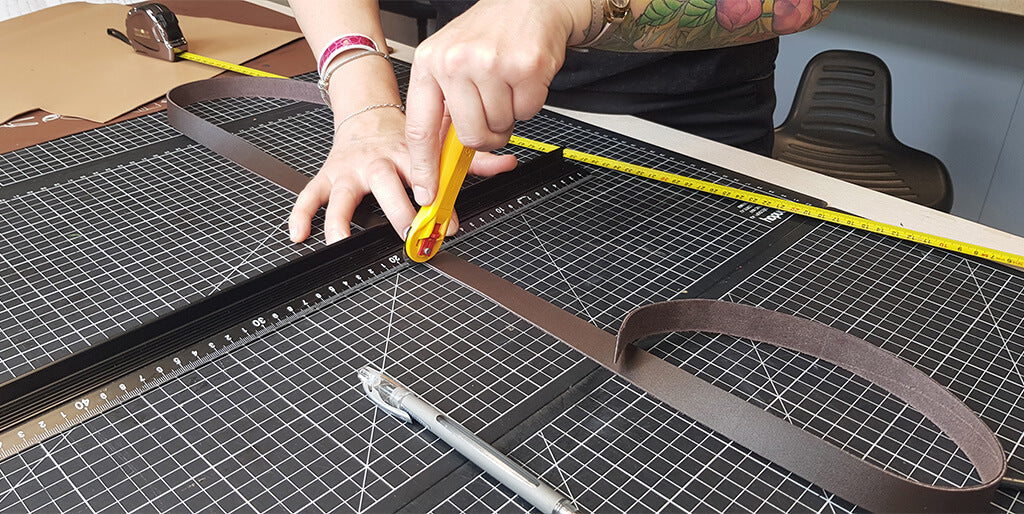
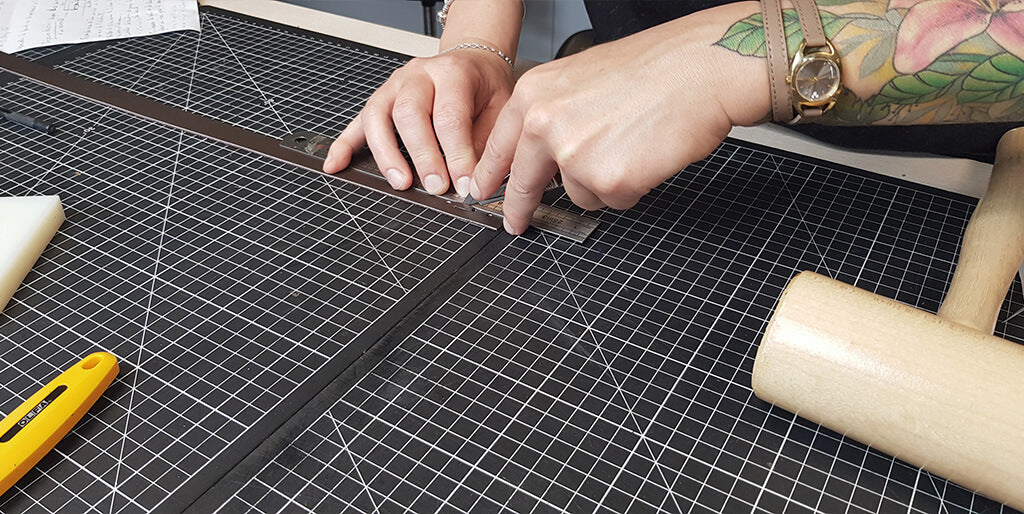
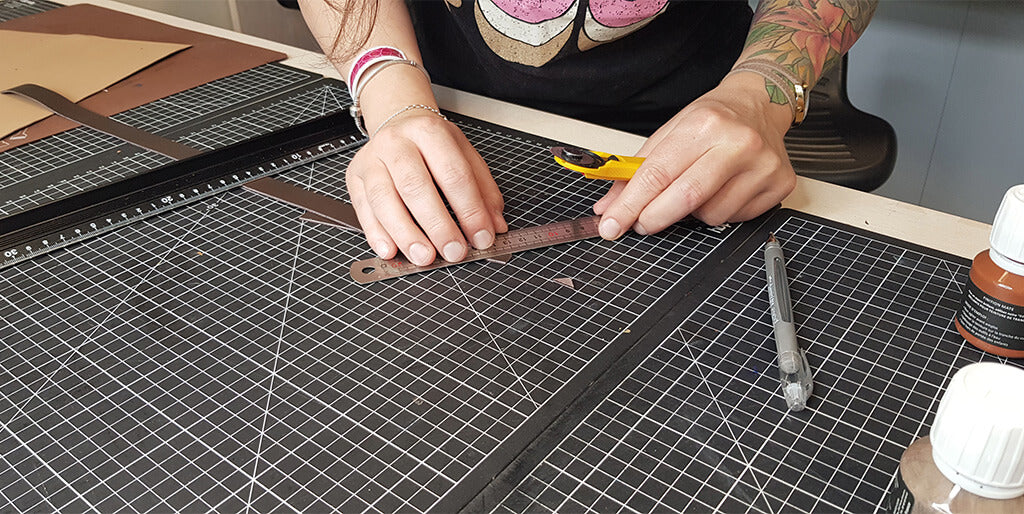
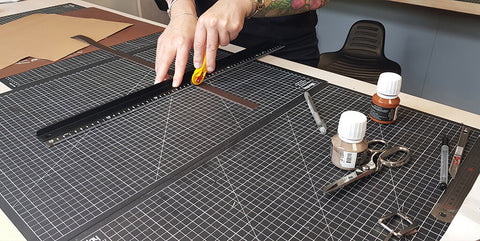
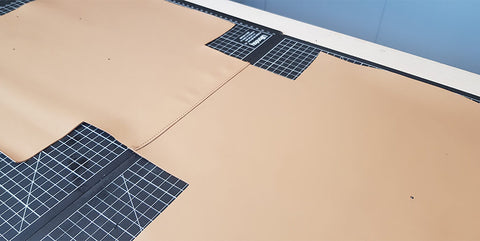
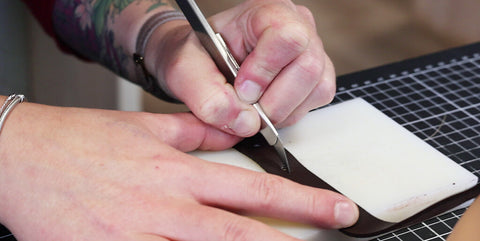
2. CUT OUT THE DIFFERENT PIECES
Cut out the different pieces of leather and lining with a cutter or a pair of scissors.
 |
 |
To reinforce the leather, glue a piece of tear-resistant material (or a small piece of leather) over the holes. Punch the various holes in the leather using a 3 mm diameter round hole punch.
3. PREPARE THE DIFFERENT PARTS
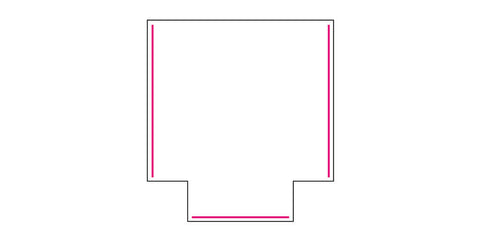
Apply double-sided tape to the three sides of piece P1(b), on the reverse side of the leather (see diagram).
 |
 |
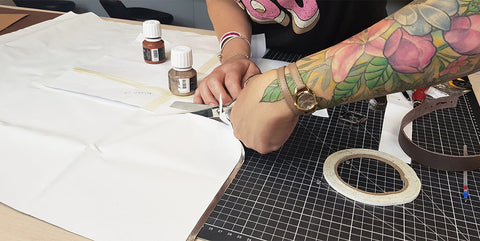
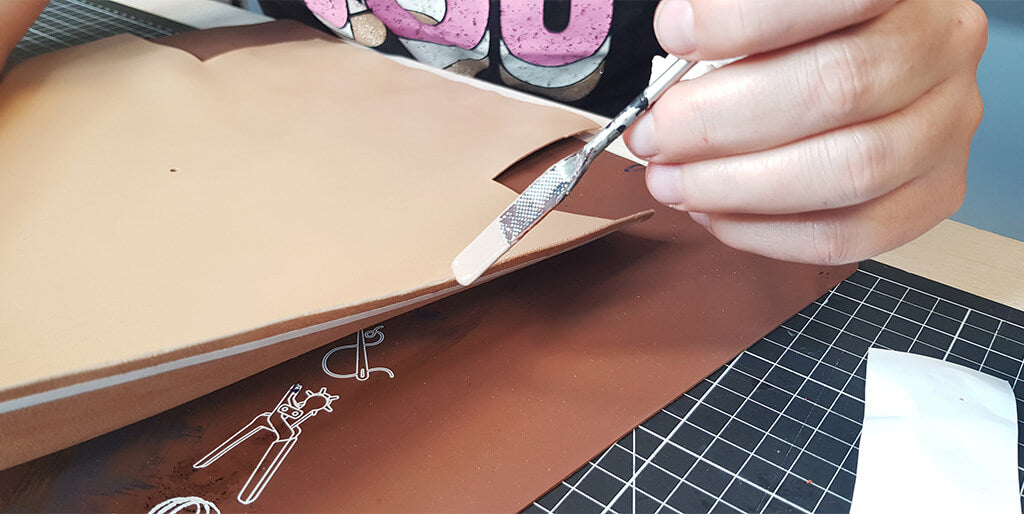
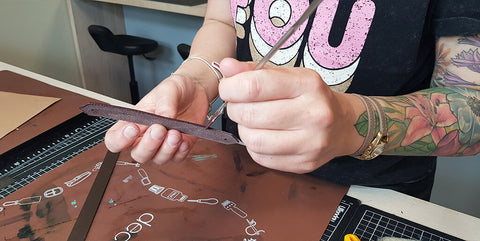
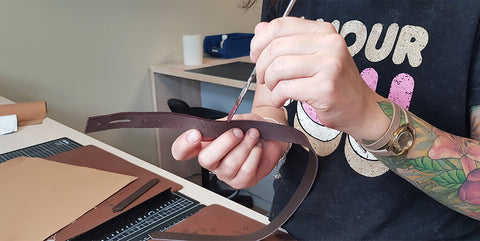
On this same part P1(b), finish the edges with an edge finish. The edges are finished with an edge finish/paint. Two to three coats of finish are required. For more information, please consult the guide below.
Also work on the edges of the two shorter sides of one of the P2 pieces (facing). Apply double-sided tape to all four sides of this same P2 piece that has painted edges, and to both long sides of the second P2 piece.
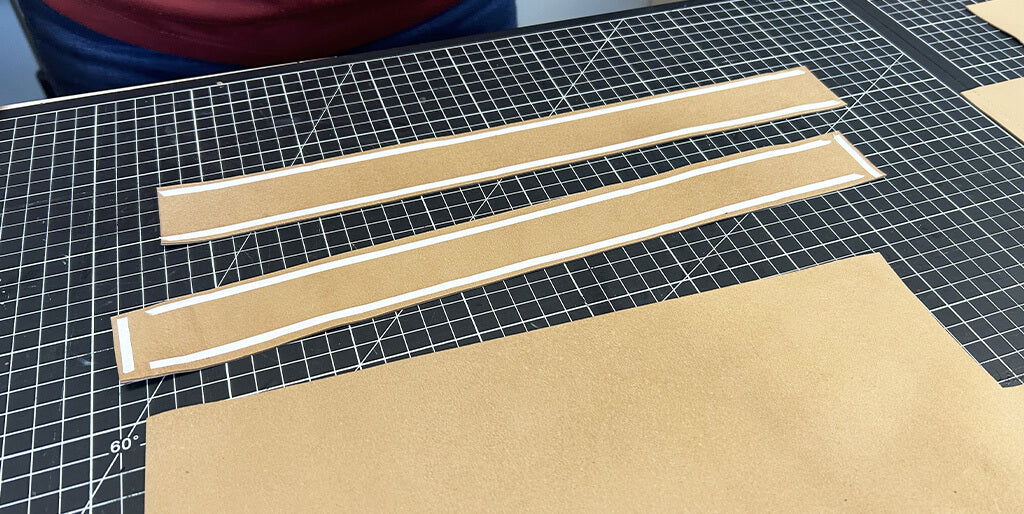
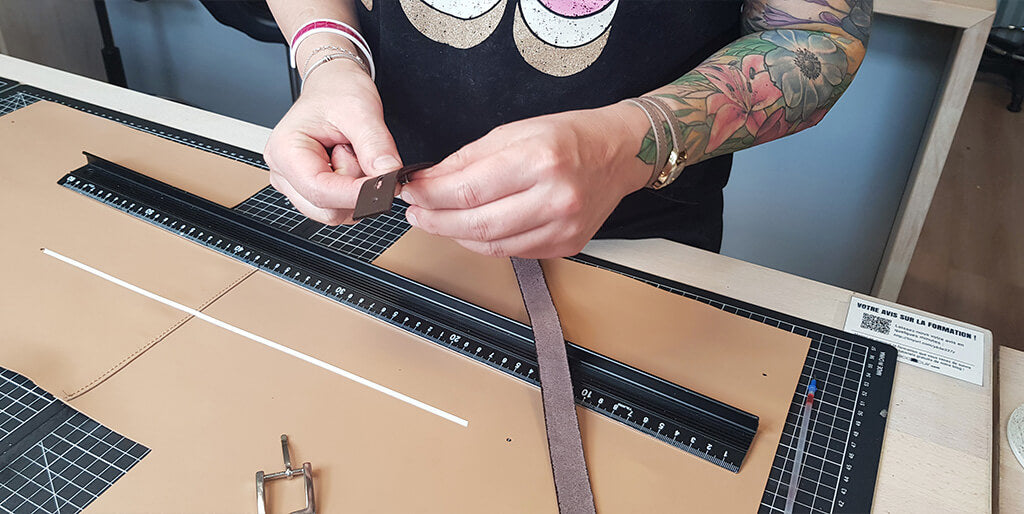
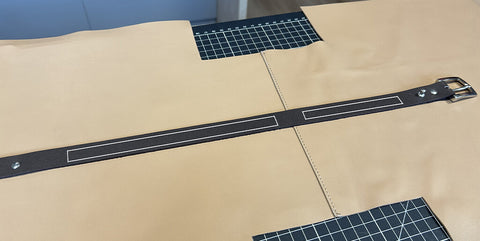
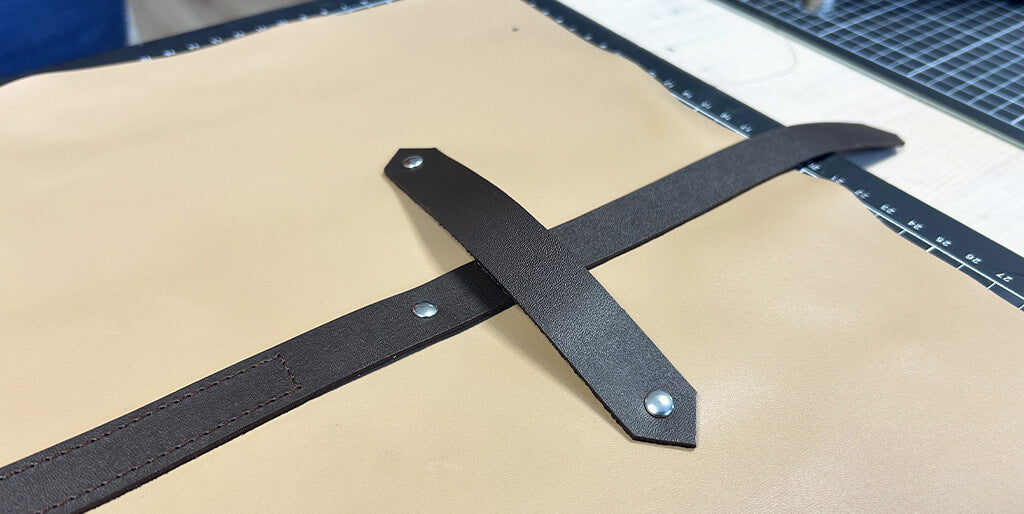
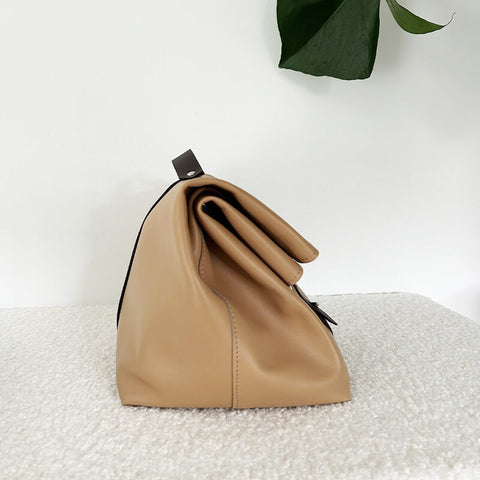
4. PREPARE THE STRAP
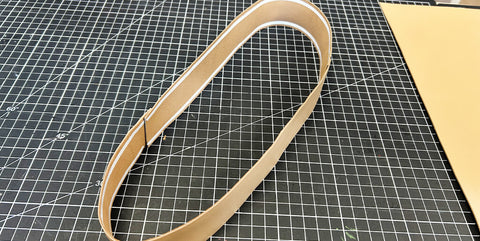
Cut 72 cm from the leather strap.
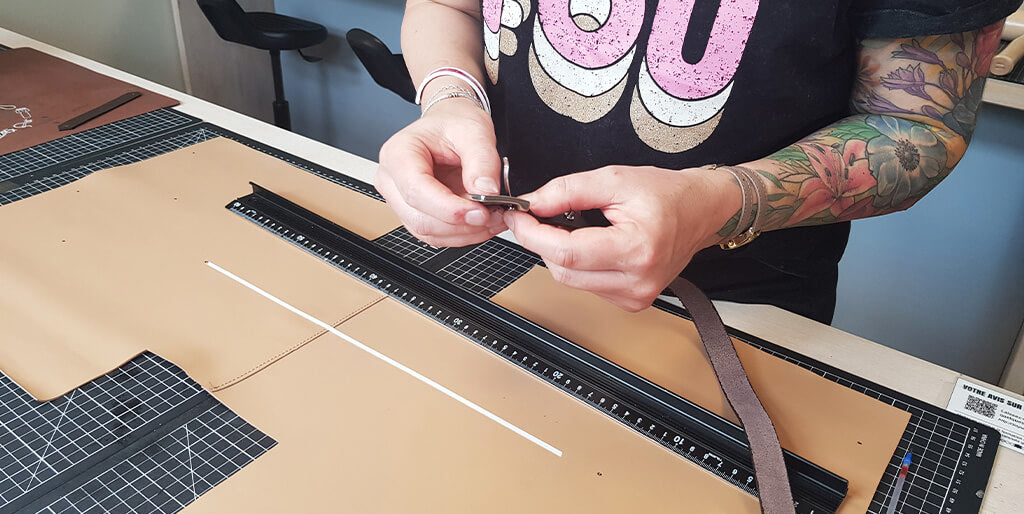
Transfer the pattern from piece P3 onto the strap. To make the oblong hole (the opening), make two Ø 3 mm holes spaced 2 cm apart and connect them with a cutter to hollow out the central part.
On the other end, work the tip into a point. The 4 slotted holes will be drilled in step 11.
From the leftover piece of the strap, cut another 15 cm piece to make the handle (if the leather is supple, consider doubling the handle or using sugherite - Ref ) . Transfer the pattern from piece P4: cut the ends to points and make 3 mm diameter holes in the locations indicated on the pattern.
 |
 |
Work the edges of the two strips P3 and P4.
 |
 |
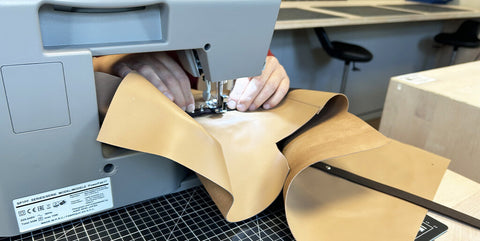
5. ASSEMBLE PART P1
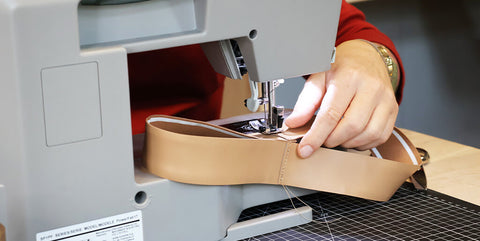
Assemble the base of the P1 pieces by overlapping piece P1(b) by 1 cm over piece P1(a), wrong sides together. Then, sew 2 mm from the edge.
 |
 |
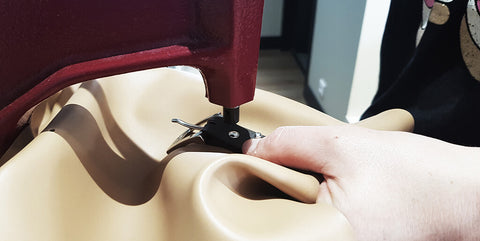
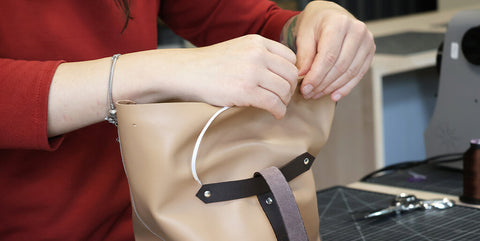
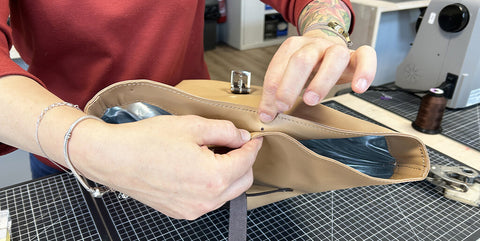
Screw the collar button onto the last hole of the P3 strap.
Insert the loop into the strap's opening.
Then, using double-sided tape, stick the strap P3 to the location provided on the part P1 of the collar button P1(b) to the rivet P1(a).
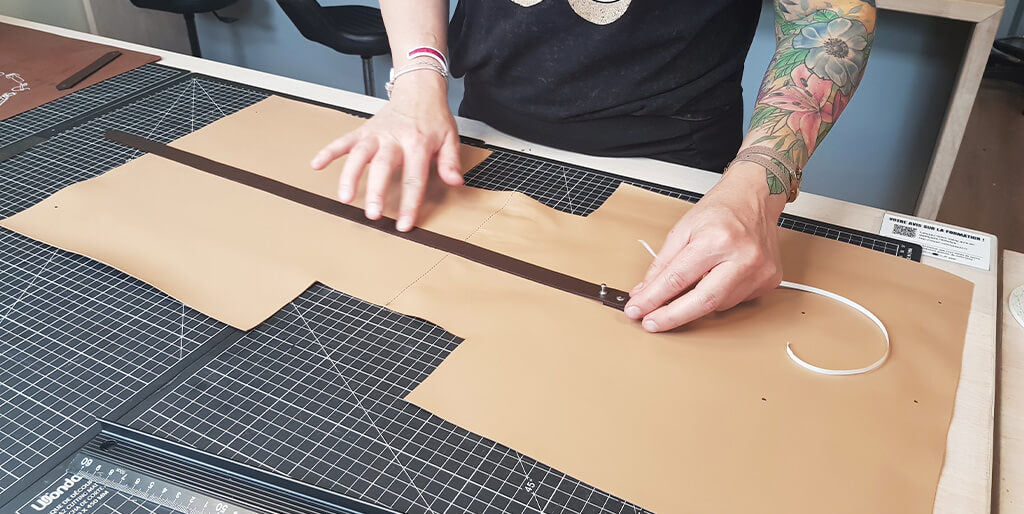
Pierce the strap and part P1(a) at the same time for the rivet hole.
Attach the strap to the main piece by placing the rivets in the two locations indicated on the pattern.
 |
 |
Stitch the strap in two places (to avoid stitching the bottom seam and prevent bulk). Sew approximately 2 cm from the rivet and collar button.
 |
 |
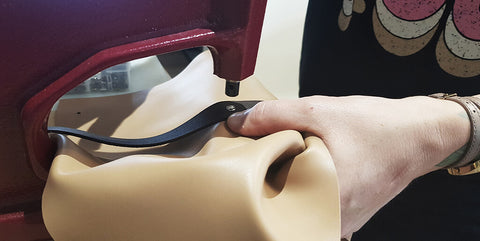
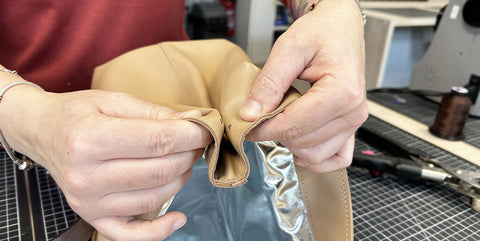
Attach handle P4 with rivets to part P1(a), in the location indicated on the pattern.
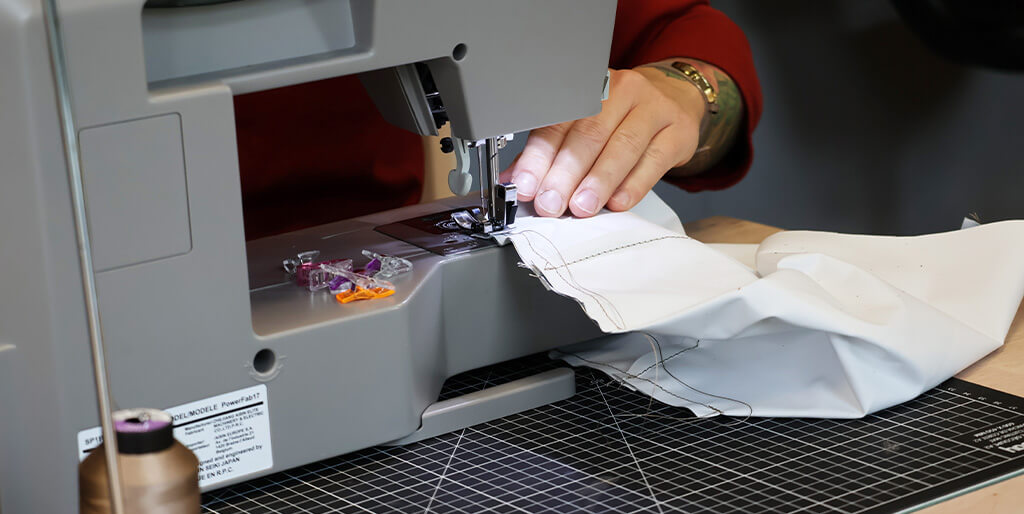
Sew the two sides of the P1 pieces together, wrong side to right side (always piece P1(b) on piece P1(a)).
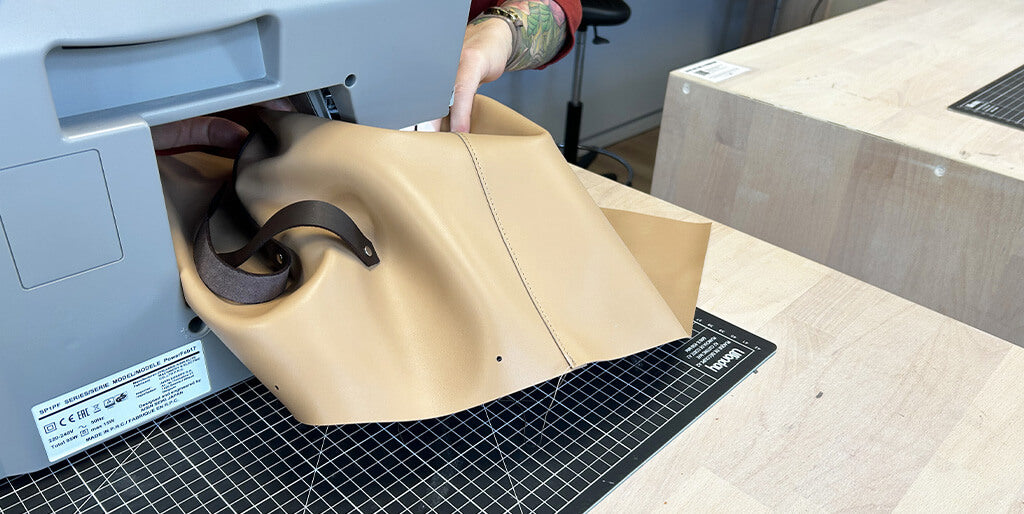
Turn the bag inside out and sew the two corners right sides together.
 |
 |
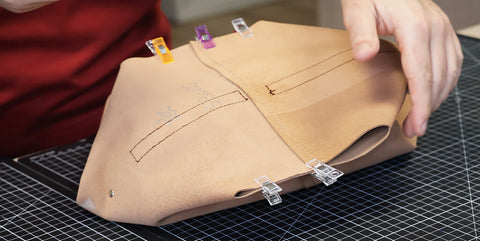
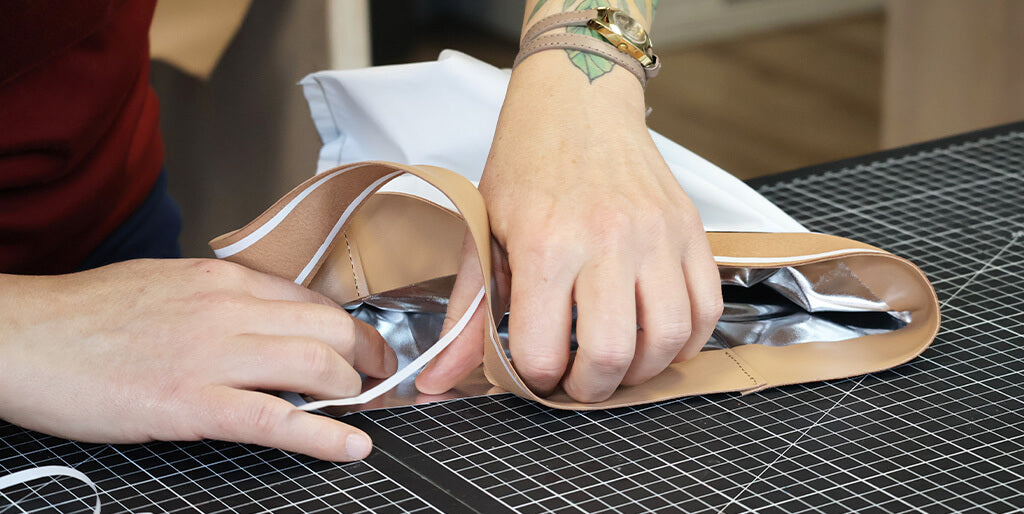
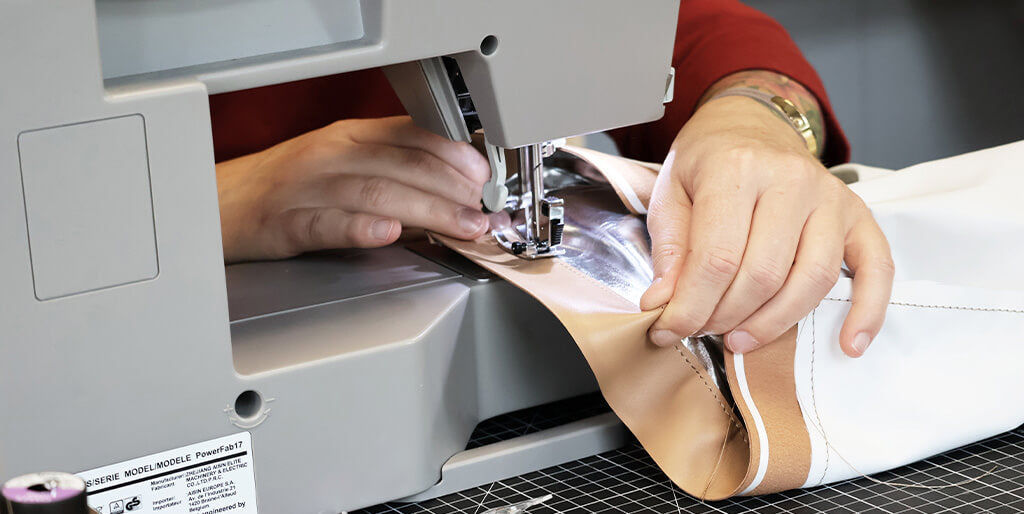
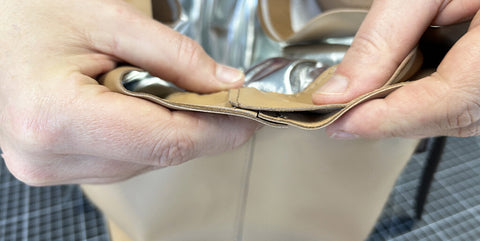
6. ASSEMBLE THE FACING
Attach the facing to the double-sided tape of piece P2, which has painted edges (worked in step 3). Glue this piece to the ends of the other piece P2. Glue wrong sides together, approximately 1 cm from the edge. Then, sew the two ends 2 mm from the edge.
 |
 |
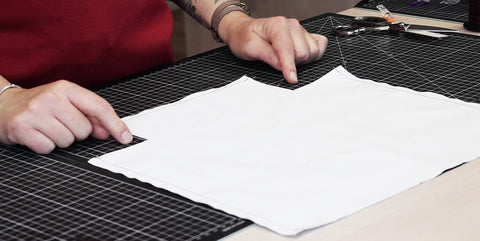
7. ASSEMBLE THE LINING
Assemble the two P5 lining pieces together, right sides facing. Sew only the bottom and the two sides.
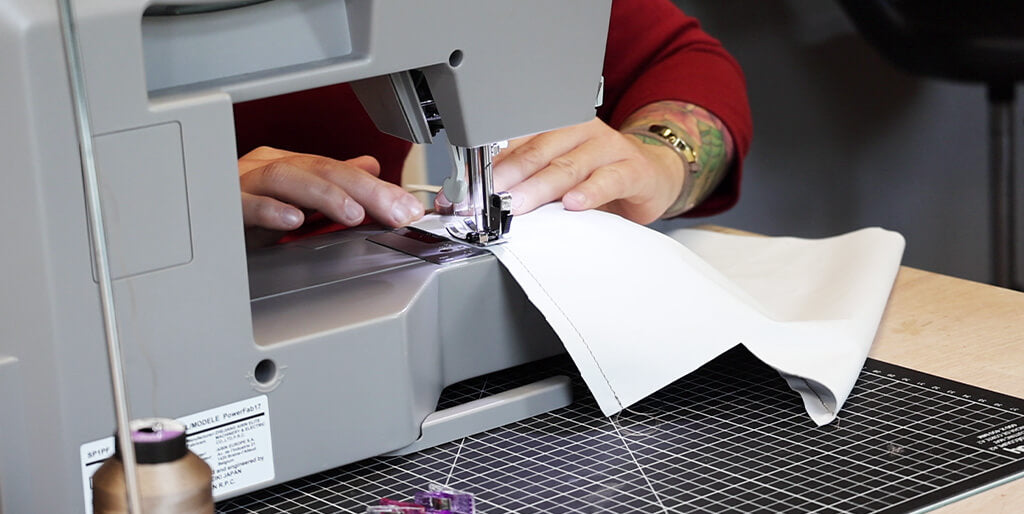
Then, sew the corners right sides together.
 |
 |
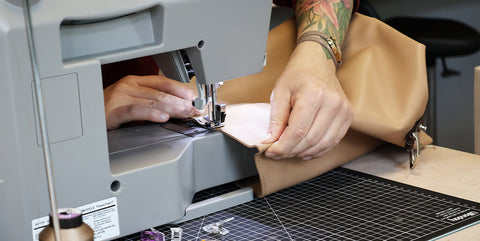
8. ATTACH THE LINING TO THE FACING
Glue the right side of the lining P5 to the wrong side of the facing P2, 1 cm from the edge. Take care to match the seams correctly.
Sew the facing onto the lining 5 mm from the edge.
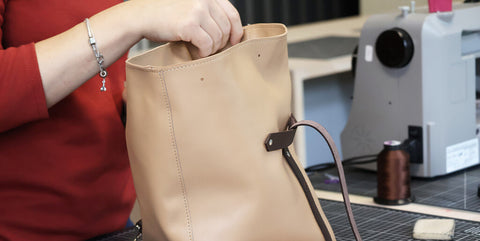
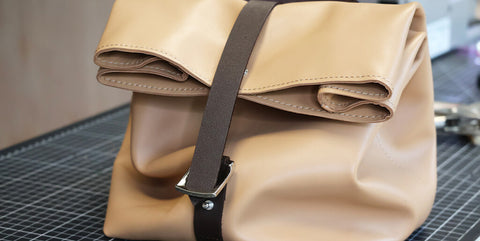
9. Sew the lining into the bag
Insert the lining inside the bag. Glue the facing to the top of the bag with double-sided tape (wrong sides together). Stagger the centers to avoid bulk.
 |
 |
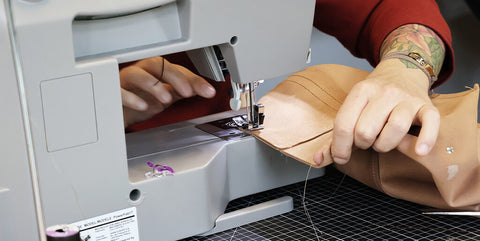
Sew all around the top of the bag 5 mm from the edge.
 |
 |
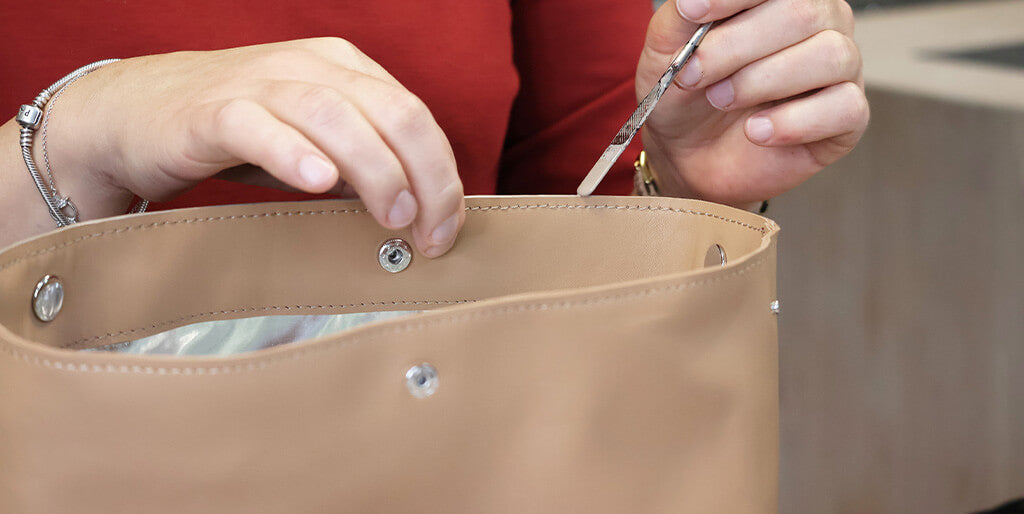
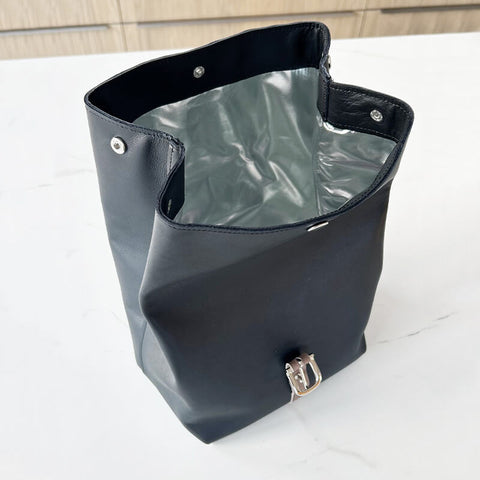
10. Attach the snap fasteners
Redrill the holes for the snap fasteners to pierce the facing. Attach the three snap fasteners. Pay attention to the orientation of the snap fasteners:
- For the middle button, attach the two parts towards the inside of the bag.
- For the buttons at both ends, attach the two parts towards the outside of the bag.
 |
 |
 |
 |
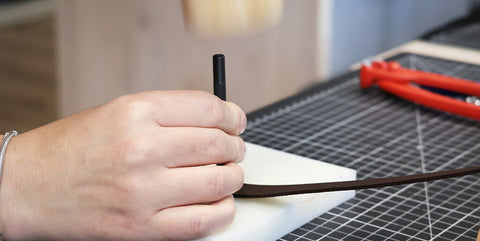
11. PUNCTURE THE HOLES IN THE STRAP
Make the 4 adjustment holes at the end of the P3 strap. Make a small 3 mm notch above the holes to allow the collar button to pass through.
 |
 |
12. WORK ON THE TOP SLICES
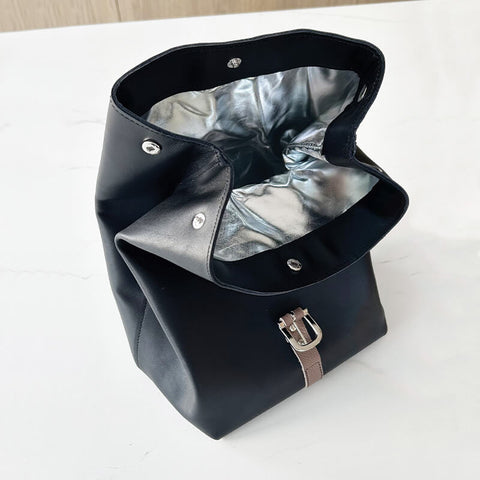
Treat the top edges of the bag with an edge dye.
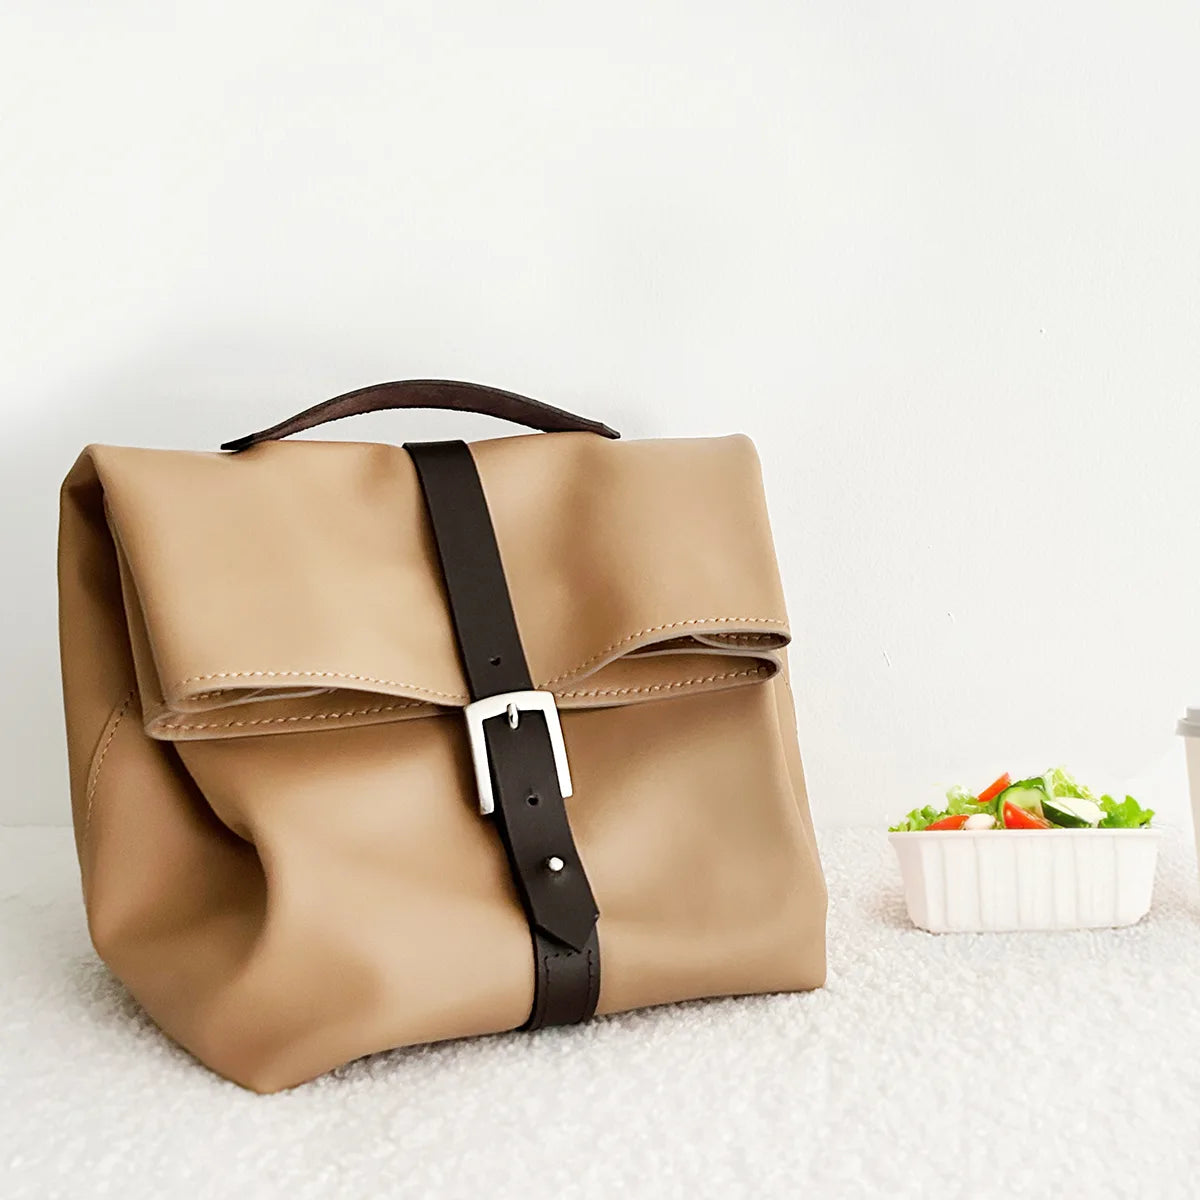
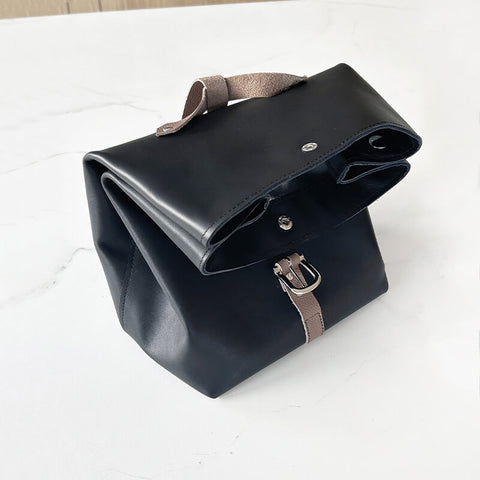
You're done!

 |
 |
 |
 |
 |
 |