




REQUIRED MATERIALS
To complete this tutorial, you will need:
- 1 piece of natural vegetable-tanned shoulder leather CLASSIC - 30 x 40 cm - 1.2mm thick
- 1 pot of oil dye - Fiebing's OIL DYE / PRO DYE - Tan
- 1 card of MeiSi super fine M50 waxed linen thread - CARAMEL
- 1 pot of neatsfoot oil
- 1 pot of gum tragacanth or Tokonole
- 1 pot of water-based contact adhesive
- 1 brass creaser "L'indispensable"
- 1 edger N°00 - Barry king tools
- 1 leather edge creaser with 1.5 mm guide - Deco Cuir
VERSION FRANCAISE
ENGLISH VERSION
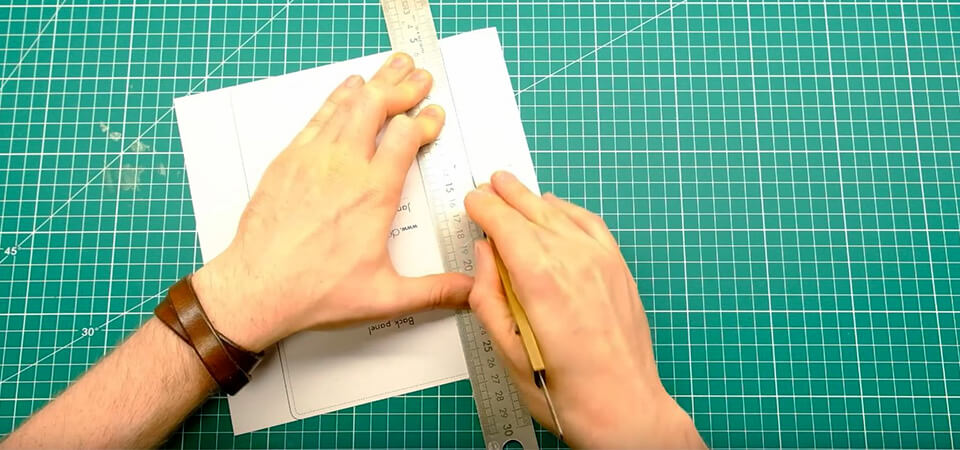
1. PRINT AND CUT THE PATTERN
Print the PDF pattern on A4 paper. Be careful to maintain the original size of the document.
Cut out the pattern and glue it onto stiff paper or cardboard.
- Print PDF file on A4 paper, making sure your printer settings respect the original scale of the document (check Print Guide on the last page).
- Cut out paper template and glue the paper template to card stock.
2. DYE THE VEGETABLE-TANNED LEATHER
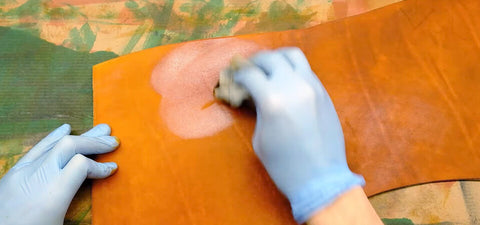
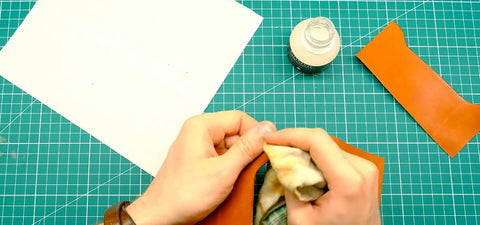
Dye the vegetable-tanned leather with a soft cloth. Here: FIEBING'S OIL DYE / PRO DYE - TAN - SADDLE TAN.
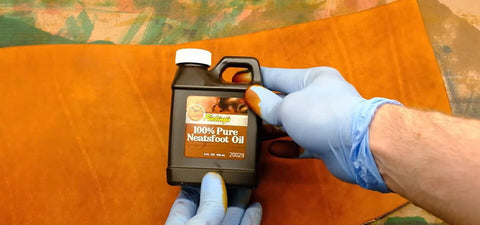
Nourish and shine the leather with neatsfoot oil.
SEE LEATHER DYEING GUIDE >
- Tint the vegetable tanned leather. Here : FIEBING'S Professionnal OIL DYE / PRO DYE - FAUVE - SADDLE TAN
- Nourish the leather with neatsfoot oil.
 |
 |
3. CUT THE LEATHER USING THE PATTERN
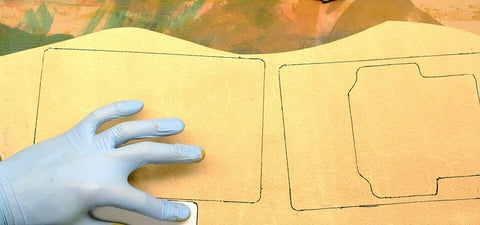
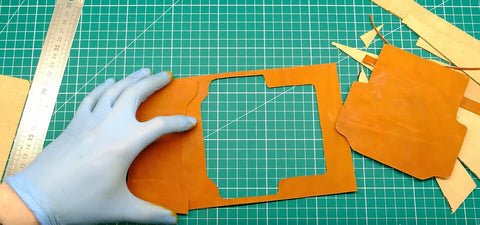
Using the cut-out pattern pieces, trace the elements onto the leather. We recommend using a silver pencil.
Cut the leather following your traced lines.
- Using cut-out template, scribe pattern onto the leather.
- Cut leather along your scribed lines.
 |
 |
4. WORK THE EDGES THAT WILL NOT BE SEWN
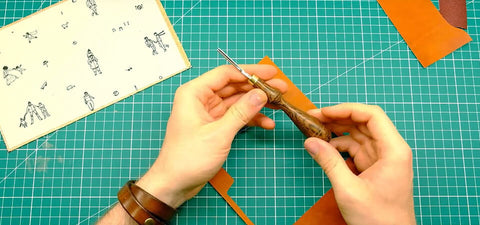
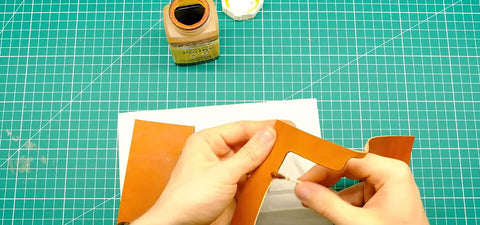
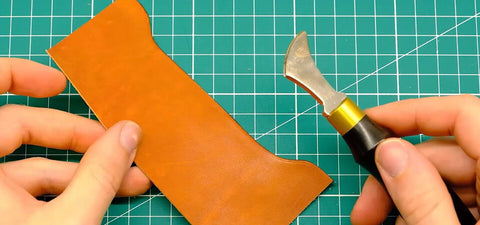
Prepare the edges with an edger, then dye and burnish the edges (with gum tragacanth) that will not be sewn (the top of the Card Holder and the inside of the Front Panel). If necessary, use light sandpaper to even out before burnishing.
Use a leather edge creaser to add a decorative line to the prepared edges.
- Dress and burnish edges that will not be stitched - Card Panel and inside of Front Panel.
- Using edge creaser, add decorative crease lines along these edges.
 |
 |
 |
 |
5. GLUE THE CARD HOLDER TO THE FRONT PANEL
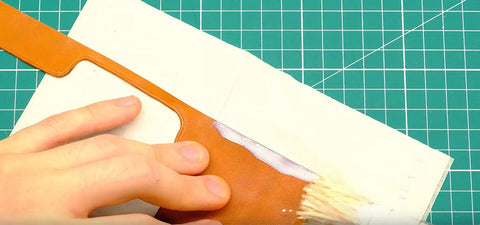
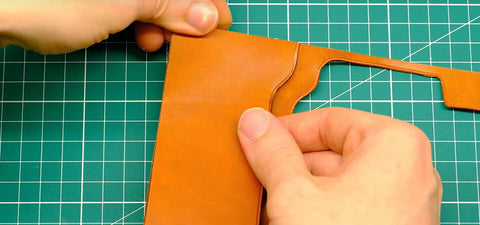
Glue the card holder to the front panel along the outer stitching line indicated on the card holder.
- Glue the Card Panel to the Front Panel, along the stitch lines indicated on the sides of the Card Panel.
 |
 |
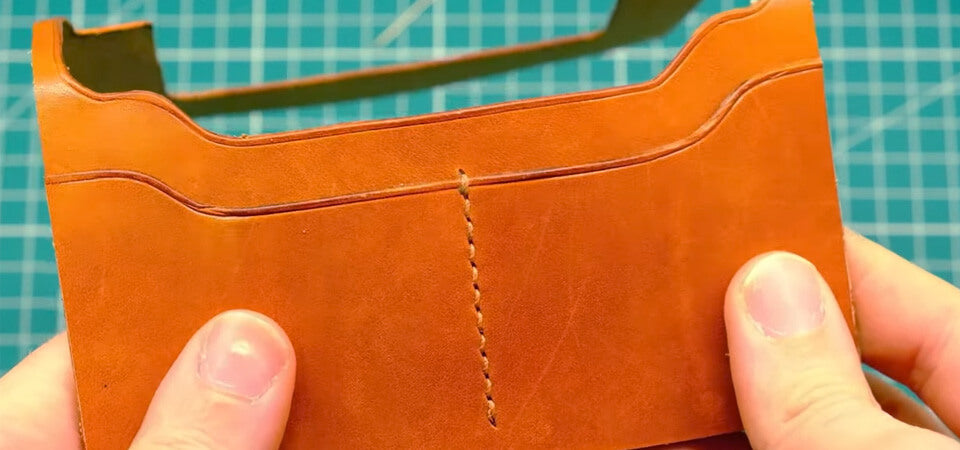
6. PERFORM SADDLE STITCHING
Stitch the card holder to the front panel: the stitch line is in the middle and indicated on the pattern. James chose a saddle stitch.
SEE SADDLE STITCHING GUIDE >
- Stitch down the middle part of the Card Panel onto the Front Panel using pricking irons or awl to make the holes.
7. GLUE THE LINING TO THE BACK PANEL
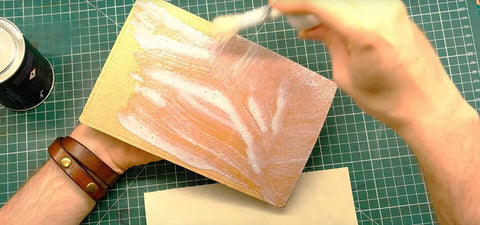
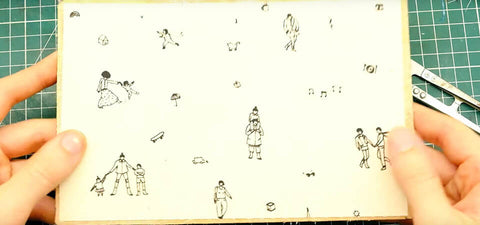
If you wish to have a lining: glue it with water-based adhesive to the Back Panel.
- If you want to have an inner coat : glue it with aquagum on the Back Panel.
 |
 |
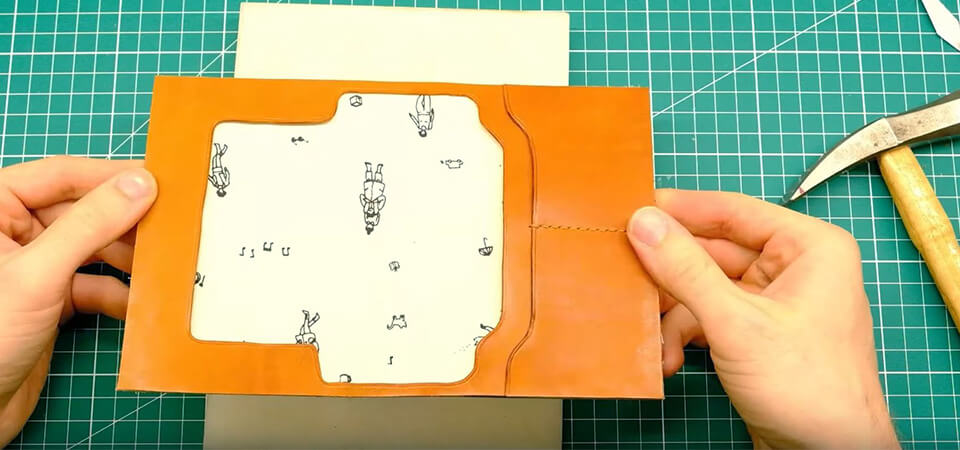
8. GLUE THE FRONT PANEL TO THE BACK PANEL
Glue the front panel and the back panel, then let your project rest until the glue is completely dry.
- Glue the Front Panel to the Back Panel and let your project sit for a couple of hours till the glue sets.
9. WORK THE EDGES
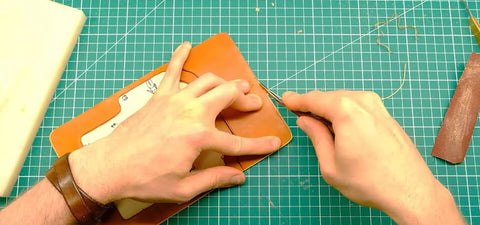
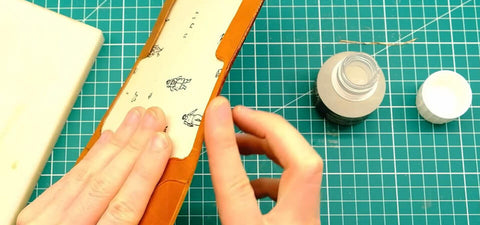
Make a fine cut all around your project to even out the glued edges - if necessary, use sandpaper to even them out.
Then work the edges with an edger, then dye and burnish the edges (with gum tragacanth). If necessary, use light sandpaper to even out before burnishing.
- Clean the outer edges to be stitched by cutting a clean edge or sanding until all layers of leather are flush.
- Dress and burnish edges that will not be stitched - Card Panel and inside of Front Panel.
 |
 |
10. SEW THE PASSPORT HOLDER
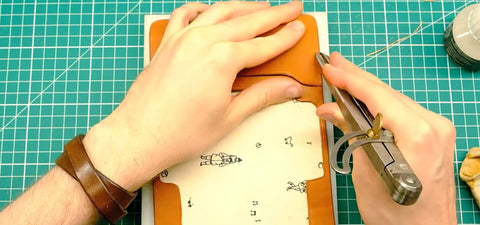
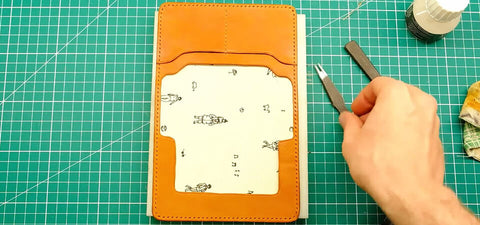
Draw a stitch line 3 mm from the edge all around your project, then mark the points (stitching wheel or pricking iron) and sew using your usual technique. James chose a saddle stitch.
- Mark your stitching line 3 mm from the edge, punch holes for stitching using pricking irons or awl, and stitch.
 |
 |
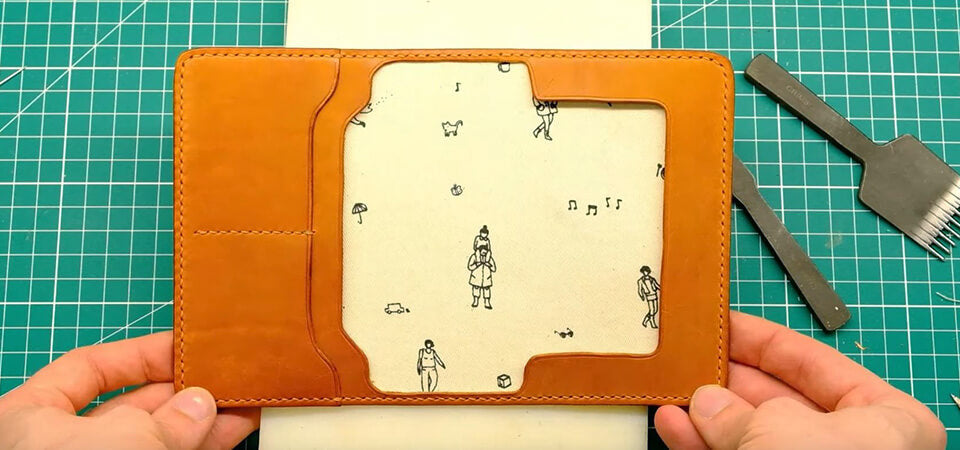
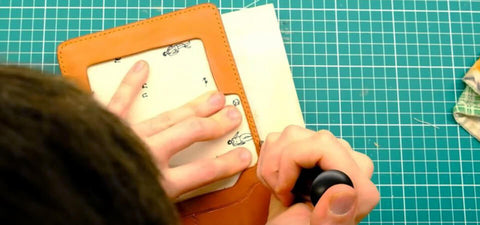
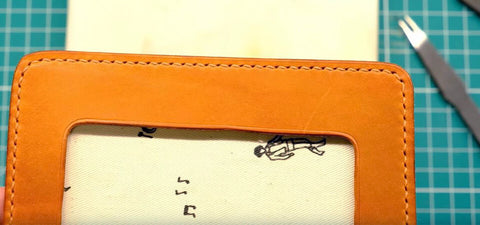
11. MAKE A DECORATIVE CREASE
Use a leather edge creaser to add a decorative line to the prepared edges.
Then wax the edges by heating beeswax.
- Using edge creaser, add a decorative crease line along the edge.
 |
 |
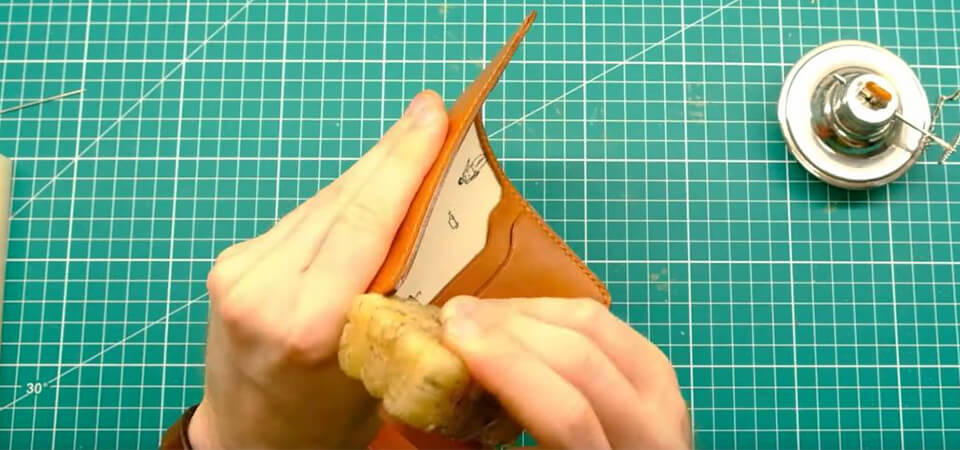
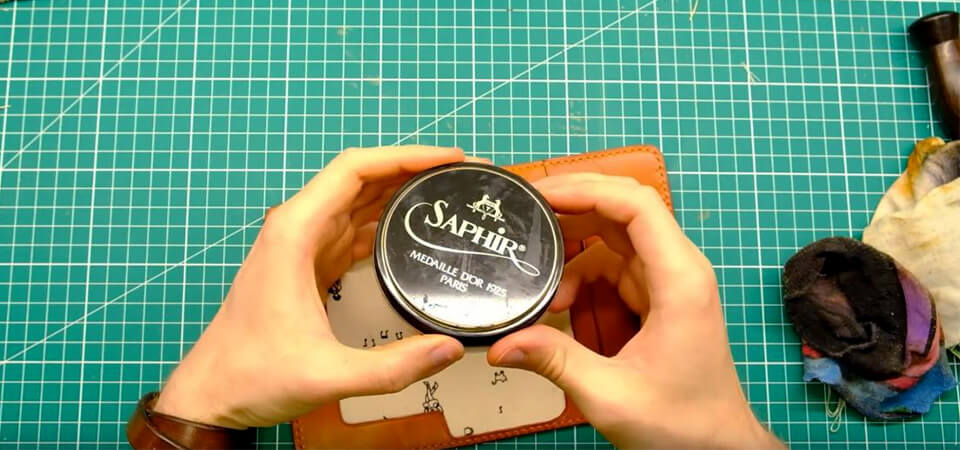
12. WAX AND PROTECT YOUR CREATION
Wax your creation to nourish and protect your leather.
- Polish your creation to nourish and protect your leather.
WHO IS JAMES BERRY?
James Berry is passionate about leatherwork, especially vegetable-tanned leather. Through his YouTube channel and his various tutorial videos, he introduces you to new techniques.
James Berry is passionate about leatherwork and especially vegetable tanned leather. Through his Youtube channel and his various tutorial videos in English, he introduces you to new techniques.
ACCESS HIS YOUTUBE CHANNEL >


2 comments
Deco Cuir
Bonjour,
Nous vous remercions pour votre commentaire sur notre blog. Effectivement nous conseillons de teinter le cuir avant la découpe des pièces notamment pour éviter que le cuir se rétracte et aussi pour pouvoir placer correctement les pièces en fonction des défauts de la teinte 😊
Si vous voulez avoir un peu plus d’espace pour votre porte-passeport il faudrait légèrement agrandir la pièce intérieure pour qu’elle soit un peu plus « volante ». N’hésitez pas sinon à aller voir notre autre modèle de porte-passeport : https://www.decocuir.com/blogs/blog-tutoriel-patron-cuir/porte-passeport-cuir-tuto-gratuit
Bonne journée,
L’équipe Deco Cuir
Richard
J’aime beaucoup ce porte passeport, tellement que j’en ai fait un.
J’ai rencontrés quelques soucis en teintant le cuir après l’avoir découpé j’ai eu de la rétractation.
J’aimerai pouvoir glisser la majorité des pages dans l’emplacement prévu afin d’ouvrir le passeport à la page de l’identité. En l’état il n’y a pas assez d’épaisseur. Quelle modification pourrait-on faire pour avoir plus d’espace ?