


HOW TO SEW LEATHER WITH A MACHINE?
We have listed the essential points you need to know before you start machine sewing leather (using a home machine).
SEE THE GUIDE >
THE NECESSARY MATERIALS
The dimensions of the finished pouch are 16 x 11 x 2 cm.
- the pattern (to download in the tab above)
- a piece of thin leather measuring 20x27 cm (or foam-lined leather)
- a piece of thick wadding measuring 20x27 cm
- tissue paper (or baking paper) 20x27 cm
- scraps of thick interfacing
- a piece of thick denim or gabardine-style fabric for the outside of the bag, 40x20 cm (you can also choose a piece of leather at least 1.2 mm thick and not too soft)
- a piece of thinner fabric for the lining, 75x25 cm (you can also choose a piece of suede leather)
- a sewing machine + a Teflon foot and a special leather needle
- matching thread (polyester)
- scissors
- a pen
- a rule
- a pressure or magnetic top
1. PRINT THE PATTERN
- Print the pattern at 100% scale (actual size).
- Check the scale using the 3x3 cm square on the first page of the file before you start cutting the pieces.
- Cut out all the elements of the pattern and transfer them onto the fabric and/or leather.
*Do not transfer the flap pocket onto the leather yet, it must be quilted first (see steps 3 and 4). 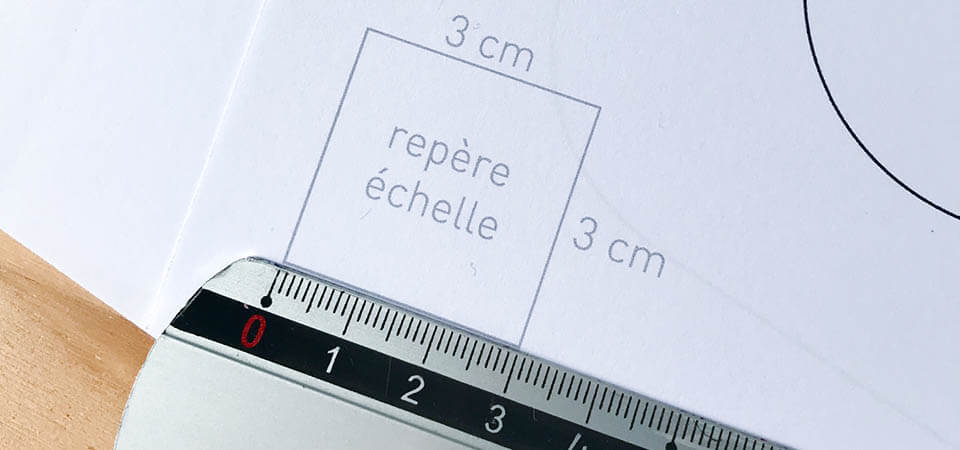
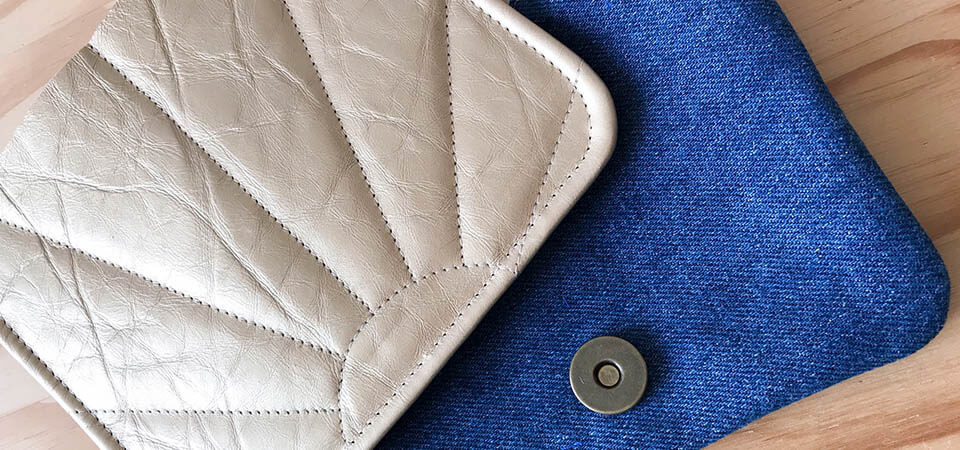
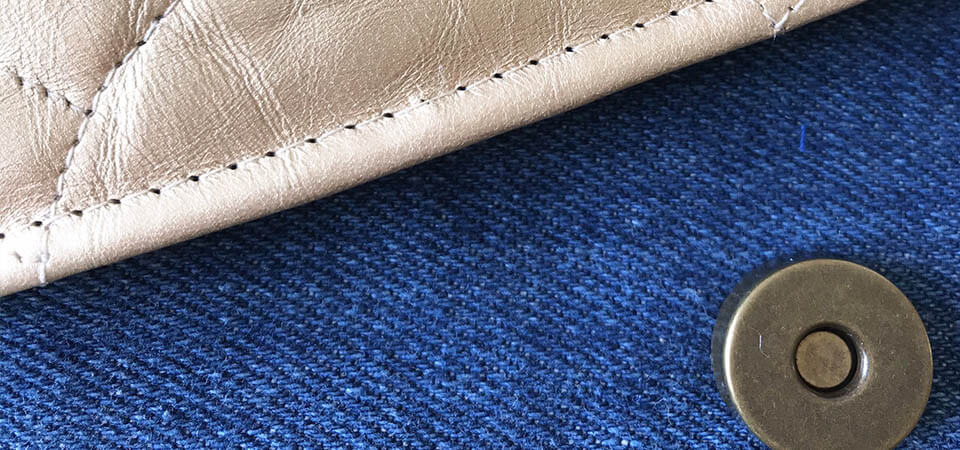
2. INSTALL THE MAGNETIC TOP
- Place a piece of interfacing at the location of the magnetic top on the reverse side of the flap lining and on one of the outer bodies of the bag to consolidate the fabric at this location.
- Then attach the magnetic top to the right side of the fabric.
- Place the metal support on the location of the magnetic top then mark the two marks with a silver pencil.
- Using a cutter, cut the marks from step 1.
- Insert the claws of the magnetic top into the incisions, starting from the right side of the fabric.
- Place the metal support on the back and bend the claws outwards using a ruler.
- Repeat the operation for the second part of the magnetic top. 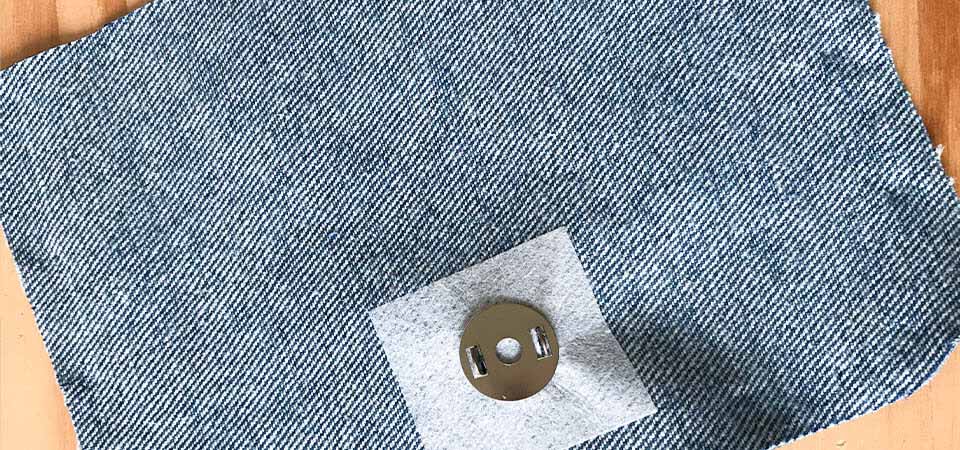
3. PREPARE THE LAYOUT FOR QUILTING
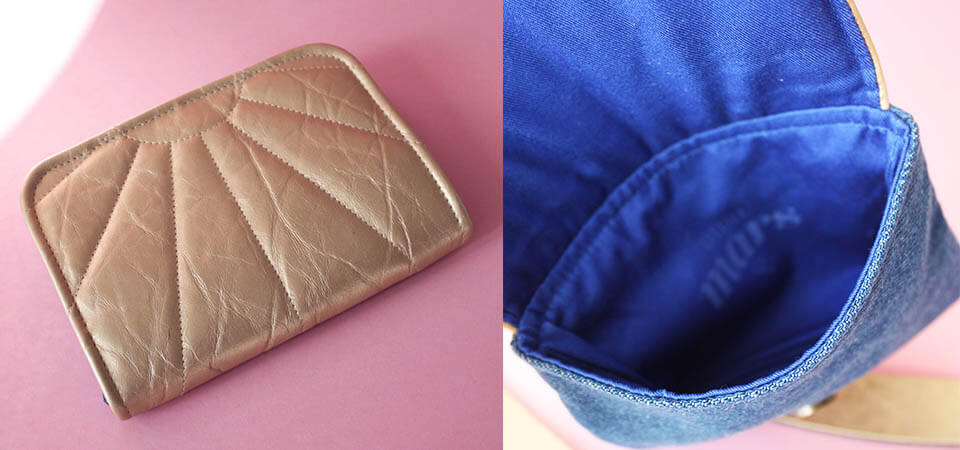
For this model, Jessica from the MARS workshop used crumpled leather already glued with foam but she still preferred to add wadding to obtain a very " fluffy " effect.
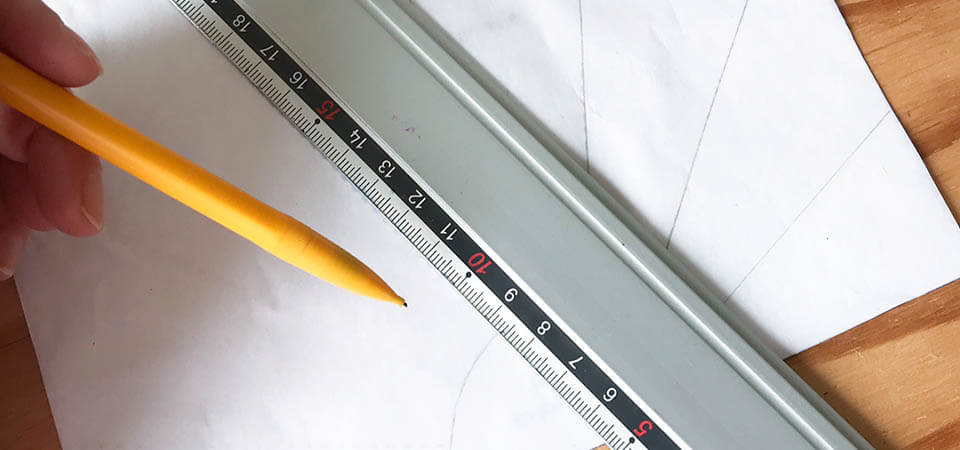
- Prepare the leather quilting by tracing the “sun” outline onto the rectangle of tissue paper.
- Assemble the wadding on the reverse side of the leather using double-sided tape.
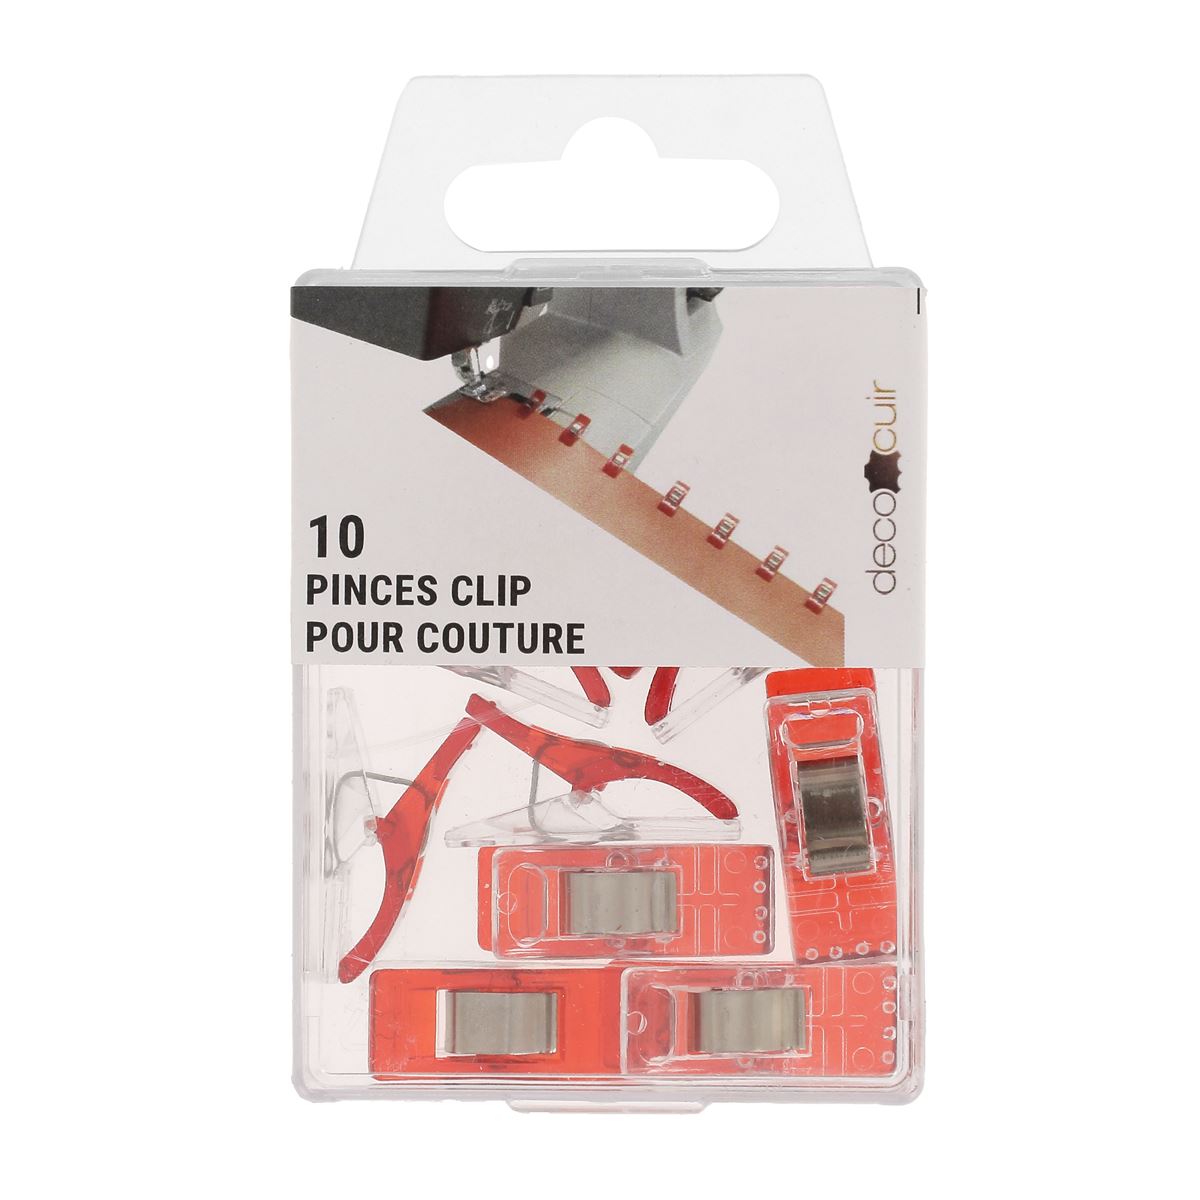
- Then position the tissue paper on the right side of the leather using clips so as not to damage it.
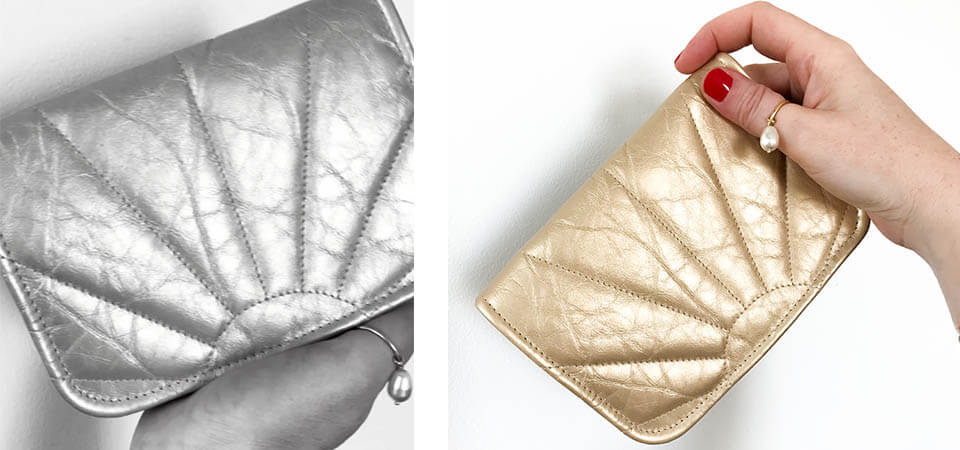
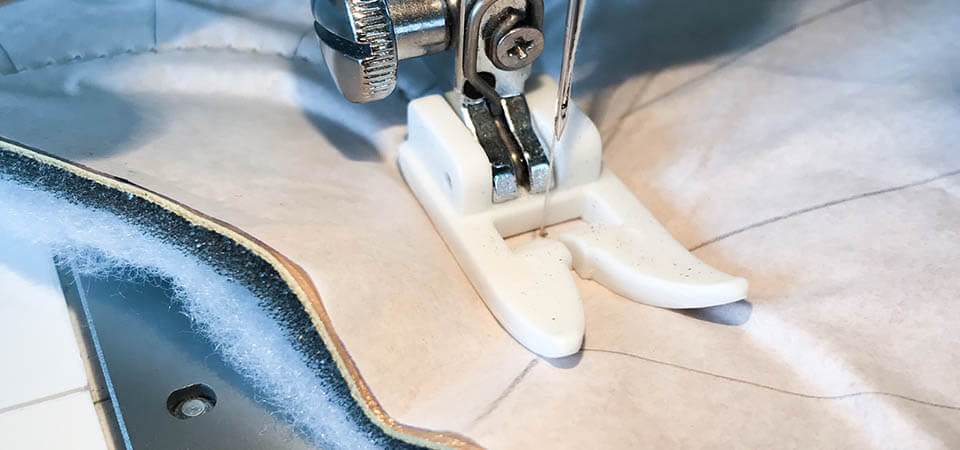
4. QUILTING THE LEATHER
- Attach the Teflon presser foot and leather needle to the machine. Before you begin stitching, Jessica recommends testing a piece of scrap leather to adjust the thread tension and stitch length.
For your information, for this project Jessica set the thread tension to 5.5 and lengthened the stitch length to 3.5.
- Start pricking gently following the lines on the tissue paper (or parchment paper).
5. CUT THE LEATHER FLAP
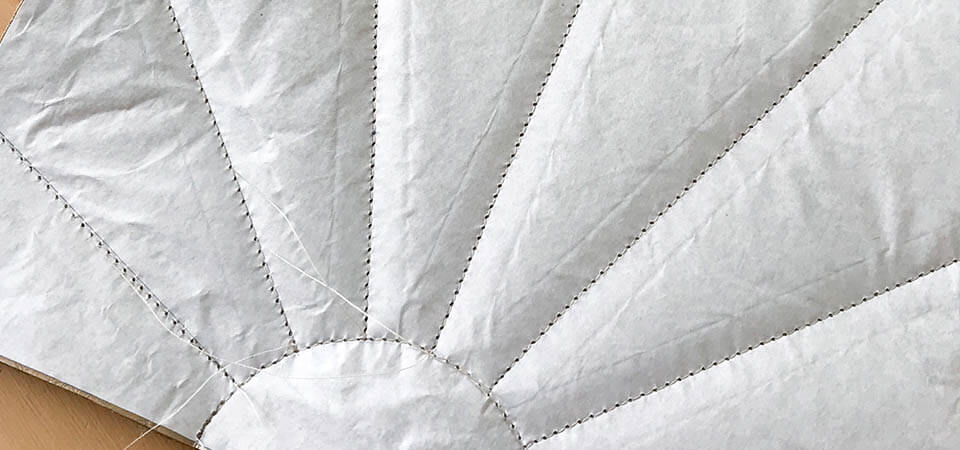
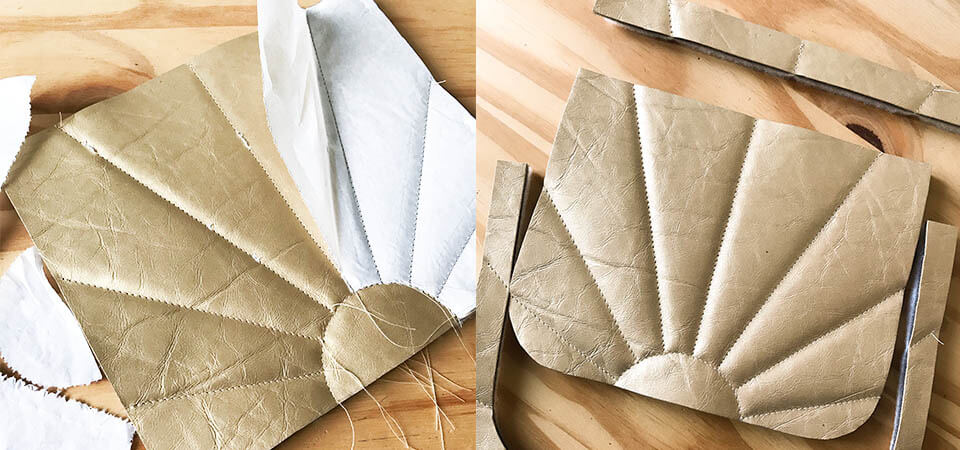
- Tear the tissue paper by pulling gently once all the lines are stitched.
- Then trace and cut the flap pattern onto the quilted leather piece to obtain the final shape.
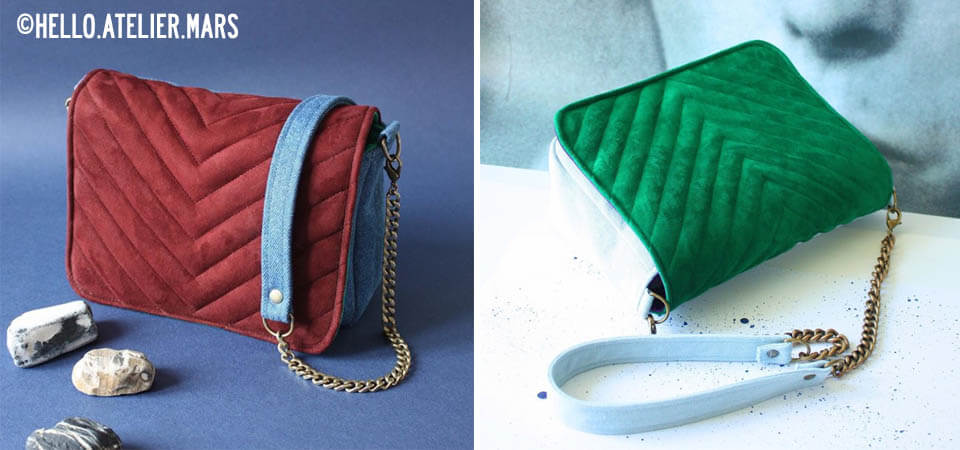
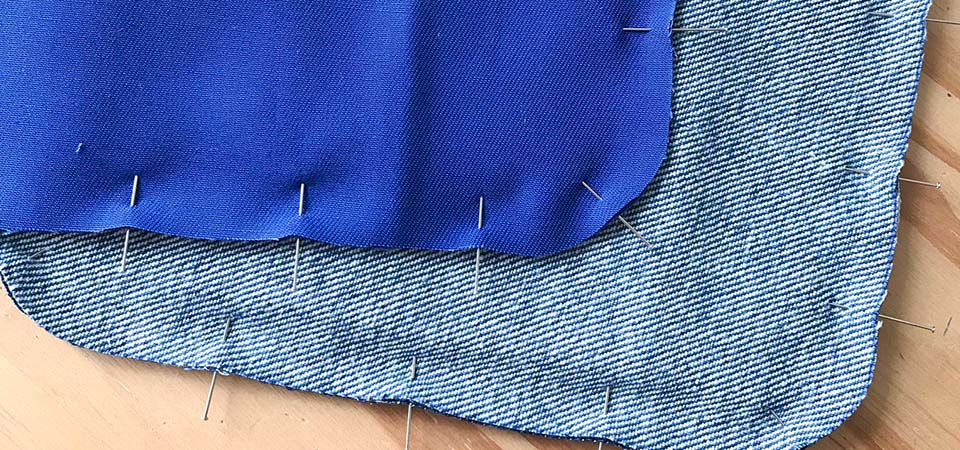
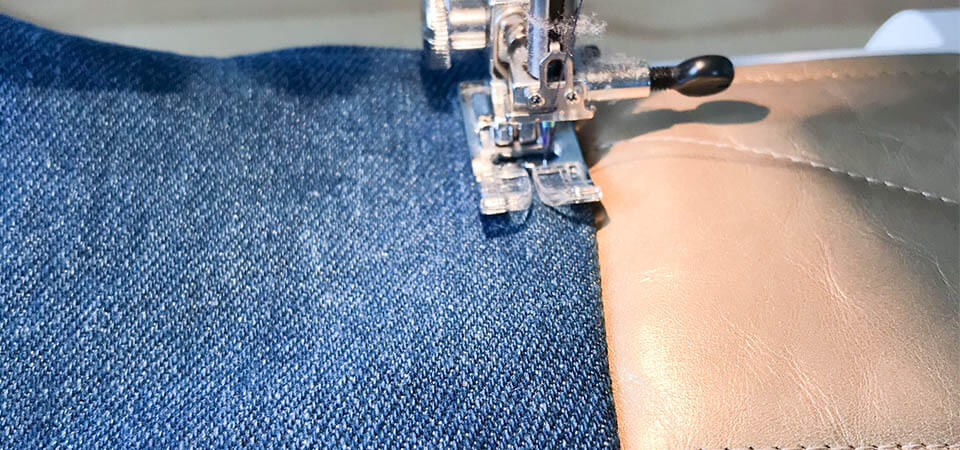
6. ASSEMBLE THE BODY OF THE BAG
- Assemble and stitch the body of the bag right sides together, 1 cm apart.
- Notch the corners to obtain nice curves (photo no. 2).
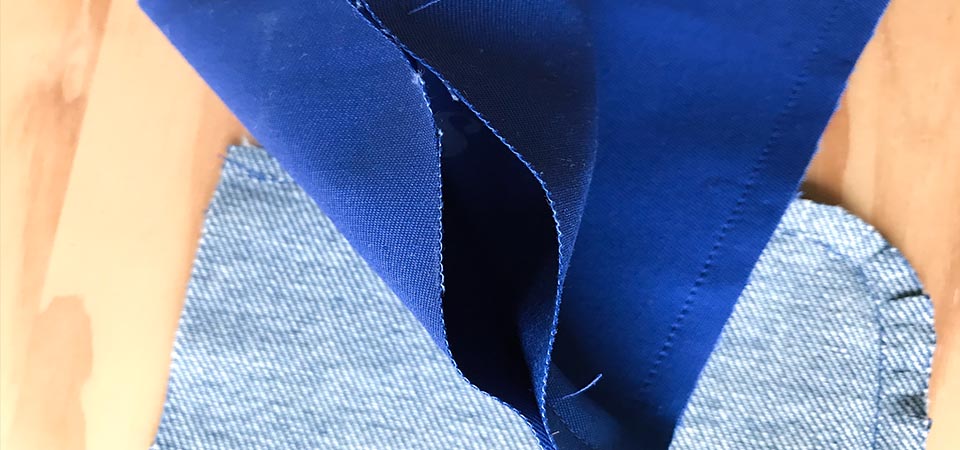
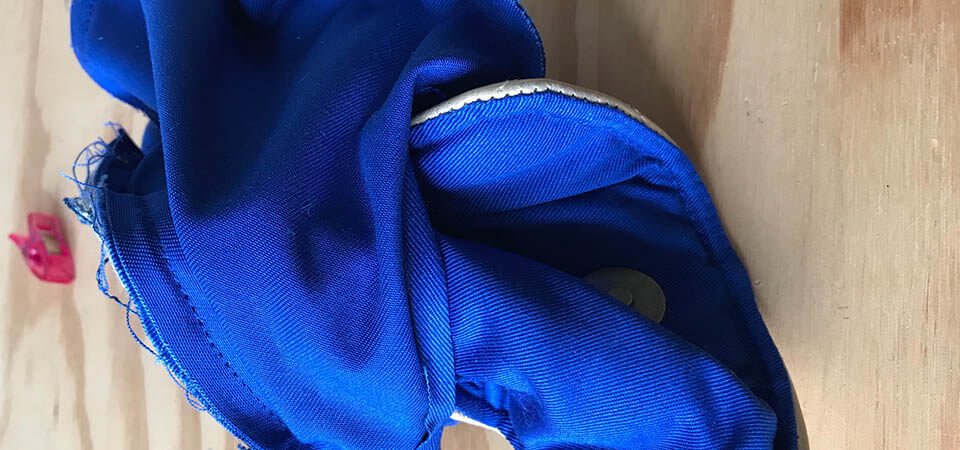
- Proceed in the same way for the lining while leaving a sufficiently large space (9 cm on one side - photo n°3) to be able to turn the work over at the end (step 9).
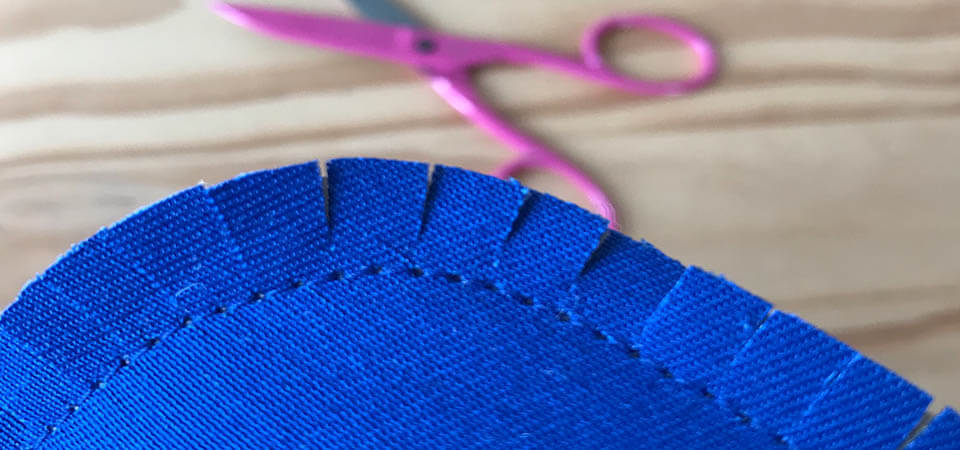
7. SEWING THE FLAP
- Assemble and stitch the leather flap + the lining flap right sides together at 1 cm (do not sew the upper length so that the piece can be turned over)
- Notch the corners to obtain nice curves once turned over.
- Reduce seam allowances to 2 or 3 mm*.
- Then turn over and topstitch (do not topstitch on the upper length - photo no. 1 and 2)
*Jessica recommends trimming the seam allowances a bit to reduce bulk during the topstitching stage. Home sewing machines can be unpredictable when the piece is too thick. 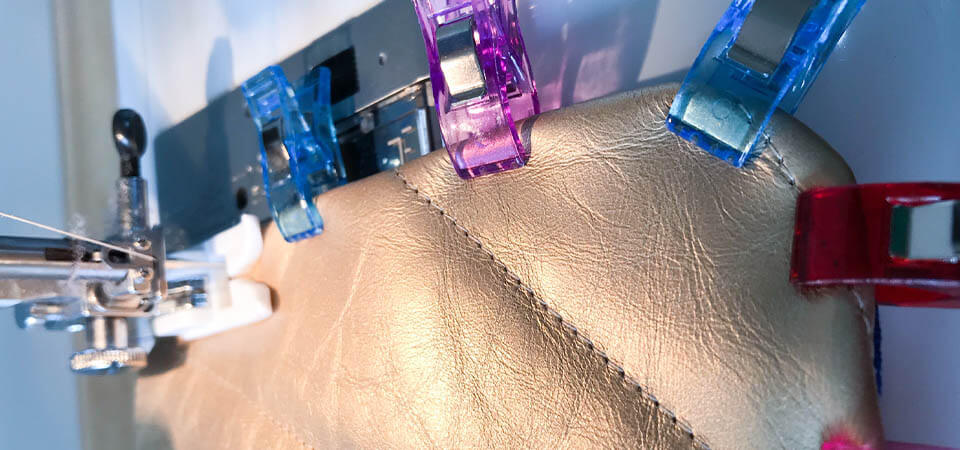
8. ASSEMBLING THE FLAP
- Turn the outer body of the bag right side out.
- Using pliers, assemble the outer body onto the finished flap (quilted leather) right sides together (pay attention to the position of the magnetic top).
- Stitch along the entire length above 0.5 mm.
- Reduce the seam allowances to have less thickness during the topstitching stage.

9. FINAL ASSEMBLY
- Slide the outer bag into the lining right sides together and stitch the top edge 1 cm.
- Turn the work inside out through the opening left in step 6 in the lining. Close the lining by hand or machine.
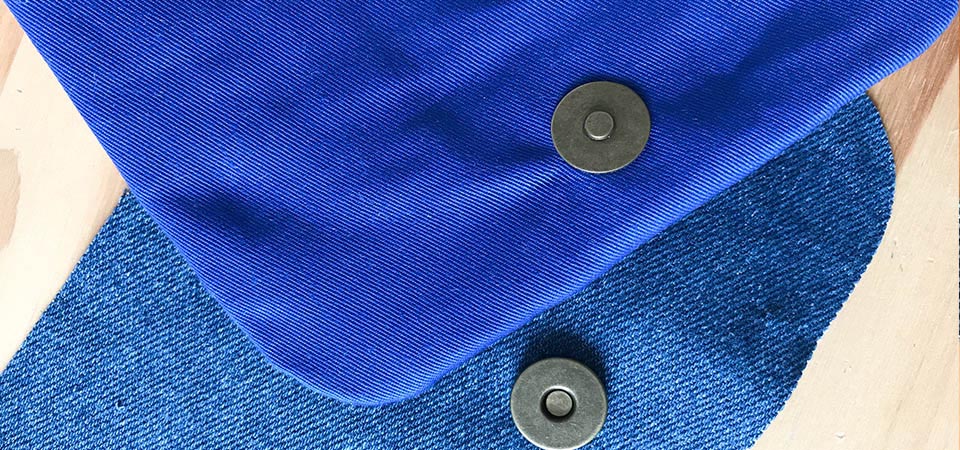
- Place the lining in the bag and topstitch the top edge of the bag at 0.5 mm (photo 4).


ALL YOU HAVE TO DO IS ENJOY YOUR CREATION!