


MATERIALS NEEDED
To complete this tutorial, you will need:
- 1 piece of medium-soft to medium-firm leather - RED - 20 x 30 cm - 1.2 mm thick
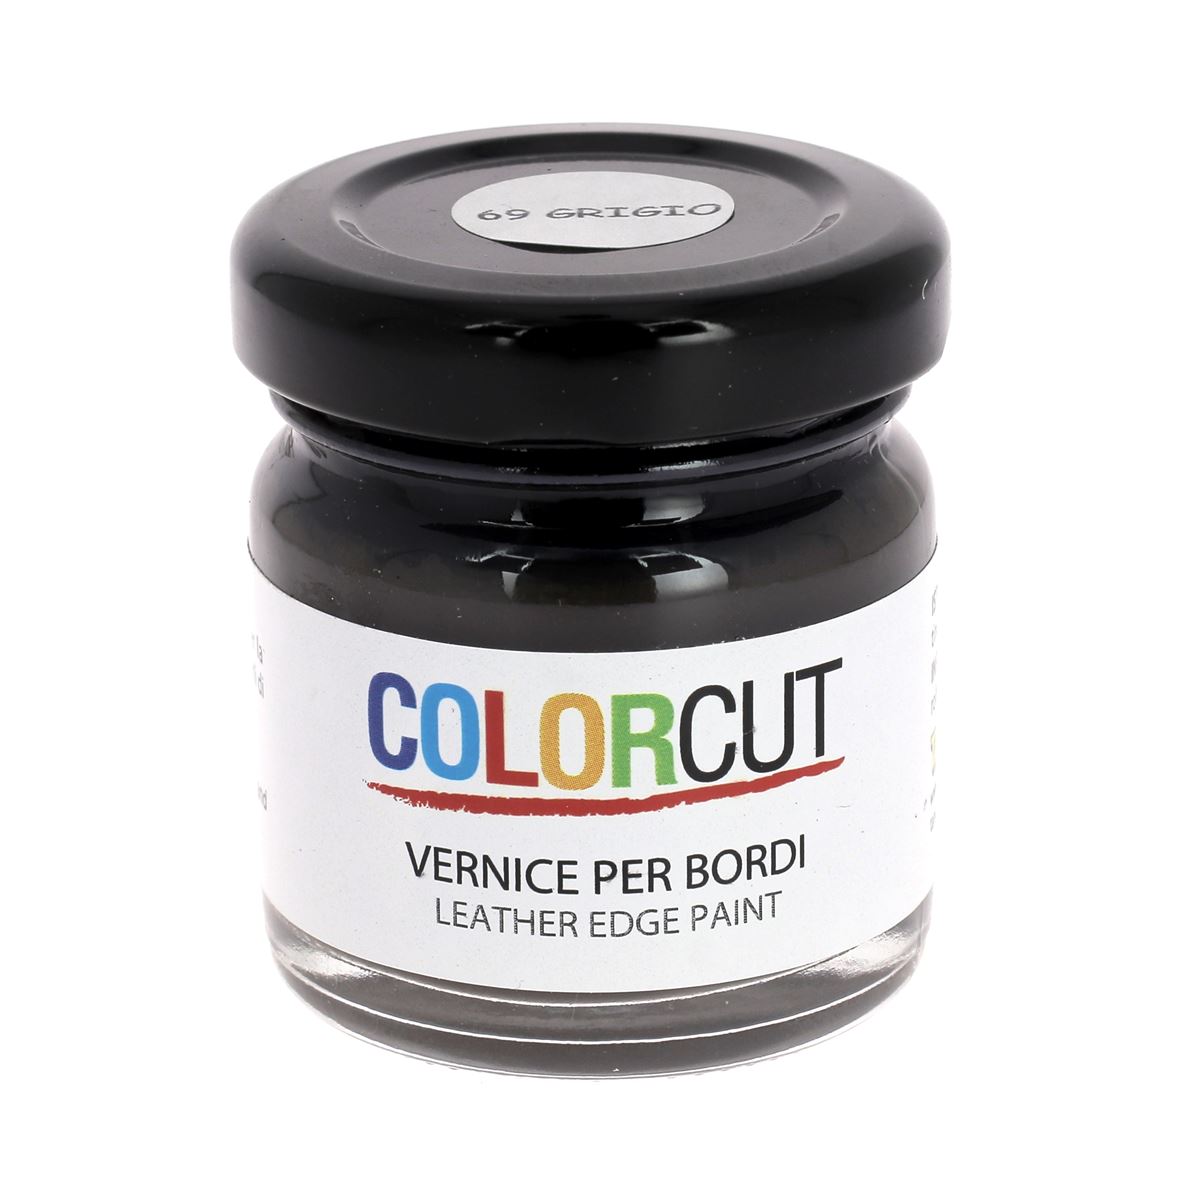
- 1 edge finish - Colorcut - 30ml - RED
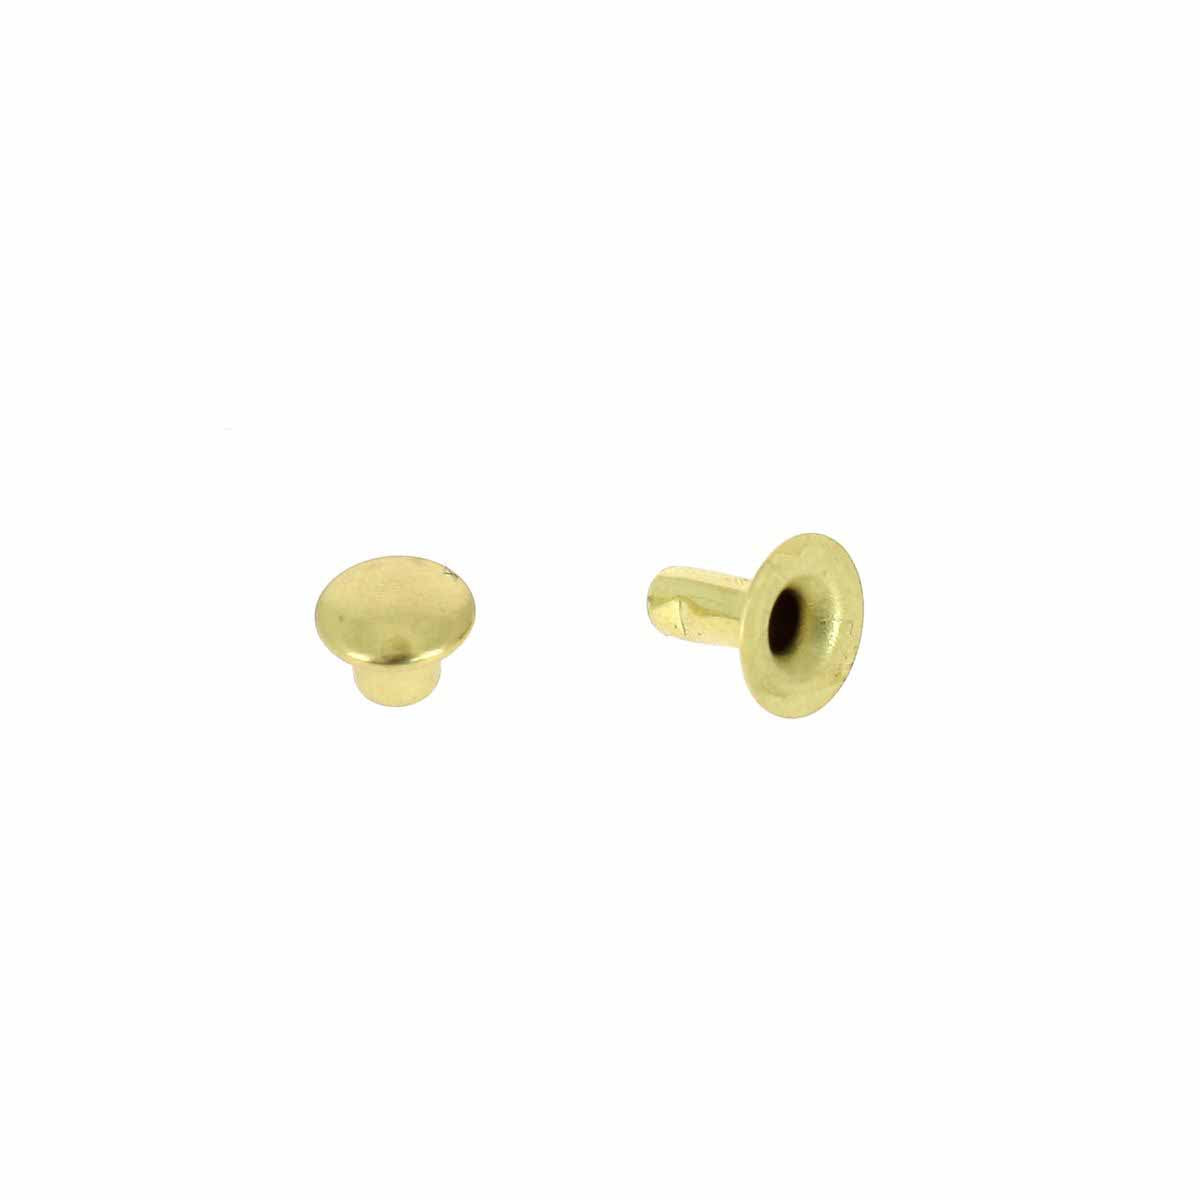
- 2 small DOUBLE CAP rivets in nickel-plated brass (T2)
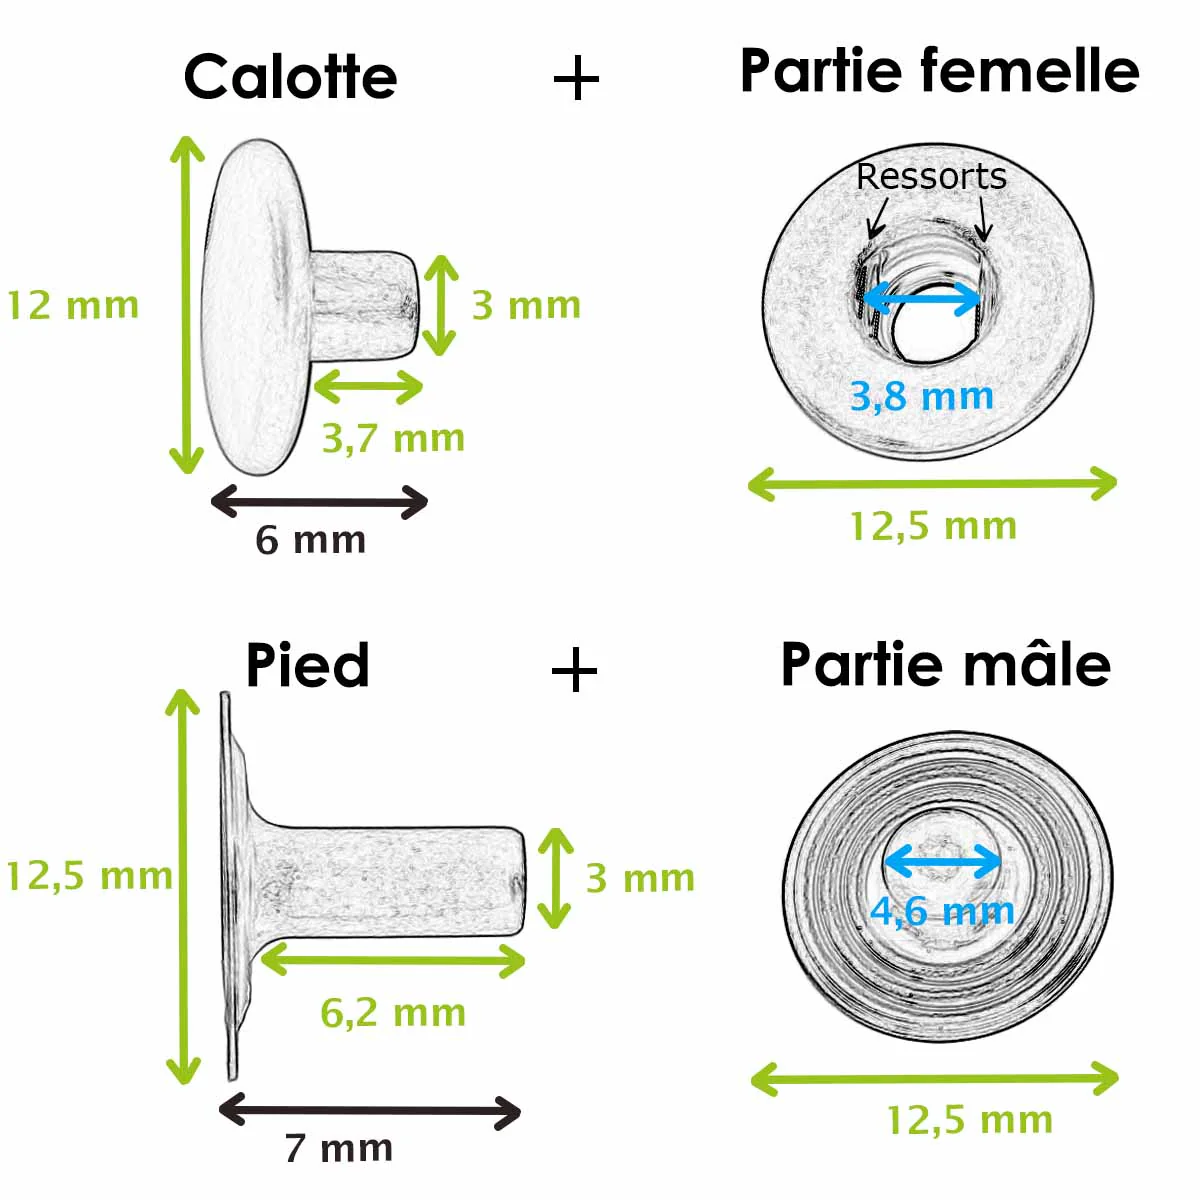
- 1 nickel-plated brass snap button - 12 mm diameter
- 3 round key rings - NICKEL-PLATED - 14 mm diameter
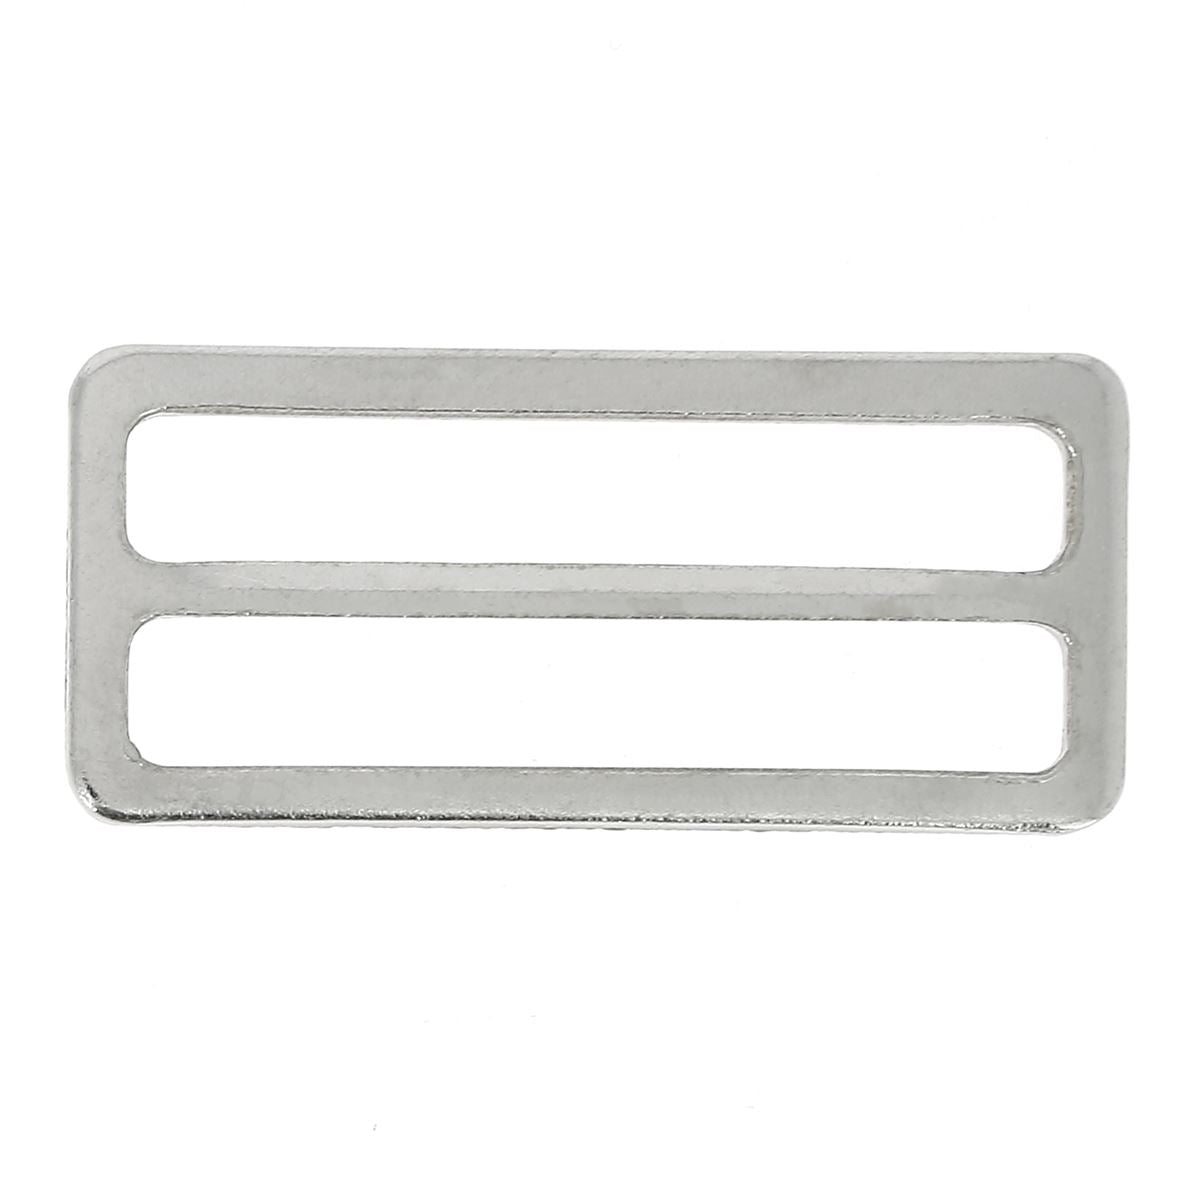
- 1 flat rectangular double loop - NICKEL-PLATED - 40 mm
- 1 spool of twisted polyester thread N° 30 - 400 meters - red
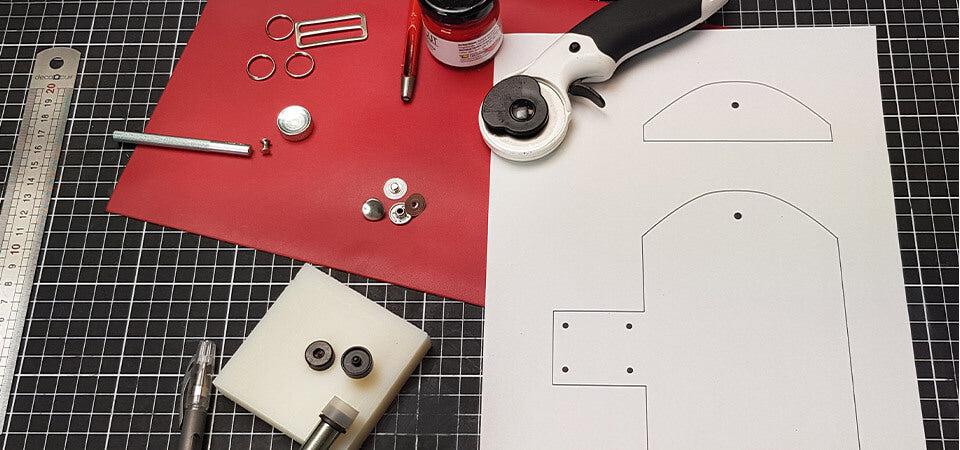
And the following tools:
- Tool and accessory setting kits
- 1 punch - Ø 3 and 4 mm
- 1 mallet
- 1 abrasive sponge
- 1 silver pen
- 1 cutter
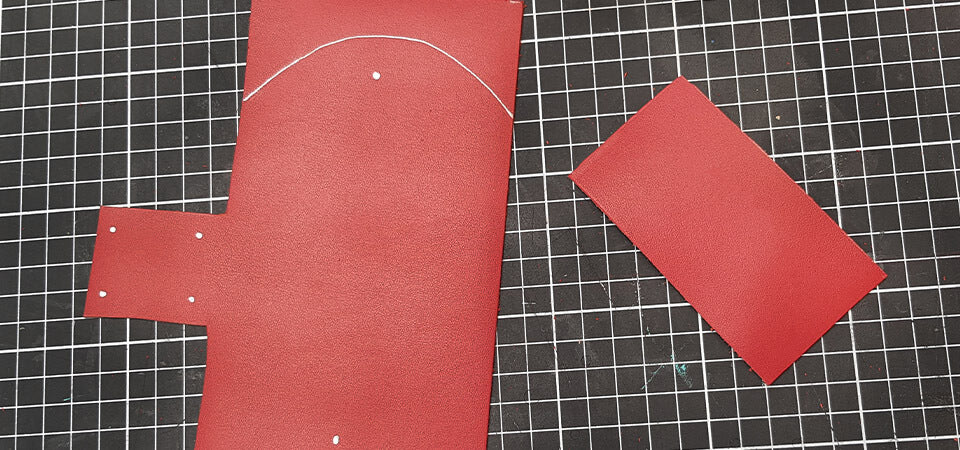
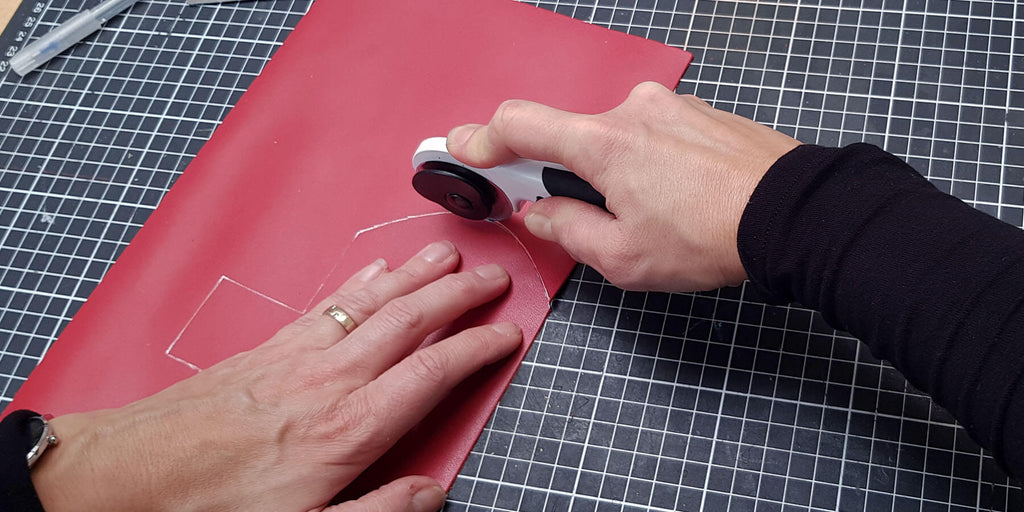
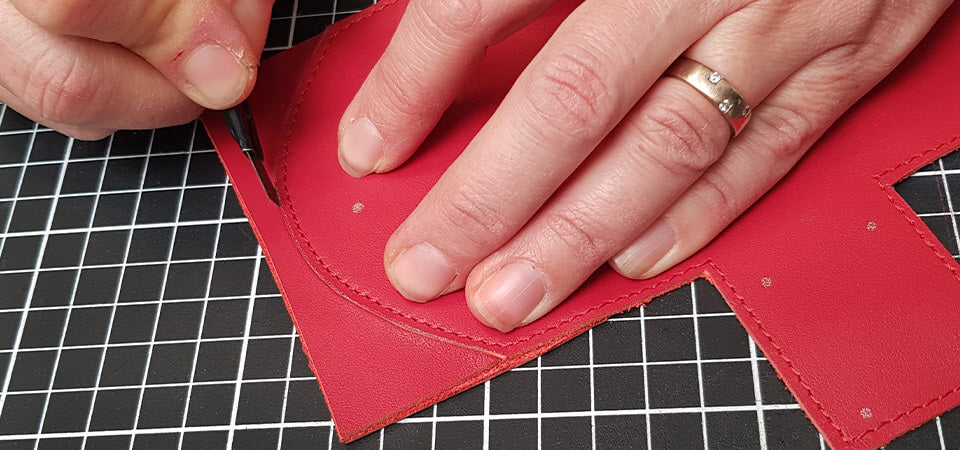
1. CUT THE LEATHER USING THE PATTERN
Trace the pattern onto the leather using a silver pen. Pay attention to the positioning of the pattern on the leather to ensure the case opens to the left or right.
Cut the leather with a cutter.
Roughly cut the curves; they will be cut more cleanly during assembly.
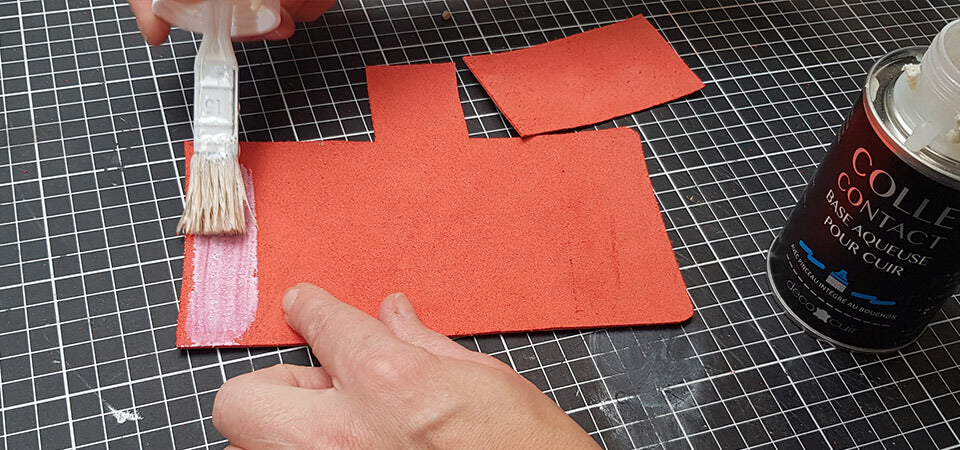
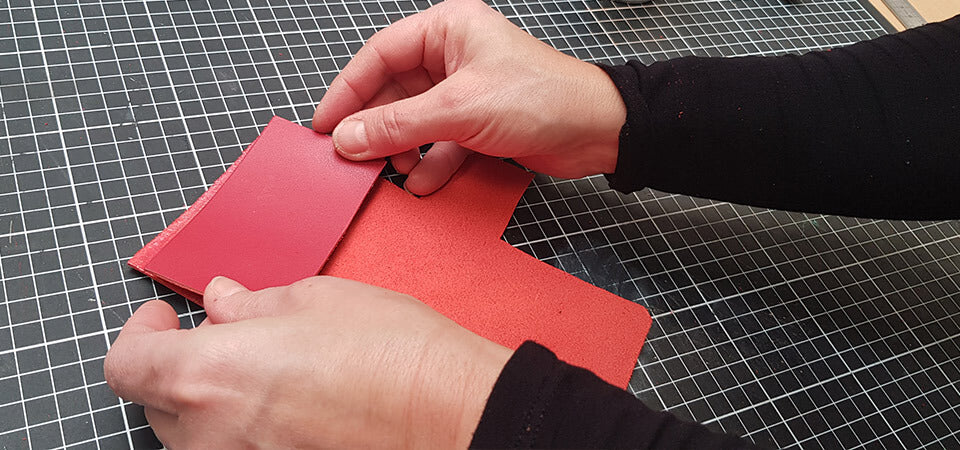
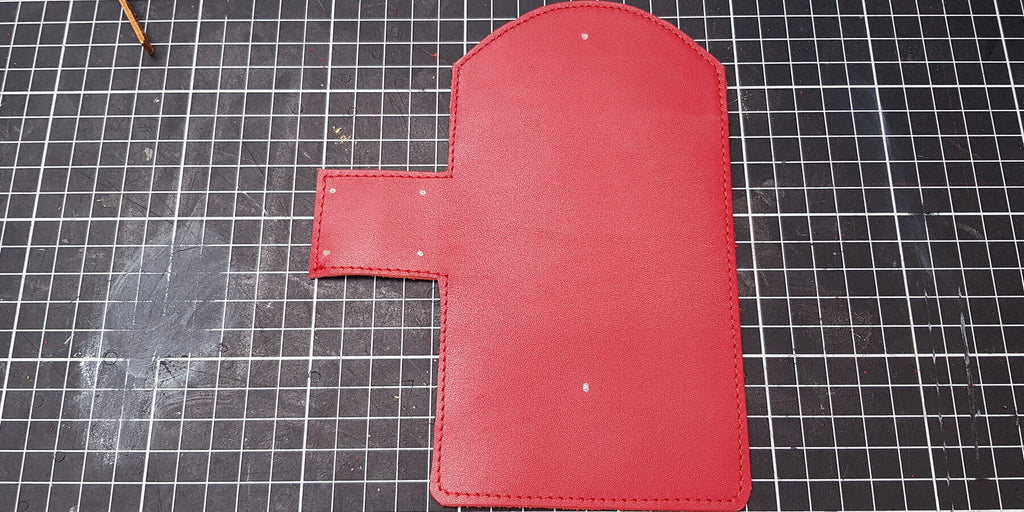
2. GLUE THE FLAP
Glue the flap onto the rounded part of the main piece.
3. SEW THE KEY CASE
Sew all around the piece. Follow the rounded line made with the silver pen (flap).

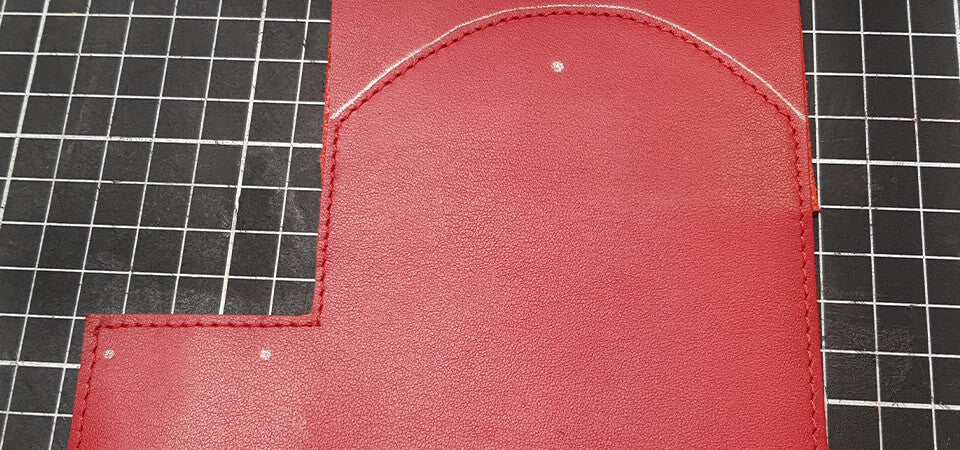
4. CUT THE CURVE
Cut the excess leather with a cutter, following the curve.
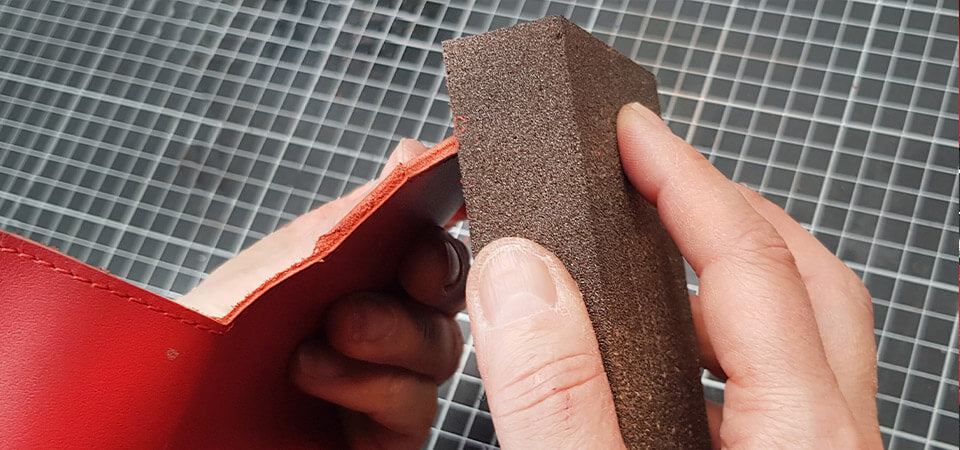
5. FINISH THE EDGES OF THE CASE
Sand the edges of the case (always in the same direction) with an abrasive sponge.
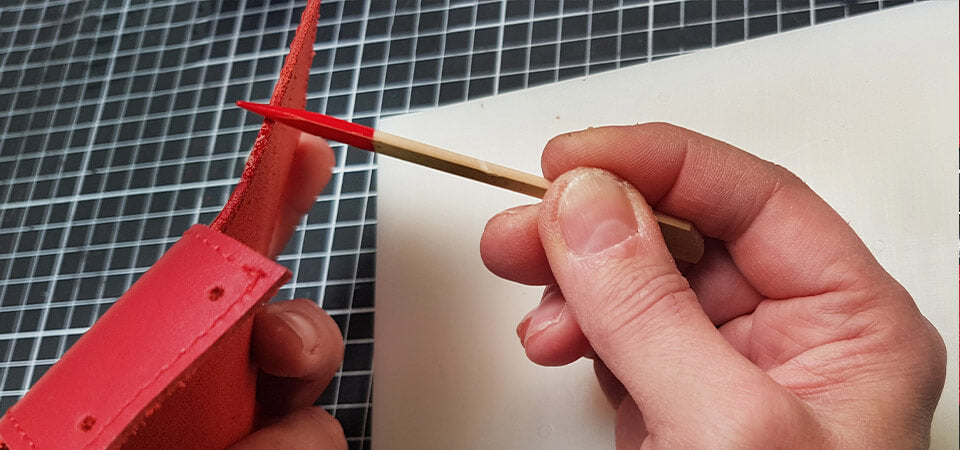
Apply dye to the edges of the case. Then sand with the abrasive sponge and apply a second coat. If necessary, apply a third coat.
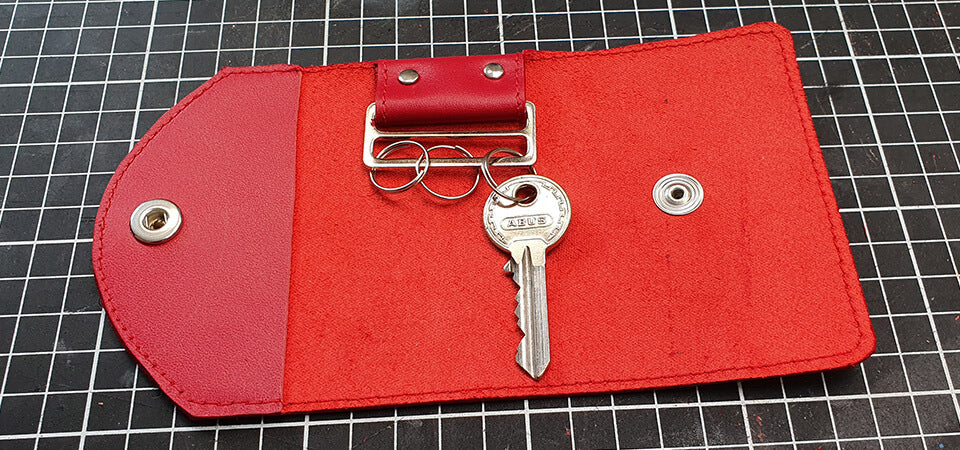
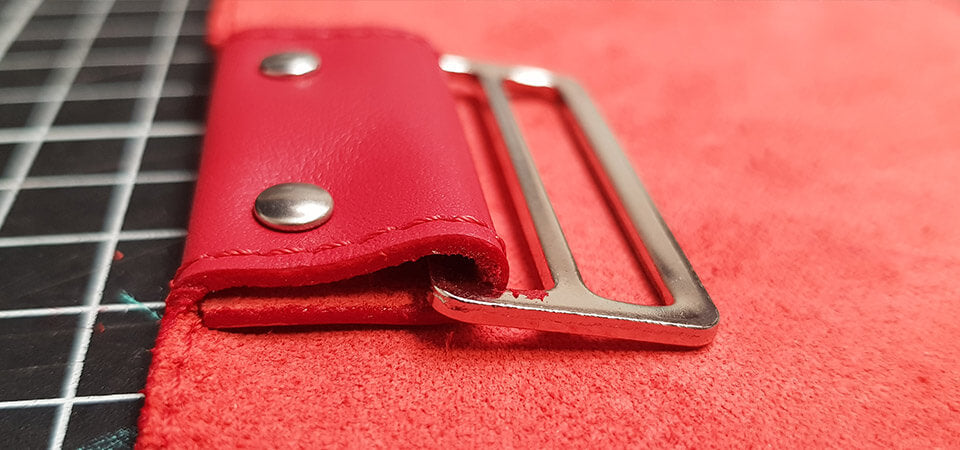
6. ATTACH THE RECTANGULAR LOOP
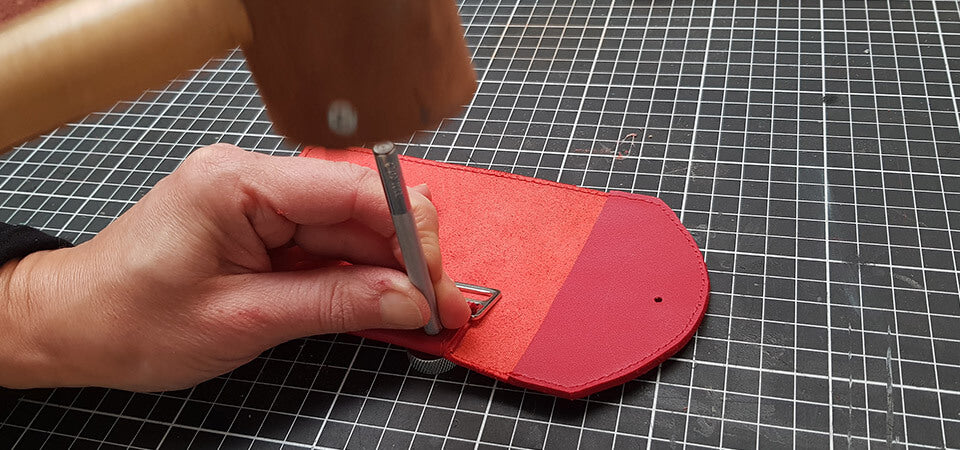
Make the holes using the punches and a mallet. Then place the rectangular loop in the tab and rivet.
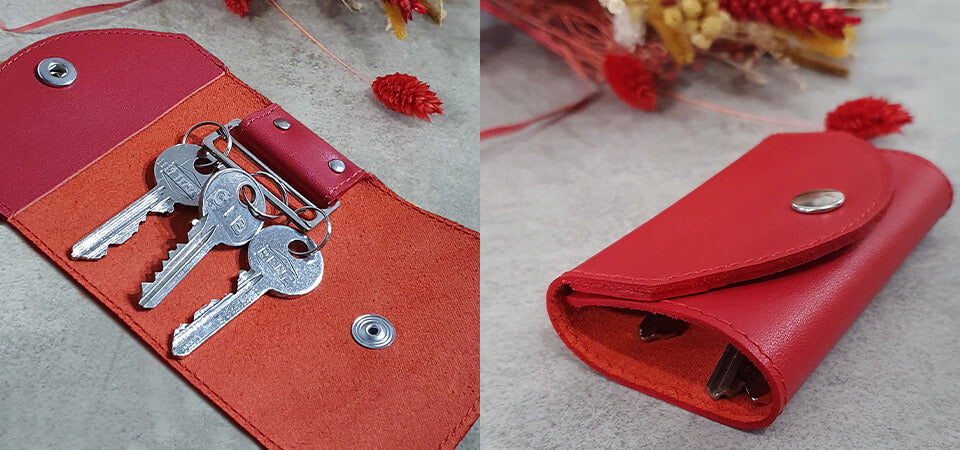
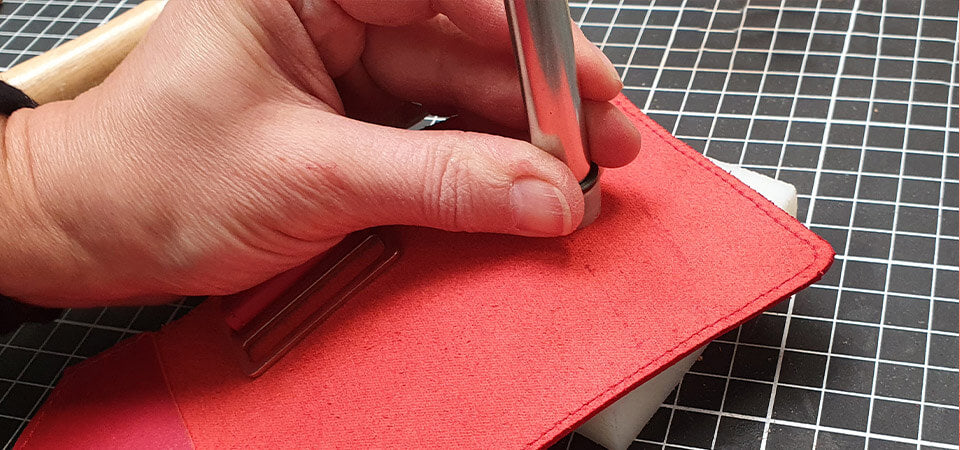
7. ATTACH THE SNAP BUTTON
Attach the snap button with the appropriate setting kit.
ADD THE ROUND RINGS THEN THE KEYS!