


REQUIRED MATERIALS
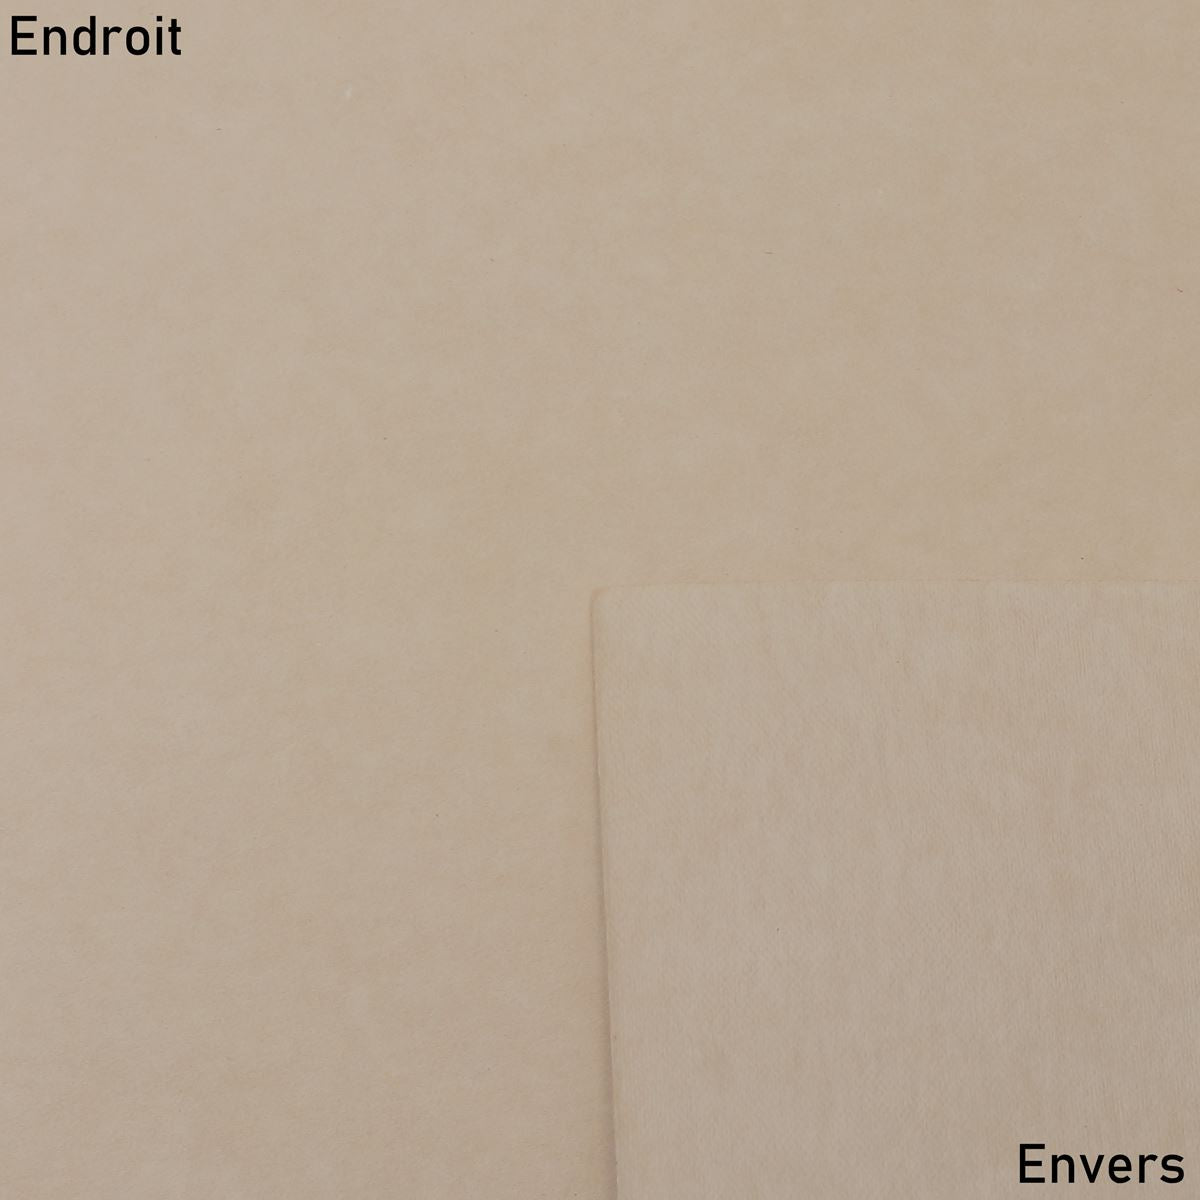
- 1 strip of VVN BLUE MARINE OR WILD TANAO leather - 1.5 mm thick - minimum 1.25 m²
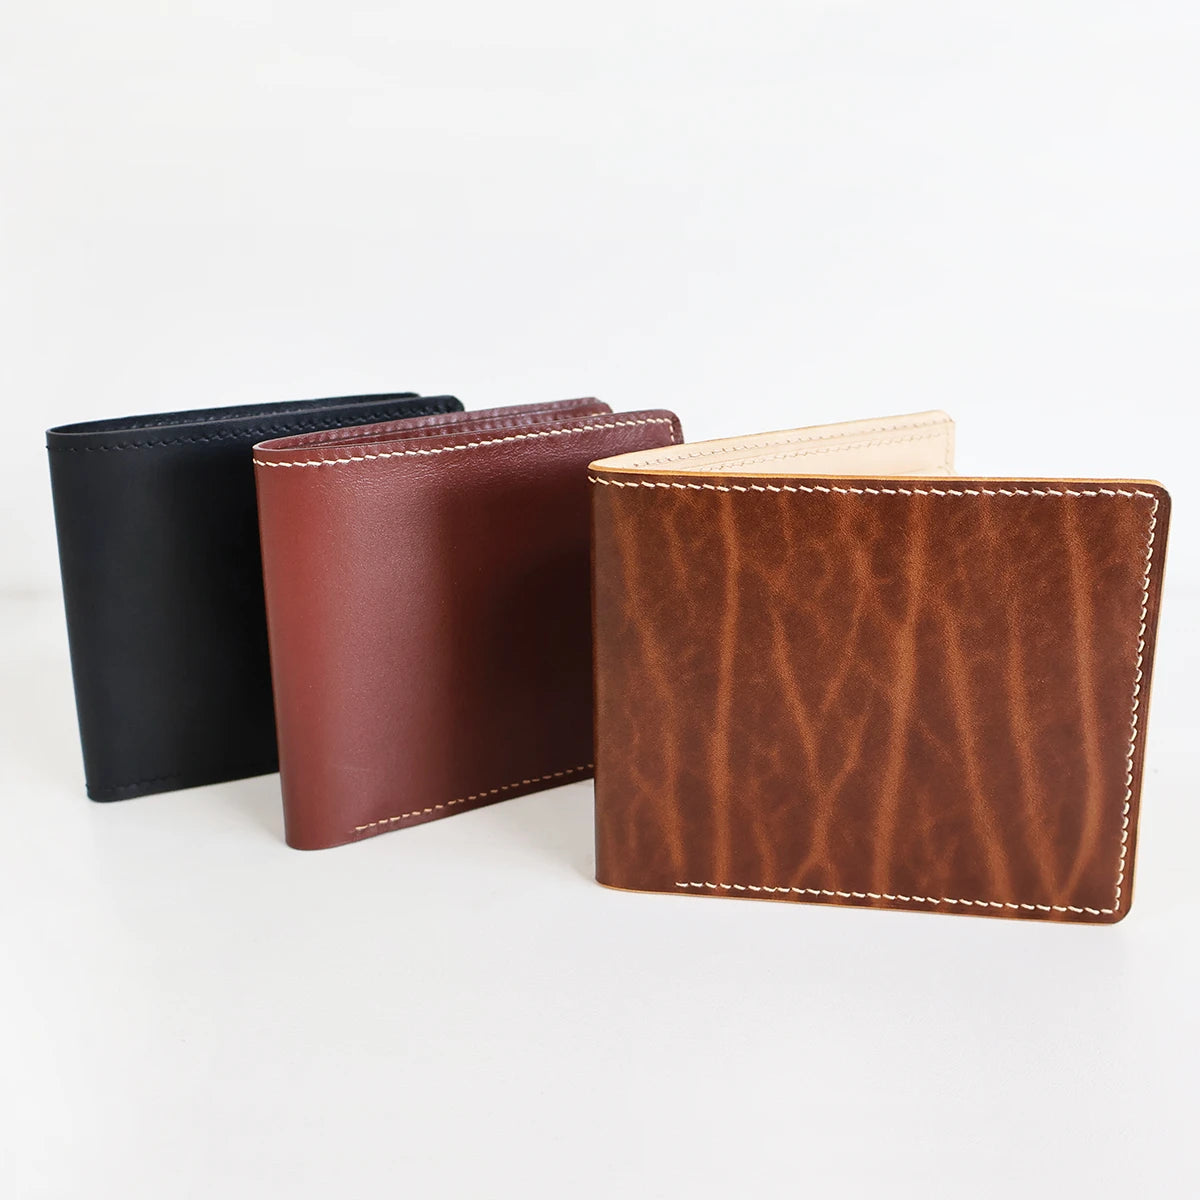
Here we used a piece of vegetable-tanned leather from our range, costing over €100. For smaller budgets, we recommend selecting a firm or semi-firm leather hide, 1.4 mm minimum and 1.9 mm maximum thickness (e.g., coated split leather, patent split leather, cowhide...).
- 1 piece of VELVET pig suede leather - NATURAL. Minimum recommended surface area: 0.55 m²
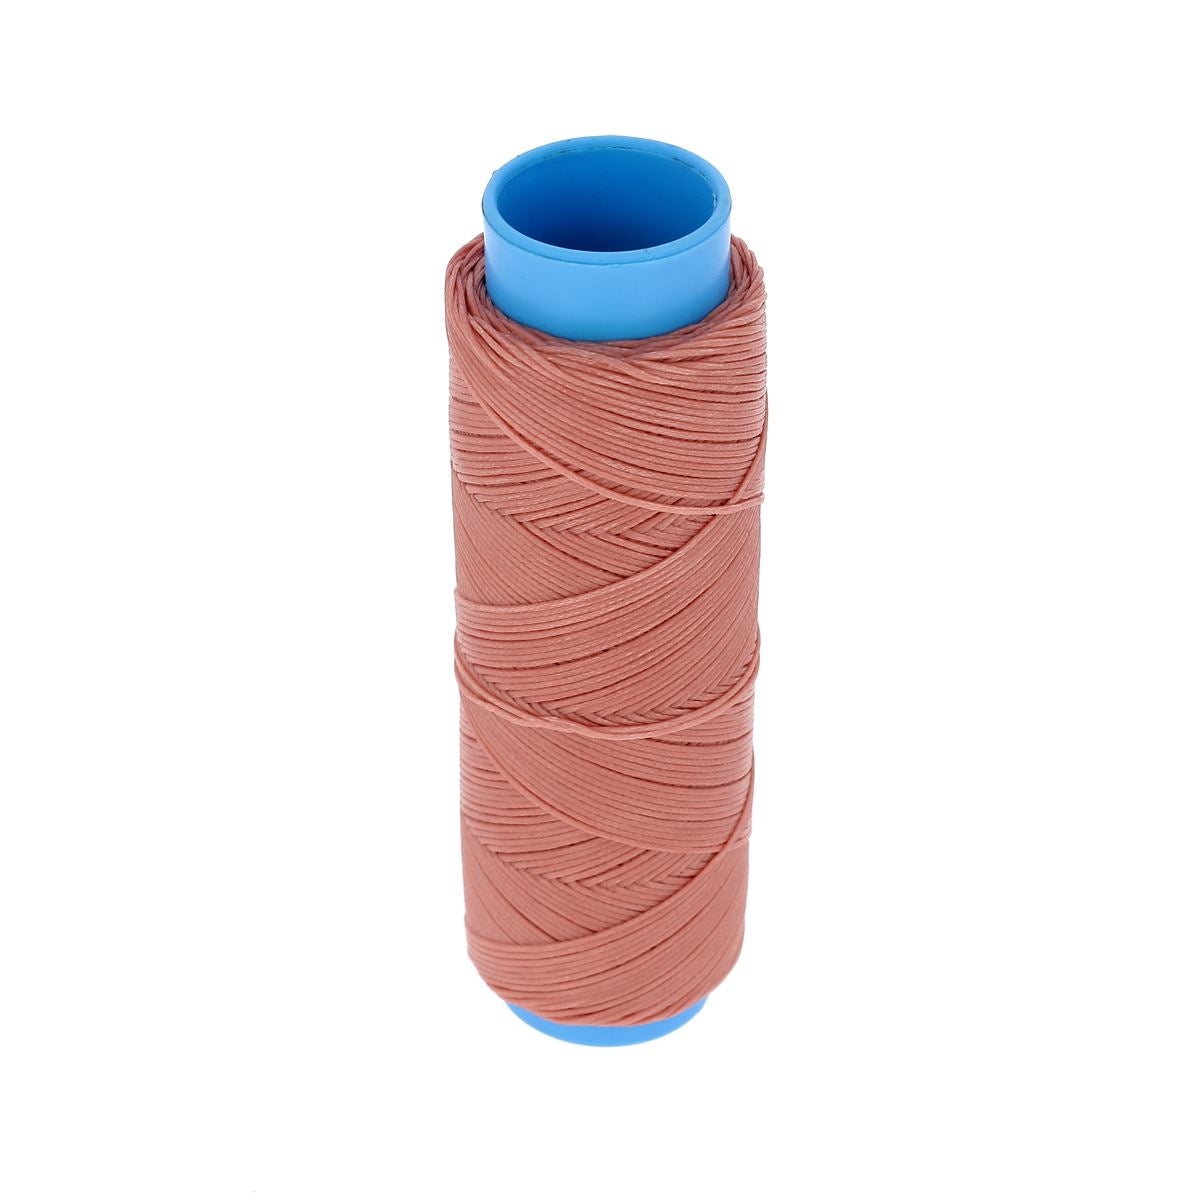
- 1 spool of 500 m braided and waxed polyester thread - 0.80 mm diameter
- 1 pot of tokonole - Leather finishing gum - 120g OR 1 pot of edge finish (if you choose mineral-tanned leather).
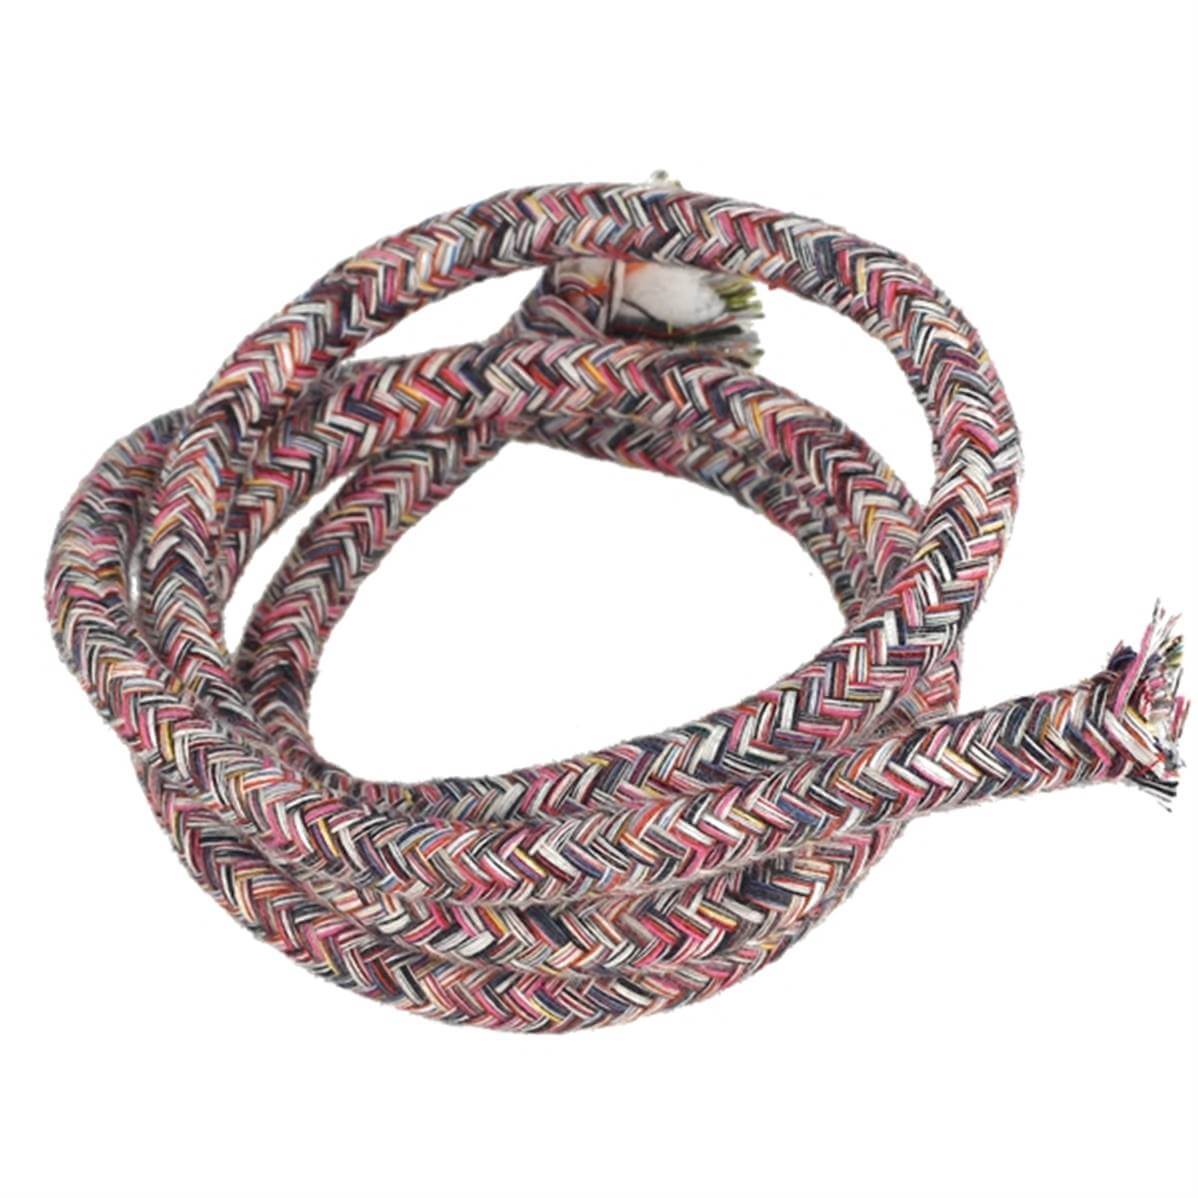
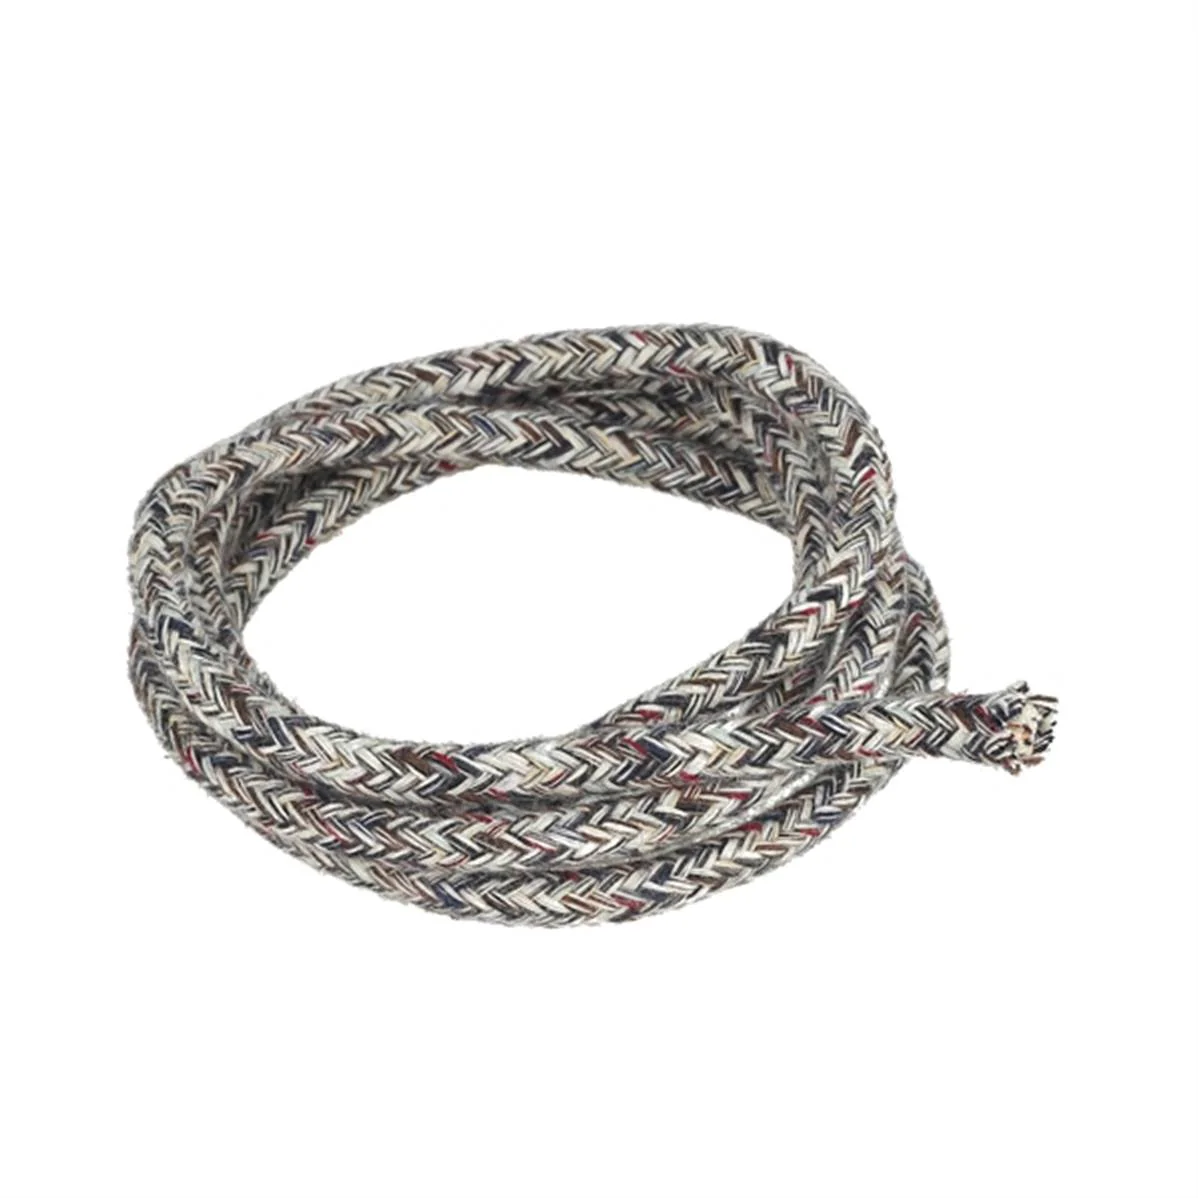
- 2 meters of BAG HANDLE CORD - 6 mm diameter
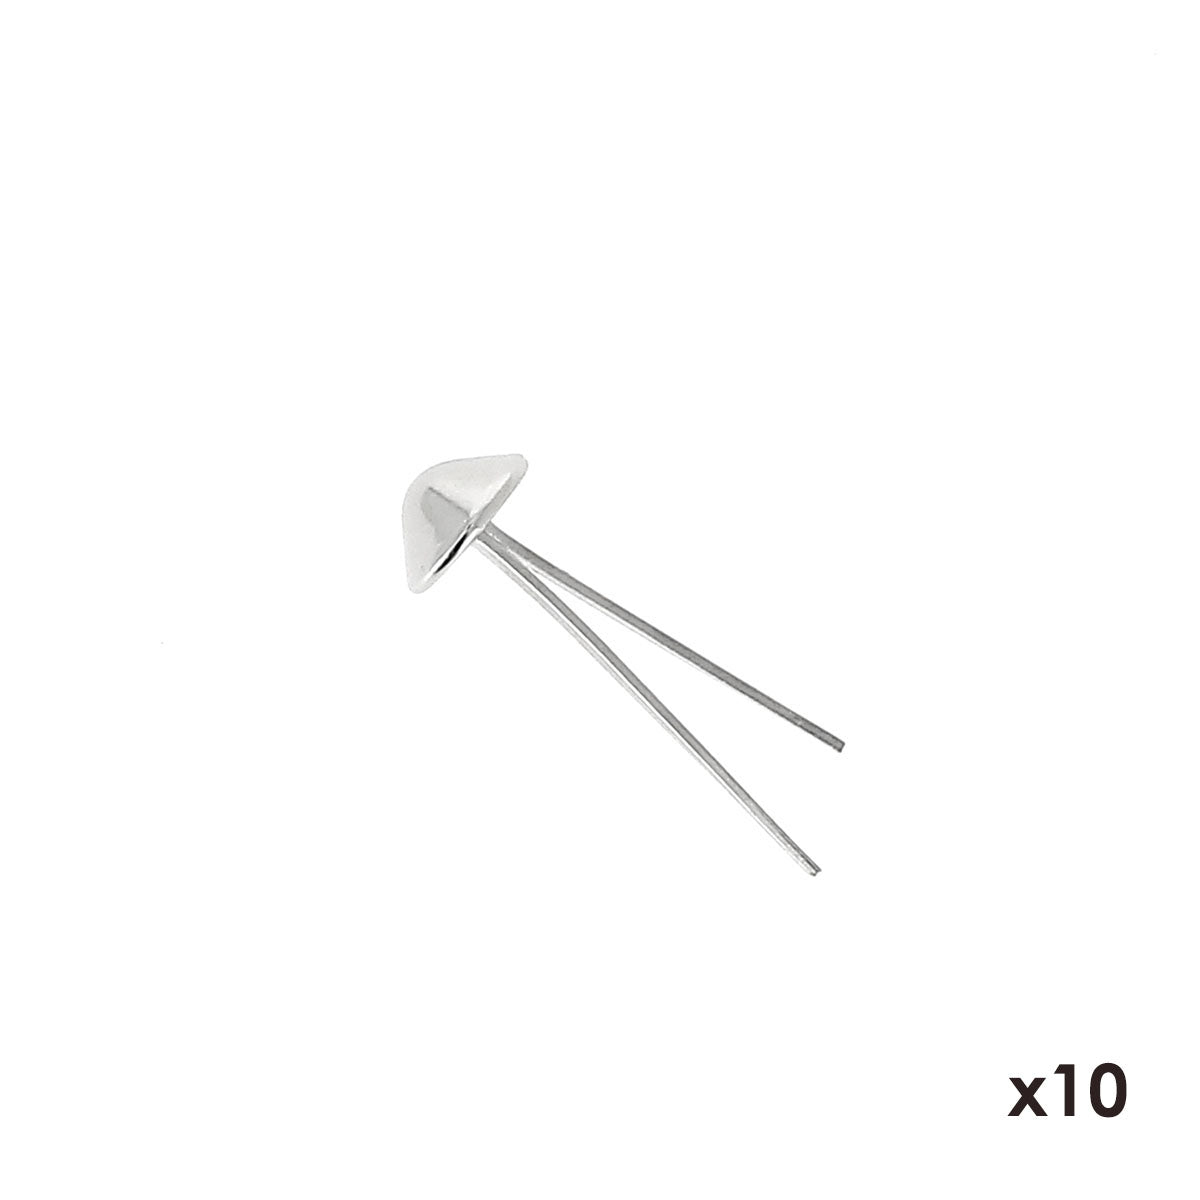
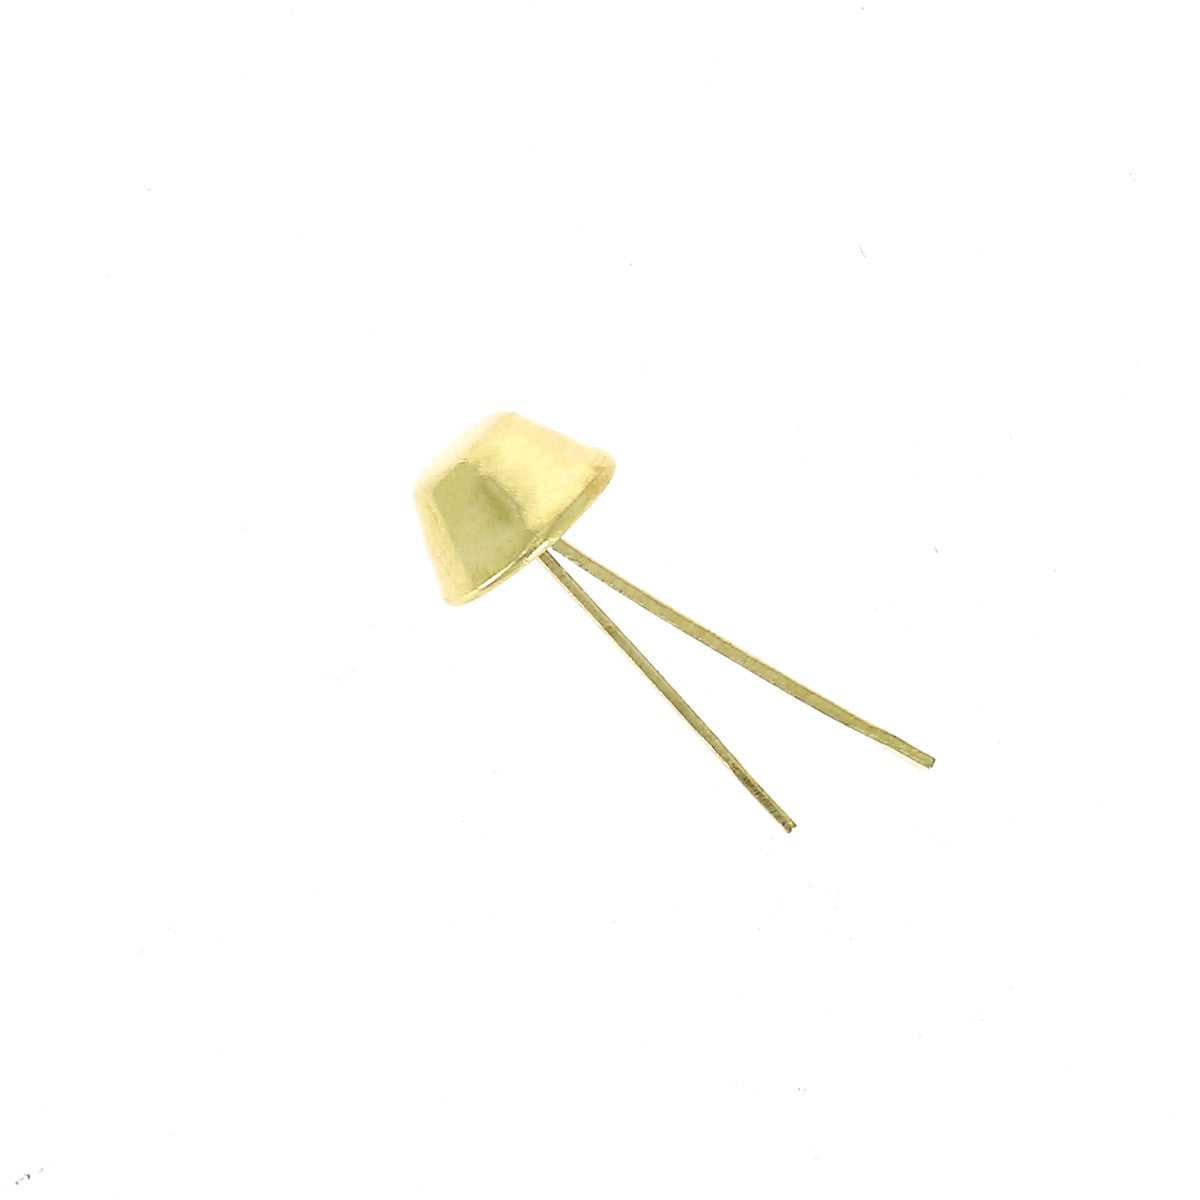
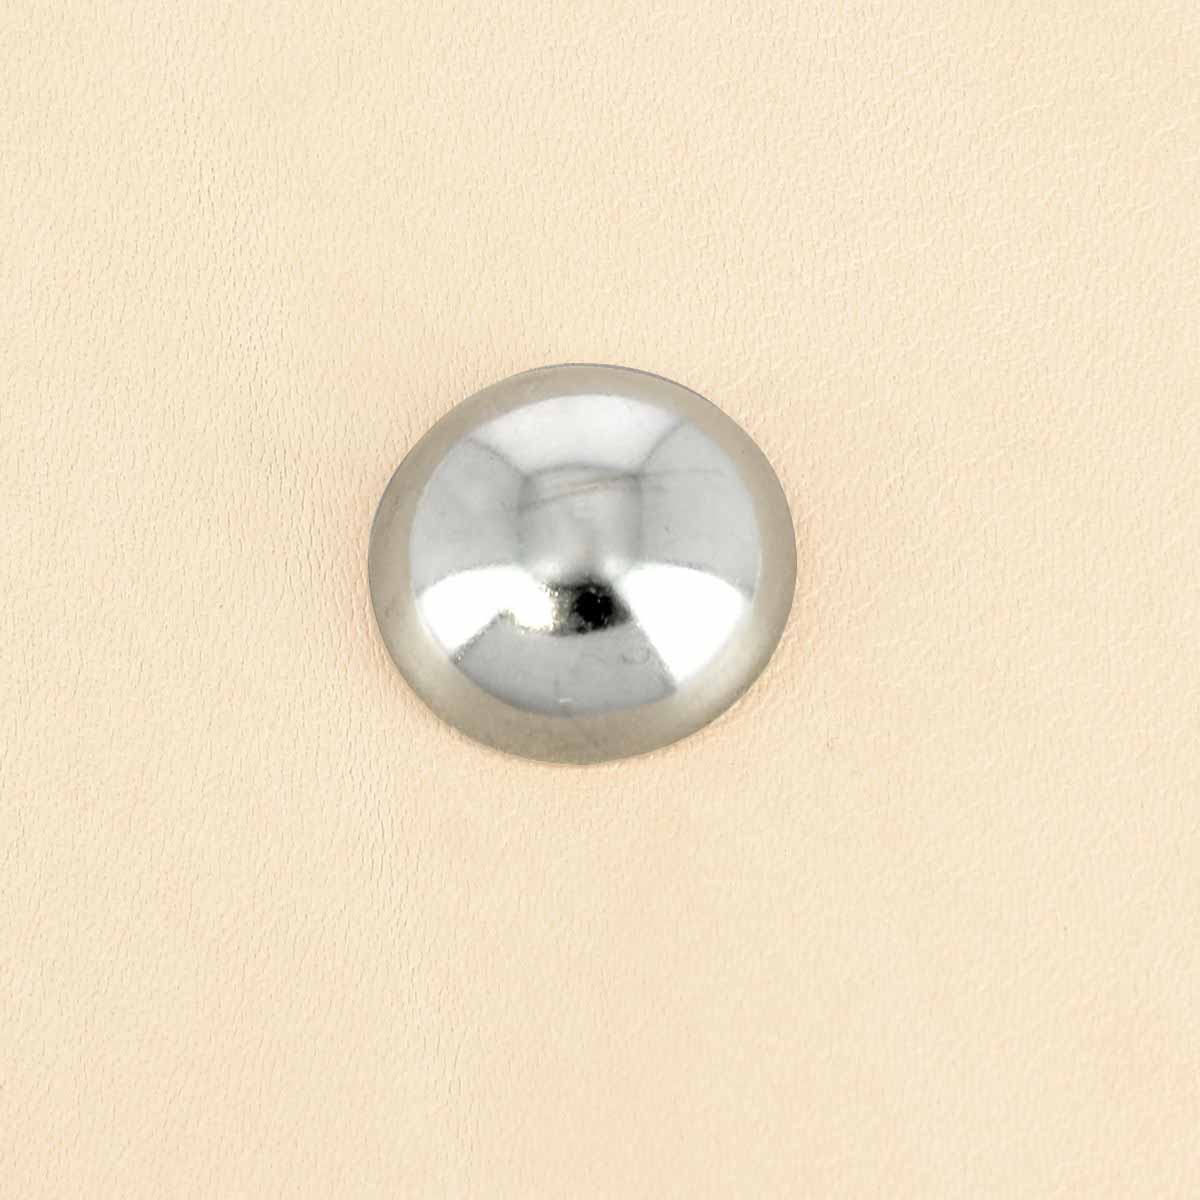
- 2 MINI GUNMETAL brass snap fasteners - 10.5 mm diameter OR 12.5 mm diameter magnetic snaps (does not require an installation tool).
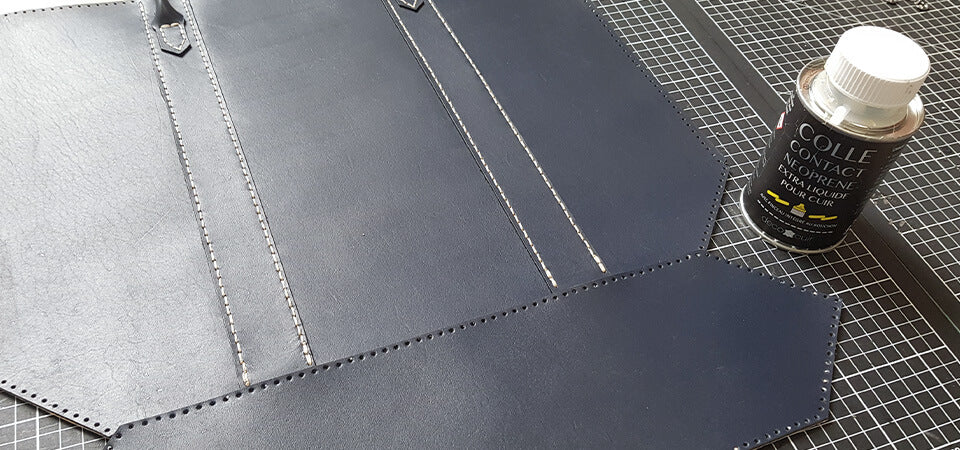
- 1 pot of 250 ml water-based CONTACT ADHESIVE
- 2 blunt needles
- 1 round punch, 1.5 mm diameter
- 1 mallet
- 1 utility knife and rotary cutter
OPTIONAL: Texon and bag feet for the bag bottom and 4 magnetic snaps if you want to be able to close the tote bag.
BEGINNER: SIMPLIFIED HAND SEWING FOR LEATHER
For beginners, we offer a simplified "hole-based" hand sewing technique. You won't need any special knowledge to successfully make the bag. Discover the essential points to know before starting simplified hand sewing in the guide below.
VIEW GUIDE >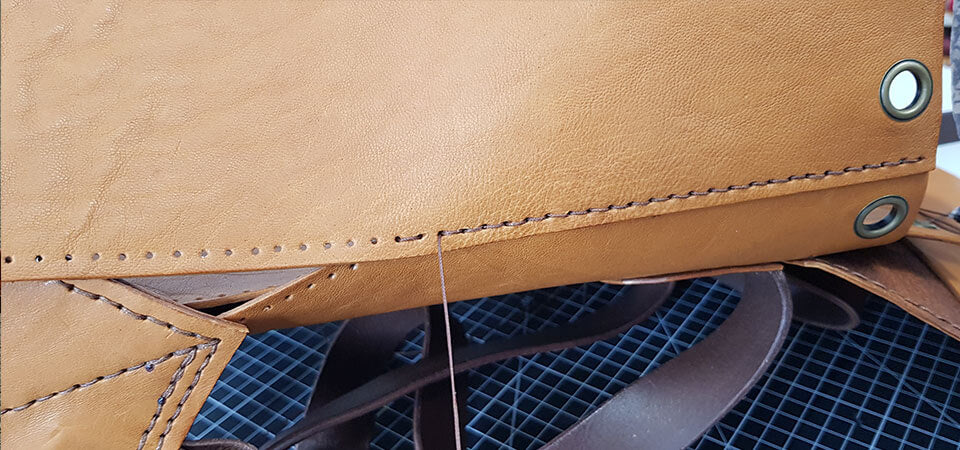
EXPERT: SADDLE STITCH LEATHER SEWING
Those more experienced in leatherworking can sew the tote bag with a saddle stitch. The saddle stitch is the most popular stitch among leather lovers because it is the strongest stitch.
VIEW GUIDE >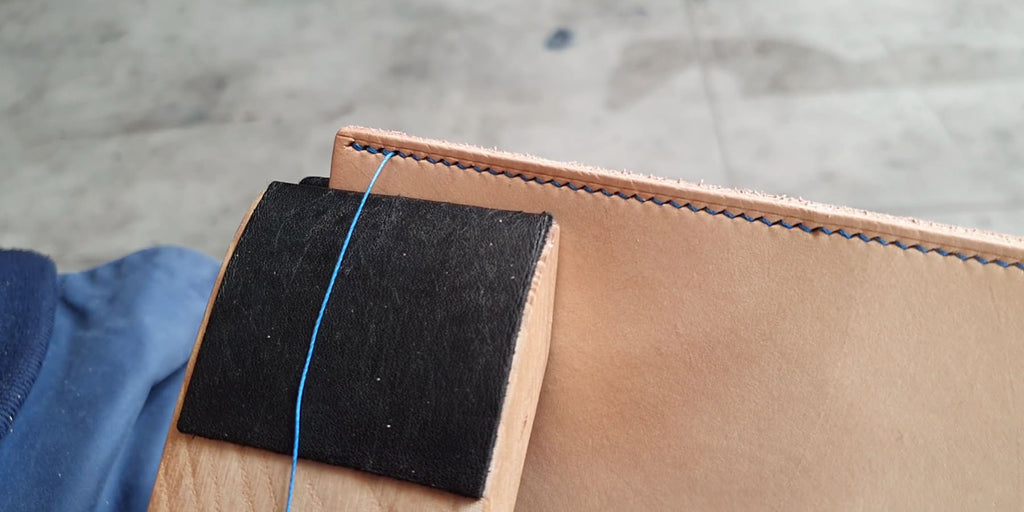
VIDEO
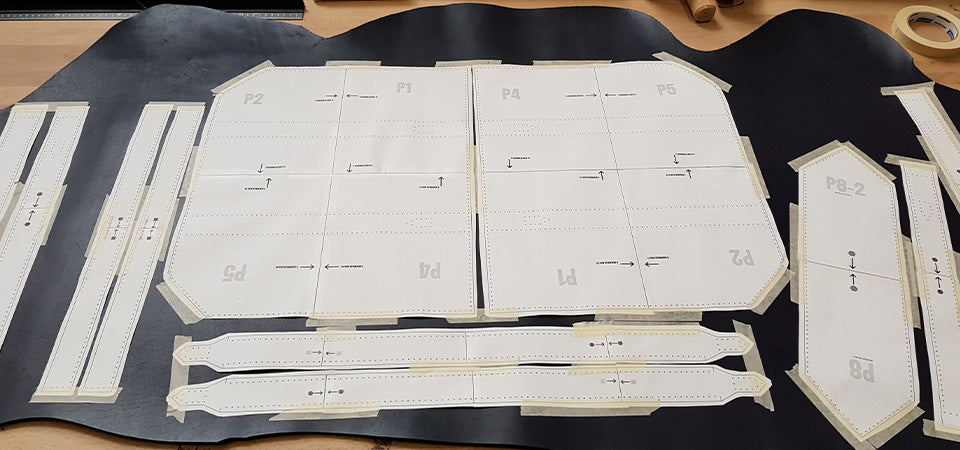
1. PRINT THE PATTERN
- Print the tote bag pattern at actual size (downloadable from the tab at the top of the page).
- Assemble and cut out the pattern, leaving a 5 mm margin around the lines.
- Then place and hold the pieces on the leather hide using masking tape.
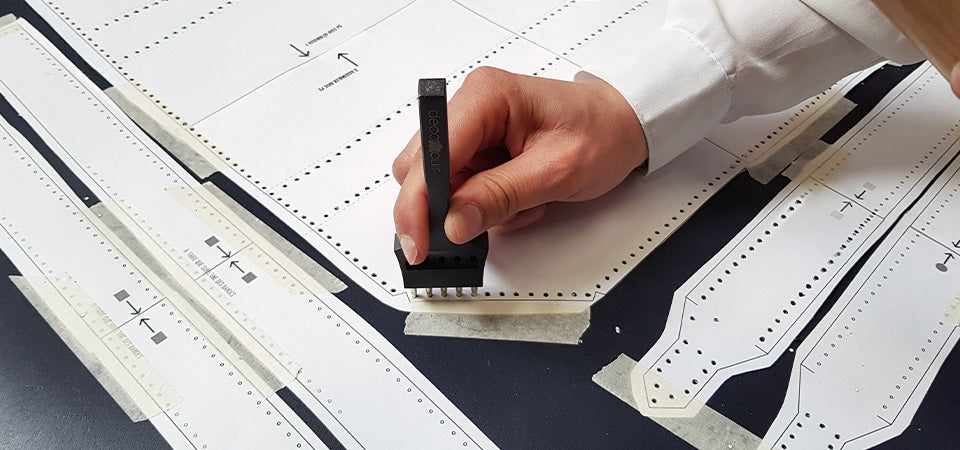
2. PUNCH THE SEWING HOLES
Make the various sewing holes by striking a round punch (Ø 1 and maximum Ø 1.5 mm) with a mallet.
The center-to-center distance of the sewing holes is 6.5 mm. You can use Deco Cuir's 5-removable-prong punch to go faster.
Adjust the last points with a simple round punch.
VIEW ITEM >
Do not punch or cut pieces P8 and P7 (large model) / P6 and P7 (small model) which will be doubled in step 6.
*For saddle stitching, you need to mark the stitch points with a pricking iron after cutting and/or assembling the pattern pieces (step 3). Do not hesitate to consult our complete guide.
3. CUT THE LEATHER PIECES
Cut the leather pieces with a utility knife, following the pattern lines. Reminder: do not punch or cut pieces P8 and P7 (large model) / P6 and P7 (small model) which will be doubled in step 6.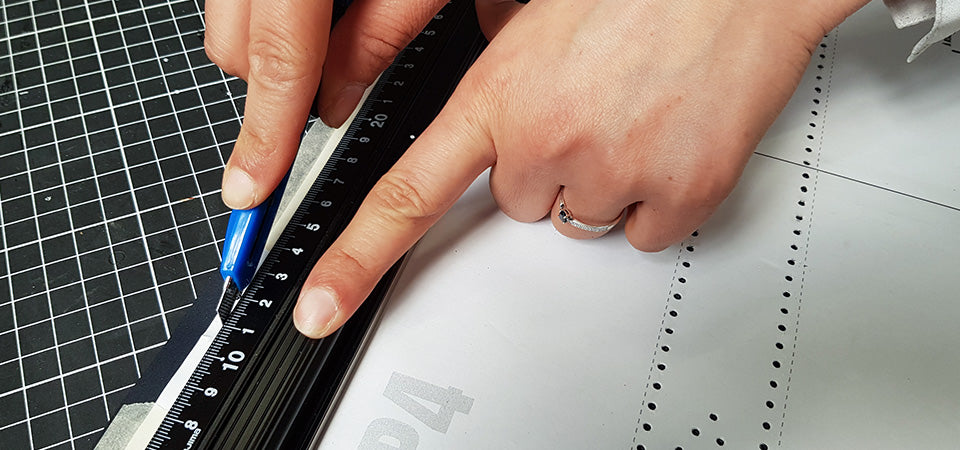
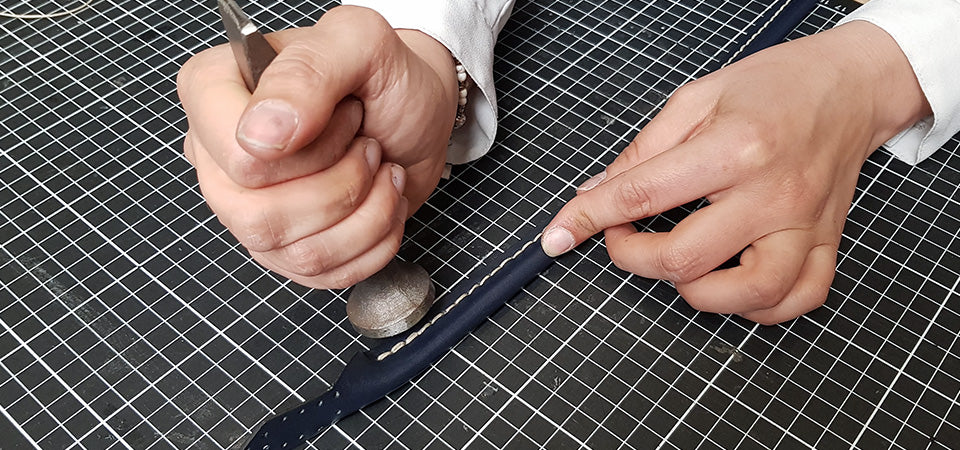
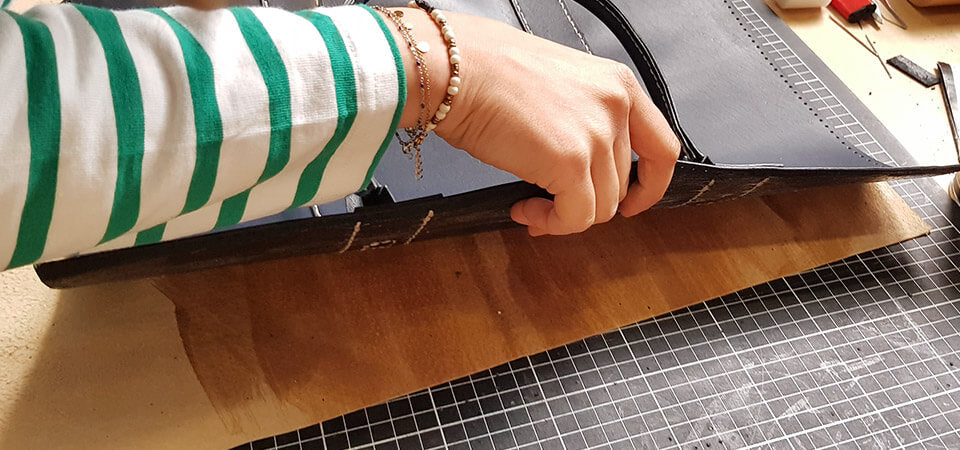
4. MAKE THE BAG HANDLES
Apply contact adhesive for leather to the back of the 2 P3 pieces.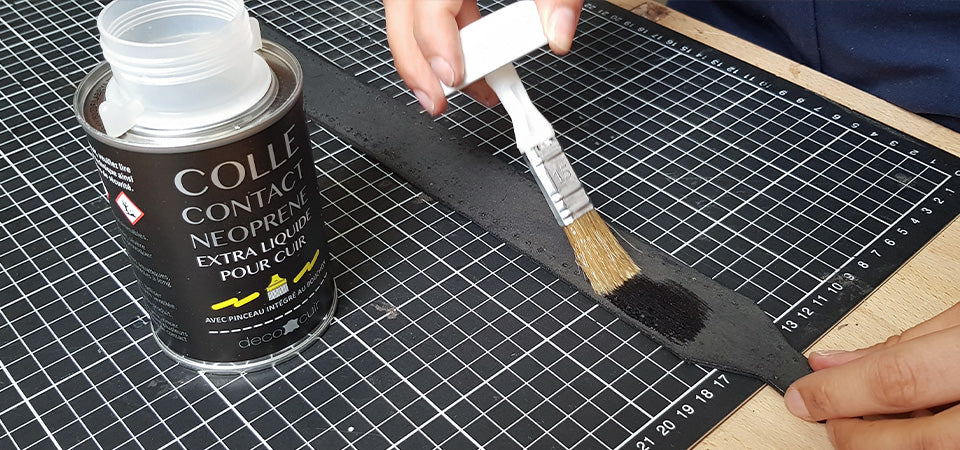
Next, cut 2 pieces of cord approximately 54.5 cm long and glue them centrally to the back of each P3 piece.
Then, fold the handle back on itself (align the holes). 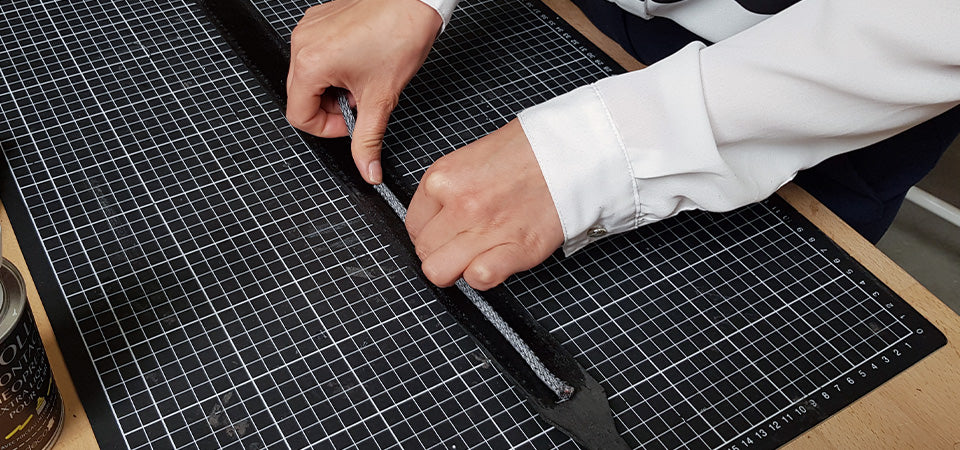
 |
 |
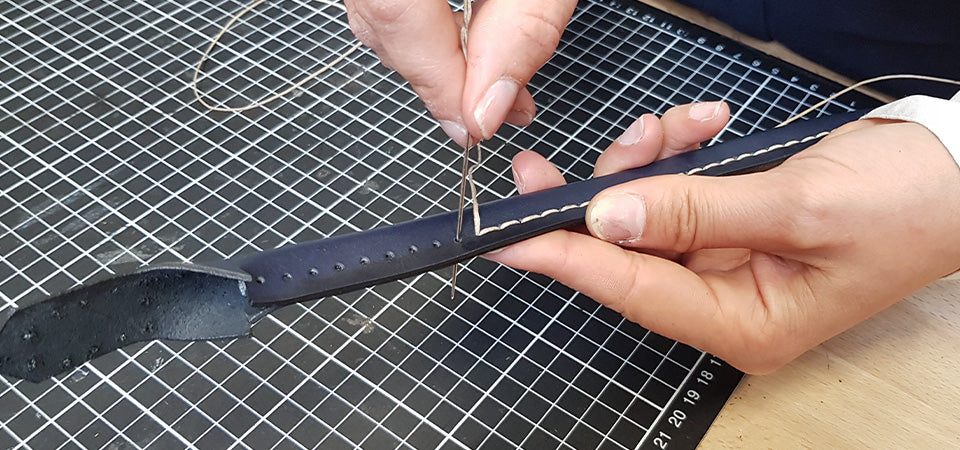
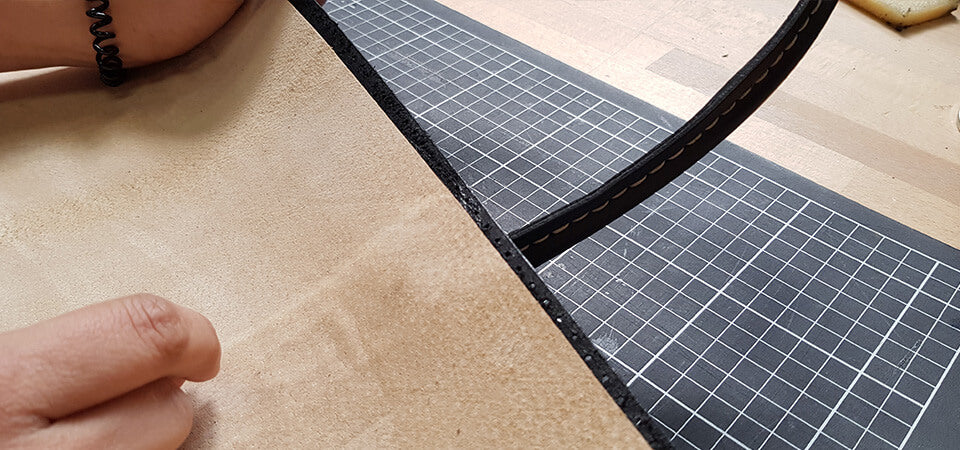
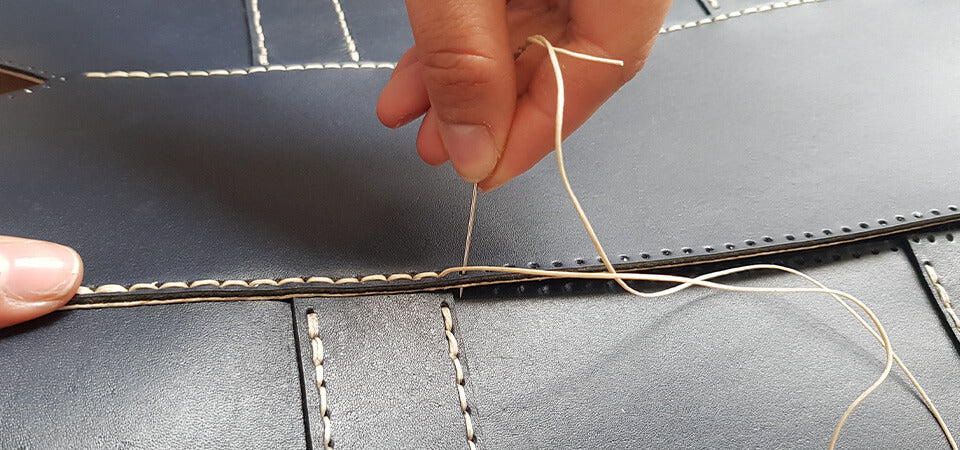
Sewing the bag handles:
Cut a thread 4 times longer than the length to be sewn. Thread a needle on each end of the thread and begin sewing the handles.
- Pass the thread through the first hole and even out the threads.
- Sew by passing each needle through each hole one by one.
- Finish the seam with 3 backstitches (stop stitches) and cut the thread flush. To create symmetry, you can start your seam with 3 backstitches.
- Flatten the seams with a cobbler's hammer or a riveting hammer.
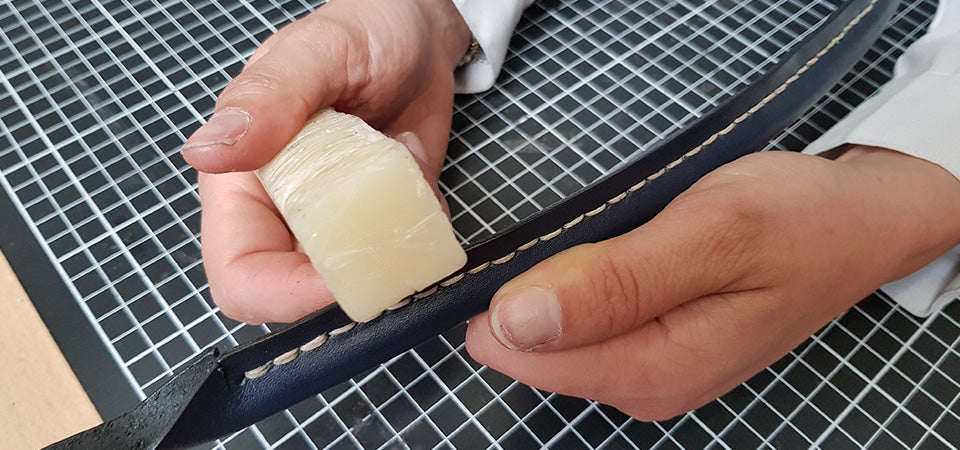
Finish the edges of the handles with Tokonole (vegetable-tanned leather only) or an edge finish.
TOKONOLE GUIDE >
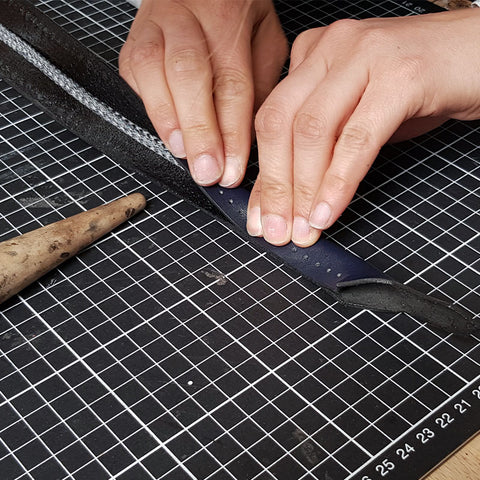
5. WORK WITH THE DECORATIVE STRAPS
Start by finishing the edges of the decorative straps with Tokonole or an edge finish. Using a rasp file for glue, scrape the leather where the decorative straps will be glued (to improve glue adhesion).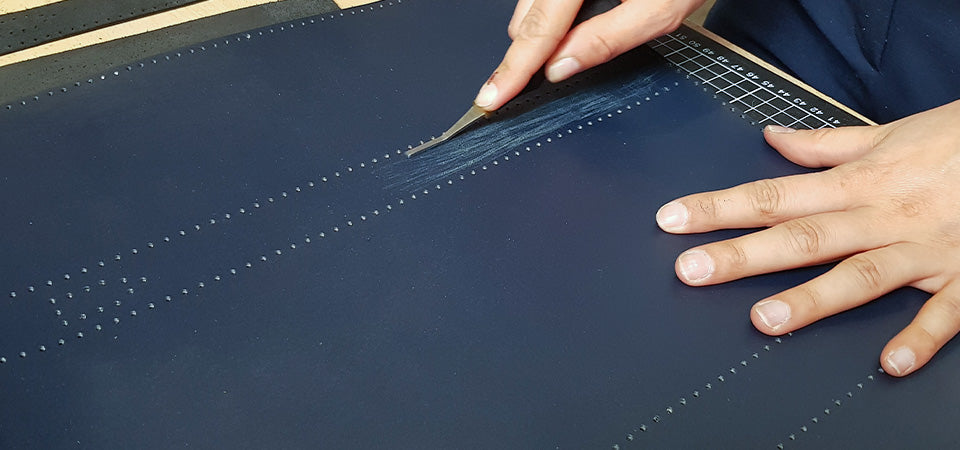
Apply contact adhesive to the back of the straps and to the grain side of the 2 main bag pieces. Then glue the 4 decorative straps. Press/flatten the glued area with a roller to ensure good adhesion.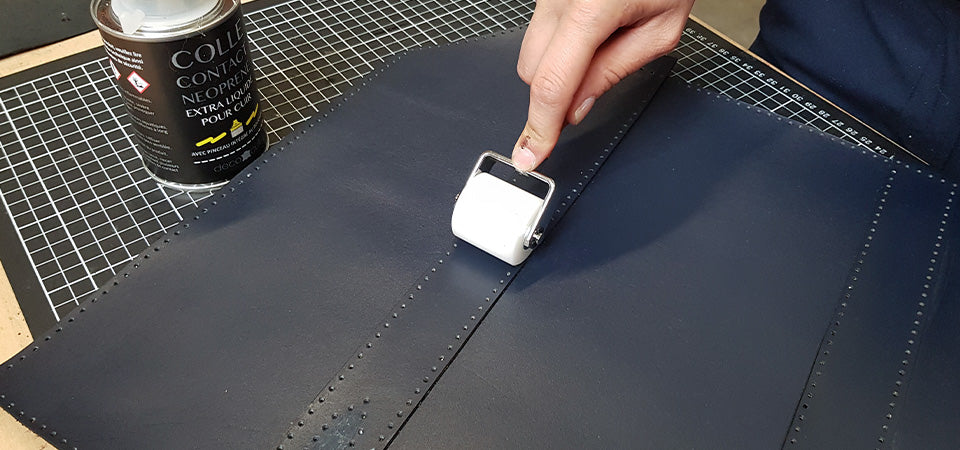
Trim any excess strap ends flush.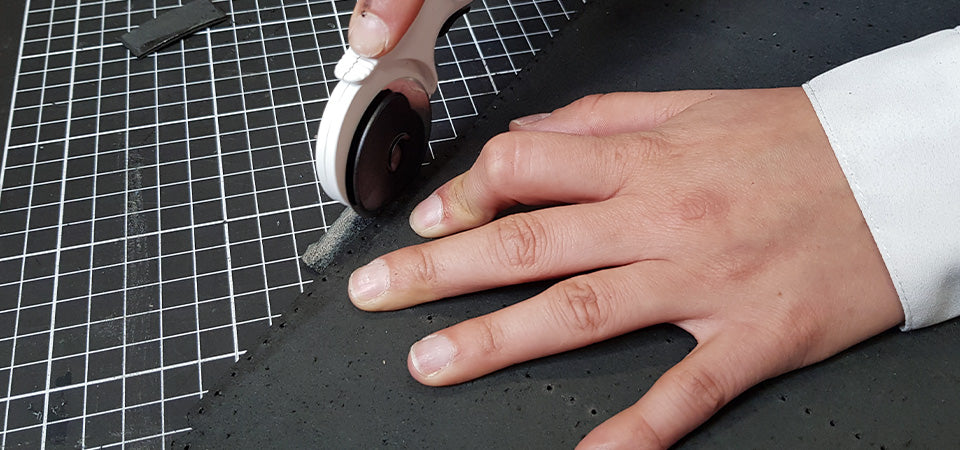
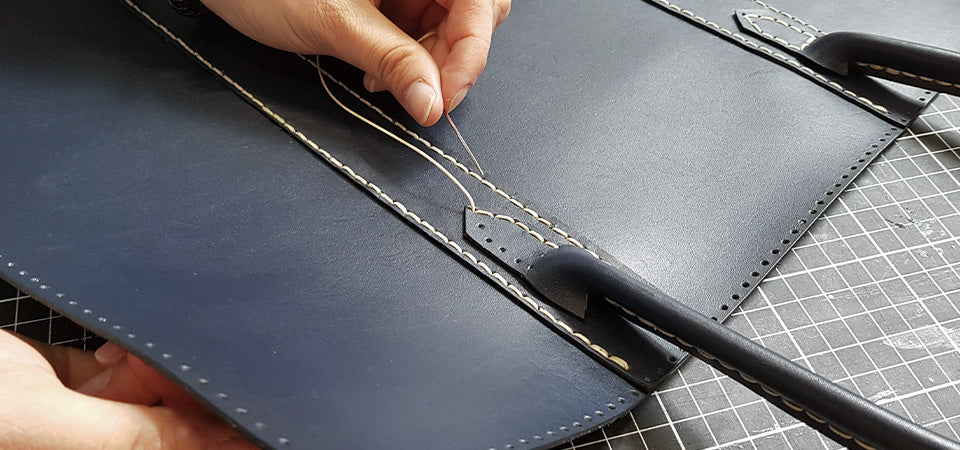
Sew the decorative straps onto the main pieces. Start sewing at the 2nd stitch and stop sewing at the second to last stitch (to avoid extra thread bulk in subsequent seams).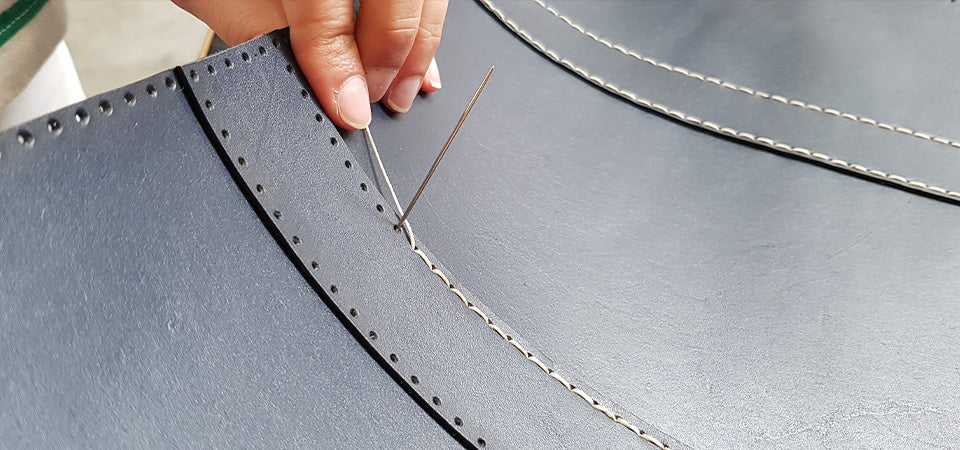
Finally, sew the bag handles to the designated spot on the decorative straps. Double stitch (backstitches) to reinforce the attachment.
6. GLUE THE PIG SUEDE LINING
Tips before gluing the lining:
| If the leather is not firm enough: glue Texon (0.8 mm thick) to the bottom of the bag (P8) before gluing the lining. VIEW TEXON > |
To prevent the bottom of the bag from getting damaged or dirty: add 4 bag feet to the bottom of the tote bag (P8). VIEW BAG FEET > |


Gluing the lining:
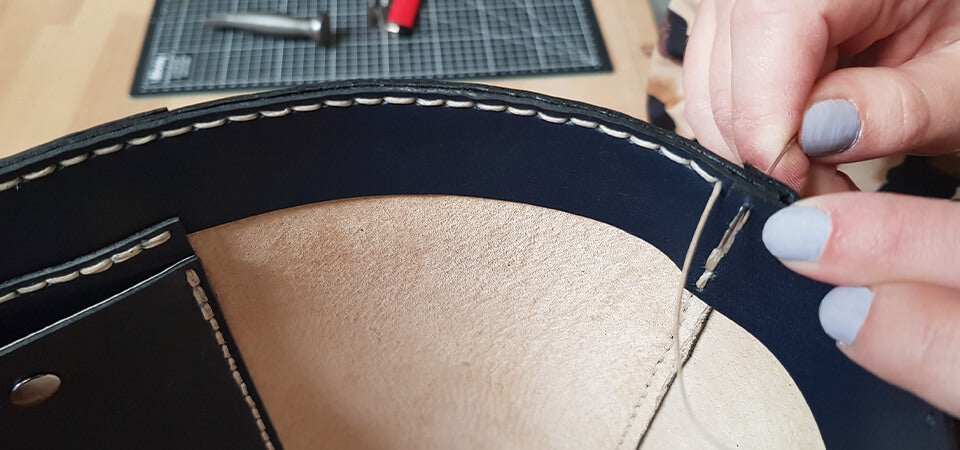
Apply contact adhesive to the back of the pig suede hide and the leather pieces to be lined (P8 and P7 (large model) / P6 and P7 (small model) and the 2 main pieces) then position the leather pieces on the suede hide.
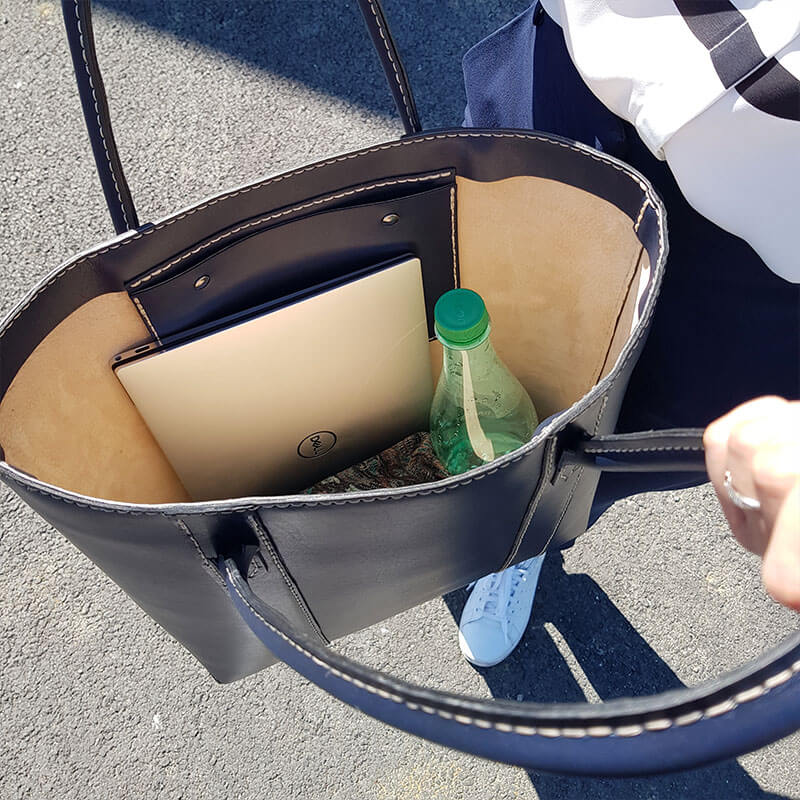
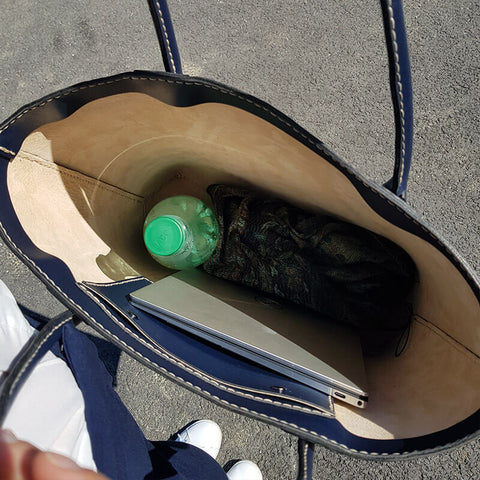
For the two main pieces: do not line the top 1 cm so that the lining is not visible on the edge when assembling with piece P10 (large model) / P9 (small model) - (see photo n°2).
Press/flatten the glued area with a roller to ensure good adhesion.

- Punch the sewing holes for pieces P8 and P7 (large model) / P6 and P7 (small model) that were set aside in step 2, then cut them out.
- Re-punch the sewing holes for the two main pieces and trim any excess lining with a rotary cutter.
For the main pieces, we chose to sew the decorative straps before lining them. It is perfectly possible to proceed in the same way as for pieces P8 and P7 (large model) / P6 and P7 (small model) so as not to have to re-punch the holes (the strap stitching will however be visible).
 |
 |
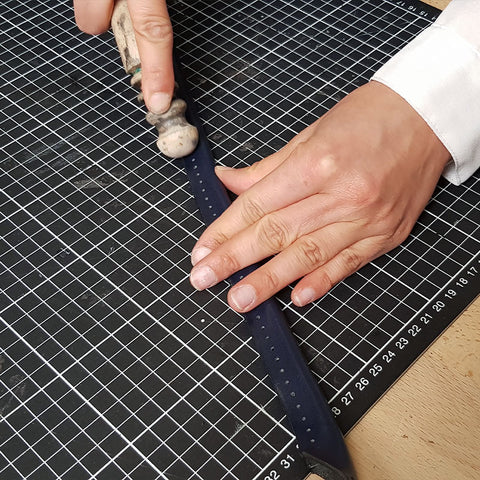
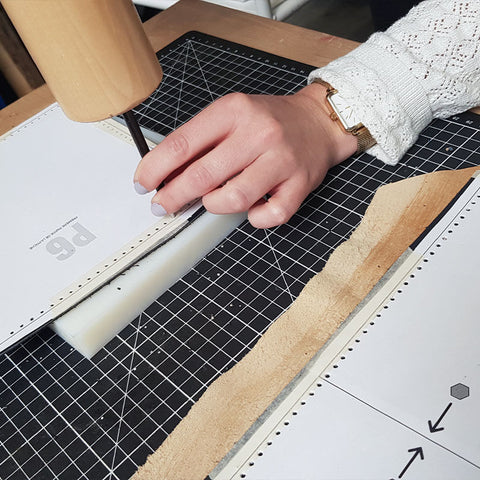
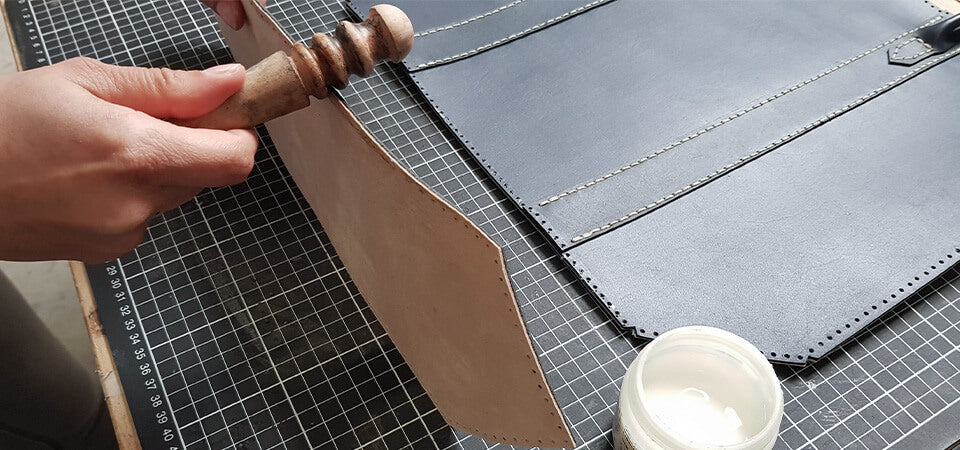
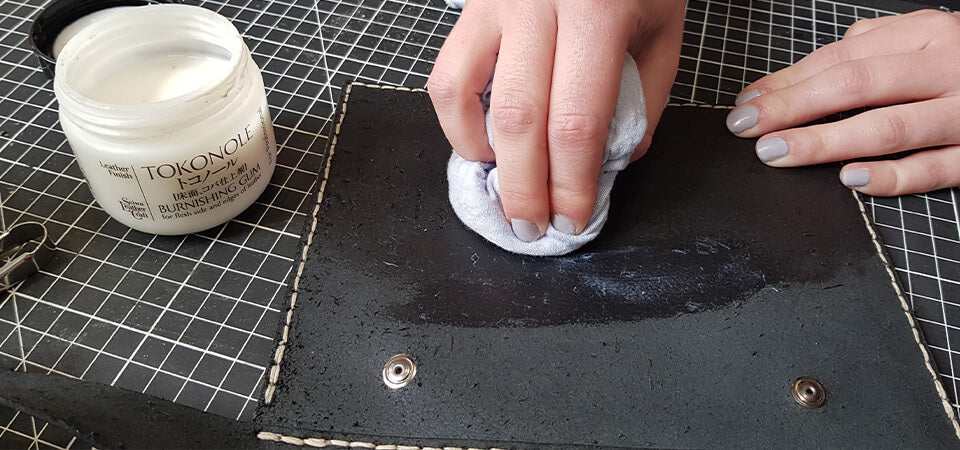
7. WORK THE LEATHER EDGES
Finish the edges of all pieces with Tokonole (vegetable-tanned leather only) or an edge finish.
8. ASSEMBLE THE BAG BOTTOM
Glue the bottom of the bag over the main pieces with leather glue.
Then, sew the bottom of the bag to the main pieces.
Tip: if the needles are having trouble going through the holes, use a round awl to enlarge them.
9. MAKE THE INTERIOR POCKET
P6 & P7 (large model) / P5 & P6 (small model)
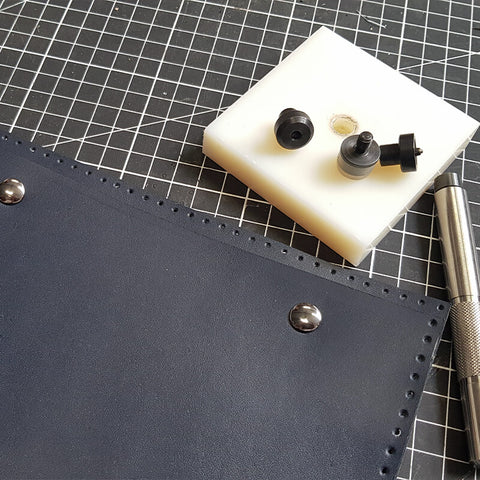
To close the pocket: attach two snap fasteners using the appropriate setting tool or attach magnetic snaps.
 |
 |
- Sew piece P7 to P6 (large model) / P6 to P5 (small model)
- Then re-finish the edges of the pocket.
- Next, sew the top of the pocket (P6 - large model) (P5 - small model) to the designated spot on P10 (large model) / P9 (small model).

Wax the back (suede side) of the pocket with Tokonole to reduce the fuzzy appearance of the leather.
Sew the 2 pieces P10 (large model) / P9 (small model) together.
Option: To be able to close the tote bag, you can attach 2 magnetic snaps or snap fasteners to each piece at this stage.
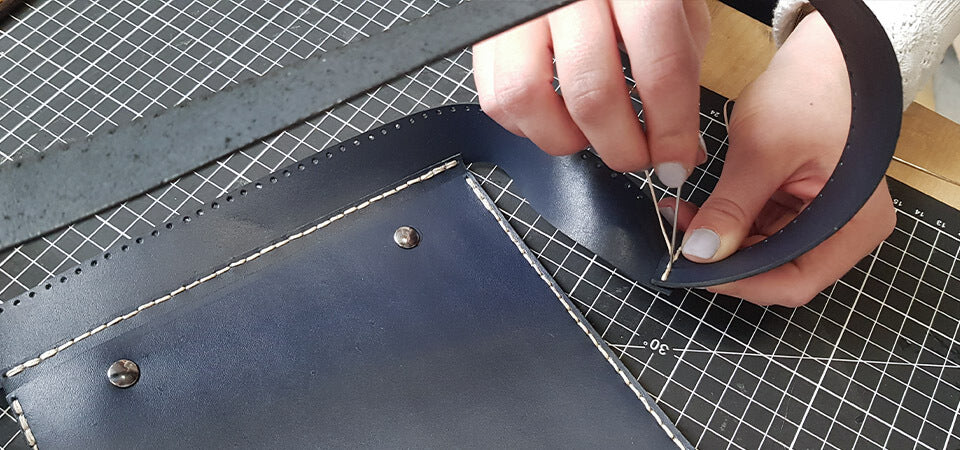
10. SEW THE SIDES OF THE TOTE BAG
Sew the sides of the tote bag: one of the main pieces should be positioned on top of the other.
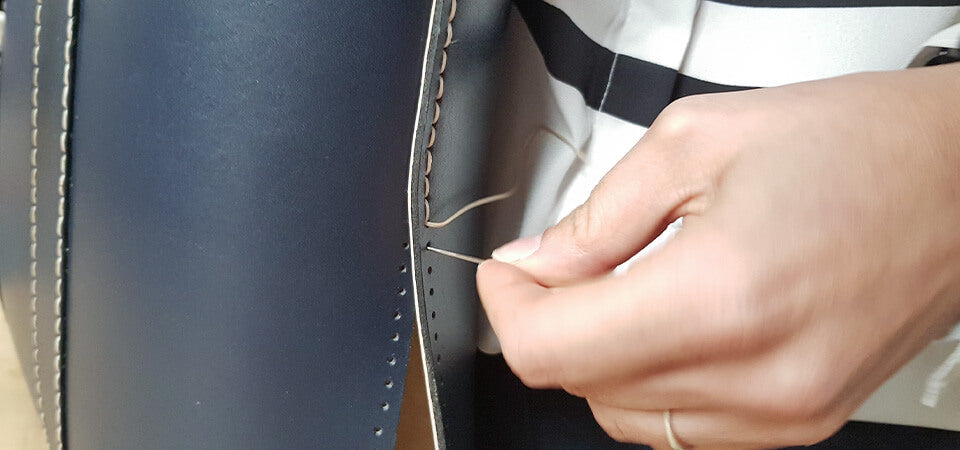
11. SEW THE TRIANGLES
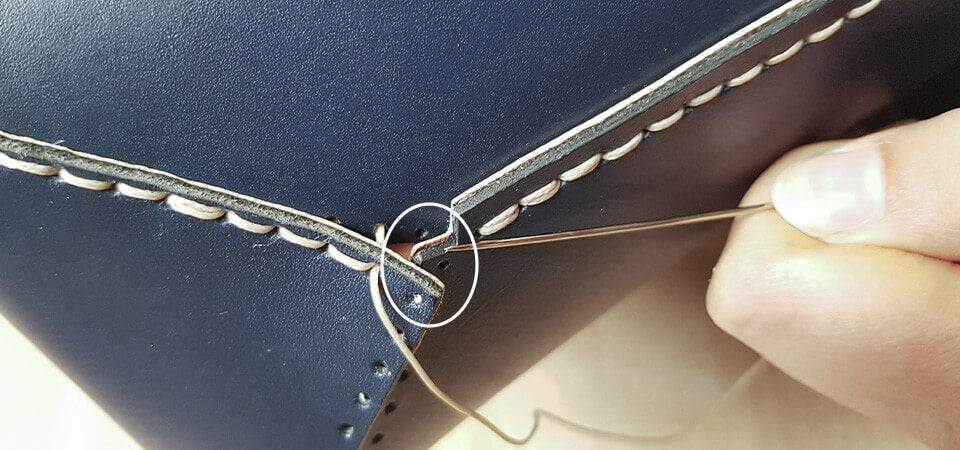
Sew the bottom of each side (triangles).
Note that the top hole of each triangle must pass through all 3 layers of leather (see photo).
12. SEW THE STRAP TO THE TOP OF THE BAG
Sew piece P10 (large model) / P9 (small model) to the top of the tote bag. Be careful to position the sides correctly so that the pocket is centered.
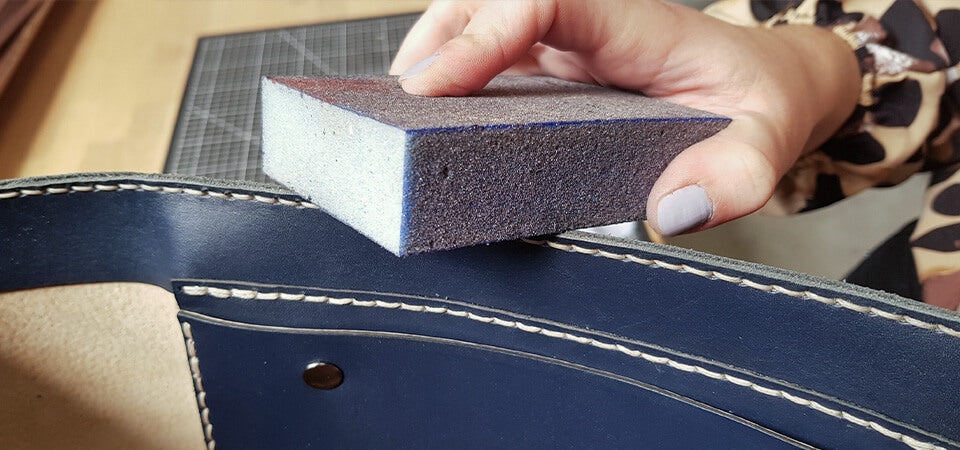
Finish the edges of the top of the bag. Sand with an abrasive sponge to even out the edge, then apply Tokonole or an edge finish.
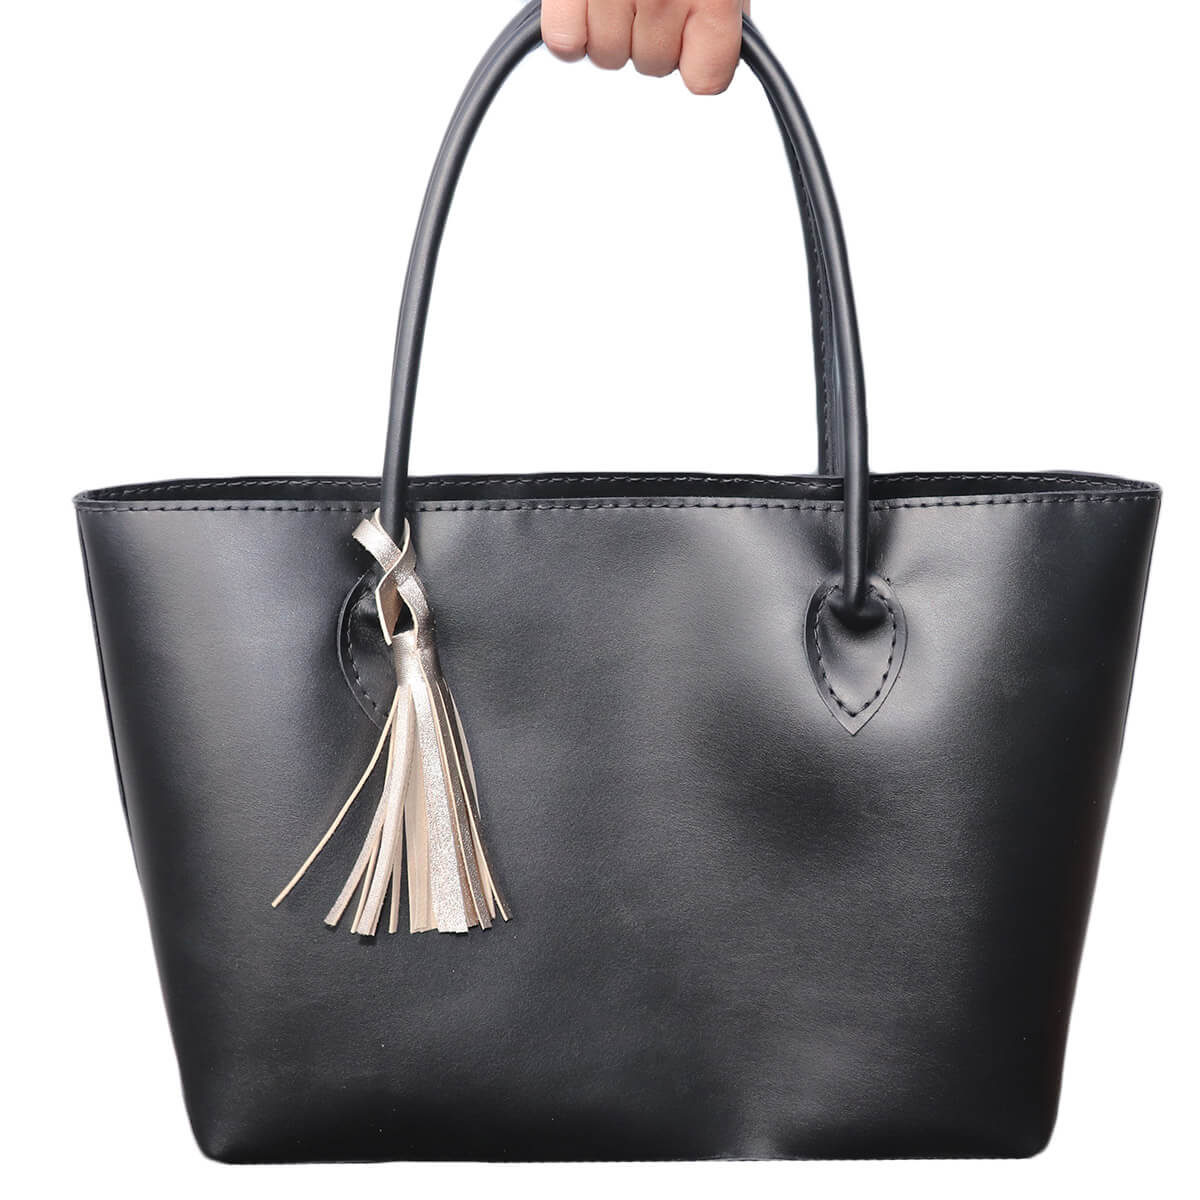
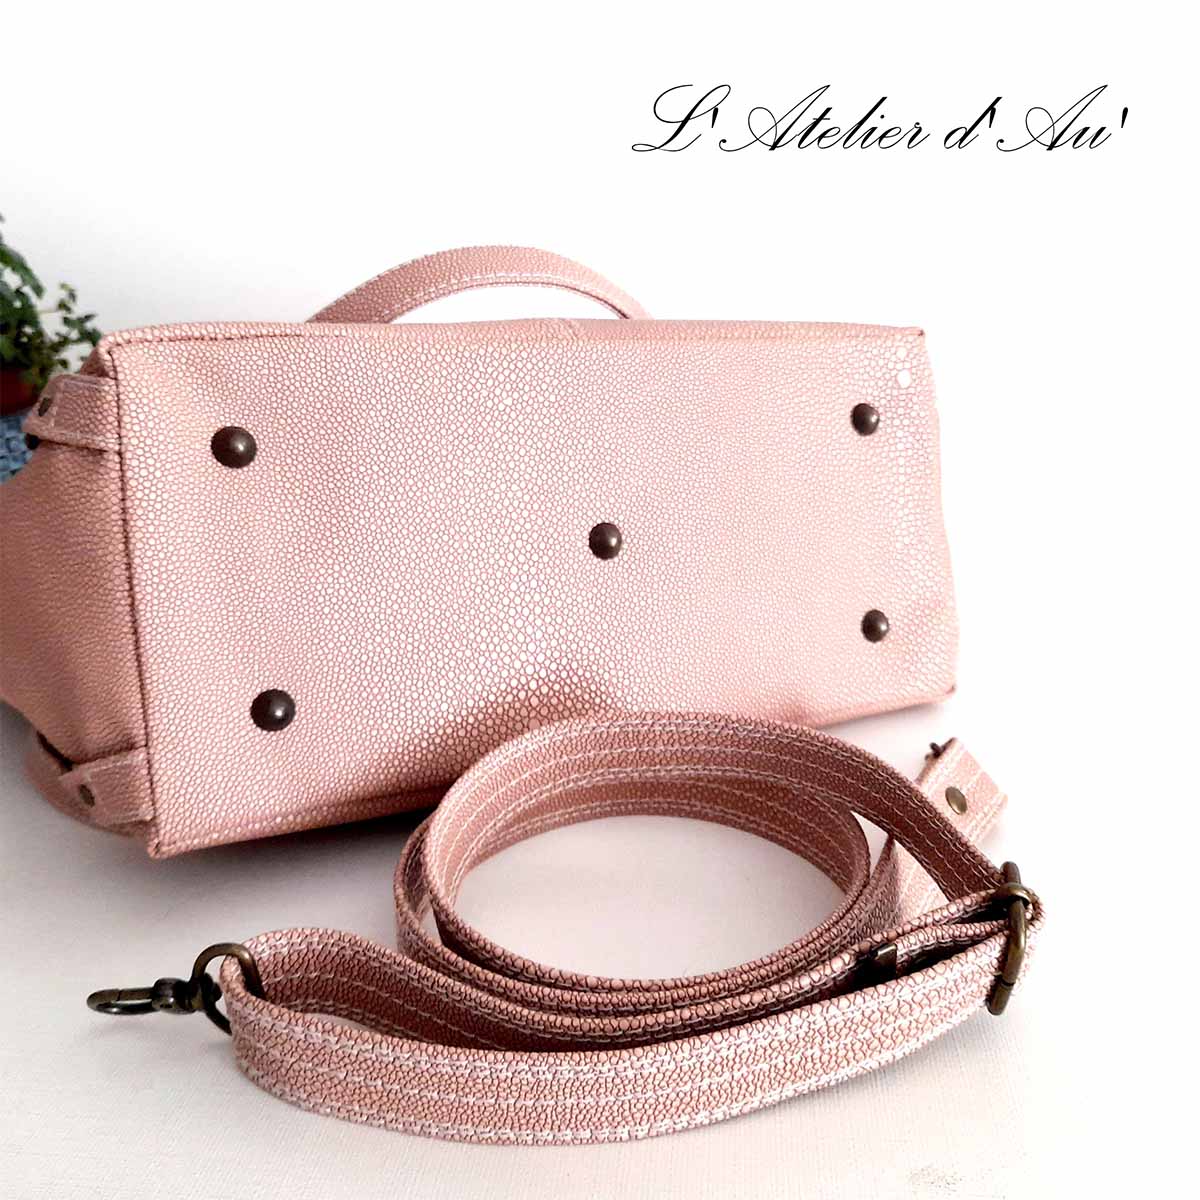
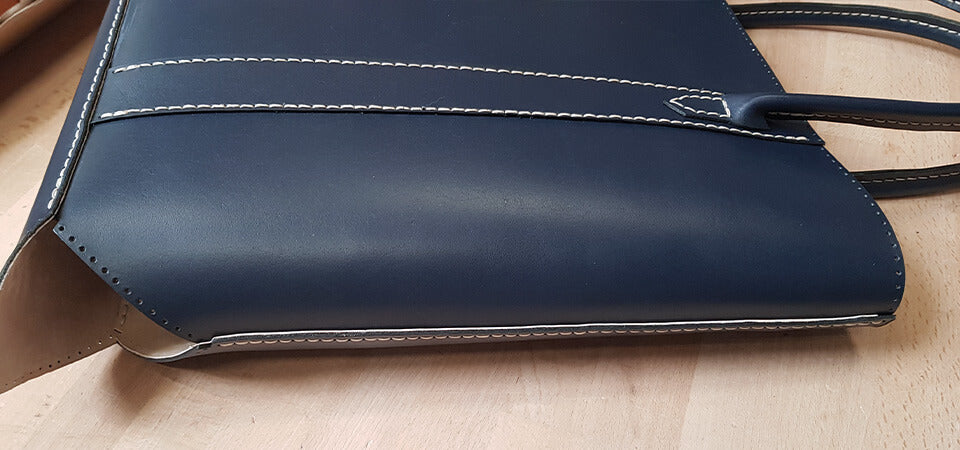
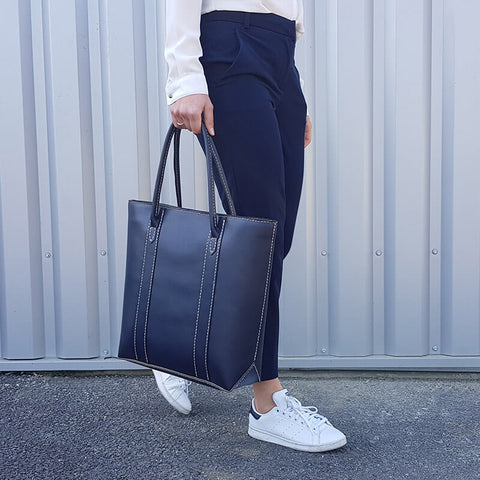
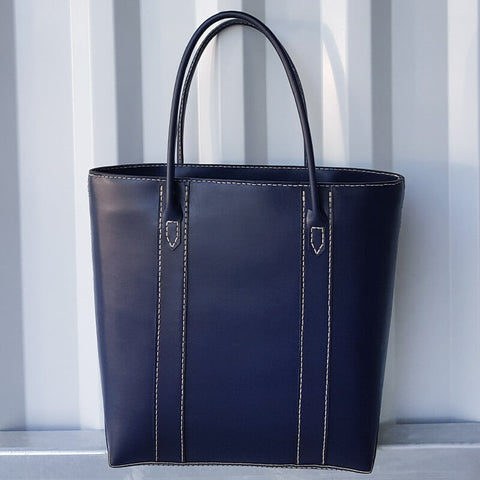
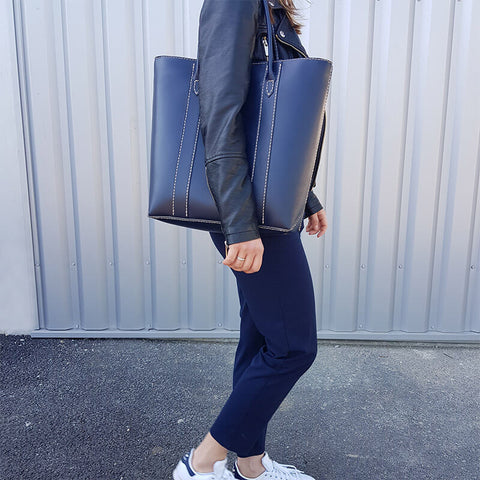
YOUR TOTE BAG IS FINISHED!
 |
 |
 |
 |
FEEL FREE TO PIN THE PHOTOS ON PINTEREST TO SHARE THE ARTICLE!