


THE NECESSARY MATERIAL
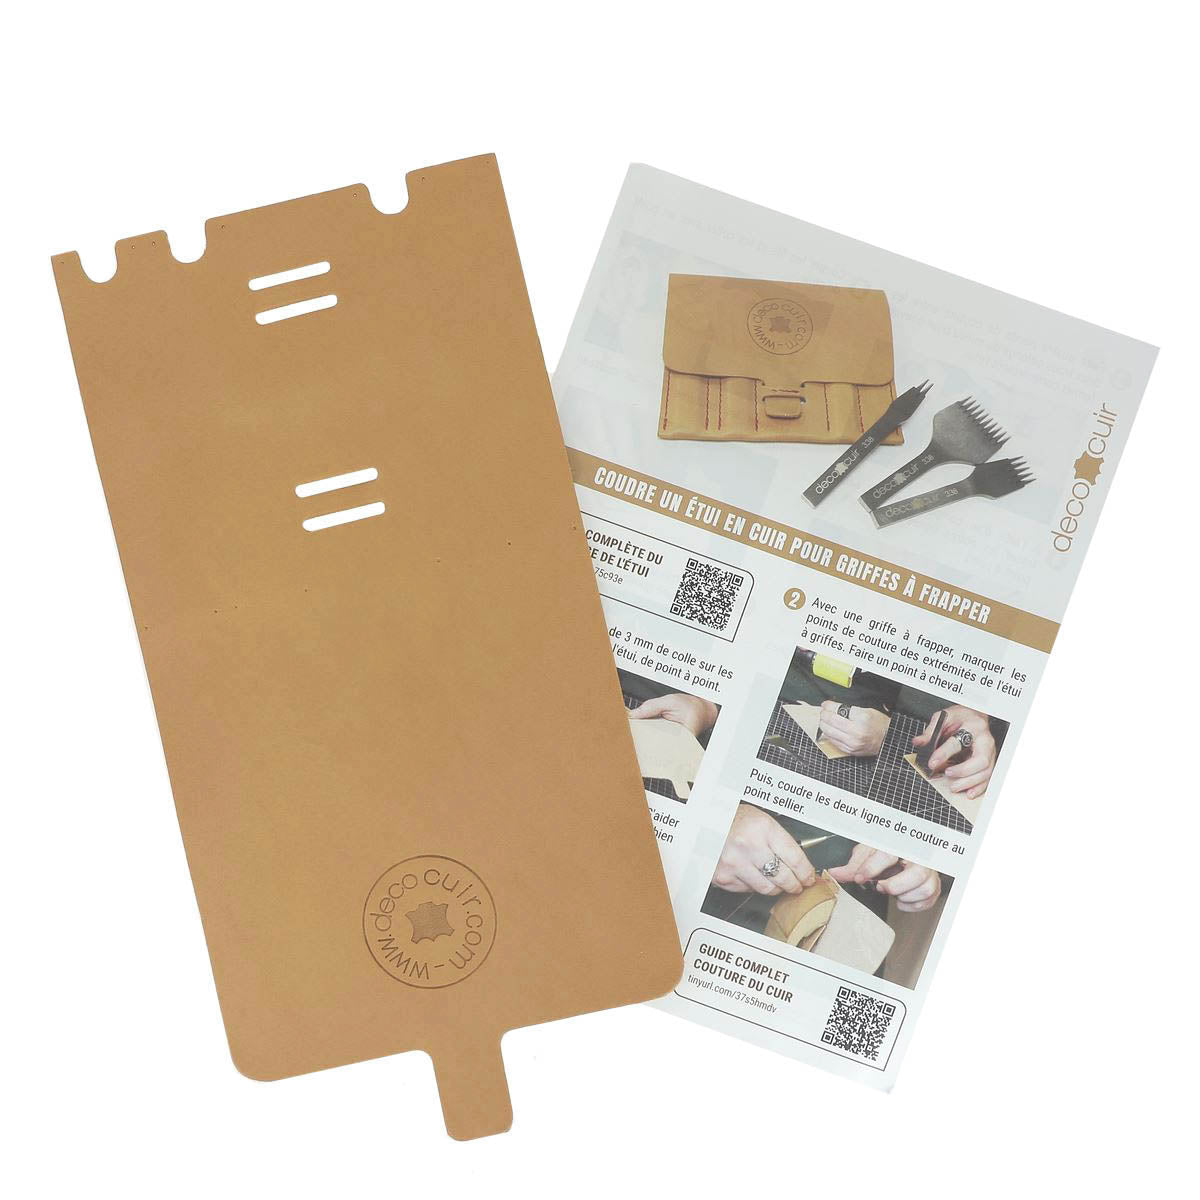
To complete this tutorial you will need:- 1 leather cutting for claw case (ref. KA197)
- Claws to strike
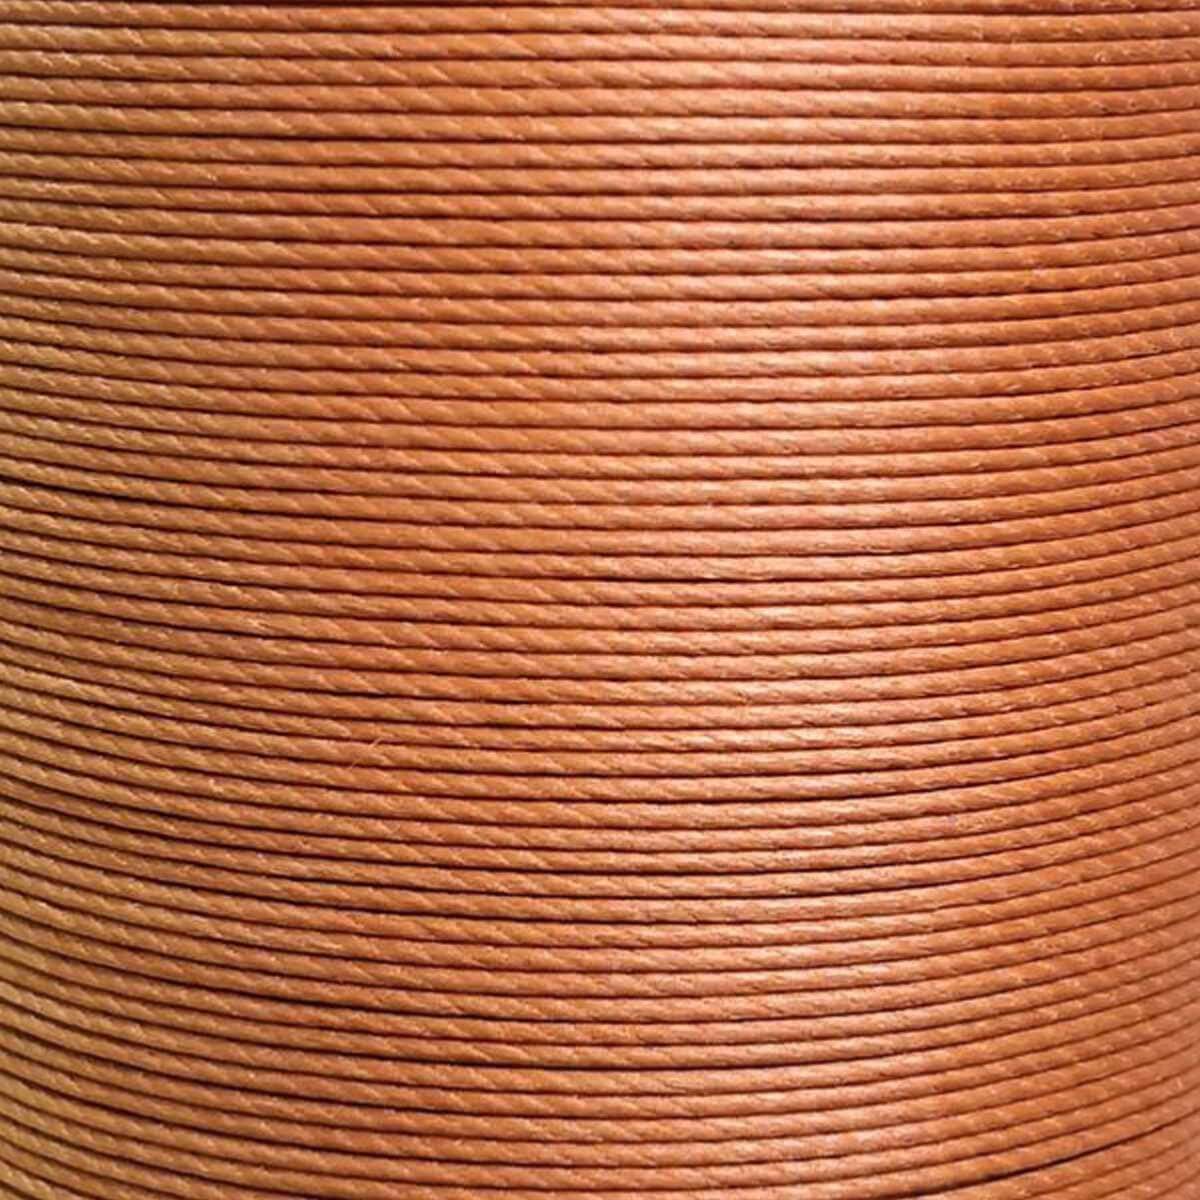
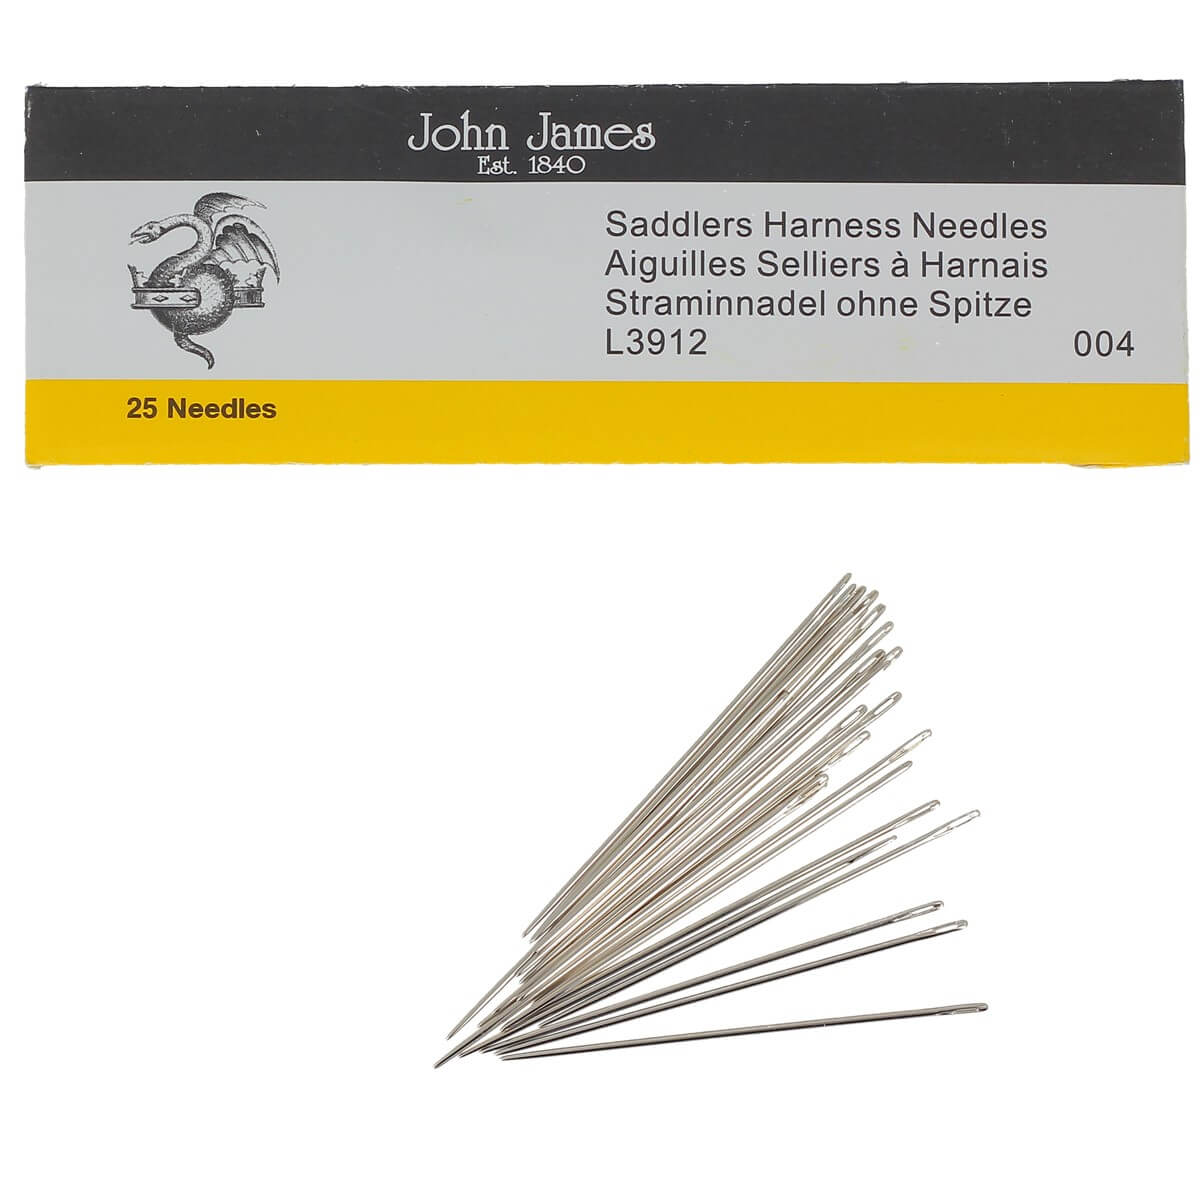
- Thread and needles
- A riveting hammer, a saddler's awl, a saddler's pliers...
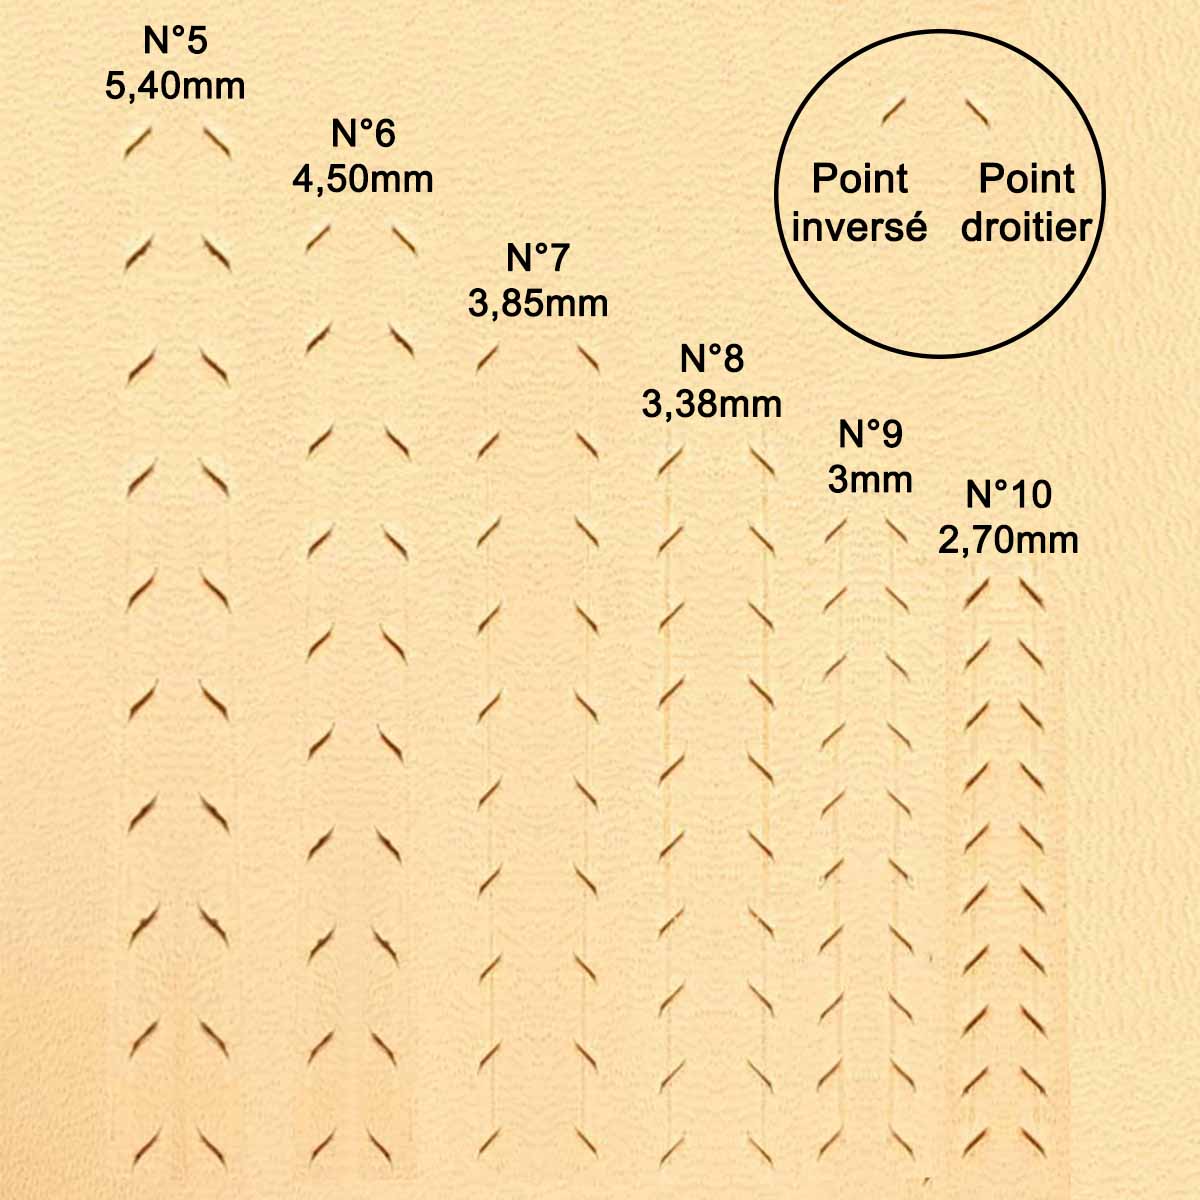
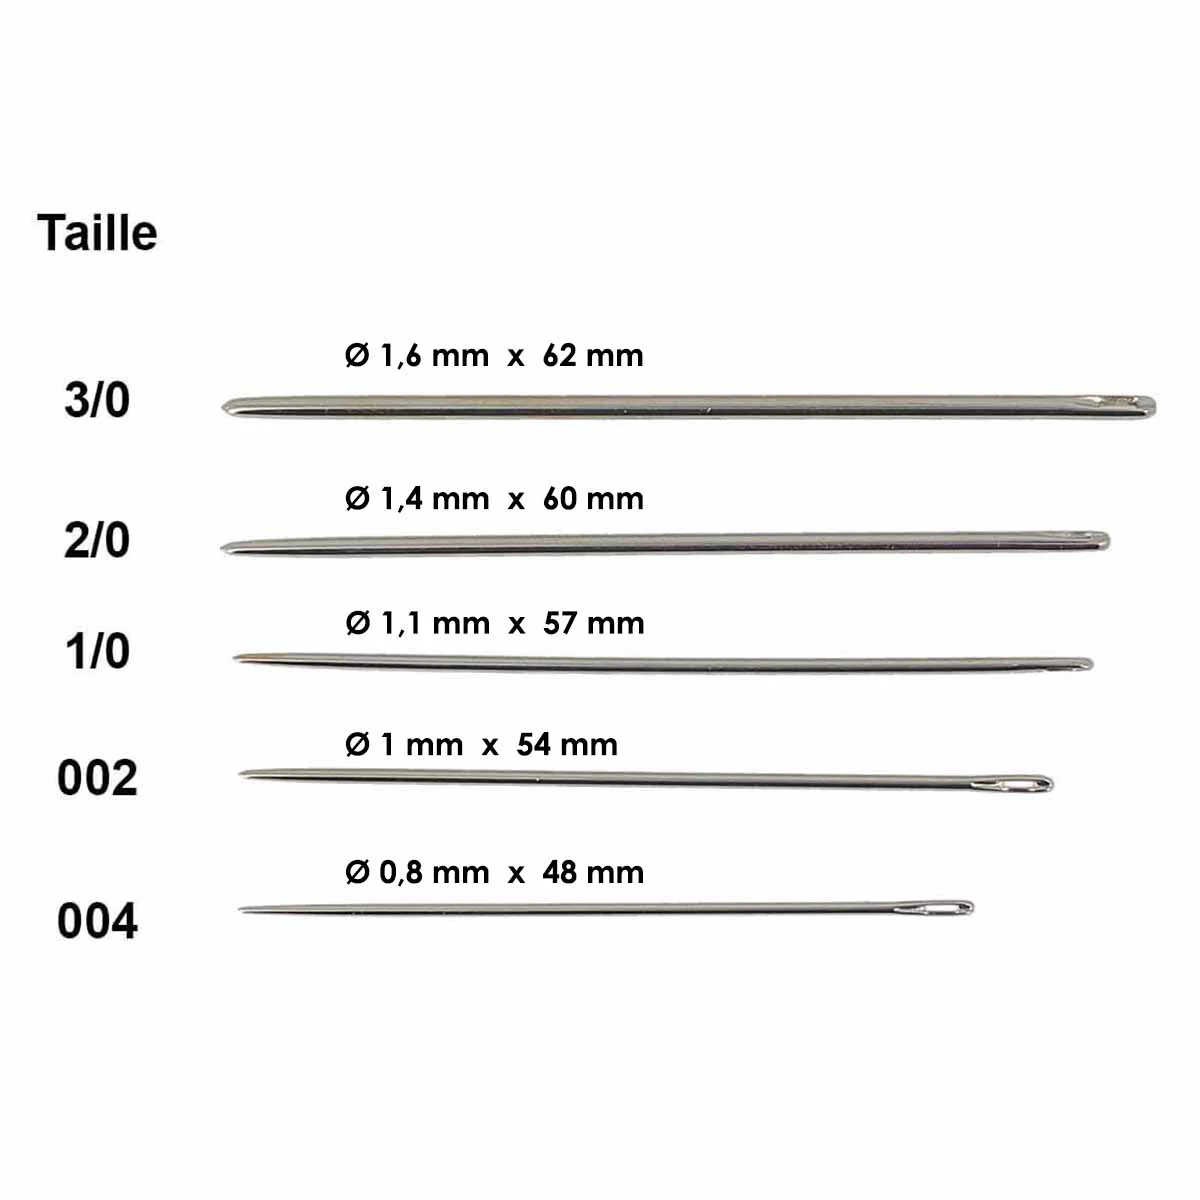
The claw case can accommodate claws of all center distances . Here is an example with our pricking irons with a center distance of 5.40 mm (the largest center distance) :

VIDEO
1. Glue the leather cutout
Apply a 3mm bead of glue to both ends of the case, point to point.

Fold the case and glue the two sides together. Use a needle and the holes to make sure they fall face to face.
 |
 |
2. Sew both sides
Using a punching claw, mark the stitching points of the ends of the claw case. Make a saddle stitch.


Then, sew the two lines of stitching with a saddle stitch.

3. Sew the horizontal opening
Sew four stitches between the two oblong holes in the middle to be able to close the case properly.

4. Sew the remaining seam lines
Using a dry point compass, trace the other sewing lines from point to point.

Mark the stitching points of these lines with a punching claw.

Then sew the remaining five lines with saddle stitch.

5. Hammer the seams
Cut the wires and glue them with a dot of glue.
 |
 |
Hammer the seams with a riveting hammer.

6. Work the slices
Sand the edges of the leather with an abrasive sheet.

Apply a finishing eraser and rub with a smoother or cloth.

You're done!


2 comments
Deco Cuir
Bonjour :) nous ne donnons pas de patron pour ce tutoriel. Il est réalisé avec notre découpe de cuir pour Étui à griffes de précision – Deco Cuir (référence KA197). Voici le lien de l’article (en vente à 5,00 €) : https://www.decocuir.com/products/etui-griffe-frapper-couture-cuir Bonne journée, L’équipe Deco Cuir
Morvan
Excusez moi, mais je ne trouve pas le patron svp.
Cdt