


VERSION 1: UNLINED
The unlined version is accessible to everyone: it can be sewn with a family machine (and soft leather). If you have a double or triple feed machine and you want to add a lining, go to version 2 , at the bottom of this tutorial.
THE NECESSARY MATERIALS
To complete this tutorial, you will need:
- 1 piece of leather measuring 30 x 40 cm - soft - thickness between 1 mm and 1.2 mm
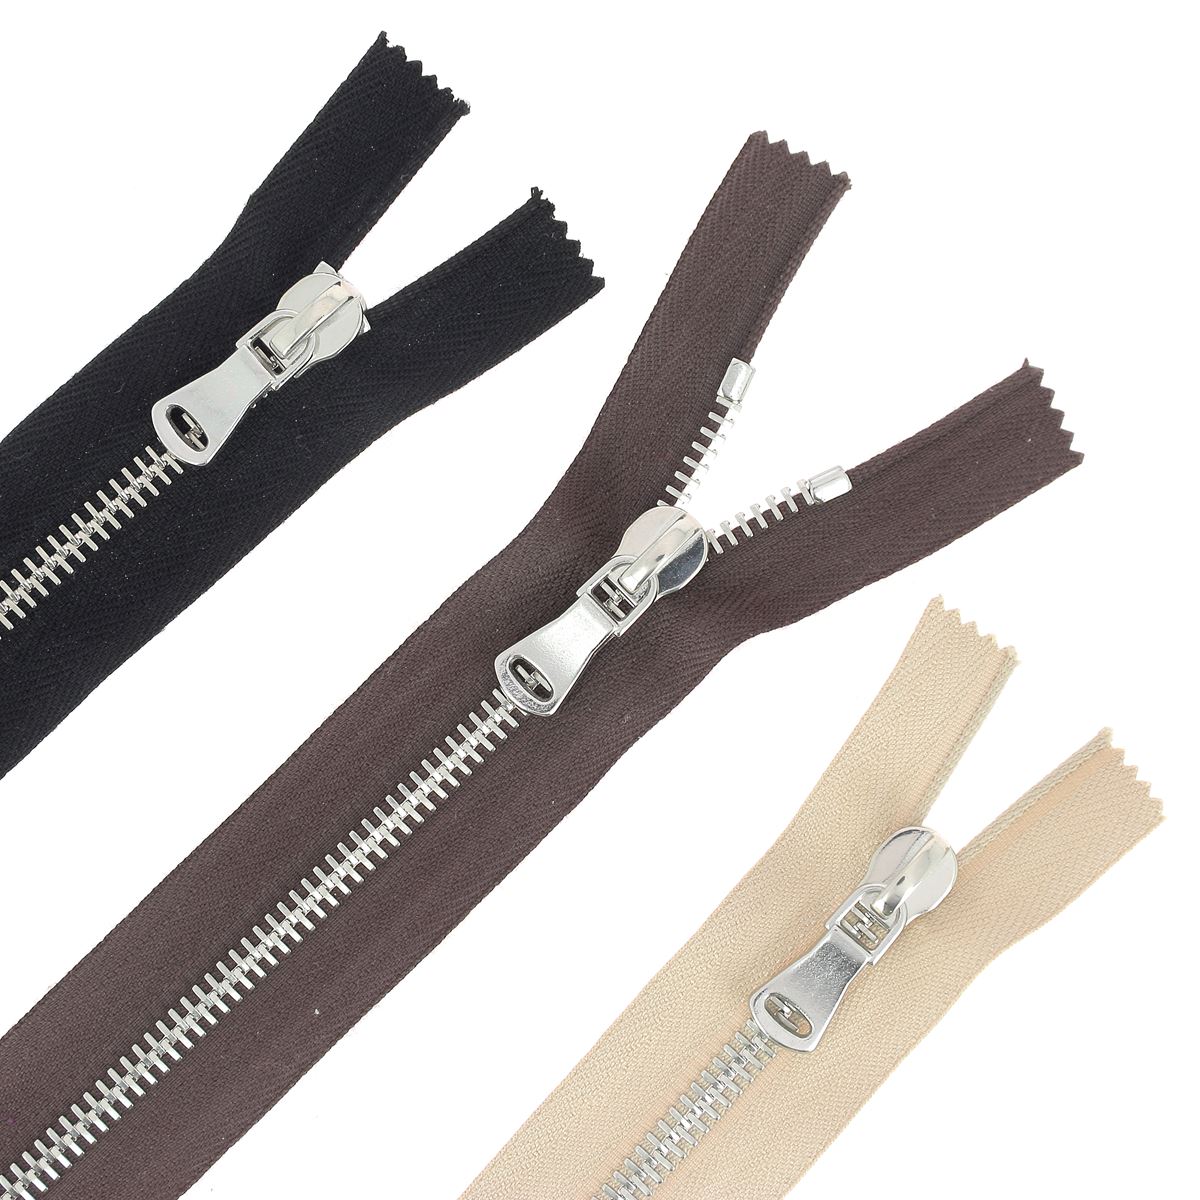
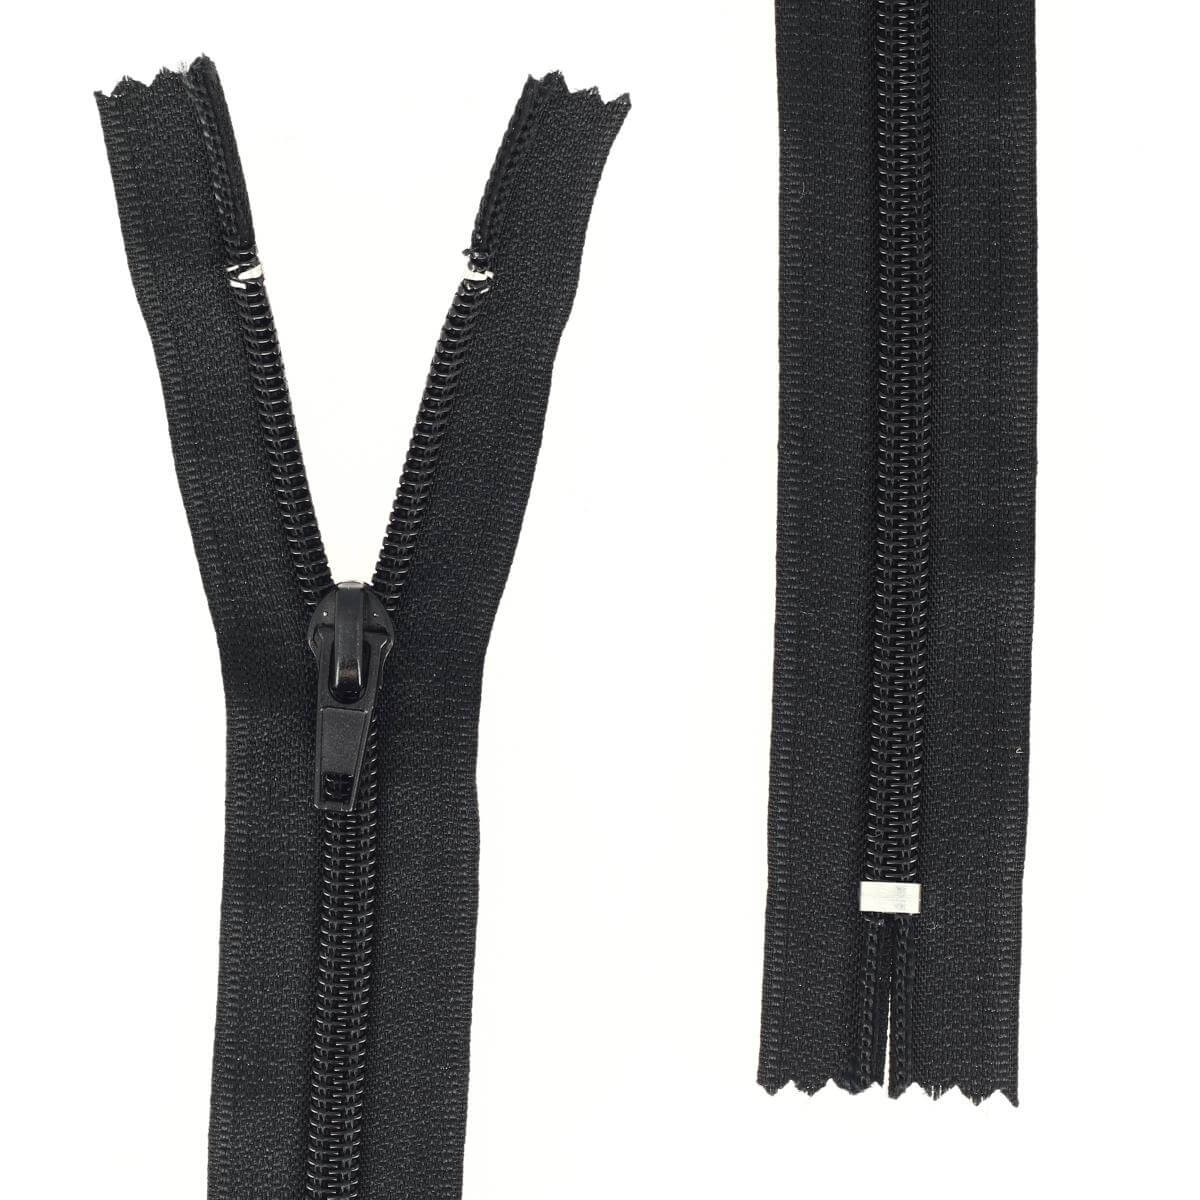
- A 20 cm long zipper (6 mm mesh)
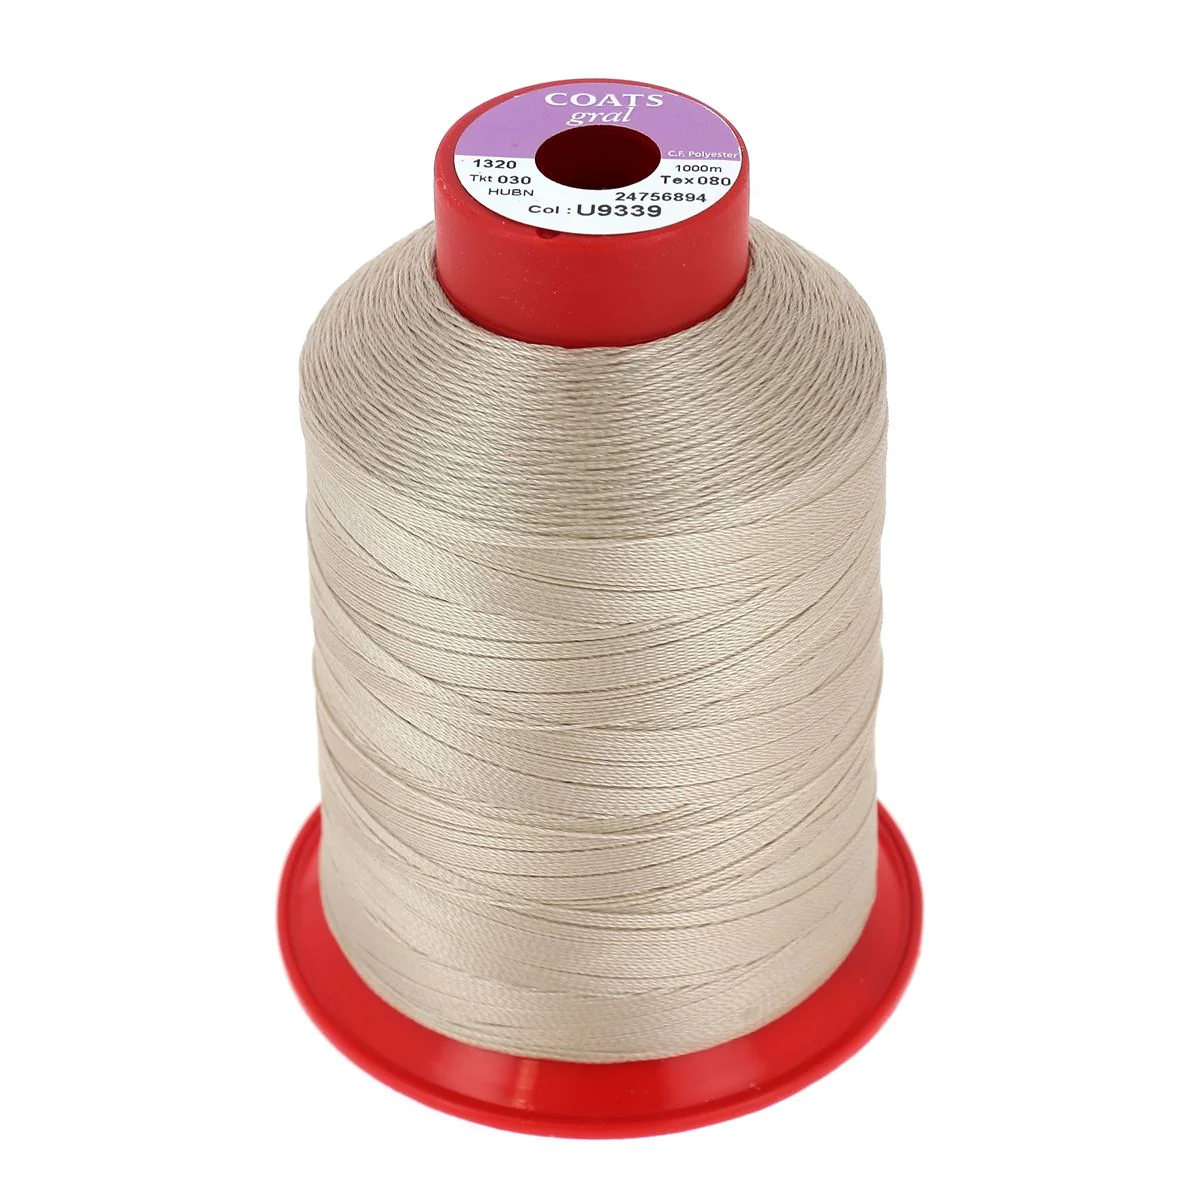
- A spool of polyester or polycotton thread (approximately 0.36 mm in diameter)
And the following material:
- A pair of scissors
- Double-sided tape
VIDEO
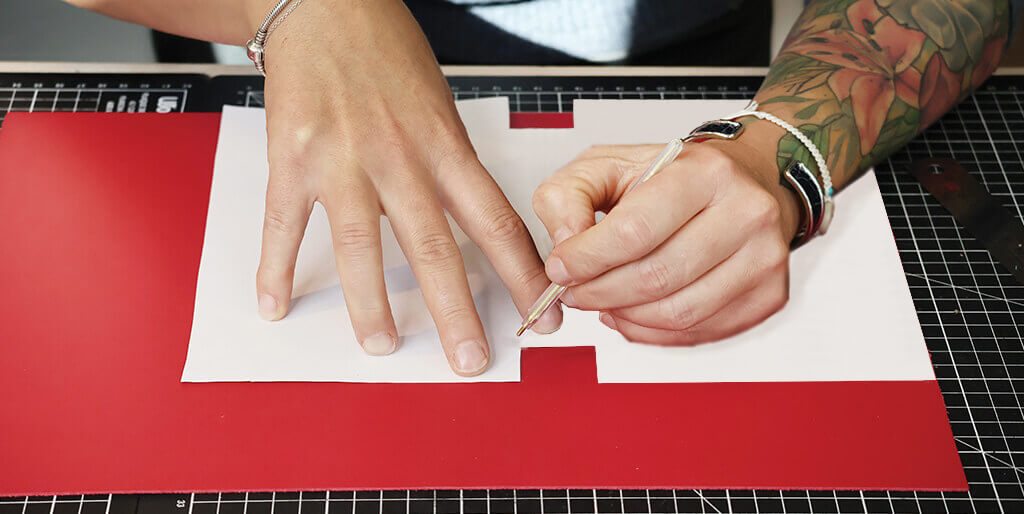
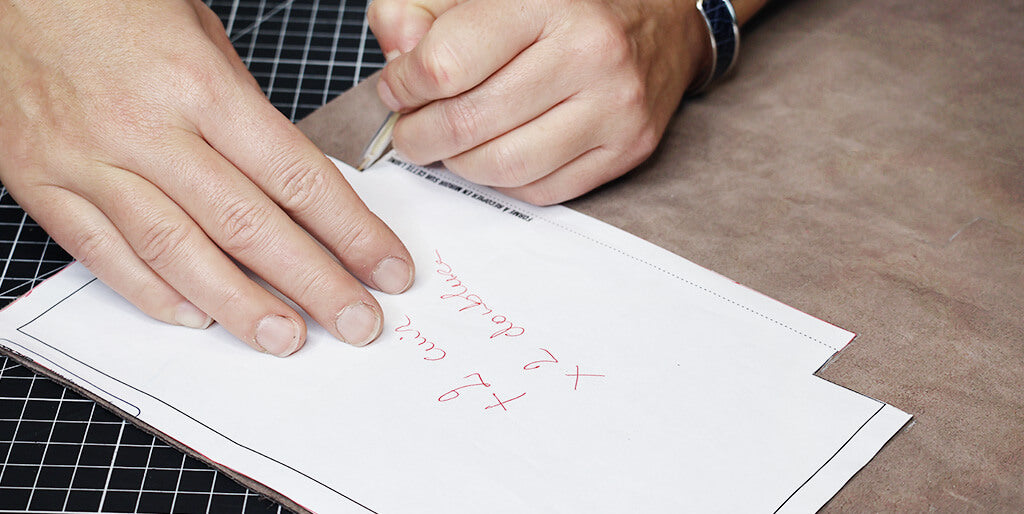
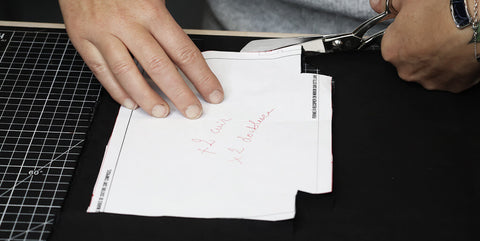
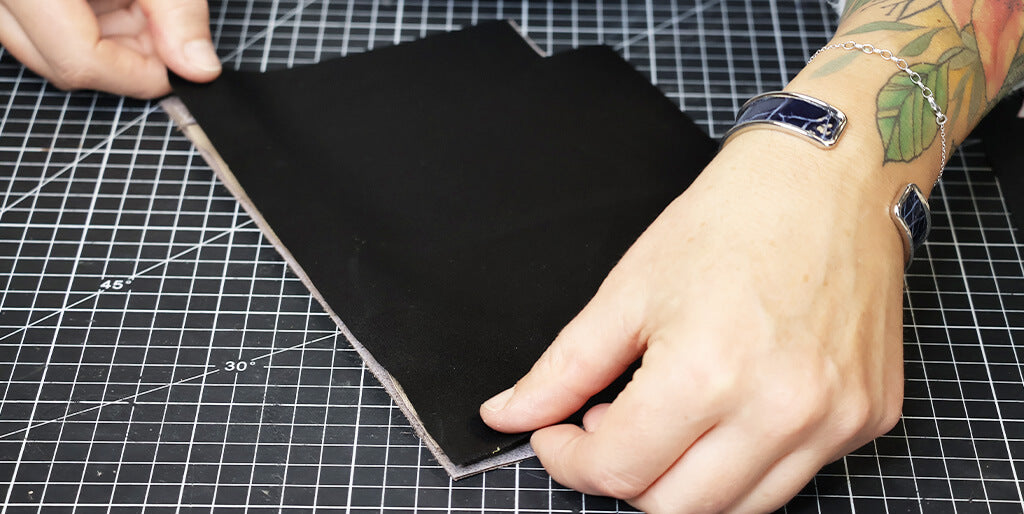
1. Report the pattern
Cut out the pattern and transfer it onto a piece of leather.
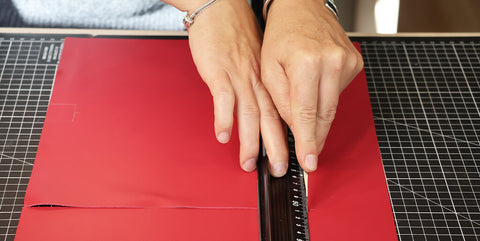
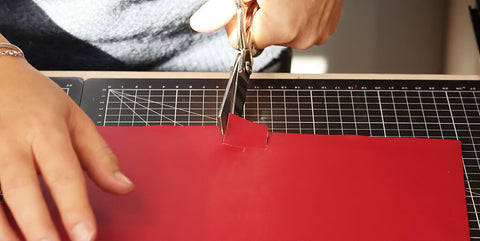
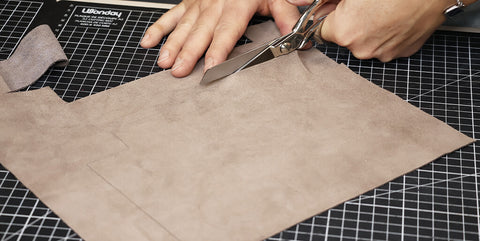
2. Cut the leather
Using a cutter or a pair of scissors, cut out the entire piece following the outline.
 |
 |
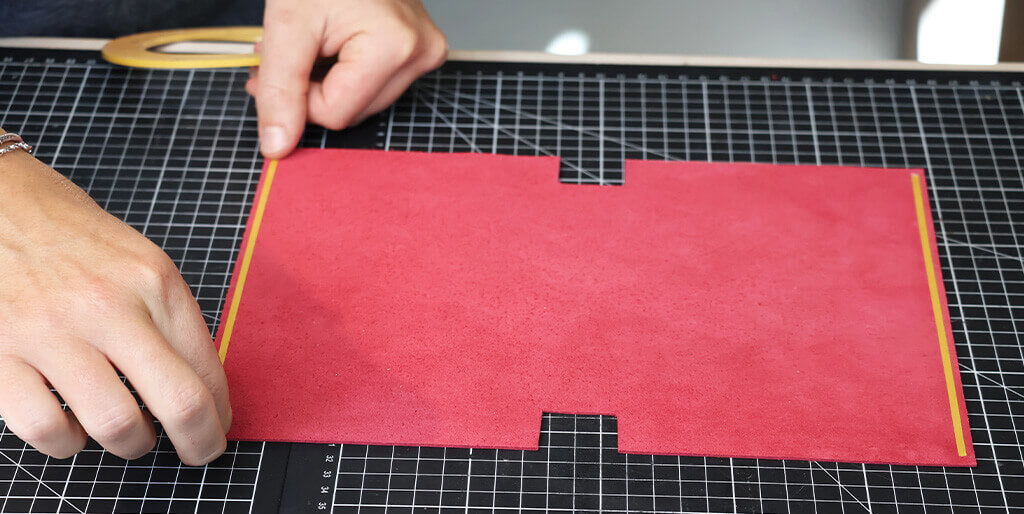
3. Apply adhesive
On the back of the leather, apply double-sided adhesive to both ends.
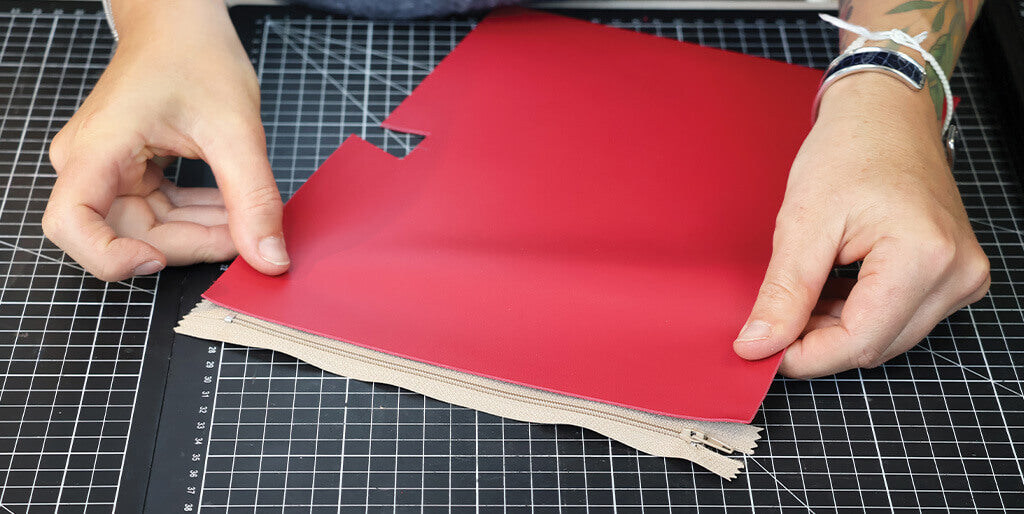
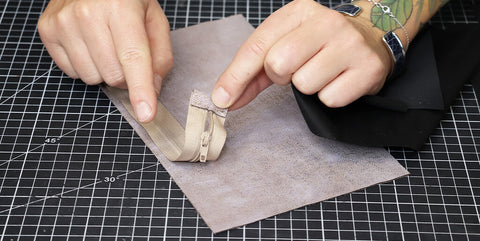
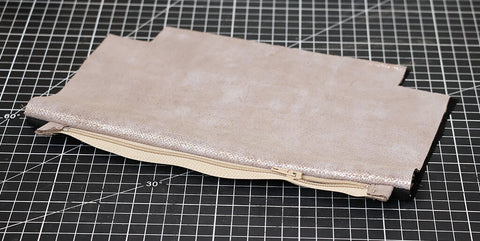
4. Glue the closure
Glue one end to the right side of the zipper.
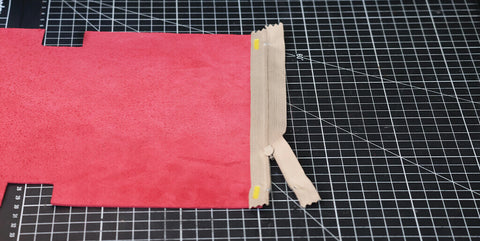
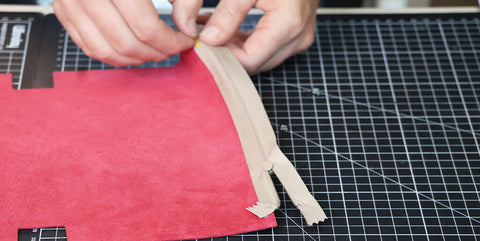
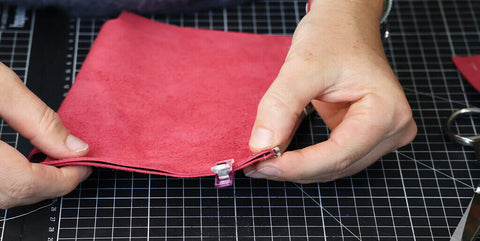
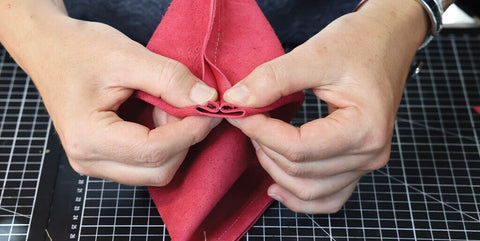
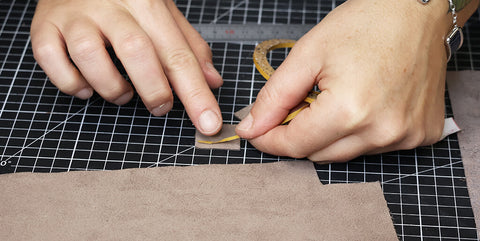
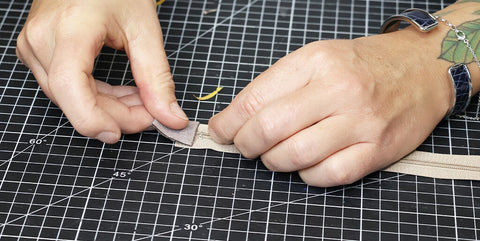
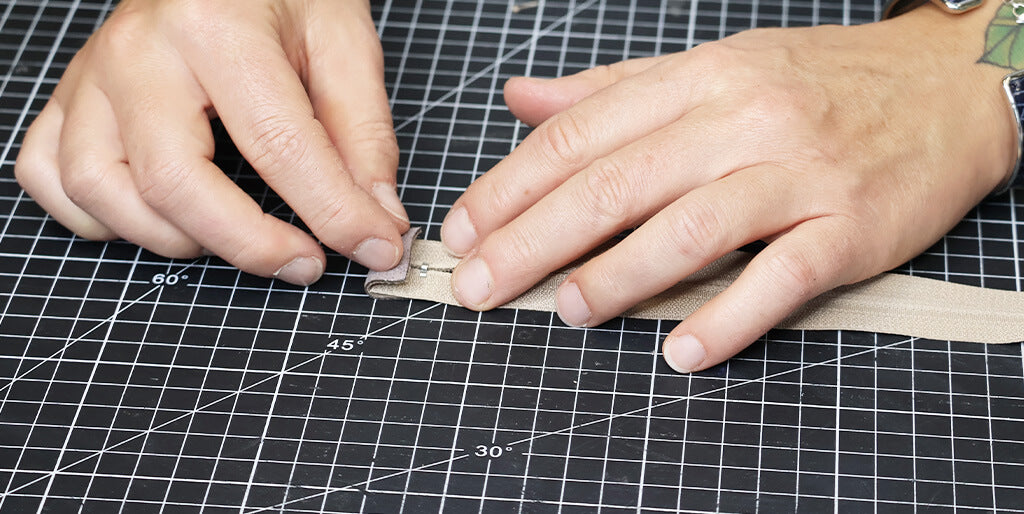
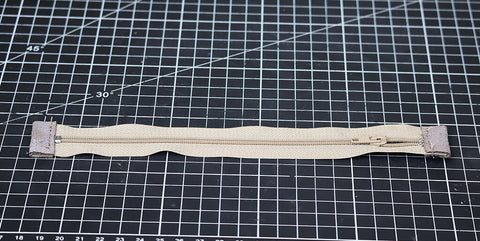
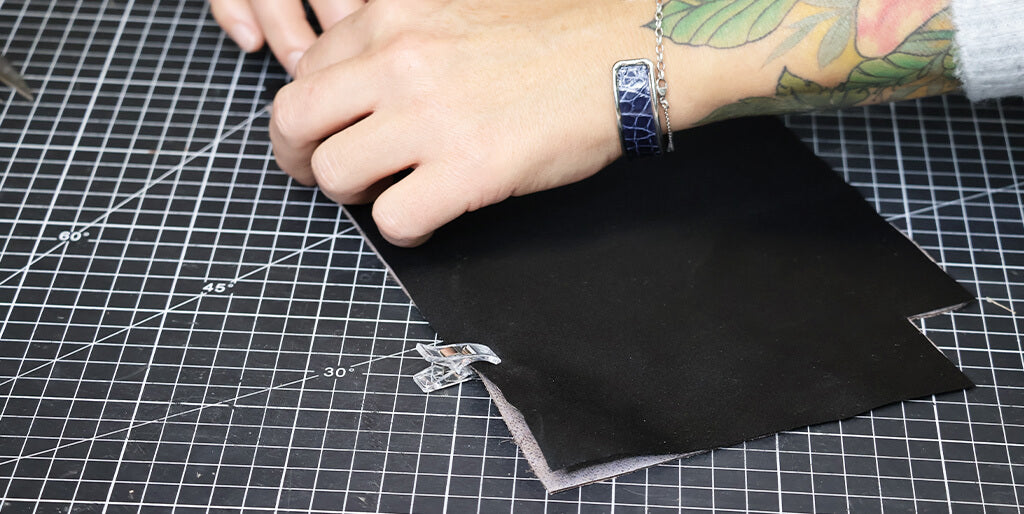
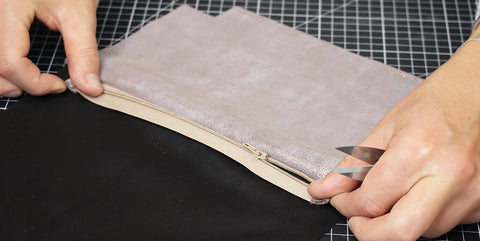
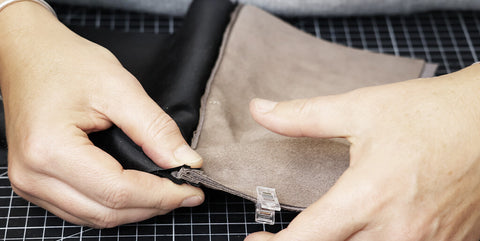
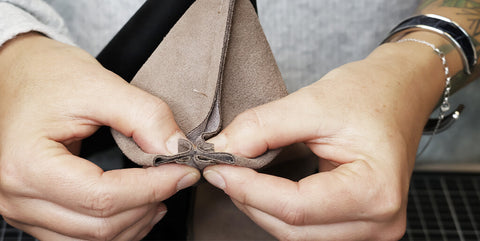
5. Fold down the ends of the zipper
Using double-sided tape, fold the ends of the zipper back on itself (as in the photo below) so that it does not interfere with the sewing of the kit.
 |
 |
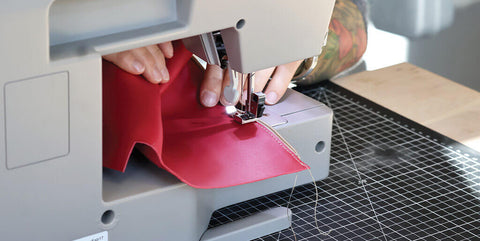
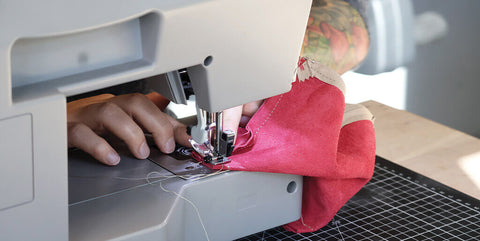
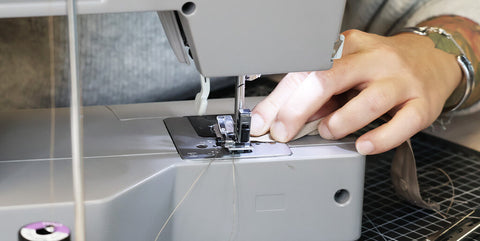
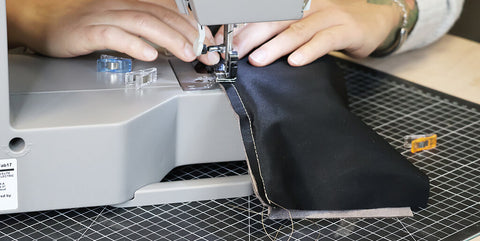
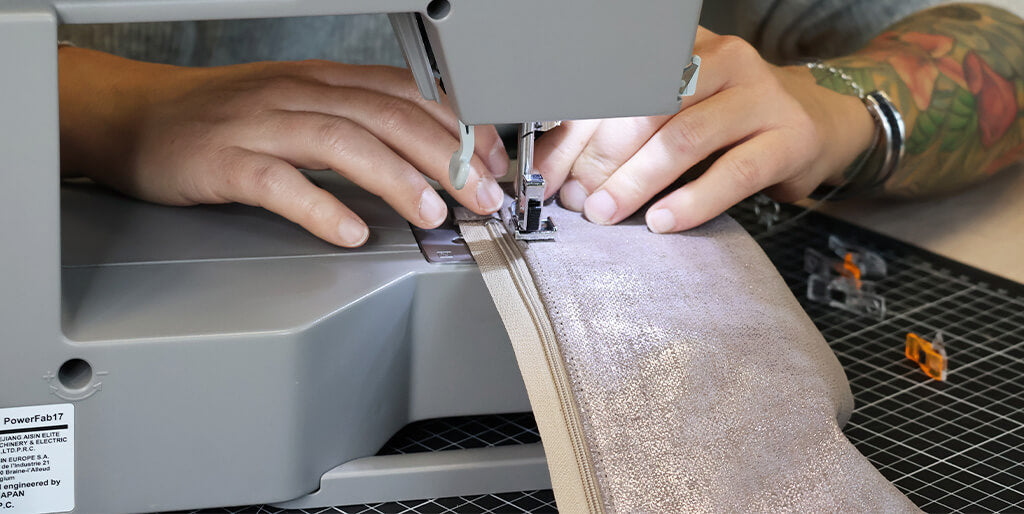
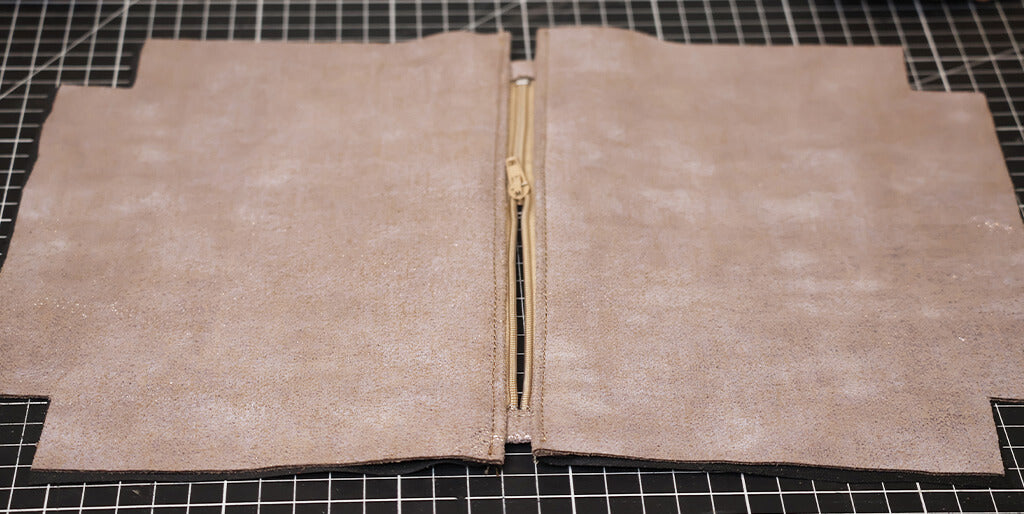
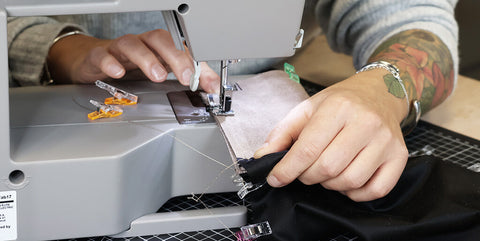
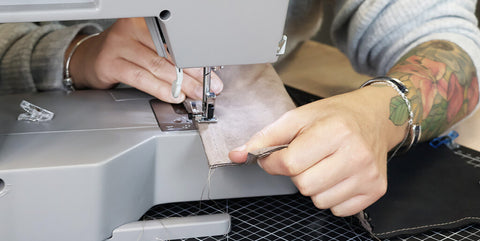
6. Sew the closure
Sew 2 mm from the edge.

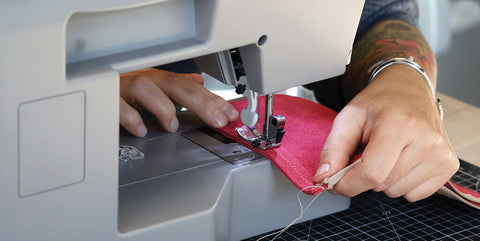
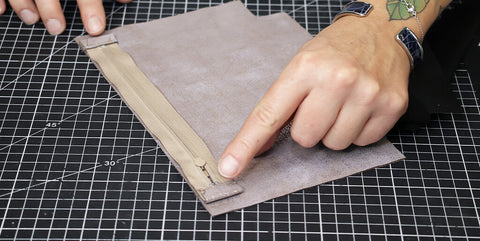
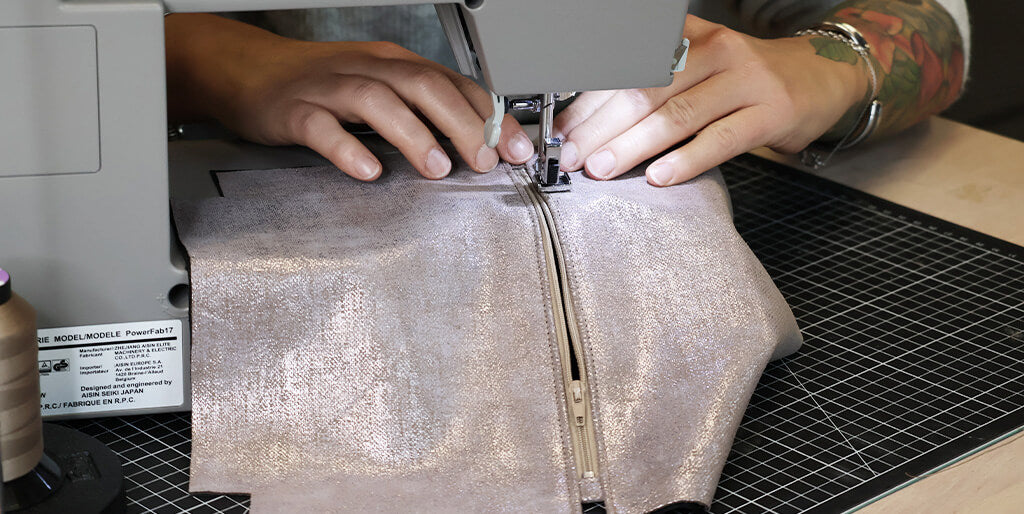
7. Sew the other side
Repeat the same steps for the other side. Remember to open the zipper to fold its ends with double-sided tape and sew.
 |
 |
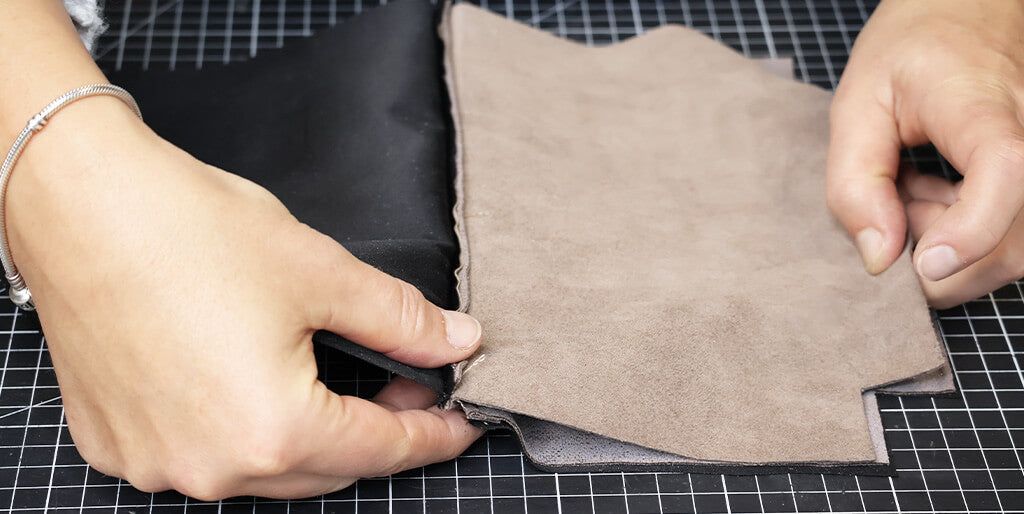
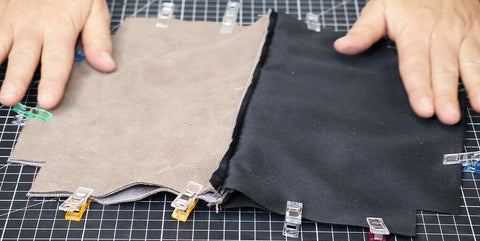
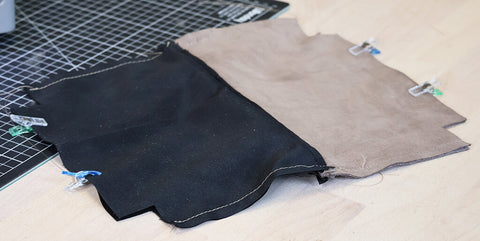
8. Sew the sides
Turn the bag inside out and keep the zipper open. Match the edges of the sides (use sewing clips). Sew both sides 1 cm from the edge.
 |
 |
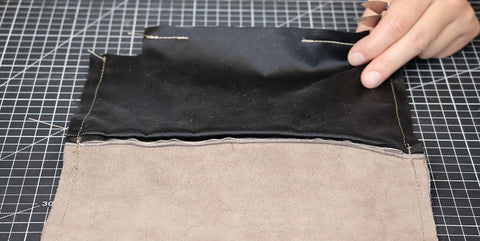
9. Sew the corners
Open the seams on each side and sew the corners right sides together at 1 cm.
 |
 |
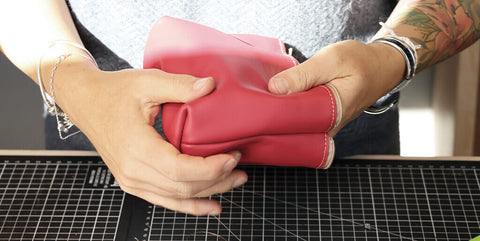
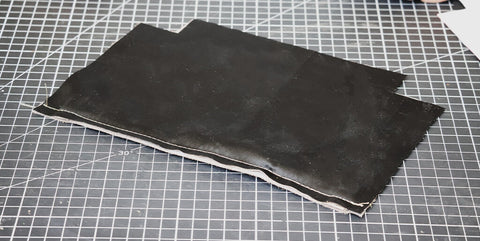
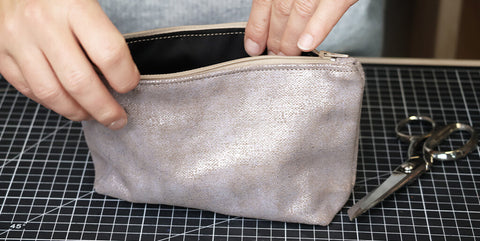
10. Return the kit
 |
 |
VERSION 2: WITH LINING
Discover version 2 of the leather pencil case here: with lining! For this version, we recommend soft, fine leather and a good sewing machine.
You will need fabric for the lining in addition to the materials needed for version #1.
Video
1. Report the pattern
Cut out the pattern (no. 2). Transfer it to a piece of leather and to the lining. Unlike the unlined version, here we have two separate main pieces.
2. Cut the pieces
Using a cutter or a pair of scissors, cut out the leather and lining pieces.
 |
 |
3. Make the ends of the closure clean
Using double-sided tape, glue the P3 pieces to each end of the zipper, at the stitch stop.
 |
 |
Fold pieces P3 to the reverse side of the zipper.
Sew the two P3 pieces 2 mm from the edge.
 |
 |
4. Sew the closure
Place the zipper on top of the P1 leather piece, right sides together. Center the zipper on the P1 piece (there should be about 1 cm left on each side).
 |
 |
Then, place the right side of the P1 lining piece on the wrong side of the zipper. Align it well with the P1 leather piece.
Hold everything together with sewing clips.
Sew 1 cm from the edge (top length only).
 |
 |
Place the P1 pieces (leather and lining) on the same side, then topstitch 3 mm from the edge.
 |
 |
Do the same with parts P2 (leather and lining), on the other side of the zipper.
5. Sew the body of the kit
Open the zipper.
Place pieces P1 leather and P2 leather on the same side, right sides together. On the other side, place pieces P1 lining and P2 lining right sides together.
Match the edges well and hold everything together with sewing clips.
 |
 |
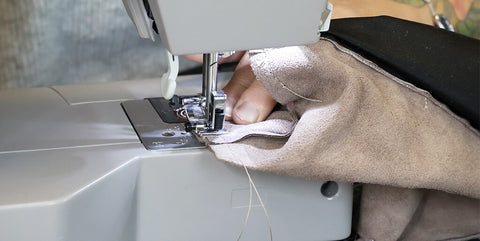
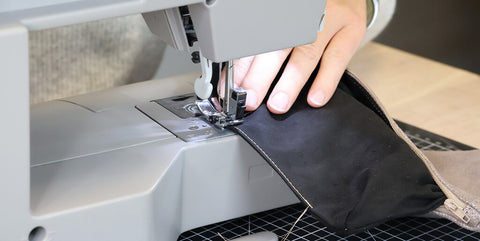
Start by sewing the sides of the bag with the zipper foot to make sewing the closure easier.
 |
 |
Then, sew the bottoms. Be careful to leave a 10 cm opening on the lining part so that you can turn the case inside out at the end.
 |
 |
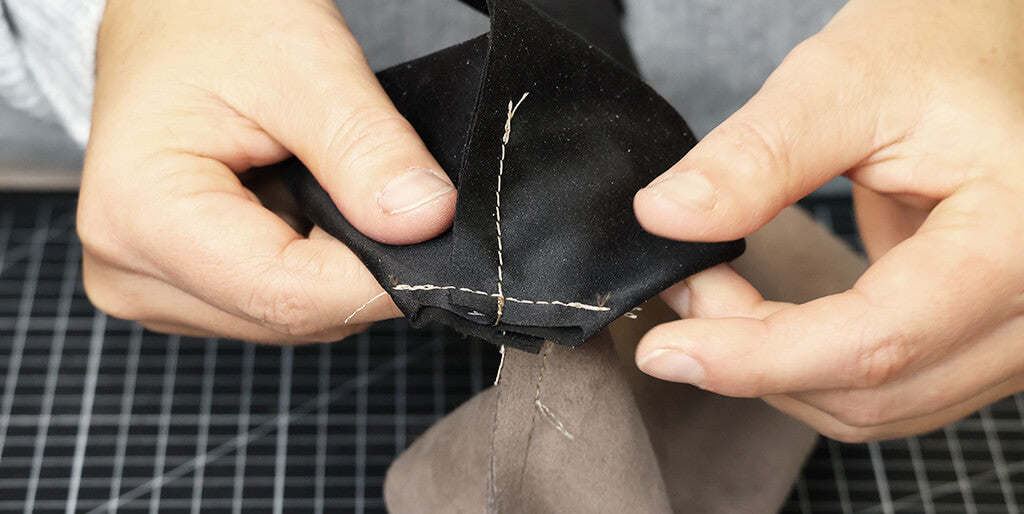
6. Sew the corners
Open the seams on each side and sew the corners of the leather part and the fabric part. Sew 1 cm from the edge.
 |
 |
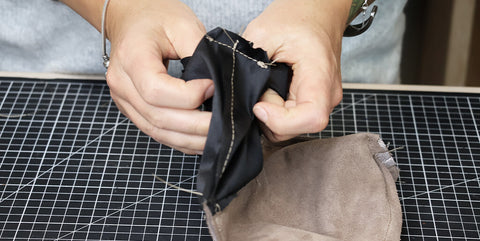
7. Return the kit
Turn the kit inside out through the 10 cm opening left in the lining.
 |
 |
8. Close the opening
All you have to do now is sew the opening of the lining.
 |
 |
You're done!
 |
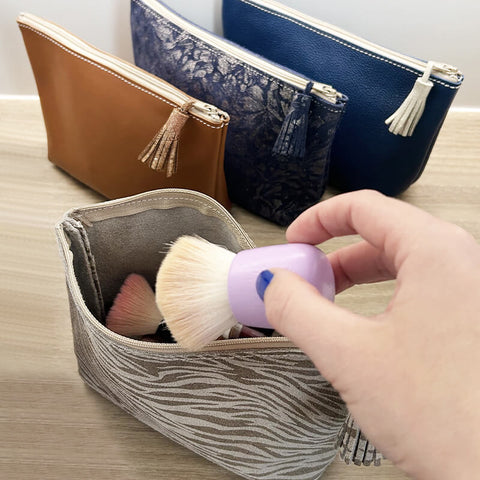 |
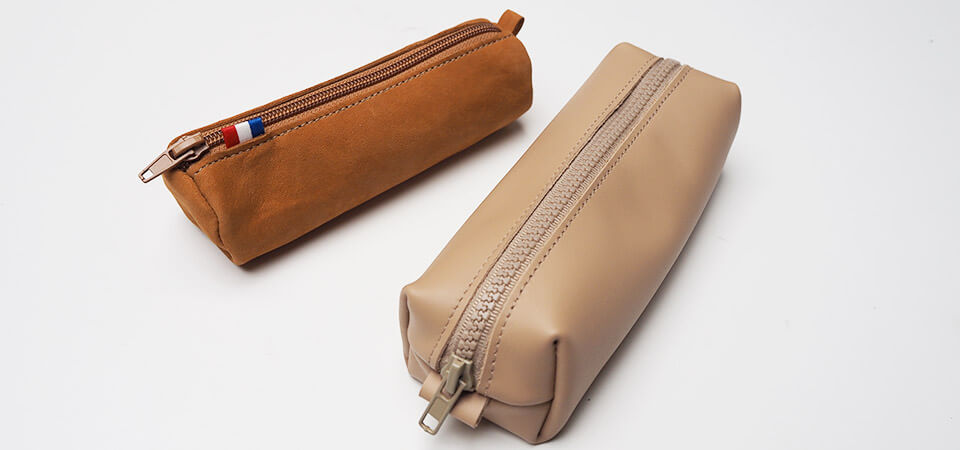
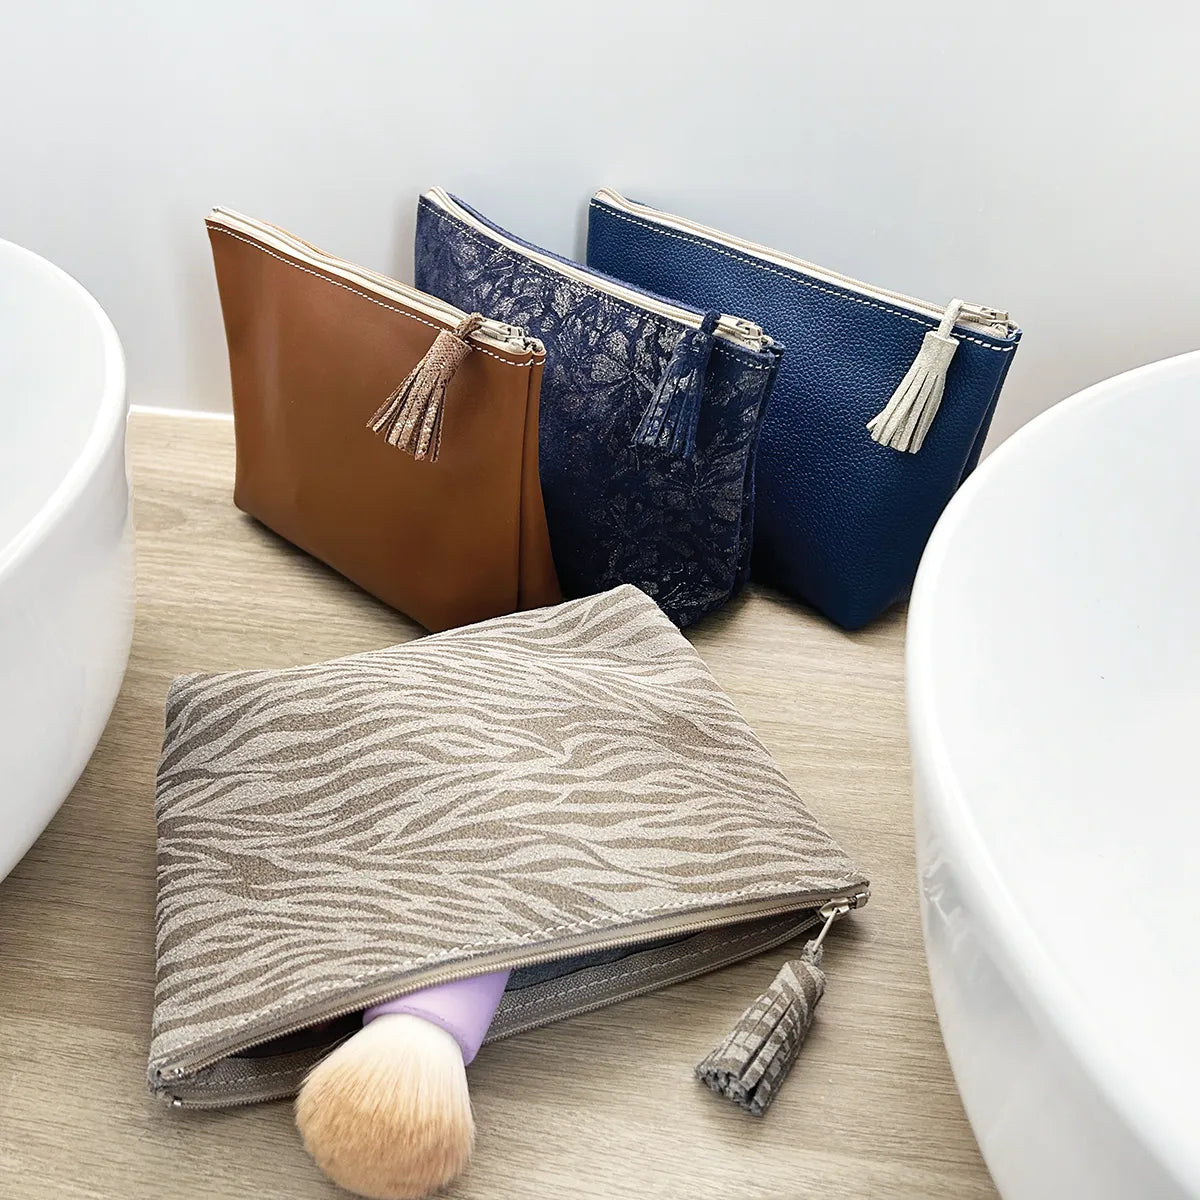
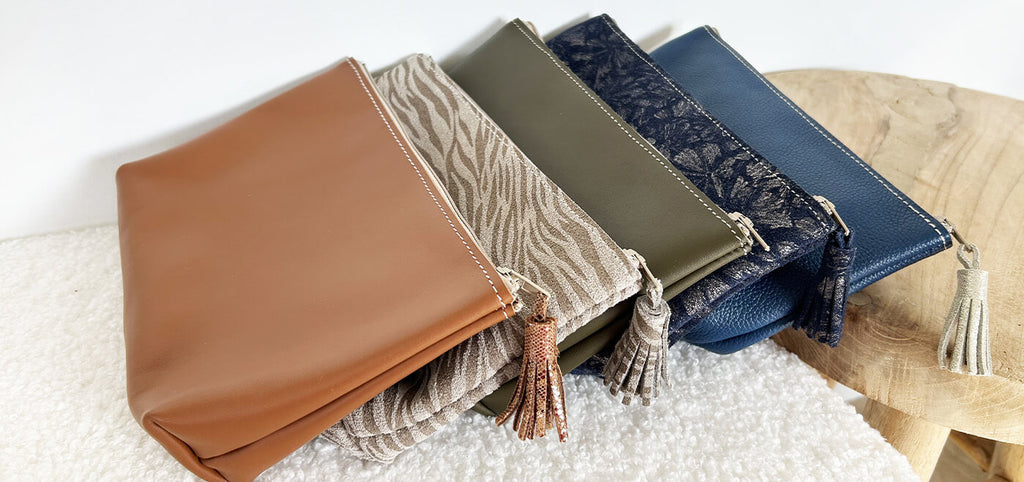
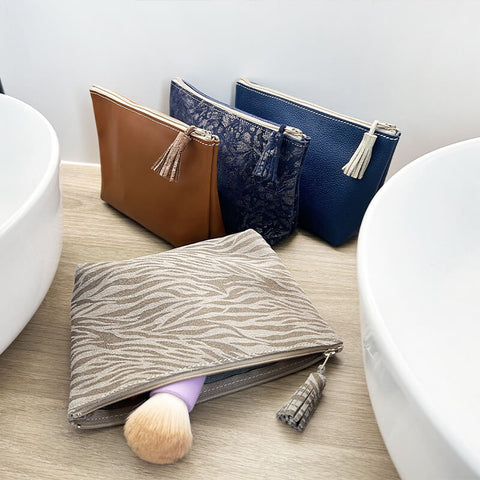
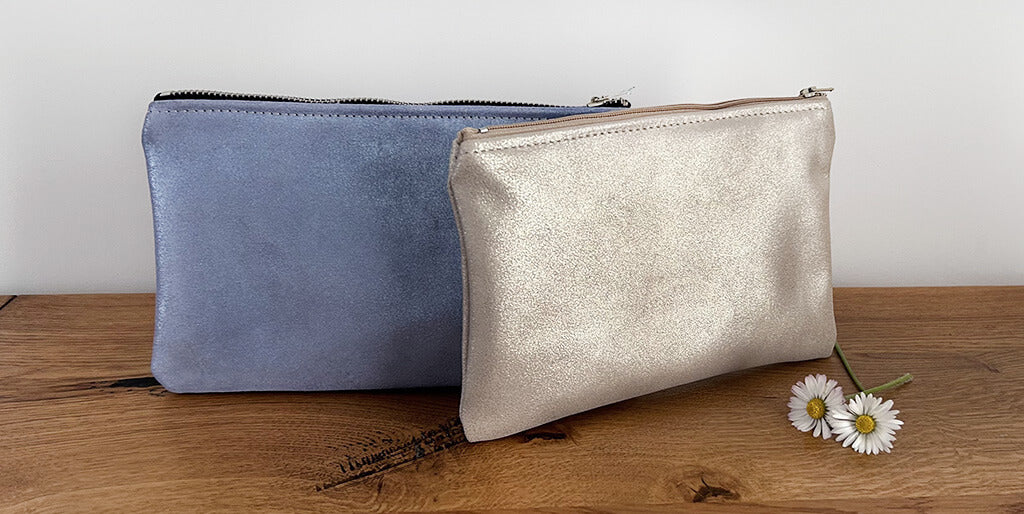
OTHER VERSIONS OF LEATHER PENCIL CASE
Discover our other versions of the leather pencil case:
A flat rectangular pencil case:
A round kit: