


MATERIALS NEEDED
To complete this tutorial, you will need:
- 1 piece of leather measuring 20 x 30 cm, between 0.6 and 0.8 mm thick (maximum 1 mm thick for lambskin)
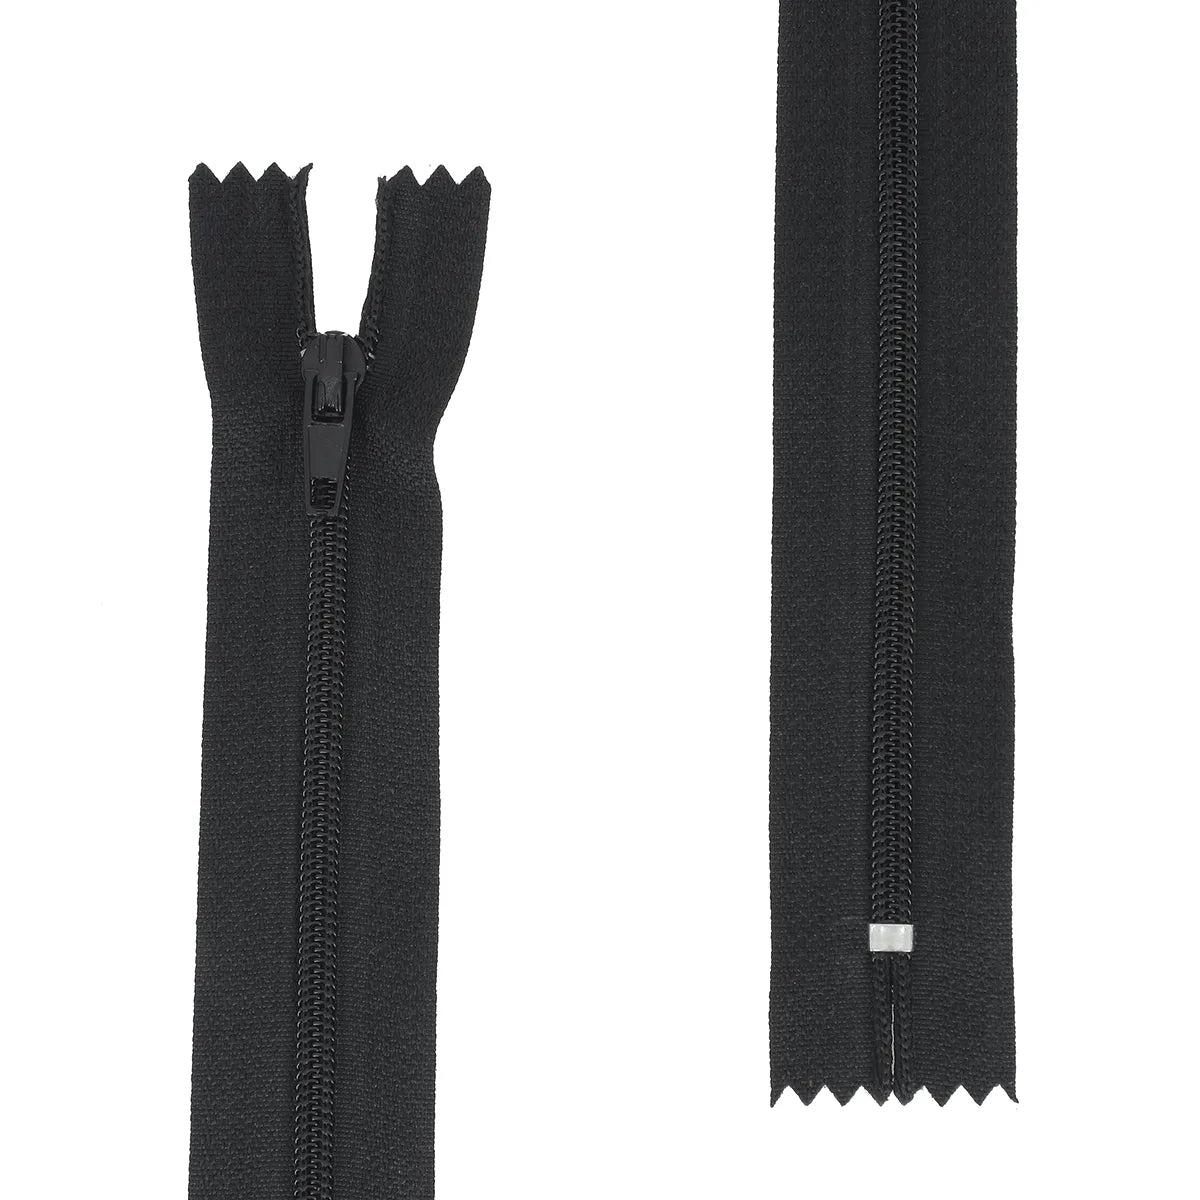
- 2 zippers, 14 cm long with a chain width of approximately 4 mm
- 4 cm of tricolor ribbon
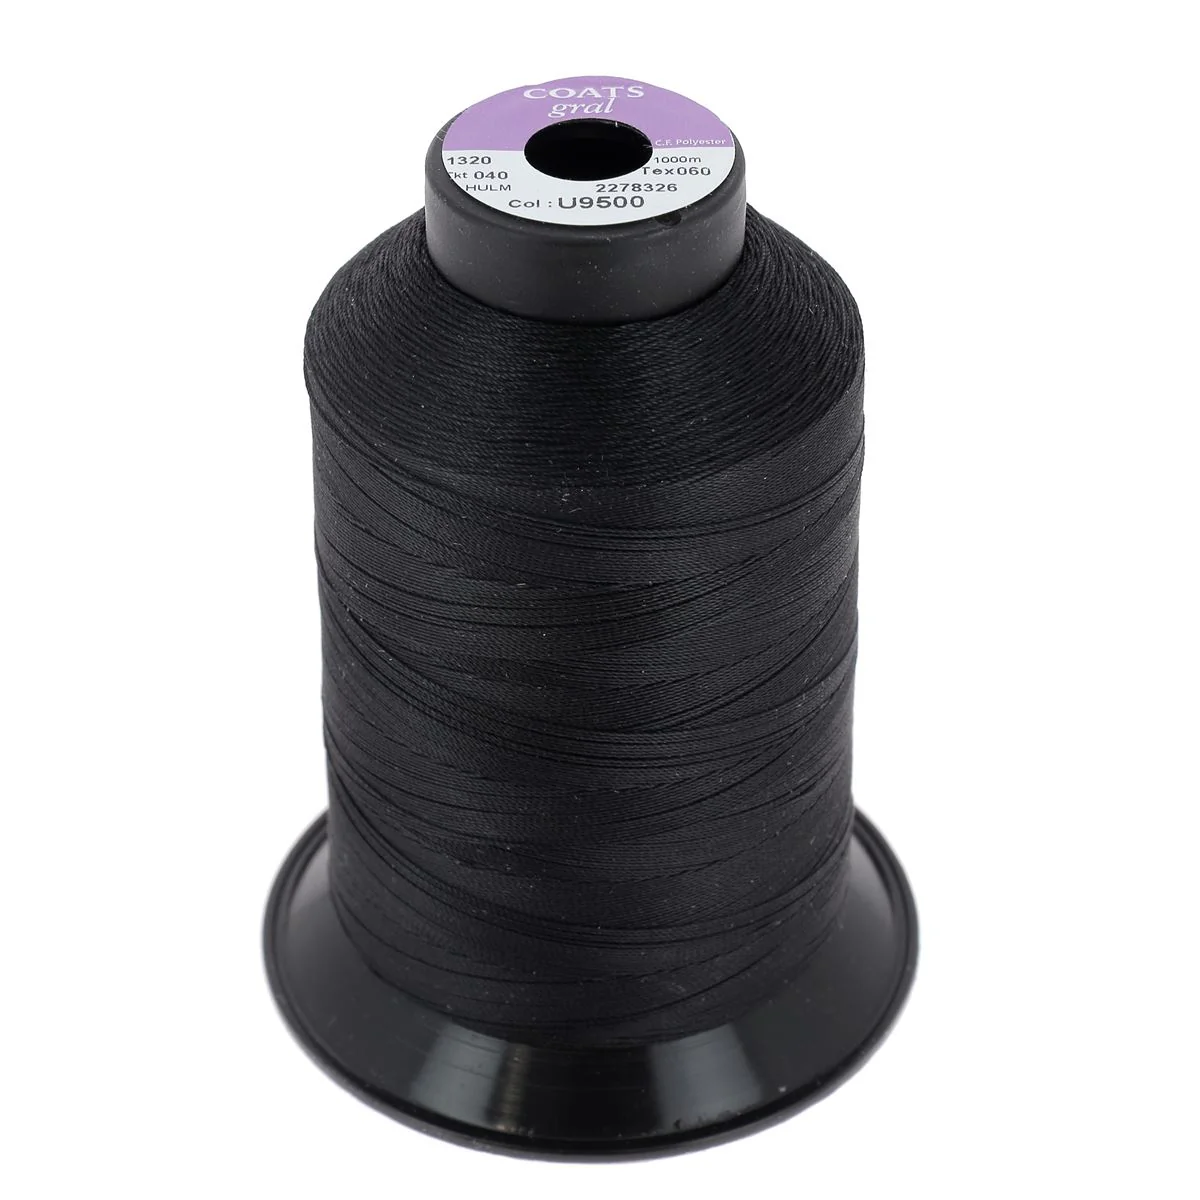
- Polyester thread No. 40 (0.36 mm diameter)
And the following equipment:
- 1 utility knife or scissors
- 1 sewing machine
- Double-sided adhesive tape
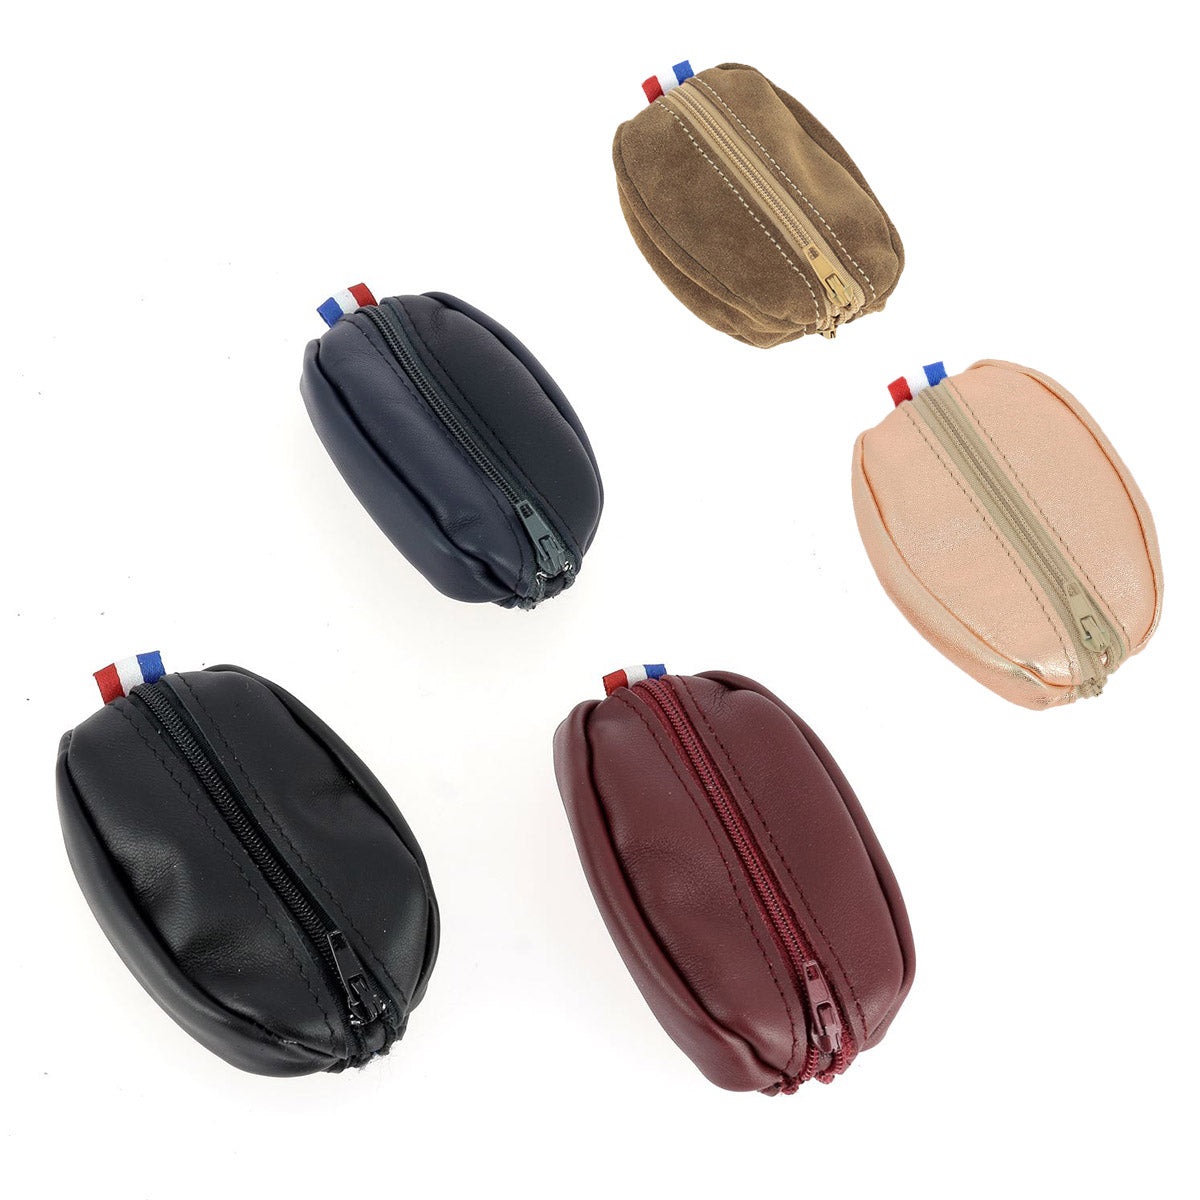
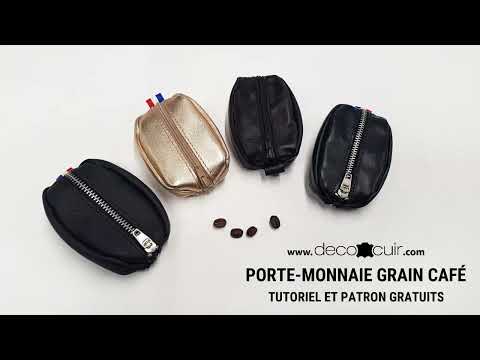
SOME EXAMPLES OF CREATIONS
Here are some examples of creations, so that everyone can find inspiration!
| This coffee bean coin purse was made from metallic GOLD lambskin - 1 mm thick. Ref: LPJ45OR (discontinued leather). | This coin purse was made from black grained cowhide, 1 mm thick. Ref: LPG53 - similar to our "GRANITE" or "SWEET 2" range. |
 |
 |
| This coin purse was made from ebony brown nappa lambskin. 0.7 mm thick. Ref: LPC08MAREBE |
This coin purse was made from black smooth cowhide from our current "SATINLYS" range, 0.8 mm thick. Ref: SY060 |
 |
 |
SEWING LEATHER BY MACHINE
Discover, in the guide below, the essential points to know before starting to machine sew leather (with a domestic sewing machine).
CHOICE OF LEATHER
 |
 |
 |
 |
|
Satinlys leather piece - 0.8 mm thick |
Metallic lambskin - 1 mm thick |
Calfskin piece - 0.8 mm thick |
Nappa lambskin - 0.7 mm thick |
1. CUT OUT THE PATTERN
Download the pattern and print it to actual size. Cut out the paper pattern and transfer it onto the leather with a silver pen.


Cut out the leather pieces with a utility knife or a pair of scissors.


2. ASSEMBLE PIECES P2 AND THE ZIPPERS
Apply double-sided tape to the 4 P2 pieces, along the straight line.

Glue the P2 pieces 1 cm from the end (at the slider) on each side of the 2 zippers. Be careful, all pieces must be glued at similar distances between the zipper teeth and the leather (the distance between the 2 P2 pieces is approximately 0.7 mm).


Sew the 4 P2 pieces using the zipper foot.


3. ASSEMBLE THE COIN PURSE
Take piece P1 and layer it (position it underneath), right side facing wrong side, with one of the "P2 + zipper" pieces.
Then, take a P3 piece and position it, right side facing right side, onto the "P2 + zipper" piece. Secure the 3 layers with sewing clips.


Then, sew 5 mm from the edge.

Take the second P3 piece and sew it in the same way on the other side.


4. INSERT THE FRENCH FLAG
Cut 4 cm of tricolor ribbon and fold it in half. Glue the tricolor ribbon onto the zipper teeth at the stopper.

Stitch the flag onto the zipper.

5. SEW THE COFFEE BEAN COIN PURSE
Take the second "P2 + zipper" piece and position it over the already sewn pieces (right side to right side - zipper to zipper).
Be careful to open the zipper before sewing so that you can turn the coin purse inside out at the end (the zipper of the second "P2 + zipper" piece). Do not open it entirely as the zipper will be cut in the next step.

Then, sew the remaining two sides 5 mm from the edge.


6. CUT THE THREADS AND ZIPPERS
Cut the sewing threads and the ends of the zippers, then burn them.

7. FINISH ASSEMBLING THE COIN PURSE
With the zipper still open, sew the two ends of the coin purse 5 mm from the edge.


8. TURN THE COIN PURSE INSIDE OUT
Finally, turn the coffee bean coin purse inside out and shape the corners.

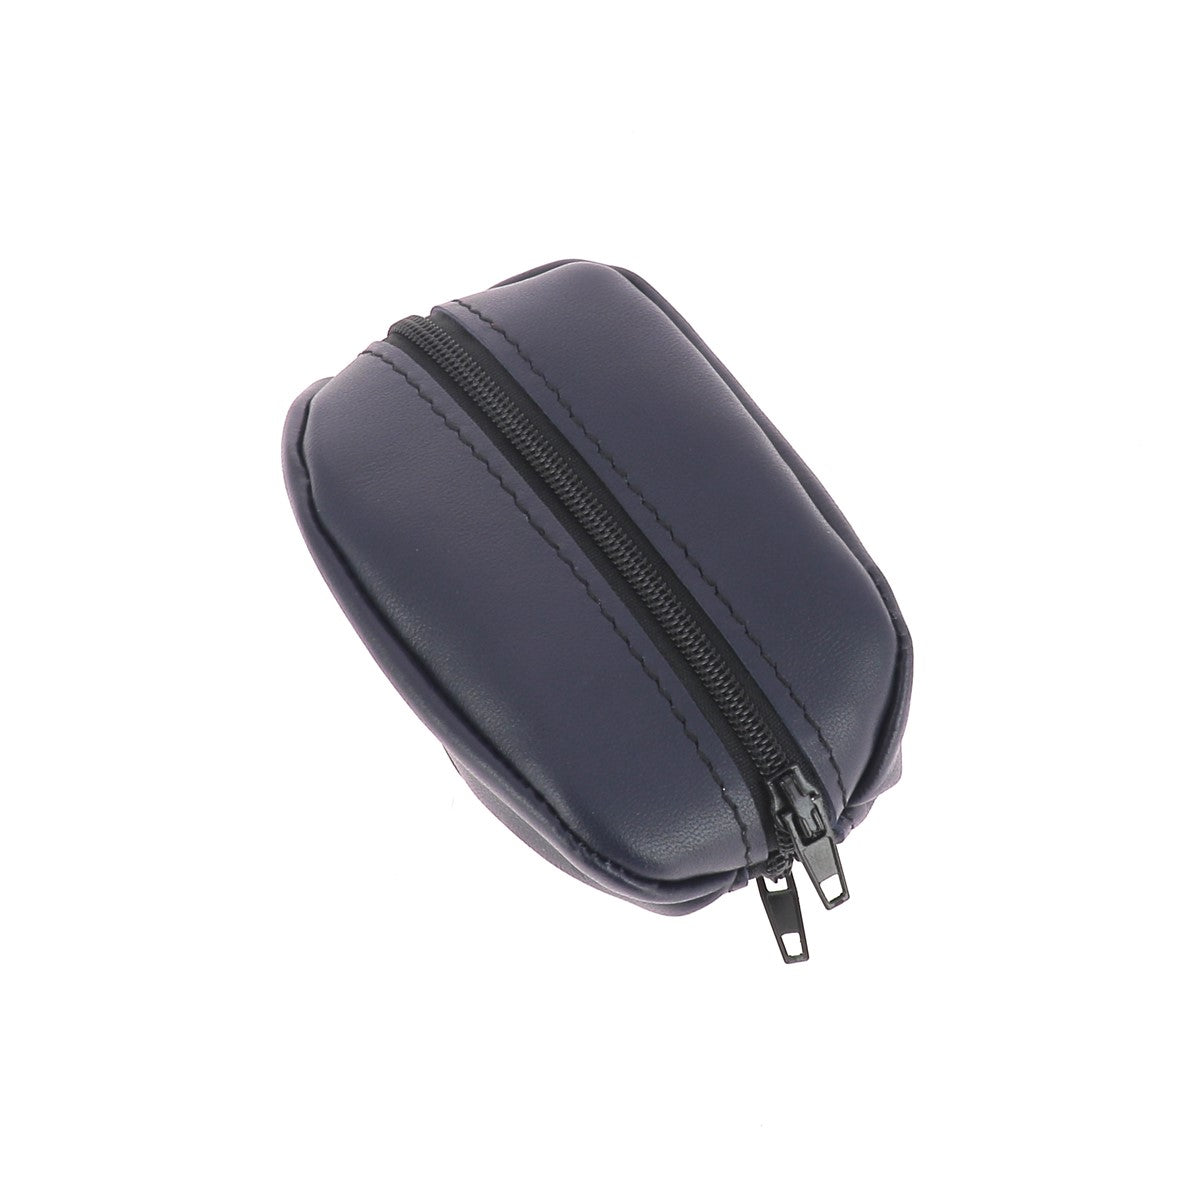
YOU ARE DONE!

 |
 |


1 comment
laffineur
Bonjour, je vous remercie pour vos tutos qui sont très bien expliqués. Je commence à faire de petits ouvrages pour me familiariser avec cette matiére. Bonne journée.