

MATERIALS NEEDED
To follow this tutorial, you will need:
- 1 piece of leather, 20 x 30 cm - firm - thickness between 1.2 mm and 1.5 mm
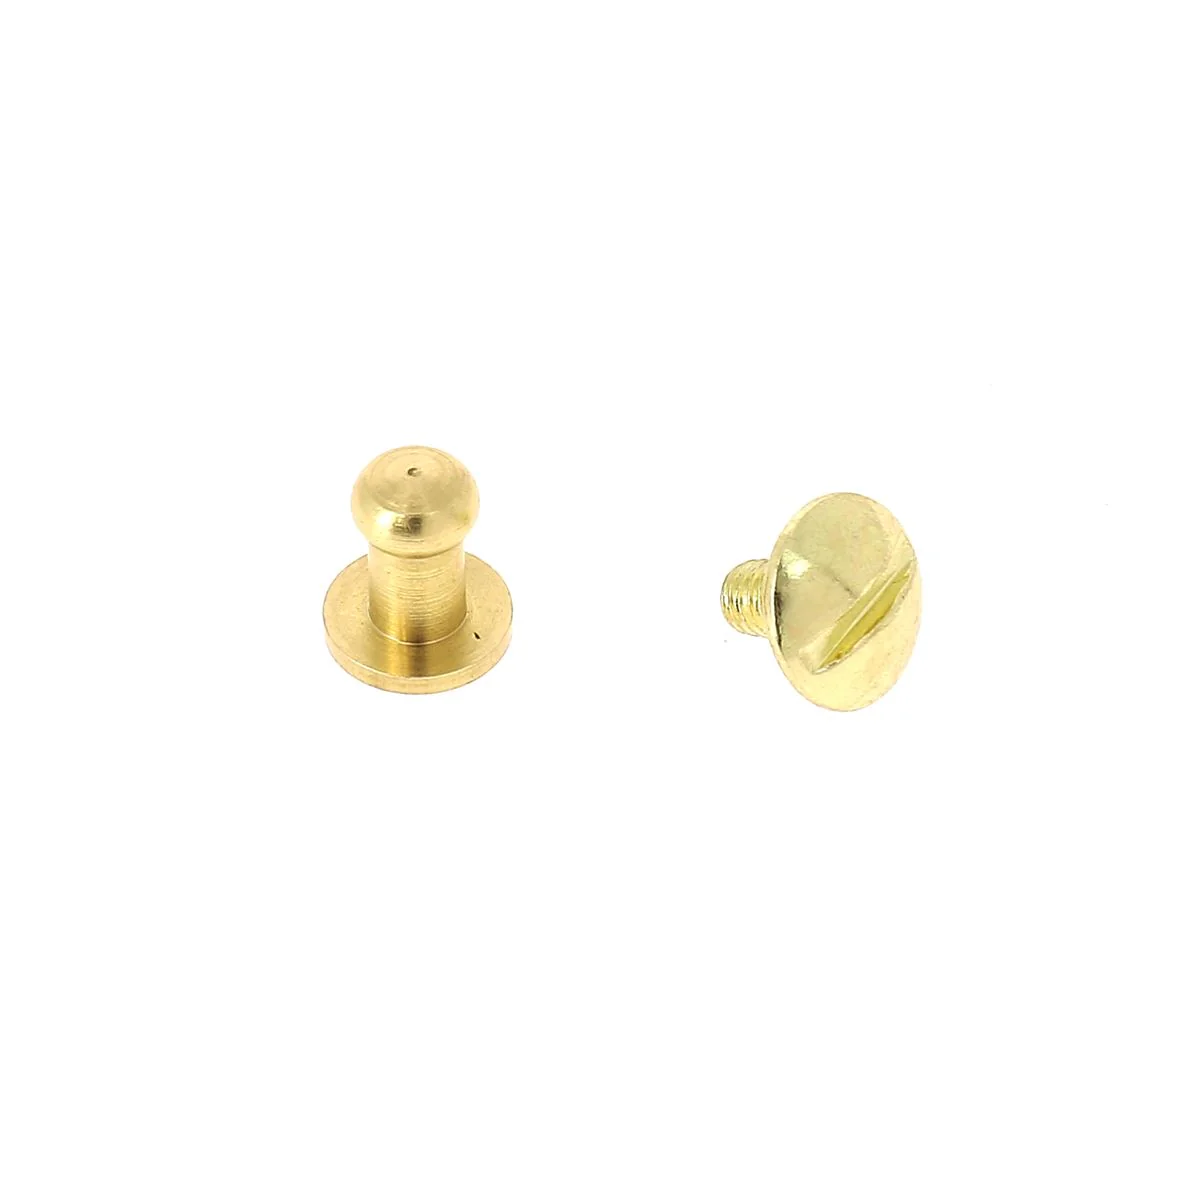
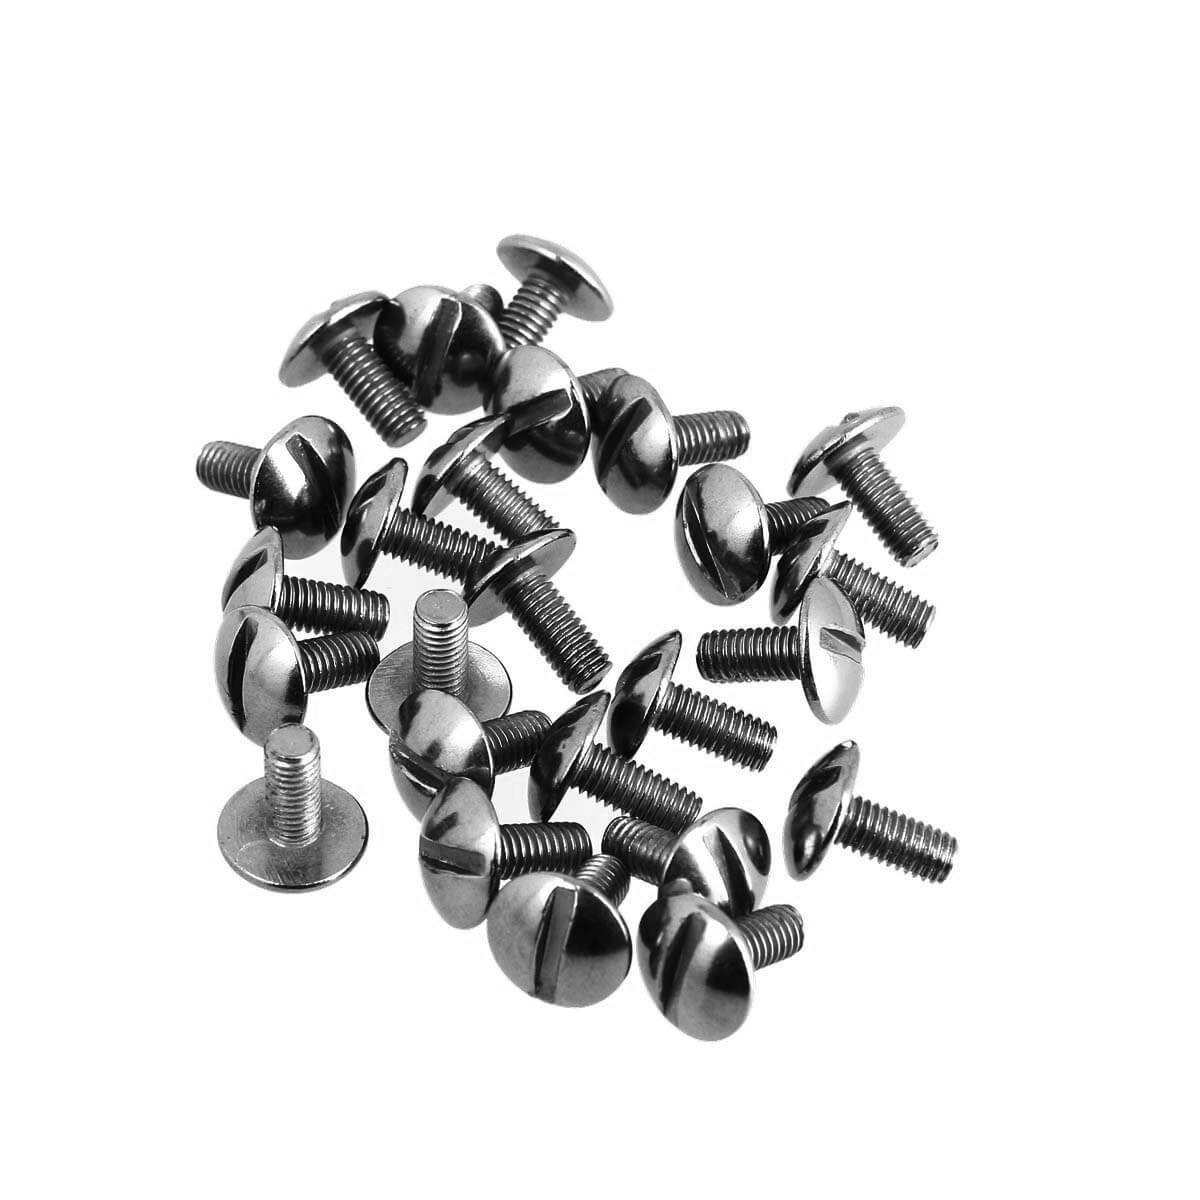
- A T3 collar button with a 5 or 7 mm screw, depending on the thickness of your leather.
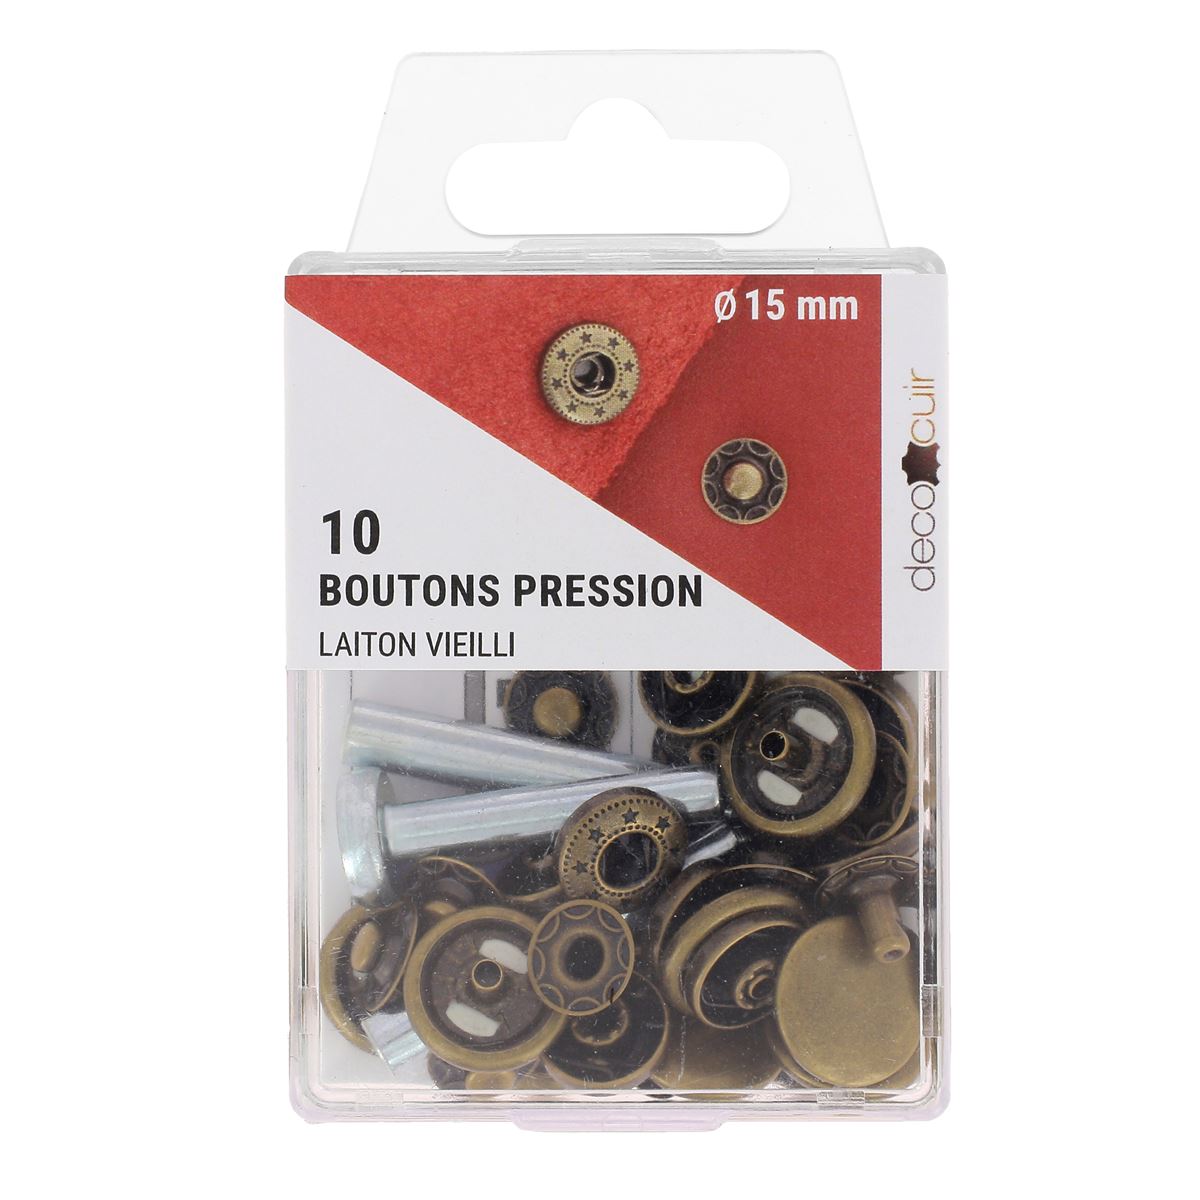
- OR a snap fastener Ø 12 mm or Ø 15 mm
And the following tools:
- 1 utility knife or a pair of scissors
- A round punch Ø 3 mm
VIDEO
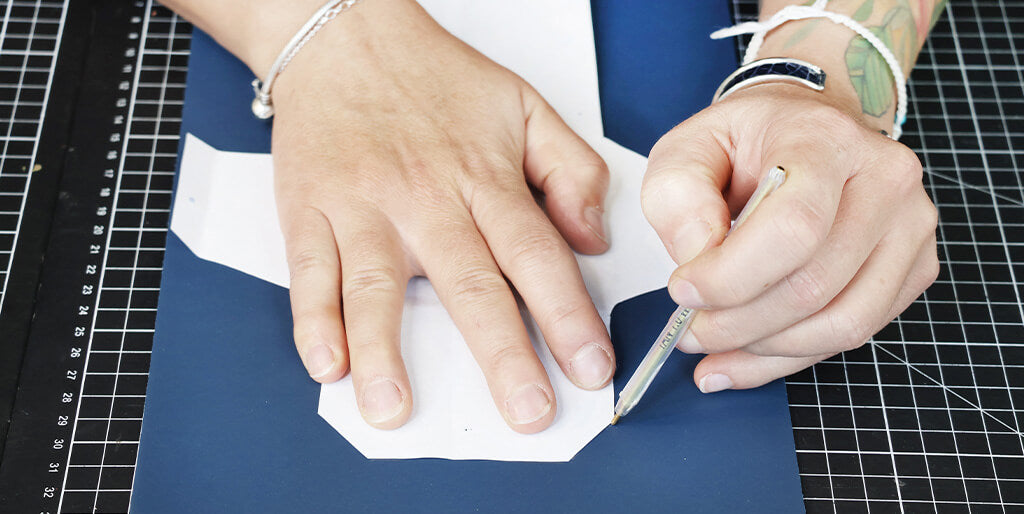
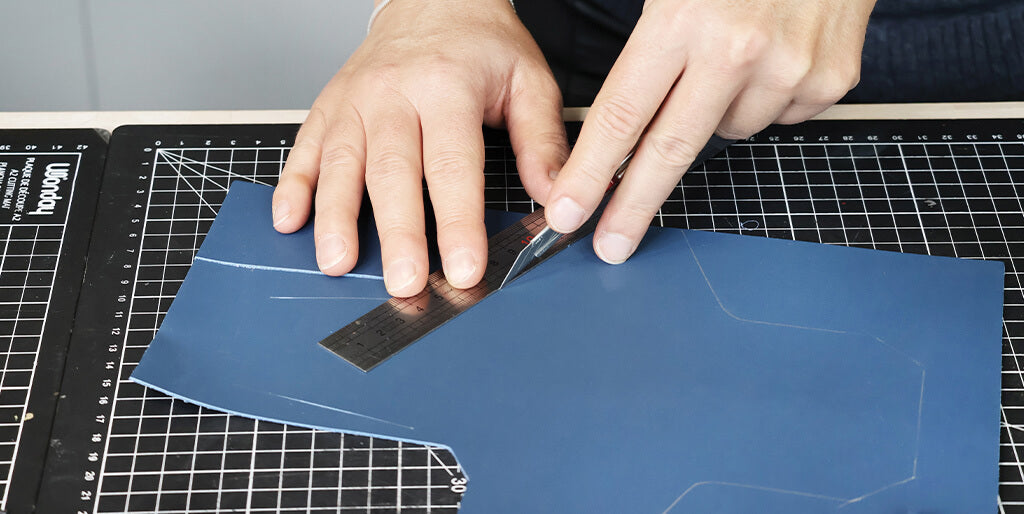
1. Transfer the pattern
Cut out the pattern and then transfer it onto a piece of leather. Also mark the two slits and the location of the holes.
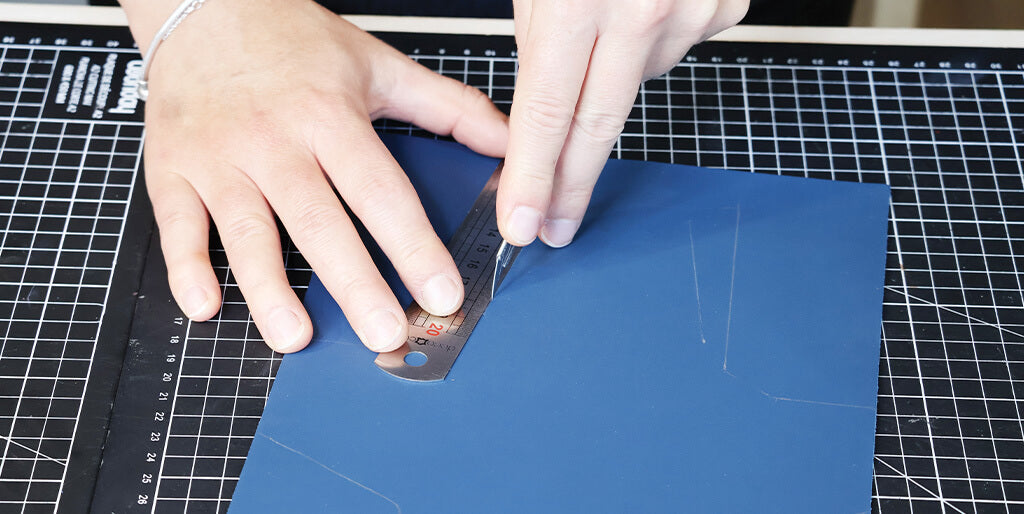
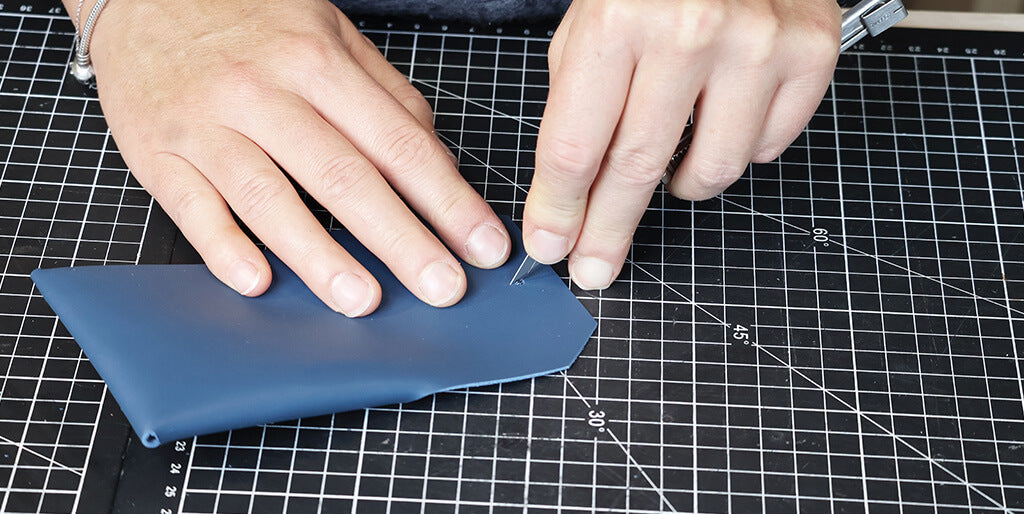
2. Cut the slits
Using a utility knife, cut the two slits, 7 cm in length.
3. Cut the leather
Then cut out the entire piece following the outline.
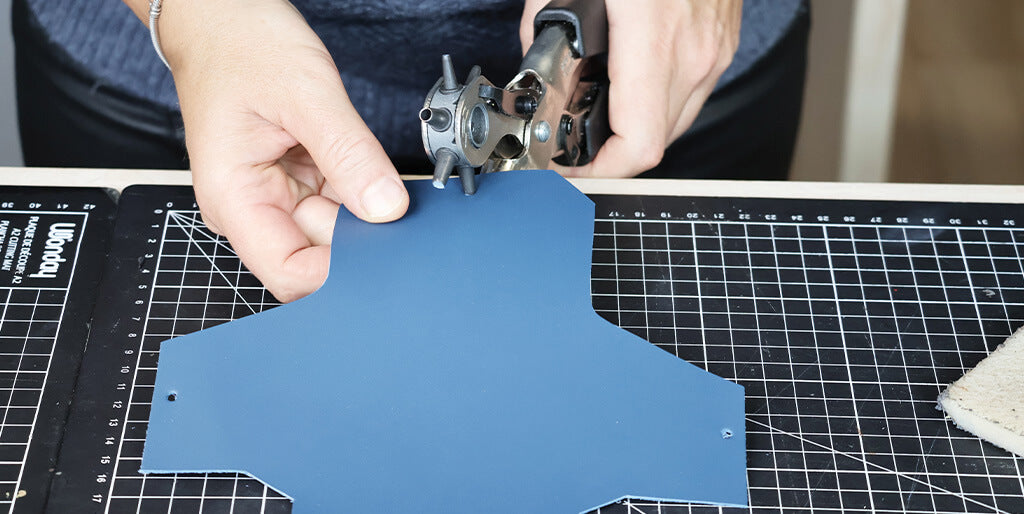
4. Punch the holes
Punch the various 3 mm diameter holes using a round punch.
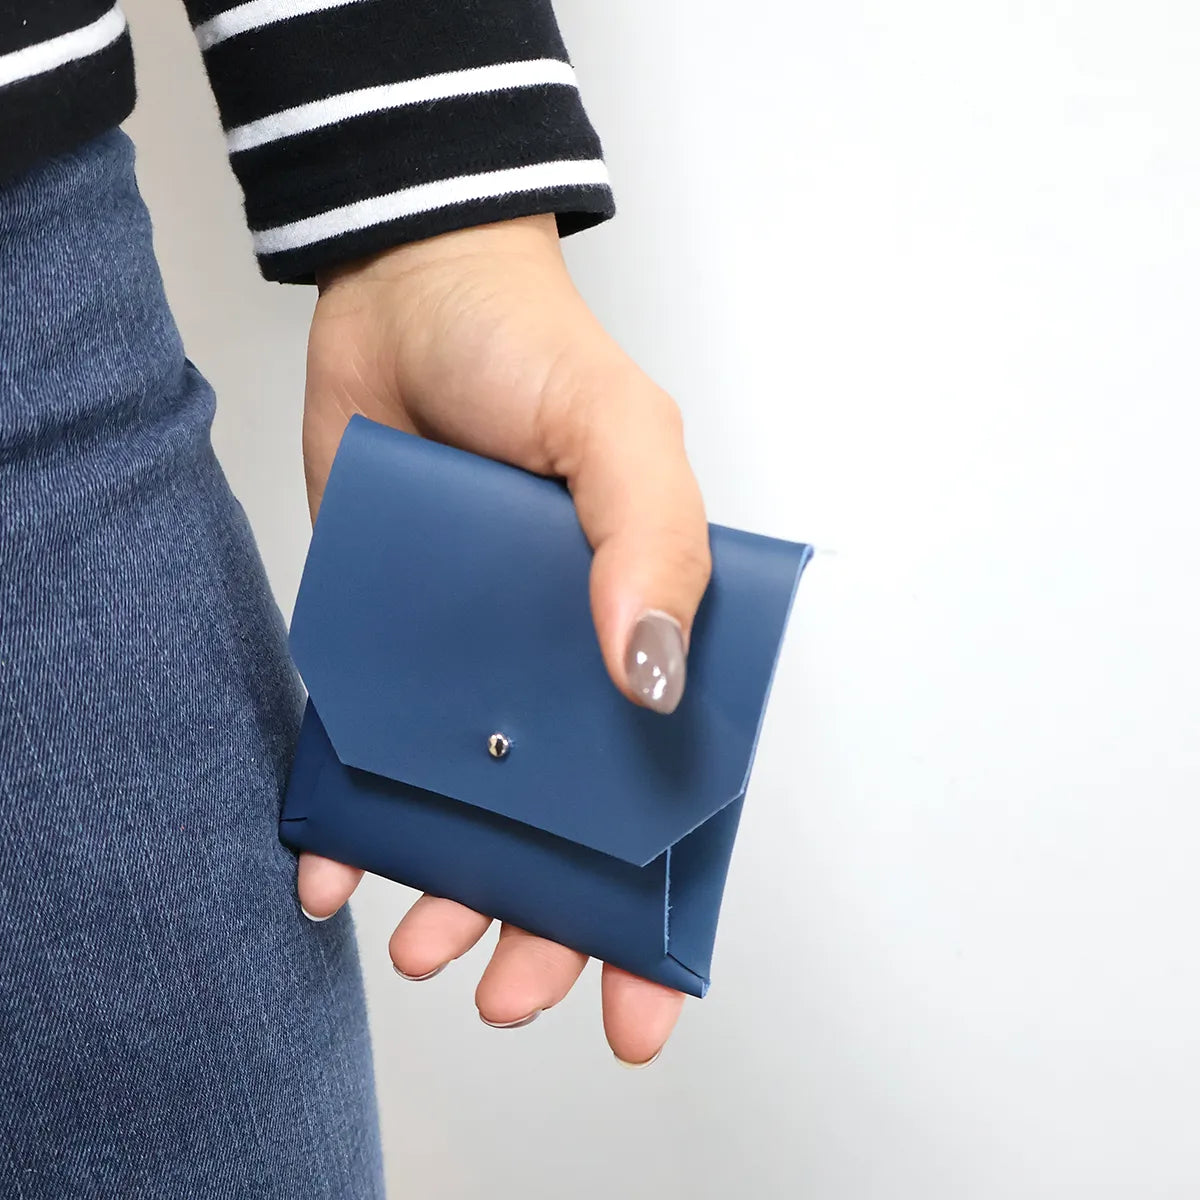
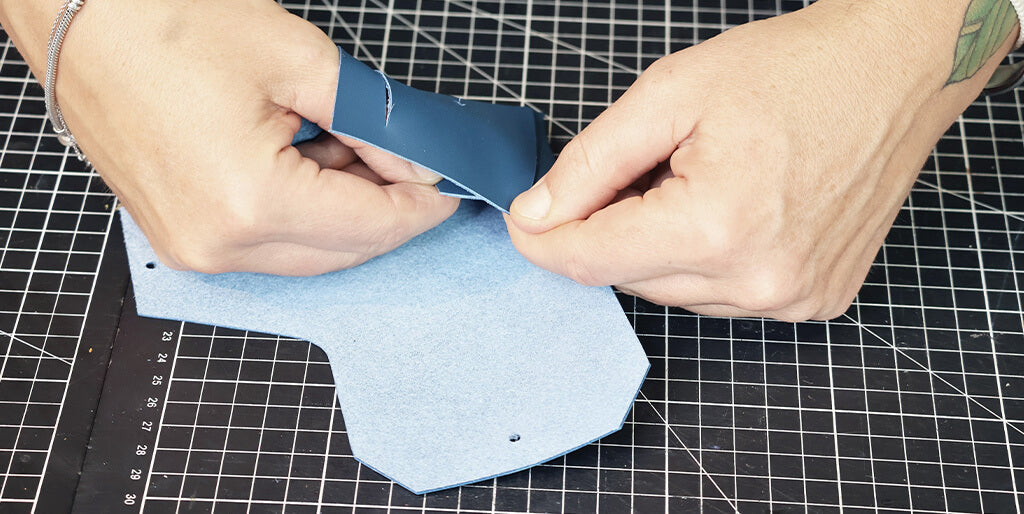
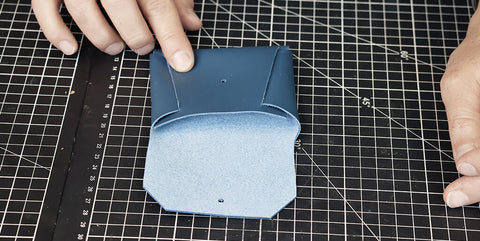
5. Assemble the mini-pouch
Insert the tabs into the slits.
 |
 |
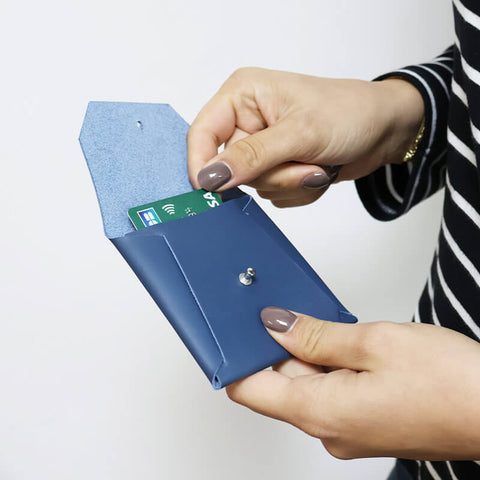
6. Attach the clasp
OPTION 1: the collar button
Insert the 3 x 7 mm collar button screw from the inside (into the three holes), then screw on the collar button.
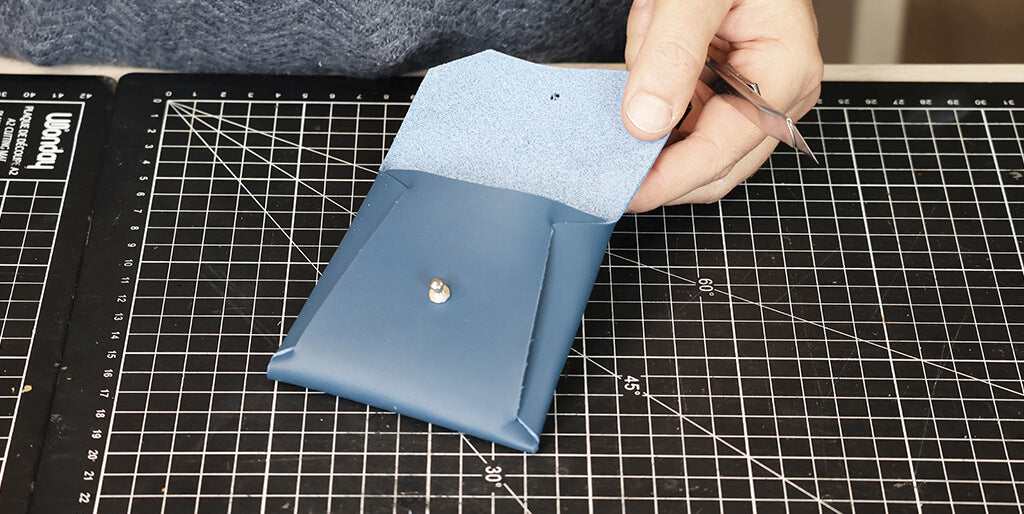
Using a utility knife, make the slit for the collar button head to pass through.
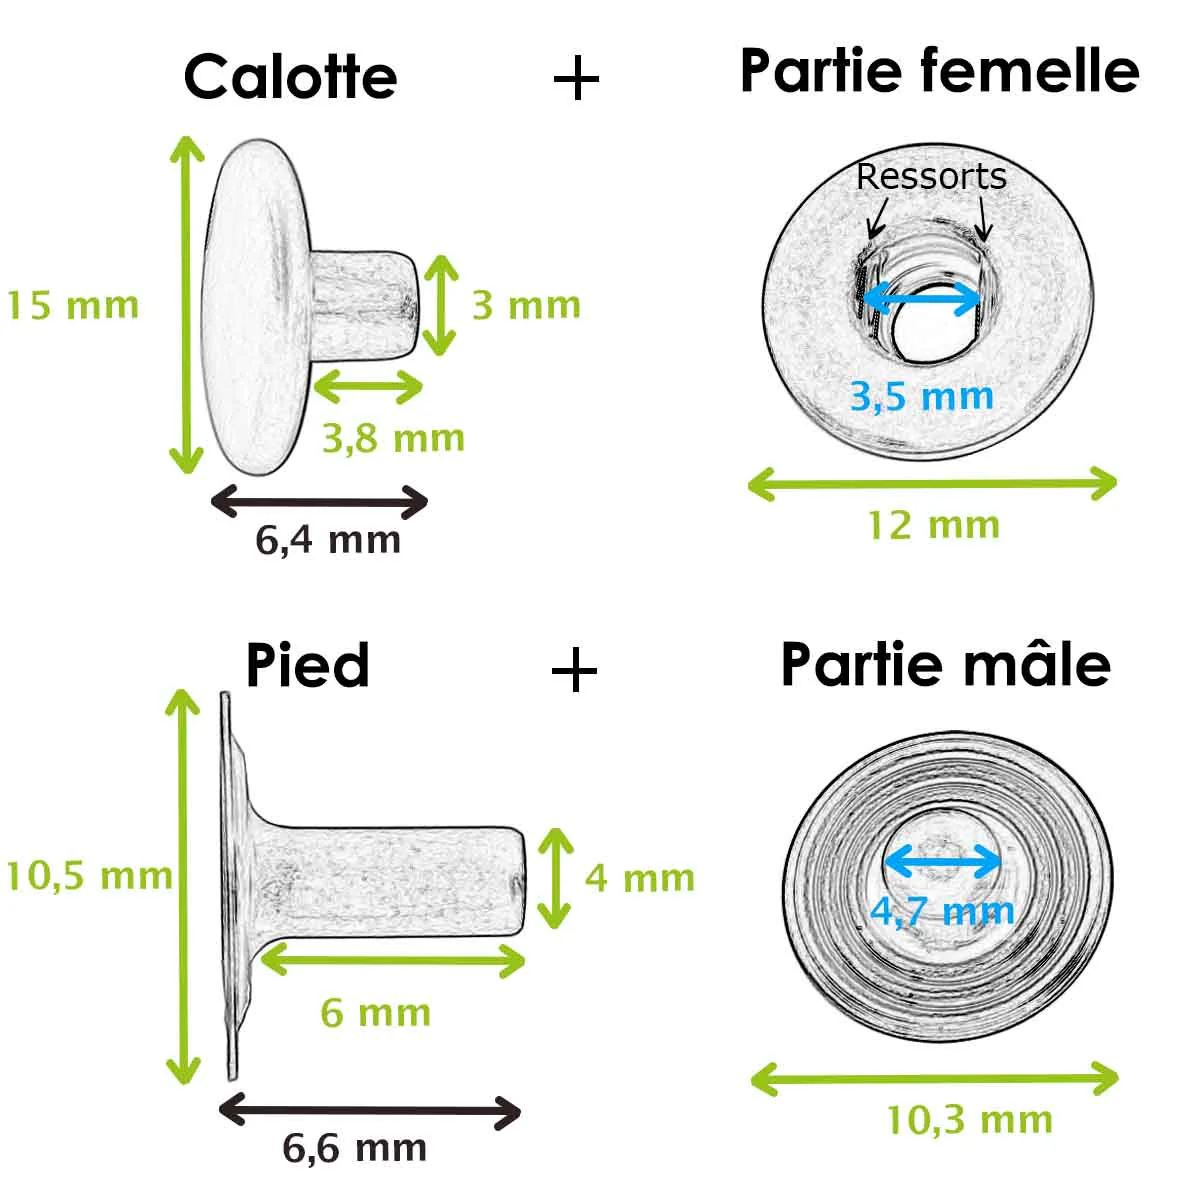
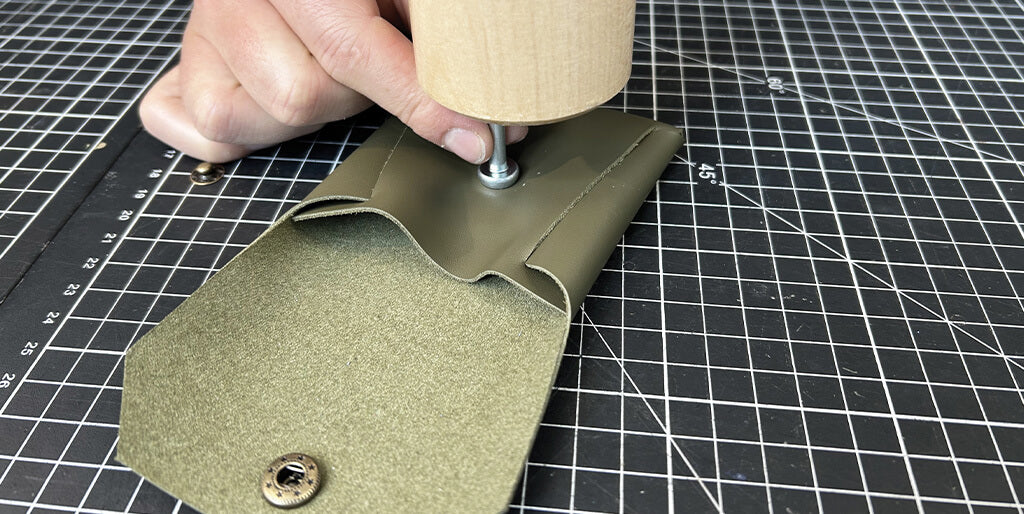
OPTION 2: the snap fastener
Place the snap fastener post into the three holes. And place the snap fastener cap over the hole on the flap of the mini-pouch.
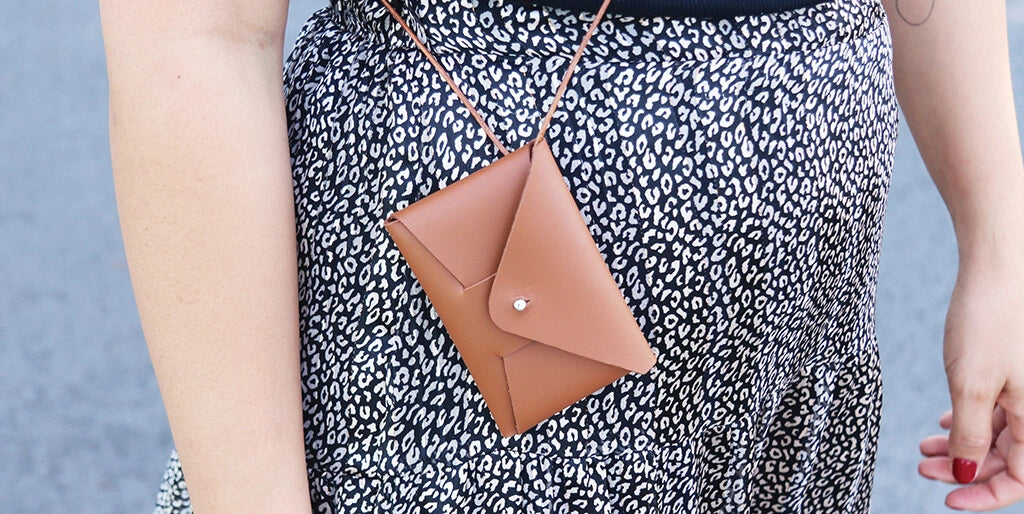
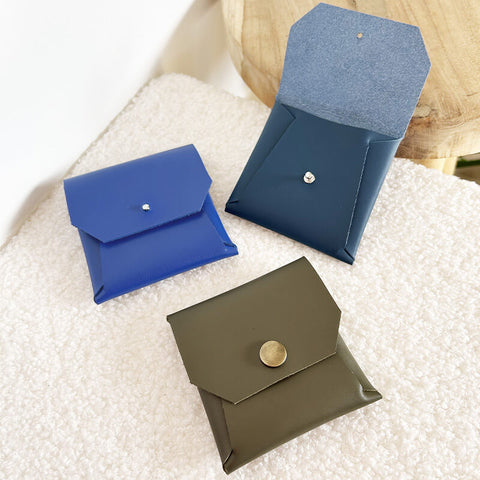
You're done!
 |
 |
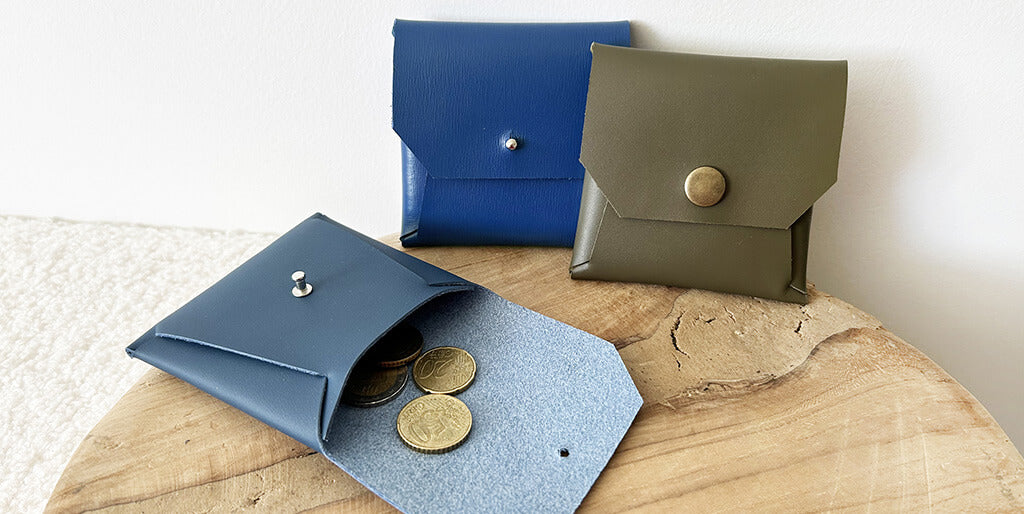
ANOTHER VERSION OF A LEATHER WALLET
Discover our other version of the seamless wallet card holder.
Final dimensions:
- Length: 10 cm
- Width: 6.7 cm