


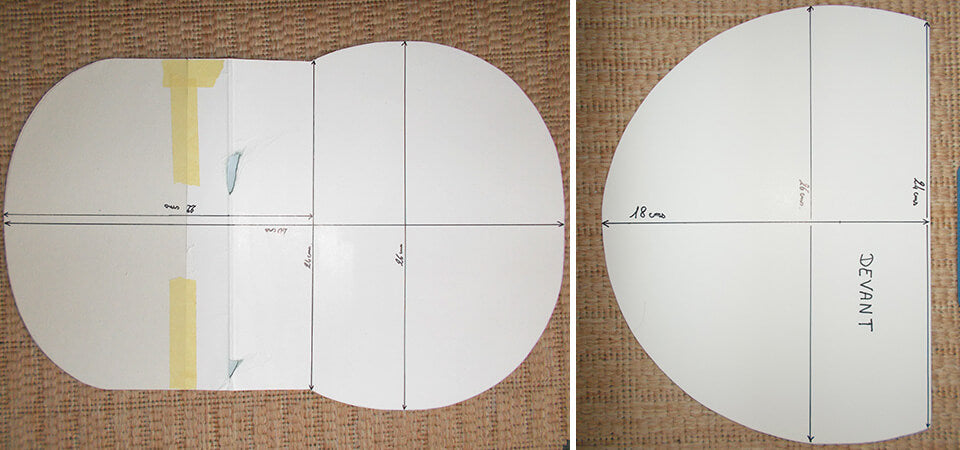
1. CUT OUT THE PATTERN PIECES
- Print the PDF pattern on A4 paper. Be sure to respect the original size of the document - check the printing guide on the last page.
- Cut out the pattern and if possible glue it onto stiff cardboard.
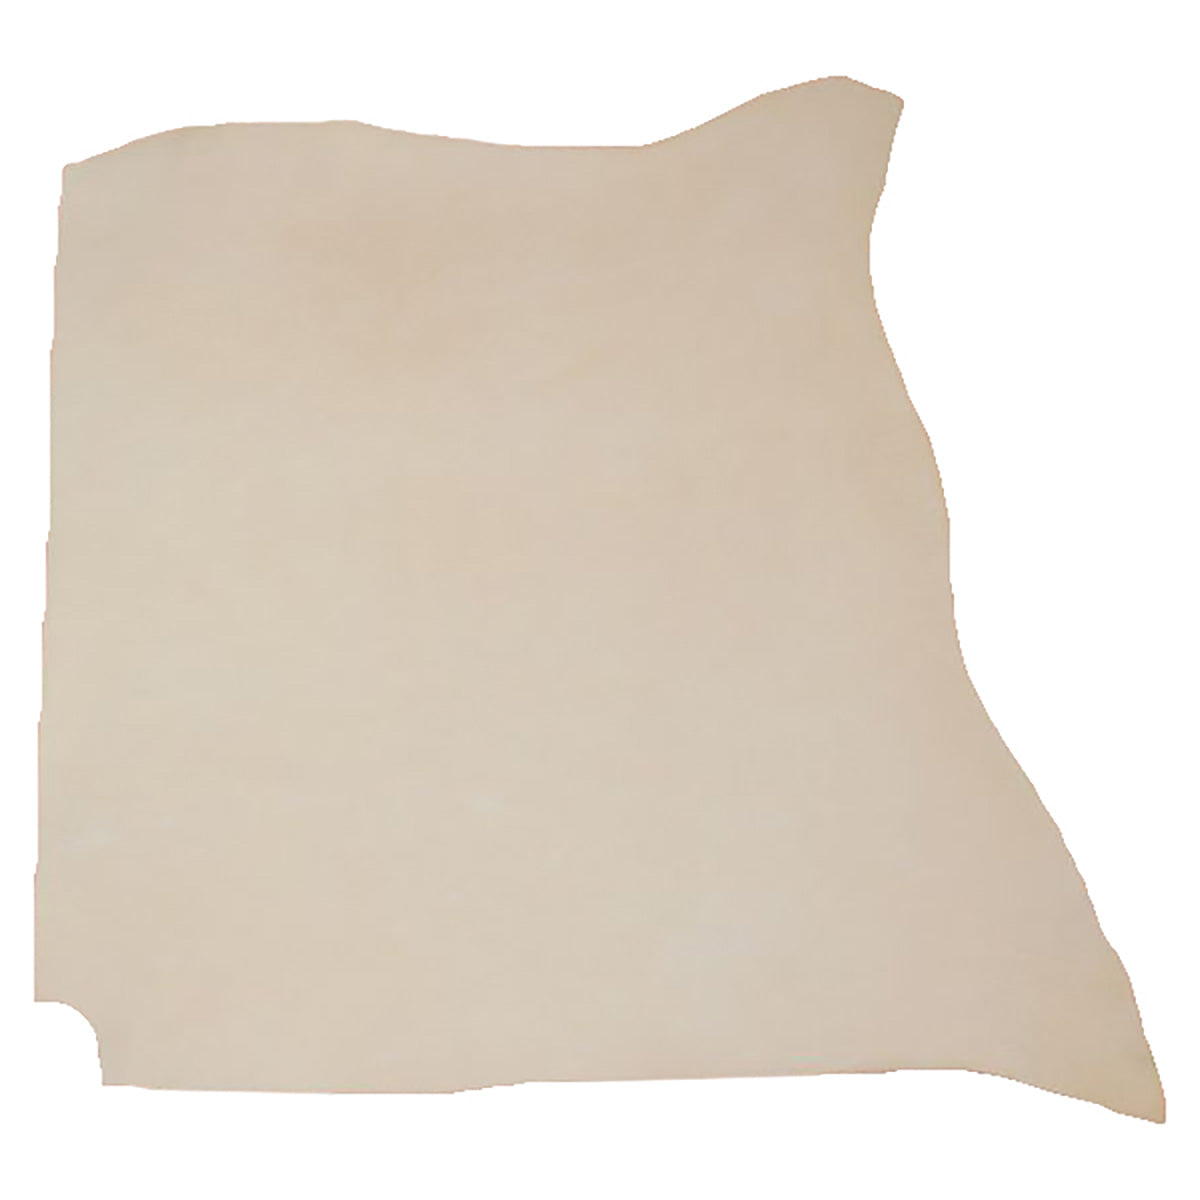
2. CUT THE PIECES IN THE LEATHER
Trace the different pieces on the leather (using a silver pencil) then cut them out with a cutter or cutter.
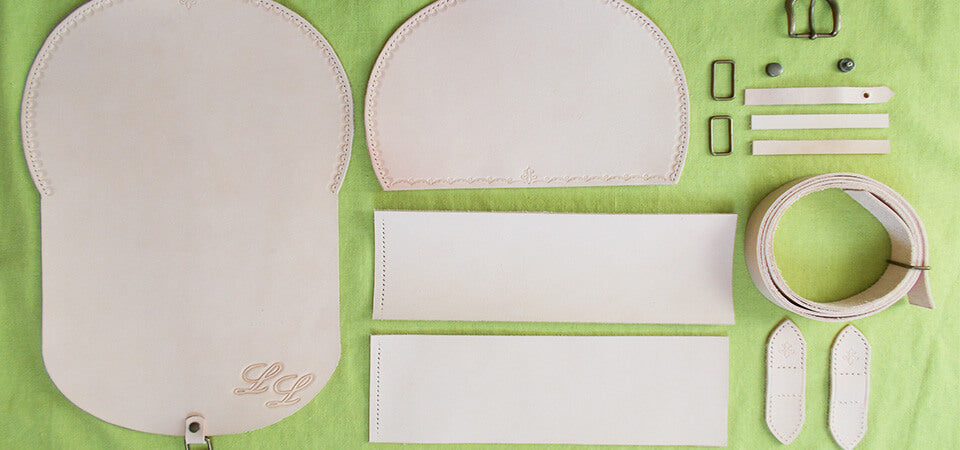
Pieces to cut :
- in front
- back + flap
- both sides of the bag (10 x 28 cm)
- 2 tabs to attach the strap to the bag
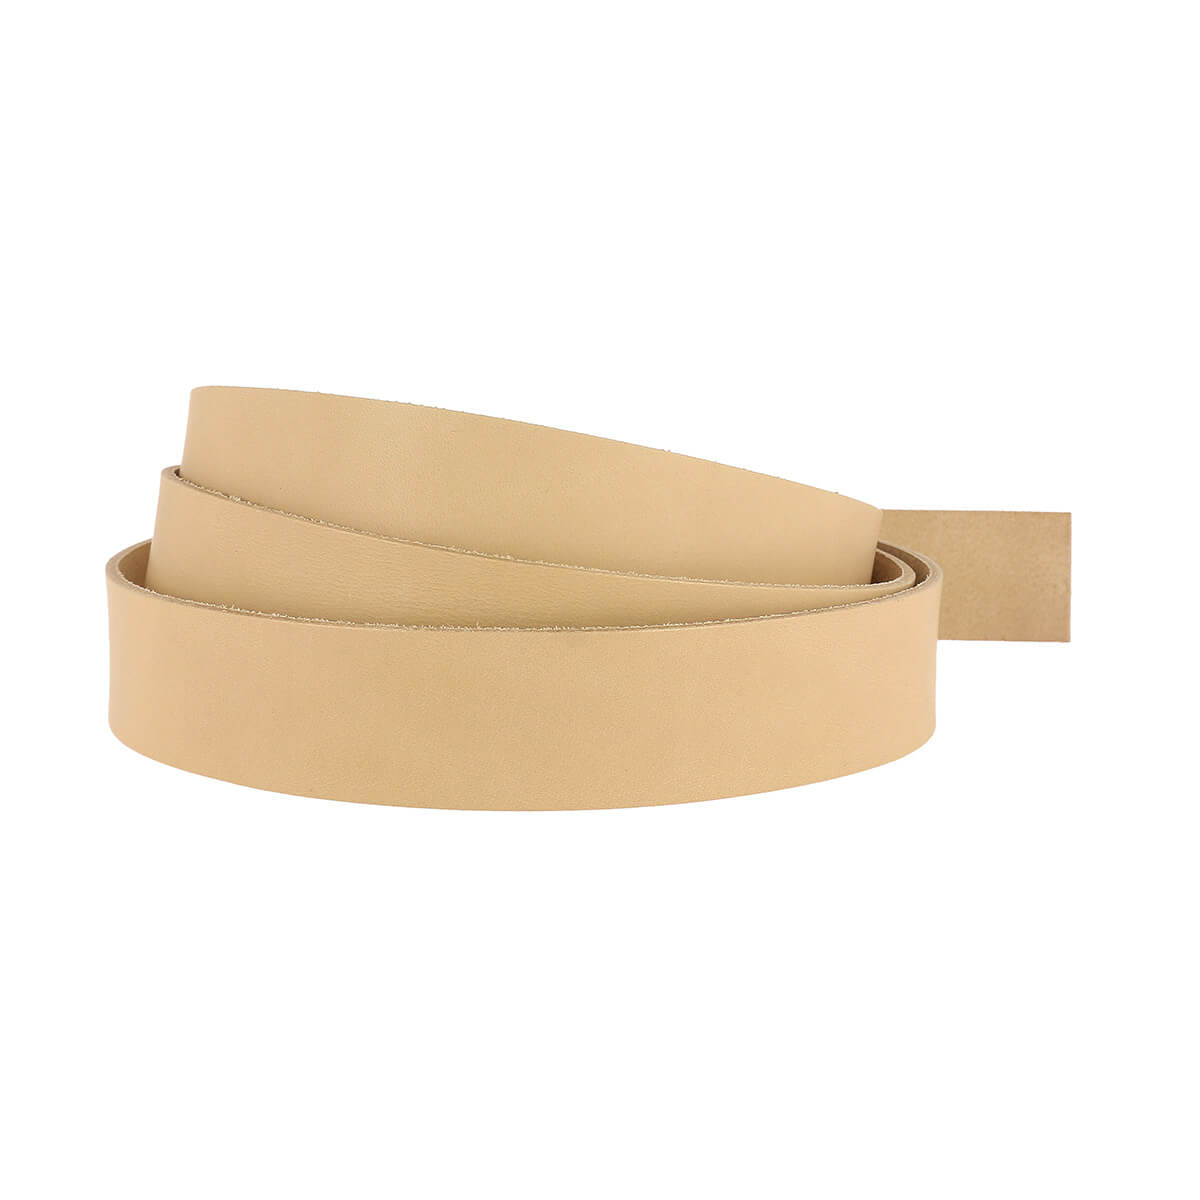
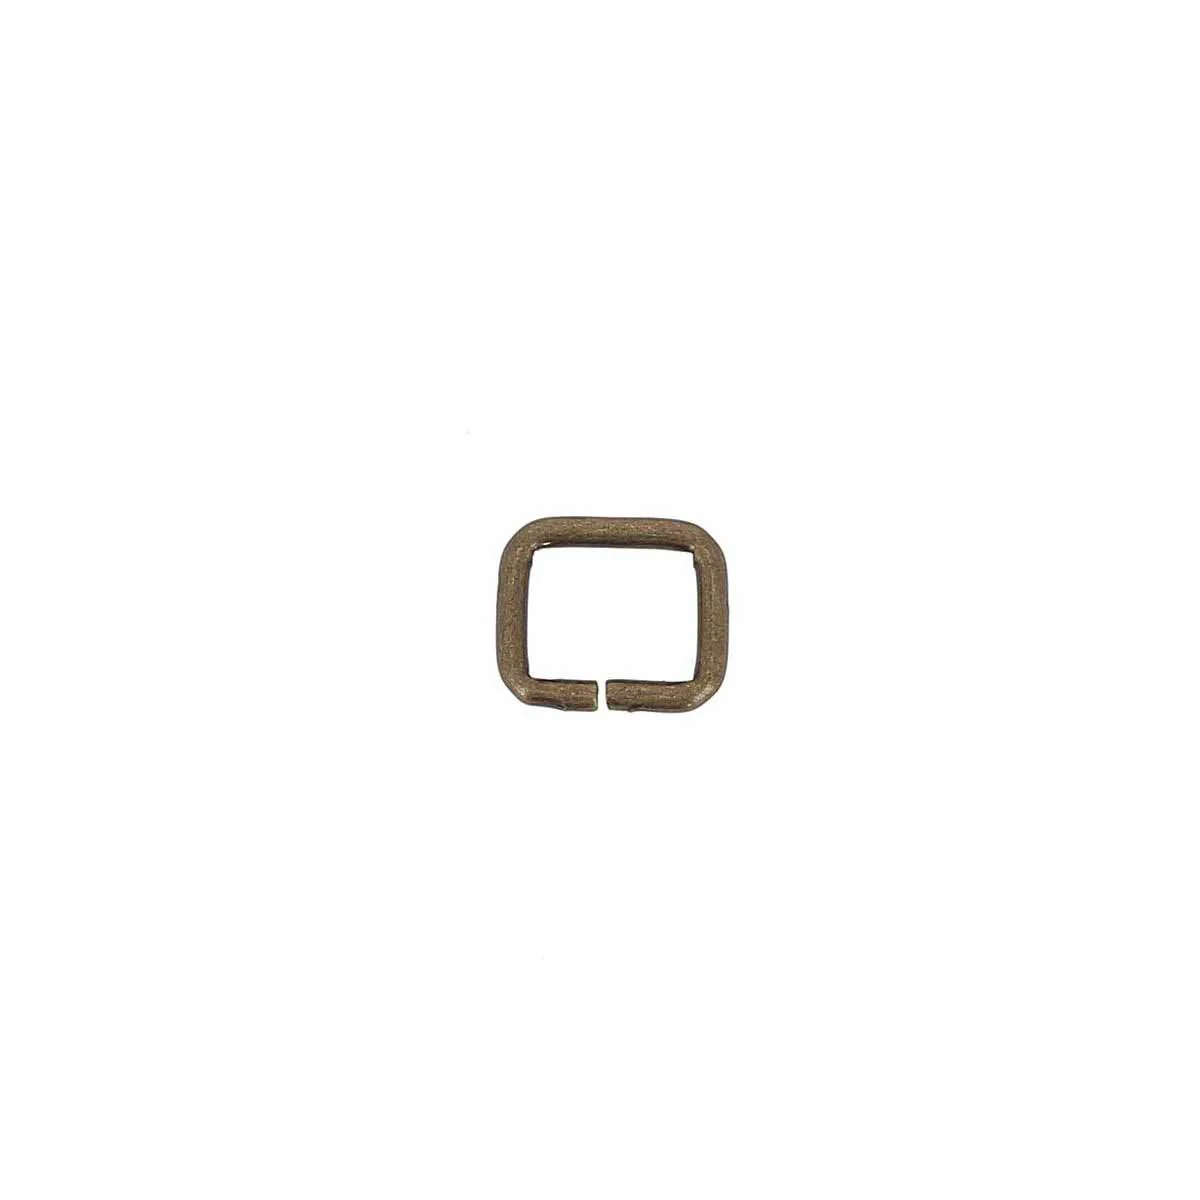
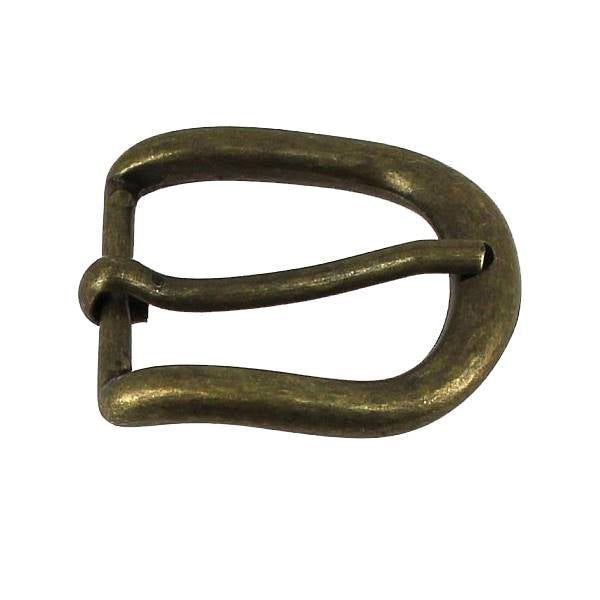
- Strap and loop fastener for closing the bag
For the strap you can either cut it from vegetable tanned leather using a strap cutter or buy it already cut. 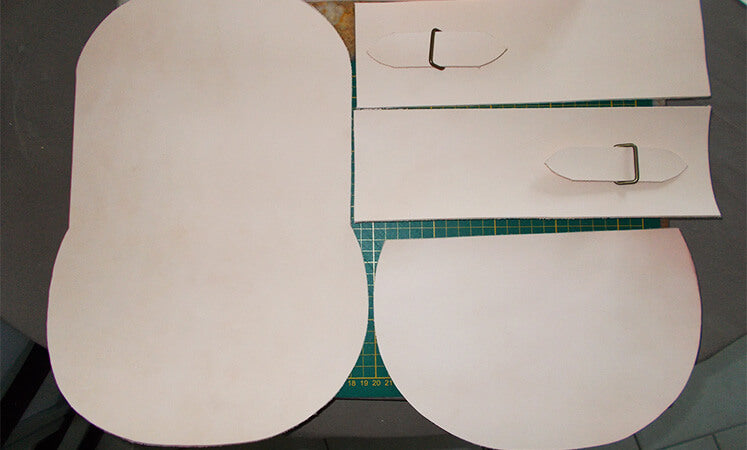
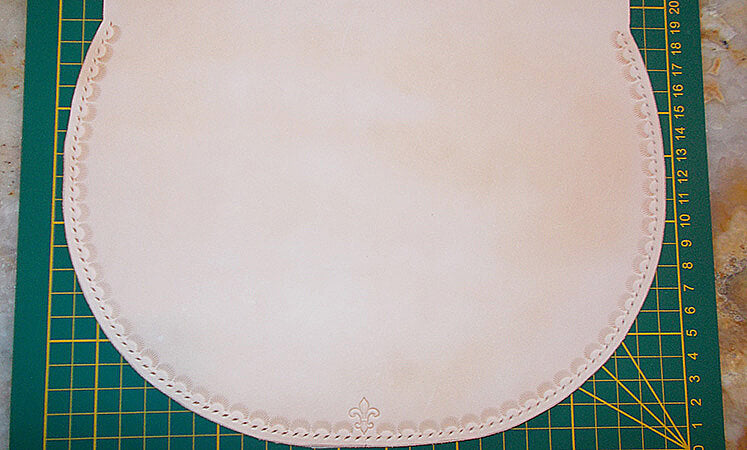
3. DRAW A STITCHING LINE
Draw a stitching line 3/5mm from the edge all around the pieces to be assembled (with a dry-point compass) then mark the points (marking wheel or striking claw). 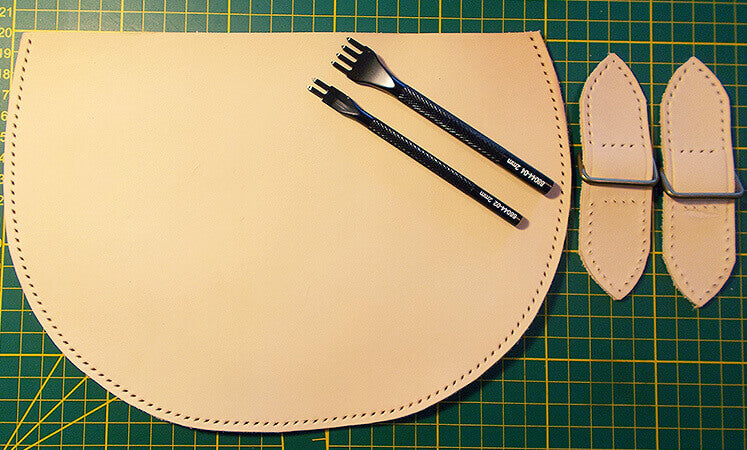
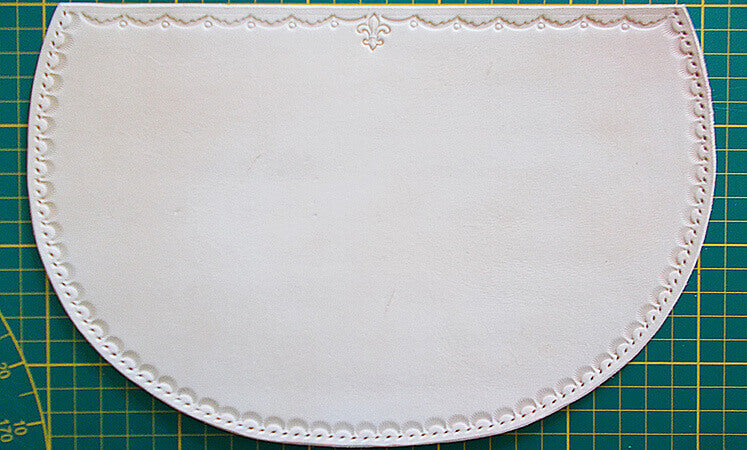
4. LEATHER EMBOSSING AND REPOUSSING
- Wet your leather evenly then using stamps and a mallet decorate the pieces of leather.
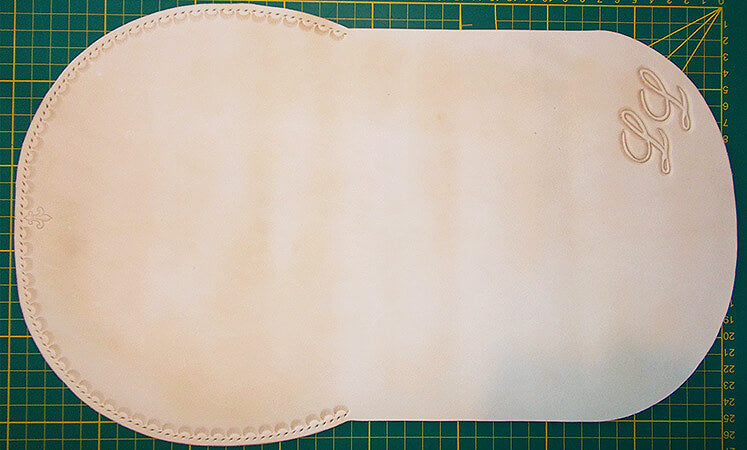
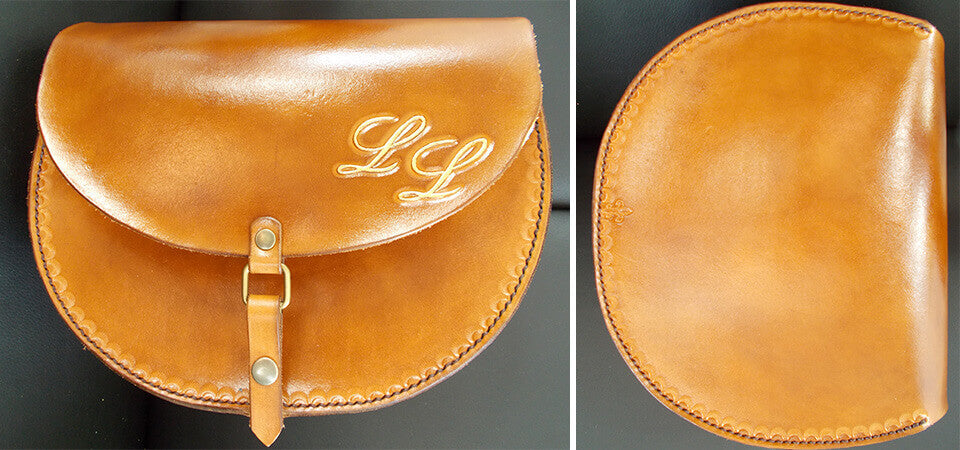
- On the flap of the bag, Ludovic chose to emboss the leather with initials.
5. WORK THE SIDES OF THE BAG
Each strip (2 in total) is 10 cm wide and 28 cm long.
- Place the ripple 1 cm from each length to facilitate folding for sewing the edges.
- Draw a seam line 5 mm from the edge on one of the widths (to be able to assemble the 2 strips together) with a dry-point compass then mark the points (marking wheel or striking claw).
Since your stitching line is at least 5 mm from the edge, you will then need to overlap the leather pieces to sew the strips together. If you do not want to have any excess thickness, we recommend trimming the leather (only the crust side of the piece you are going to overlap).
The finished bag will be approximately 8 cm wide. 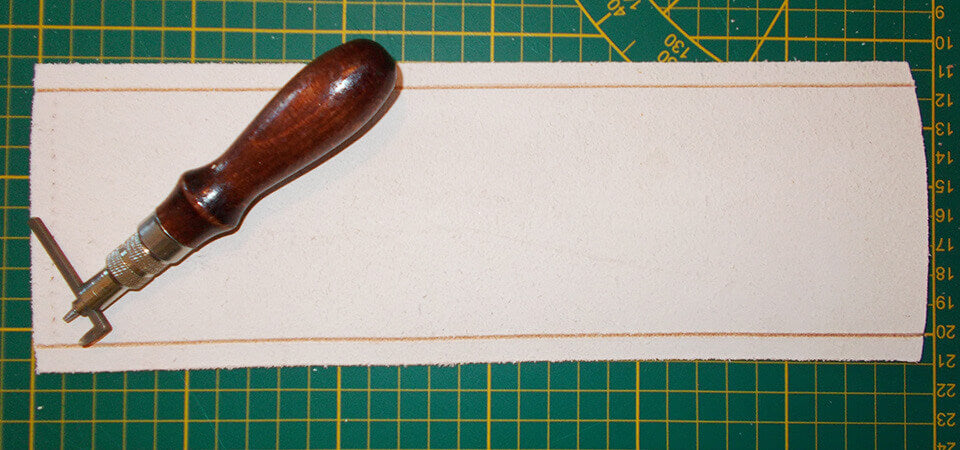
6. WORKING THE DIFFERENT PARTS
- Square the edges on both sides of the leather (except for the pieces that will be assembled).
- Make the holes for the rivet and snap button (strap for closing the bag).
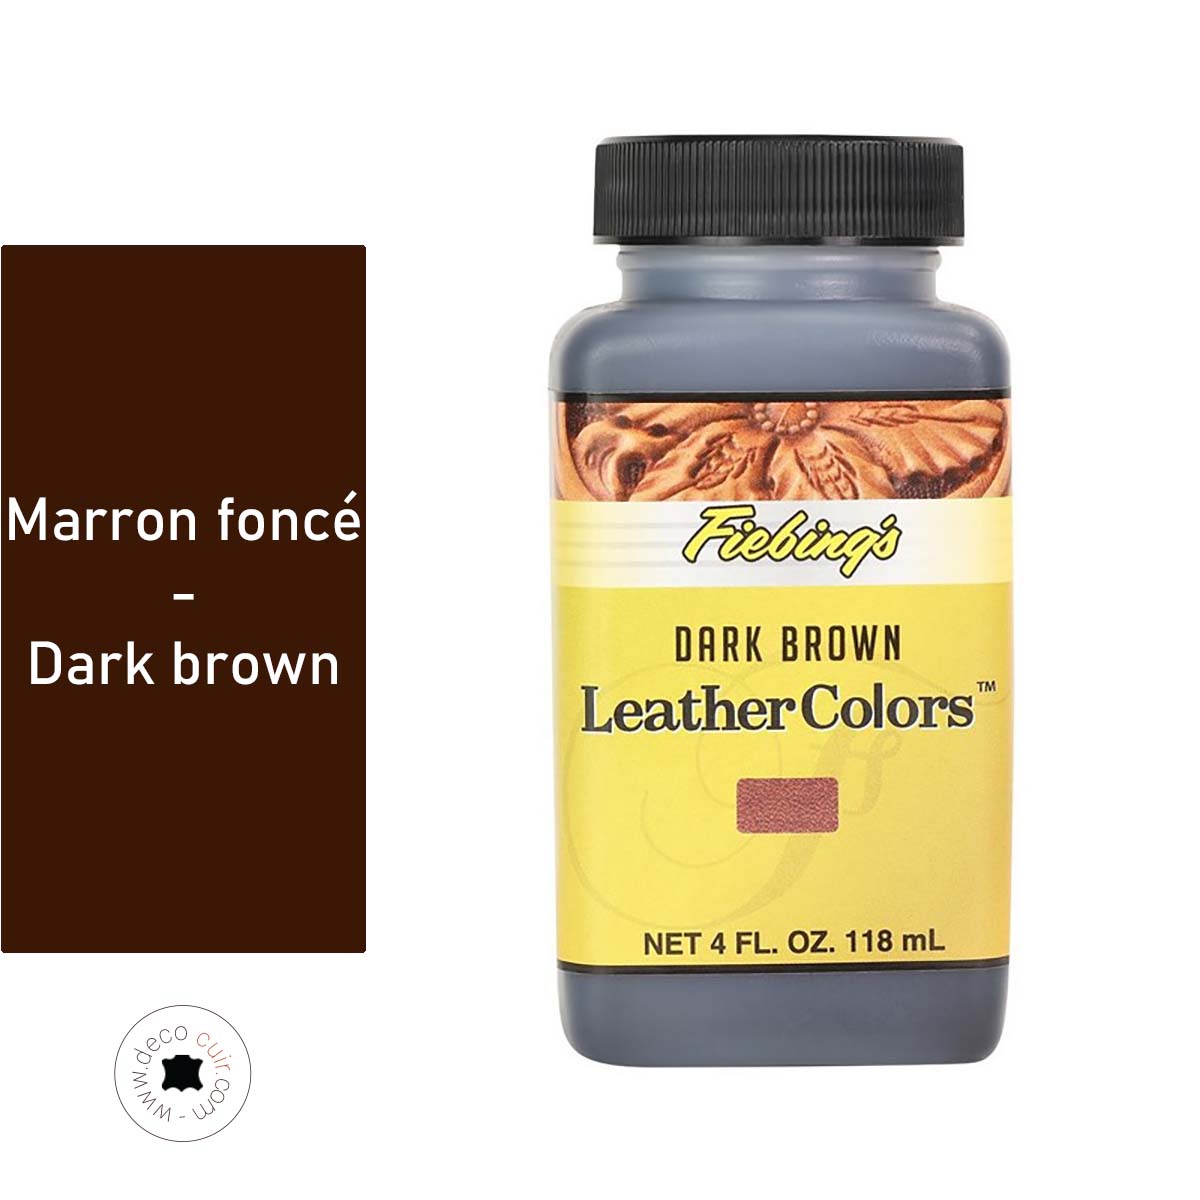
7. DYING VEGETABLE TANNED LEATHER
- Dye vegetable tanned leather with a soft cloth in a circular motion - Fiebing's medium brown dye
- Work the slices that will not be sewn with gum tragacanth
- Paint the initials - Eco Flo Gold
- Nourish and shine leather with neatsfoot oil
8. ASSEMBLE THE LEATHER PIECES
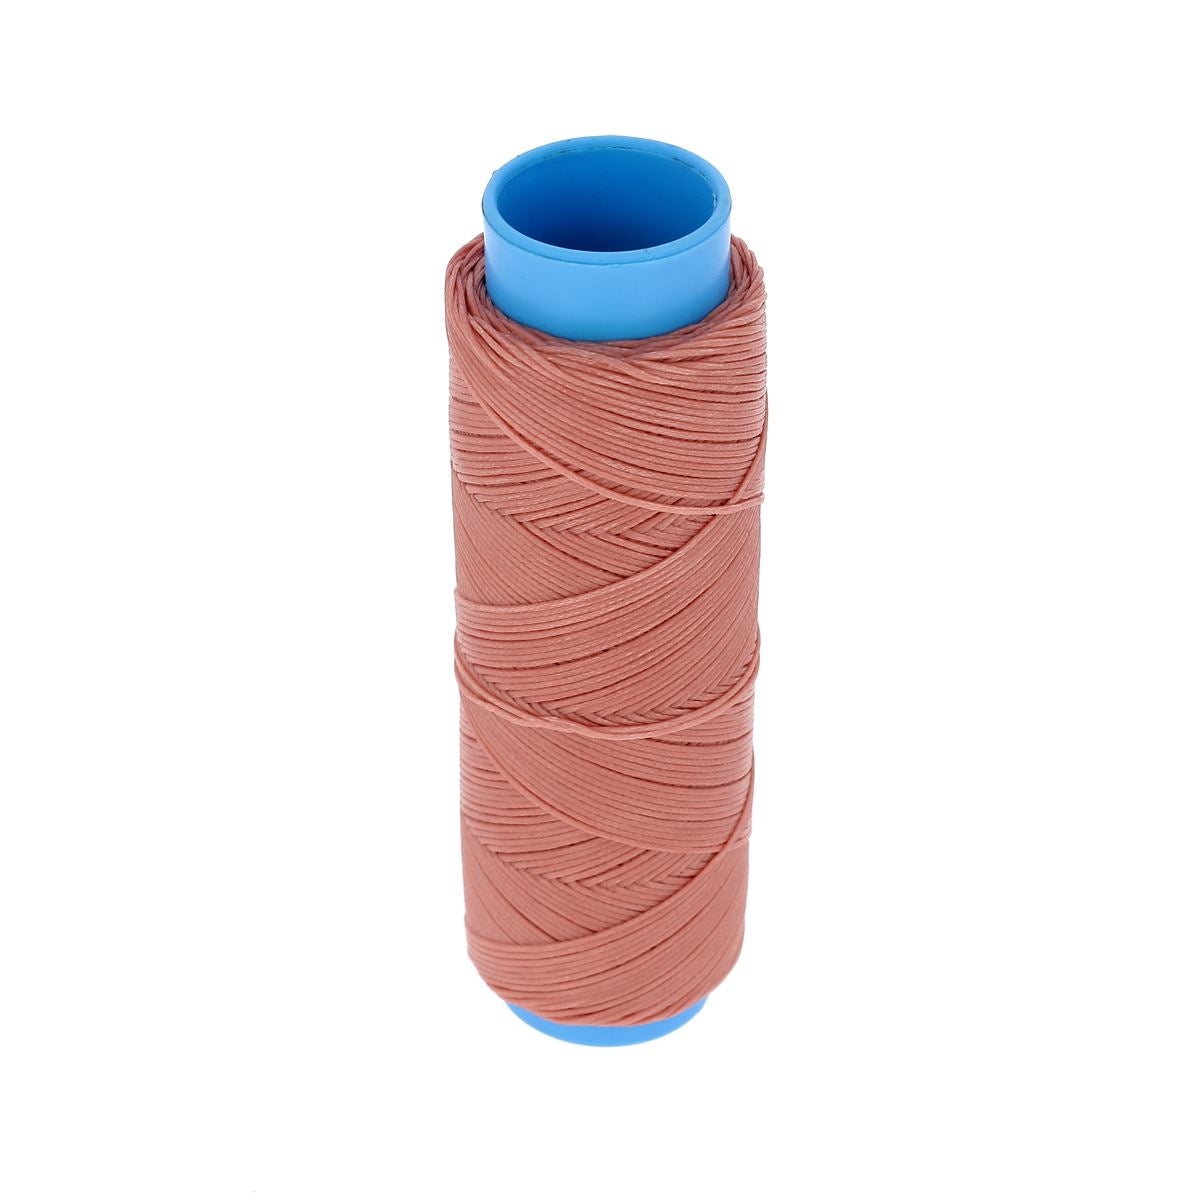
- Assemble the different pieces with water-based glue and then use a saddle stitch (remember to include the strap for closing the bag in the seam).
- Work the slices with gum tragacanth
- Place the snap button on the strap to close the bag and rivet the loop fastener (without forgetting to insert the loop).
- Working the bag strap
- Polish the leather with wax


7 comments
Deco Cuir
Bonjour,
Nous revenons vers vous concernant vos questions sur le tutoriel du sac tannage végétal : https://www.decocuir.com/blogs/blog-tutoriel-patron-cuir/sac-cuir-vegetal-tutoriel. Les languettes de la sangle font 30 mm de largeur nous vous conseillons donc de sélectionner une lanière de collet de 30 mm de largeur (ép 1,9 mm) : https://www.decocuir.com/collections/laniere-cuir-collet-tannage-vegetal-ceinture En ce qui concerne la surface de peau nécessaire il vous faudra au minimum une peau de 0,85 à 0,90 m2 et je vous invite à sélectionner une épaisseur de 1,4 mm. N’hésitez pas à sélectionner un cuir et à demander au service clients si les dimensions de vos pièces rentrent bien dans la peau !
L’équipe Deco Cuir
Elisa
Bonjour,
J’aimerais réaliser ce sac mais j’aurais besoin de votre aide car c’est la première fois que réalise quelque chose de similaire.
Quelle quantité de cuire il me faudrait?
Quelle largeur de lanière est la plus adaptée?
Merci pour votre aide!
Thierry QUINZEBILLES
Merci pour ce gabari. Génial. Au lieu de coller les patrons sur du carton, je les passe à la plastifieuse à documents et les découpe. Cordialement
Anonymous
Bonjour Isabelle,
Merci pour votre commentaire sur notre blog. Pour ce patron il faut télécharger le PDF et l’imprimer en taille réelle. Attention les parties « Rabat et Arrière » sont à assembler.
En ce qui concerne les bandes de 10×28 cm ce sont les seules pièces qui ne sont pas à taille réelle : c’est à vous de les patronner 😊
Bonne journée,
L’équipe Deco Cuir
regnier isabelle
Bonjour !
c’est aussi plus une question qu’un commentaire ! je n’arrive pas à imprimer le patron avec les bonnes tailles, d’habitude cela fonctionne très bien, et là pas moyen, avez vous une idée ? merci d’avance et bonne journée
Anonymous
Bonjour Luce,
Oui effectivement il faut assembler les 2 bandes (pour en faire qu’une) sur la largeur : là où vous avez fait les points de couture à l’étape 5.
Ensuite il faudra coller bord à bord la bande sur chaque côté du sac et faire une couture point sellier pour l’assemblage.
L’équipe Deco Cuir
Anonymous
Bonjour,
C’est plus une question qu’un commentaire.
Les bandes formant les côtés du sac sont elles cousues (dans leurs largeurs) bord à bord ou en couture sellier ?
Merci de votre réponse que j’espère rapide car j’en suis là !!!!