

tutoriel étuis en cuir clic clac deco cuir

Adjust pattern size according to the size of your glasses

Final dimensions.


Hand stitching with a whipstitch or machine sewing.


Tip: adapt the pattern to your glasses. The length of the pattern can be adjusted to best fit your glasses. Make sure to account for their thickness when making this adjustment. The width of the pattern, however, must remain unchanged, as it is determined by the dimensions of the clasp.

Download the pattern
This free pattern is for private use only. It is to be printed in real size. Download the PDF pattern
Supplies
Max cost: 13,00 €
The products needed to complete this tutorial
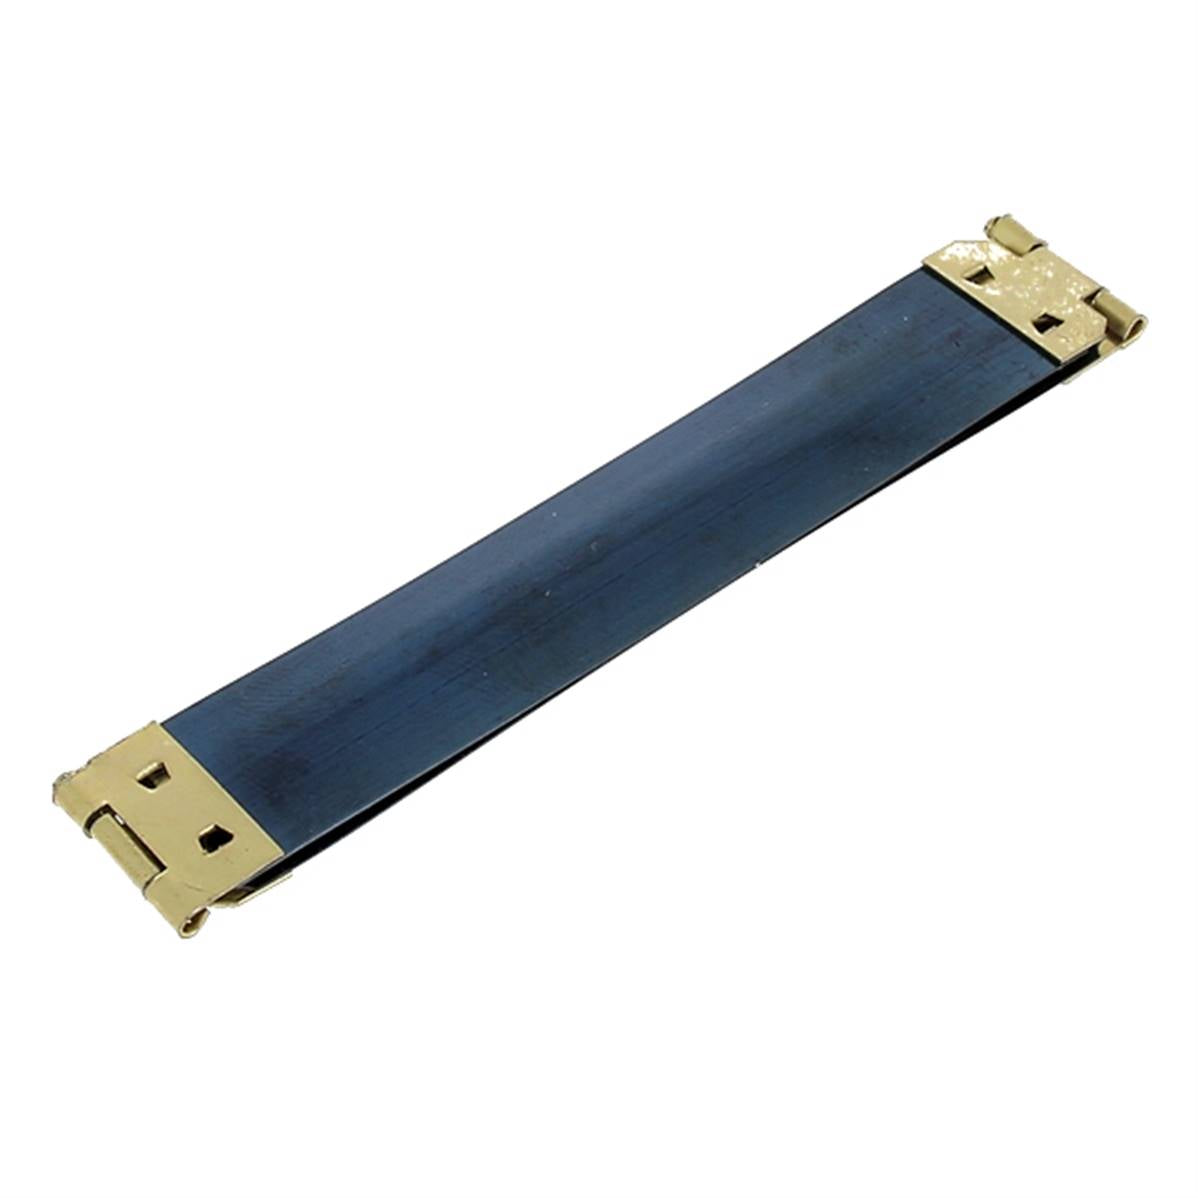
Fermoir à cliquet Deco Cuir, modèle Clac Clac, 9x1,5 cm, accessoire en métal pour bijoux ou maroquinerie.Fermoir à cliquet CLIC CLAC en cuir Deco Cuir, monté, 7,2x1,5 cm, accessoire pour création en cuir.
Gamme suivie Italie 🟢⚪🔴
Morceau de cuir GRANITE FAUVE, matériau souple et texturé, utilisé pour la confection d'articles en cuir de haute qualité.Morceau de cuir GRANITE FAUVE de la marque Autres, texture fine et couleur chaude, utilisé pour la maroquinerie ou la couture.
From
Sale price2,35 €
  • SIZE: 15x20cm 20x30cm 30x40cm
  • THICKNESS: 0.5mm 1mm 1.4mm
Nouveauté
Coupon de cuir nubuck marronCuir de vachette nubuck ciré marron clair. Cuir soyeux et souple idéal pour la création de maroquinerie, accessoire et décoration
From
Sale price1,63 €
  • SIZE: 15 x 20 cm 20 x 30 cm 30 x 40 cm
  • THICKNESS: 0.5 mm 1 mm 1.4 mm
M40
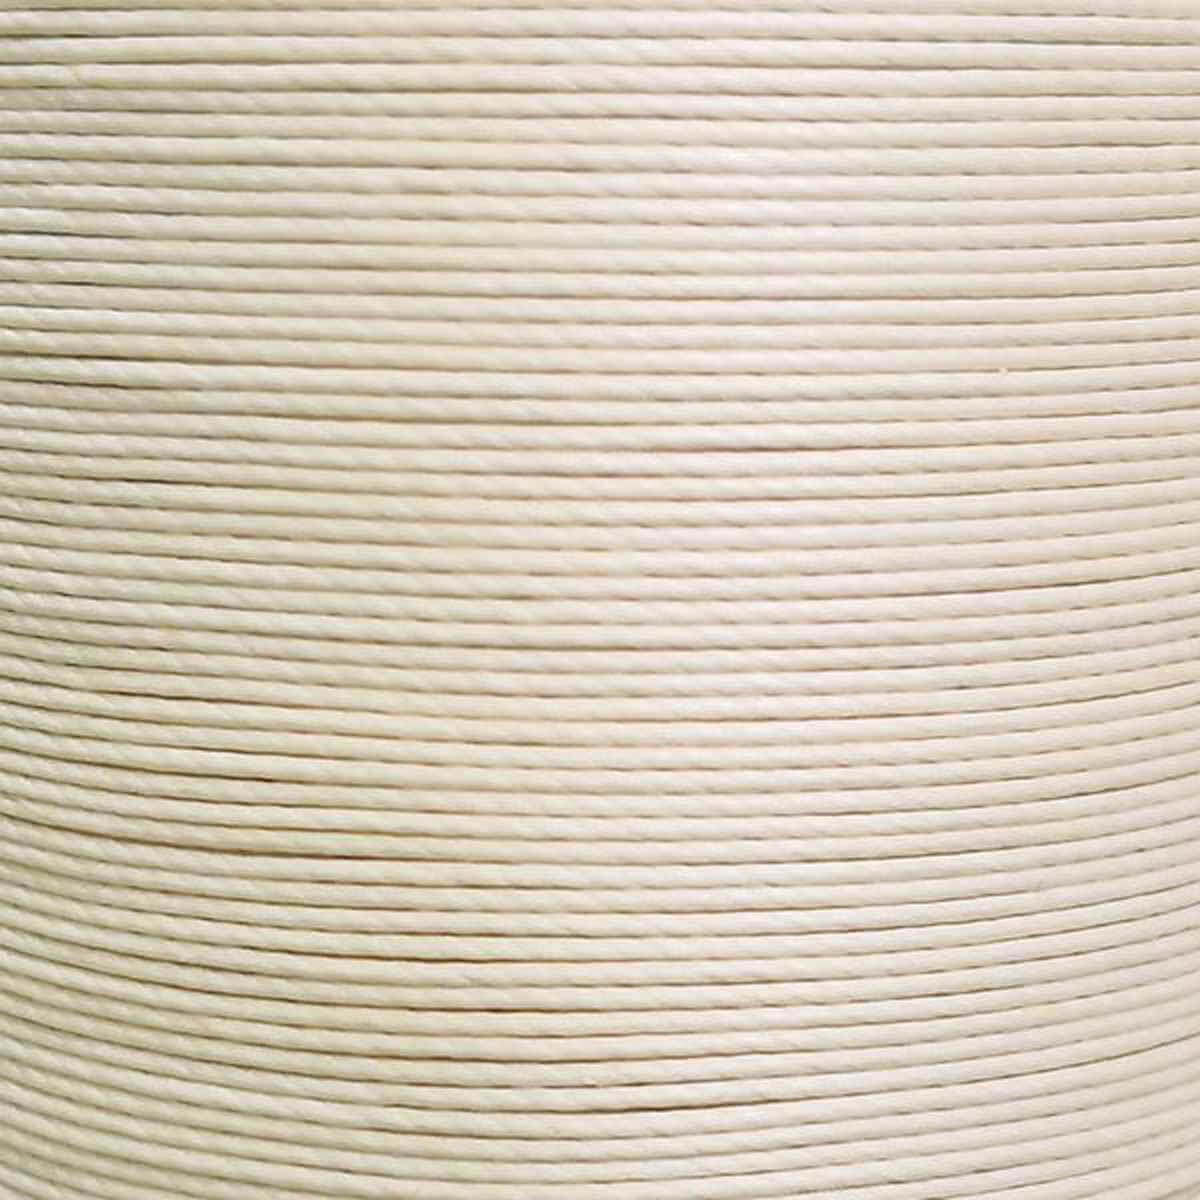
Fil de lin ciré MeiSi M40, 8m, 0,45 mm, couleur crème, mercerie fine, zoom sur la texture du fil.Fil de lin ciré MeiSi, 8m, super fin M40, 0,45mm, couleur crème, pour mercerie et broderie.
Sale price1,80 €
  • Beige
  • White
  • Blue
  • Gray
  • YELLOW
  • Brown
  • Multicolor
  • Black
  • +4 shades
Italie 🟢⚪🔴
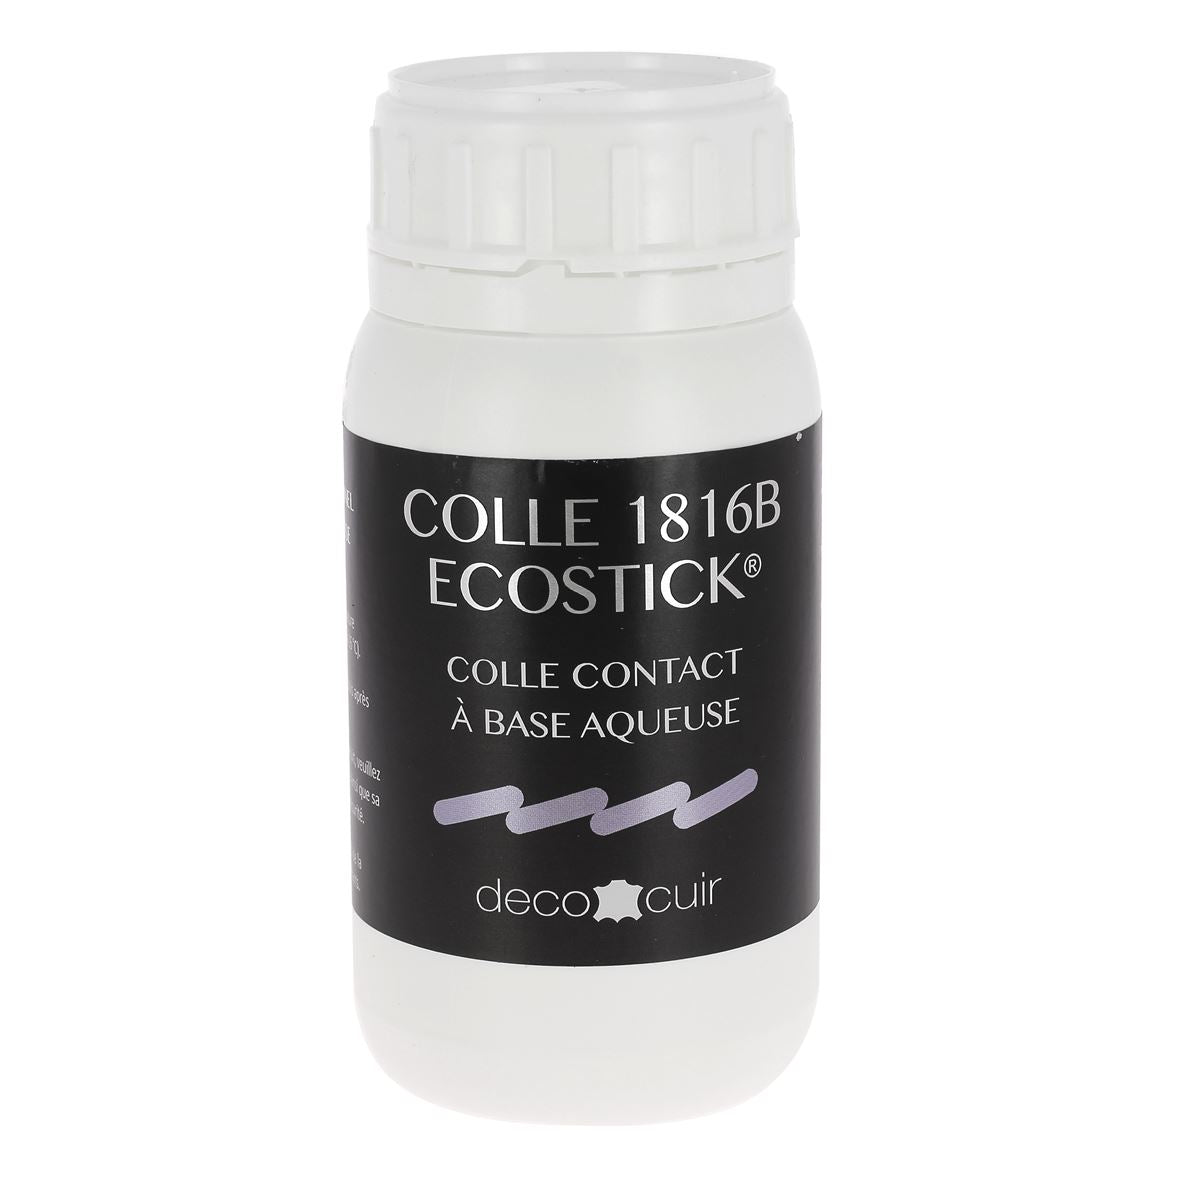
Colle contact à base aqueuse Intercom Ecostick 1816B pour cuir, contenir 200g, tube avec applicateur.Colle contact à base aqueuse Intercom Ecostick 1816B pour cuir, tube de 1 kg, appliquée sur une surface en cuir.
From
Sale price12,95 €
64,75 € / kg
  • CAPACITY: 200g 1kg 5kg
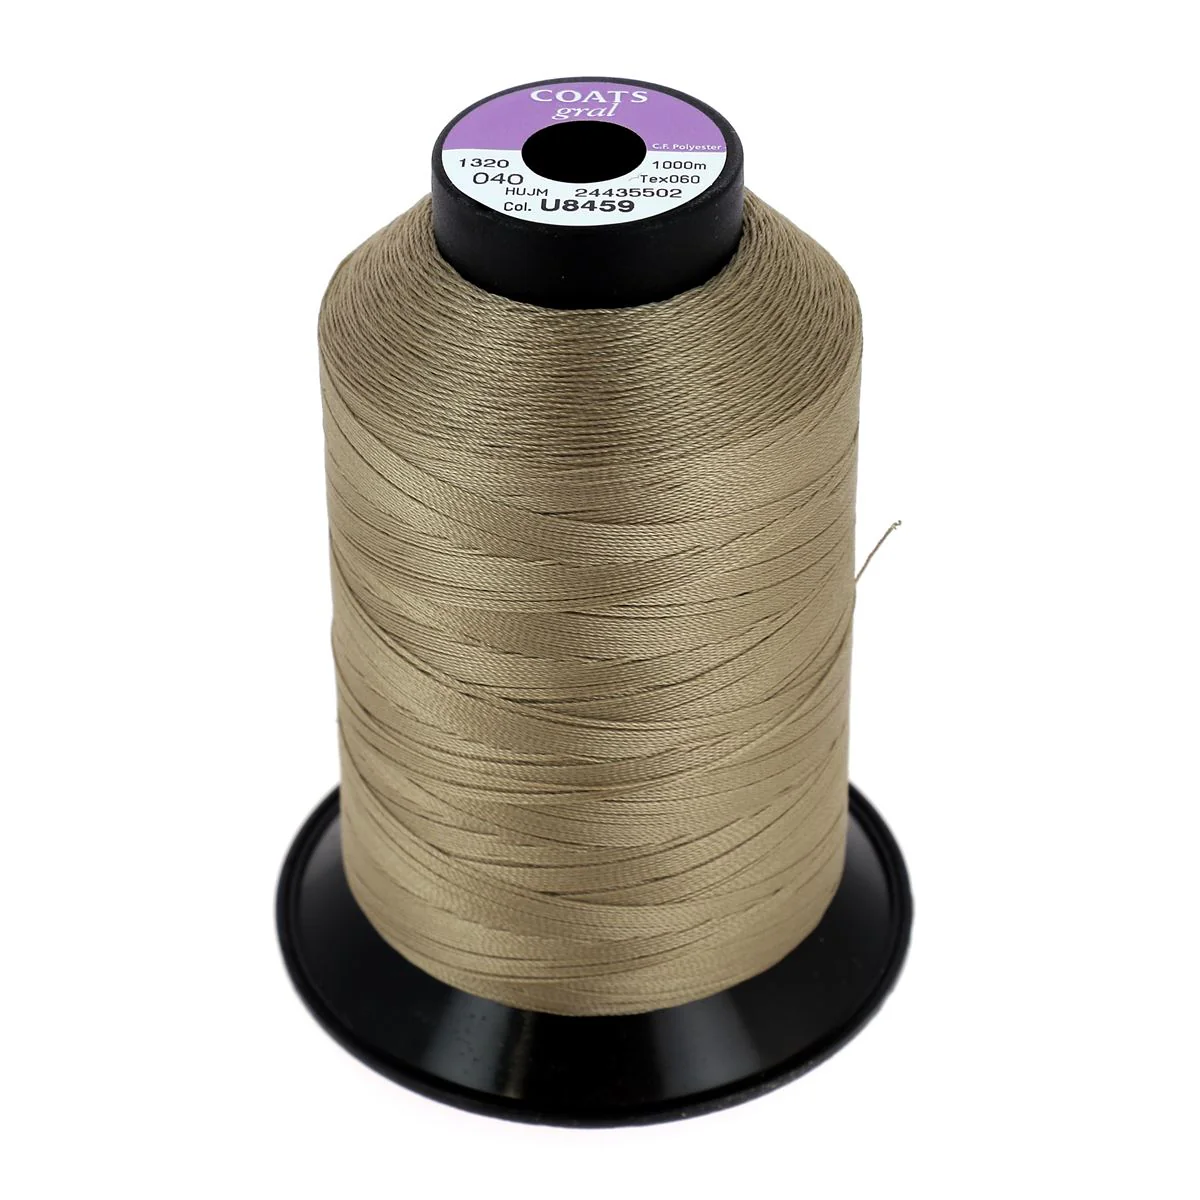
CA076-U8459-Bobine-de-fil-polyester-GRAL-n-40.jpgCA076-Bobine-de-fil-polyester-GRAL-N-40-1000m-2-.jpg
Sale price6,84 €
  • Brown
  • Beige
  • White
  • Blue
  • Gray
  • YELLOW
  • Brown
  • Black
  • Orange
  • +2 shades

free pattern cutout tutorial snap coin purse

1- Position the pattern pieces on the grain side of the leather. For machine sewing, trace the outline of the pieces directly using a silver pencil.

trace pattern piece leather eyeglass case snap closure tutorial

For saddle stitching (by hand), hold the pieces in place using masking tape, leaving a 5 mm margin around the cutting lines. Also, punch the Ø 1 mm stitching holes indicated on the pattern.

position leather piece snap coin purse tutorial

punch stitching holes snap coin purse tutorial

You can customize one side of the P2 pieces by giving it the shape of your choice: fringes, waves, petals...

fringe cutout snap coin purse tutorial

2- Cut out the various pattern pieces using a craft knife or a pair of scissors.

trim leather leather eyeglass case tutorial

cut leather leather eyeglass case snap closure tutorial

leather cutout snap coin purse tutorial

3- Apply a 6 mm wide bead of glue (or double-sided tape) along the two lengths of the P2 pieces.

apply glue to P2 leather piece

4- Position and glue the P2 pieces onto the top of the P1 pieces. The P2 piece must be positioned straddling the edge of P1, leaving a 6 mm margin from the edge of P1.

leather eyeglass case snap closure tutorial

gluing P2 piece eyeglass case tutorial

Then, sew the lengths of P2 at 3 mm from the edge, either by machine or by hand using a saddle stitch.

sewing P2 strip leather eyeglass case tutorial

finish leather sewing eyeglass case

Saddle stitch XXX

saddle stitch snap coin purse tutorial

saddle stitch snap coin purse tutorial

5- Assemble the two P1 pieces, right sides together and edge to edge. For machine sewing, it is recommended to use a zipper foot to make the start and end of the seam easier.


sewing eyeglass case leather craft tutorial

saddle stitch snap coin purse tutorial

6- Trim the seam allowances for a cleaner finish.

trim leather leather eyeglass case tutorial

trim seam leather eyeglass case tutorial

trim leather snap coin purse tutorial

7- Then, turn the piece right side out. Use a pair of scissors to carefully shape the rounded corners.

turning out leather eyeglass case pouch

turning out eyeglass case leather snap closure tutorial

turning out leather piece snap coin purse tutorial

leather eyeglass case snap closure tutorial

8- Separate the snap clasp into two by removing the hinge pins on each side. Hold the P3 strip on the clasp by threading a piece of thread through the hinge holes and the P3 holes on one of the ends. Pass the thread through one of the sides of the coin purse, then pull to slide the clasp and part of the P3 strip through the leather. Repeat the operation on the other side.

inserting the snap clasp eyeglass case tutorial

leather eyeglass case snap closure tutorial

inserting snap clasp leather coin purse tutorial

9- Replace the pins to reassemble the clasp. Finally, cut the excess P3 on one of the ends. Punch two new holes and tie the two ends of the P3 strip together by passing the thread through the four holes several times. Finish with a knot.

leather eyeglass case snap closure tutorial

attaching clasp snap coin purse tutorial

snap clasp closure leather eyeglass case tutorial

closing P3 strip eyeglass case tutorial

10- Then, slide the end of the strip inside the coin purse to hide it.

snap clasp eyeglass case leather decor

leather eyeglass case snap closure tutorial

snap coin purse and leather fringes

snap coin purse and leather fringes

ADD LINK TO OTHER TUTORIAL

Your achievements
Do not hesitate to send us photos

Leave a comment

All comments are moderated before being published