
RECTANGLE POUCH VERSION


REQUIRED MATERIALS
Final dimensions of the pouch (if 25x25 cm piece): 17 x 7.5 x 7 cm
To make the leather pouch, you will need:
- 1 piece of soft leather, 30x40 cm, in the color of your choice – thickness between 0.8 to 1.4 mm. In the models below, we have selected a 0.8 mm thick Satinlys leather piece (because the leather is firm).
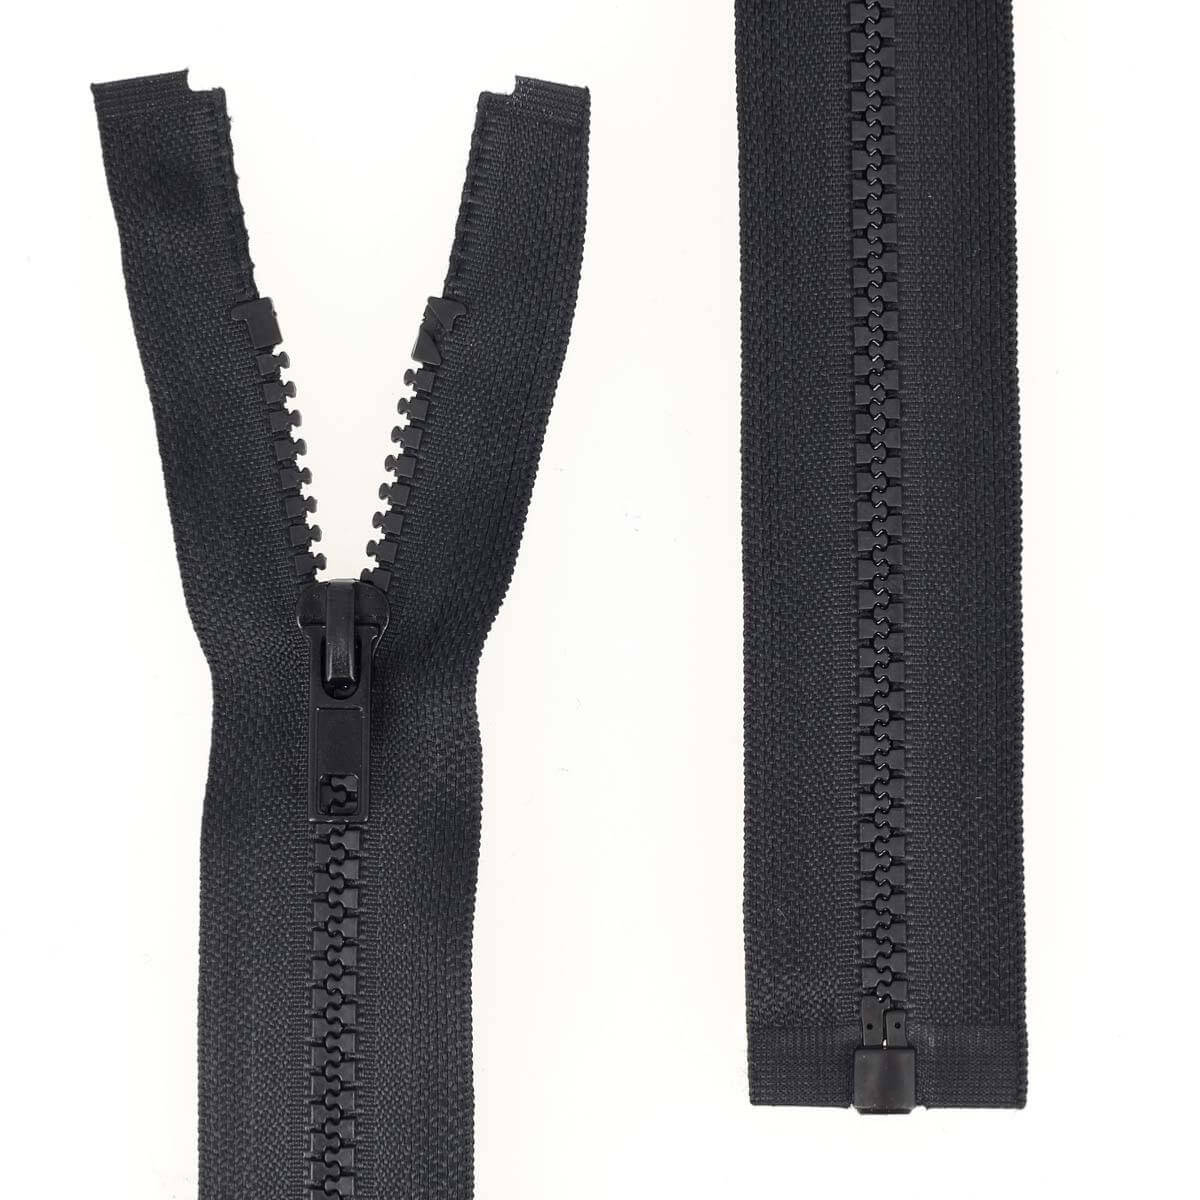
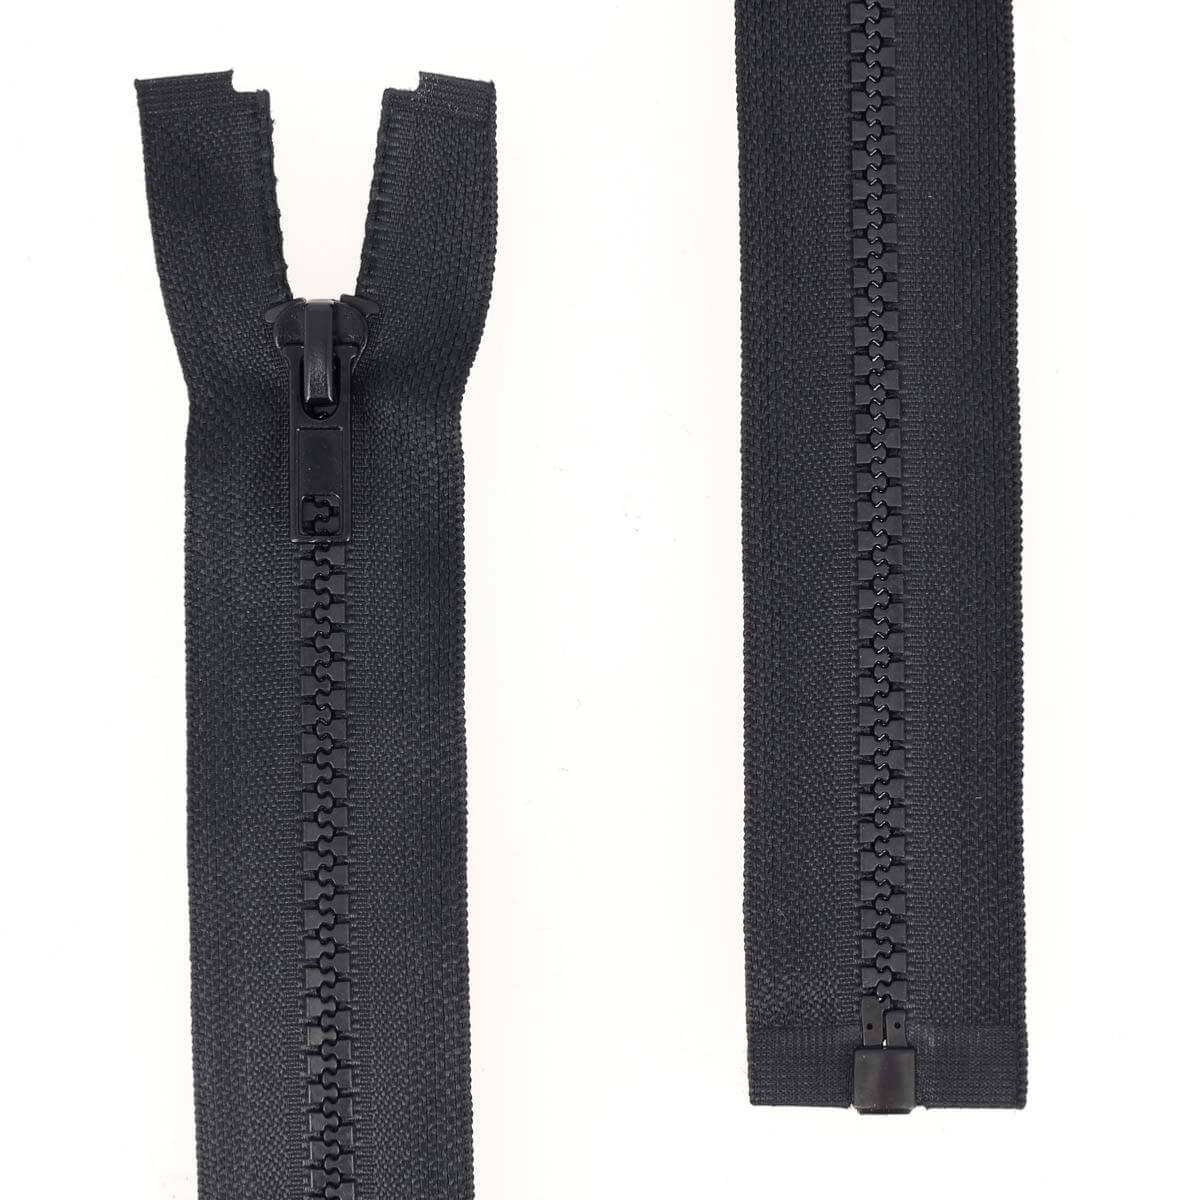
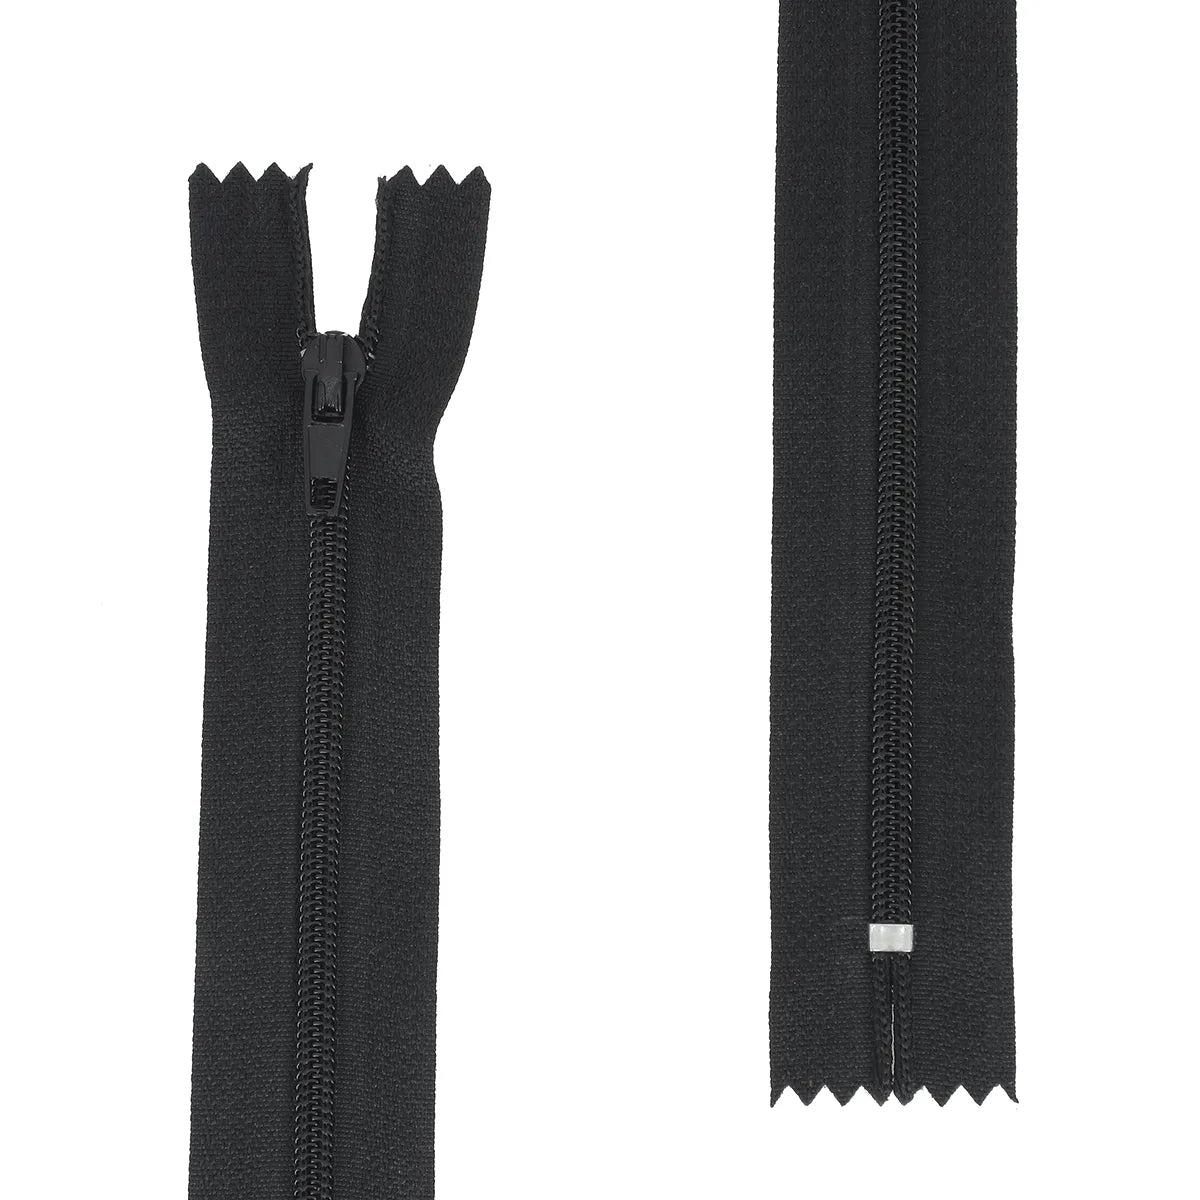
- 1 zipper, 30 cm (coil or plastic zipper)
- 1 silver pen
- 1 metal ruler
- 1 cutting mat
- 1 cutter and scissors
- 1 sewing machine (that can handle thicknesses)
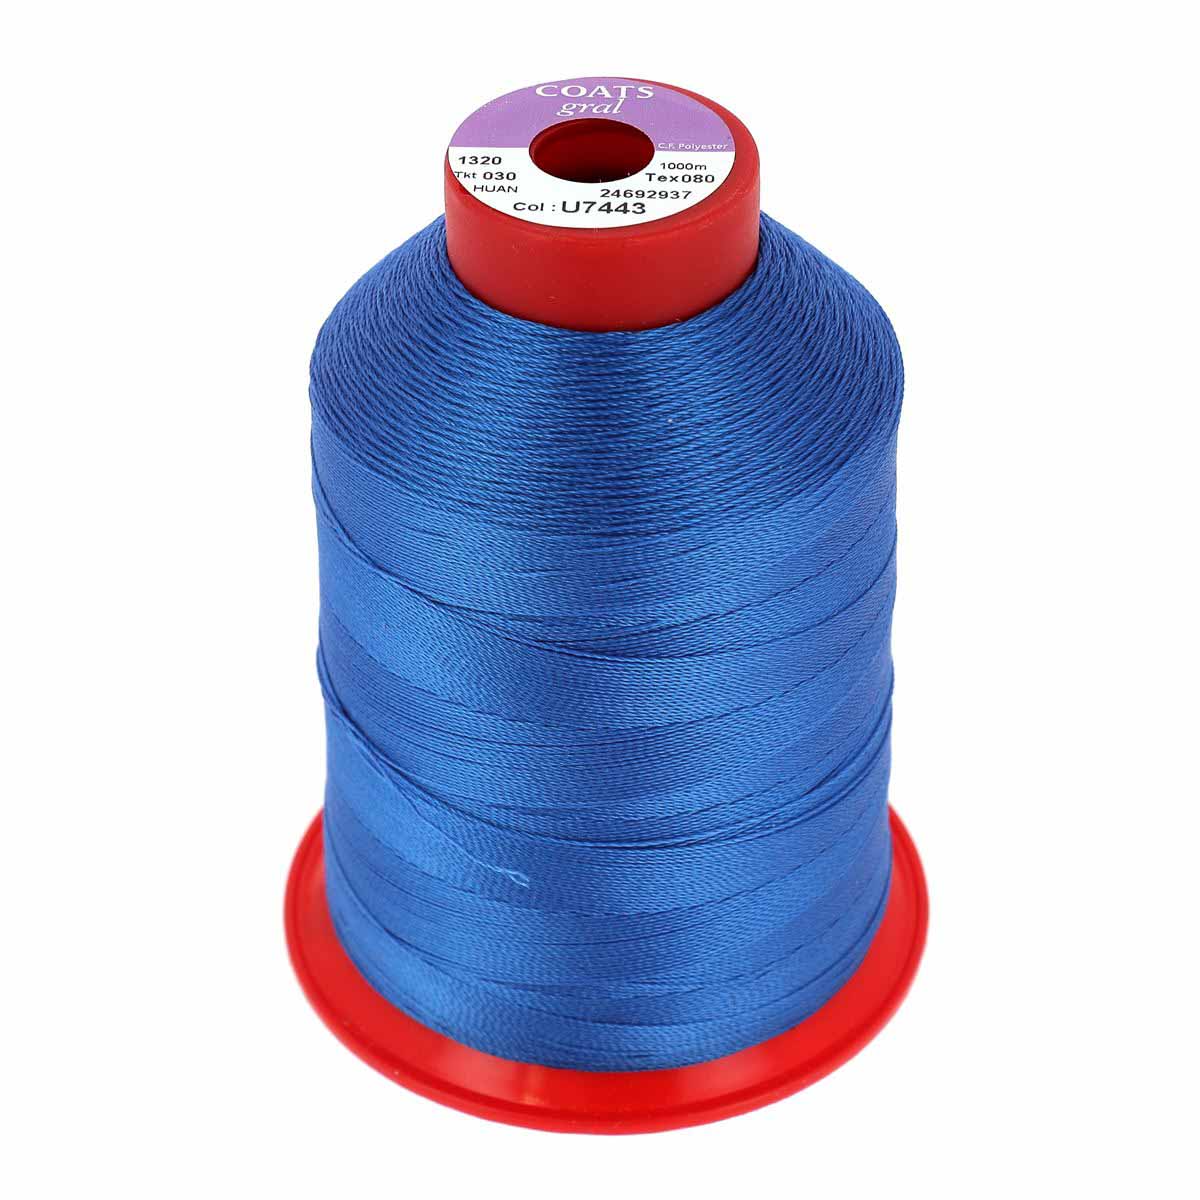
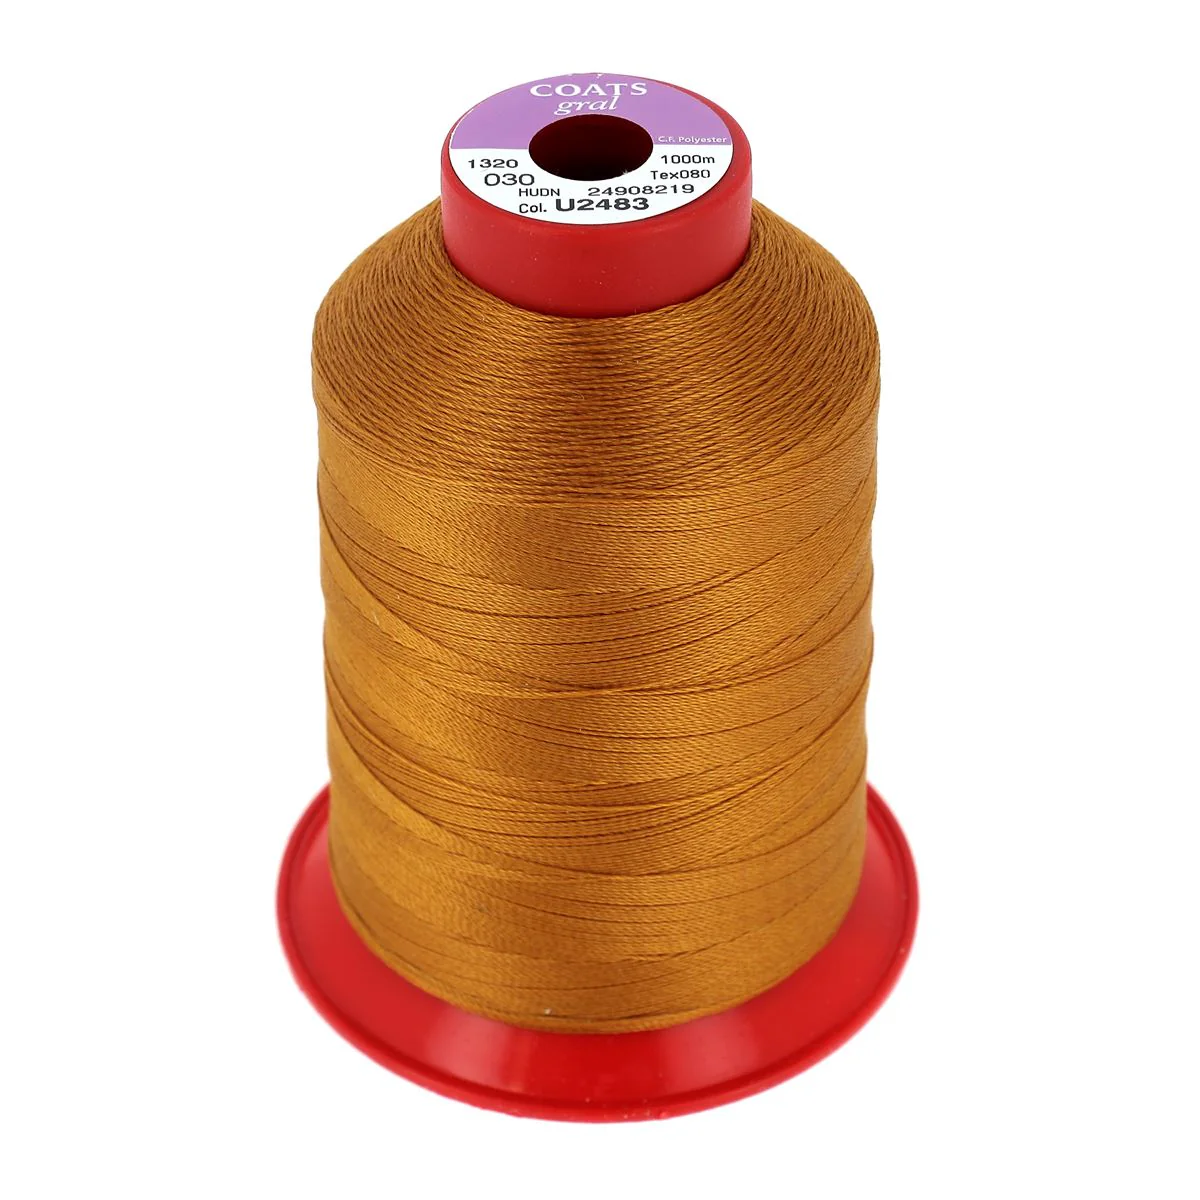
- Polyester thread n°30 in the color of your choice
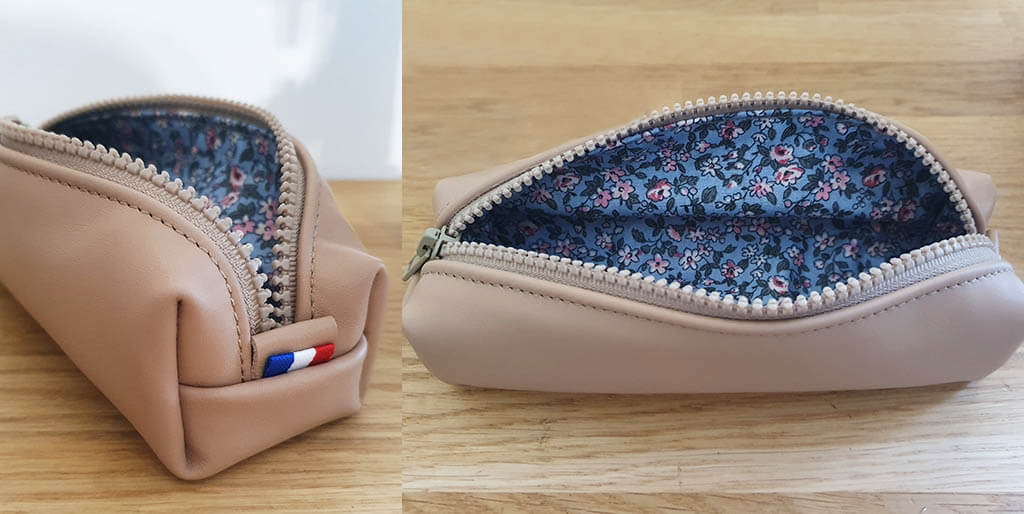
Bonus tip: feel free to line your leather pouch with a fabric lining (we recommend coated fabric to avoid fraying), Alcantara, or pigskin leather.
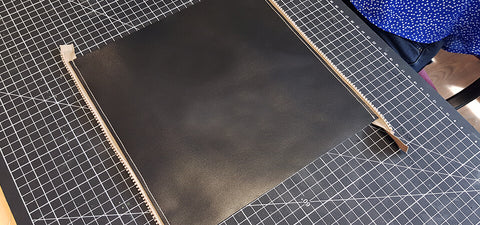
1. CUT THE PIECE
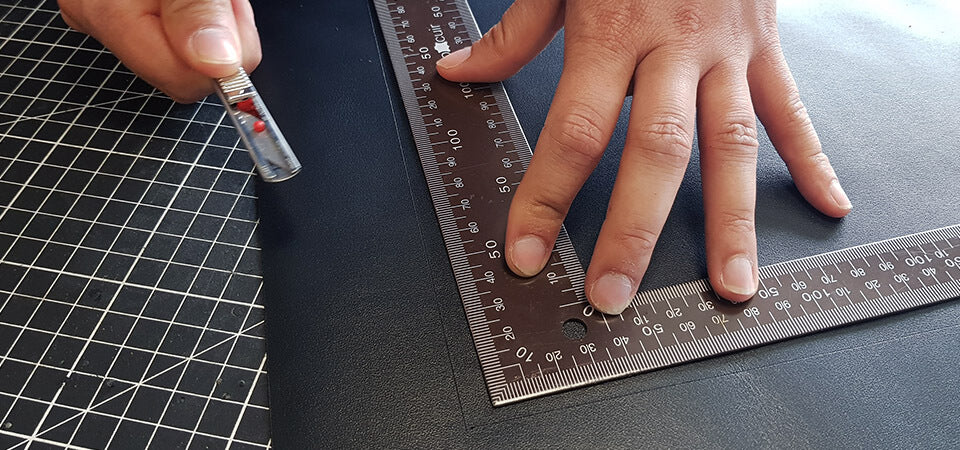
- Using the silver pen, draw a 25 x 25 cm square on the leather.
- Cut out the pattern using a square ruler and a cutter.
- Draw and cut a tab of 2 x 5 cm.
If you choose to line the pouch: also cut a 25x25 cm square from your chosen lining fabric.
The pen is erasable on most leathers with a simple eraser (do not use on vegetable-tanned leather). We advise you to test it beforehand to verify the erasable function on your leather.
Adjust the size of your leather piece to get the pouch that suits you best!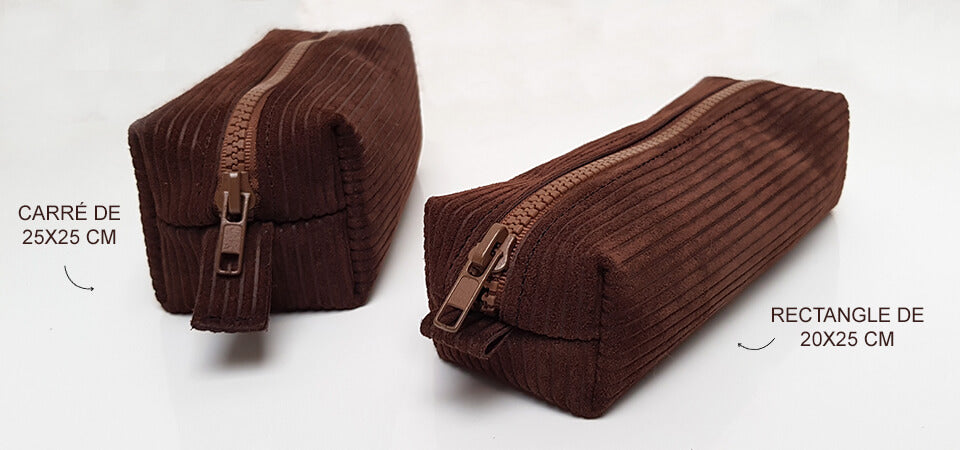
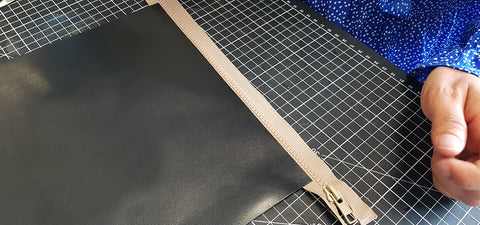
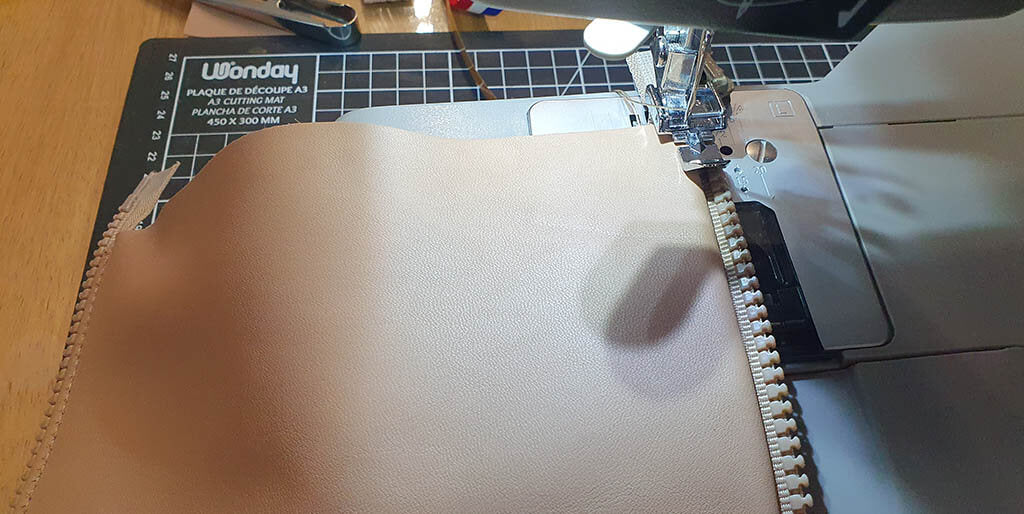
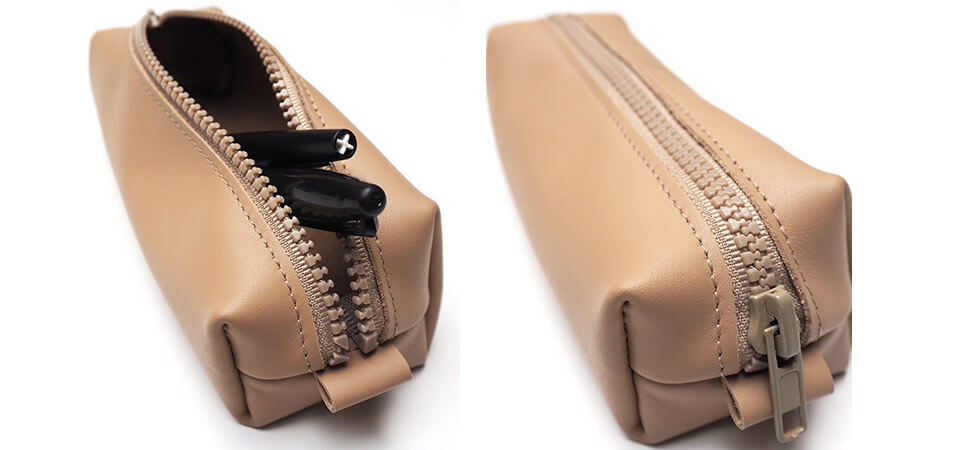
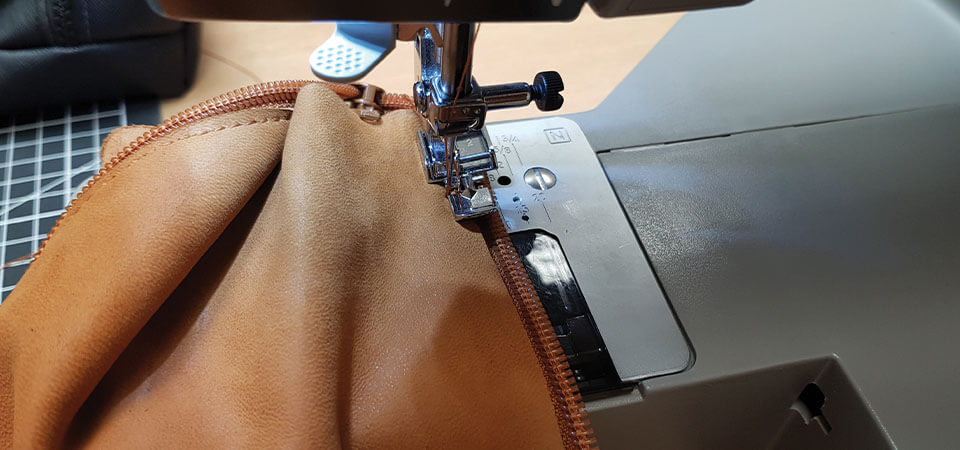
2. SEW THE ZIPPER
Open the zipper and position it on one of the ends of the main piece with clips or adhesive tape (starting from the slider end).
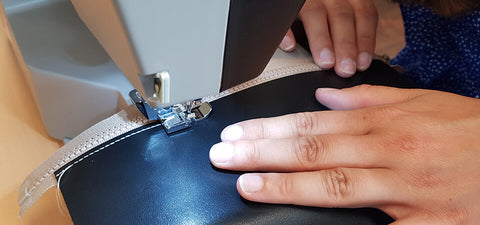
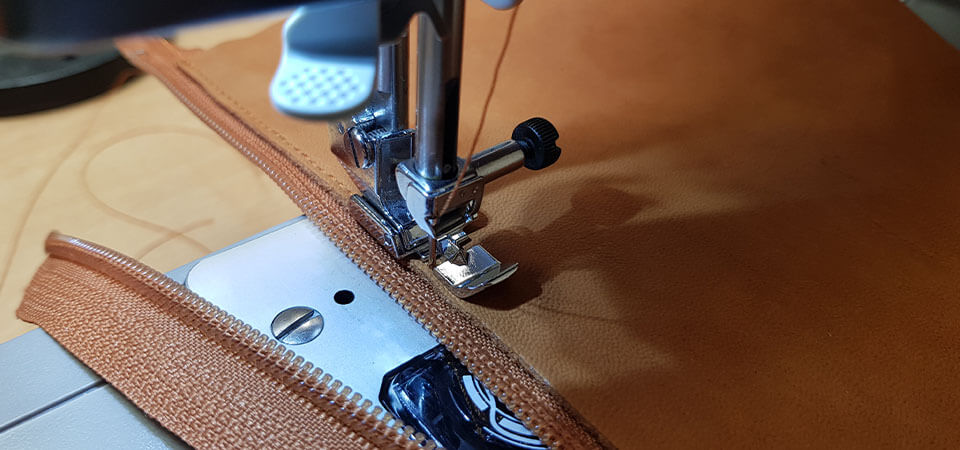
Sew the zipper to the leather (use the zipper foot). Do not make the stitches too tight as this could stretch the leather.
TIP
HOW TO SEW LEATHER WITH A MACHINE >
 |
 |
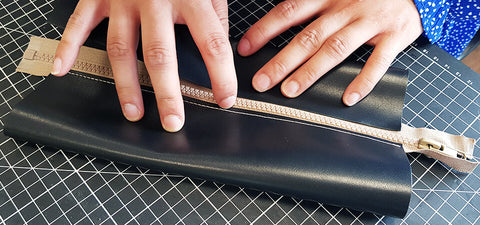
Then place the other part of the zipper (always starting from the slider end) on the bottom edge of the leather and sew. Be careful that the zipper is not in the wrong direction.
 |
 |
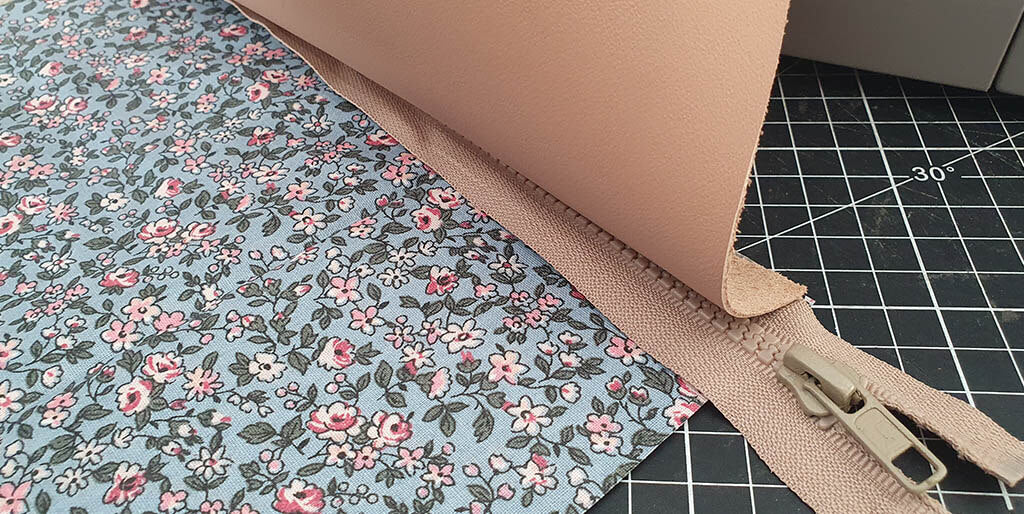
For the option with coated fabric lining:
- Lay the lining flat, right side facing you. Then place the zipper on the longest side of the lining (right side facing you and against the edge). Finally, place the leather piece on top of the zipper to sandwich it (wrong side facing you).
Use double-sided tape or sewing clips to hold the pieces in place and sew them with a zipper foot.
Sew the other side with the fabric lining, following the same procedure as in the previous step. Note: we recommend selecting a separable zipper to facilitate the sewing of this part.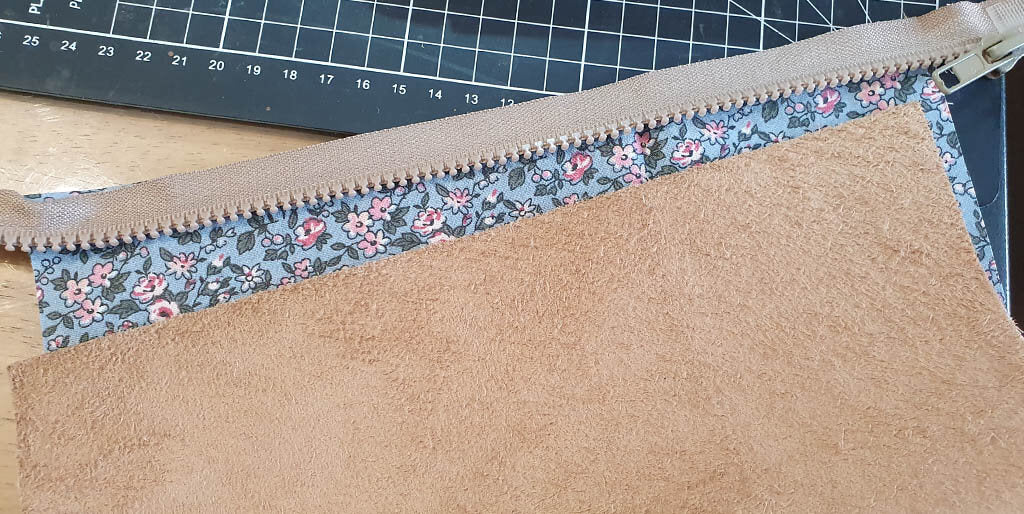
Then, turn the whole thing inside out through the center and make the final topstitching 2 mm from the edge.
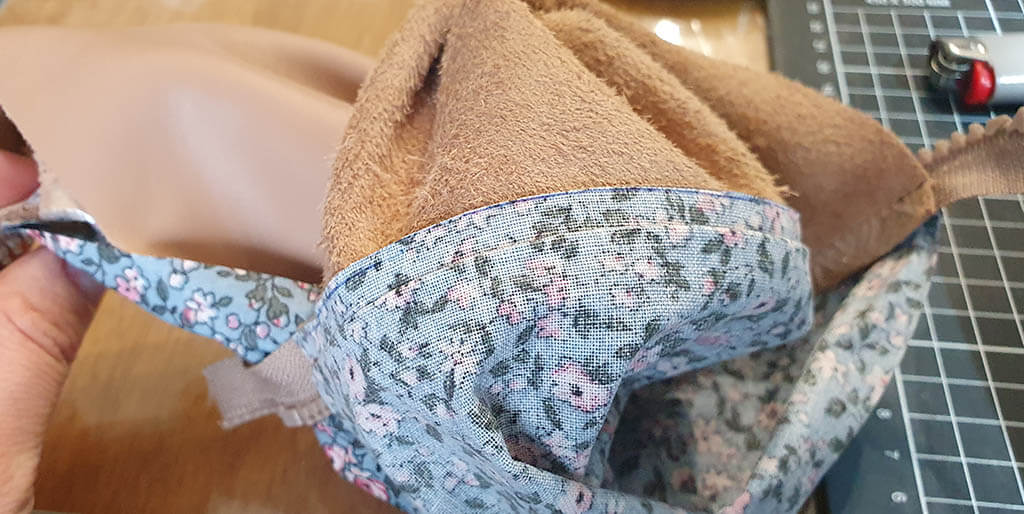
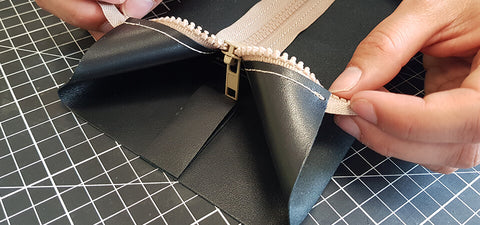
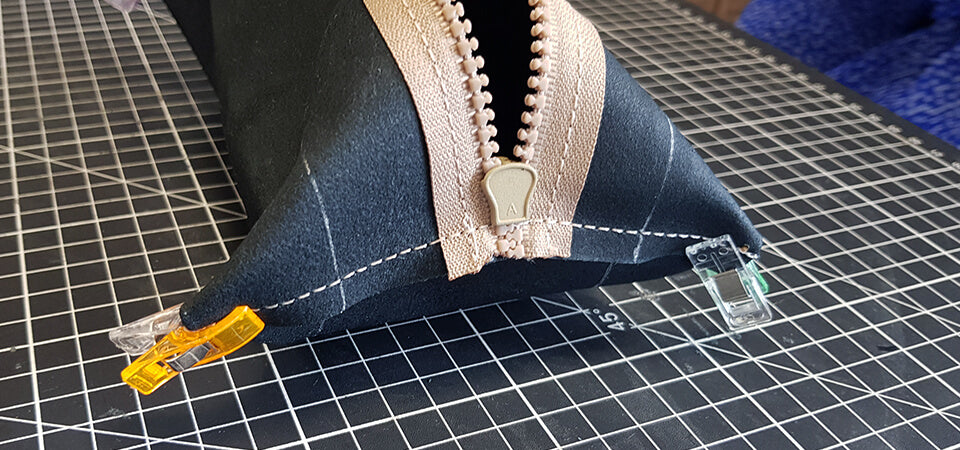
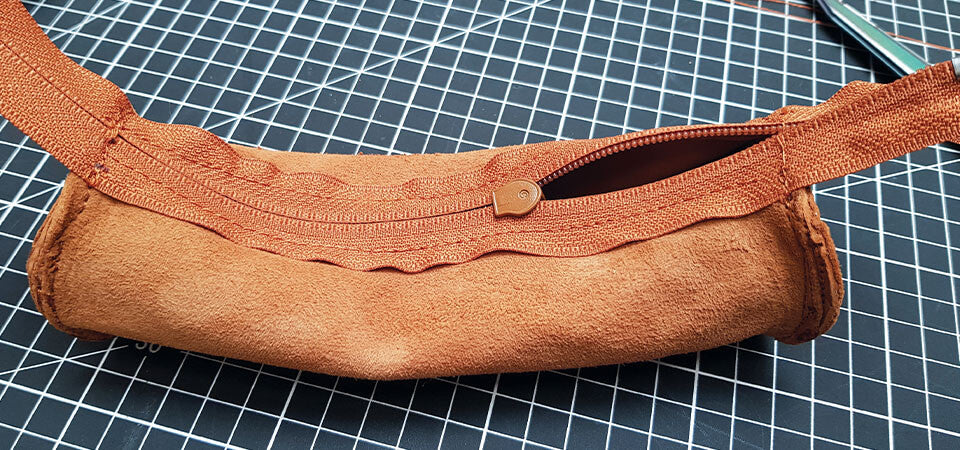
3. SEW THE WIDTH OF THE POUCH
Turn the leather inside out, the right side should be on the inside and the zipper in the center.
Close the zipper, leaving a small opening to be able to turn the pouch right side out at the end.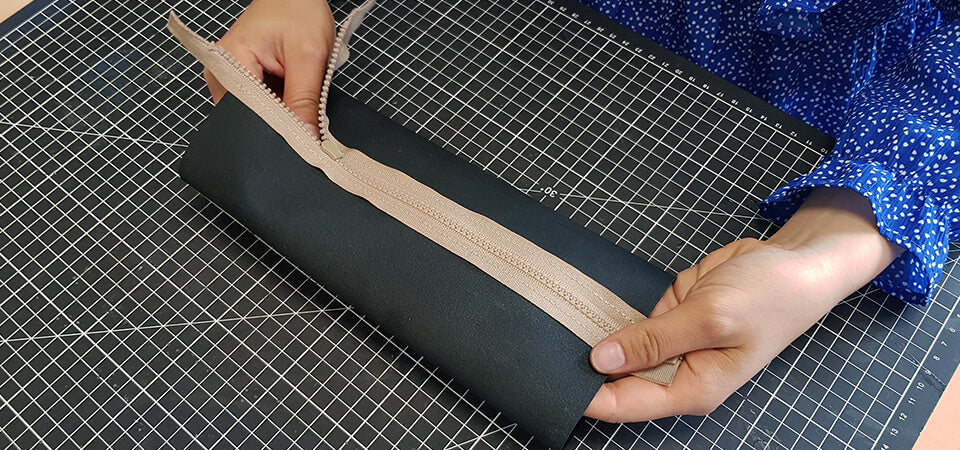 Place the tab (folded in half inwards - use double-sided tape) between the two layers of leather at the zipper slider. It is possible to put a tab on both sides of the pouch.
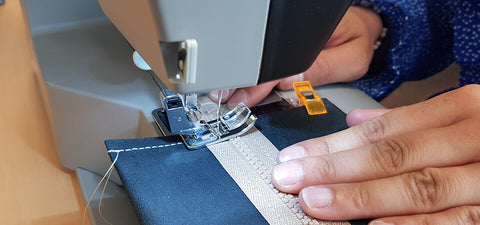
Sew both sides of the pouch along the width.
 |
 |
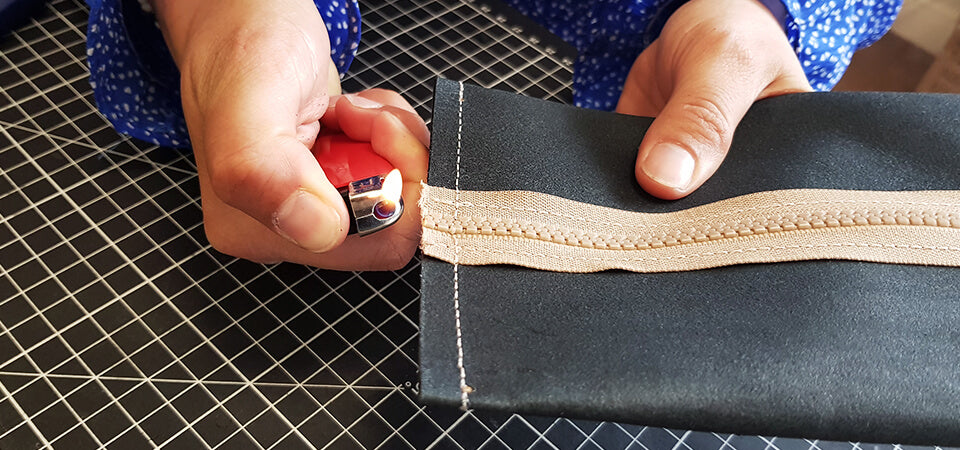
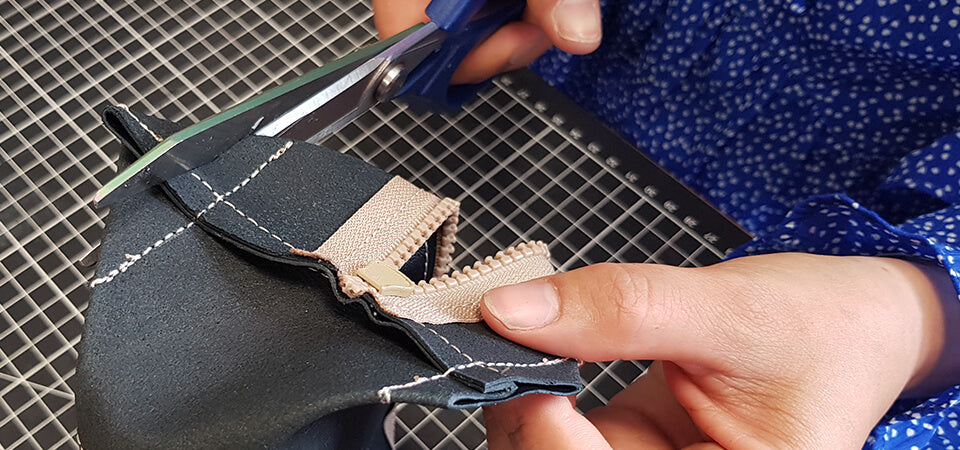
4. CUT THE ZIPPER
After sewing, trim and burn the excess zipper ends.
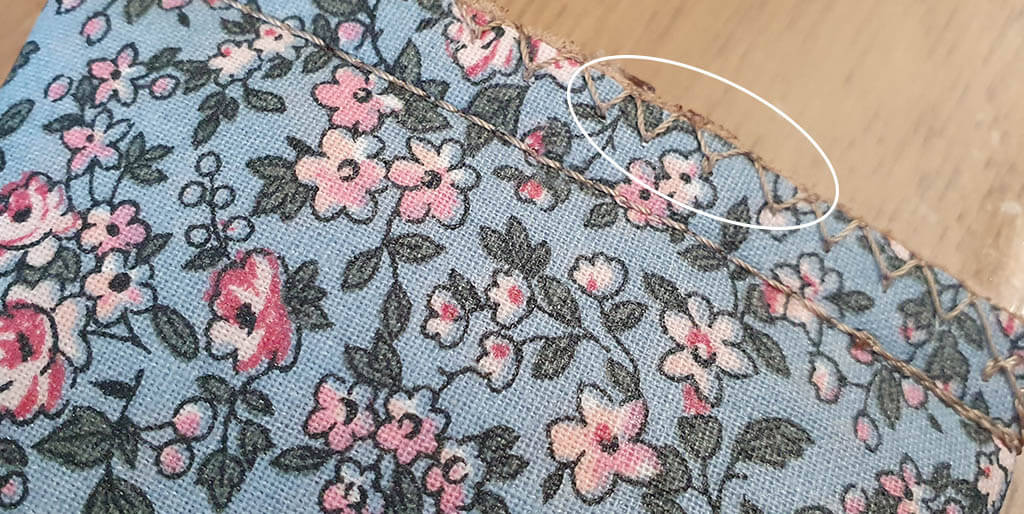
For the option with fabric lining, we recommend also doing a zigzag stitch on each side of your pouch.
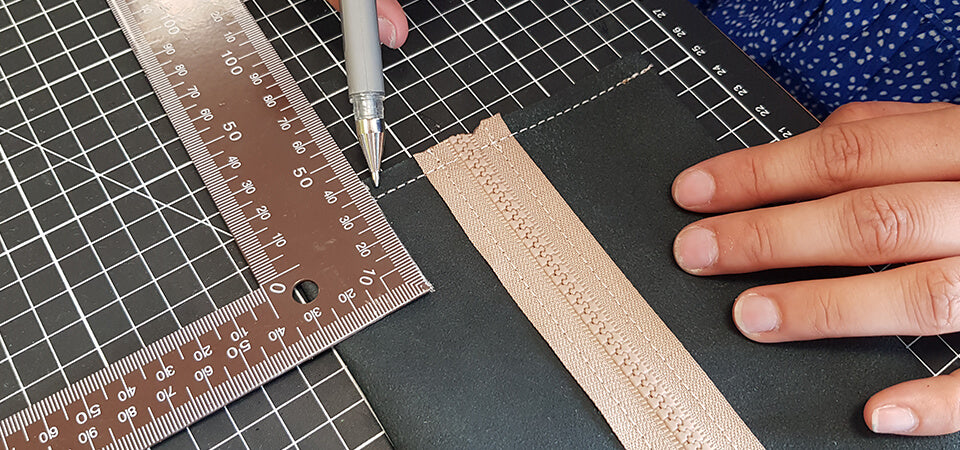
5. DRAW LINES 3 CM FROM EACH EDGE
Using the silver pen: draw 4 cm lines 3 cm from each edge of the pouch (front and back: 8 lines in total) - valid for a 25x25cm pouch.
If you opted for a 20x25 cm rectangle, we recommend drawing a 3 cm line 2 cm from each edge.
6. FORM THE CORNERS OF THE POUCH
Lay the pouch flat and form the corners, each line should meet the one on the other side.
Hold the corners with sewing clips.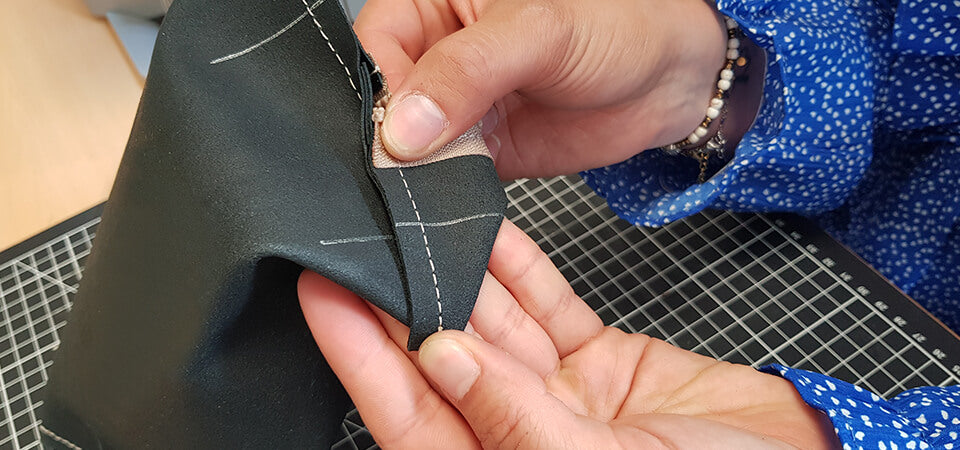
7. SEW AND CUT THE CORNERS
Sew the corners following the lines drawn with the silver pen.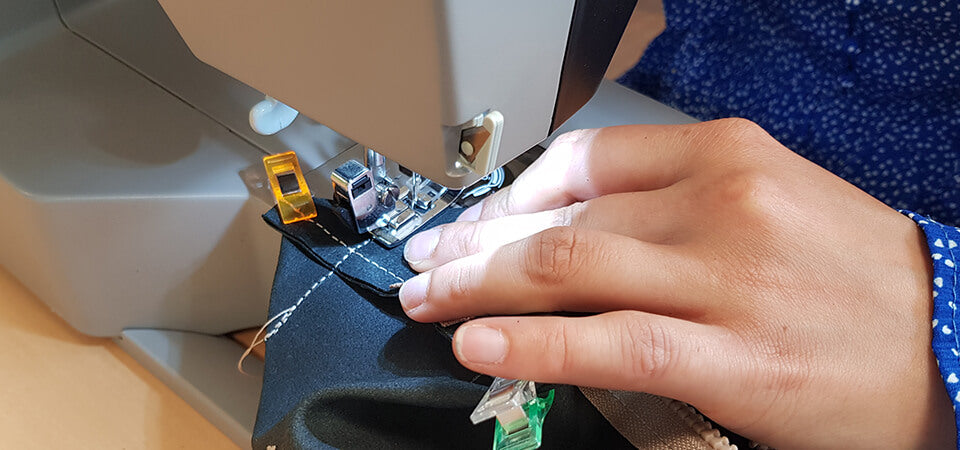 Then cut the corners 1 cm from the seam.
For the option with fabric lining, we recommend making small bias strips (4 squares of 4x4 cm with folded edges) and attaching them, with double-sided tape, to each cut side.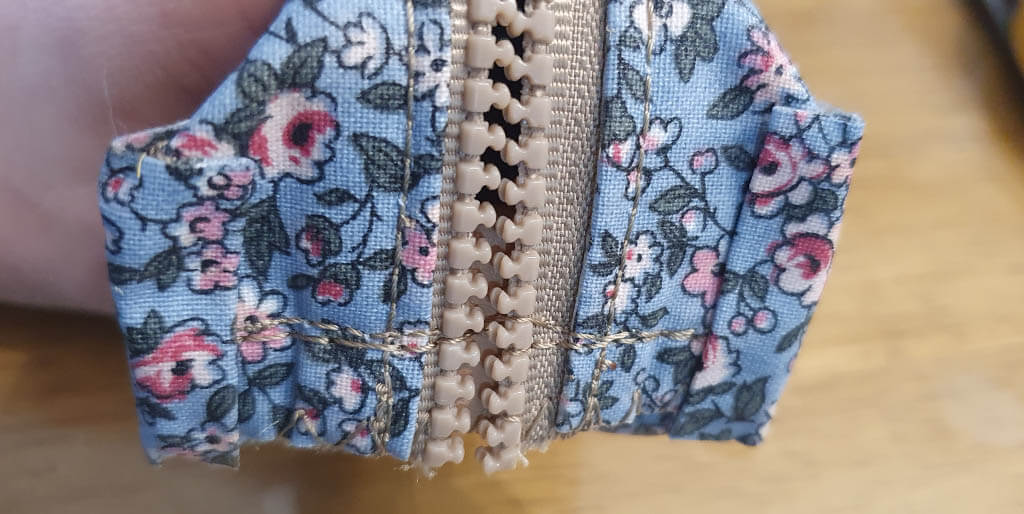
Make a zigzag stitch to hold the bias strips in place.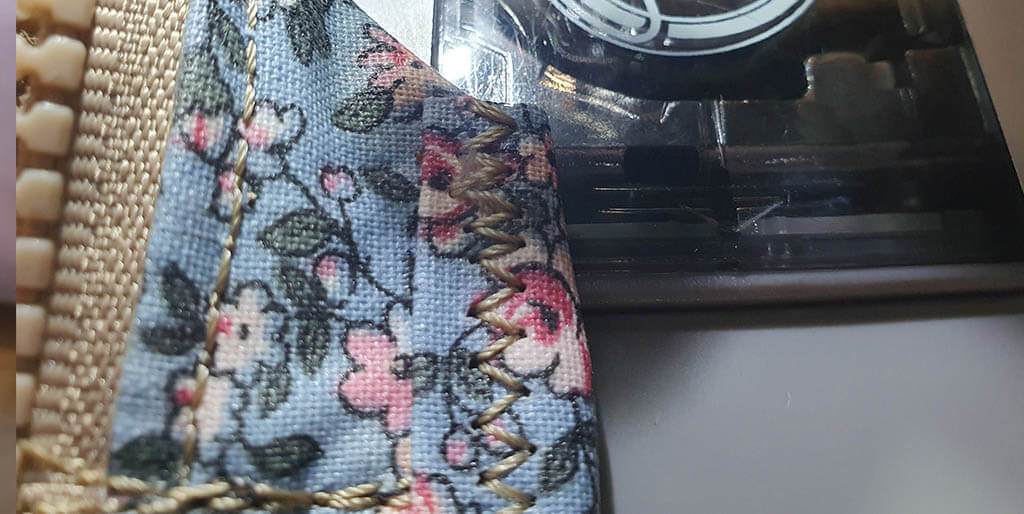 The final result will be even more beautiful!
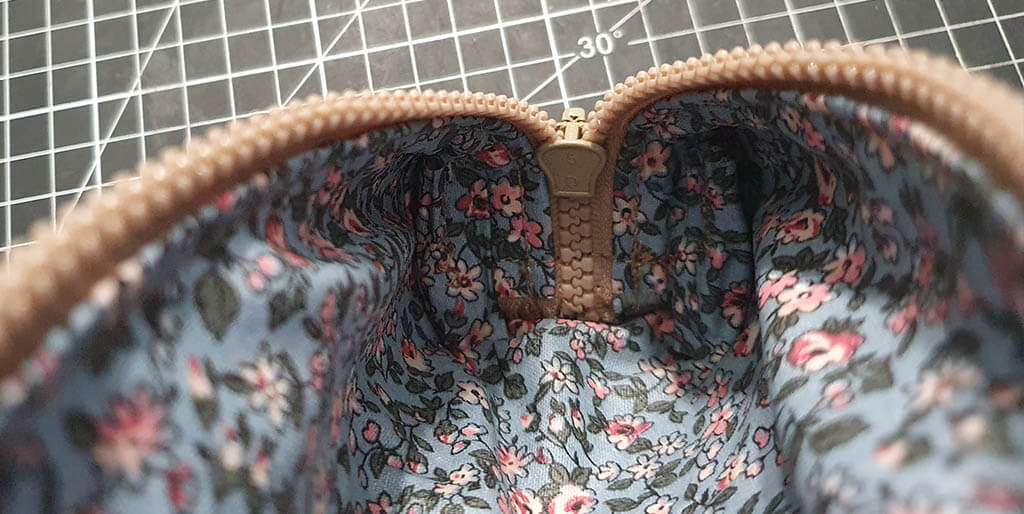
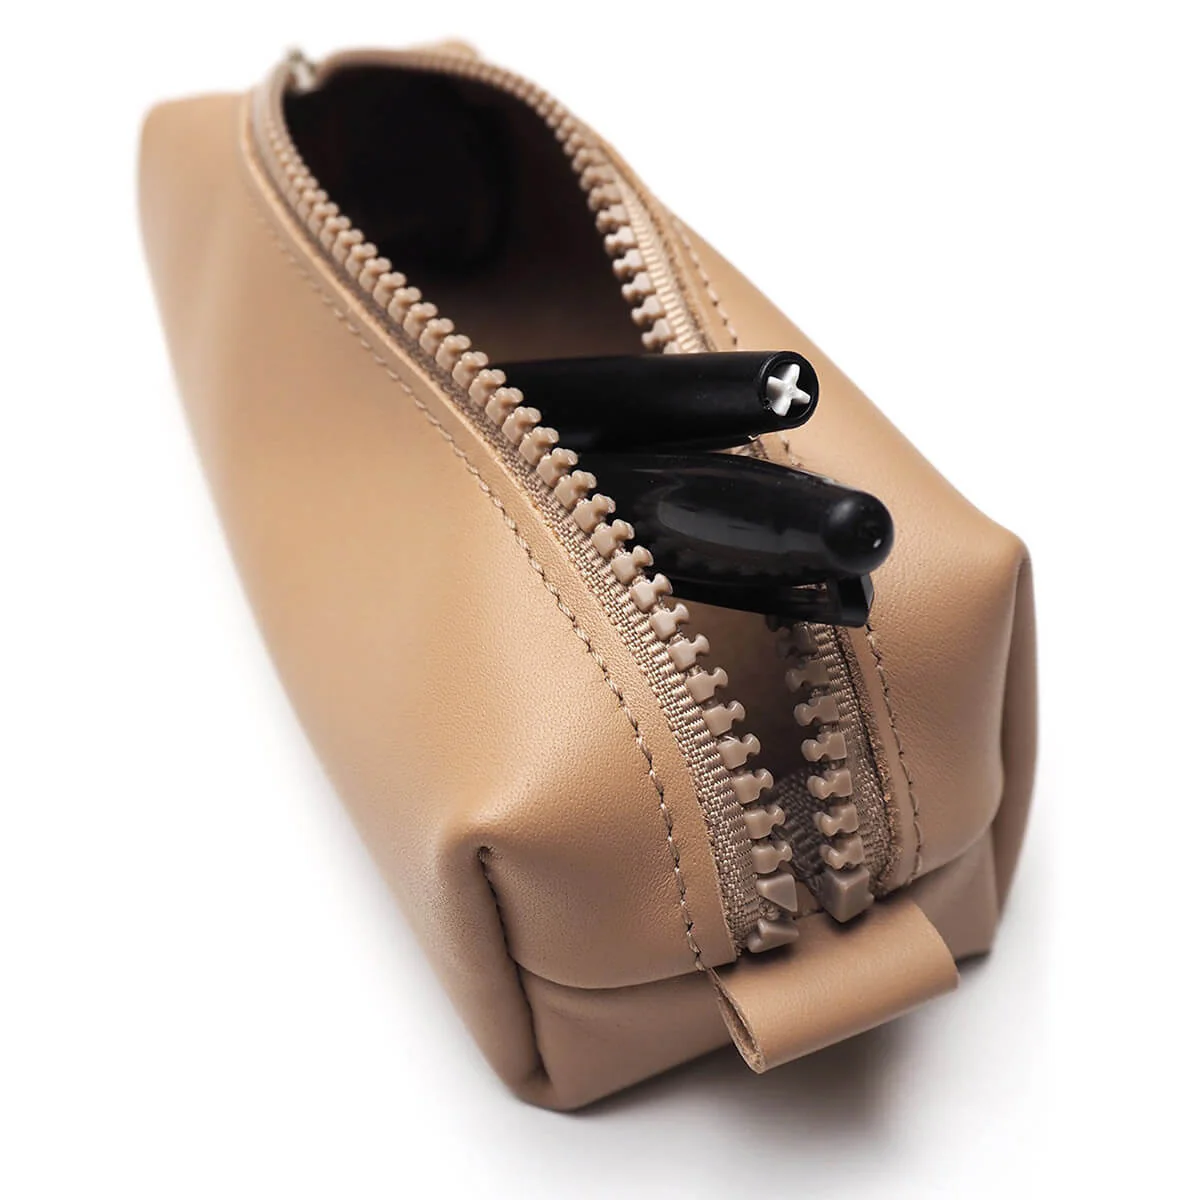
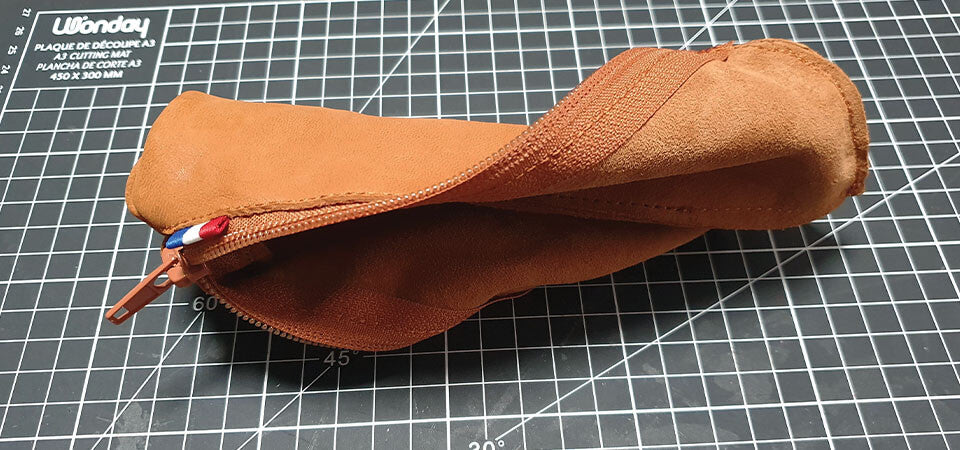
8. TURN THE POUCH RIGHT SIDE OUT
Completely open the leather pouch and turn it right side out.
Final dimensions of the pouch: 8.5 x 19 cm.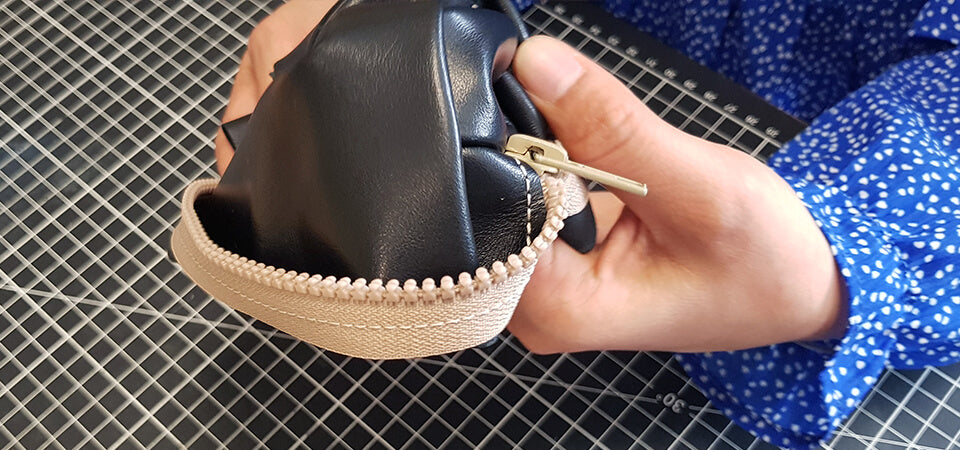
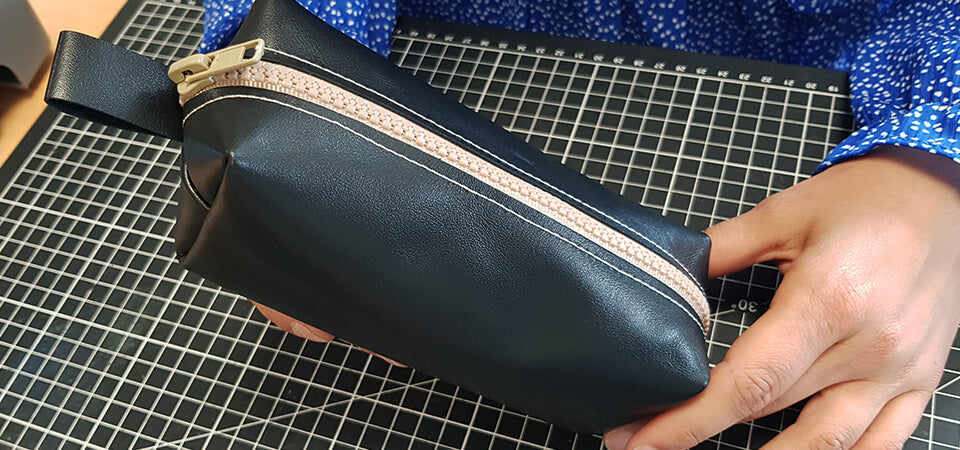
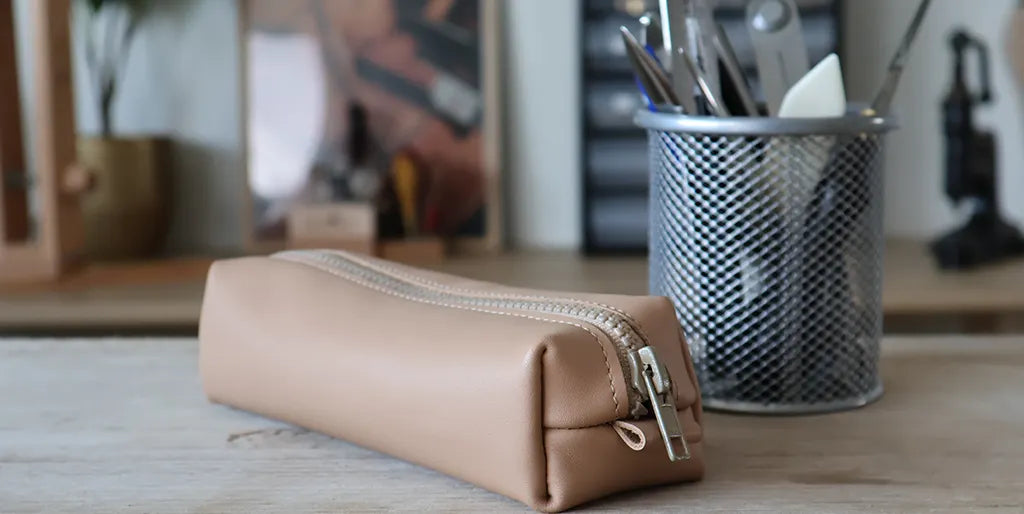
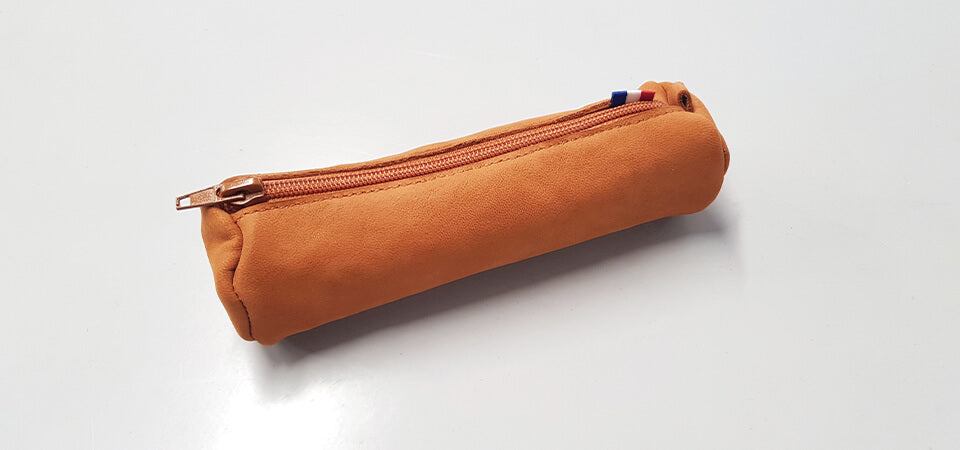
WELL DONE, YOUR RECTANGLE POUCH IS FINISHED!

DON'T HESITATE TO PIN THE PHOTOS ON PINTEREST TO SHARE THE ARTICLE!
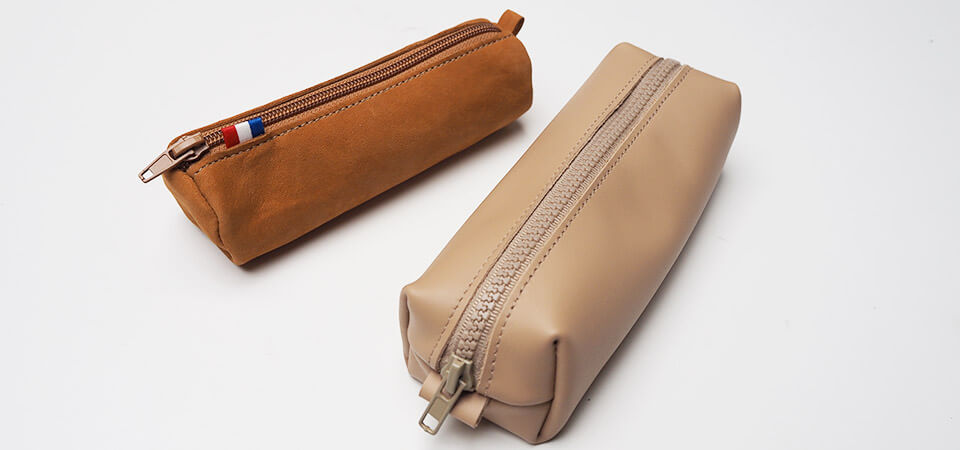
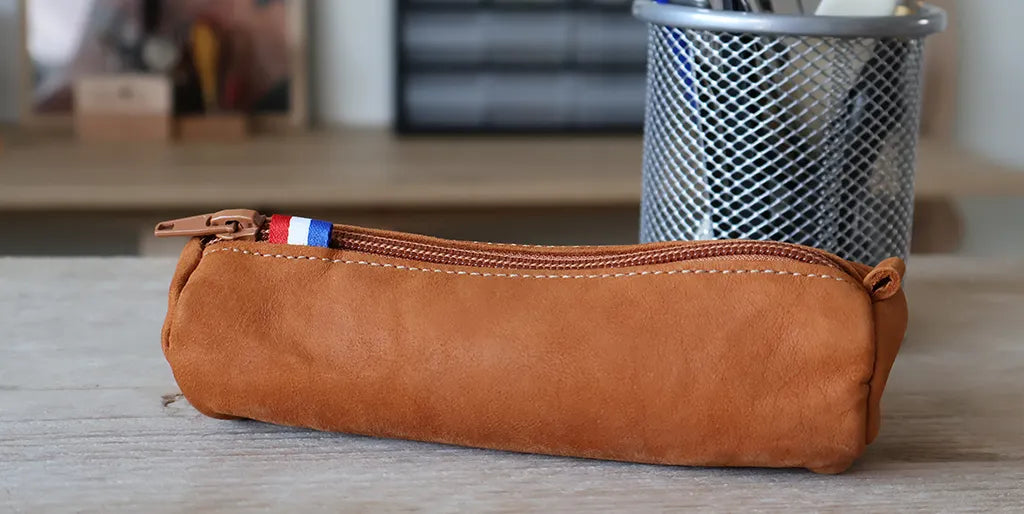
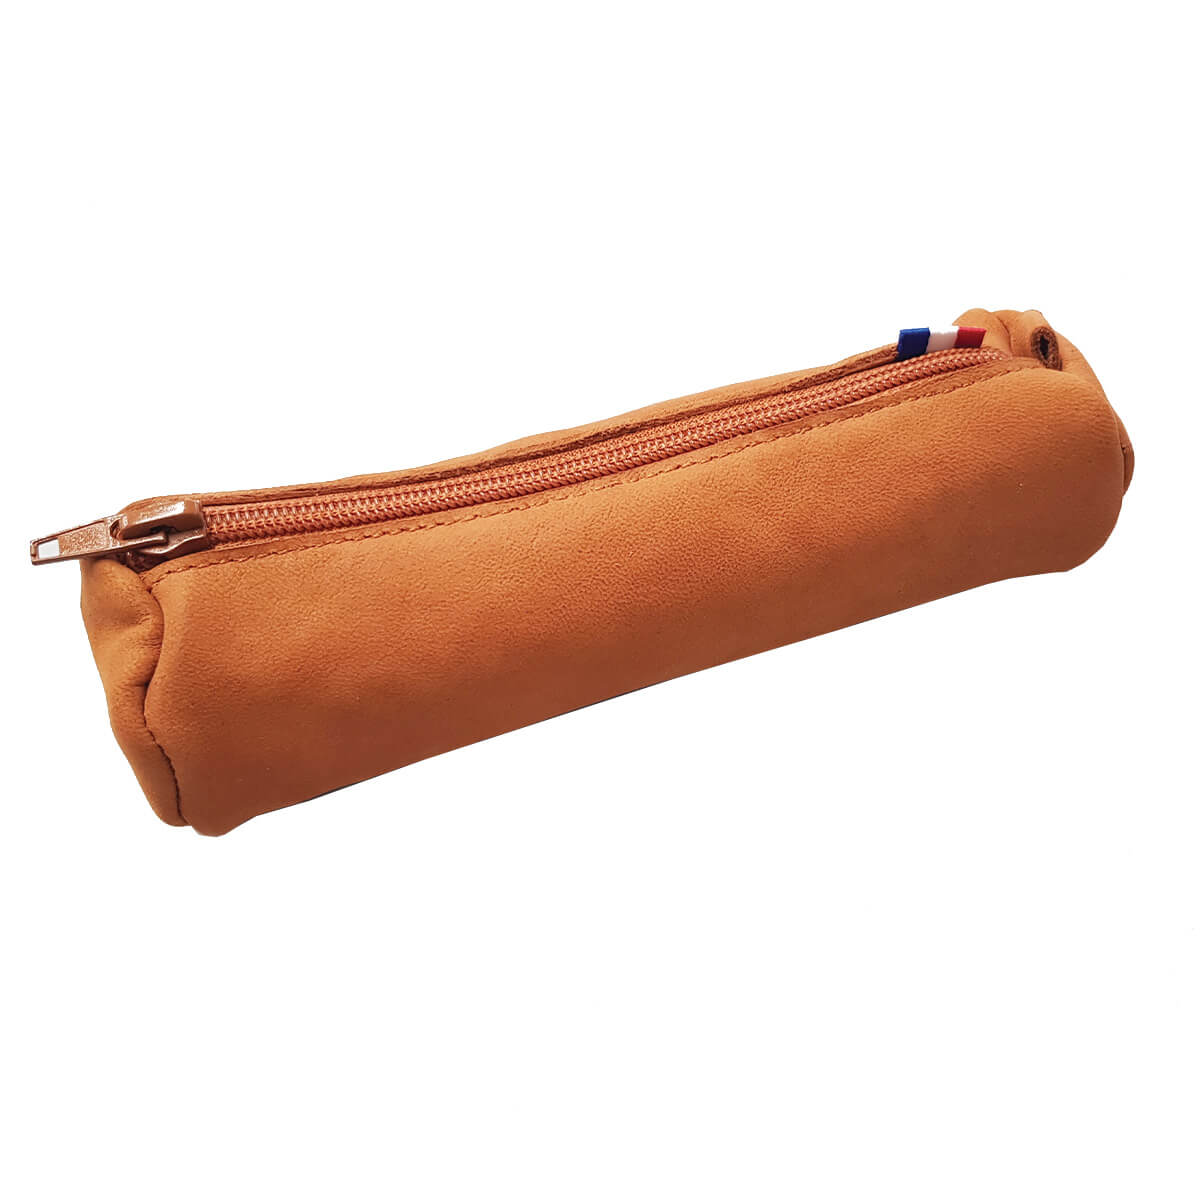
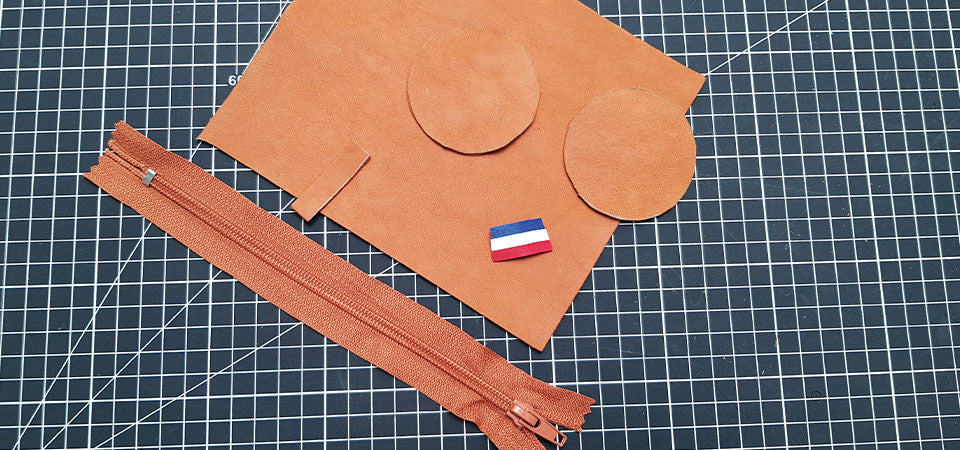
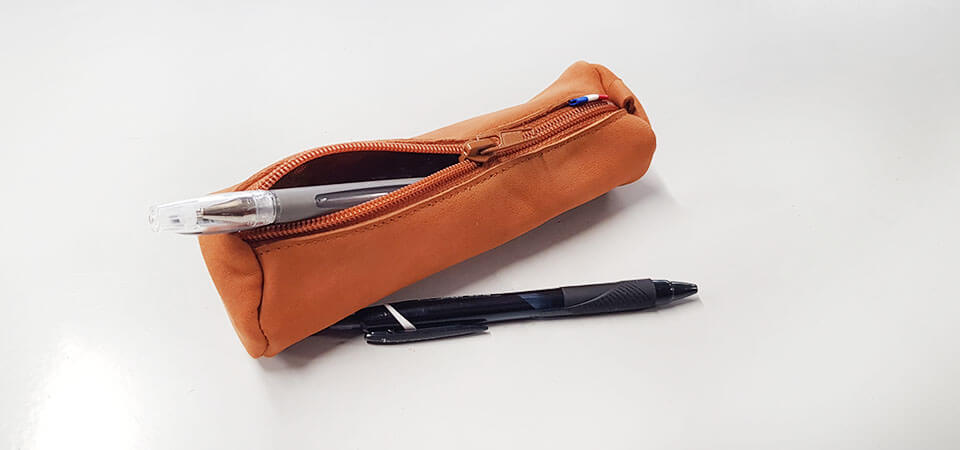
ROUND POUCH VERSION


REQUIRED MATERIALS
Final dimensions of the round pouch: 18 cm
To make the leather pouch, you will need:
- 1 piece of soft leather, 20 x 30 cm (here, sheepskin)
- 1 nylon zipper - 25 cm length
- 1 spool of polyester twisted thread n°30 - 400 meters
- 4 cm of tricolor polyester ribbon
- 1 silver pen
- 1 metal ruler
- 1 cutter and scissors
- 1 sewing machine
1. CUT THE PATTERN PIECES
Download the pattern and print it in actual size (to download from the tab at the top of the page). Cut the 3 pattern pieces and trace them on the wrong side of the leather (flesh side) with a pencil. Piece P2 needs to be traced twice. Then cut the leather with a pair of scissors.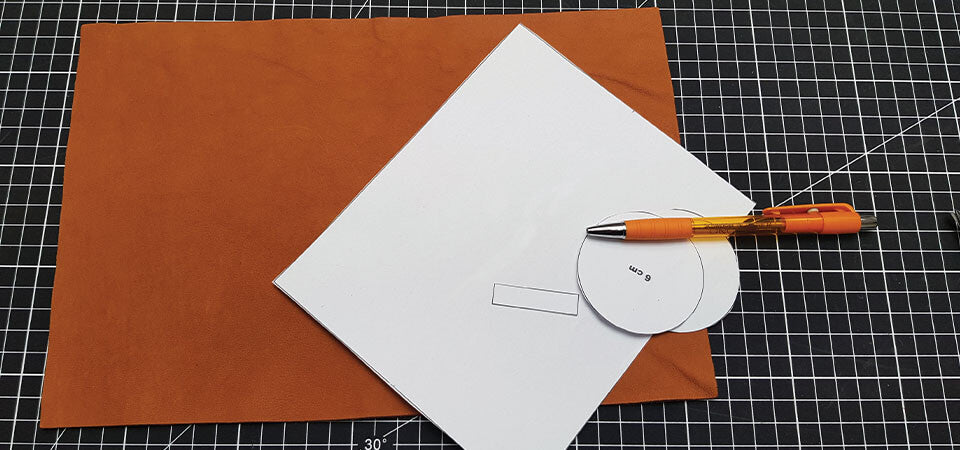
2. SEW THE ZIPPER
Apply double-sided tape, flesh side, to one of the long edges of the large rectangle (one of the 18 cm sides). Center the edge of the leather on the zipper 5 mm from the coils. Then sew the zipper with a zipper foot.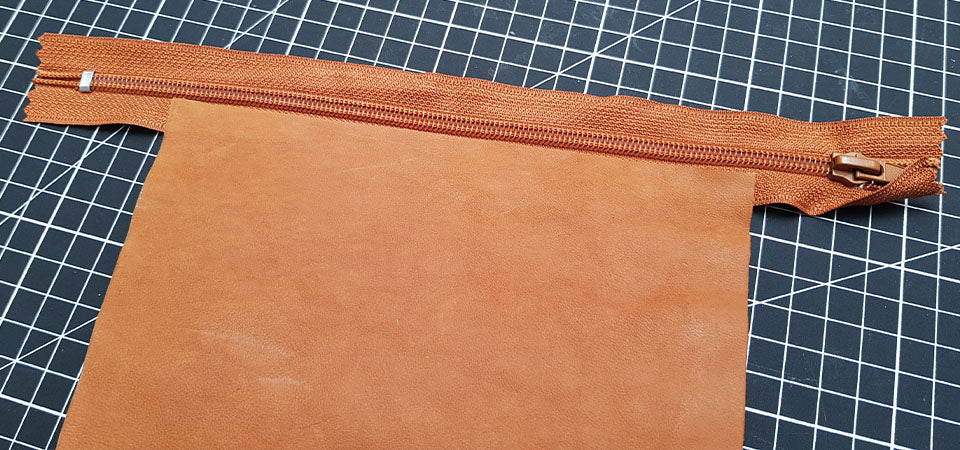
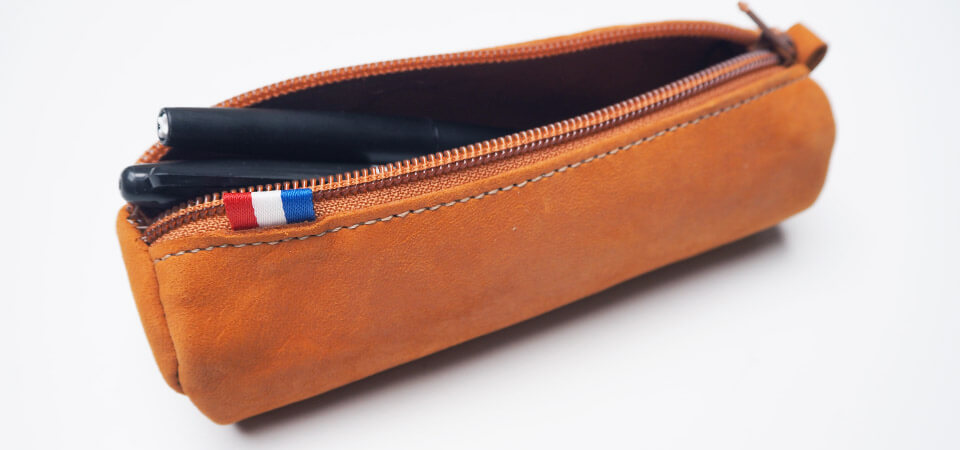
3. SEW THE ZIPPER AND THE TRICOLOR RIBBON
Apply double-sided tape to the other long edge of the large rectangle and attach it to the other side of the zipper. Cut 2 cm of tricolor ribbon, fold it in half and wedge it between the leather and the zipper. Fully open the zipper and sew 3 mm from the edge.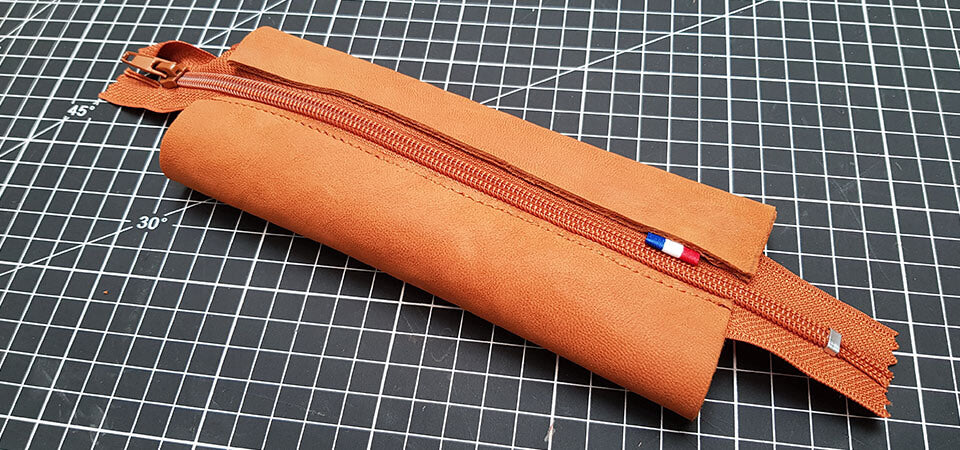
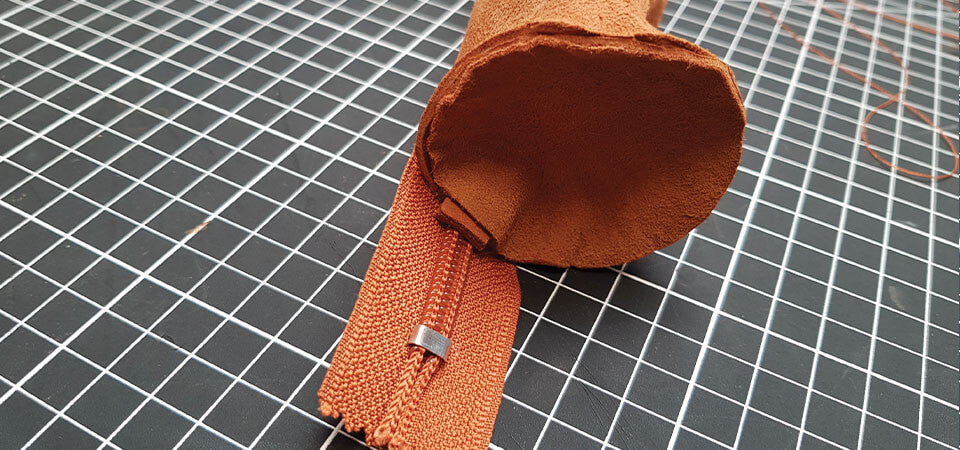
4. GLUE THE SIDES
Turn the pouch inside out and close the zipper, leaving an opening so you can open the pouch after sewing. Apply double-sided tape to the right side (grain side) of the 2 circles and fold the small tab (P3) in half. Glue the circles edge to edge on each side of the pouch, inserting them with the grain side facing inwards.
Option: wedge the small tab (P3) on one side between the circle and the pouch.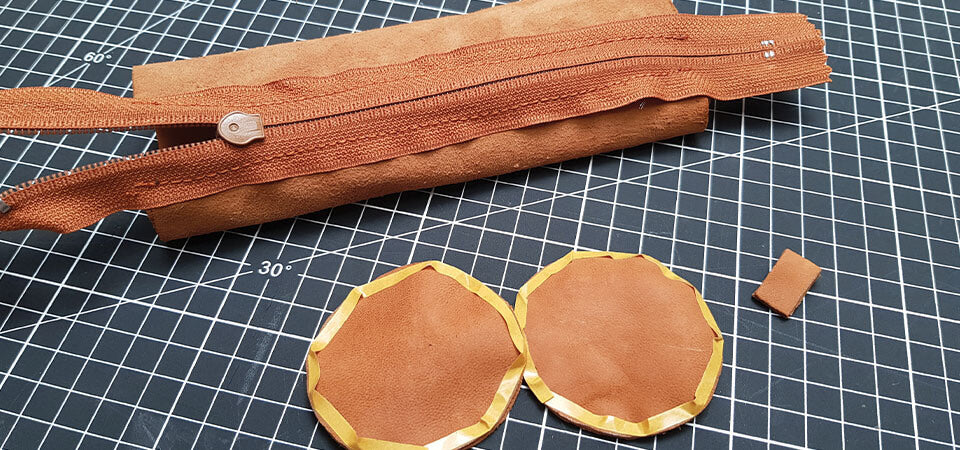
5. SEW THE SIDES
Sew the circles 5 mm from the edge on each side.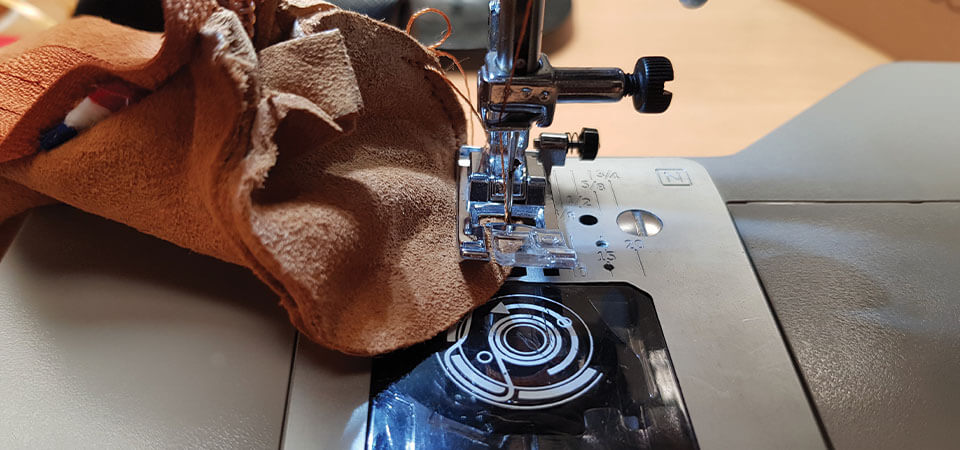
6. FINISH THE POUCH
Trim the excess zipper and turn the pouch right side out.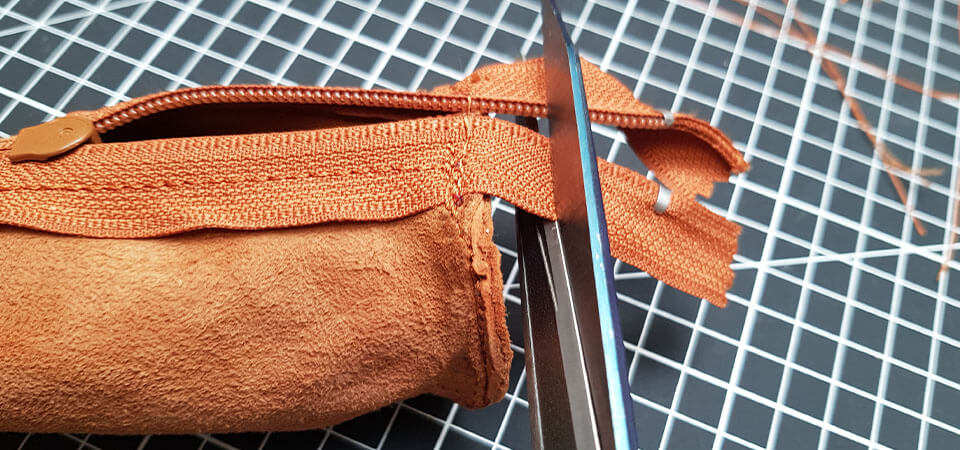
WELL DONE, YOUR ROUND POUCH IS FINISHED!
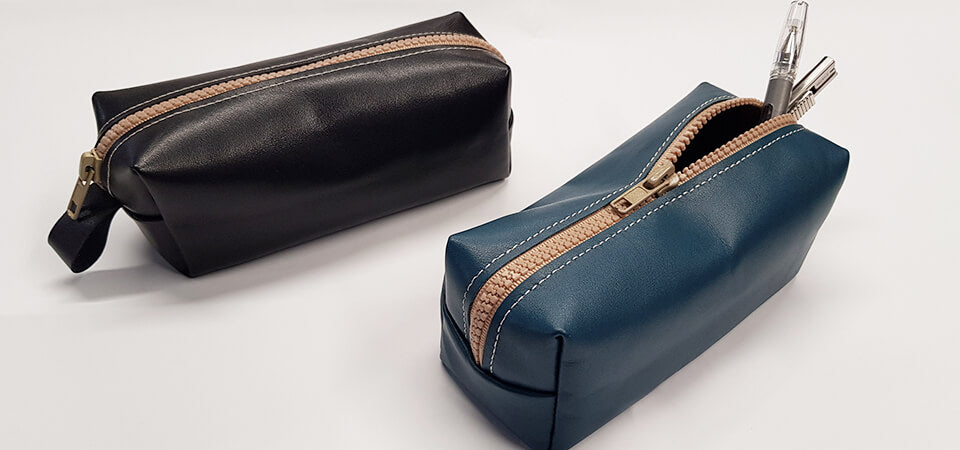
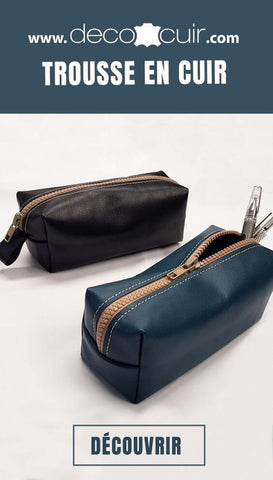
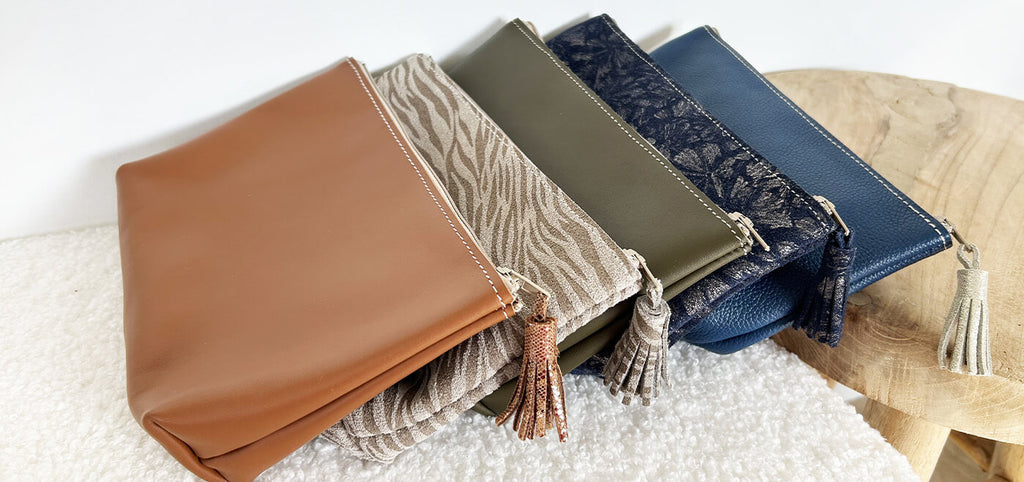
OTHER VERSION OF THE LEATHER POUCH
Discover our other version of the leather pouch:


1 comment
Anonymous
Obrigado pelas dicas muito bom