


THE NECESSARY MATERIALS
To complete this tutorial, you will need:
- 1 strap of nourished collar leather - Width 24 - Long 120 cm - Thickness 3.5
- 2 sets of Mexican Pablo belt buckles - 24 mm
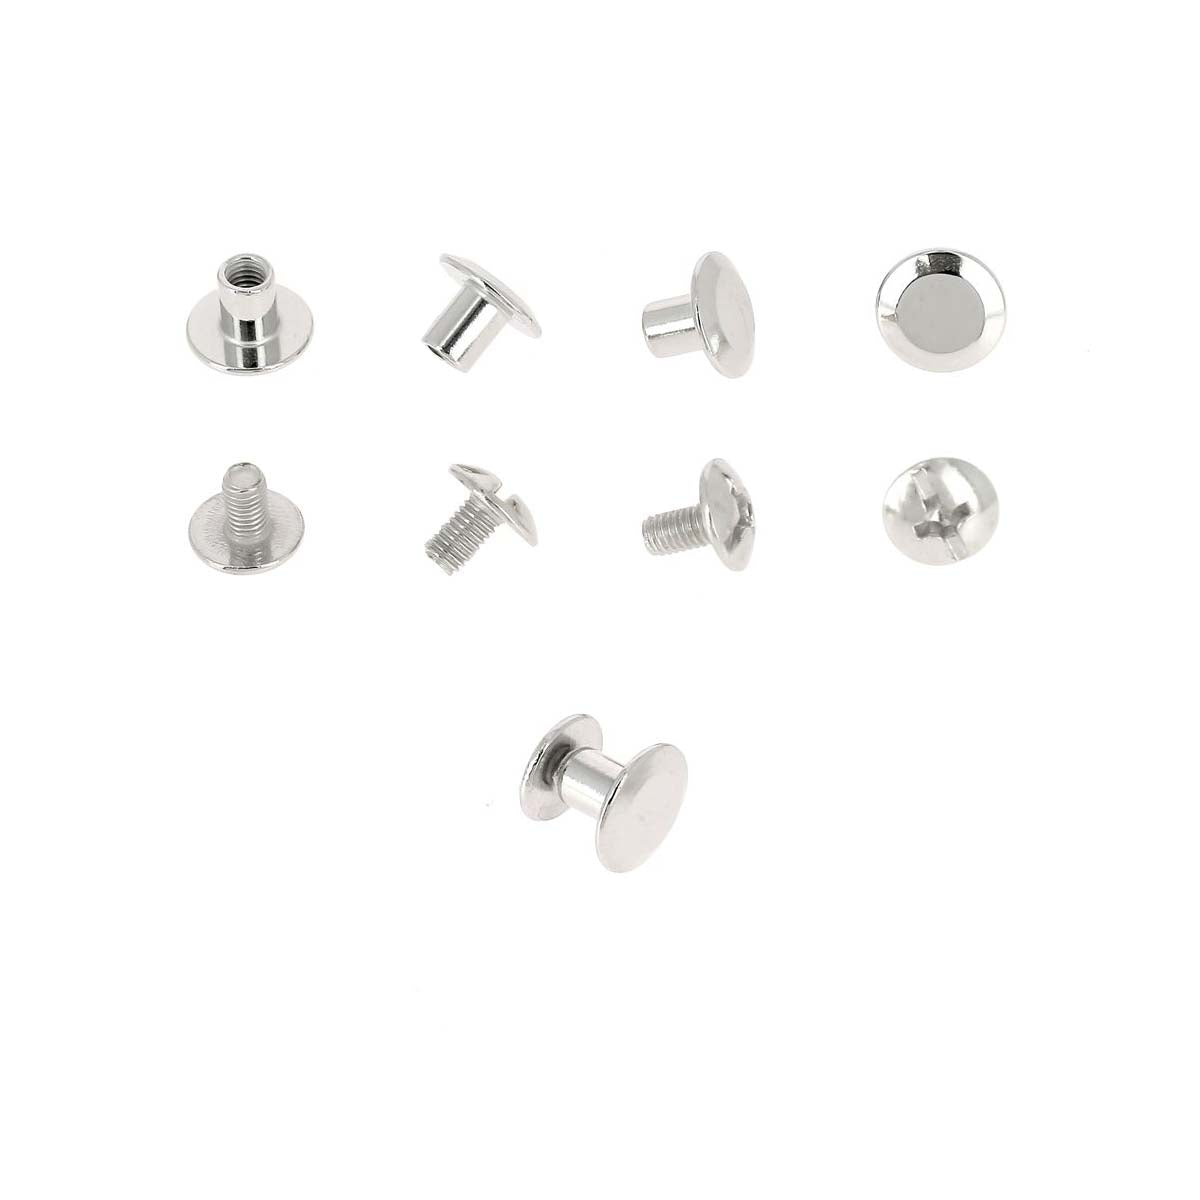
- 1 set of 5 chicago screws - 9 mm
- 1 jar of Tokonole
And the following tools:
- 1 cutter
- 1 screwdriver
- 1 round cookie cutter 4 mm
- 1 straight square cutter - size 2
- 1 belt end template in ogives
- 1 abrasive sponge

1. TAKE YOUR MEASUREMENTS
Using a tape measure, measure your waist (at the navel). Then subtract 9 cm.
For example, for this tutorial we have a size of 76 cm - 9 cm = 67 cm 
2. CUT THE LEATHER STRAP
Using a cutter, cut the first end of the leather strap to the length obtained in step 1 (here 67 cm). 
3. MAKE A SNAP ON EACH END
Using a bezel punch or a cutter and a round punch: make a 4 x 19 mm bezel on each end of the strap (cut previously). The size of the bezel depends on the size of the prong of your buckle.
The hem should be made 4 cm from the edge and at each end of the strap (photo no. 2). 
 |
 |
4. FOLD EACH END OF THE STRAP
Using a silver pencil, make a mark 5 cm from the edge at each end of the strap. Fold each end towards the split side of the leather by hitting it with a mallet (photo no. 2). 

5. CUT A 37 CM STRIP
The original leather strap is 120 cm long, you cut a first strap in step 1 (depending on your height). Now cut a second strap (on the original strap) of 37 cm . 
6. CUT THE ENDS TO FIT THE BELT END
Trace and cut the ends of the 37 cm strap to fit them into the ends of the zamac belt.
For this, we used the template for the end of the ogive belt (3/4).
The Mexican PABLO belt buckle is sold with a loop and a zamac belt end. 

7. MAKE 6 HOLES ON THE 37 CM STRAP
Make 6 holes of 4 mm with a punch or revolver pliers. The holes should be made at each end of the 37 cm strip at 10 - 12.5 and 15 cm from the edge. 

8. MAKE 8 HOLES IN THE MAIN STRAP
Take the main strap and make 4 holes at each end to install the Chicago screws.
We recommend making the 4 holes 1 - 3 - 7 and 9 cm from the edge and at each end. 
9. SQUARE THE SLICES
Square the edges of the strips on both sides: grain side and crust side of the leather. 
10. SAND THE SLICES
Sand the edges of the strips with an abrasive sponge (fine - grain 400).
Always sand in the same direction, at 45° to the edge and towards the grain side of the leather. 
11. TINTING THE SLICES
With a slice finish, tint the edges of the strips.
Apply at least 3 coats of stain-slice. Let it dry thoroughly between each coat and sand lightly.
When the slice dye is dry, rub beeswax on the slices and heat it with a cloth or a thread iron. 
12. INSTALL THE BELT ENDS
Using a screwdriver and the screw provided with the buckle, attach the belt ends to each end of the 37 cm strap. 

13. INSTALL THE BUCKLE AND BELT LOOP
Insert the buckle pin into the loop (photo 1) then pass the zamac belt loop through (photo 2).
Secure the loop using 2 Chicago screws (photo 3).
Do the same thing at each end of the large strap.
If you wish, you can trim (thin) both ends of the strap with a paring knife.
 |
 |

14. FINAL RESULT
Your double ring belt is finished! 


