


REQUIRED MATERIALS
To complete this tutorial, you will need:
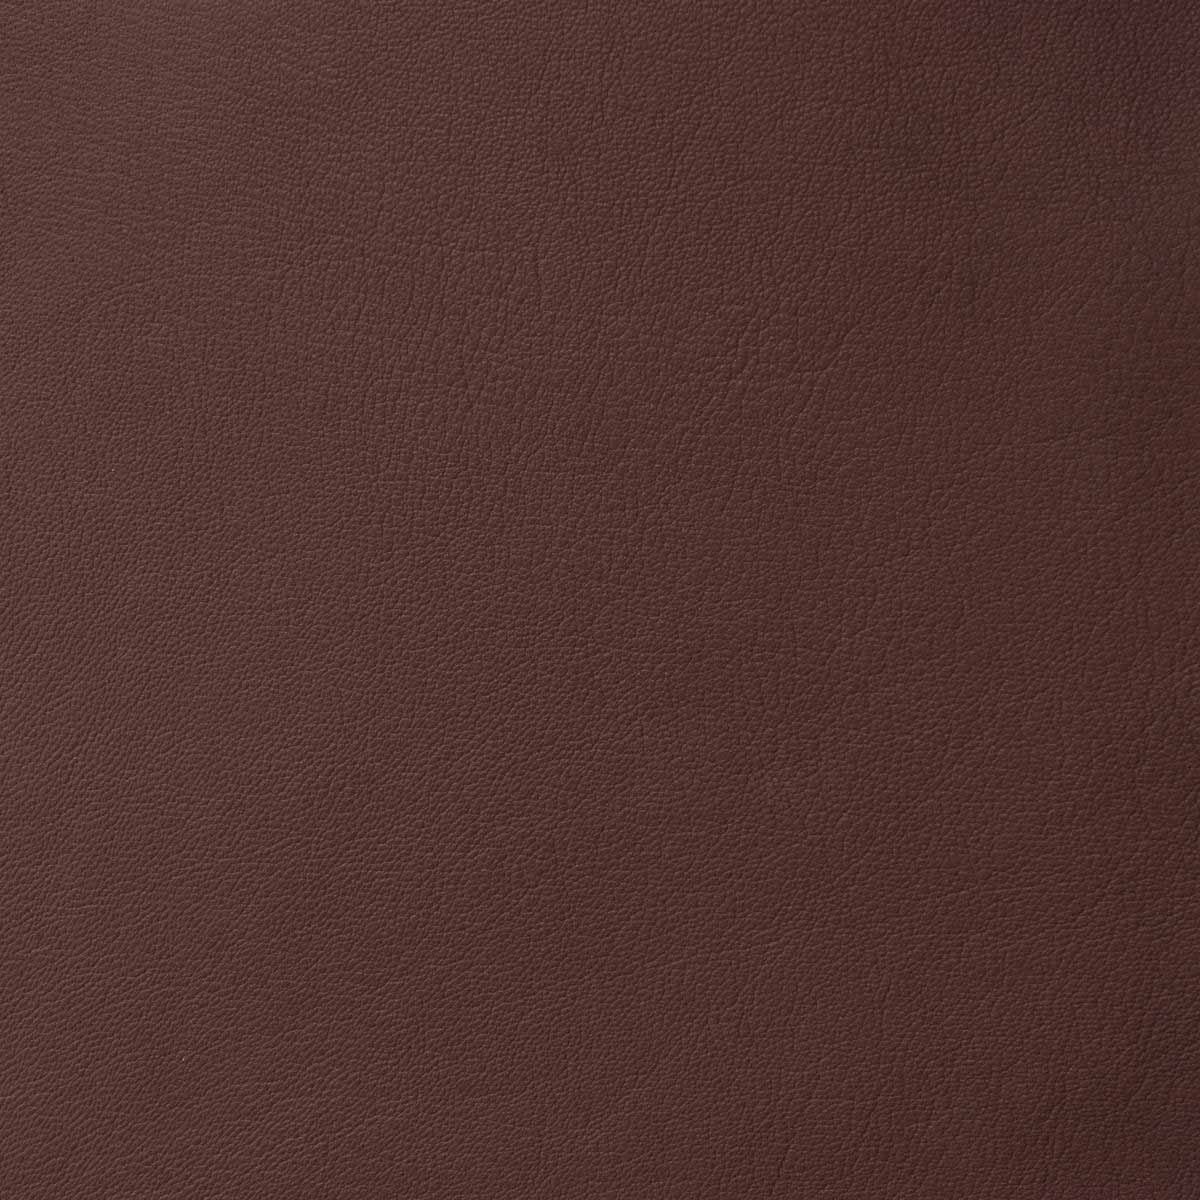
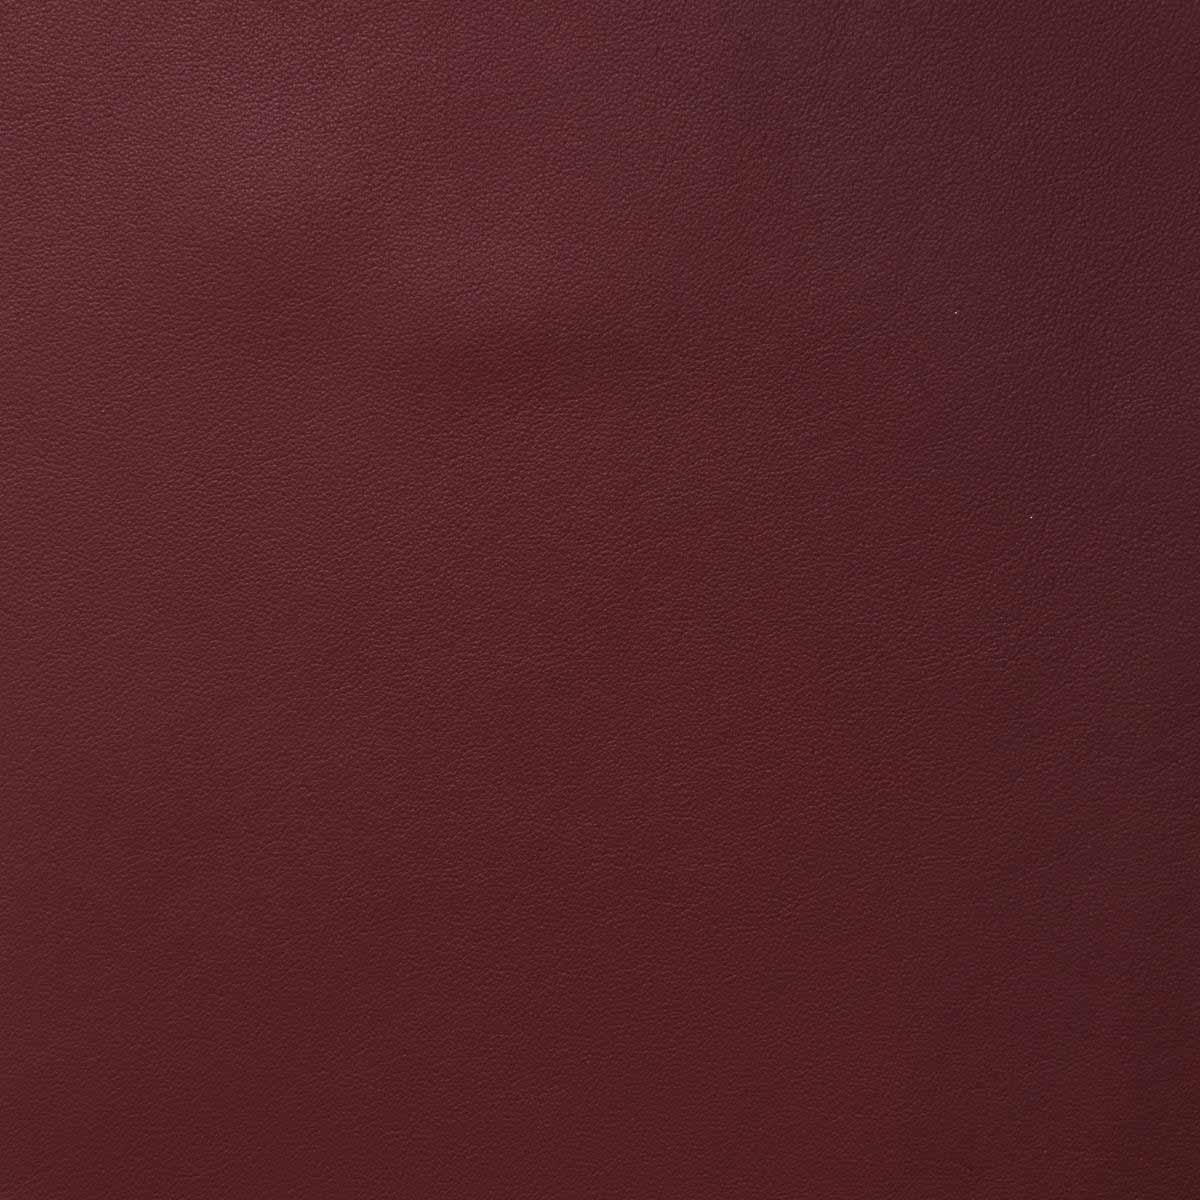
- 1 piece of SWEET 2 leather - BORDEAUX - 15x20 cm - thickness 0.7 mm (headband)
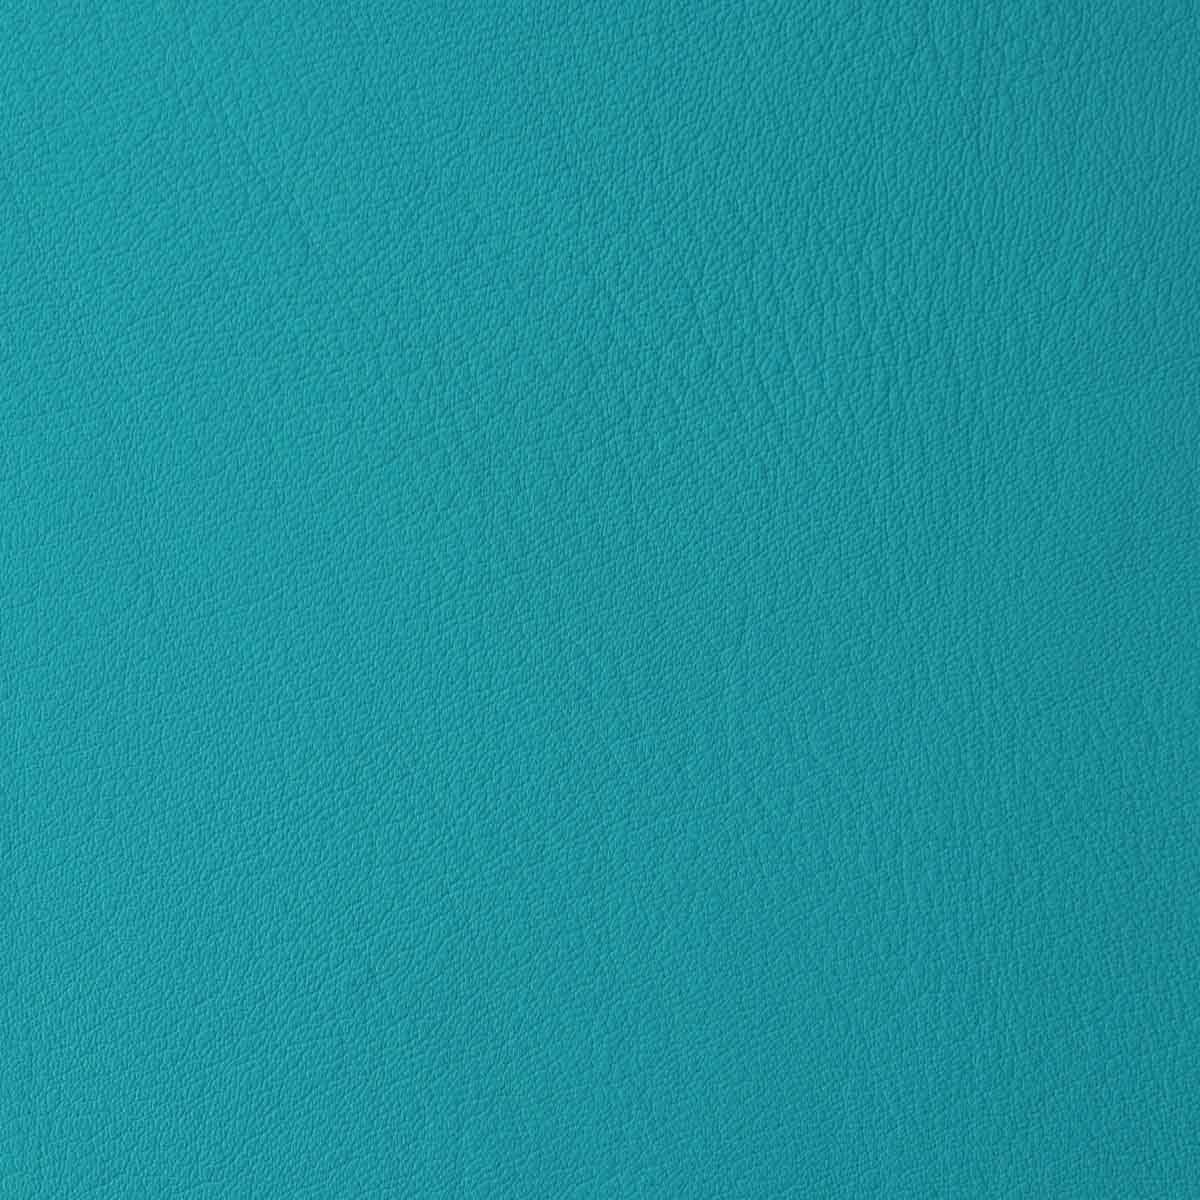
- 1 piece of SWEET 2 leather - TURQUOISE - 15x20 cm - thickness 0.7 mm (arms)
- 1 piece of SWEET 2 leather - TURQUOISE - 15x20 cm - thickness 1 mm (body)
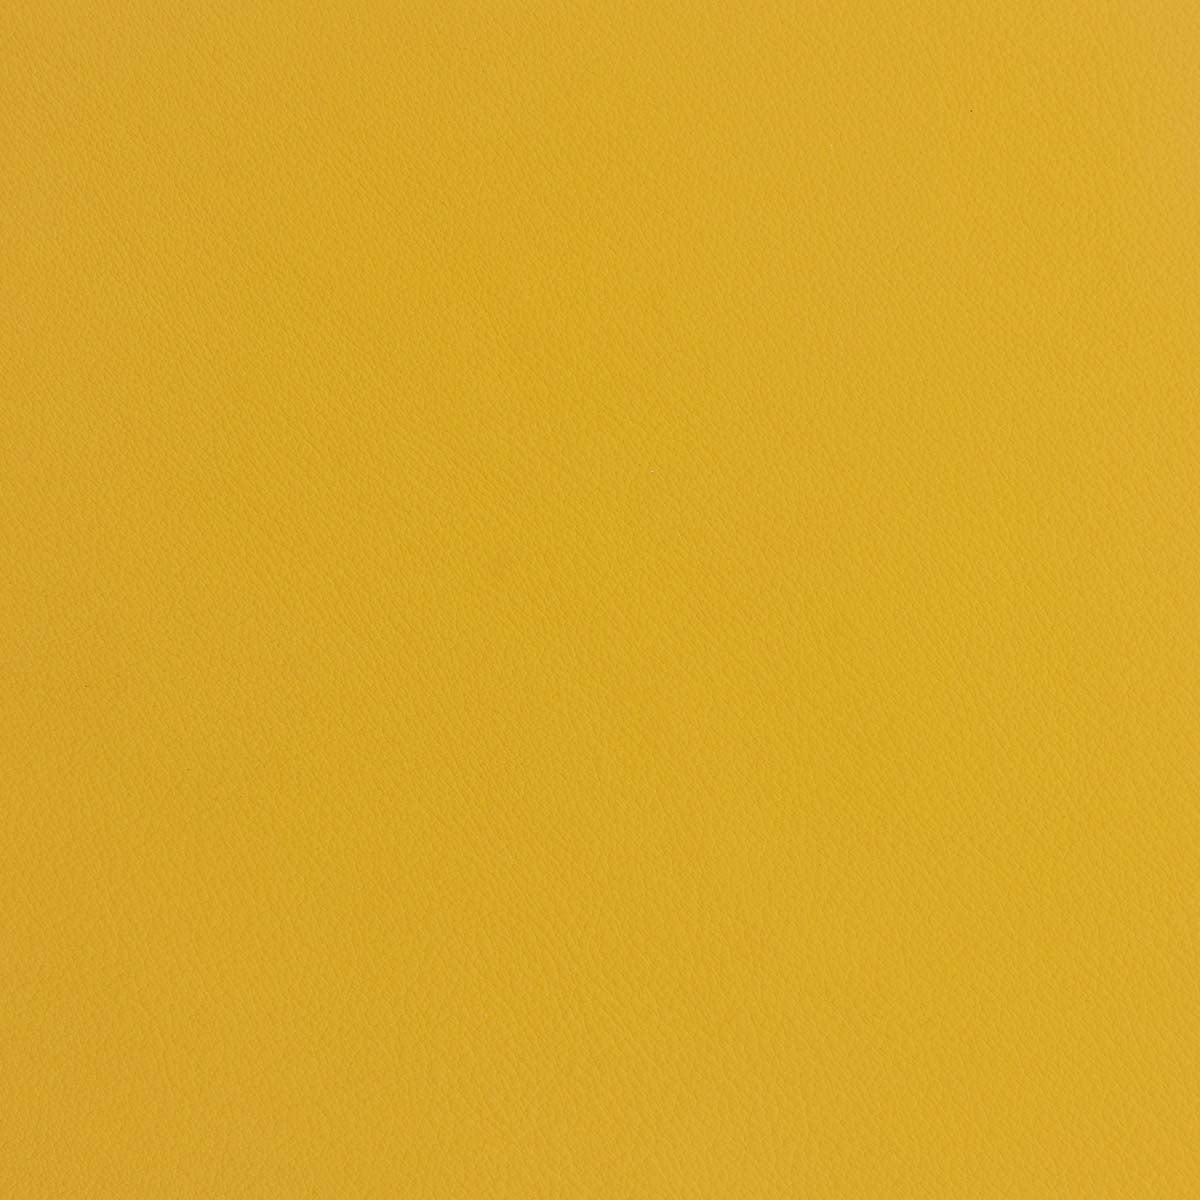
- 1 piece of SWEET 2 leather – SUN YELLOW - 15x20 cm - thickness 0.7 mm (belt)
- 1 piece of SWEET 2 leather - BROWN - 15x20 cm - thickness 1 mm (foot)
- 1 piece of SWEET 2 leather - CREAM - 15x20 cm - thickness 1 mm (eyes)
- Polyester or linen thread spools
- Round punch cutters 1 – 2 - 2.5 and 3.5 mm
- Sheep's wool
- 1 pouch 14.5 cm in diameter
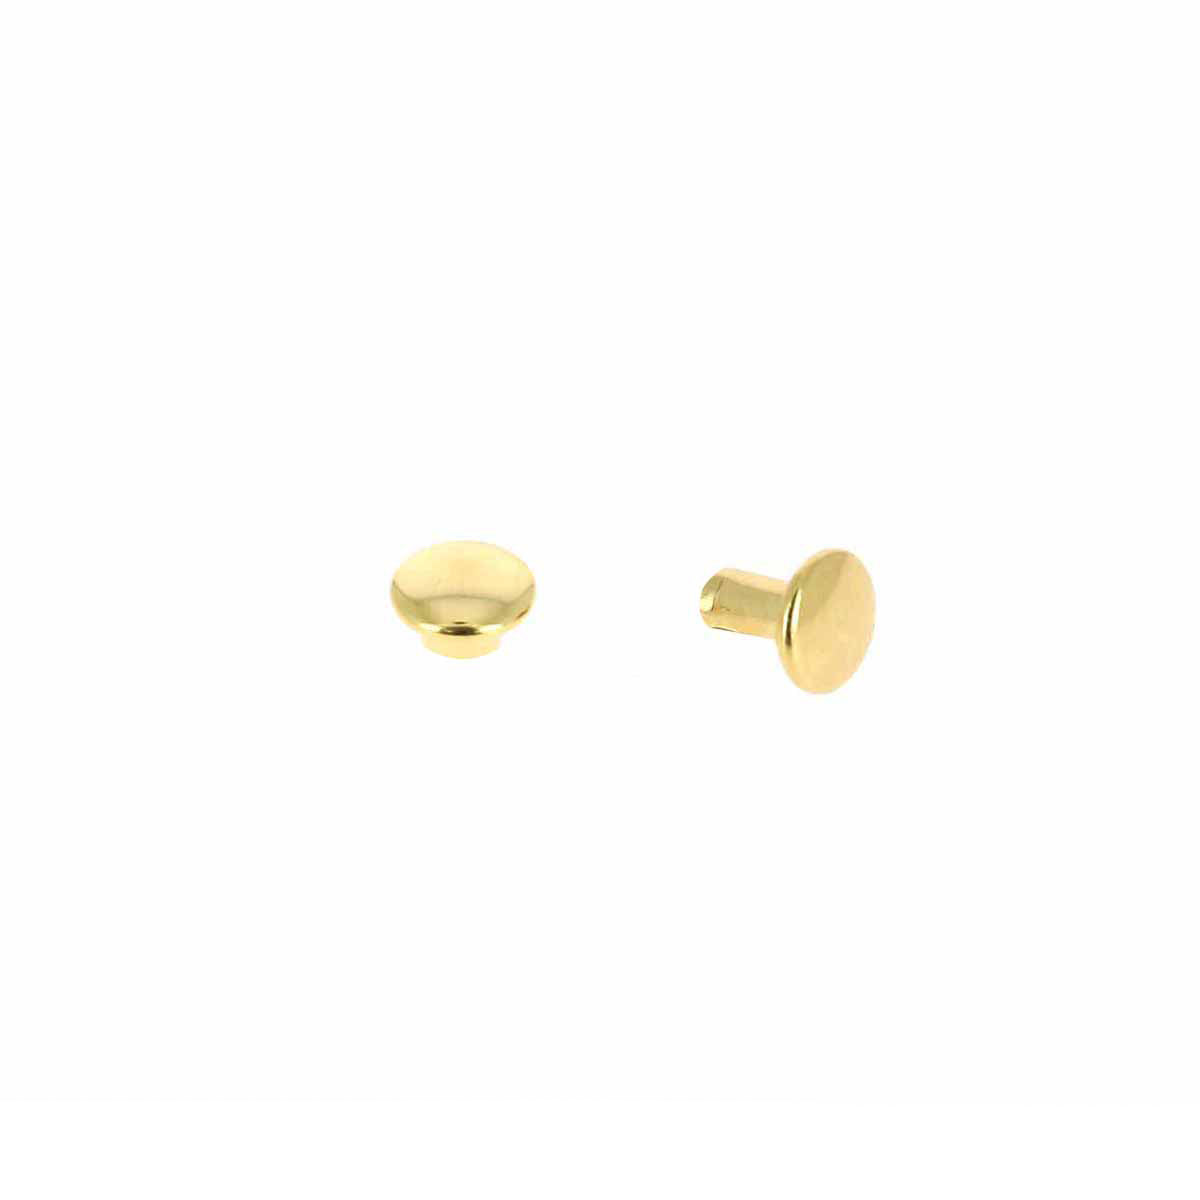
- 14 T1 double-cap rivets + setting tool
- 12 T3 double-cap rivets + setting tool
- Ertalon plate for accessory setting and steel striking handle
- 20 cm of 4 mm flat lace
- 10 cm of 1 mm round lace
- Neoprene glue
Optional:
- Embroidery machine
- Decorative staples
- Number stamps
1. CUT THE PATTERN
Print the pattern.
Using the silver pencil, trace the pieces onto the leather.
Cut the pieces with a ruler, a square, and a utility knife (or sewing scissors).
The pencil is erasable on most leathers with a simple eraser (do not use on vegetable-tanned leather). We recommend doing a test beforehand to verify the erasable function on your leather.
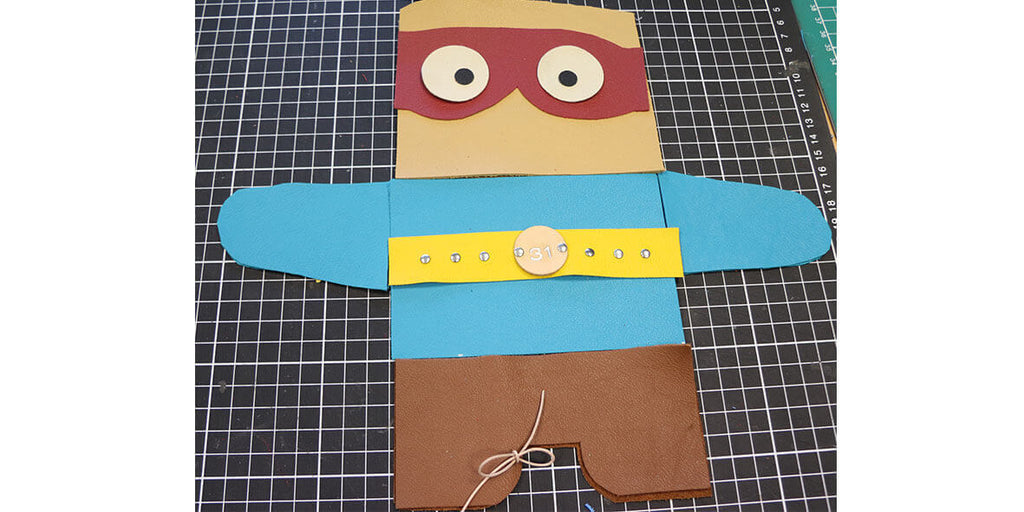
- Piece N°1 (head) – 2 times
- Piece N°2 (body) – 2 times
- Piece N°3 (feet) – 2 times
- Piece N°4 (arms) – 4 times
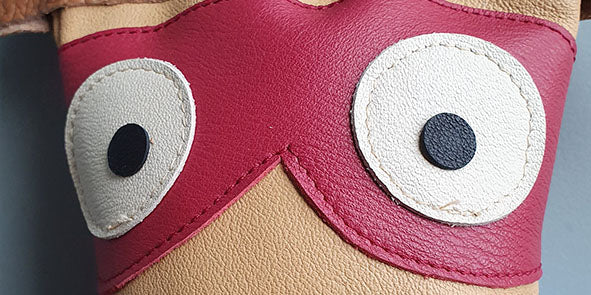
- Piece N°5 (eyes) – 2 times => 3.5 cm punch cutter
- Piece N°6 (pupil) – 2 times => 1 cm punch cutter
- Piece N°7 (front headband) – 1 time
- Piece N°8 (back headband) – 1 time
- Piece N°9 (cape) – 2 times
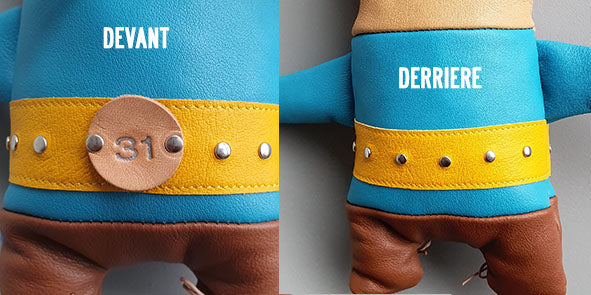
- Piece N°10 (front belt) – 1 time
- Piece N°11 (belt emblem) – 1 time => 2.5 cm punch cutter
- Piece N°12 (back belt) – 1 time
2. MAKE HOLES FOR RIVETS ON THE BELT
After marking the rivet positions on the belt and emblem with the silver pencil. Make 2 mm holes on pieces N°10 and 11 (belt and emblem) using the punch cutter.
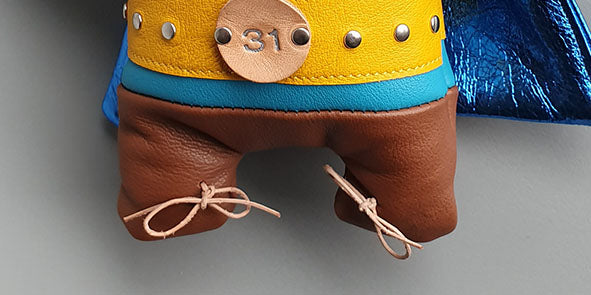
3. STAMP NUMBER MATOIRS ON THE EMBLEM
Stamp the number matoirs (31 - crew number) on piece N°11, dye it if necessary, and go over the letters again with the silver pencil.
4. ATTACH THE 12 T1 RIVETS ON PIECES N°10 AND 11 (BELT)
Attach the T1 rivets with the striking handle and setting tool. We invite you to watch our video on rivet setting methods.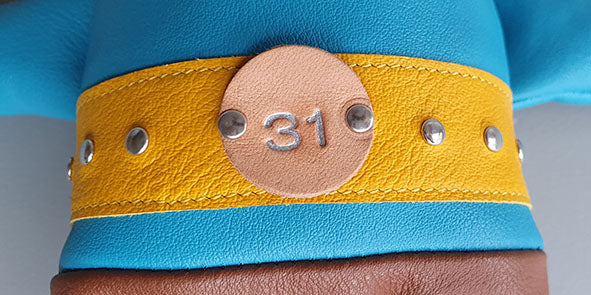
5. ASSEMBLE AND SEW THE ARMS
Sew pieces N°4 (arms) right sides together, leave an opening, turn them inside out, stuff them (sheep's wool), and close with a seam.
TIP:
HOW TO SEW LEATHER WITH A MACHINE?
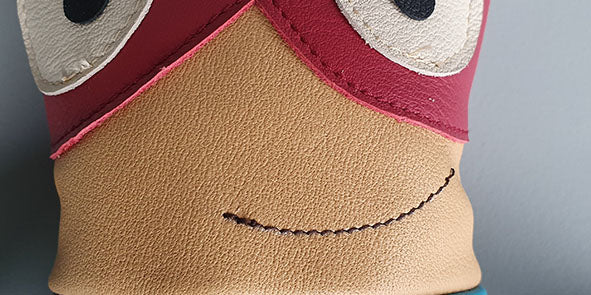
6. SEW THE EYES ON THE HEADBAND
- Sew pieces N°5 (eyes) onto piece N°7 (front headband) on the right side.
- Glue pieces N°6 (pupils) onto pieces N°5 (eyes).
7. SEW THE BELT ON THE BODY
Sew the belt (pieces N°10 and 12) onto the body (piece N°2) on the right side.
8. SEW THE HEADBAND ON THE HEAD
Sew pieces N°7 (front/back headband) onto pieces N°1 (head) on the right side.
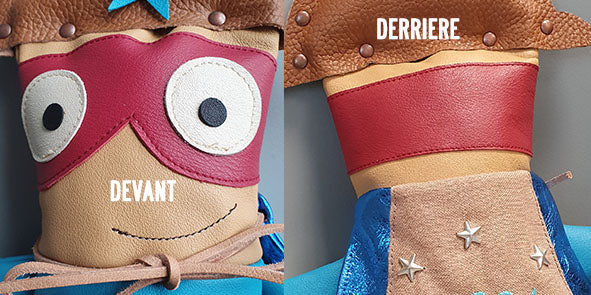
9. SEW THE MOUTH
Sew the mouth onto piece N°1 (head - only on the front piece) on the right side.
10. MAKE HOLES FOR SHOELACES
Make 4 holes of 1 mm on piece N°3 - feet (only on the front piece) and thread a 1 mm diameter round lace through them.
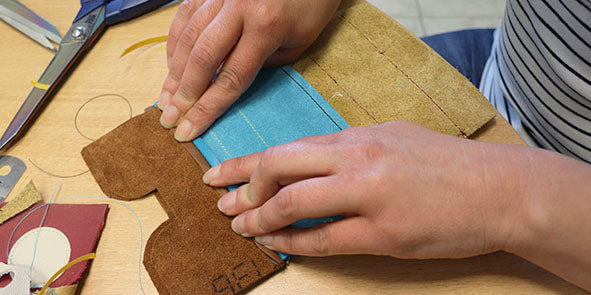
11. SEW THE MAIN PIECES
For the front, sew piece N°1 with N°2 right sides together, then piece N°2 and N°3.
Repeat the operation for the back.
Apply double-sided tape to keep the seams open.
12. ASSEMBLE THE BODY
- Place pieces 1&2 (front body and back body) right sides together, then position the arms and sew the body. Do not sew at the head to be able to turn the piece right side out.
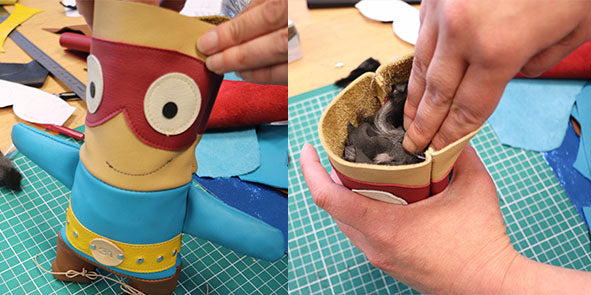
- Turn the piece right side out and stuff it with sheep's wool.
13. SEW THE TOP OF THE HEAD
After stuffing the mascot, sew the top of the head.

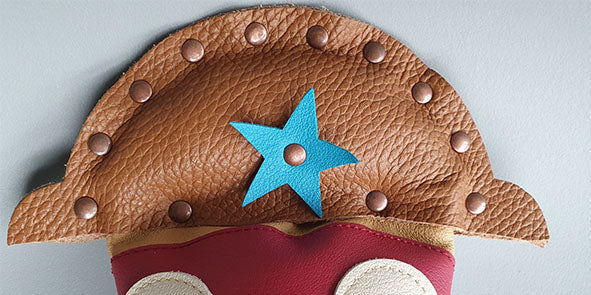
14. MAKE THE MASCOT'S HAT
- Take the 14.5 cm diameter pouch and cut it in half. Then attach the T3 rivets with the striking handle and setting tool (in each hole). We invite you to watch our video on rivet setting methods.
- Stuff the hat with sheep's wool.
- Rivet the hat to the mascot using 2 other rivets.
Optional: you can add a motif to the center of the hat (here a star).
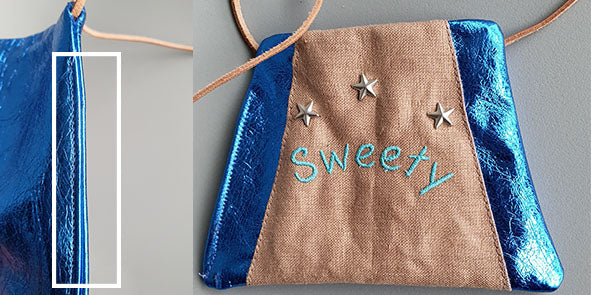
15. SEW THE CAPE
- Sew pieces N°9 right sides together: leave 6 mm at the top to thread the lace through and then begin sewing. To be able to turn the piece right side out, leave an opening (here on the side).
- Turn the cape right side out and sew the side.
Optional: you can do fabric embroidery and decorate the cape with decorative staples.
All that's left is to attach the cape!
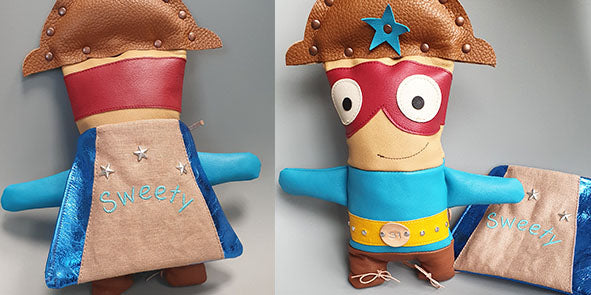
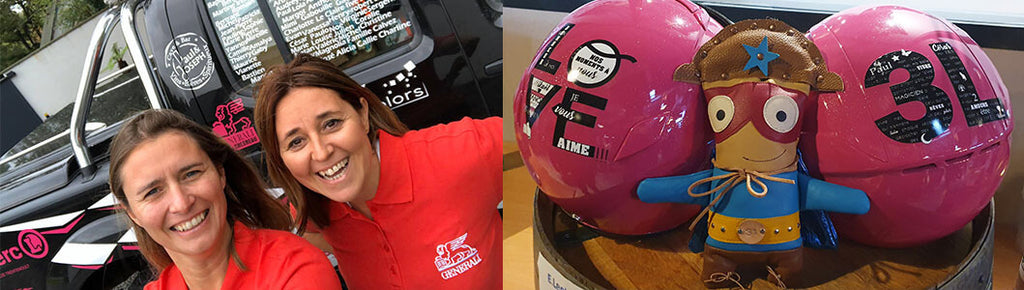
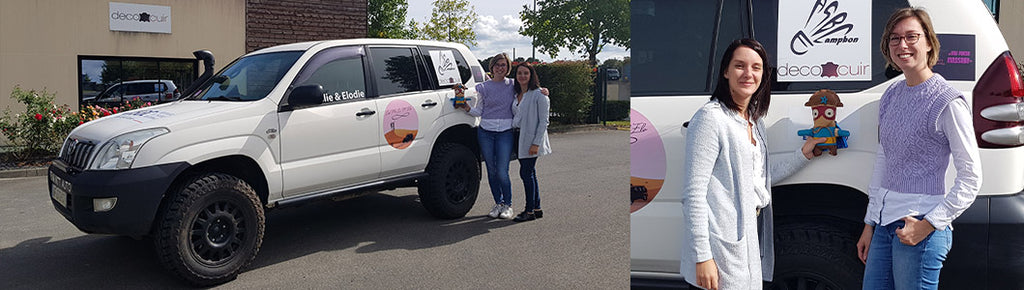
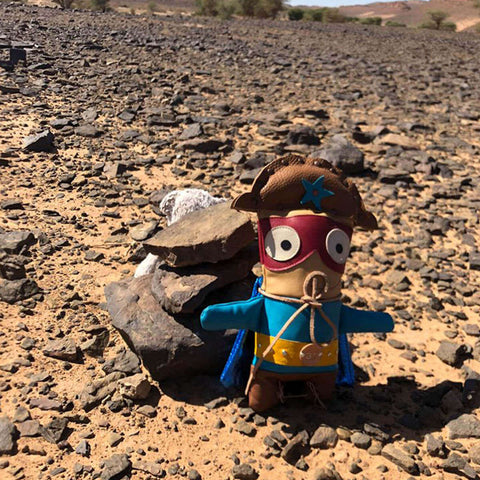
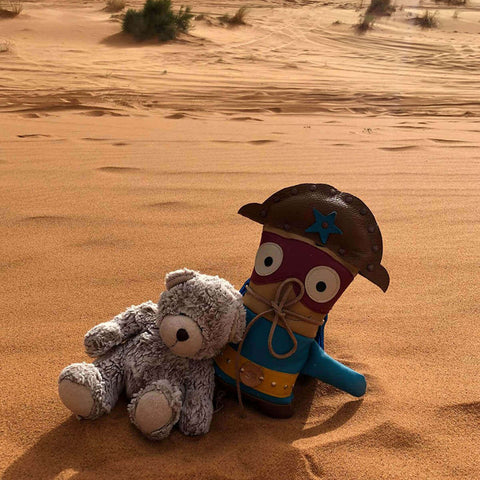
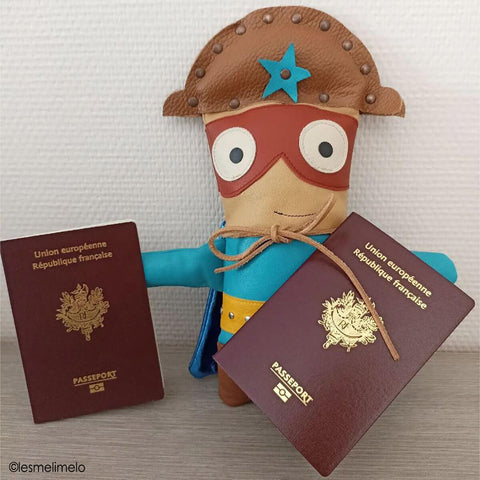
SOME PHOTOS OF SWEETY IN MOROCCO
 |
 |
 |


