




O MATERIAL NECESSÁRIO
Para realizar este tutorial, irá precisar de:
- 1 pedaço de couro de collet curtimento vegetal natural CLASSIC - 30 x 40 cm - Esp. 1,2mm
- 1 frasco de tinta a óleo - Fiebing's OIL DYE / PRO DYE - Castanho-dourado (Fauve)
- 1 cartão de fio de linho encerado MeiSi super fino M50 - CARAMELO
- 1 frasco de óleo de pé de boi
- 1 frasco de goma adragante ou Tokonole
- 1 frasco de cola de contacto à base de água
- 1 bainha em latão "L'indispensable"
- 1 chanfrador de arestas N.º 00 - Barry king tools
- 1 ferro de frisar de marroquinaria com guia 1,5 mm - Deco Cuir
VERSÃO FRANCESA
VERSÃO INGLESA
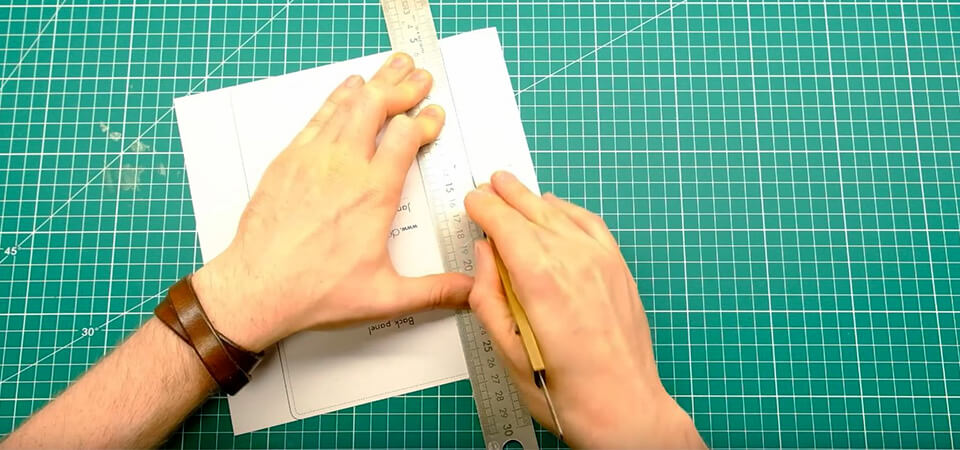
1. IMPRIMIR E CORTAR O MOLDE
Imprima o molde PDF em papel A4. Atenção para respeitar o tamanho original do documento.
Corte o molde e cole-o num papel rígido ou cartão.
- Print PDF file on A4 paper, making sure your printer settings respect the original scale of the document (check Print Guide on the last page).
- Cut out paper template and glue the paper template to card stock.
2. TINGIR O COURO DE CURTIMENTO VEGETAL
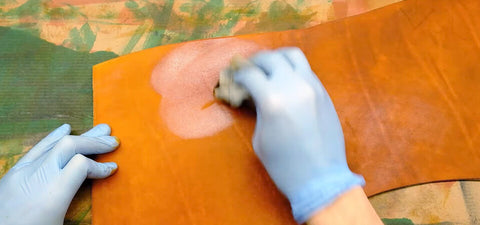
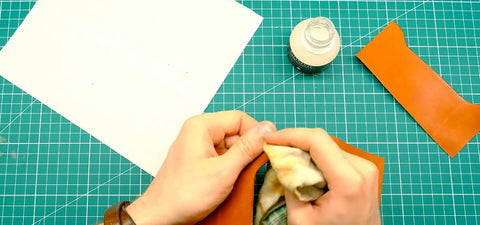
Tinja o couro de curtimento vegetal com um pano macio. Aqui: tinta a óleo FIEBING'S OIL DYE / PRO DYE - FAUVE - SADDLE TAN
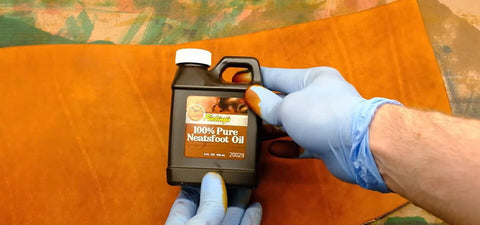
Nutra e dê brilho ao couro com óleo de pé de boi.
VER O GUIA DE TINGIMENTO DE COURO >
- Tint the vegetable tanned leather. Here : FIEBING'S Professionnal OIL DYE / PRO DYE - FAUVE - SADDLE TAN
- Nourish the leather with neatsfoot oil.
 |
 |
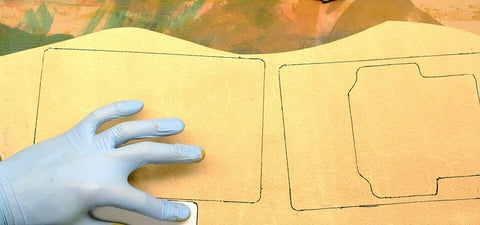
3. CORTAR O COURO COM A AJUDA DO MOLDE
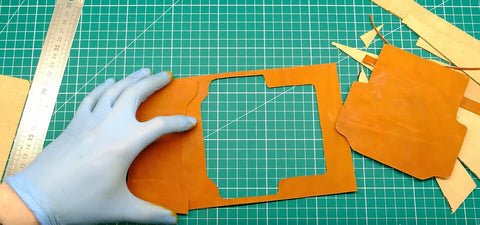
Com as peças cortadas do molde, trace os elementos no couro. Aconselhamos a utilização de um lápis de prata.
Corte o couro seguindo as linhas traçadas.
- Using cut-out template, scribe pattern onto the leather.
- Cut leather along your scribed lines.
 |
 |
4. TRABALHAR AS ARESTAS QUE NÃO SERÃO COSIDAS
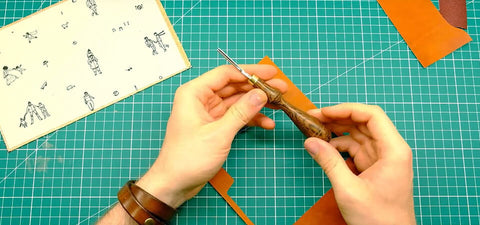
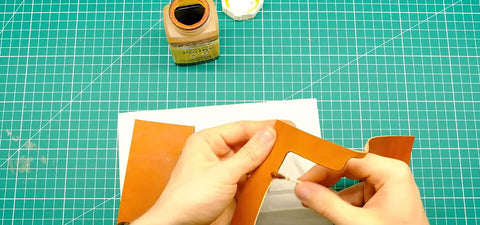
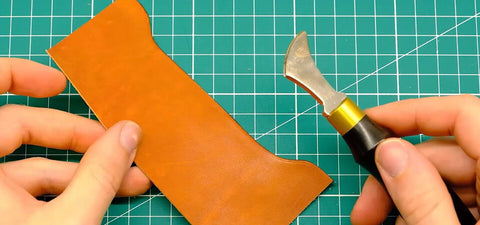
Prepare as arestas com um chanfrador e, em seguida, tinja e brunha os bordos (com goma adragante) que não serão cosidos (o topo do porta-cartões e o interior da face frontal). Se necessário, utilize lixa fina para igualar antes de brunir.
Utilize um ferro de frisar de marroquinaria para adicionar uma linha decorativa nos bordos preparados.
- Dress and burnish edges that will not be stitched - Card Panel and inside of Front Panel.
- Using edge creaser, add decorative crease lines along these edges.
 |
 |
 |
 |
5. COLAR O PORTA-CARTÕES NA FACE FRONTAL
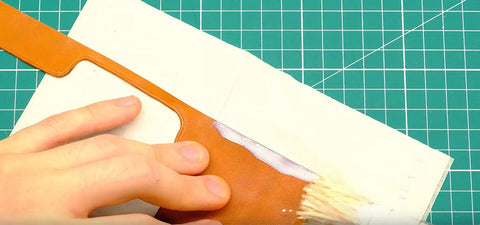
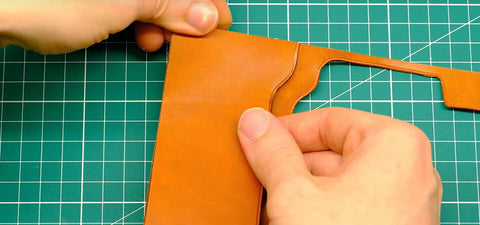
Cole o porta-cartões na face frontal ao longo da linha de costura exterior indicada no porta-cartões.
- Glue the Card Panel to the Front Panel, along the stitch lines indicated on the sides of the Card Panel.
 |
 |
6. FAZER UMA COSTURA COM PONTO DE SELARIA
Coza o porta-cartões na face frontal: linha de costura situada no meio e indicada no molde. James optou por uma costura com ponto de selaria.
VER O GUIA DE COSTURA PONTO DE SELARIA >
- Stitch down the middle part of the Card Panel onto the Front Panel using pricking irons or awl to make the holes.
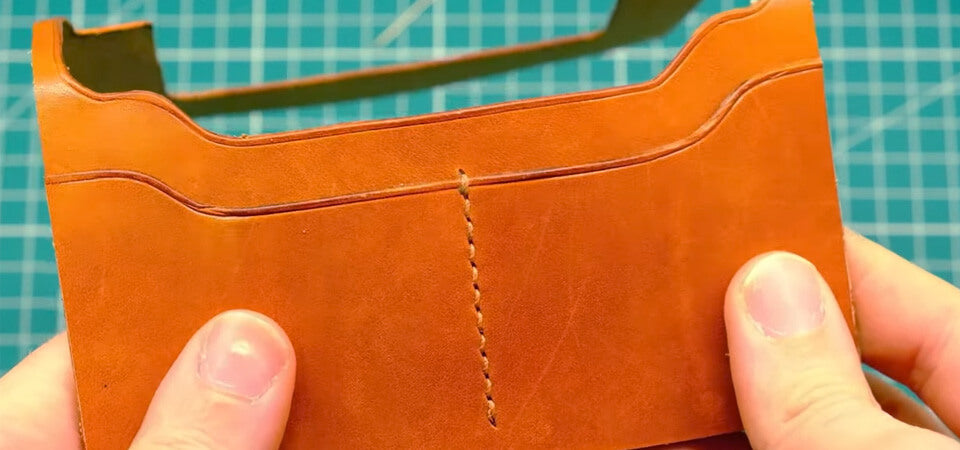
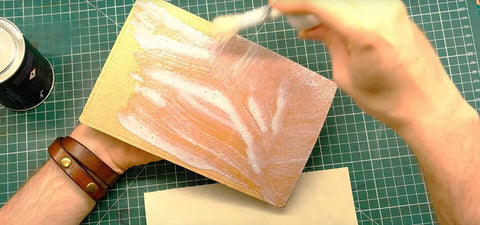
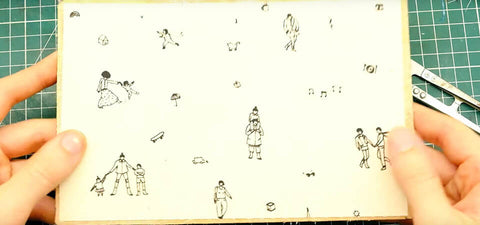
7. COLAR O FORRO NA FACE TRASEIRA
Se desejar ter um forro: cole-o com cola à base de água na face traseira.
- If you want to have an inner coat : glue it with aquagum on the Back Panel.
 |
 |
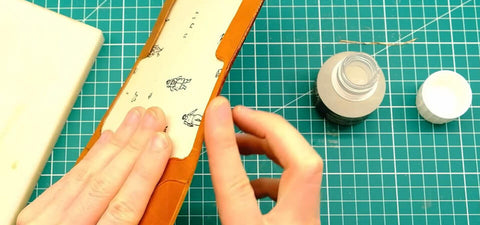
8. COLAR A FACE FRONTAL NA FACE TRASEIRA
Cole a face frontal e a face traseira, depois deixe o seu projeto repousar até que a cola esteja bem seca.
- Glue the Front Panel to the Back Panel and let your project sit for a couple of hours till the glue sets.
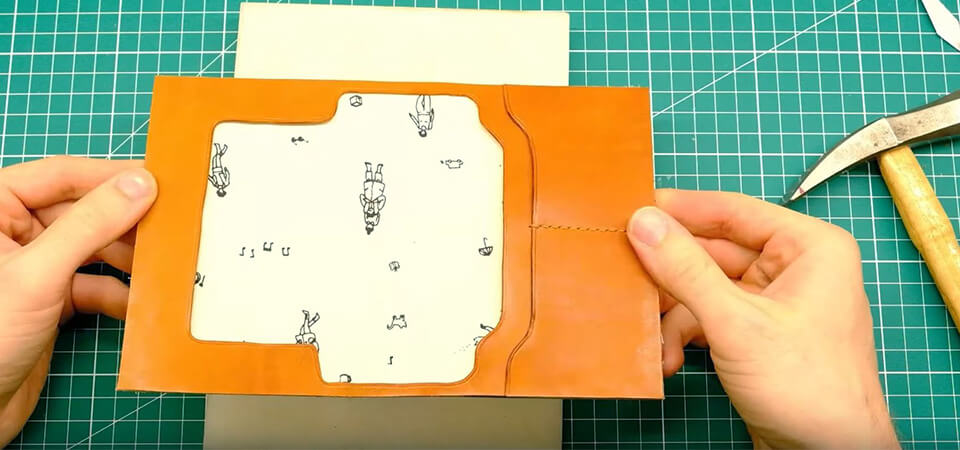
9. TRABALHAR AS ARESTAS
Faça um corte fino à volta do seu projeto para igualar os bordos colados - se necessário, utilize lixa para igualar.
Em seguida, trabalhe as arestas com um chanfrador e, depois, tinja e brunha os bordos (com goma adragante). Se necessário, utilize lixa fina para igualar antes de brunir.
- Clean the outer edges to be stitched by cutting a clean edge or sanding until all layers of leather are flush.
- Dress and burnish edges that will not be stitched - Card Panel and inside of Front Panel.
 |
 |
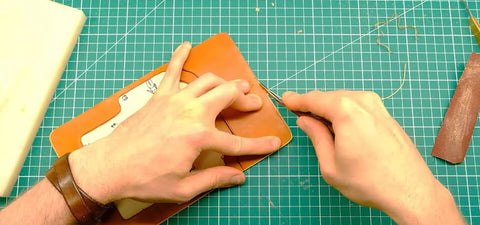
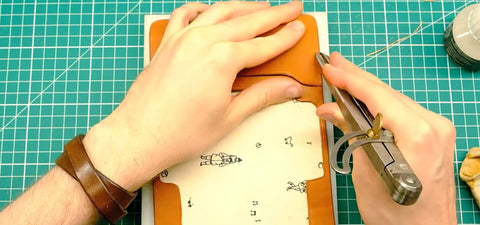
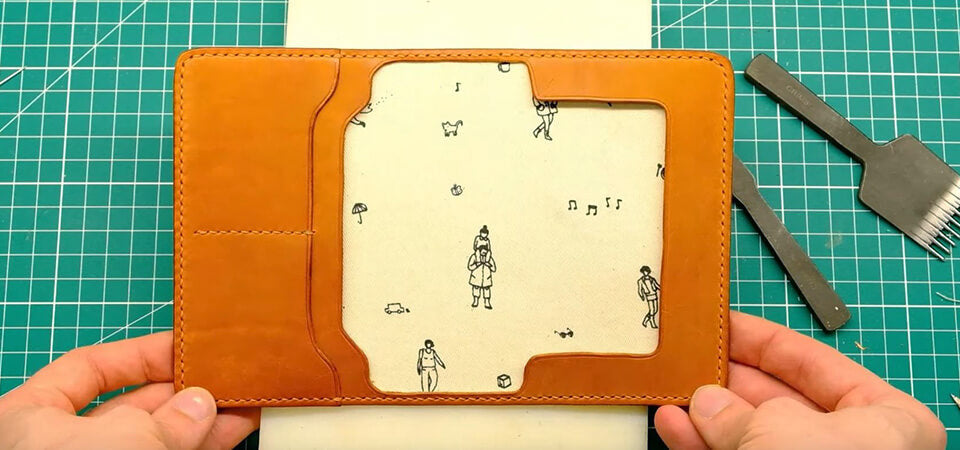
10. COZER O PORTA-PASSAPORTE
Trace uma linha de costura a 3 mm do bordo à volta de todo o projeto e, em seguida, marque os pontos (rodízio de marcar ou furador) e coza de acordo com a sua técnica habitual. James optou por uma costura com ponto de selaria.
- Mark your stitching line 3 mm from the edge, punch holes for stitching using pricking irons or awl, and stitch.
 |
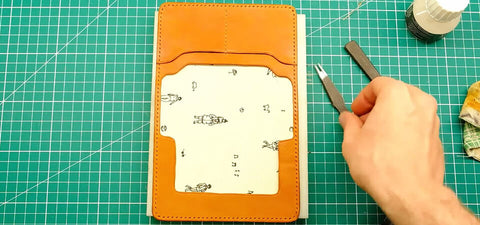 |
11. FAZER UM FRISO DECORATIVO
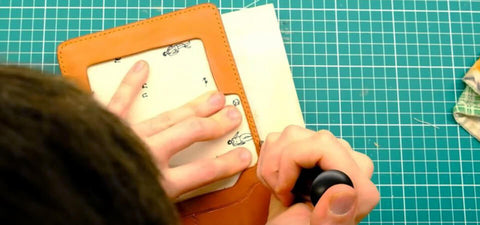
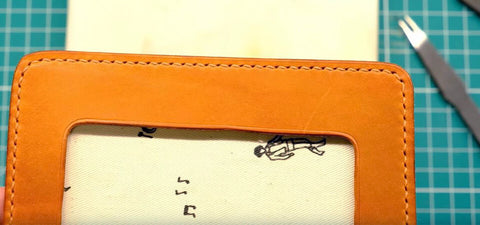
Utilize um ferro de frisar de marroquinaria para adicionar uma linha decorativa nos bordos preparados.
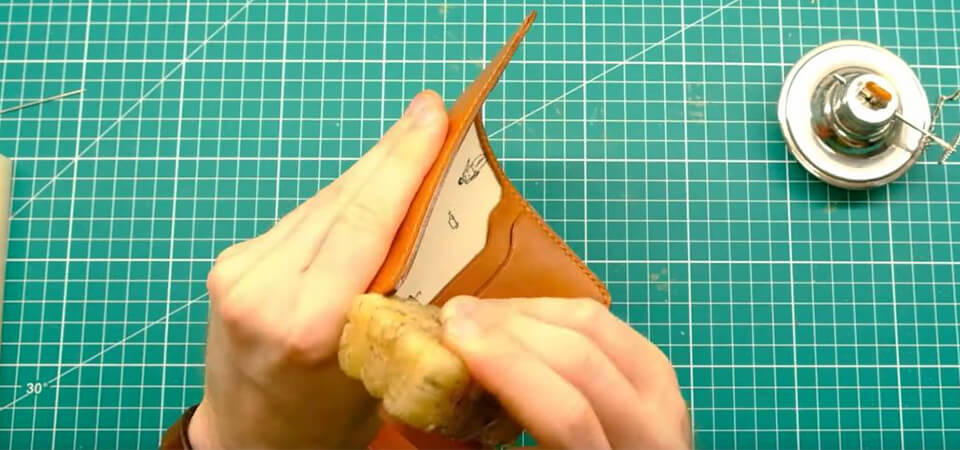
Depois, encere as arestas aquecendo cera de abelha.
- Using edge creaser, add a decorative crease line along the edge.
 |
 |
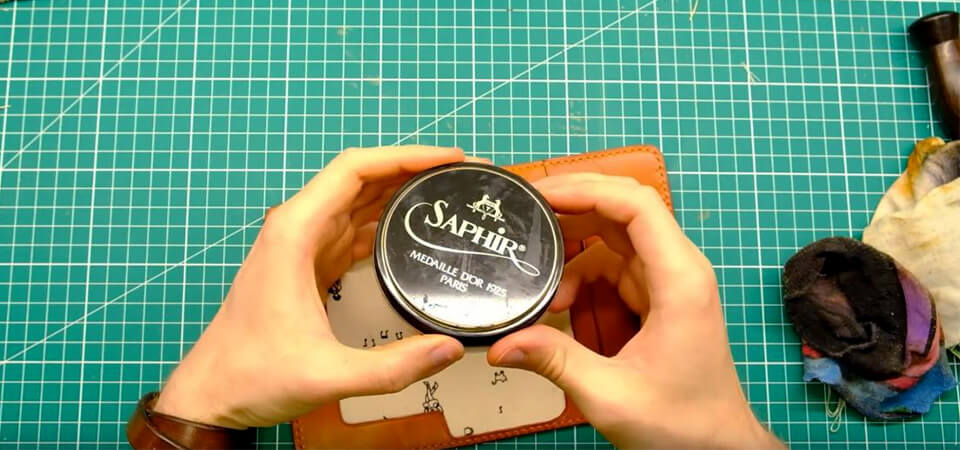
12. ENCERAR E PROTEGER A SUA CRIAÇÃO
Encere a sua criação para nutrir e proteger o couro.
- Polish your creation to nourish and protect your leather.
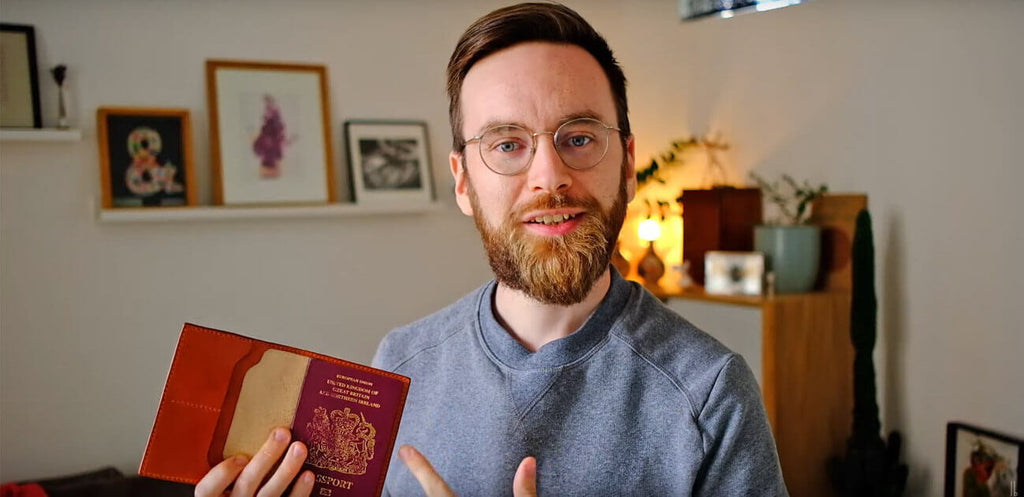
QUEM É JAMES BERRY?
James Berry é um entusiasta do trabalho em couro e, especialmente, do trabalho em couro de curtimento vegetal. Através do seu canal de YouTube e dos seus vários vídeos tutoriais, ele dá a conhecer novas técnicas.
James Berry is passionate about leatherwork and especially vegetable tanned leather. Through his Youtube channel and his various tutorial videos in English, he introduces you to new techniques.
ACEDER AO SEU CANAL DE YOUTUBE >


2 comentários
Deco Cuir
Bonjour,
Nous vous remercions pour votre commentaire sur notre blog. Effectivement nous conseillons de teinter le cuir avant la découpe des pièces notamment pour éviter que le cuir se rétracte et aussi pour pouvoir placer correctement les pièces en fonction des défauts de la teinte 😊
Si vous voulez avoir un peu plus d’espace pour votre porte-passeport il faudrait légèrement agrandir la pièce intérieure pour qu’elle soit un peu plus « volante ». N’hésitez pas sinon à aller voir notre autre modèle de porte-passeport : https://www.decocuir.com/blogs/blog-tutoriel-patron-cuir/porte-passeport-cuir-tuto-gratuit
Bonne journée,
L’équipe Deco Cuir
Richard
J’aime beaucoup ce porte passeport, tellement que j’en ai fait un.
J’ai rencontrés quelques soucis en teintant le cuir après l’avoir découpé j’ai eu de la rétractation.
J’aimerai pouvoir glisser la majorité des pages dans l’emplacement prévu afin d’ouvrir le passeport à la page de l’identité. En l’état il n’y a pas assez d’épaisseur. Quelle modification pourrait-on faire pour avoir plus d’espace ?