


LE MATÉRIEL NÉCESSAIRE
Pour réaliser ce tutoriel, vous aurez besoin de :
- 1 morceau de cuir de collet tannage végétal naturel CLASSIC - 30 x 40 cm - Ép 1,2mm
- 1 pot de teinture à l'huile - Fiebing's OIL DYE / PRO DYE - Fauve
- 1 cartonnette de fil de lin ciré MeiSi super fine M50 - CARAMEL
- 1 pot d'huile de pied de boeuf
- 1 pot de gomme adragant ou Tokonole
- 1 pot de colle contact à base d'eau
- 1 fourreau en laiton "L'indispensable"
- 1 abat carre N°00 - Barry king tools
- 1 fer à filet de maroquinier avec guide 1,5 mm - Deco Cuir
VERSION FRANÇAISE
ENGLISH VERSION
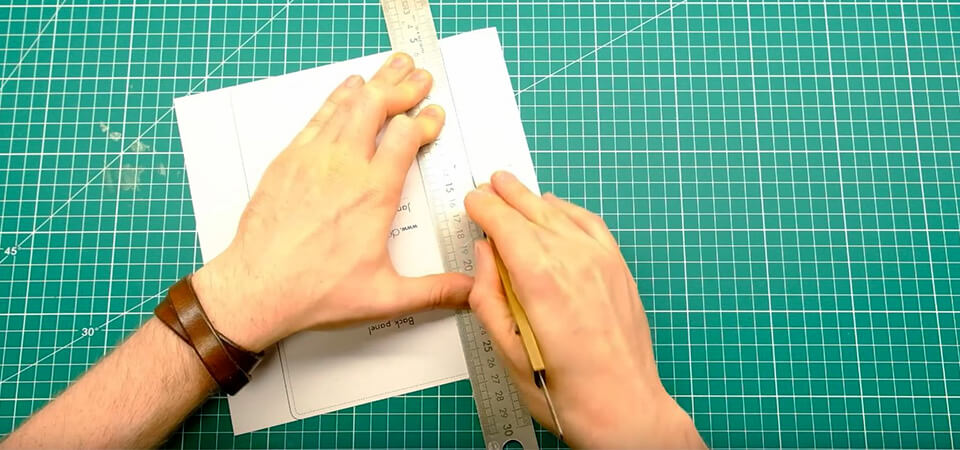
1. IMPRIMER ET DÉCOUPER LE PATRON
Imprimer le patron PDF sur du papier A4. Attention à bien respecter la taille originale du document
Découper le patron et le coller sur un papier rigide ou du carton.
- Print PDF file on A4 paper, making sure your printer settings respect the original scale of the document (check Print Guide on the last page).
- Cut out paper template and glue the paper template to card stock.
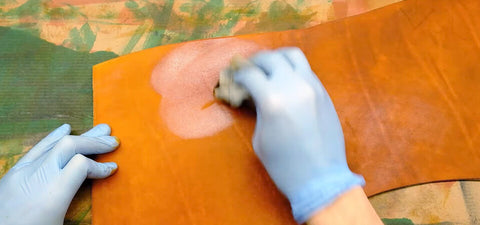
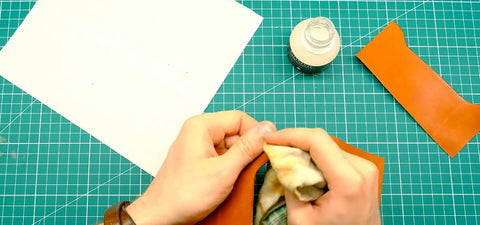
2. TEINTER LE CUIR TANNAGE VÉGÉTAL
Teinter le cuir tannage végétal avec un chiffon doux. Ici : teinture à l'huile FIEBING'S OIL DYE / PRO DYE - FAUVE - SADDLE TAN
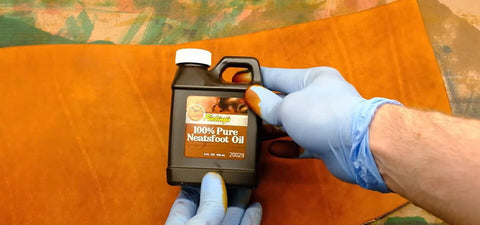
Nourrir et faire briller le cuir avec de l'huile de pied de bœuf.
VOIR LE GUIDE TEINTURE DU CUIR >
- Tint the vegetable tanned leather. Here : FIEBING'S Professionnal OIL DYE / PRO DYE - FAUVE - SADDLE TAN
- Nourish the leather with neatsfoot oil.
 |
 |
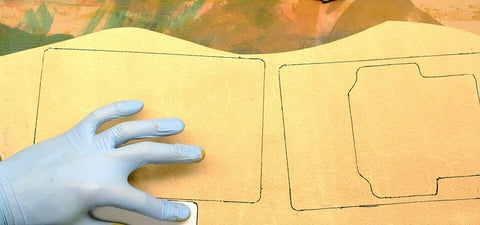
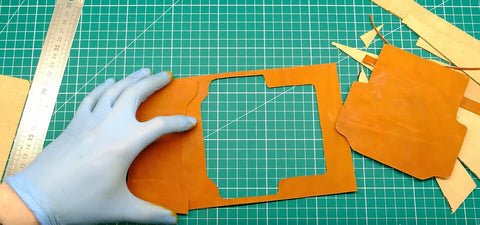
3. DÉCOUPER LE CUIR À L'AIDE DU PATRON
Avec les pièces découpées du patron, tracer les éléments sur le cuir. Nous vous conseillons d'utiliser un crayon argent.
Couper le cuir en suivant vos lignes tracées
- Using cut-out template, scribe pattern onto the leather.
- Cut leather along your scribed lines.
 |
 |
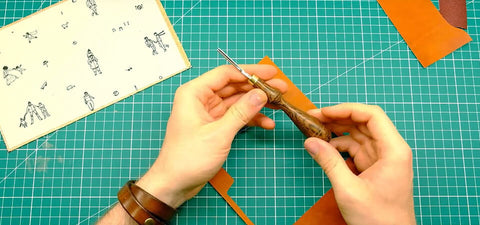
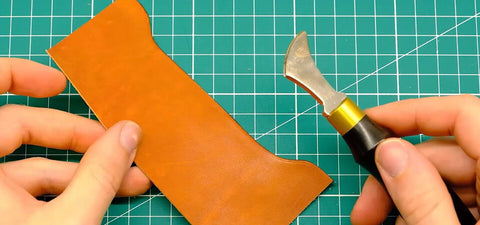
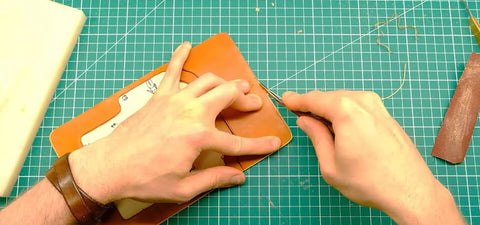
4. TRAVAILLER LES TRANCHES QUI NE SERONT PAS COUSUES
Préparer les tranches avec un abat-carre puis teinter et brunir les bords (avec de la gomme adragante) qui ne seront pas cousus (le haut du Porte-Cartes et l’intérieur de la Face Avant). Si besoin, utiliser du papier abrasif léger pour égaliser avant de brunir.
Utiliser un filet de maroquinier afin d’ajouter une ligne décorative sur les bords préparés.
- Dress and burnish edges that will not be stitched - Card Panel and inside of Front Panel.
- Using edge creaser, add decorative crease lines along these edges.
 |
 |
 |
 |
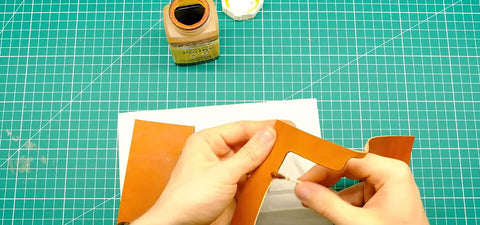
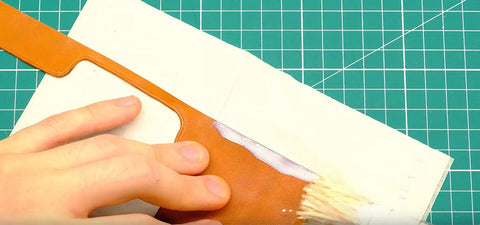
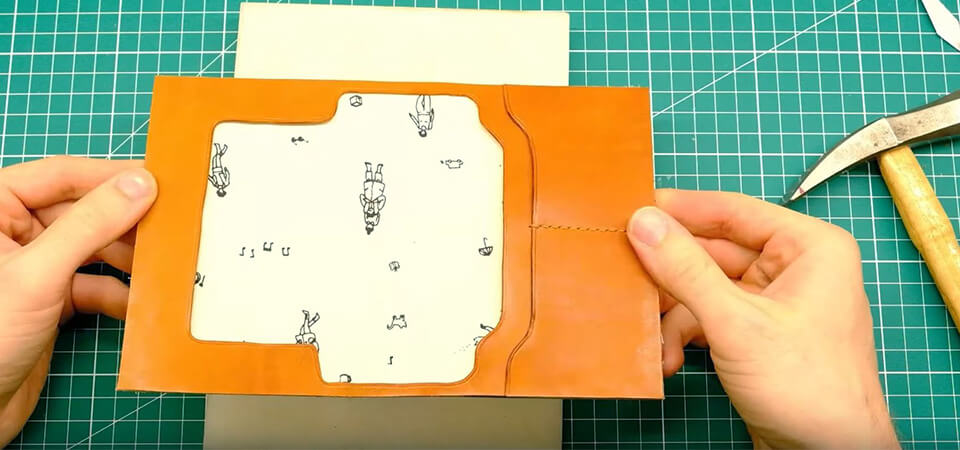
5. COLLER LE PORTE-CARTES SUR LA FACE AVANT
Coller le porte-cartes sur la face avant le long de la ligne de couture extérieure indiquée sur le porte-cartes.
- Glue the Card Panel to the Front Panel, along the stitch lines indicated on the sides of the Card Panel.
 |
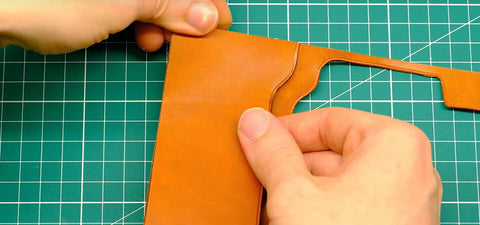 |
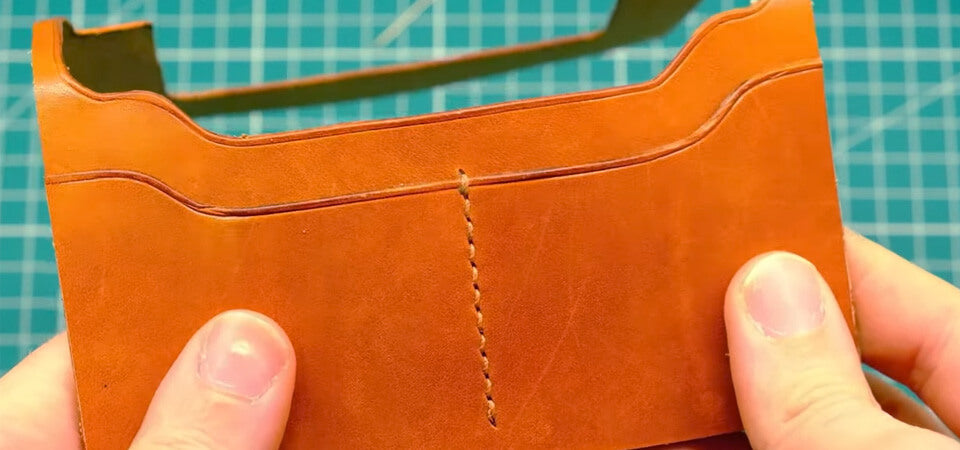
6. FAIRE UNE COUTURE POINT SELLIER
Coudre le porte-cartes sur la face avant : ligne de couture située au milieu et indiquée sur le patron. James a opté pour une couture au point sellier.
VOIR LE GUIDE COUTURE POINT SELLIER >
- Stitch down the middle part of the Card Panel onto the Front Panel using pricking irons or awl to make the holes.
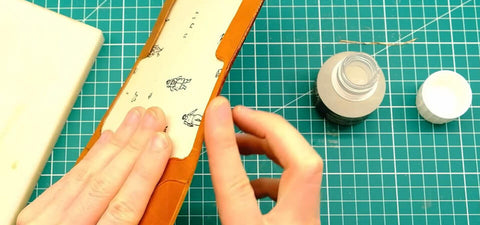
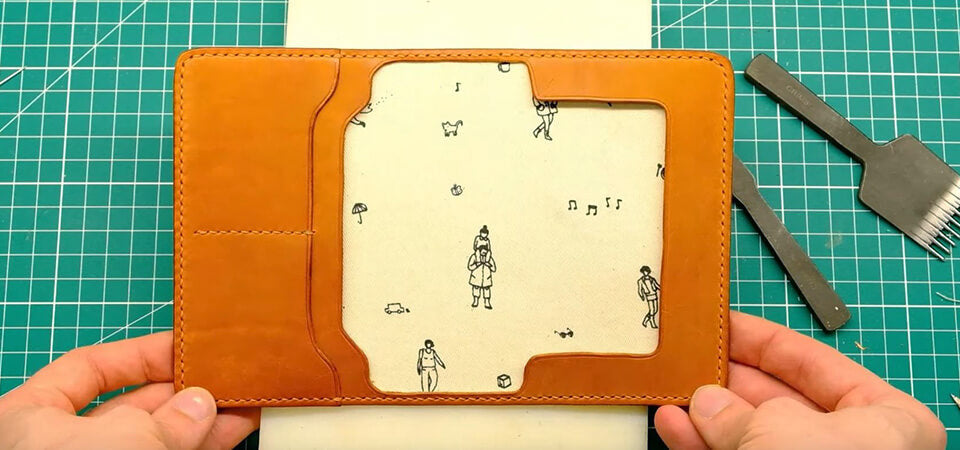
7. COLLER LA DOUBLURE SUR LA FACE ARRIÈRE
Si vous souhaitez avoir une doublure : venir la coller avec de la colle base aqueuse sur la Face Arrière.
- If you want to have an inner coat : glue it with aquagum on the Back Panel.
 |
 |
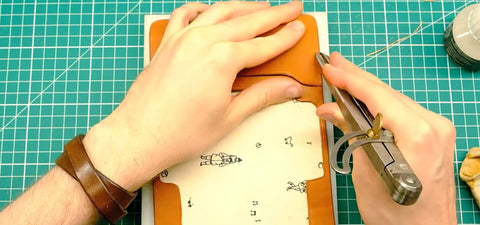
8. COLLER LA FACE AVANT SUR LA FACE ARRIÈRE
Coller la face avant et la face arrière puis laisser reposer votre projet jusqu’à ce que la colle soit bien sèche.
- Glue the Front Panel to the Back Panel and let your project sit for a couple of hours till the glue sets.
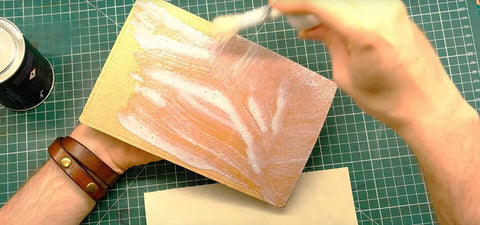
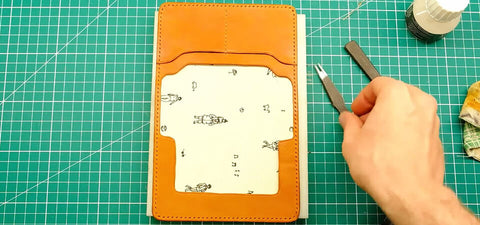
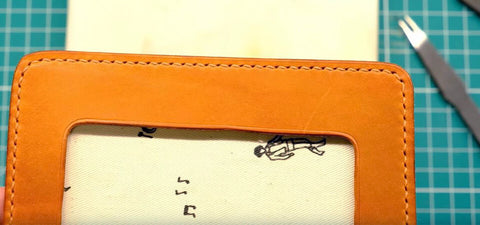
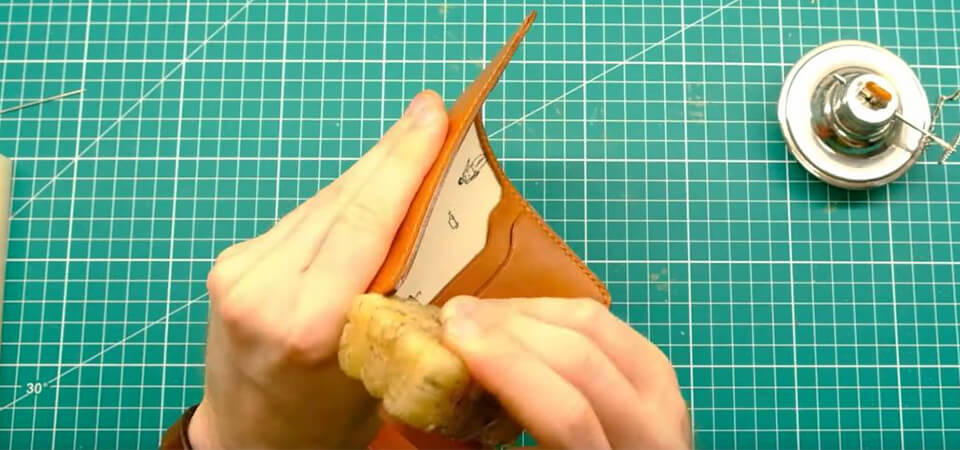
9. TRAVAILLER LES TRANCHES
Réaliser une coupe fine tout autour de votre projet afin d’égaliser les bord collés - si nécessaire utiliser du papier abrasif pour égaliser.
Puis travailler les tranches avec un abat-carre puis teinter et brunir les bords (avec de la gomme adragante). Si besoin, utiliser du papier abrasif léger pour égaliser avant de brunir.
- Clean the outer edges to be stitched by cutting a clean edge or sanding until all layers of leather are flush.
- Dress and burnish edges that will not be stitched - Card Panel and inside of Front Panel.
 |
 |
10. COUDRE LE PORTE-PASSEPORT
Tracer un trait de couture à 3 mm du bord tout autour de votre projet puis marquer les points (molette à marquer ou griffe à frapper) et coudre selon votre technique habituelle. James a opté pour une couture point sellier.
- Mark your stitching line 3 mm from the edge, punch holes for stitching using pricking irons or awl, and stitch.
 |
 |
11. FAIRE UN FILET DÉCORATIF
Utiliser un filet de maroquinier afin d’ajouter une ligne décorative sur les bords préparés.
Puis cirer les tranches en chauffant de la cire d'abeille.
- Using edge creaser, add a decorative crease line along the edge.
 |
 |
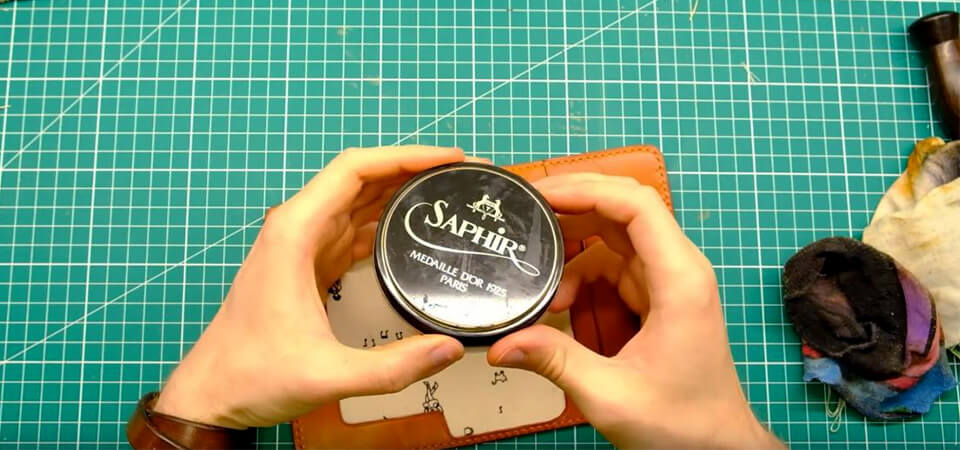
12. CIRER ET PROTÉGER VOTRE CRÉATION
Cirer votre création afin de nourrir et protéger votre cuir.
- Polish your creation to nourish and protect your leather.
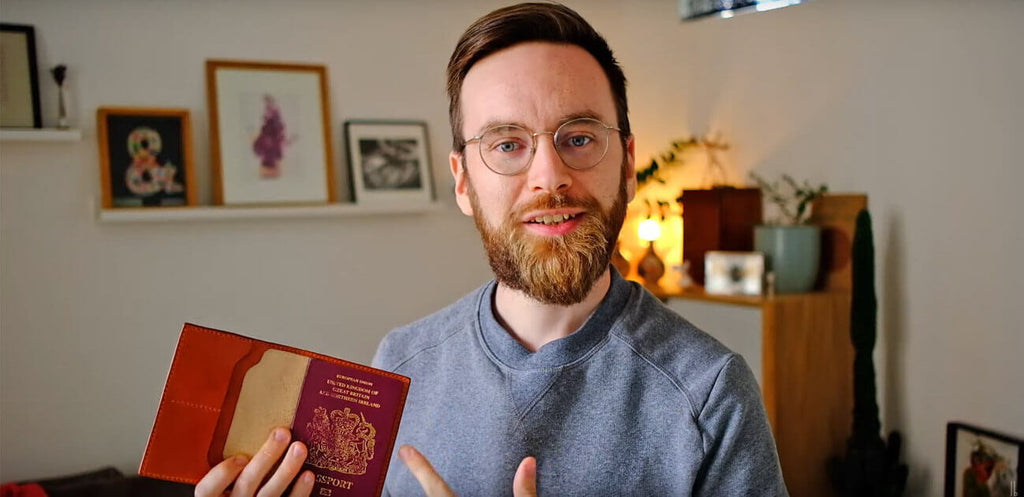
QUI EST JAMES BERRY ?
James Berry est un passionné du travail du cuir et surtout du travail du cuir tannage végétal. A travers sa chaîne Youtube et ses différentes vidéos tutoriels il vous fait découvrir de nouvelles techniques.
James Berry is passionate about leatherwork and especially vegetable tanned leather. Through his Youtube channel and his various tutorial videos in English, he introduces you to new techniques.
ACCÉDER À SA CHAINE YOUTUBE >